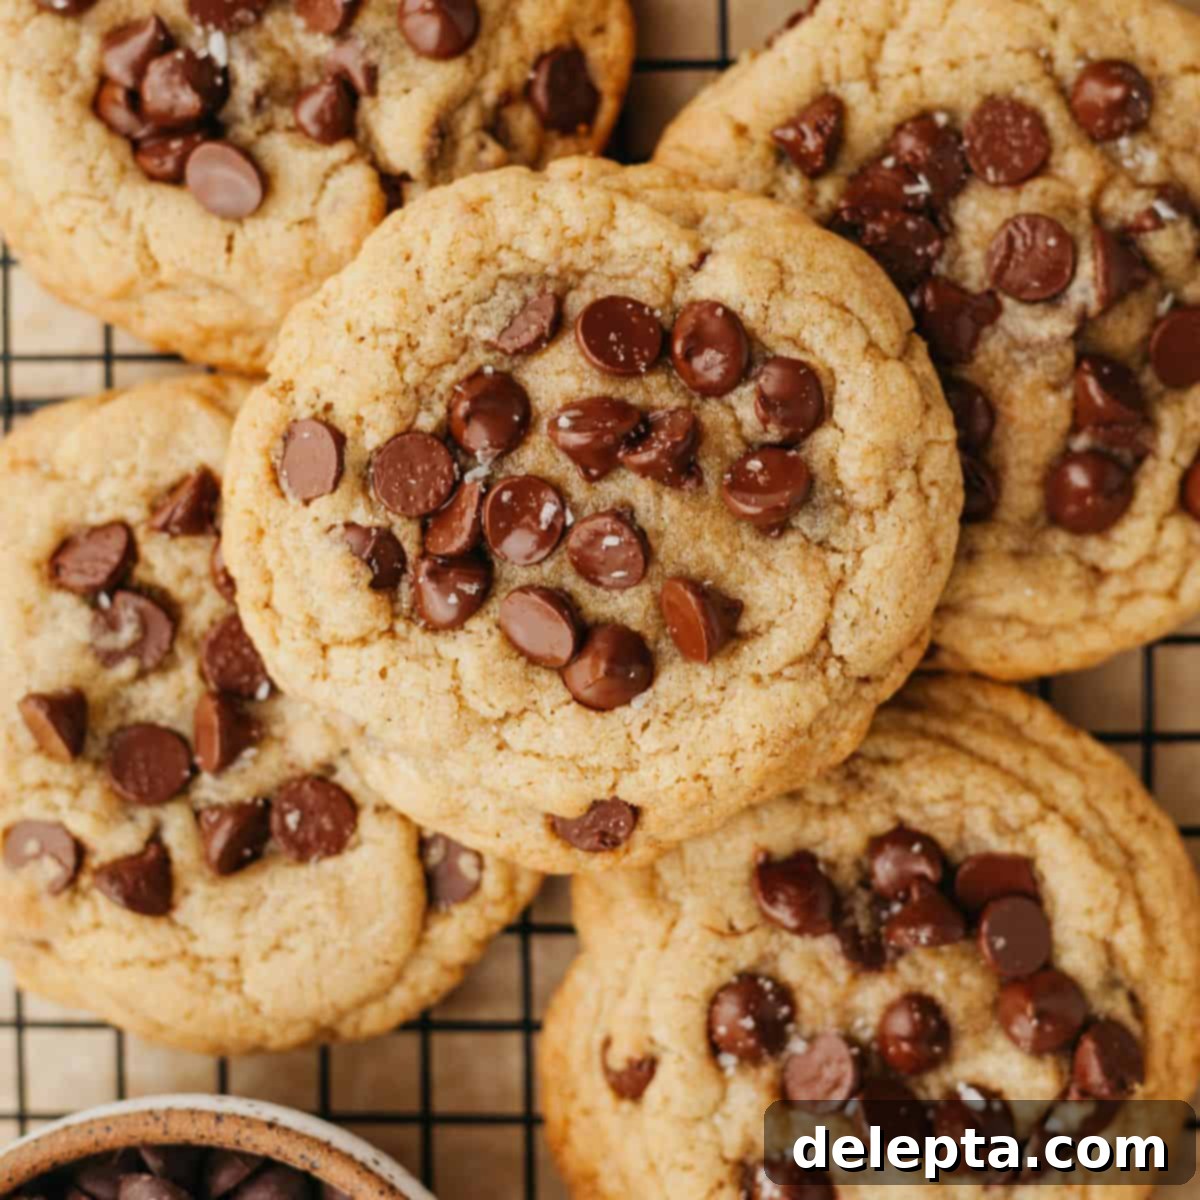
Irresistible Small Batch Chocolate Chip Cookies: Chewy, Gooey & Made Without a Mixer
There’s arguably nothing quite as comforting and satisfying as a warm, freshly baked chocolate chip cookie. That unmistakable aroma wafting from the oven, the anticipation of biting into a soft, chewy center loaded with melted chocolate, and those perfectly crisp edges – it’s pure bliss. However, sometimes that intense cookie craving strikes, but you don’t need or want a massive batch that will sit on your counter for days. Perhaps you’re baking for one, a cozy date night, or simply want to indulge in a handful of perfect treats without the temptation of a full dozen. This is where our small batch chocolate chip cookie recipe truly shines.
Designed to yield just 6-8 exquisitely gooey and soft cookies, this recipe is your answer to a manageable, yet utterly decadent, baking experience. Each cookie is generously studded with premium chocolate chips, ensuring a delightful chocolatey bite every time. What’s more, you won’t need to haul out your heavy stand mixer or any specialized equipment. A single bowl and a whisk are all you need to create these masterpieces, making the process incredibly straightforward and the cleanup a breeze.
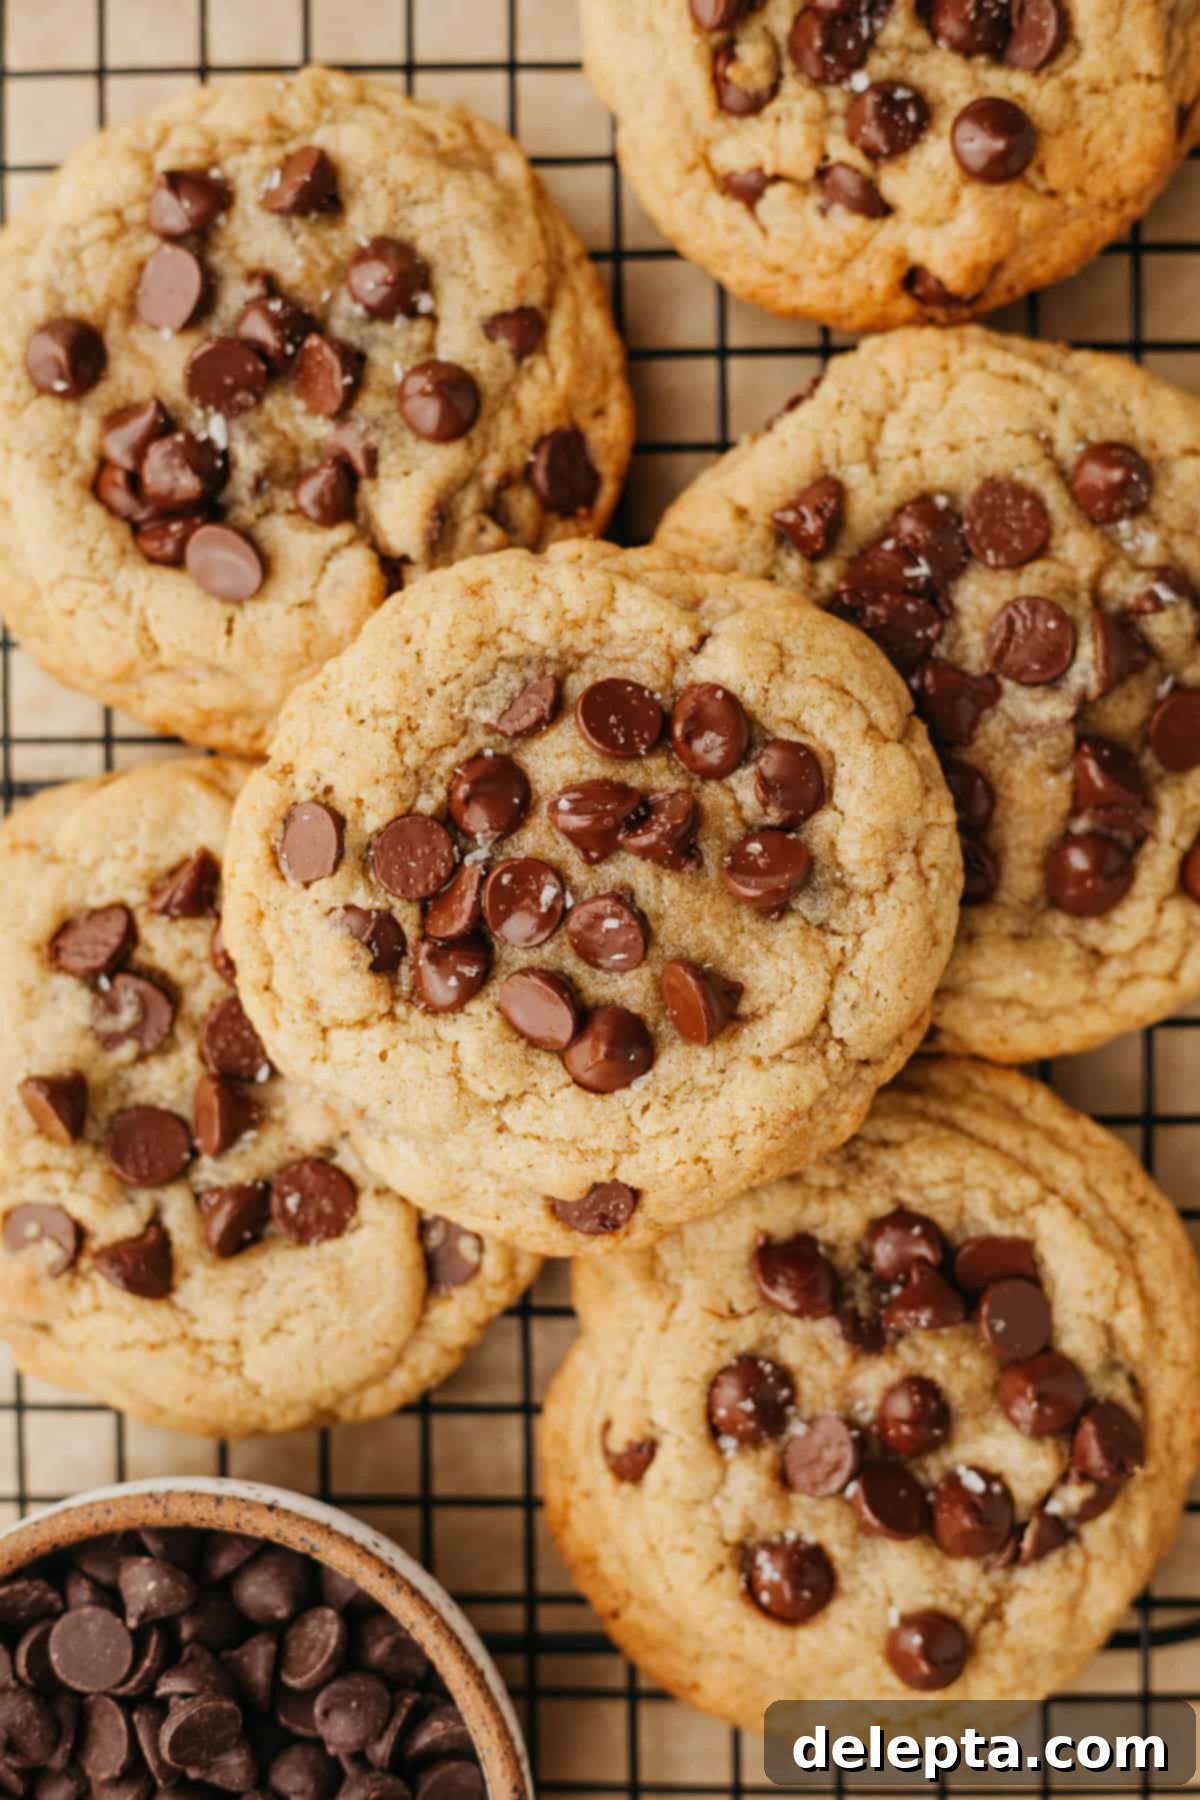
For many, the allure of a warm chocolate chip cookie straight from the oven is unmatched. But as much as we adore them, baking an entire tray often leads to overindulgence or, conversely, stale cookies if not eaten quickly. This small batch recipe provides the ideal solution, giving you just enough to satisfy that immediate craving for exceptional homemade goodness.
This recipe is lovingly adapted from my personal favorite brown butter chocolate chip butterscotch cookie recipe – a cookie I consider the epitome of perfection. By focusing on quality ingredients and a simplified method, these chocolate chip cookies are not only easy to make in one bowl, but they also boast an incredible texture. Expect super soft interiors, wonderfully chewy centers, and delightful crisp edges that provide a satisfying contrast with every bite. It’s truly an effortless recipe, making it perfect for those spontaneous cookie cravings that simply can’t wait!
If you’re in the mood for a creative twist on the classic chocolate chip cookie, don’t hesitate to explore some of my other popular variations. You might love my unique pecan chocolate chip cookies, the unexpectedly delicious miso chocolate chip cookies, or the incredibly fun and decadent Oreo chocolate chip cookies! Each offers a distinct flavor profile while retaining that beloved chocolate chip cookie foundation.
[feast_advanced_jump_to]
Why You’ll Fall in Love with These Small Batch Chocolate Chip Cookies!
- No Mixer Required: One of the biggest advantages of this recipe is its sheer simplicity. You won’t need to drag out your bulky stand mixer or even a hand mixer. All it takes is a single mixing bowl and a sturdy whisk, making both the preparation and cleanup exceptionally easy. This is fantastic for beginner bakers or anyone looking for a quick, fuss-free dessert without specialized equipment.
- Simple, Accessible Ingredients: Forget complicated shopping lists! This recipe relies on basic pantry staples that you likely already have on hand. From butter and sugar to flour and eggs, the ingredients are straightforward, ensuring that you can whip up a batch of these delightful cookies whenever the mood strikes, without a last-minute trip to the grocery store.
- Irresistible Brown Butter Flavor: The secret weapon in these cookies is the browned butter. This simple technique transforms regular butter into a golden, nutty, and incredibly fragrant base that adds unparalleled depth of flavor. Browning the butter introduces complex caramel notes and a toasted aroma that elevates these chocolate chip cookies far beyond the ordinary, making them truly gourmet. Each cookie is also generously loaded with your favorite chocolate chips, creating pockets of melted delight in every bite.
- Perfect Small Batch Yield: This recipe is thoughtfully designed to make just 6-8 cookies. This means you get to enjoy warm, fresh-out-of-the-oven cookies without the pressure of having too many leftovers. It’s the ideal quantity for a solo treat, a cozy evening for two, a small family dessert, or to prevent overindulgence. Say goodbye to stale cookies and hello to perfectly portioned, freshly baked goodness every time.
Essential Ingredients for Your Small Batch Cookies
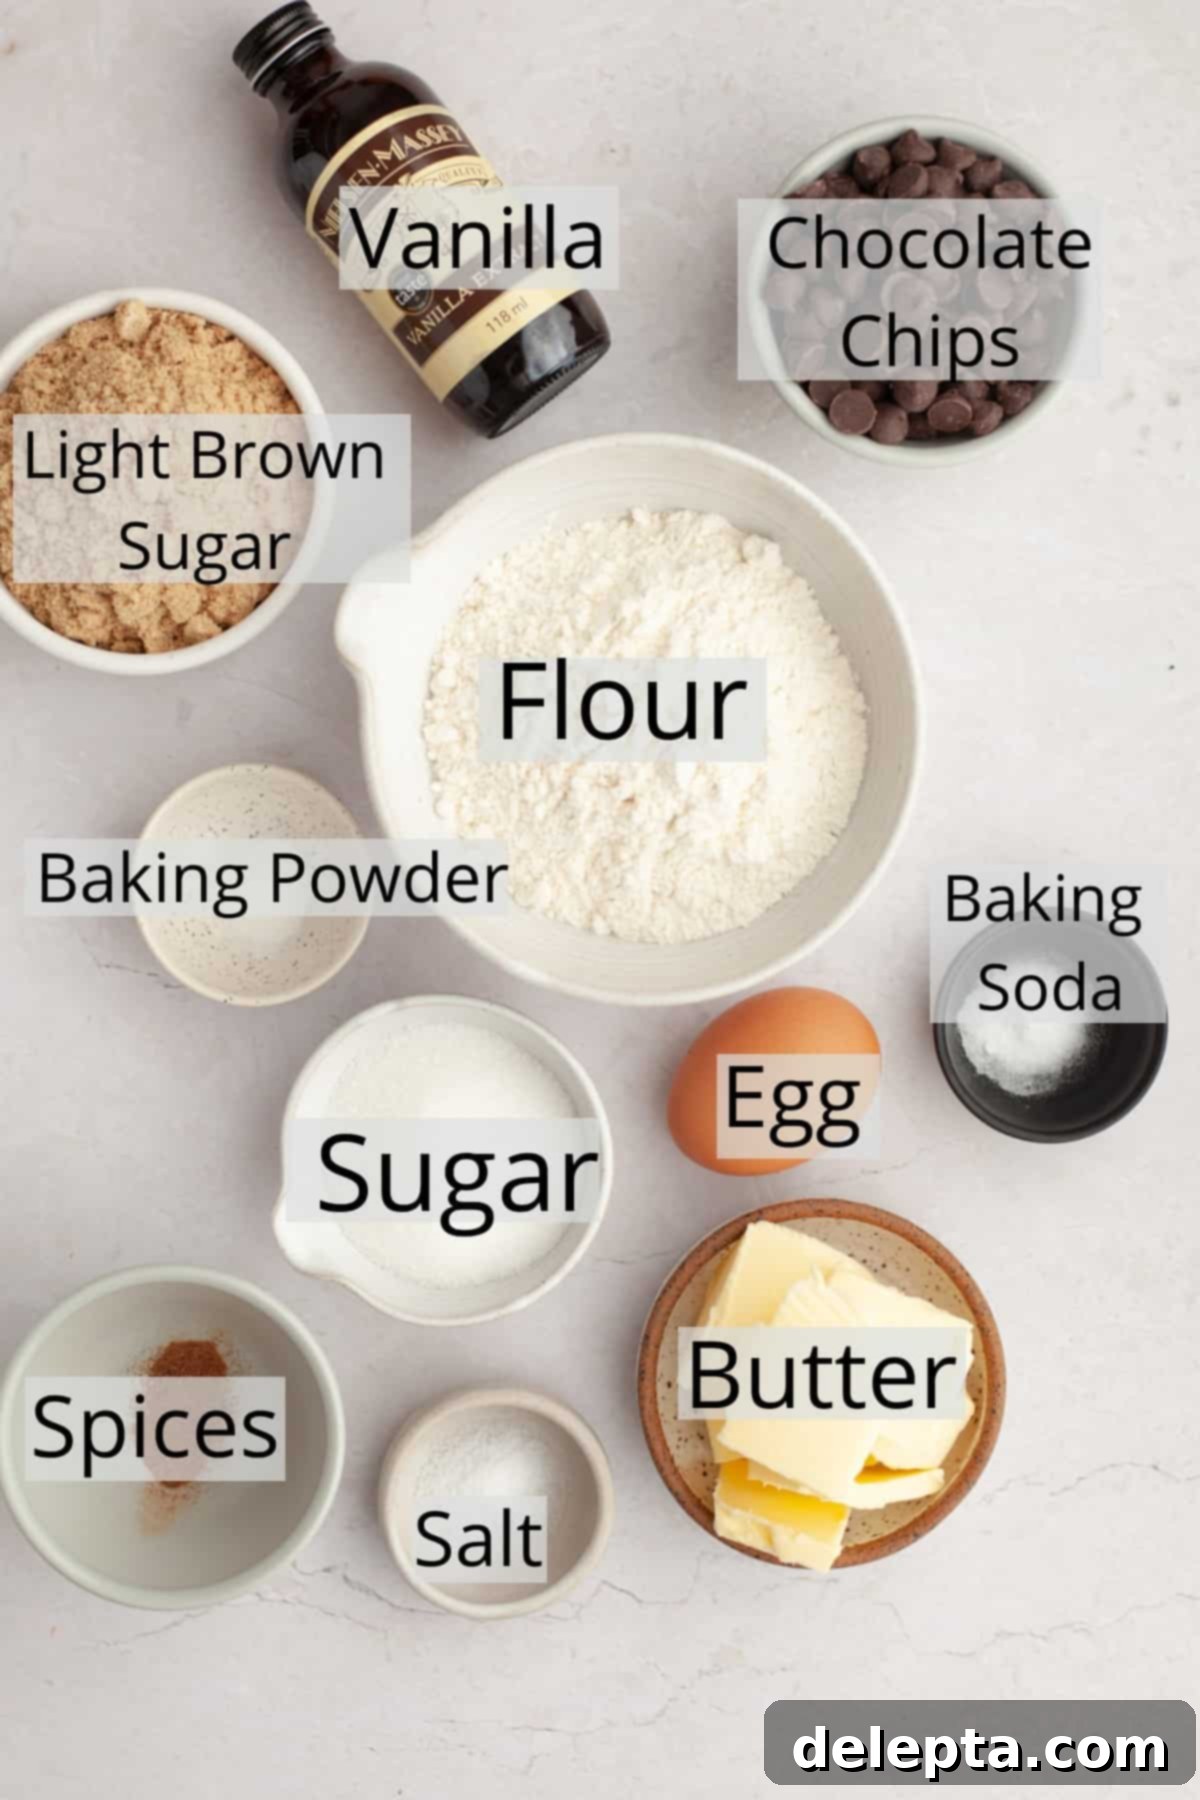
Creating truly exceptional chocolate chip cookies starts with quality ingredients. While this recipe uses common pantry items, understanding the role each plays can help ensure your baking success and allow for informed substitutions if needed.
- Unsalted Butter: Using unsalted butter is crucial because it gives you complete control over the total salt content in your cookies. This allows for precise seasoning. For an even richer, creamier texture and superior flavor, I highly recommend using European-style butter, such as Kerrygold. Its higher fat content contributes to a more tender and flavorful cookie. The butter will also be browned, which is a game-changer for flavor.
- Spices (Cinnamon & Nutmeg): A small pinch of cinnamon and nutmeg adds a subtle warmth and complexity to these cookies, beautifully complementing the chocolate and brown butter notes. These spices aren’t overpowering but instead enhance the overall flavor profile, giving the cookies a cozy, inviting aroma. If you prefer a purely classic flavor, feel free to omit them, but I encourage you to try them for an elevated experience.
- Sugar (White & Light Brown Sugar): The combination of both granulated (white) sugar and light brown sugar is key to achieving the perfect cookie texture and flavor. Granulated sugar contributes to crisp edges and a pleasant sweetness, while light brown sugar adds moisture, chewiness, and a lovely molasses flavor that pairs wonderfully with the browned butter. Using both ensures a balanced and delightful result.
- All-Purpose Flour: For these cookies, all-purpose flour provides the ideal structure and tenderness. I have only tested this recipe using standard all-purpose flour, so for best results, stick with it. Accurate measurement of flour is critical; too much can lead to dry, dense cookies, while too little can result in excessive spreading. For precision, a kitchen scale is always recommended over volumetric cup measurements.
- Chocolate Chips: The star of the show! I personally love using a high-quality semisweet or dark chocolate chip for a rich, intense chocolate flavor that balances the sweetness of the dough. However, feel free to customize this based on your preference. Milk chocolate chips will yield a sweeter, creamier cookie, while you can also experiment with white chocolate chips, butterscotch chips, or even peanut butter chips for a different twist. Don’t be shy about adding a few extra on top before baking for that desirable “bakery-style” appearance!
For precise quantities and a detailed breakdown of all ingredients, please refer to the comprehensive recipe card below.
Easy Step-by-Step Instructions for Perfect Small Batch Cookies
Even though these cookies are incredibly delicious, the process is surprisingly simple. Follow these steps for an enjoyable baking experience and a batch of irresistible cookies.
Step 1: Master the Brown Butter. Begin by browning your unsalted butter. Place the butter in a small, light-colored saucepan over medium-low heat. The light-colored pan allows you to easily monitor the color changes. As the butter melts, stir it gently with a rubber spatula. It will soon start to foam, and you’ll notice small milk solids beginning to form at the bottom of the pan. Continue to cook, stirring occasionally, until these milk solids transform into a beautiful light golden-brown color, and a distinct, fragrant, nutty aroma fills your kitchen. This typically takes 2-3 minutes after the butter melts. Immediately remove the saucepan from the heat and pour the browned butter into a heatproof bowl to cool completely. Allowing it to cool is crucial, as hot butter would scramble your egg. While it cools, prepare a baking sheet by lining it with parchment paper for easy release and cleanup.
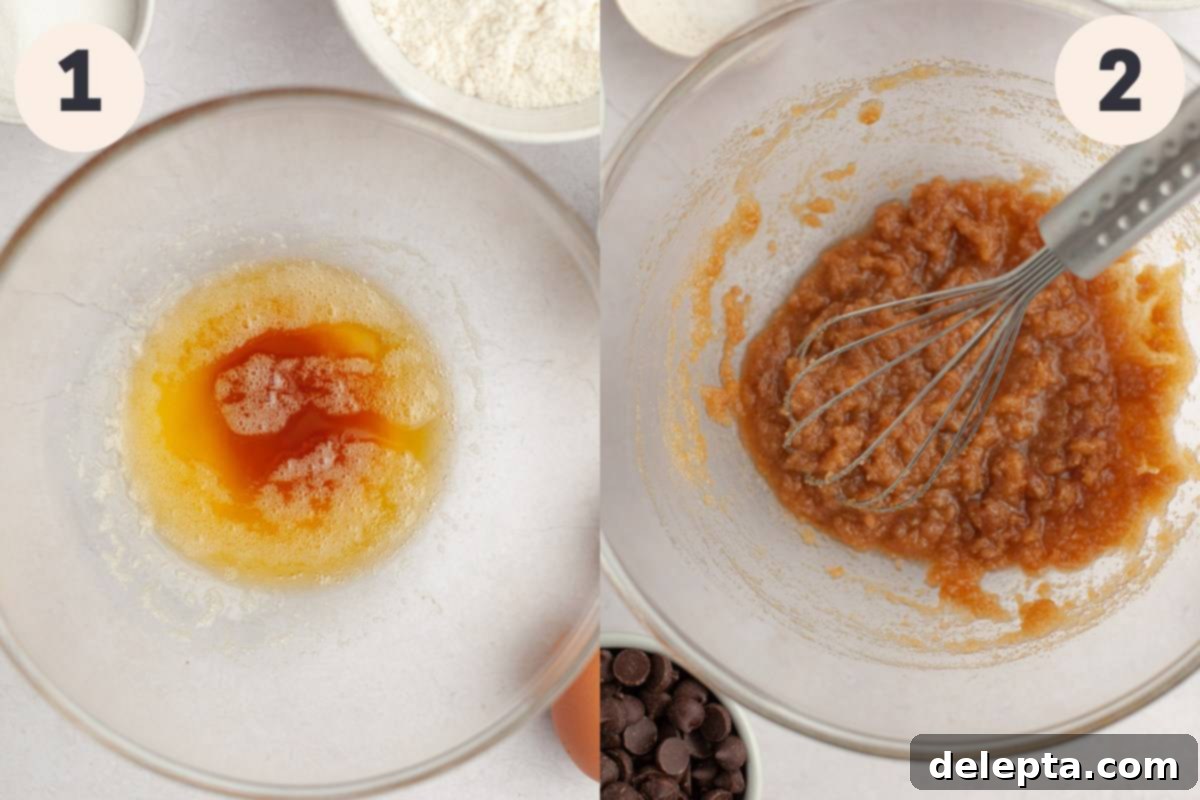
Step 2: Combine Wet Ingredients for a Smooth Base. Once your browned butter has cooled to room temperature (it should no longer be hot to the touch), add the granulated white sugar and light brown sugar to the same bowl. Whisk vigorously until the mixture is smooth and well combined. Next, crack in the large egg (ensure it’s at room temperature for better emulsion) and pour in the vanilla extract and kosher salt. Continue to whisk until the mixture is beautifully smooth, glossy, and slightly lighter in color. This vigorous whisking incorporates air, contributing to the cookies’ texture.
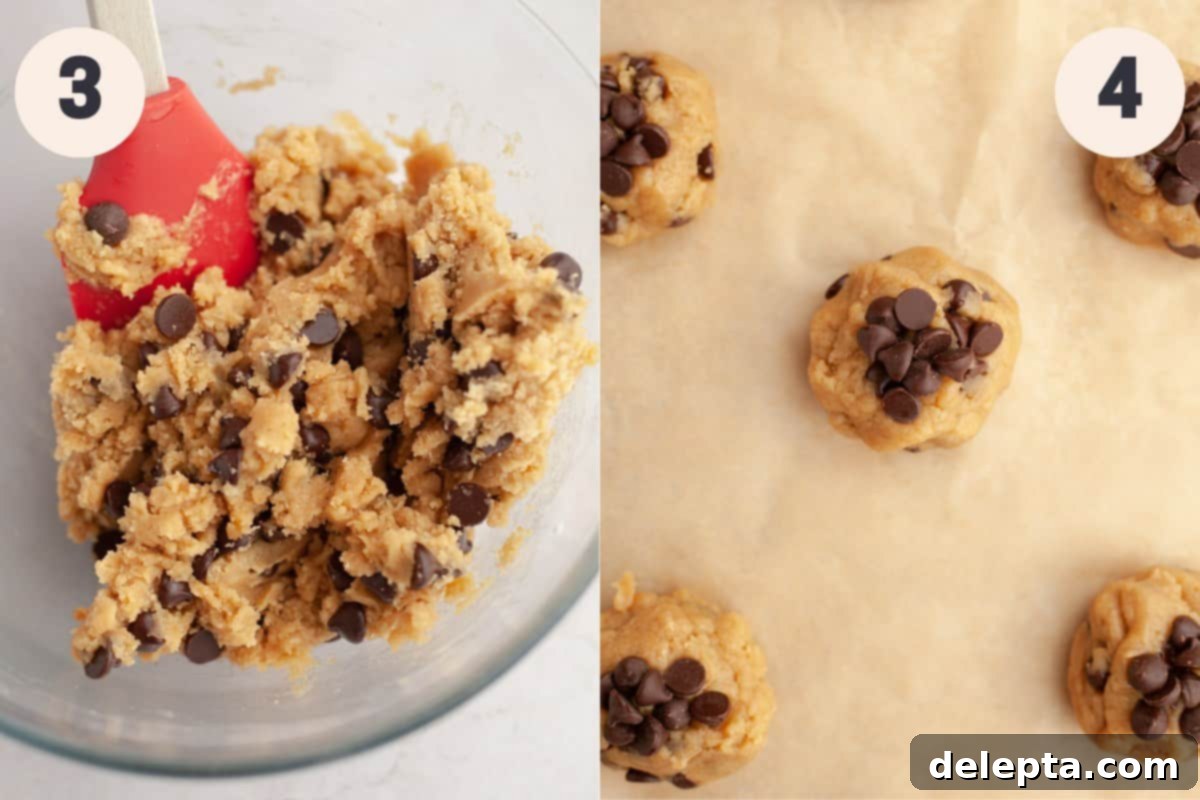
Step 3: Gently Incorporate Dry Ingredients and Chocolate. To the wet mixture, add all of your dry ingredients: the all-purpose flour, baking powder, baking soda, and your optional pinch of cinnamon and nutmeg. Using a rubber spatula, gently fold the dry ingredients into the wet until just combined. Be careful not to overmix, as this can develop the gluten in the flour too much, leading to tough cookies. Stop mixing as soon as no dry streaks of flour remain. Finally, stir in the majority of your chocolate chips, reserving a small handful for topping the cookies later. This ensures an even distribution of chocolate throughout the dough.
Step 4: Scoop, Chill, and Bake to Perfection. Using a 2-3 tablespoon cookie scoop or a regular tablespoon, portion out the cookie dough onto your parchment-lined baking sheet, leaving ample space between each ball. Gently press the reserved chocolate chips onto the tops of each dough ball for that appealing “bakery-style” finish. Now, for a crucial step: chill the cookie dough in the fridge for 15-20 minutes. This chilling period helps the flavors meld, prevents excessive spreading, and results in a thicker, chewier cookie. While the dough chills, preheat your oven to 350°F (175°C). Once chilled, bake the cookies in the preheated oven for 10-12 minutes. Look for cookies with set, lightly golden edges but still slightly underbaked, gooey centers. This “underbaked” characteristic is the secret to a wonderfully soft and chewy cookie after cooling. Let the cookies cool on the baking sheet for a crucial 10 minutes to allow them to set and finish cooking before carefully transferring them to a wire cooling rack to cool completely. Enjoy warm or at room temperature!
Expert Tips & Tricks for Cookie Success
Achieving the perfect chocolate chip cookie is an art, but with a few professional tips and tricks, you can elevate your small batch creation to bakery-level perfection every time:
- Embrace Your Kitchen Scale: Precision is paramount in baking, especially with flour. It’s incredibly easy to inadvertently add too much flour when measuring by volume (cups), which often leads to dry, crumbly, and dense cookies. Investing in a simple digital kitchen scale and weighing your ingredients, especially flour, will dramatically improve your baking consistency and ensure your cookies are perfectly tender and moist.
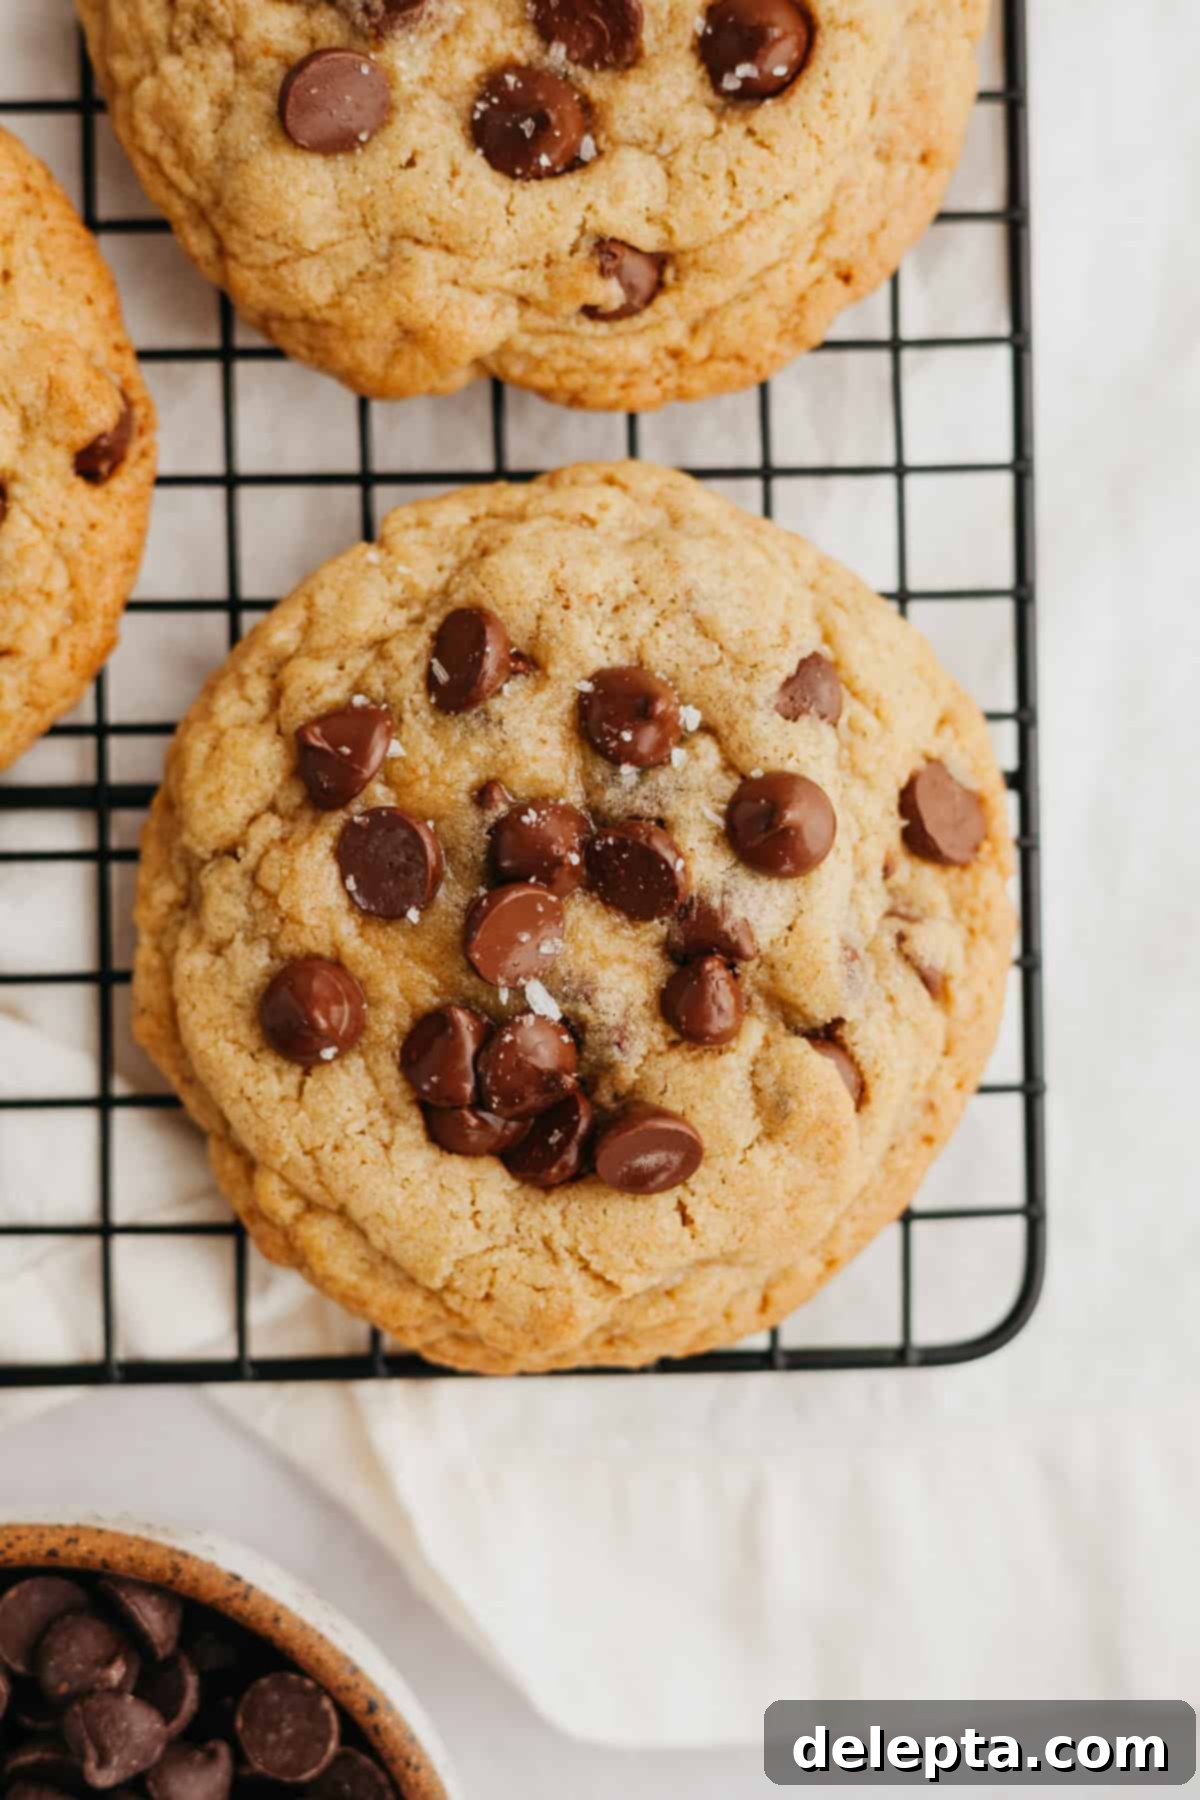
- Achieve Bakery-Style Perfection: For that irresistible, picture-perfect “bakery-style” look, save a small handful of chocolate chips from the main batch. Once you’ve scooped out your cookie dough balls onto the parchment-lined baking sheet, gently press these extra chocolate chips onto the tops and sides of each dough ball. As the cookies bake, these exposed chips will melt beautifully, creating those desirable pools of chocolate on the surface.
- Craft Perfectly Round Cookies: If your baked cookies come out of the oven looking a little irregular, don’t despair! Immediately after removing them from the oven, while they are still hot and pliable, grab a round biscuit cutter or a large glass that’s slightly larger than your cookie. Place it around each cookie and gently swirl it in a circular motion. This clever trick nudges the edges of the warm cookies inwards, shaping them into perfectly round, aesthetically pleasing circles.
- Experiment with Baking Chips: While classic semisweet chocolate chips are always a winner, don’t be afraid to customize your small batch! Swap out the semisweet for white chocolate chips for a sweeter, creamier profile, or try butterscotch chips for a nostalgic, caramel-like flavor. Peanut butter chips can add a rich, nutty dimension. You can even mix and match different types of chips to create your own unique flavor combinations.
- The Secret to Soft and Chewy Cookies: The key to achieving that coveted soft, chewy texture with crisp edges is to slightly underbake your cookies. Remove them from the oven when the edges are set and lightly golden, but the centers still look a bit soft, puffy, and perhaps a touch underdone. The residual heat from the baking sheet will continue to cook them gently as they cool, resulting in that ideal chewy interior without becoming dry or brittle.
- Room Temperature Ingredients Matter: For optimal emulsion and a smoother dough, ensure your egg is at room temperature. A warmer egg incorporates more easily and evenly into the butter and sugar mixture, preventing a curdled-looking dough and contributing to a better texture in the final cookie.
- Don’t Overcrowd Your Baking Sheet: While tempting to bake as many as possible at once, give your cookie dough balls ample space on the baking sheet. This allows for even heat circulation around each cookie, promoting uniform baking and preventing them from merging into one giant cookie blob.
Recipe FAQs: Your Small Batch Cookie Questions Answered
Several factors can lead to dry chocolate chip cookies. The most common culprits include adding too much flour, overmixing the cookie dough, or over-baking them in the oven. To prevent this, always measure your flour accurately (ideally with a kitchen scale), mix the dough only until just combined (stop as soon as no streaks of flour remain), and remove cookies from the oven when their edges are set but their centers still look slightly soft.
While technically you can bake the cookies without chilling, I highly recommend adhering to the suggested chill time of 15-20 minutes, or even up to overnight. Chilling the dough serves multiple important purposes: it allows the flour to fully hydrate, enhancing flavor and texture; it solidifies the butter, which prevents the cookies from spreading too much in the oven, resulting in a thicker cookie; and it deepens the flavor profile, making for a more complex and delicious cookie. If you skip the chill time, expect your cookies to spread more and potentially be thinner.
While this recipe is formulated for a small batch, you can certainly double the ingredients if you need more cookies. However, when scaling up, ensure you have a large enough bowl to mix everything adequately. The baking time might also need a slight adjustment, so keep a close eye on your cookies during the last few minutes in the oven.
For uniform cookies that bake evenly, a cookie scoop (also known as an ice cream scoop) is your best friend. Using a scoop of consistent size, such as a 2-3 tablespoon capacity, ensures that each cookie dough ball is roughly the same, leading to a perfectly baked batch where every cookie is just right.
Storage Tips for Fresh-Tasting Cookies & Dough
Knowing how to properly store your cookies and cookie dough ensures you can enjoy them at their best for longer, whether you’re planning ahead or savoring leftovers.
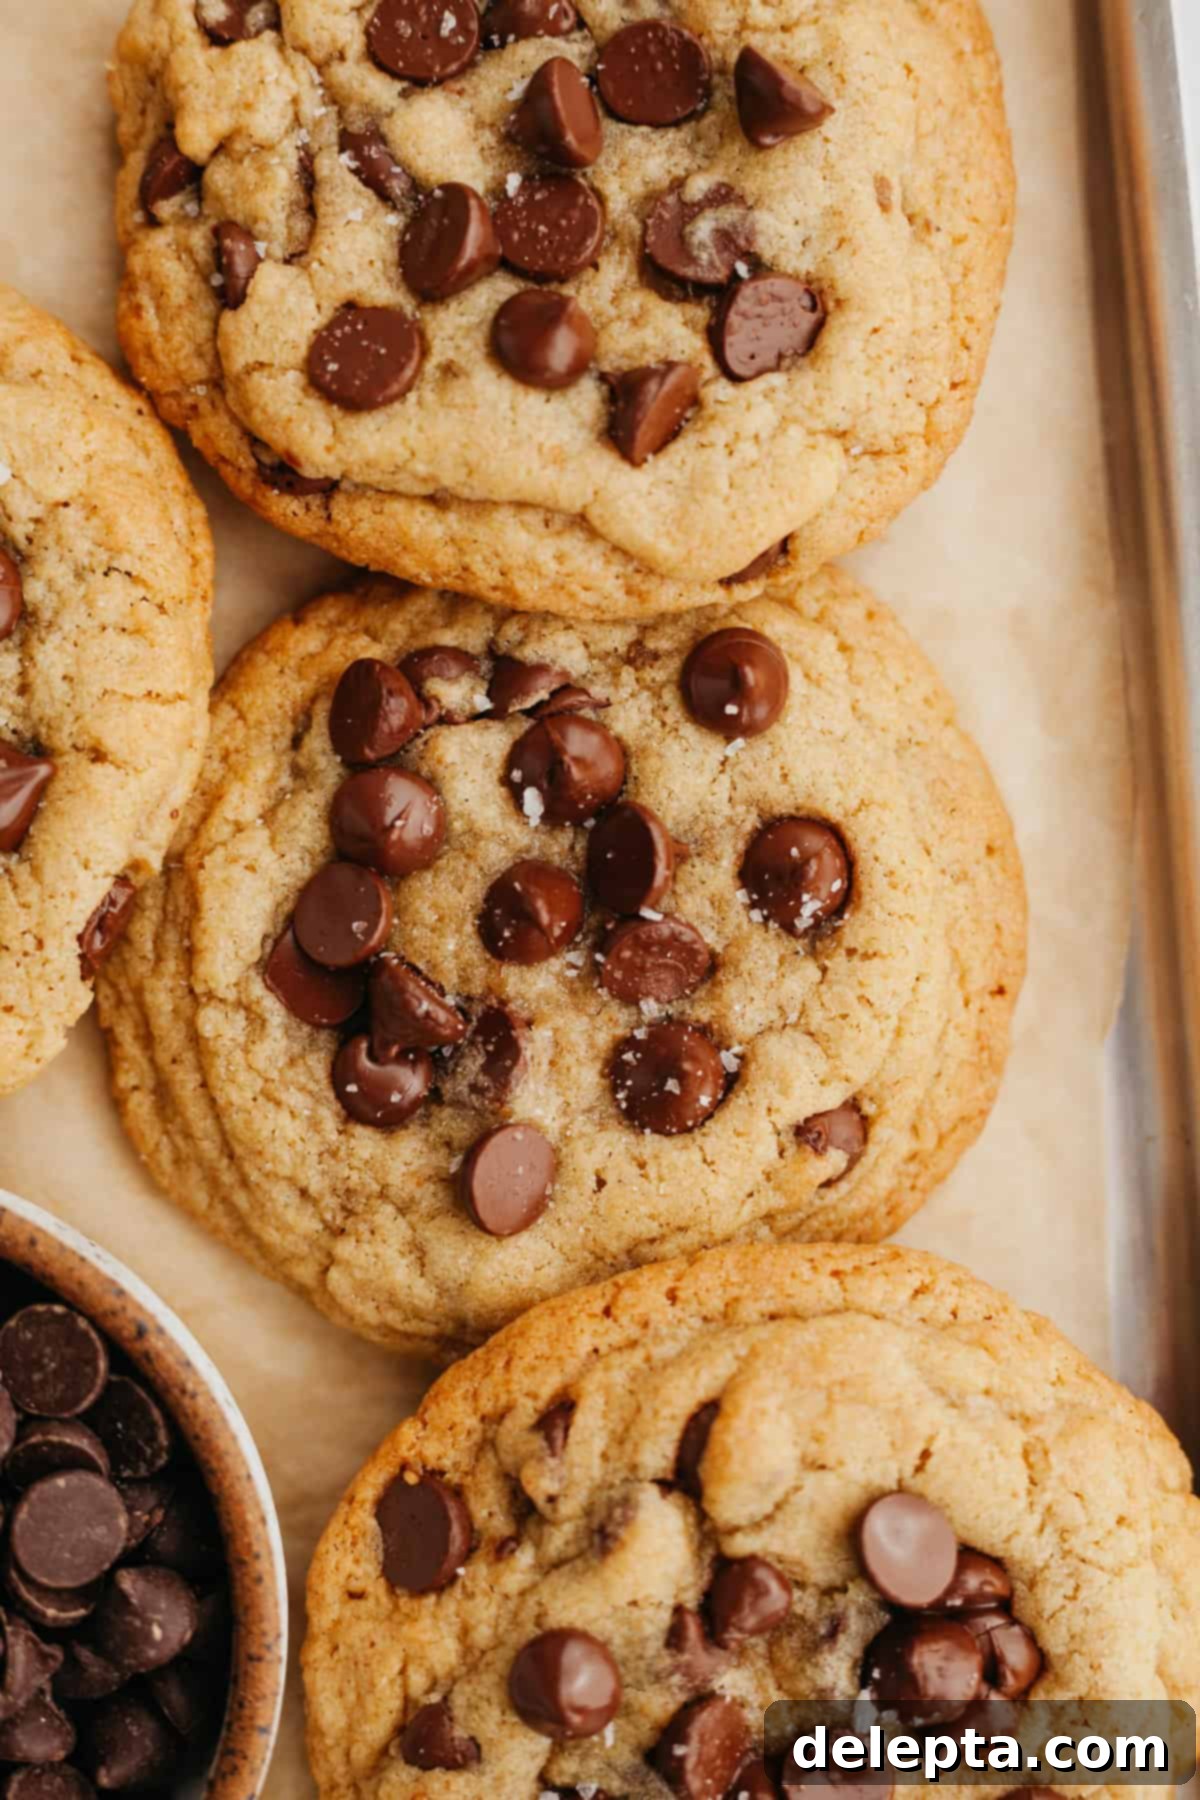
Storing Baked Cookies: Once the cookies have cooled completely to room temperature, transfer them to an airtight container. They will maintain their freshness, soft texture, and delicious flavor for up to 5 days when stored at room temperature. For optimal enjoyment, consume them within the first 2-3 days.
Freezing Unbaked Cookie Dough: For future cookie cravings, you can easily freeze the unbaked cookie dough balls. After scooping the dough onto a parchment-lined tray, freeze them solid for about an hour. Once firm, transfer the frozen dough balls to a freezer-safe ziploc bag or an airtight container. They will keep well in the freezer for up to 2 months. When you’re ready to bake, you can bake them directly from frozen, but you may need to add an extra minute or two to the baking time to achieve that perfect golden edge and gooey center.
Freezing Baked Cookies: If you have leftover baked cookies or want to prepare a batch for later, you can freeze them too. Once completely cooled, place the cookies in a single layer on a baking sheet and freeze until solid. Then, transfer them to a freezer-safe ziploc bag or airtight container, separating layers with parchment paper if stacking. They can be stored in the freezer for up to 2 months. To enjoy, simply let them thaw at room temperature for an hour or two. For a “freshly baked” experience, you can gently warm them in a microwave for 10-15 seconds or in a preheated oven at 275°F (135°C) for 5-7 minutes.
Explore More Delicious Cookie Recipes!
If you loved these small batch chocolate chip cookies, you’re in for a treat with more delightful recipes from my collection. Expand your baking repertoire and discover new favorite cookies:
- Buttercream Cookies
- Chocolate Chip Cookies without Brown Sugar
- Chocolate Chipless Cookies
- Lemon White Chocolate Cookies
If you’ve made this incredibly satisfying small batch chocolate chip cookie recipe, make sure to leave a ⭐️ rating and a thoughtful review below! I absolutely adore seeing your culinary creations and hearing about your experience. So, don’t forget to tag me on Instagram @alpineella so I can share your delicious bakes! You can also follow along and get more recipe inspiration on Pinterest, Facebook, and TikTok!
Recipe

Small Batch Chocolate Chip Cookies
Ella Gilbert
Pin Recipe
Save RecipeSaved!
Ingredients
- ¾ stick unsalted butter
- 1 ¼ cups all-purpose flour
- ¼ teaspoon baking powder
- ¼ teaspoon baking soda
- ½ cup light brown sugar
- ¼ cup granulated sugar
- 1 large egg room temperature
- 1 teaspoon vanilla extract
- ¾ teaspoon kosher salt
- pinch cinnamon
- pinch nutmeg
- ½ cup semisweet chocolate chips
Instructions
-
In a small, light-colored saucepan over medium-low heat, melt the unsalted butter. Once melted, slightly increase the heat to medium and allow the butter to begin foaming. Continue cooking and stirring with a rubber spatula until the butter solids at the bottom turn a light golden brown and you detect a distinctly nutty, toasted aroma (this usually takes 2-3 minutes). Immediately pour the browned butter into a medium heatproof bowl and let it cool completely to room temperature.¾ stick unsalted butter
-
Once the browned butter is cool, add both the light brown sugar and granulated sugar to the bowl. Stir them together until well combined. Then, incorporate the vanilla extract and kosher salt into the butter and sugar mixture. Whisk vigorously until the mixture is smooth and glossy.½ cup light brown sugar, ¼ cup granulated sugar, ¾ teaspoon kosher salt, 1 teaspoon vanilla extract
-
Add in the room temperature large egg to the mixture. Whisk until thoroughly combined, resulting in a smooth and slightly glossy consistency.1 large egg
-
Pour in all the dry ingredients – the all-purpose flour, baking powder, baking soda, and the pinches of cinnamon and nutmeg. Use a rubber spatula to gently fold and combine until there are no more visible streaks of flour. Be careful not to overmix the dough.1 ¼ cups all-purpose flour, ¼ teaspoon baking powder, ¼ teaspoon baking soda, pinch cinnamon, pinch nutmeg
-
Gently fold in the majority of your semisweet chocolate chips. Remember to keep a small handful of chocolate chips to the side; these will be used for topping the cookie dough before baking.½ cup semisweet chocolate chips
-
Using a 3 tablespoon ice cream scooper or a regular tablespoon, scoop out uniform balls of cookie dough and place them on your parchment-lined baking tray. Once all dough is scooped, gently press the reserved chocolate chips on top of each cookie dough ball – this will create those attractive puddles of melted chocolate on your baked cookies! Chill the cookie dough in the refrigerator for at least 30 minutes, or even up to overnight, for best results.
-
About 10-15 minutes before baking, preheat your oven to 350ºF (175ºC). Ensure your baking tray is already lined with parchment paper.
-
Bake the cookies in the preheated oven for 10-12 minutes. The cookies should have set and slightly golden edges, but their middles should still appear soft and somewhat underbaked. This is the key to achieving a super chewy cookie! Allow the cookies to cool on the baking sheet for 10 minutes; this allows them to set fully and continue cooking gently. After 10 minutes, carefully transfer them to a wire cooling rack to cool completely.
Notes
Butter: For a superior flavor and texture, I exclusively use European-style butter, such as Kerrygold, in all my recipes. This type of butter has a higher fat content, which contributes significantly to a much creamier, richer, and more tender finished baked good.
Salt: If you don’t have kosher salt on hand, you can substitute it with fine salt, but you must halve the amount called for in the recipe (e.g., 1 teaspoon kosher salt is equivalent to ½ teaspoon fine salt). Please note that I specifically use Diamond Crystal Kosher Salt. Avoid using Morton Salt, which is a coarse kosher salt, as it is much too salty for this recipe and will drastically alter the flavor profile.
Storage: To maintain their delightful texture and flavor, store the cooled, baked cookies in an airtight container at room temperature for up to 1 week. For longer storage of unbaked dough, scoop out balls and freeze them in a ziploc bag for up to 2 months. When ready to bake, place them directly on a baking sheet and bake at the same temperature, adding just an extra minute or two to the cook time. Baked cookies can also be frozen in a ziploc bag for up to 2 months; simply thaw at room temperature.
Nutrition
