Mastering Salted Caramel Macarons: Your Guide to Perfect French Treats
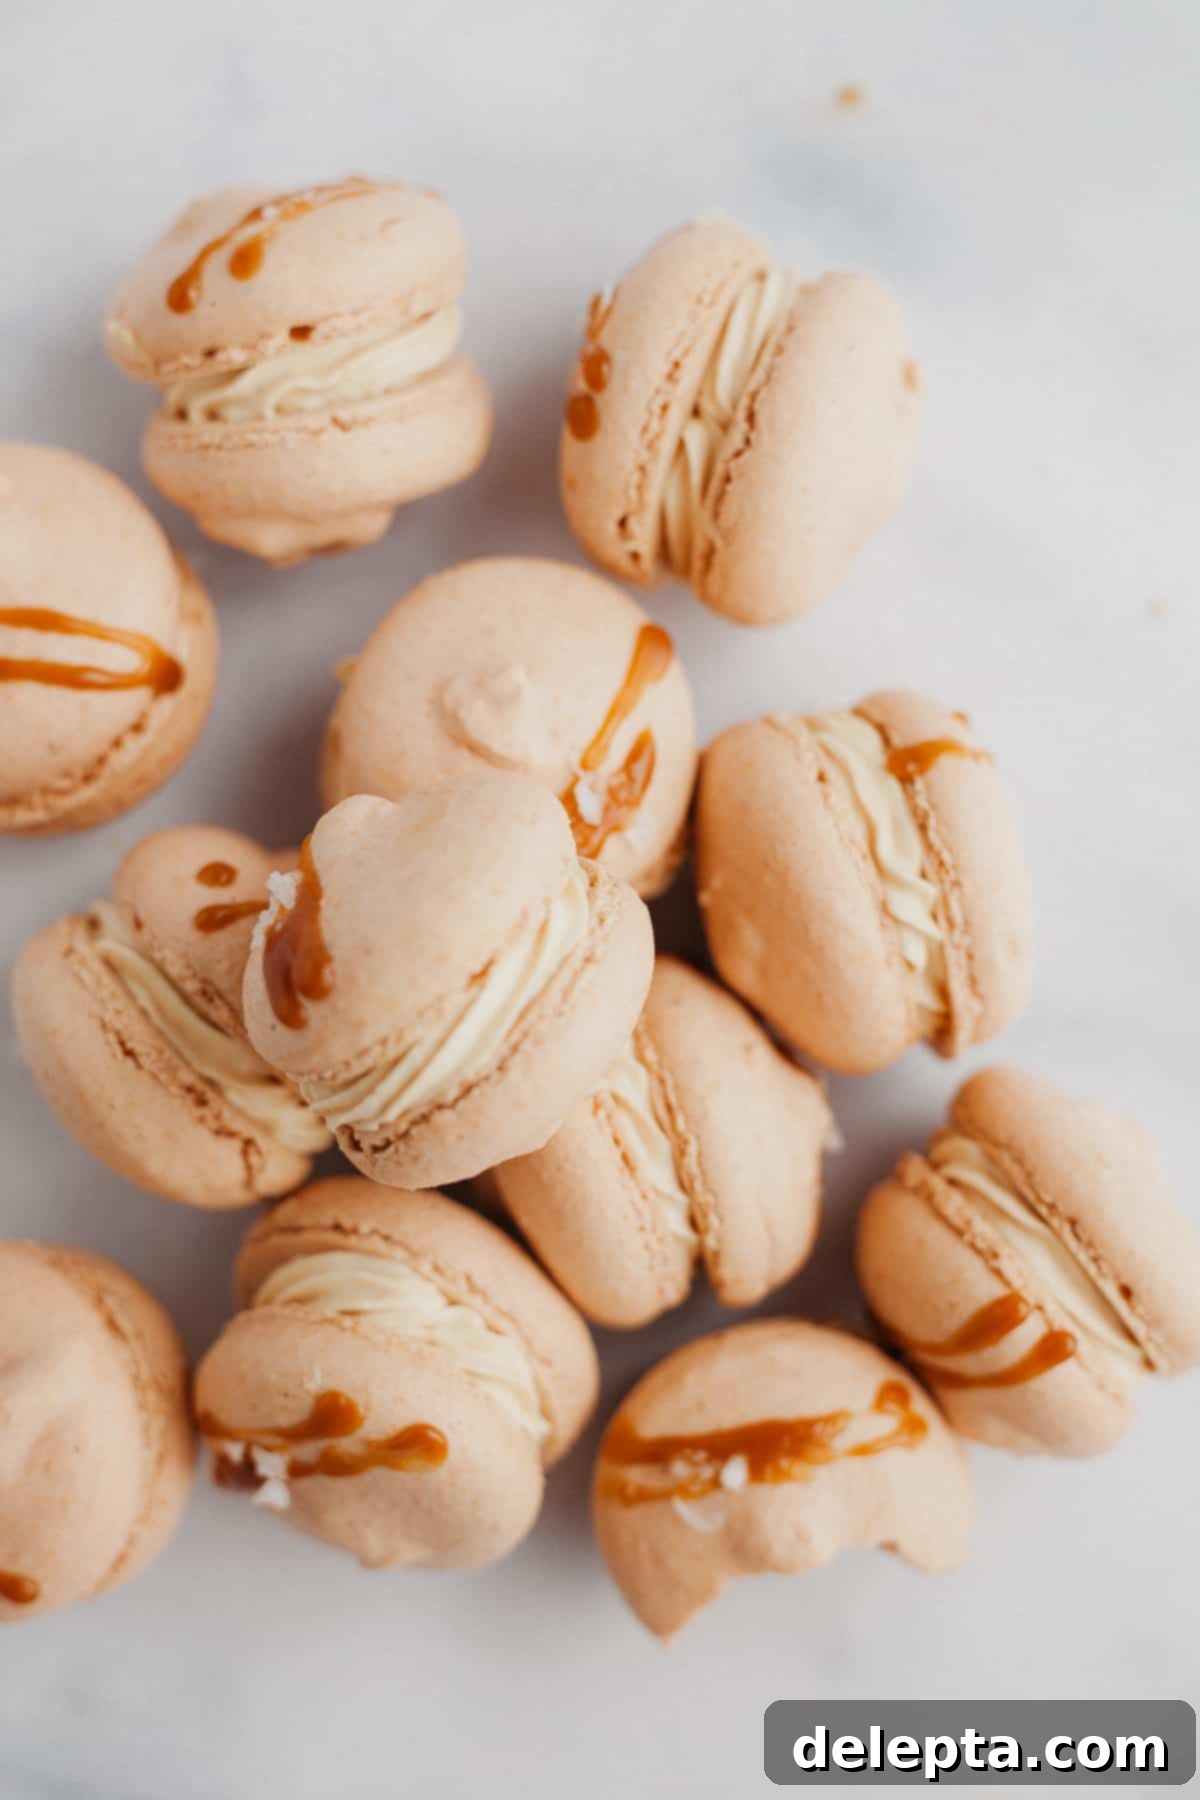
Embark on a delightful baking journey and learn how to create exquisite French macarons, perfectly paired with a rich salted caramel buttercream and a luscious homemade salted caramel filling. These delicate, chewy, and irresistibly flavorful salted caramel macarons are an absolute joy to serve and a true testament to elegant home baking. While macarons have a reputation for being challenging, I promise that with the right guidance and a bit of patience, making them isn’t as daunting as it seems. This comprehensive recipe guides you through every step, ensuring a successful and delicious outcome. Plus, the entire preparation, including crafting the homemade salted caramel, takes approximately 30-45 minutes of active work, followed by baking and chilling.

Why This Salted Caramel Macaron Recipe Shines
This particular recipe for salted caramel macarons stands out for several key reasons, making it an excellent choice for both aspiring and experienced macaron bakers.
- The Swiss Meringue Method for Stability: Unlike some other methods, these macarons are crafted using the Swiss meringue technique. This method involves gently heating egg whites and sugar over a bain-marie (boiling water bath) while whisking, which helps to dissolve the sugar completely and stabilize the meringue before it’s even whipped. This extra step, though seemingly minor, makes a huge difference in creating a more robust and forgiving meringue, leading to consistently stable macaron shells with beautiful “feet” and a wonderfully crisp yet chewy texture. It’s often recommended for beginners due to its reliability.
- Homemade Salted Caramel Sauce: Elevate your macarons with our simple-to-make homemade salted caramel. Requiring just about 10 minutes, this golden, buttery, and perfectly balanced caramel sauce is a game-changer. Not only will you use it to infuse incredible flavor into your buttercream, but you can also drizzle extra directly onto each macaron shell or even use it as a delightful dip for other desserts. The depth of flavor from homemade caramel truly sets these macarons apart from store-bought alternatives, offering a rich, nuanced sweetness perfectly complemented by a hint of sea salt.
- Luxuriously Creamy Salted Caramel Buttercream: The filling for these macarons is a delightfully simple yet incredibly rich American buttercream. By incorporating a generous amount of the homemade salted caramel sauce, it transforms into a creamy, dreamy confection that perfectly complements the delicate macaron shells. Whipping it up takes only about 5 minutes, resulting in a light, fluffy, and intensely flavorful buttercream that provides the ideal textural contrast to the crisp shells. The combination of sweet, salty, and creamy textures in every bite is truly irresistible.
Essential Ingredients for Perfect Salted Caramel Macarons
Creating perfect macarons demands precision, and that starts with the quality and preparation of your ingredients. While the full, detailed list and precise measurements are provided in the printable recipe card at the bottom of this post, here’s a visual overview of what you’ll need to gather:
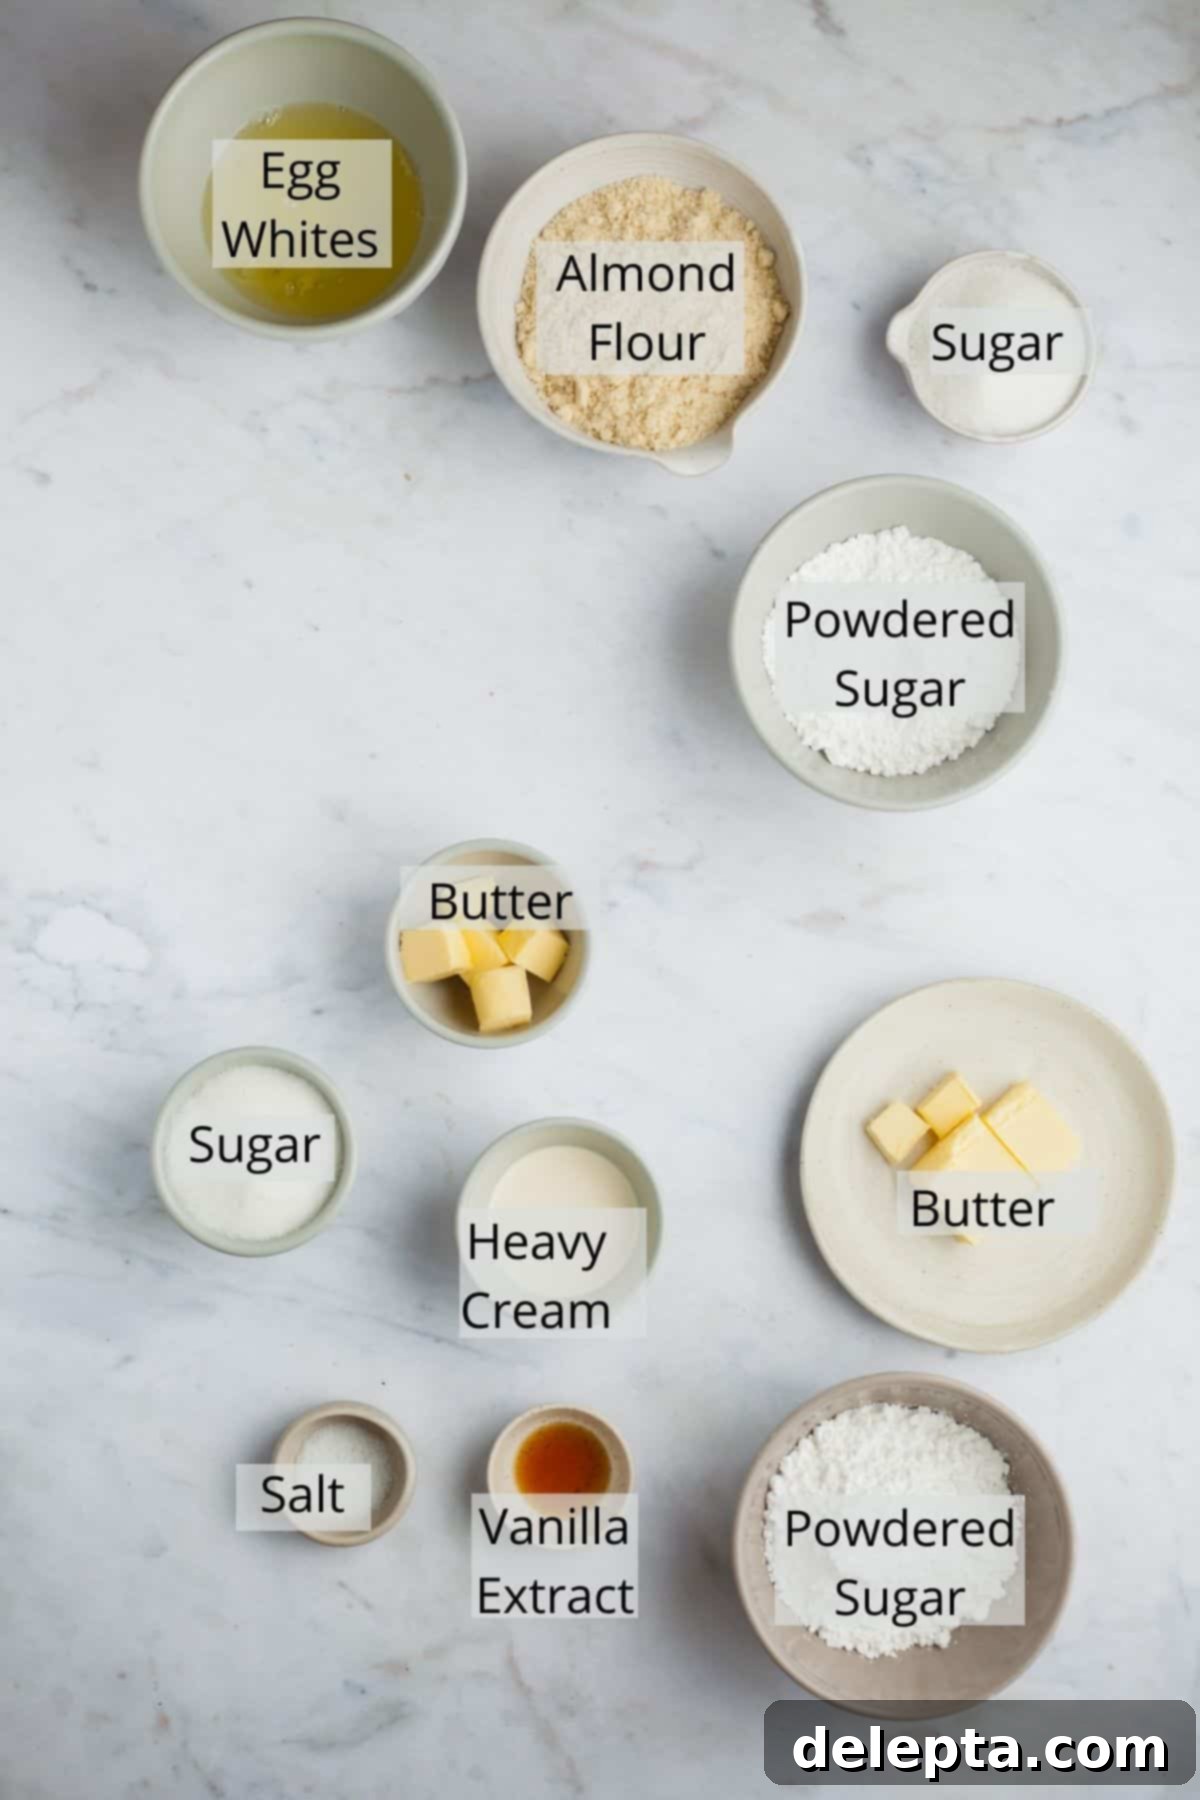
The printable recipe card with the full list of ingredients and detailed instructions can be found at the bottom of this post.
Ingredient Notes & Tips for Success
Understanding the nuances of each ingredient is key to mastering macarons. Here are some detailed notes to ensure your baking process is as smooth and successful as possible:
- Almond Flour: Not all ground almonds are created equal! For the best macaron shells, you’ll want to use blanched, superfine almond flour. Some brands can have a coarser grind, which will affect the texture of your shells. This is precisely why I recommend sifting your almond flour twice, ideally with your powdered sugar, to remove any larger clumps and ensure a smooth, delicate consistency. If you only have coarser almond flour, you can carefully pulse it in a food processor with the powdered sugar for a few seconds to achieve a finer texture, but be extremely careful not to over-process, as this can release the oils from the almonds and result in oily, dense macaron batter.
- Butter: For both the salted caramel sauce and the buttercream, the quality of your butter matters. I highly recommend using European-style butter, such as Kerry Gold, if available. European butter typically boasts a higher percentage of butterfat compared to its American counterparts. This higher fat content contributes to a noticeably creamier, richer flavor and a smoother texture in your buttercream and a more luxurious caramel, elevating the overall taste of your macarons. Ensure your butter is at room temperature for the buttercream to cream properly.
- Egg Whites: The condition of your egg whites is paramount for a stable meringue. Always use room temperature egg whites. Cold egg whites are harder to whip to their full volume and desired consistency. More critically, you must ensure there is absolutely no trace of egg yolk in your whites. Even the smallest speck of yolk (fat) can prevent your egg whites from whipping up into a stable, voluminous meringue, which is essential for macaron structure. If you’re feeling adventurous, you can also “age” your egg whites by separating them 24 hours in advance and storing them in the fridge, then bringing them back to room temperature before use (see recipe notes for more on this technique).
- Granulated Sugar: This isn’t just for sweetness; it plays a critical role in stabilizing the meringue by helping to create a strong network within the egg whites. Using fine granulated sugar will ensure it dissolves thoroughly in the Swiss meringue method, preventing grainy shells.
- Powdered Sugar (Confectioners’ Sugar): Combined with almond flour, powdered sugar contributes to the delicate texture and sweetness of the macaron shells. Sifting it multiple times is crucial to eliminate lumps and ensure a silky-smooth batter.
- Heavy Cream: Essential for both the salted caramel sauce and the buttercream, heavy cream adds richness and a smooth consistency. For the caramel, it helps create that luscious, pourable texture, and for the buttercream, it contributes to its light and fluffy nature.
- Kosher Salt: In a salted caramel macaron, salt is not just an accent; it’s a star. It beautifully balances the sweetness of the caramel and the macaron shells, enhancing all the flavors. Using kosher salt offers a clean, pure salty taste.
- Vanilla Extract: A good quality vanilla extract (pure, not artificial) will add a layer of warmth and complexity to both the macaron shells and the fillings, complementing the rich caramel flavor.
- Food Coloring (Gel): If you choose to color your macarons, always opt for gel food coloring. Liquid food colorings add too much moisture to the batter, which can negatively impact the macaronage process and the final texture of your shells. Gel colors are concentrated and provide vibrant hues without altering the batter’s consistency.
Step-by-Step Guide: How to Make This Recipe
Making macarons is a process that rewards careful attention to detail. Follow these steps closely for the best results, broken down into three main components: the macaron shells, the salted caramel sauce, and the salted caramel buttercream.
Macaron Shells
-

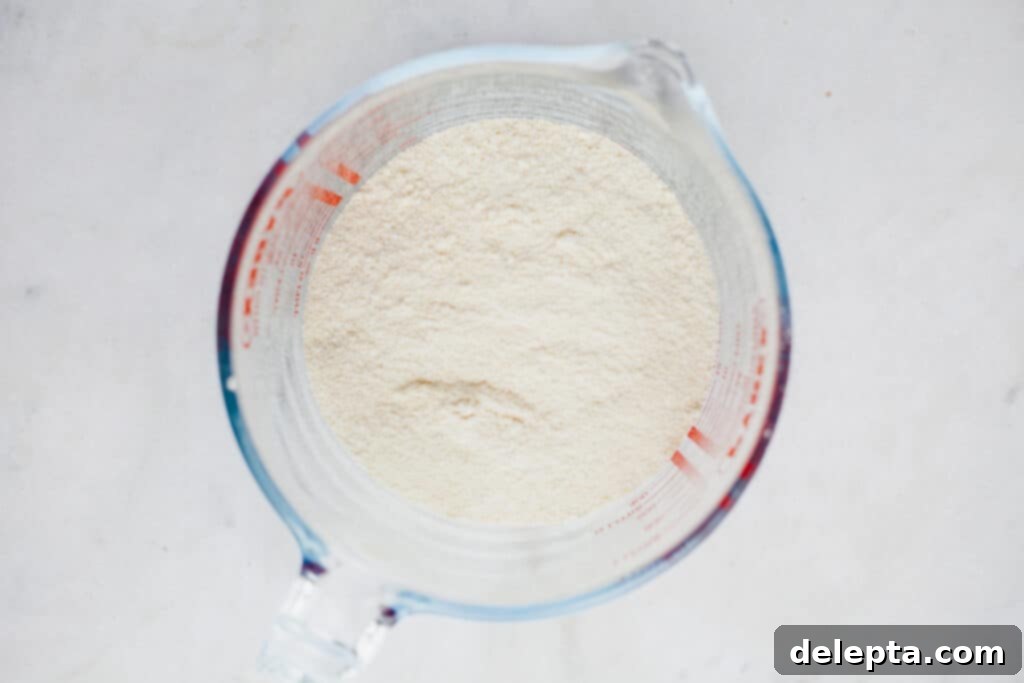
Step One: Sifting dry ingredients. -

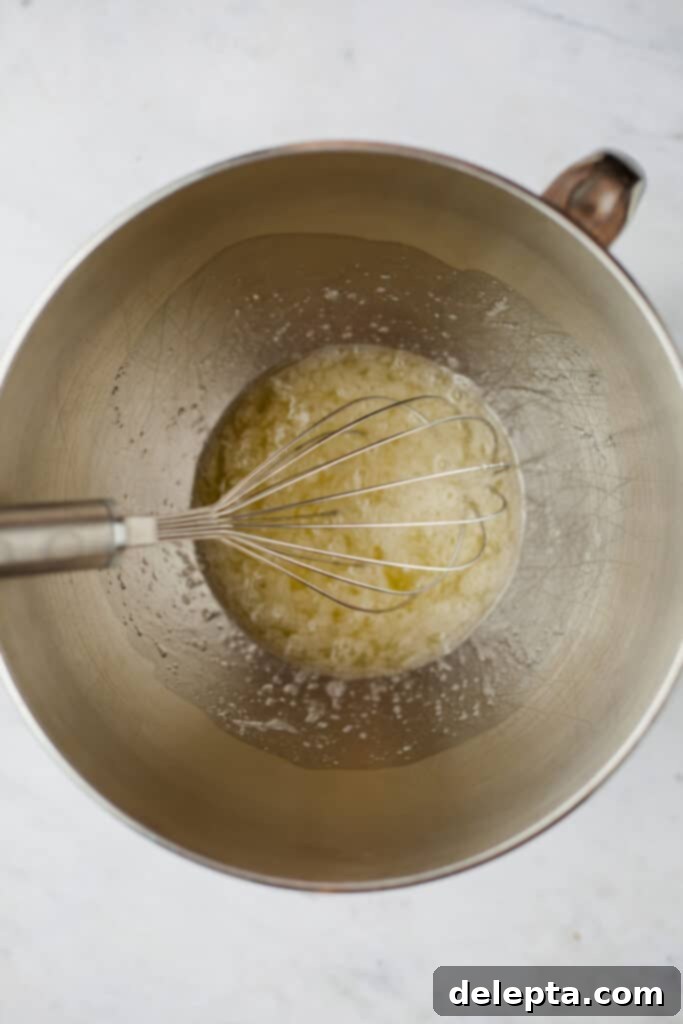
Step Two: Preparing the Swiss meringue.
One: Begin by preparing your dry ingredients. In a large bowl, sift together your powdered sugar and almond flour. For optimal smoothness, sift this mixture twice to ensure there are no lumps whatsoever. This step is crucial for achieving perfectly smooth macaron shells. Once sifted, set this mixture aside.
Two: Now, let’s prepare the Swiss meringue. Place your room-temperature egg whites and granulated sugar in a clean, heatproof stand mixer bowl. Position this bowl over a small saucepan containing about an inch of simmering water, creating a double boiler. Ensure the bottom of the bowl does not touch the water to prevent the egg whites from cooking. Whisk the mixture constantly and gently until the sugar granules have completely dissolved. You can test this by rubbing a small amount between your fingers – it should feel perfectly smooth, with no grittiness. This process typically takes about 2-3 minutes.
-

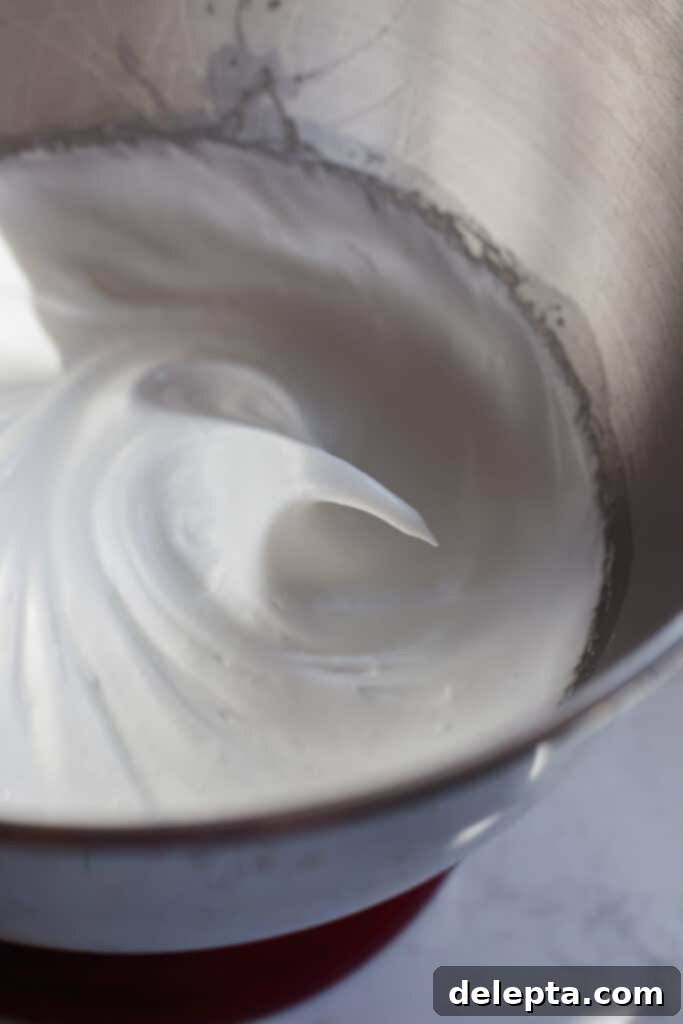
Step Three: Achieving stiff peaks for the meringue. -

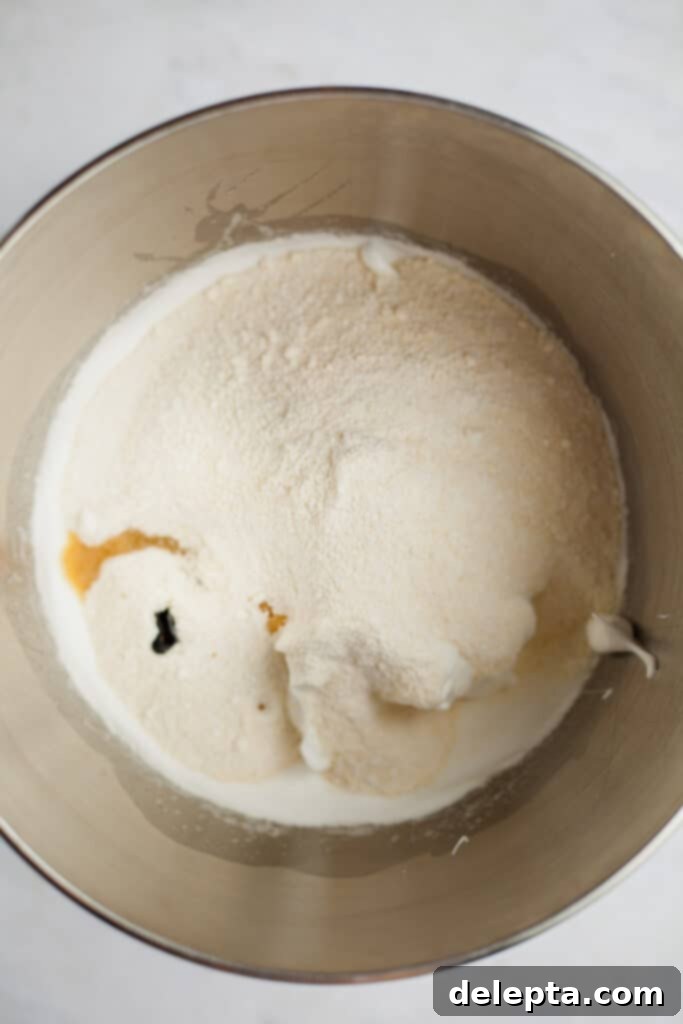
Step Four: Combining wet and dry ingredients.
Three: Remove the bowl from the saucepan and place it onto your stand mixer, fitted with the whisk attachment. Begin whisking on low speed for about 30 seconds until the egg whites start to foam. Increase the speed to medium and continue whisking for 2 minutes, at which point the meringue should appear white and fluffy. Then, increase the speed to medium-high and beat for another 3-4 minutes, or until the meringue becomes incredibly thick, glossy, and holds stiff peaks. When you lift the whisk, the peak should hold its shape, bending only slightly at the very tip, indicating a perfectly stable meringue.
Four: With the meringue ready, it’s time to introduce the flavors and dry ingredients. Gently pour your sifted almond flour and powdered sugar mixture into the meringue. Add the vanilla extract and a few drops of warm brown gel food coloring (if using) at this stage. Remember to use gel coloring to avoid adding excess moisture.
-

Step Five: The crucial macaronage stage. -

Step Six: Piping and resting the shells.
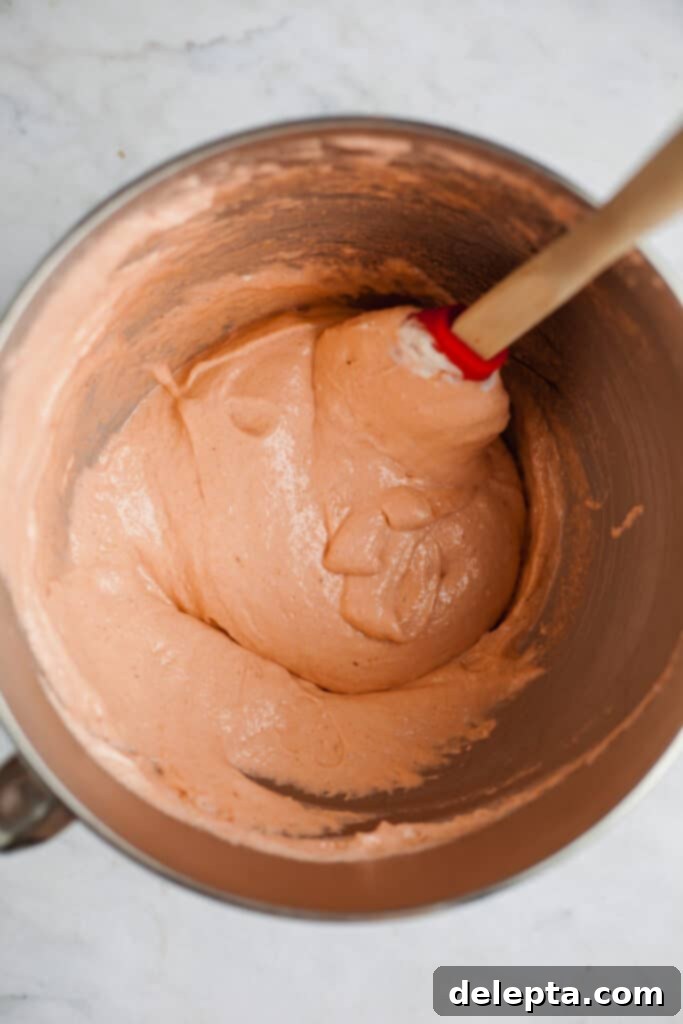
Five: This is the “macaronage” stage, where you gently fold the mixture using a rubber spatula. The goal is to deflate the meringue just enough to achieve the right batter consistency. Scrape down the sides of the bowl and press the batter against them, then bring it back to the center. Continue this folding and pressing motion until the batter flows like thick lava off your spatula. You’ll know it’s ready when you can lift your spatula and draw a continuous figure-8 in the air with the batter without it breaking off. Be careful not to overmix, as this will lead to flat, footless shells.
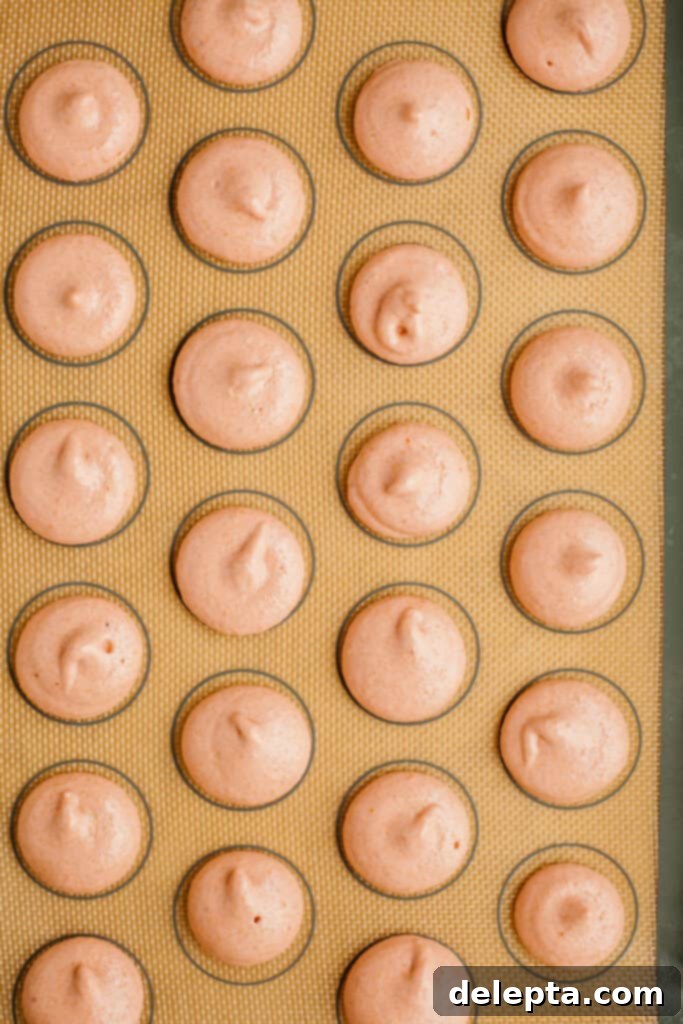
Six: Once the batter reaches the perfect “lava” consistency, transfer it to a piping bag fitted with a medium circular tip (e.g., Wilton 1A or a similar size). Line three baking sheets with silicone mats or parchment paper. Pipe out uniform circles of batter, aiming for about 72 shells in total. Pipe straight down, holding the bag vertically at a 90-degree angle. After piping, firmly tap each baking pan twice on your counter to release any trapped air bubbles. Use a toothpick to gently pop any remaining visible air bubbles for a smooth finish. Now, let the piped shells rest at room temperature for 30 minutes to an hour, or until a dry “skin” forms on top. This skin is crucial for developing the characteristic “feet” during baking. Preheat your oven to 325°F (162°C). Bake the macarons one tray at a time for 15-17 minutes. Allow them to cool completely on the trays before handling.
Homemade Salted Caramel Sauce
-

Step Seven: Starting the caramelization process. -

Step Eight: Dissolving the sugar.
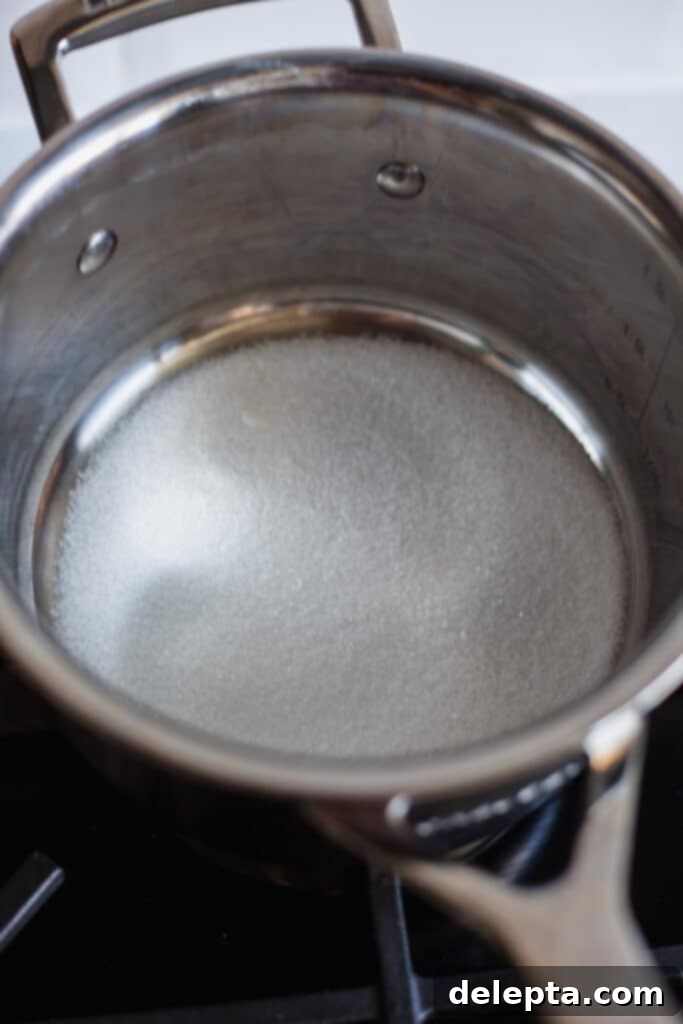
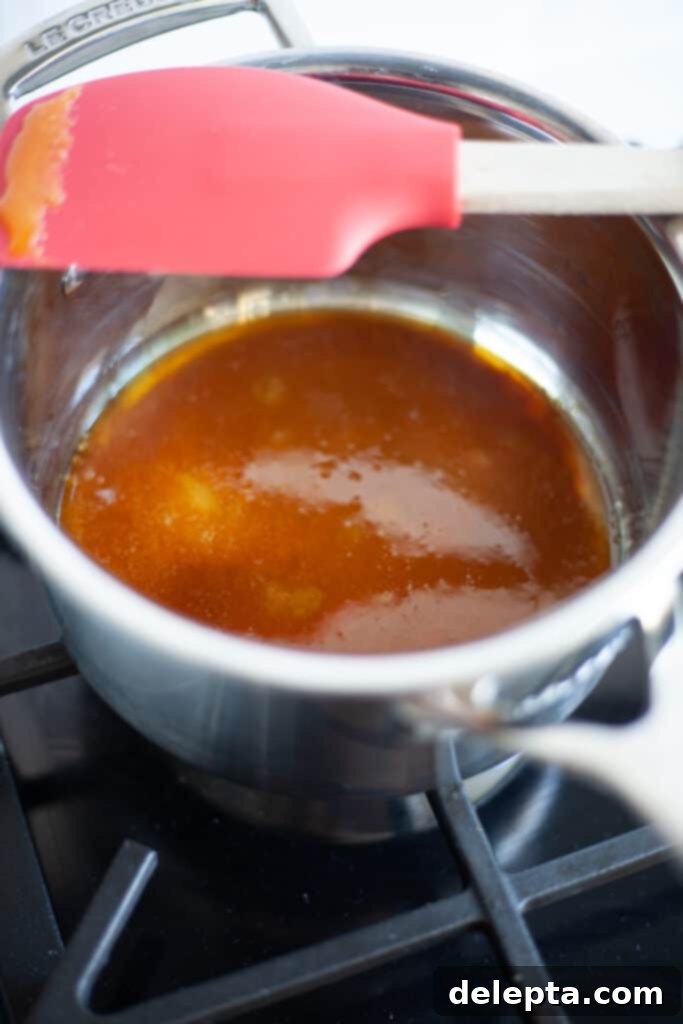
Seven: To make the luscious salted caramel, pour about a quarter cup of granulated sugar into a small, heavy-bottomed saucepan over medium heat. Allow it to begin melting without stirring, shaking the pan occasionally to even out the melting.
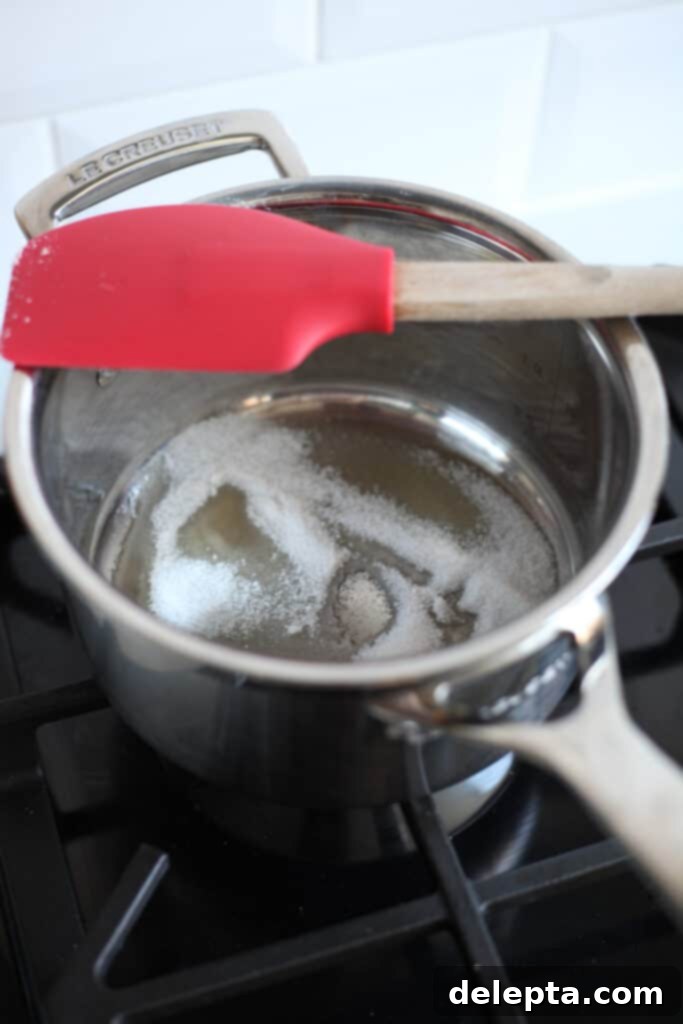
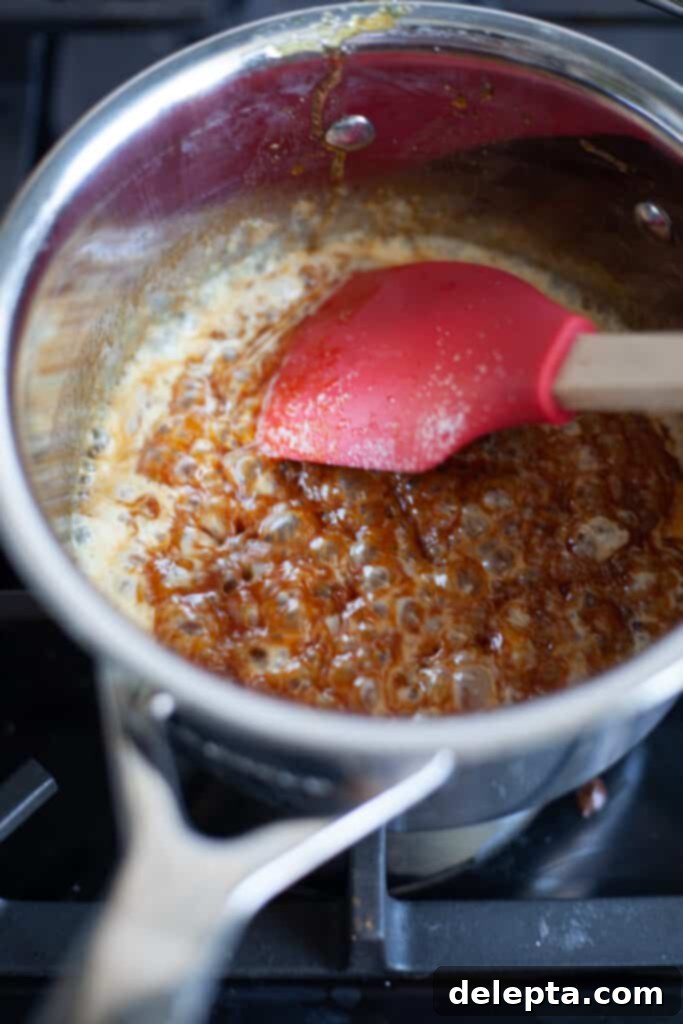
Eight: Once this first batch of sugar has completely dissolved and turned into a light amber liquid, slowly add the remaining sugar, a quarter cup at a time. Continue to cook, stirring occasionally with a heatproof spatula or by gently swirling the pan, ensuring each addition of sugar dissolves before adding more. This gradual process prevents crystallization and promotes even caramelization.
-

Step Nine: Achieving the perfect amber hue. -

Step Ten: Incorporating butter and cream.
Nine: Continue to cook the caramel until it transforms into a beautiful dark amber color. This deep hue indicates a rich, complex flavor. Once it reaches this stage, immediately remove the saucepan from the heat to prevent it from burning, which would result in a bitter taste.
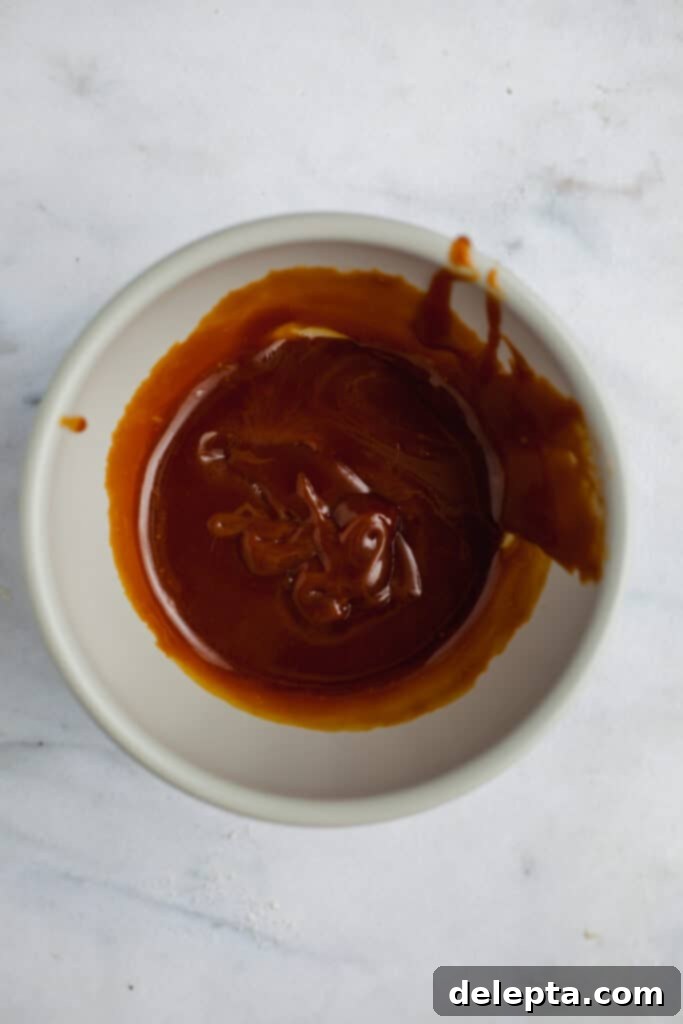
Ten: Carefully add the room temperature butter, one piece at a time, stirring constantly with a heatproof spatula. Be extremely cautious as the mixture will sputter and steam vigorously. Once all the butter is incorporated and the sputtering subsides, gradually stir in the heavy cream, followed by the kosher salt and vanilla extract. Continue to stir until the caramel is smooth and well combined. This is your homemade salted caramel sauce!
-

Step Eleven: Cooling the caramel. -

Step Twelve: Creaming the butter for buttercream.
Eleven: It’s absolutely crucial to let your salted caramel sauce cool down completely before attempting to use it in the buttercream or as a filling. Warm caramel can melt the butter in your buttercream, ruining its texture. Transfer it to a heatproof container and allow it to come to room temperature, or even chill it in the fridge until thickened.
Salted Caramel Buttercream
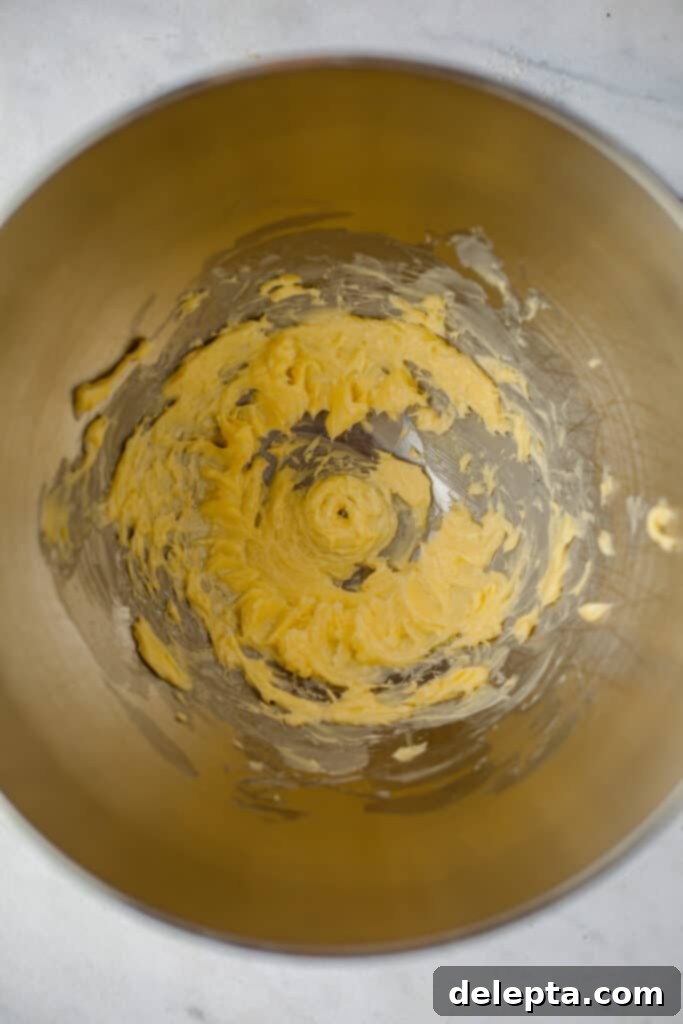
Twelve: In the bowl of a stand mixer fitted with the whisk attachment, begin by creaming your room temperature unsalted butter. Beat it on medium-high speed for about 2 minutes, until it becomes wonderfully smooth, light, and creamy. This aerates the butter, creating the foundation for a fluffy buttercream.
-

Step Thirteen: Flavoring the buttercream. -

Step Fourteen: Finalizing the buttercream consistency.
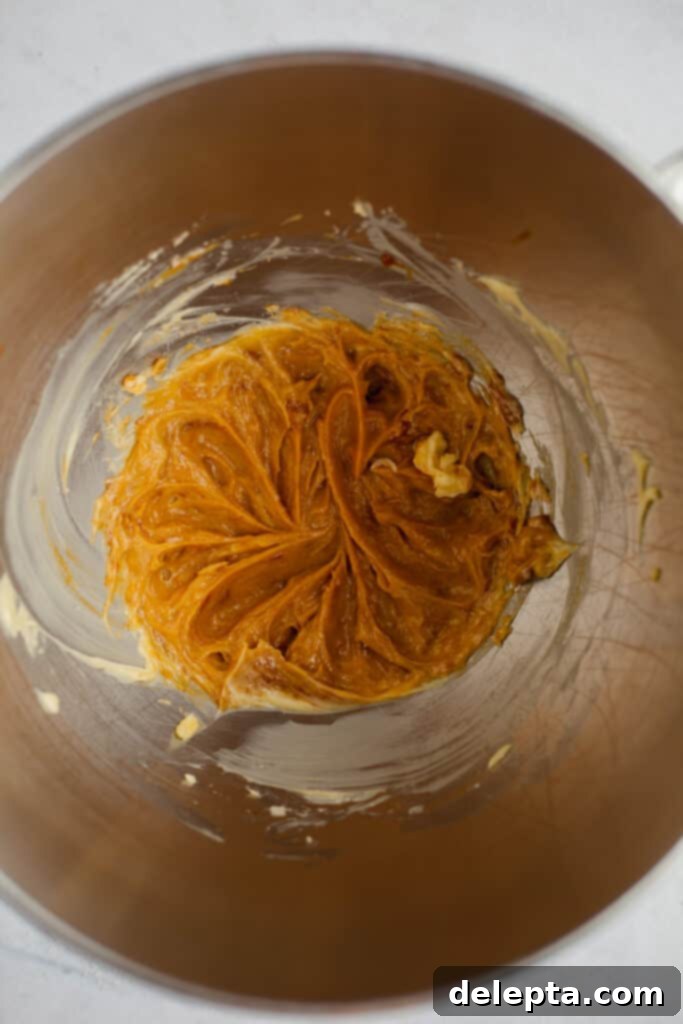
Thirteen: To infuse that incredible flavor, add 2 tablespoons of your cooled salted caramel sauce, the vanilla extract, and a pinch of kosher salt to the creamed butter. Whip these ingredients together for about 30 seconds until they are well combined and fragrant.
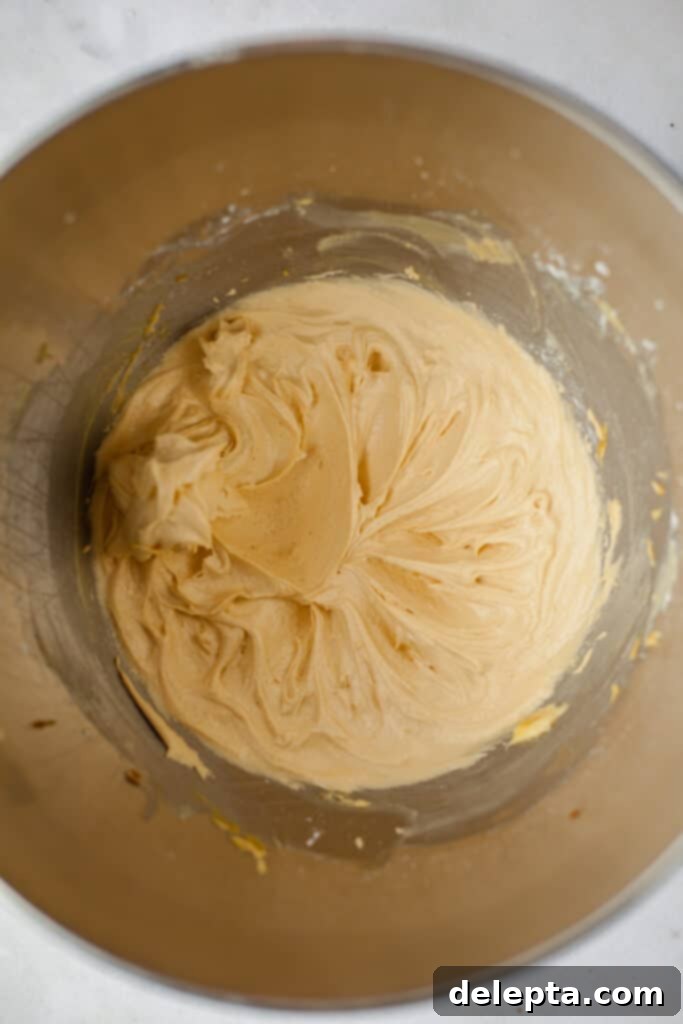
Fourteen: With the mixer running on low speed, gradually add half of your sifted powdered sugar. Once mostly incorporated, pour in the heavy cream, followed by the remaining half of the powdered sugar. Once all the dry ingredients are in, increase the speed to medium-high and beat for approximately 3 minutes, or until the frosting becomes incredibly fluffy, light, and airy. Scrape down the sides of the bowl as needed to ensure everything is evenly mixed.
-

Step Fifteen: Assembling the macarons and chilling.
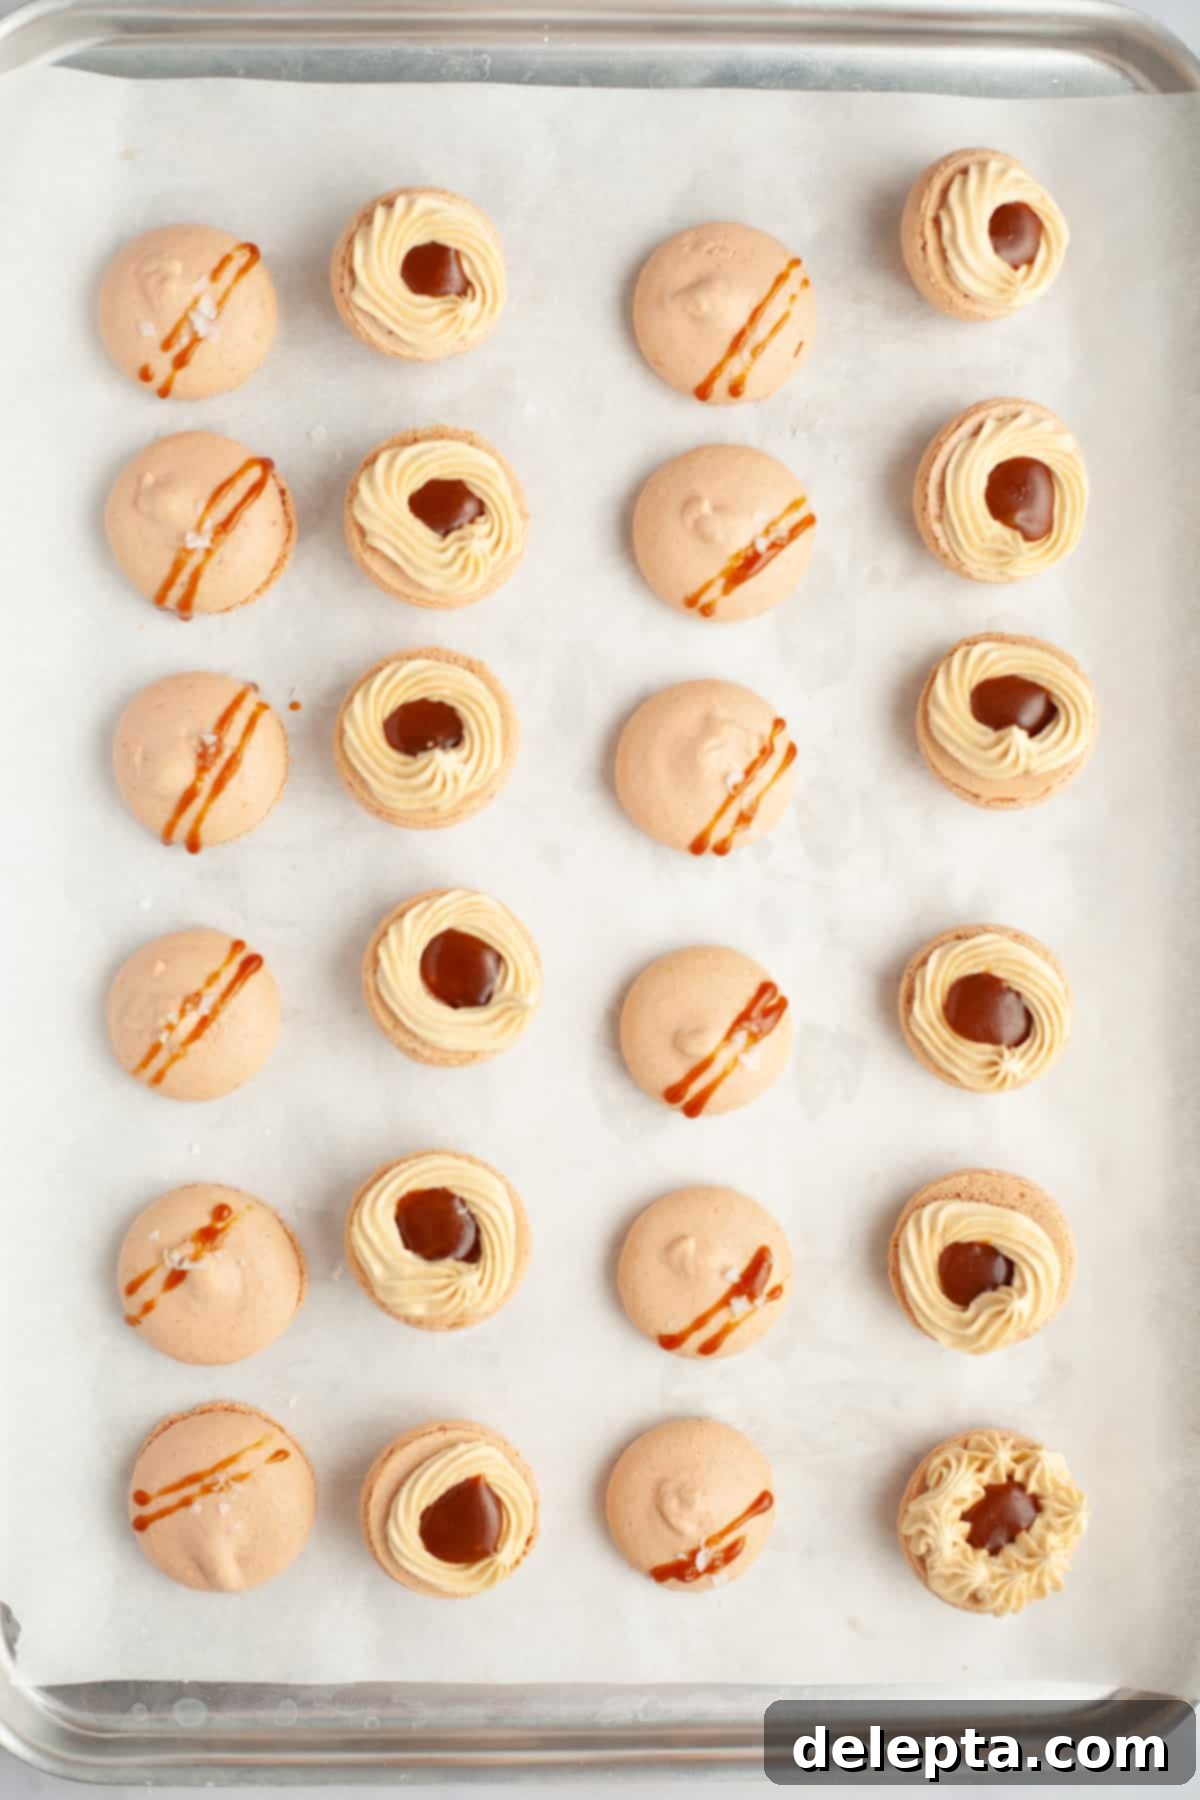
Fifteen: Finally, it’s time to assemble your delicious macarons! Transfer the salted caramel buttercream to a piping bag. Take half of your cooled macaron shells and pipe a generous circle of frosting around the perimeter of each shell. Then, spoon a small amount of your homemade salted caramel sauce into the center of the piped buttercream ring. For the other half of the macaron shells, you can drizzle a bit of extra caramel on top or leave them plain. Carefully sandwich the shells together, gently twisting to ensure the filling spreads evenly. Once assembled, arrange your macarons in an airtight container and chill them overnight in the refrigerator. This crucial “maturation” period allows the flavors to meld beautifully and the shells to soften to that perfect chewy consistency.
Expert Macaron Recipe Tips for Success
Macarons can be a finicky bake, but these tips will significantly increase your chances of success and help you achieve those coveted perfect shells:
- Precision is Key: Use a Weighing Scale: Macaron baking is a science, not an art to be eyeballed. I cannot stress enough the importance of using a digital kitchen scale and measuring all your ingredients the metric way (grams). This is the most accurate method for baking, especially for sensitive recipes like macarons, and makes a huge difference to the consistency and texture of your final product.
- Bake One Tray at a Time: To ensure even heat distribution and consistent baking, always bake your macaron trays one at a time. Baking multiple trays simultaneously can lead to uneven temperatures, resulting in some shells being underbaked, overbaked, or browning inconsistently. This practice helps achieve perfectly risen shells with beautiful “feet” on every batch.
- Prepare Salted Caramel in Advance: The homemade salted caramel needs to be completely cool and thick before it can be incorporated into your buttercream or used as a filling. Warm caramel will melt the butter and ruin the buttercream’s texture. Making it ahead of time (even a day or two) saves time and ensures it’s at the ideal consistency when you need it.
- Eliminate Air Bubbles: After you’ve piped out your macaron shells, firmly tap each baking pan on your counter 2-3 times. This helps to release any trapped air bubbles within the batter, which can cause hollow or cracked shells. If you still see persistent air bubbles on the surface after tapping, use a clean toothpick to gently pop them.
- Achieve the Perfect “Skin”: The resting period after piping is critical. Let your piped macaron shells sit at room temperature for 30-60 minutes (or longer, depending on humidity) until a dry “skin” forms on their surface. You should be able to gently touch a shell without any batter sticking to your finger. This skin is essential for the macaron feet to develop properly in the oven.
- Oven Temperature Accuracy: Invest in an oven thermometer! Many ovens are not calibrated accurately, and even a small deviation in temperature can drastically affect macarons. Knowing your oven’s true temperature is vital for consistent results.
- Clean Equipment: Ensure all your mixing bowls and whisk attachments are immaculately clean and grease-free. Any residual grease can prevent the egg whites from whipping up properly, jeopardizing your meringue.
- Be Patient with Macaronage: The folding technique (macaronage) is perhaps the trickiest part. It requires patience and a gentle touch. It’s always better to slightly under-mix than over-mix. Once the batter is too thin, there’s no way to rescue it. Look for the “lava” consistency and the figure-8 test.
Frequently Asked Questions About Macarons
The macaronage stage is crucial, and it’s always better to err on the side of under-mixing rather than over-mixing. Once you over-mix, there isn’t anything you can do to correct the consistency. When I’m folding, I know my batter is ready to use when it flows slowly and continuously, like thick lava, off of your rubber spatula. A reliable test is to lift your spatula and try to draw a figure-8 in the air with the falling batter; if you can complete the figure-8 without the stream of batter breaking, your macaronage is perfect. The batter should also be smooth and glossy.
Ruffly or spread-out macaron feet (the characteristic ruffled base) are common issues with a few possible culprits. This can happen if you over-mixed the meringue batter, leading to a less stable structure. It could also be due to over-mixing during the macaronage stage, making the batter too thin. Another frequent cause is an oven temperature that’s too high, causing the macarons to rise too quickly and unevenly. Ensure your oven thermometer is accurate and your macaronage is just right. But don’t despair – even with ruffly feet, they’re still going to be incredibly delicious!
For coloring macarons, the absolute best food coloring to use is gel-based, such as Americolor or Wilton gel paste. Gel food colorings are highly concentrated, meaning you only need a small amount to achieve vibrant colors without adding significant liquid to your delicate batter. If you use oil-based or liquid food coloring, it will introduce too much moisture, which can thin out the macaron batter, make it difficult to achieve proper macaronage, and negatively affect the final texture and structure of your shells.
To maintain their freshness and delicate texture, I recommend storing your assembled salted caramel macarons in an airtight container in the refrigerator for up to one week. Macarons actually taste best when they’ve had a chance to “mature” for at least 12-24 hours in the fridge, as this allows the filling to soften the shell to that perfect chewy consistency and for the flavors to fully meld. For longer storage, you can freeze them in an airtight container for up to one month; just bring them to room temperature before serving.
Hollow macarons are a common frustration for bakers. This can happen for several reasons: your meringue might not have been stiff enough, your macaronage could have been under-mixed (leaving too much air), or your oven temperature might be too high. When the oven is too hot, the macaron skin sets too quickly, and the internal batter expands rapidly, creating a hollow space. Experiment with slightly lower oven temperatures or increasing your oven rest time to allow the shells to dry out more before baking.
Other Macaron Recipes to Try:
- Birthday Cake Macarons
- Cookies and Cream Macarons
I absolutely love seeing your creations! Make sure to tag me on Instagram @alpineella and leave a review below if you’ve successfully made these delightful salted caramel macarons! If you’re looking for more delicious baking ideas and inspiration, you can always follow me on Pinterest.
Recipe

Salted Caramel Macarons
Ella Gilbert
Pin Recipe
Save Recipe
Saved!
Ingredients
Macarons
- 100 grams almond flour
- 105 grams powdered sugar
- 100 grams egg whites room temperature
- 100 grams granulated sugar
- ½ teaspoon vanilla extract
- drop warm brown food coloring
Salted Caramel Sauce
- 100 grams granulated sugar
- 42 grams unsalted butter room temperature
- 38 ml heavy cream
- ½ teaspoon kosher salt
- ½ teaspoon vanilla extract
Salted Caramel Buttercream
- 56 grams unsalted butter room temperature
- ¼ teaspoon kosher salt
- ½ teaspoon vanilla extract
- 2 teaspoon heavy cream
- 126 grams powdered sugar
- 2 tablespoon salted caramel sauce
Instructions
Macarons
-
Line three baking sheets with parchment paper or silicone mats.
-
Sift together your powdered sugar and almond flour, twice. Set aside.
-
Whisk together the egg whites and granulated sugar in a heatproof bowl over a double boiler. Whisk for about 2 minutes, until the sugar dissolves. You can tell it is ready when you pull the whisk up and touch the mixture with your fingers, you shouldn’t feel any granules. Do not let the bowl touch the water or it will cook the eggs
-
Pour the mixture into the bowl of a stand mixer, fitted with the whisk attachment.
-
Whisk on low speed for 30 seconds, it should begin to foam. Increase the speed to medium for 2 minutes, until it becomes white and fluffy
-
Increase the speed to medium-high, it should turn glossy and when you stop the mixer and pull the whisk out, you should have a stiff peak at the end of the whisk which only slightly bends at the end. This is how you know it is ready. This can take 4-5 minutes
-
Pour in the powdered sugar/almond mixture as well as your vanilla and food coloring
-
Gently fold them all together. Continue to fold and press the batter against the sides of the bowl. It is ready when it flows like lava from the rubber spatula, and you can make a figure 8 in the air without the batter breaking.
-
Carefully transfer the batter into a piping bag with a medium circular tip
-
Pipe out 72 macaron shells, piping at a 90 degree angle. Once they have all been piped out, bang each tray twice on your counter. Use a toothpick to pop any remaining air bubbles.
-
Let them sit at room temperature for 30 minutes until they form a skin
-
Heat your oven to 325°F/162°C. Bake them one tray at a time for 15-17 minutes. Let them cool completely.
Caramel
-
Take a small saucepan and place it on your stove over medium heat. Add the sugar ¼ cup at a time, letting the sugar dissolve completely until you add the next ¼ cup.
-
Stir occasionally until the sugar has completely dissolved and turns a dark amber colour. Turn the heat off.
-
Add the butter in a piece at a time, be careful as it may sputter! Stir with a heatproof spatula as you add the butter. Stir in the cream, salt, and vanilla. Let cool until it is very thick.
Buttercream
-
Sift your powdered sugar and set aside.
-
In a stand mixer with the whisk attachment, whisk the butter for 2 minutes, until smooth
-
Add in the vanilla extract, caramel and salt. Beat together for 30 seconds
-
While the mixer is running on a low speed, slowly pour in half of the powdered sugar. Then add in your heavy cream. Add the rest of the sugar.
-
Increase the speed to medium-high and beat until fluffy, about 3 minutes
-
Transfer to a piping bag and pipe a dollop on half of the macaron shells. I made a ring around half of the shells, then piped out salted caramel in the middle.
-
Let the macarons rest overnight in your fridge
Notes
Aged Egg Whites: If you want to age your egg whites (not a strict requirement but it can help improve meringue stability and shell texture!), separate your egg whites 24 hours before you plan to bake and place them in an airtight container or covered bowl in the fridge. Take them out at least 2 hours before starting your macarons to allow them to come to room temperature. This process helps to dehydrate the egg whites slightly.
Storage: For best results and flavor development, store your assembled salted caramel macarons in an airtight container in the fridge for up to one week. Macarons often taste even better the day after they are made, once the flavors have had a chance to meld. For longer storage, freeze them in a single layer in an airtight container for up to one month. Thaw them in the refrigerator before serving.
Nutrition
Carbohydrates: 13g
Protein: 1g
Fat: 4g
Saturated Fat: 2g
Trans Fat: 1g
Cholesterol: 8mg
Sodium: 54mg
Potassium: 7mg
Fiber: 1g
Sugar: 12g
Vitamin A: 88IU
Vitamin C: 1mg
Calcium: 8mg
Iron: 1mg
Tried this recipe?Leave a comment below! You can also tag me on Instagram @alpineella so I can see what you made!

