Irresistible Cherry Rhubarb Pie with a Golden Oat Crumble Topping
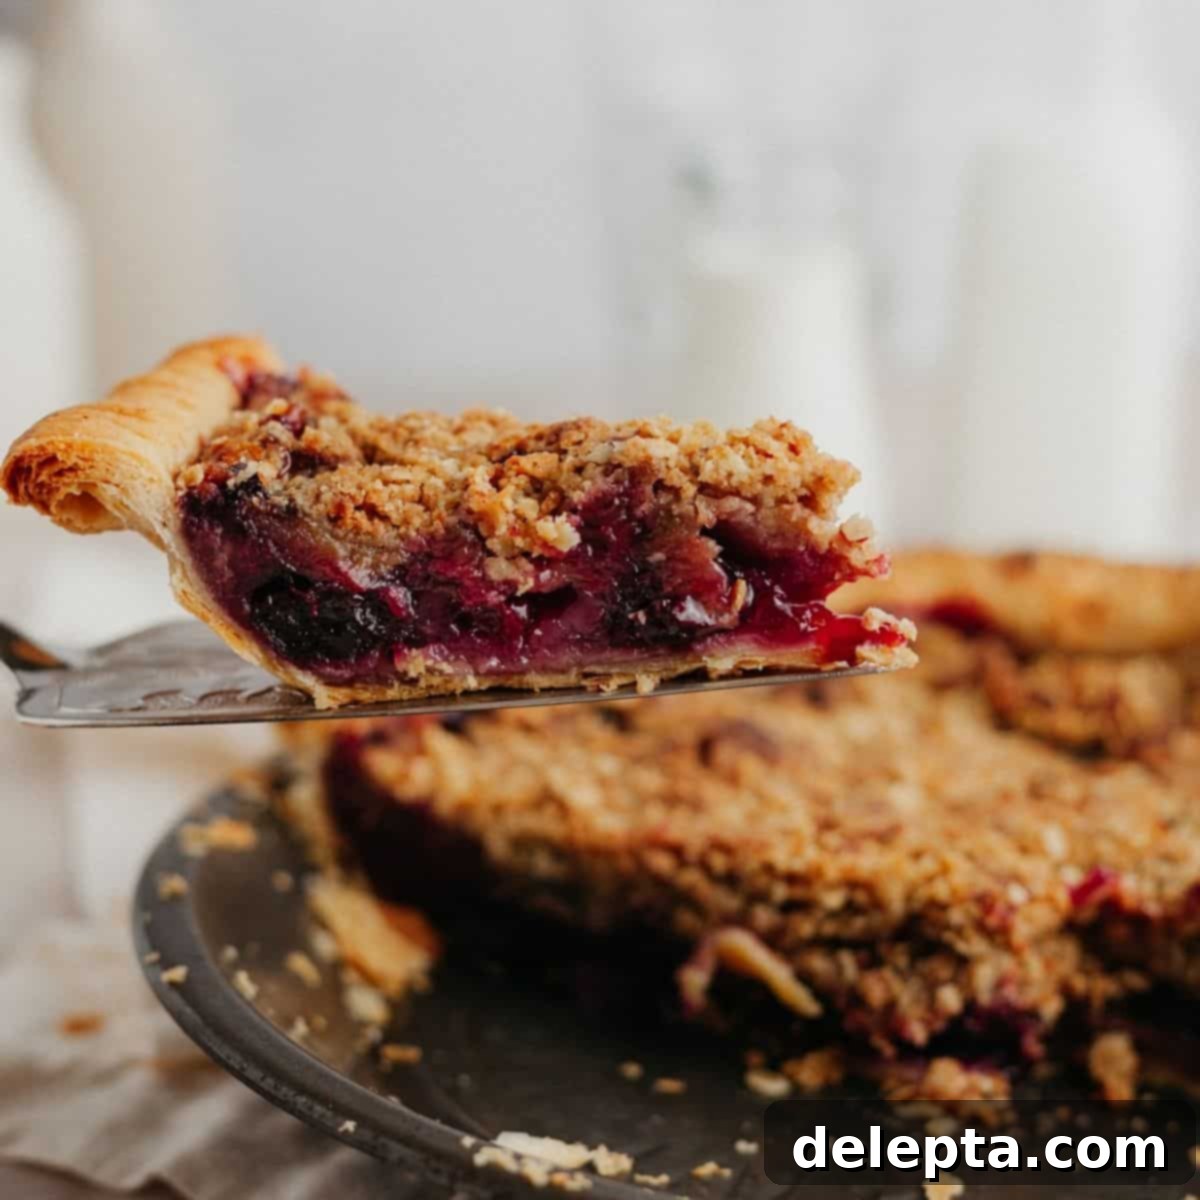
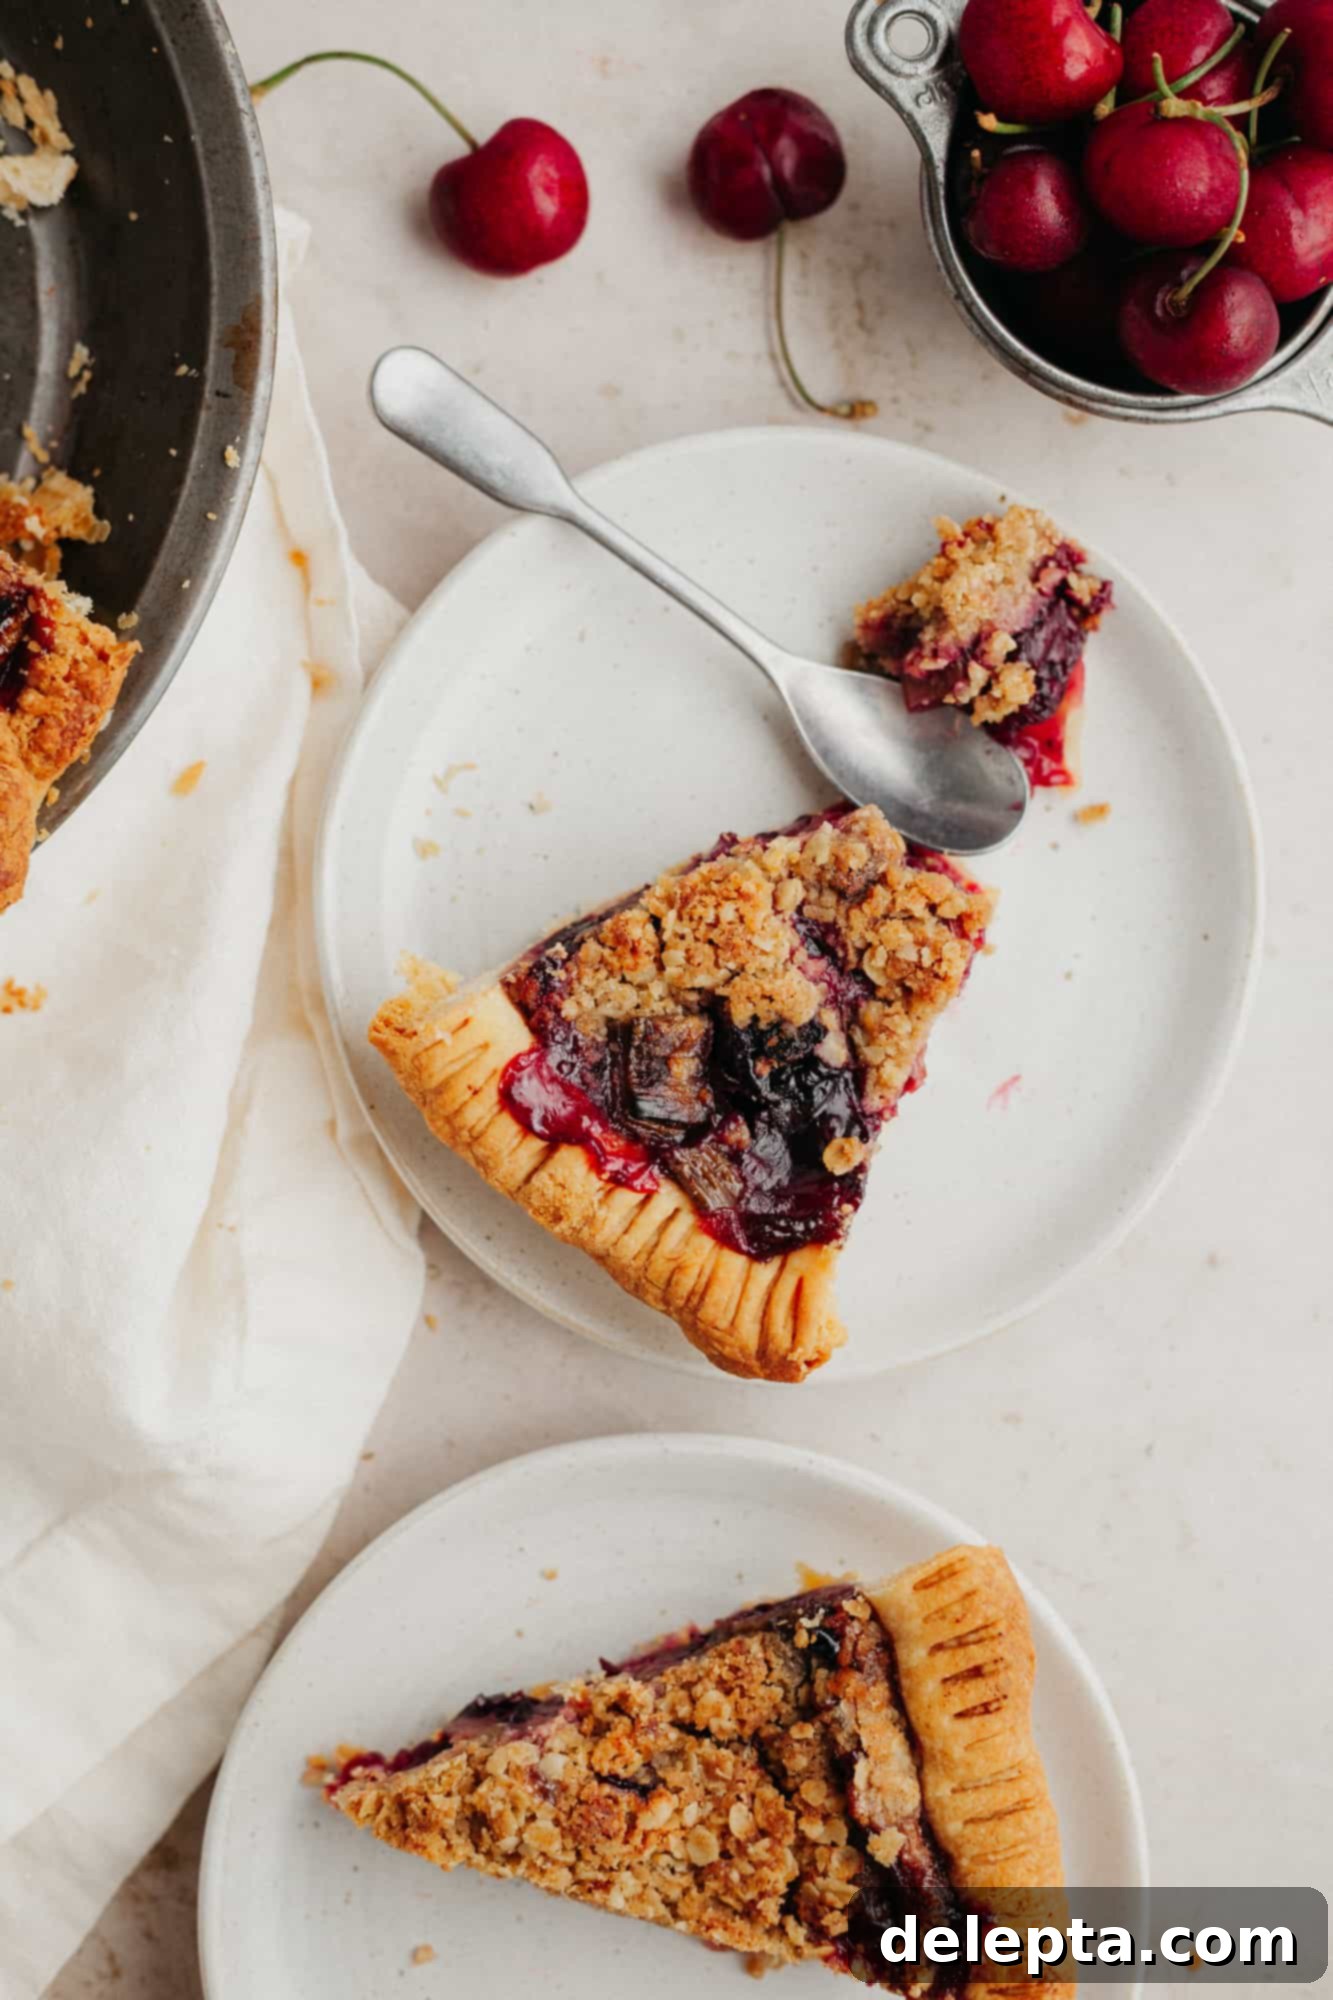
Indulge in the perfect balance of sweet and tart with this incredible homemade cherry rhubarb pie. A true classic, this pie features a vibrant fruit filling bursting with the flavors of ripe cherries and tangy rhubarb, all nestled within a buttery, flaky crust. Topped with a golden cinnamon oat crumble, it’s the ultimate dessert for any occasion, especially during the warmer months when rhubarb and cherries are in their prime. Whether you’re a seasoned baker or new to pie making, our straightforward recipe ensures a delicious result every time.
Why You’ll Adore This Cherry Rhubarb Pie Recipe
This recipe isn’t just about baking a pie; it’s about creating a memorable dessert with ease and confidence. Here’s why this cherry rhubarb pie will become a staple in your kitchen:
- Effortless Pie Dough with Your Stand Mixer: Many home bakers shy away from making pie dough from scratch, often frustrated by butter melting too quickly or an inconsistent texture. Our method utilizes a stand mixer, making the process incredibly simple. This technique keeps your butter perfectly cold, ensuring uniform pieces for a truly flaky, tender crust every single time. Say goodbye to warm hands and hello to baking success!
- Perfect for Frozen Fruit, Year-Round Enjoyment: We believe delicious pie shouldn’t be limited to specific seasons. This recipe is designed to work beautifully with frozen fruit, allowing you to enjoy the delightful flavors of cherry and rhubarb throughout the year. Simply thaw your prepped fruit, and you’re ready to bake a taste of summer even in winter.
- Speedy Filling and Topping Prep: You don’t need to spend hours in the kitchen to create an extraordinary pie. The luscious fruit filling comes together in mere minutes with no pre-cooking required, preserving the fresh flavors of the fruit. The irresistible cinnamon oat crumble topping is equally quick to prepare, adding a delightful crunch and warmth to every slice. This pie is perfect for when you need a show-stopping dessert without the fuss.
- Balanced Sweet and Tart Flavor Profile: The natural tartness of rhubarb is perfectly complemented by the sweetness of cherries, creating a harmonious flavor that is neither overly sugary nor too sharp. The hint of cinnamon in the crumble and the subtle almond extract in the filling elevate the overall taste, making each bite a delightful experience.
- Crowd-Pleasing and Versatile: This cherry rhubarb pie is always a hit at gatherings, potlucks, or as a comforting weeknight treat. It’s a versatile dessert that can be served warm with a scoop of vanilla ice cream, or enjoyed at room temperature with a dollop of whipped cream.
Essential Ingredients for Your Pie
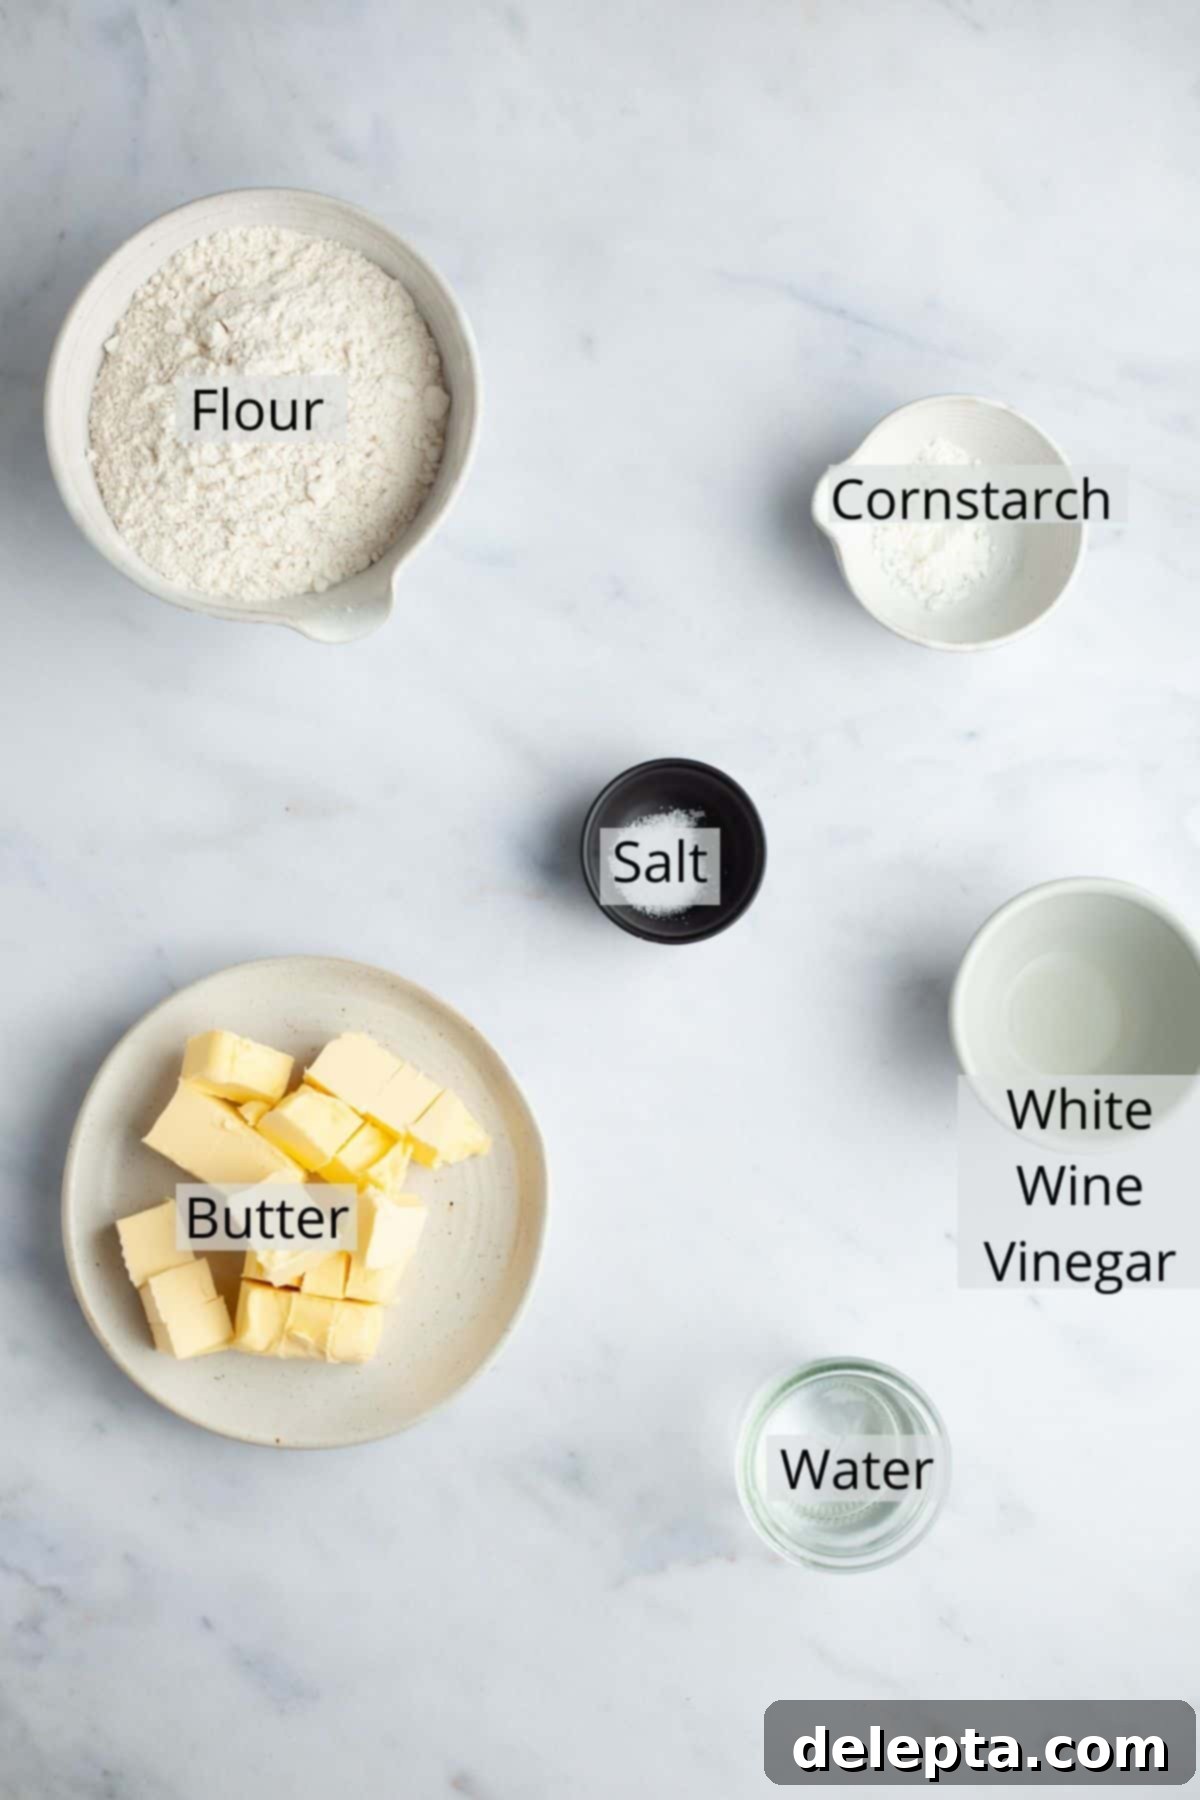
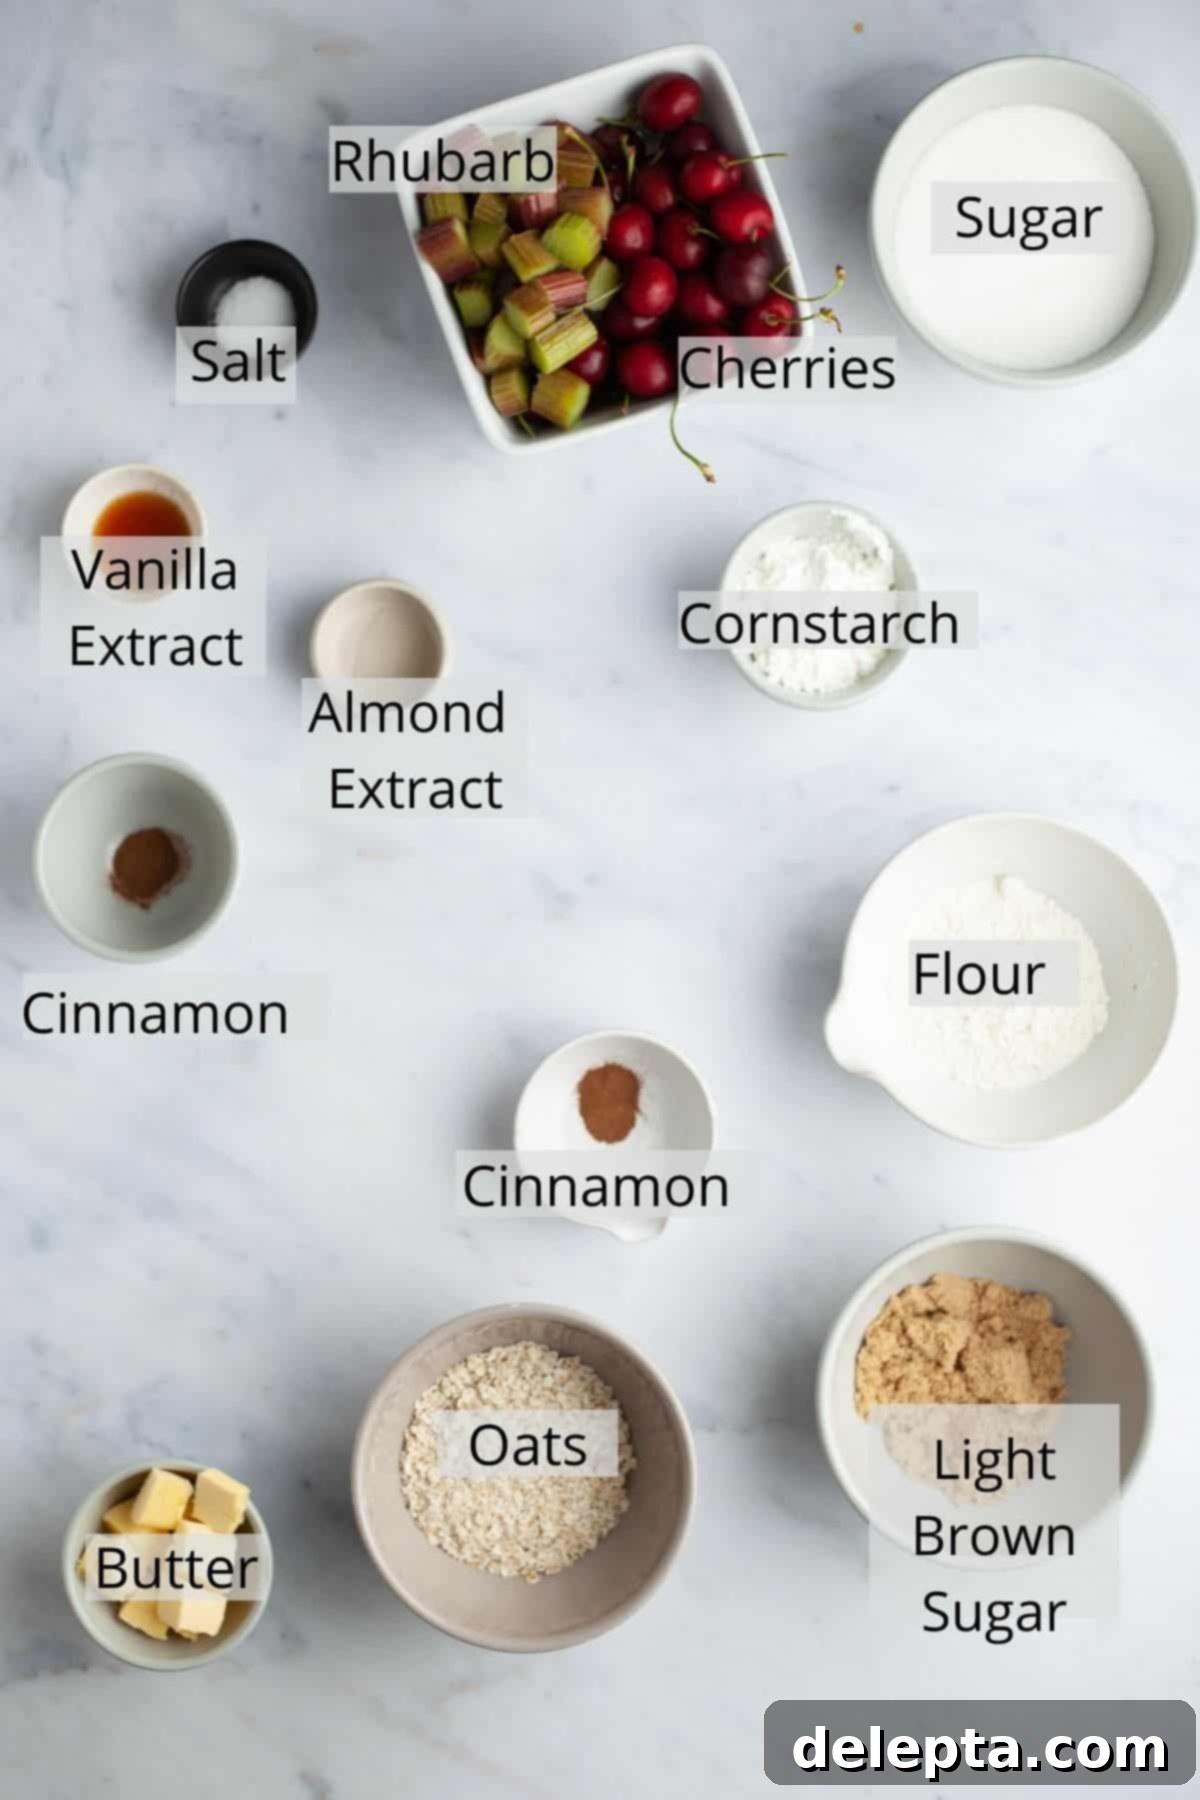
Crafting the perfect cherry rhubarb pie starts with high-quality ingredients. Below, you’ll find a visual guide to the components for our flaky pie crust, the vibrant fruit filling, and the crunchy oat crumble. The full, detailed list of ingredients and step-by-step instructions can be found in the printable recipe card at the very bottom of this post.
-

Pie Dough Ingredients -

Filling and Topping Ingredients
The printable recipe card with the full list of ingredients and instructions can be found at the bottom of this post.
Ingredient Spotlight: Tips for Success
Understanding your ingredients is key to baking a spectacular pie. Here are some detailed notes to guide you:
- Butter: For the ultimate richness and flakiness in your pie crust, I highly recommend using European-style butter, such as Kerrygold. These butters typically boast a higher butterfat content (around 82-84% compared to 80% in American-style butter), which translates to a richer flavor, creamier texture, and a more tender, flaky crust. If European butter isn’t available, high-quality unsalted American butter will still yield excellent results. Always ensure your butter is very cold and cut into small cubes for optimal incorporation into the dough.
- Rhubarb: The star of the show! Rhubarb adds a delightful tartness that beautifully balances the sweet cherries. While fresh rhubarb is wonderful in season, this recipe works perfectly with frozen rhubarb. To prepare fresh rhubarb for freezing, simply wash it thoroughly, trim the ends, and slice it into ½-inch rounds. This size ensures even cooking and distribution in the pie. Store in a freezer-safe bag. When you’re ready to bake, thaw the frozen rhubarb in the refrigerator for about 4 hours and drain any excess liquid before use.
- Cherries: Because rhubarb is quite tart, using sweet cherries helps create a perfectly balanced pie filling. If sweet cherries are hard to find or out of season, frozen sweet cherries are an excellent alternative (remember to thaw and drain them). Alternatively, for a different but equally delicious flavor profile, you can substitute an equal amount of sliced strawberries for the cherries.
- Cornstarch: This ingredient is essential for thickening the fruit filling, preventing it from becoming too runny. When heated, cornstarch absorbs excess liquid, creating a beautifully thick, luscious filling that holds its shape when sliced. If you are in the UK or prefer to use cornflour, it is the same ingredient and can be used interchangeably. For those looking for alternatives, tapioca starch or arrowroot powder can also work, typically requiring slightly less quantity than cornstarch.
- White Wine Vinegar: A secret weapon in pie dough! A small amount of white wine vinegar (or apple cider vinegar) helps to tenderize the dough and makes it more pliable, easier to roll out, and prevents it from becoming tough. It also subtly enhances the flavor without imparting a distinct vinegar taste.
- Sugar & Lemon Juice: The sugar in the filling sweetens the tart rhubarb and cherries, while a touch of lemon juice brightens the flavors and enhances the fruit’s natural acidity, preventing the pie from tasting flat.
- Vanilla & Almond Extract: These extracts add depth and warmth to the fruit filling. Vanilla is a classic complement to fruit, and almond extract, even in a small amount, beautifully enhances the cherry flavor, creating a more complex and inviting aroma.
- Rolled Oats: The base for our crunchy crumble topping. Rolled oats (old-fashioned oats) provide a lovely texture and nuttiness that contrasts wonderfully with the soft fruit filling. Avoid instant oats, as they can become mushy.
Crafting Your Flaky Pie Crust from Scratch
A homemade pie crust is the foundation of an exceptional pie. Follow these steps for a perfectly tender and flaky crust that will elevate your cherry rhubarb pie.
-

Step One: Prepare and Chill Ingredients -

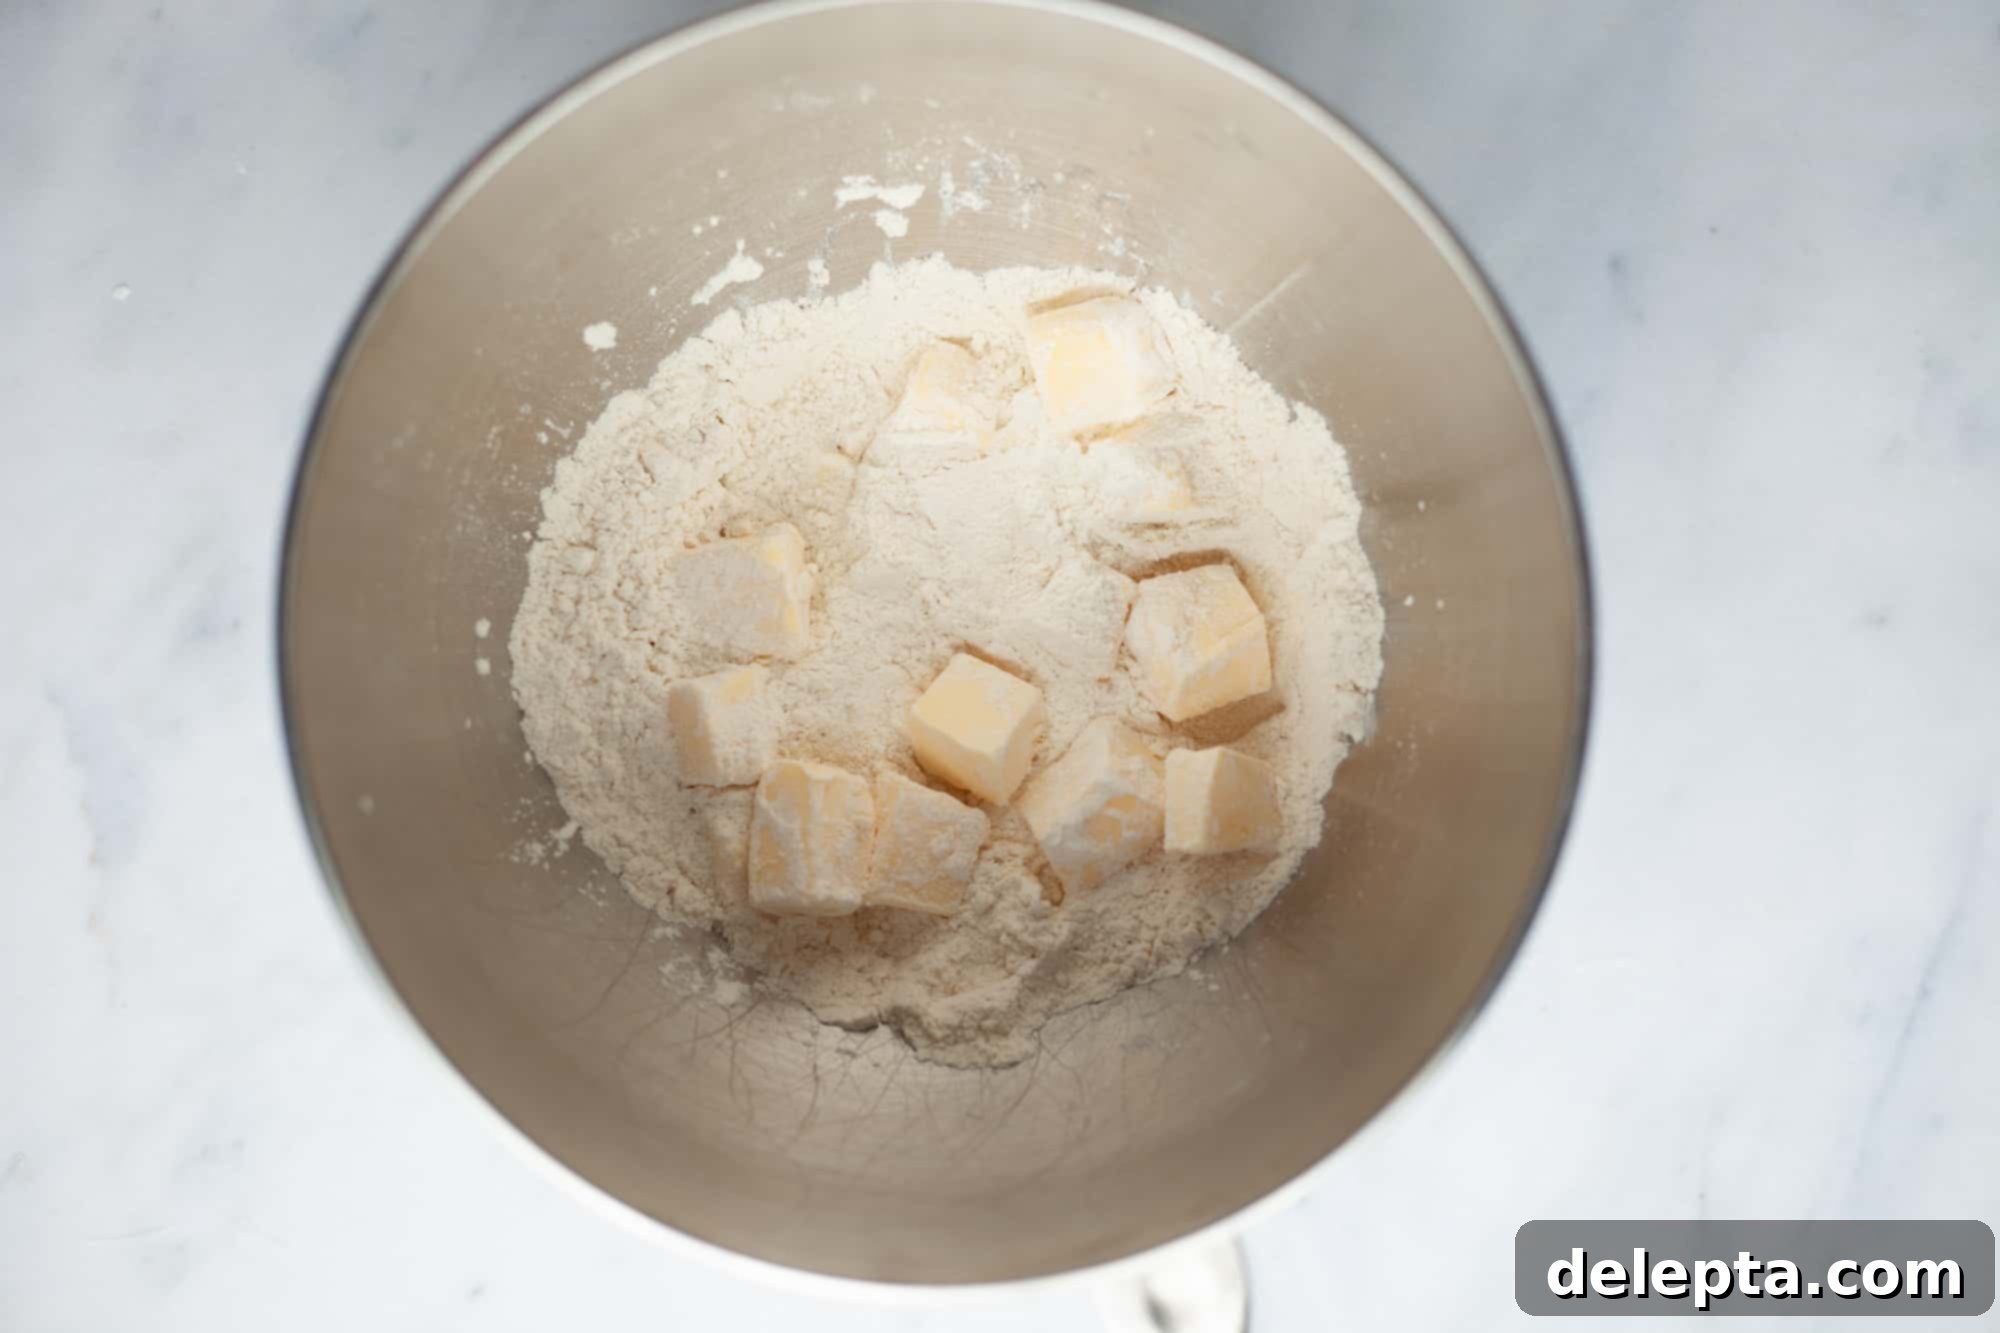
Step Two: Mix Butter into Dry Ingredients
One: Prepare and Chill All Ingredients: The golden rule for flaky pie dough is to keep everything as cold as possible. Begin by accurately measuring and prepping all your ingredients. Cut your cold butter into ½-inch cubes. In a separate small jug, combine your ice-cold water and white wine vinegar. Place your cubed butter, dry ingredients, and the water/vinegar mixture in the fridge for at least 15 minutes. This pre-chilling step is critical to prevent the butter from melting prematurely, which can lead to a tough crust. Once chilled, combine your dry ingredients (flour, salt, cornstarch) in the bowl of a stand mixer (or a large regular bowl if mixing by hand). Add the cold butter cubes and toss them gently with the flour mixture, ensuring each piece of butter is thoroughly coated. This coating prevents the butter from clumping and helps create distinct layers for flakiness.
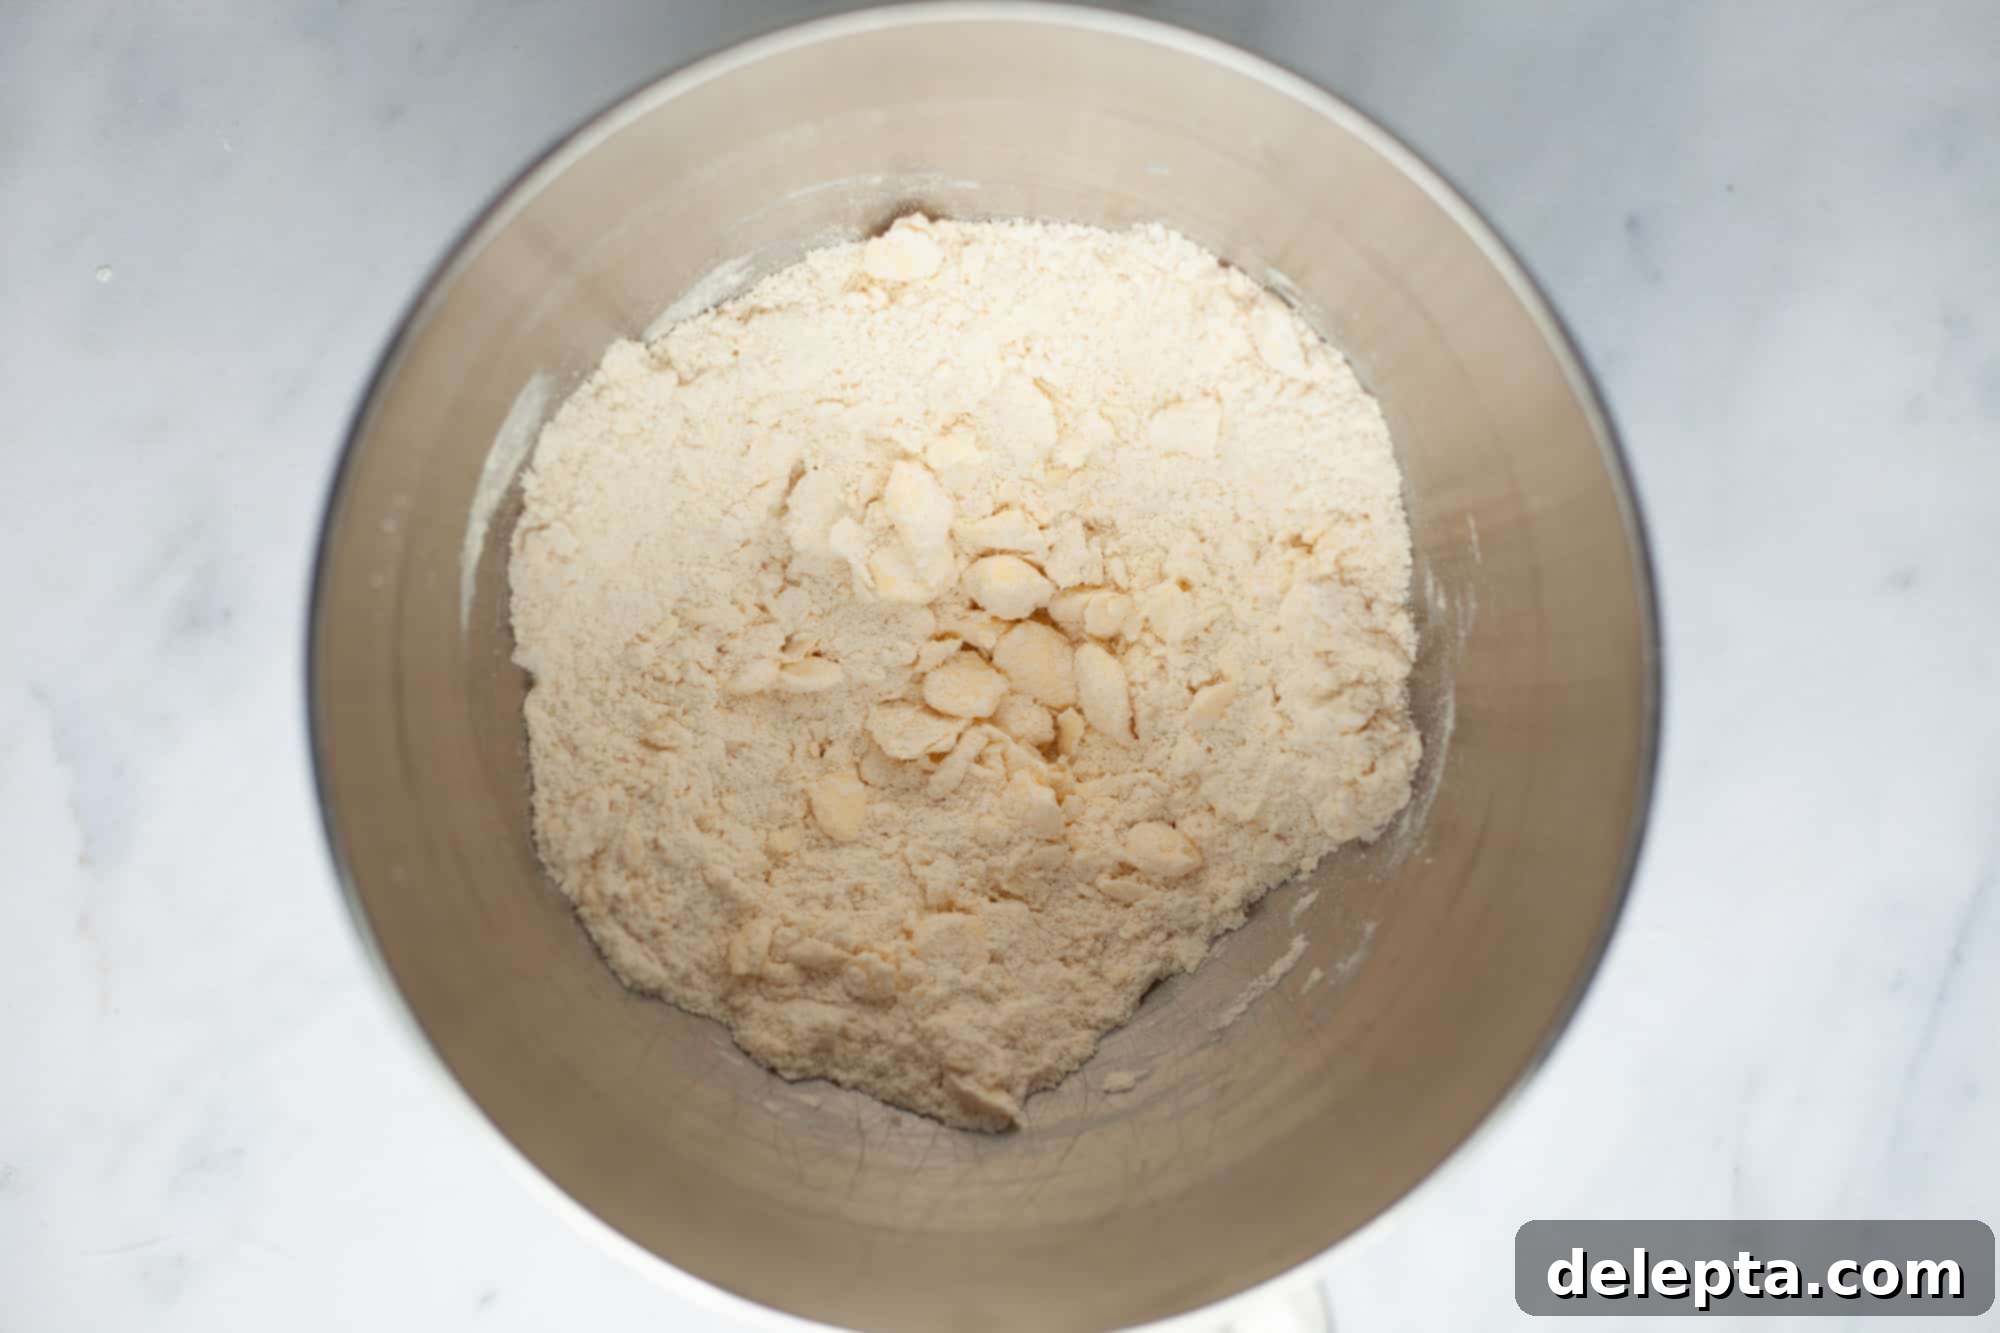
Two: Incorporate the Butter to Pea-Sized Pieces: If using a stand mixer, attach the paddle attachment and turn the speed to low. Mix for about 2 minutes. The goal here is to break down the butter into pea-sized pieces. These small pockets of butter will melt during baking, creating steam that separates the layers of dough, resulting in that desirable flaky texture. Be careful not to overmix; if the butter pieces become too small or the mixture starts to look greasy, your crust might lose its flakiness and become more cookie-like.
-

Step Three: Add Cold Liquid Gradually -

Step Four: Shape and Chill the Dough
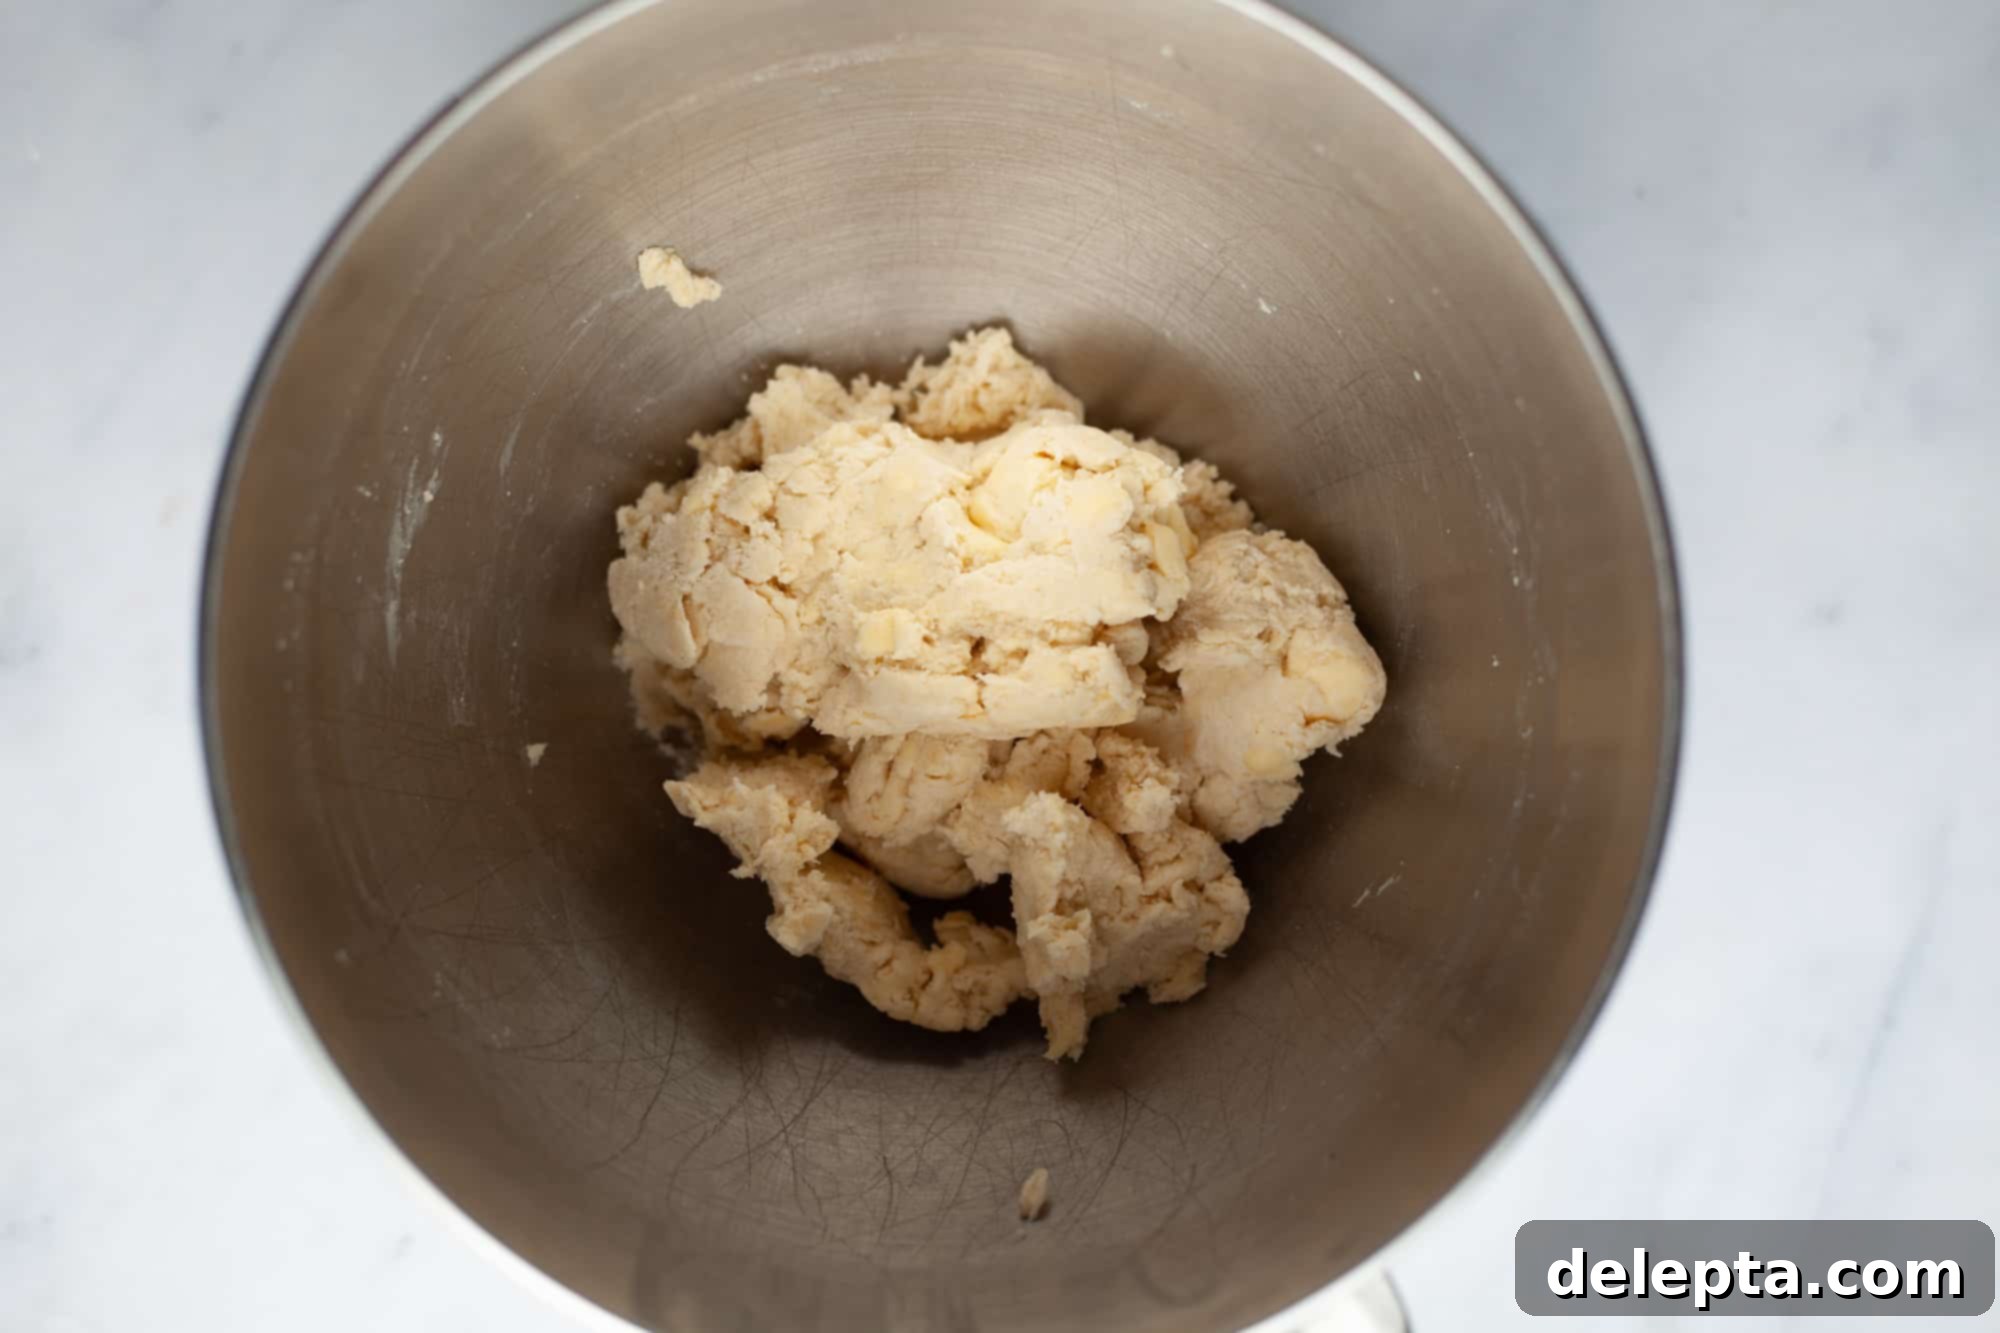
Three: Slowly Add the Cold Liquid Mixture: With your mixer still running on low speed, gradually pour in the cold water and vinegar mixture. Add it slowly, a tablespoon at a time, until the dough just begins to come together. The exact amount of liquid needed can vary based on factors like the brand of flour you’re using and the humidity in your kitchen. You might not use all of it, or you might need a tiny bit more. Stop mixing as soon as the dough is moistened and looks shaggy but not too wet or sticky. A dough that’s too wet will be difficult to roll out and can result in a tough crust, while a dough that’s too dry will be crumbly and hard to work with.
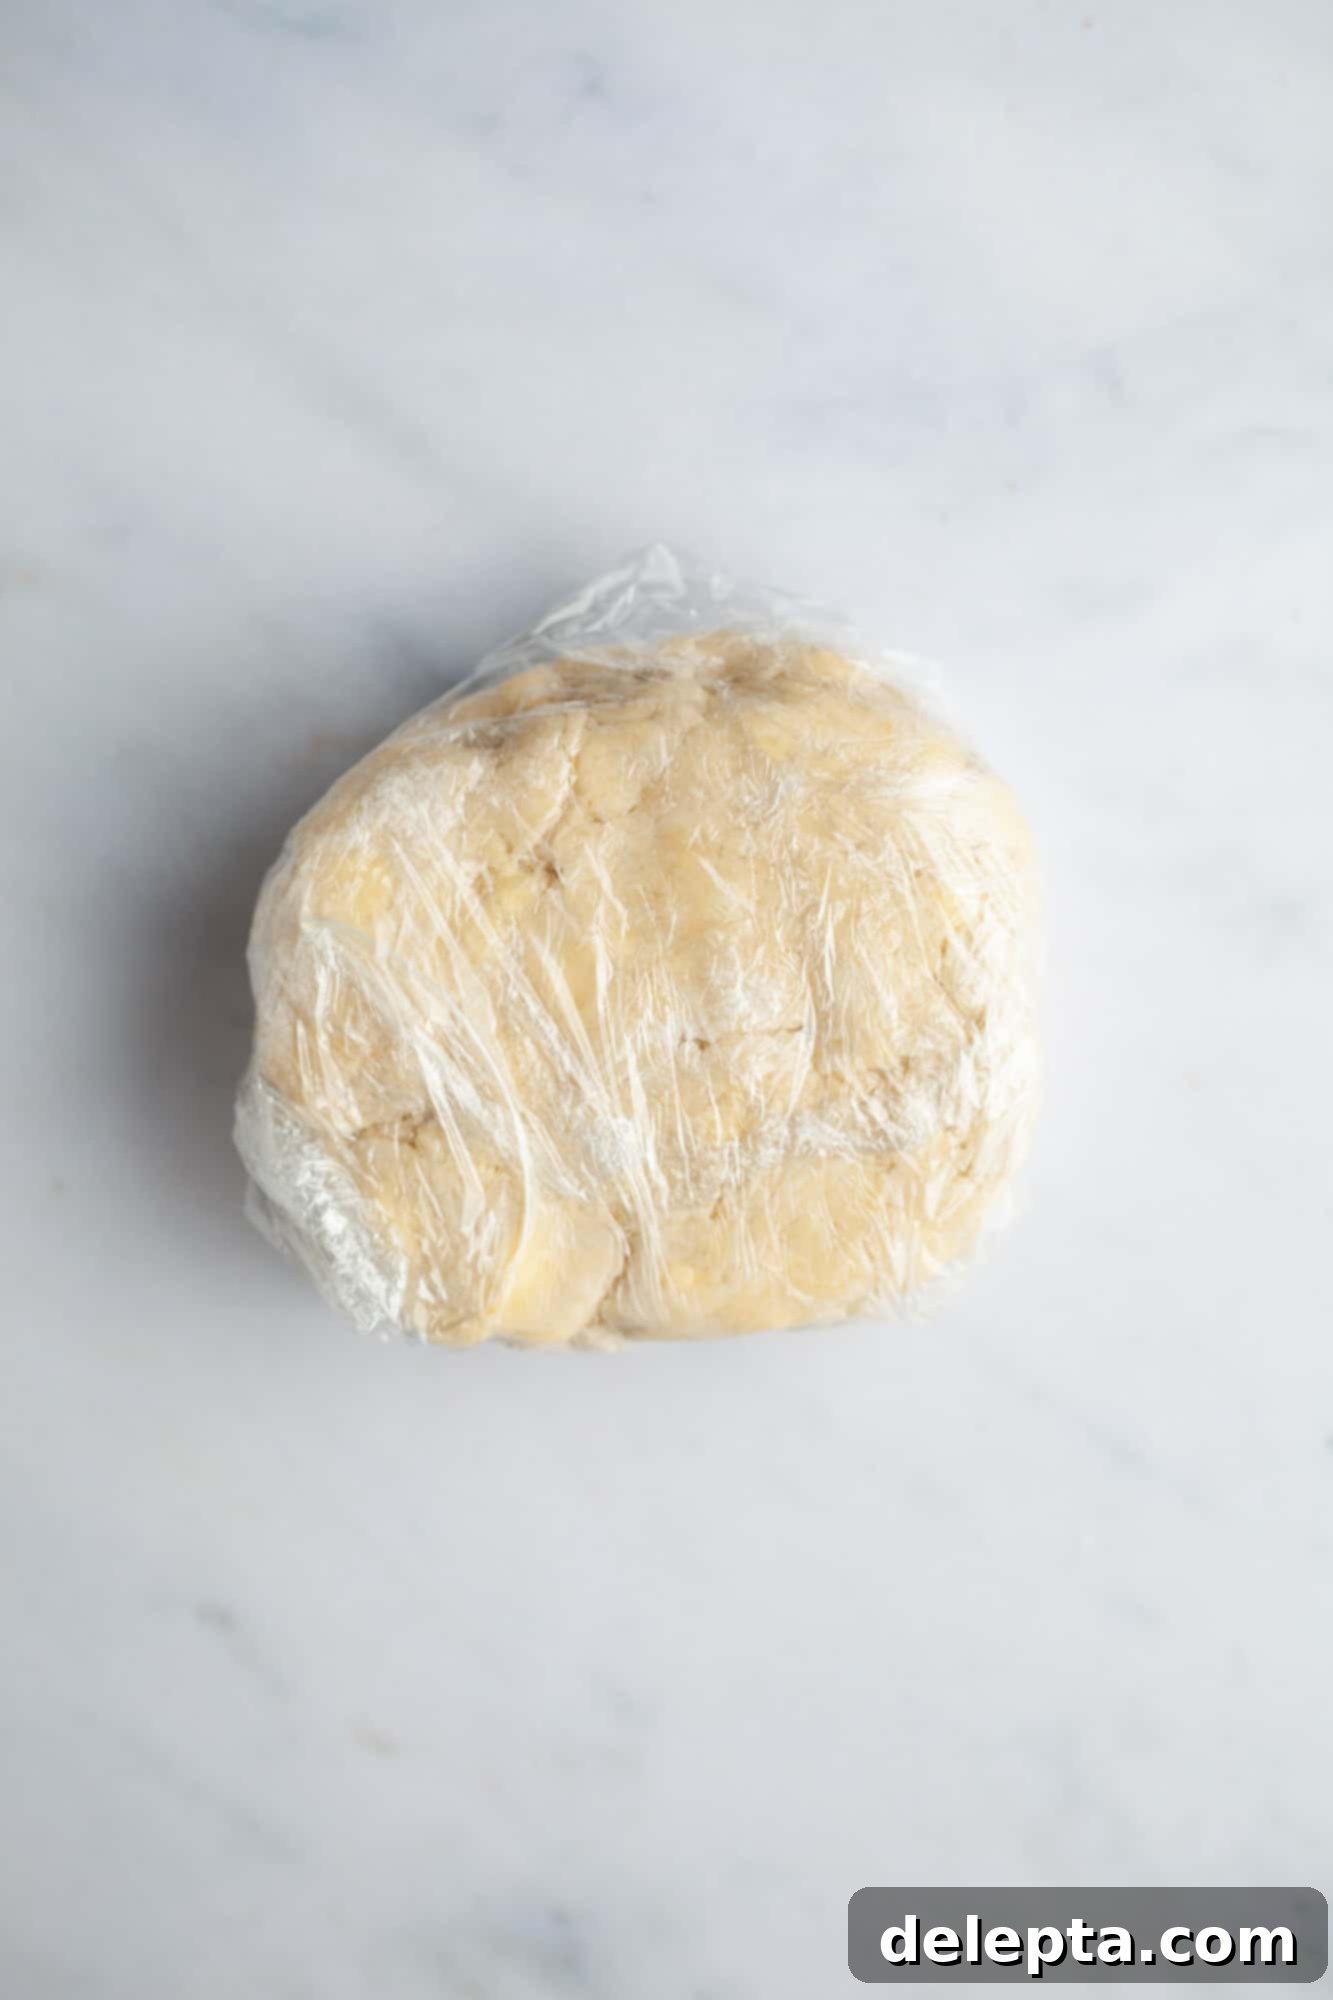
Four: Form a Disc and Chill Thoroughly: Gently gather the dough out of the bowl and shape it into a flat disc on a lightly floured surface. Avoid overworking the dough, as this can develop too much gluten and make it tough. Wrap the disc tightly in plastic wrap and refrigerate it for at least an hour. This chilling period is crucial: it allows the gluten to relax (making the dough easier to roll) and ensures the butter remains very cold, which is vital for a flaky crust. You can even prepare the dough a day or two in advance and store it in the fridge.
-

Step Five: Roll and Place the Dough -

Step Six: Crimp the Edges and Chill Again
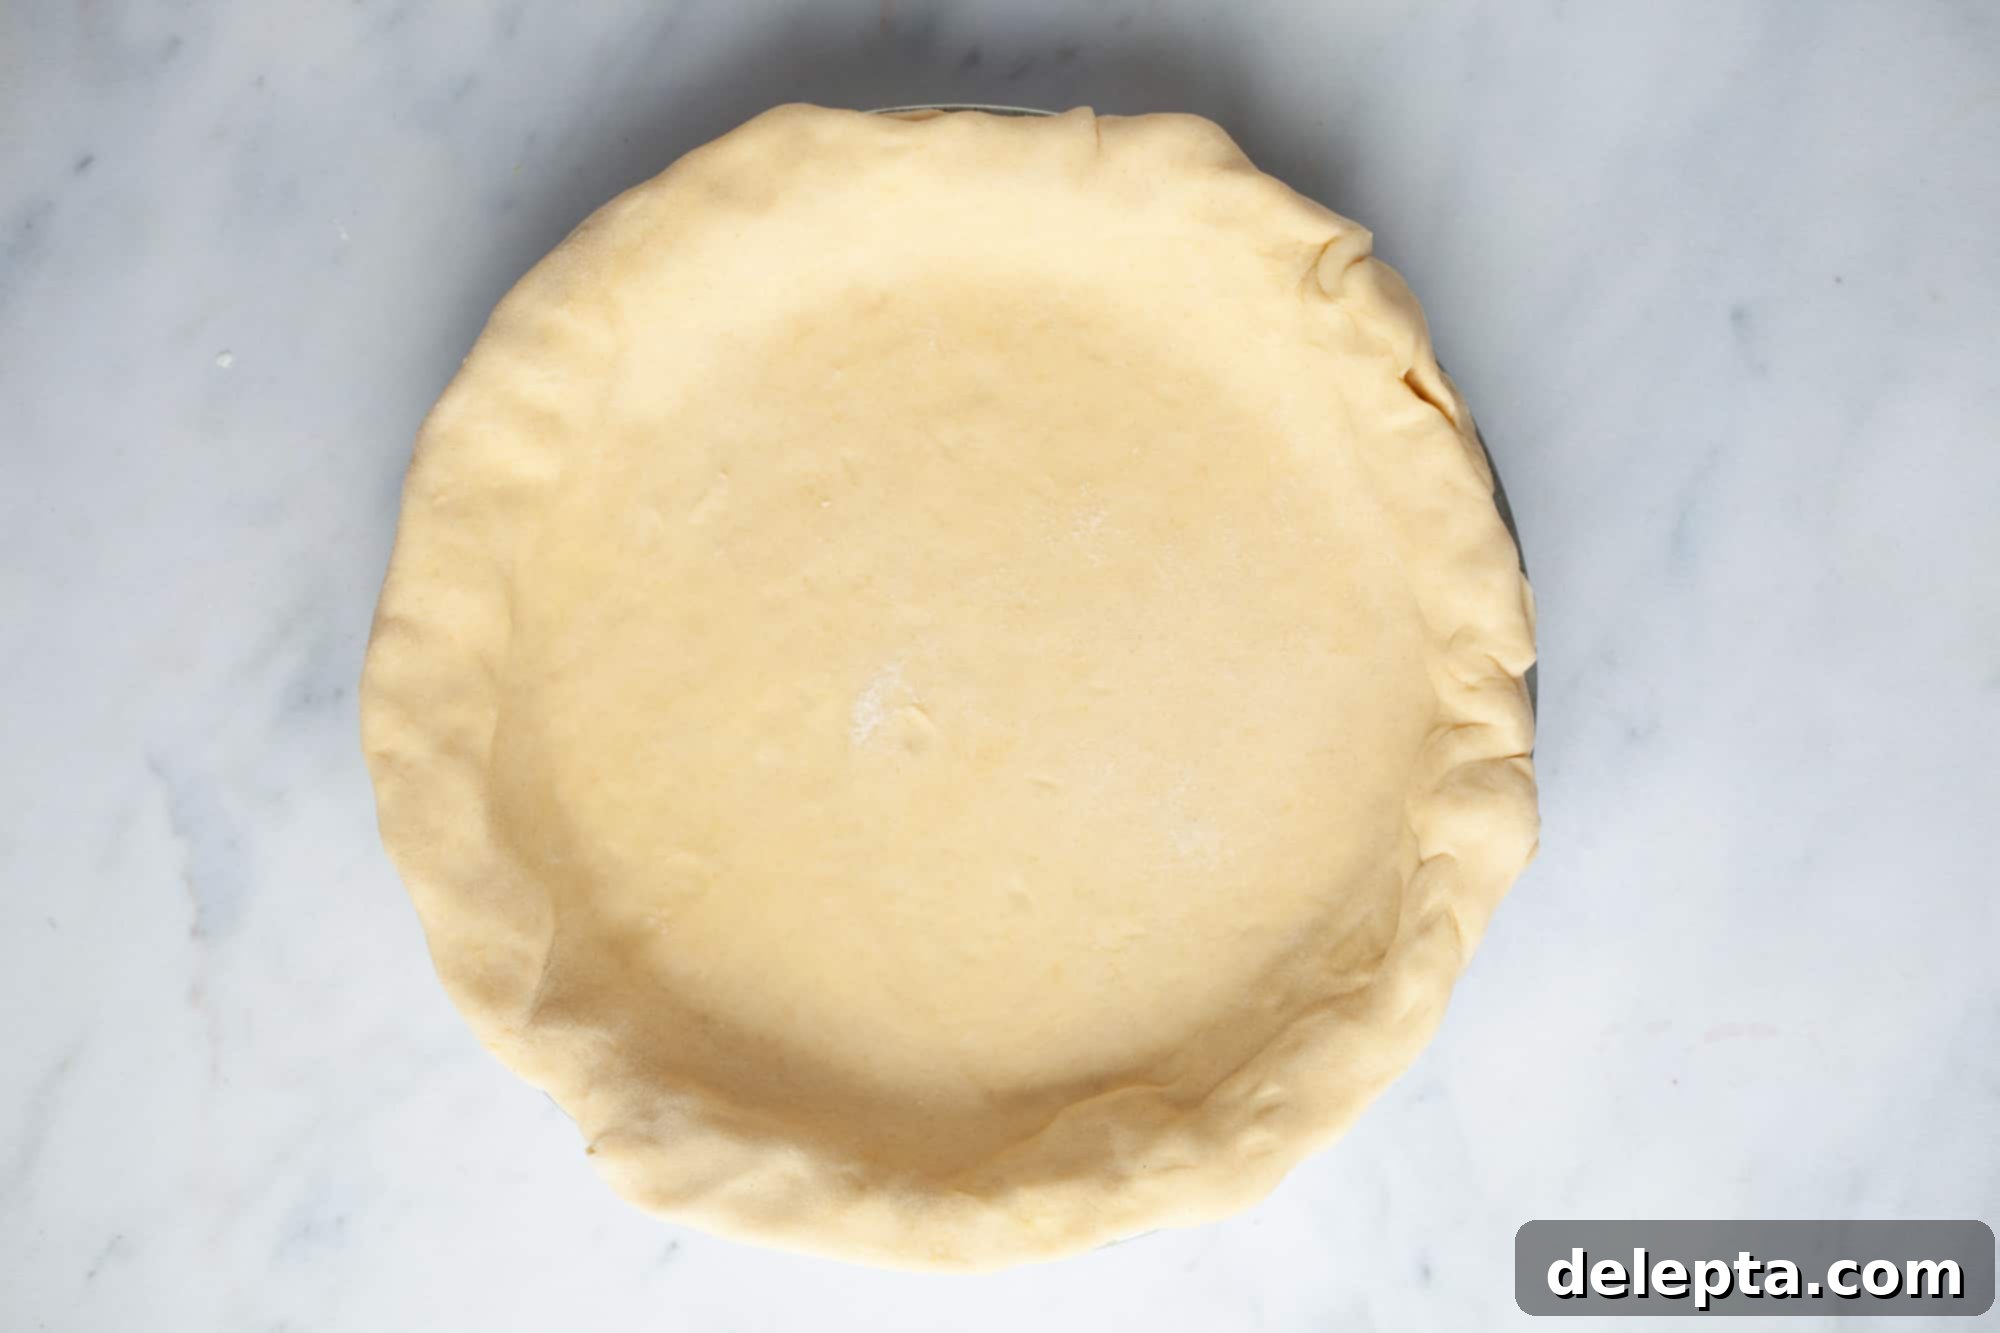
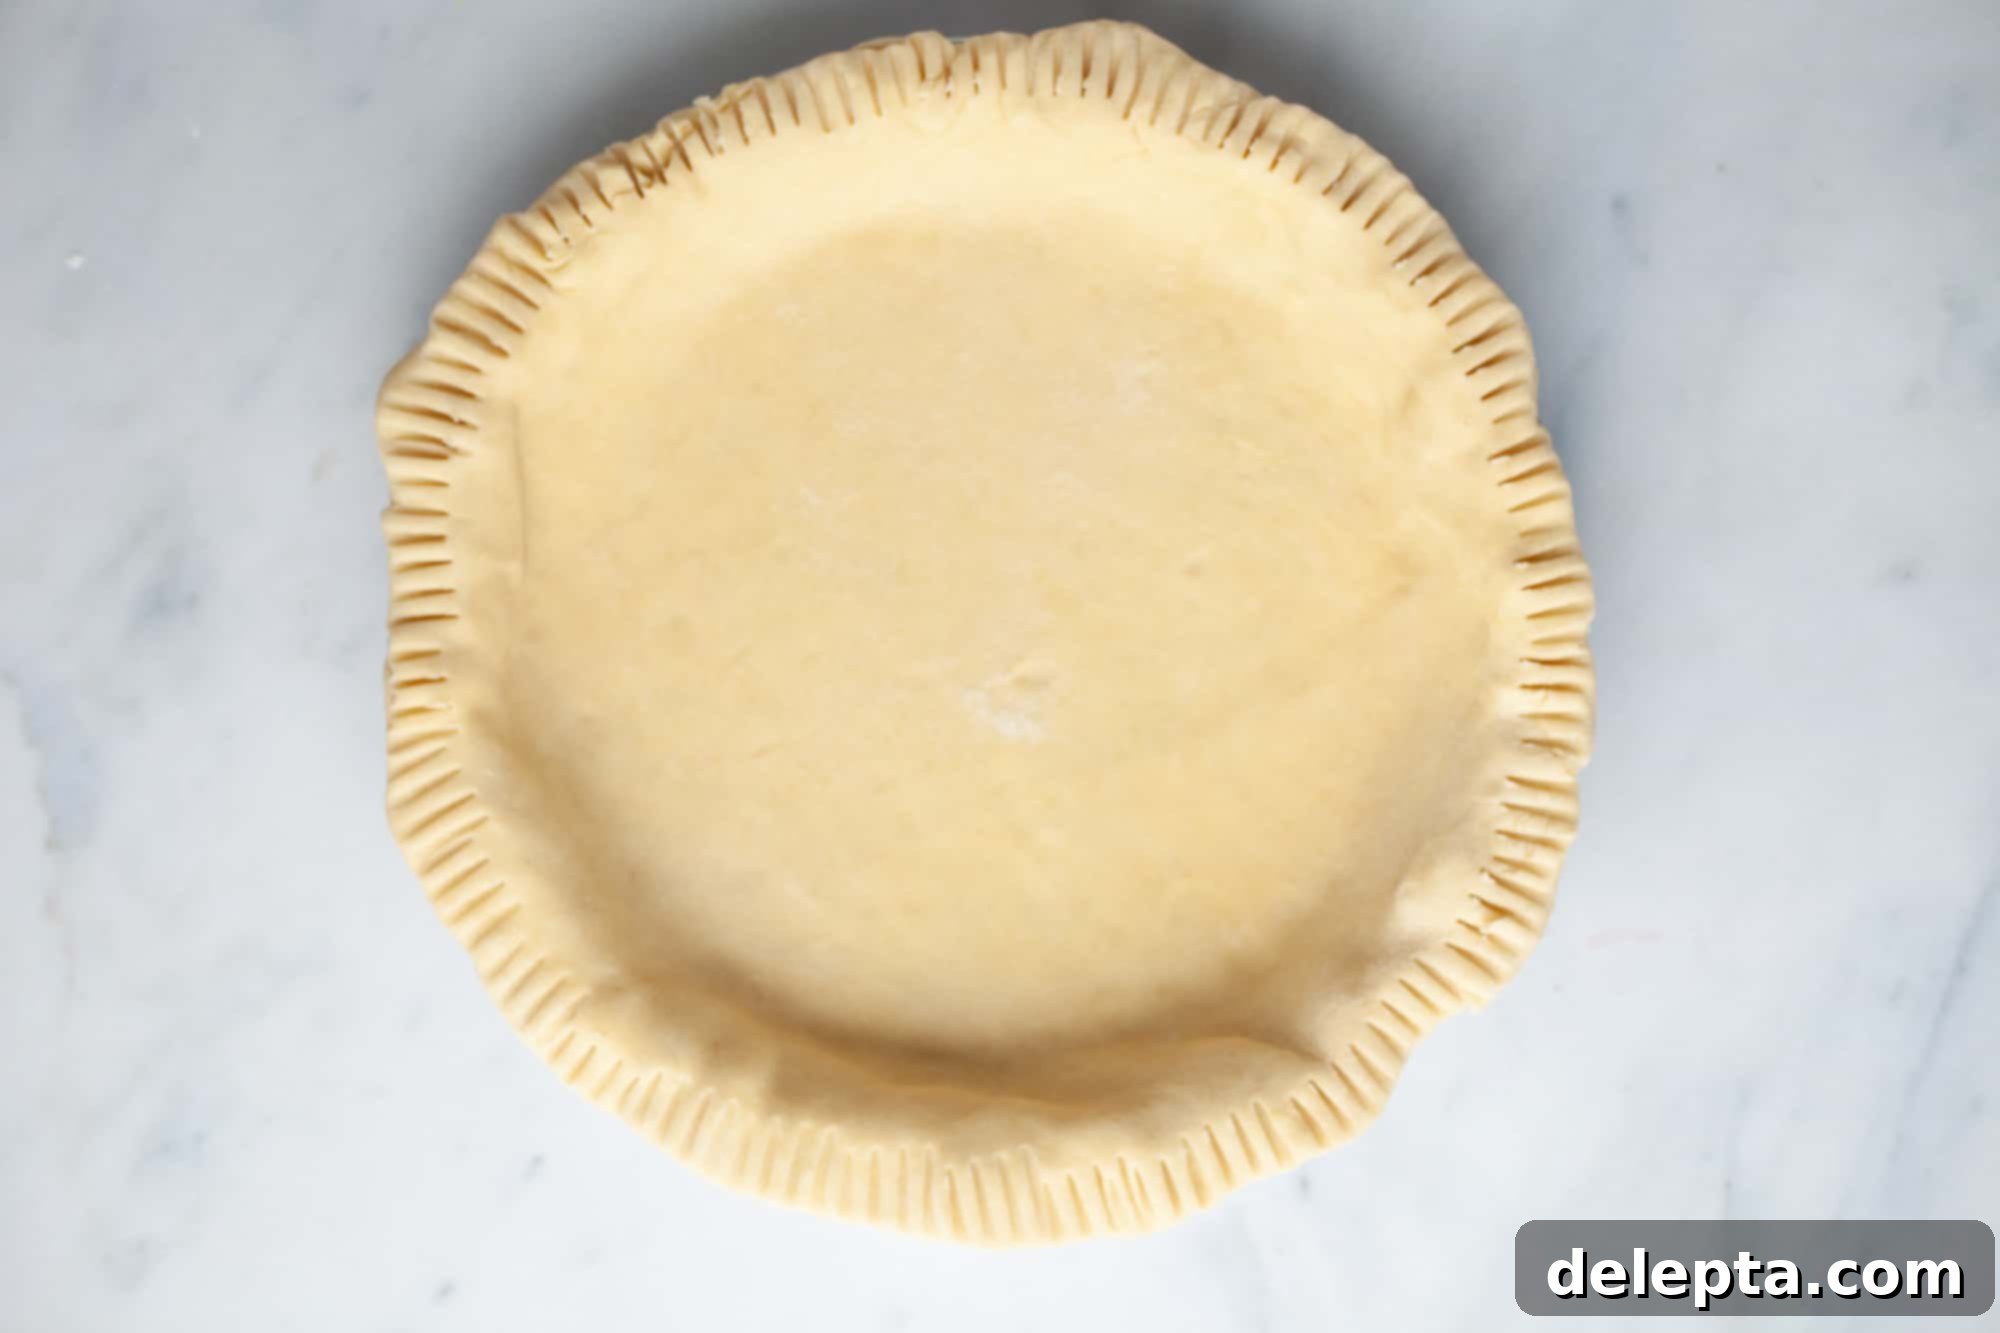
Five: Roll Out and Line Your Pie Plate: Once chilled, remove the dough from the fridge and let it sit at room temperature for a few minutes if it’s too hard to roll immediately. Lightly flour your work surface and rolling pin. Roll out the dough into a circular shape, about 1 inch wider than your pie plate. Carefully transfer the rolled dough into your 9-inch pie plate. Gently ease the dough into the corners without stretching it, which can cause shrinkage during baking. Trim any excessive overhang with kitchen scissors, leaving about a 1-inch border. Then, tuck the edges under themselves and gently press them together to create a neat, sturdy rim.
Six: Crimp the Edges and Chill Again: Now for the decorative touch! You can crimp the edges of your pie dough using your fingers, a fork, or specific pie crimpers to create a beautiful pattern. A simple fork crimp, as shown, is both easy and elegant. Once crimped, cover your pie crust with plastic wrap and return it to the fridge for another 15-30 minutes. This final chilling step helps the crust hold its shape during baking, preventing it from shrinking or slumping in the oven.
Preparing the Flavorful Filling and Crunchy Topping
With your pie crust ready, it’s time to assemble the delicious cherry rhubarb filling and the irresistible cinnamon oat crumble.
-

Step Seven: Mix the Crumble Topping -

Step Eight: Combine Filling and Bake
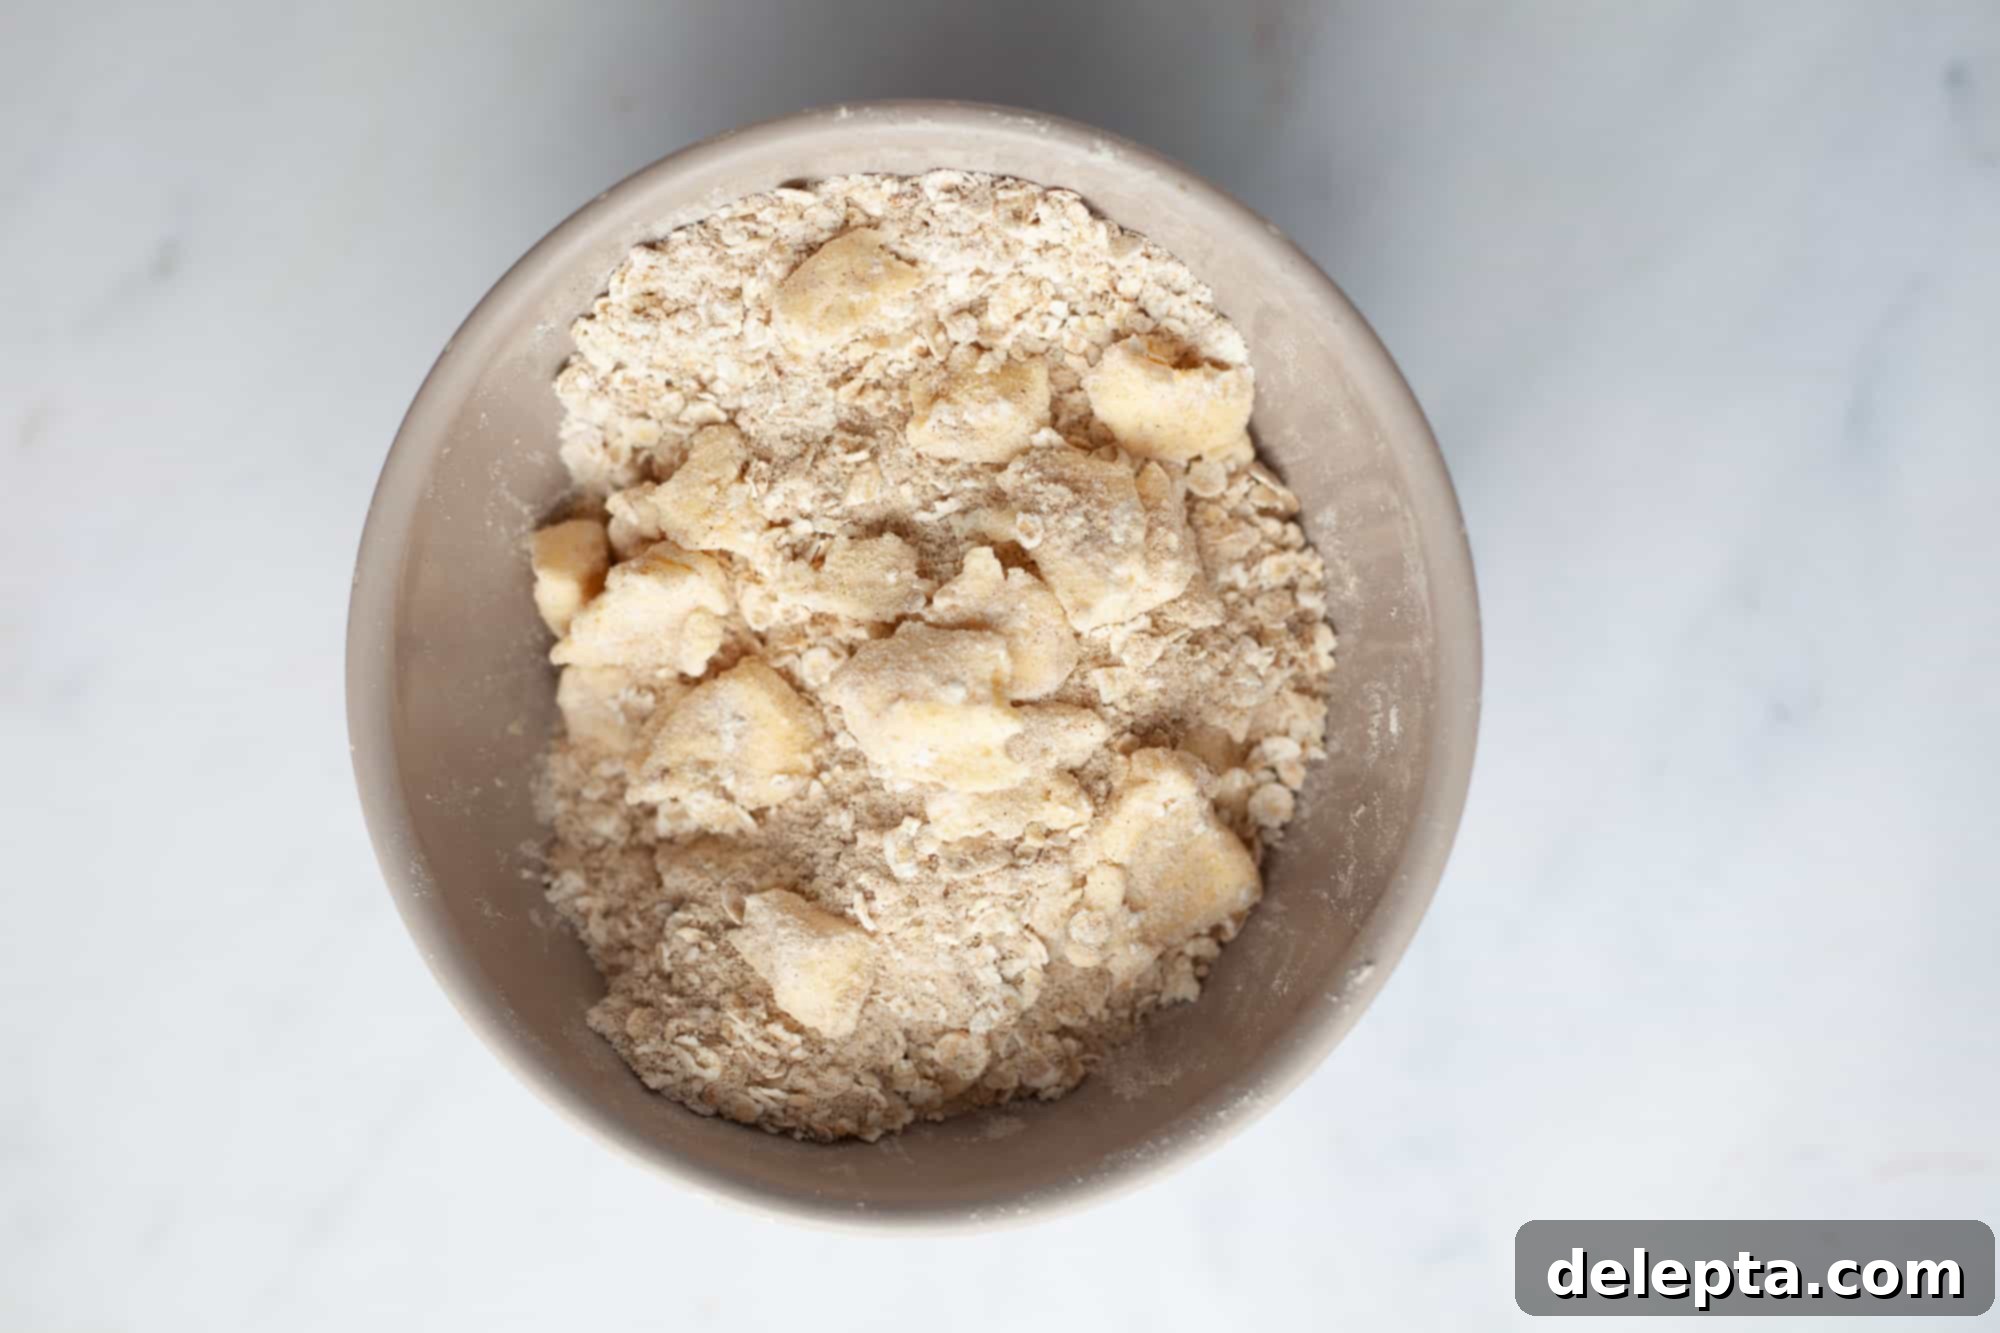
Seven: Create the Cinnamon Oat Crumble Topping: In a medium bowl, combine all the dry ingredients for the crumble topping: rolled oats, all-purpose flour, light brown sugar, kosher salt, and ground cinnamon. Add the cold, cubed unsalted butter. Use your fingertips to work the butter into the dry ingredients until the mixture resembles coarse, wet sand with some larger pea-sized clumps. This technique ensures a perfectly crumbly texture. Set the topping aside. While you prepare the fruit, preheat your oven to 400°F (200°C) and line a baking tray with foil. This foil-lined tray is a simple yet effective trick to catch any fruit juices that might bubble over during baking, saving you from a messy oven cleanup.
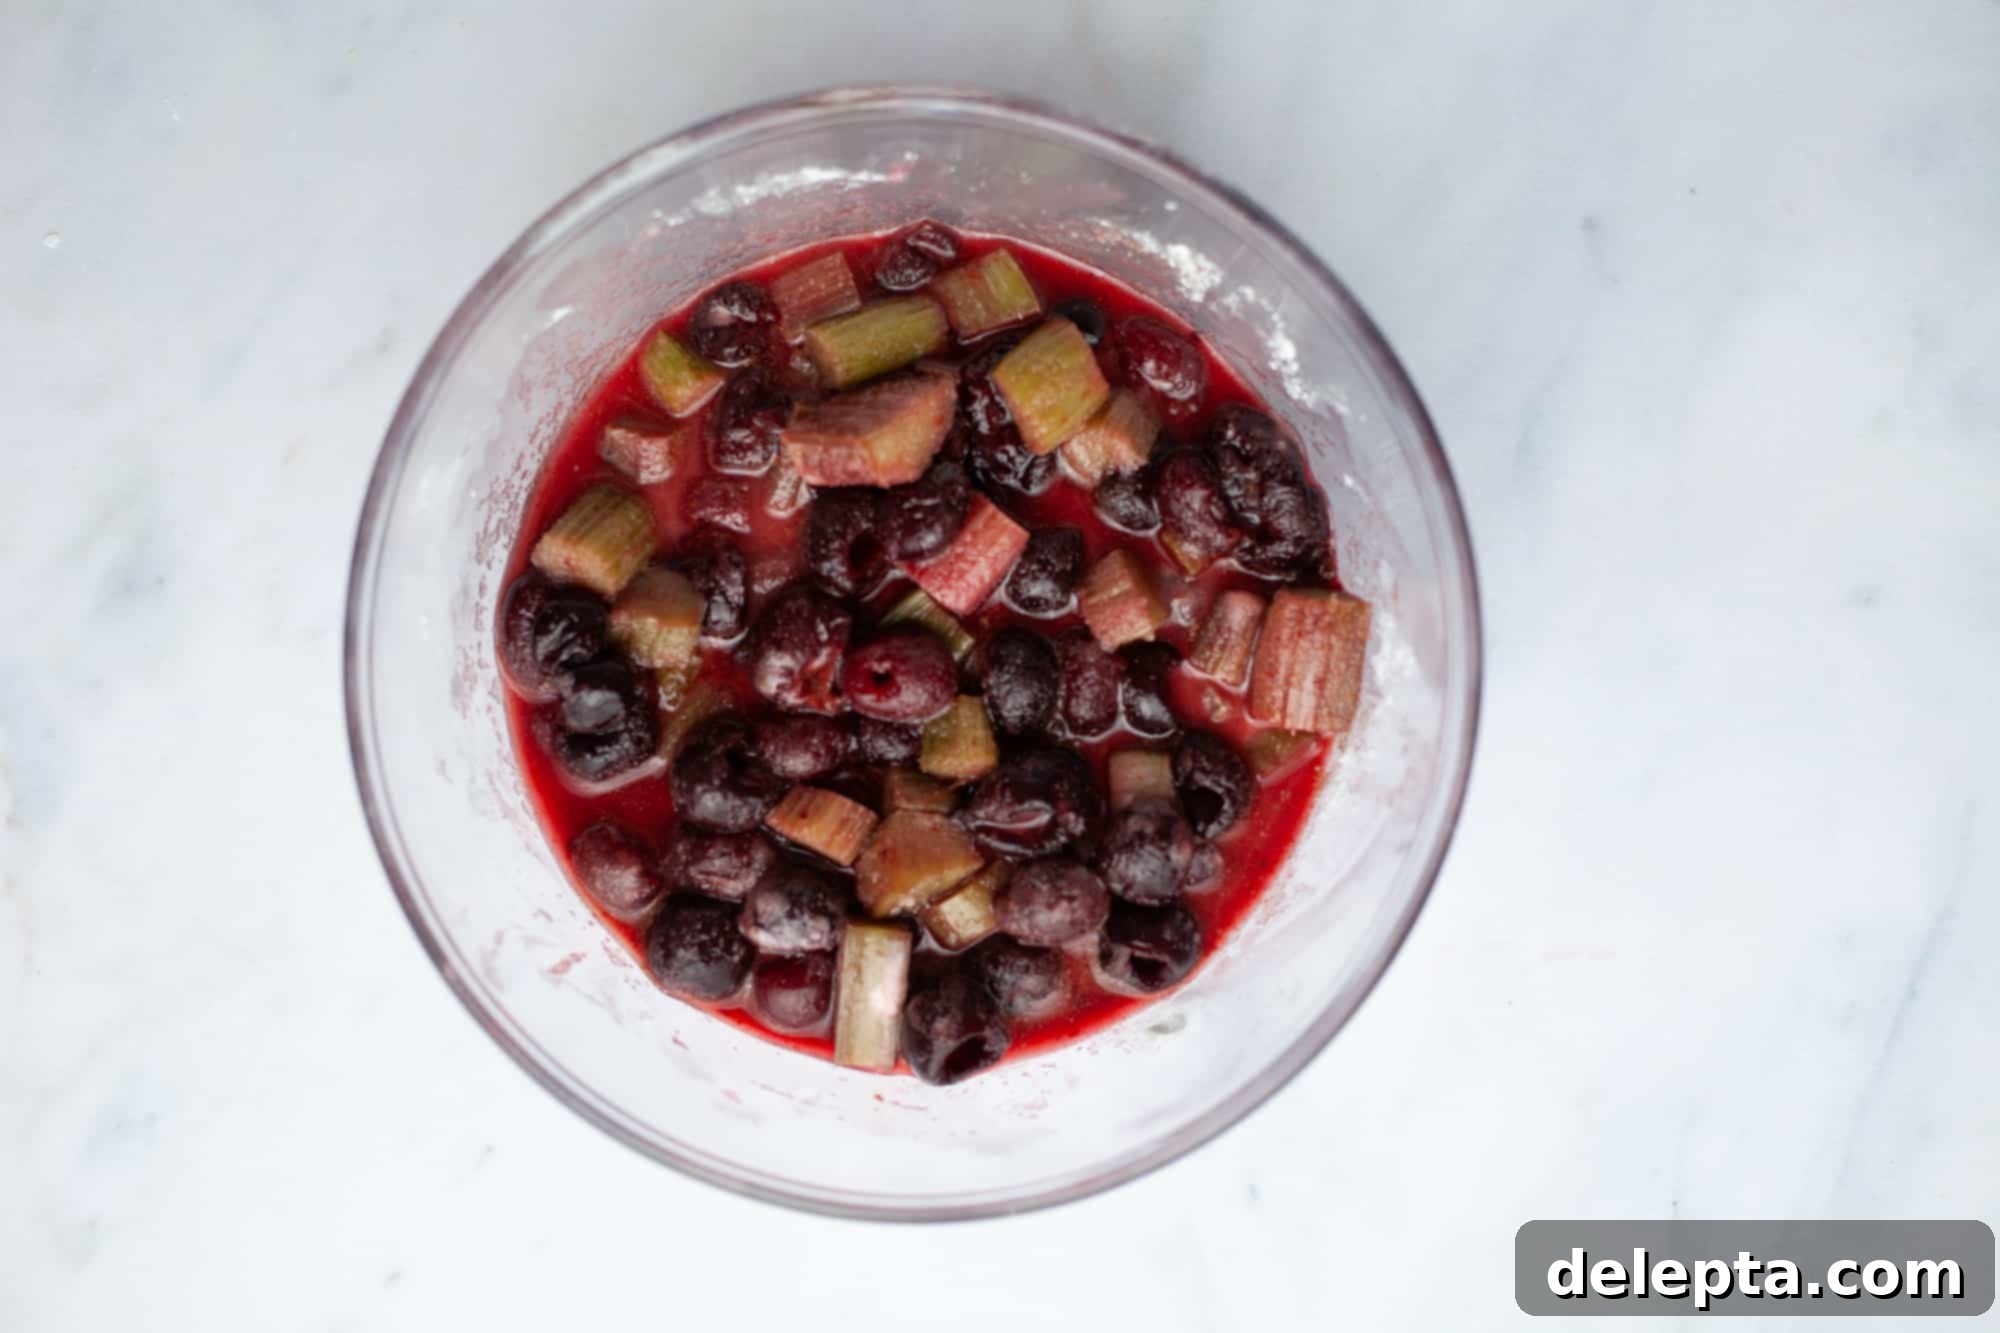
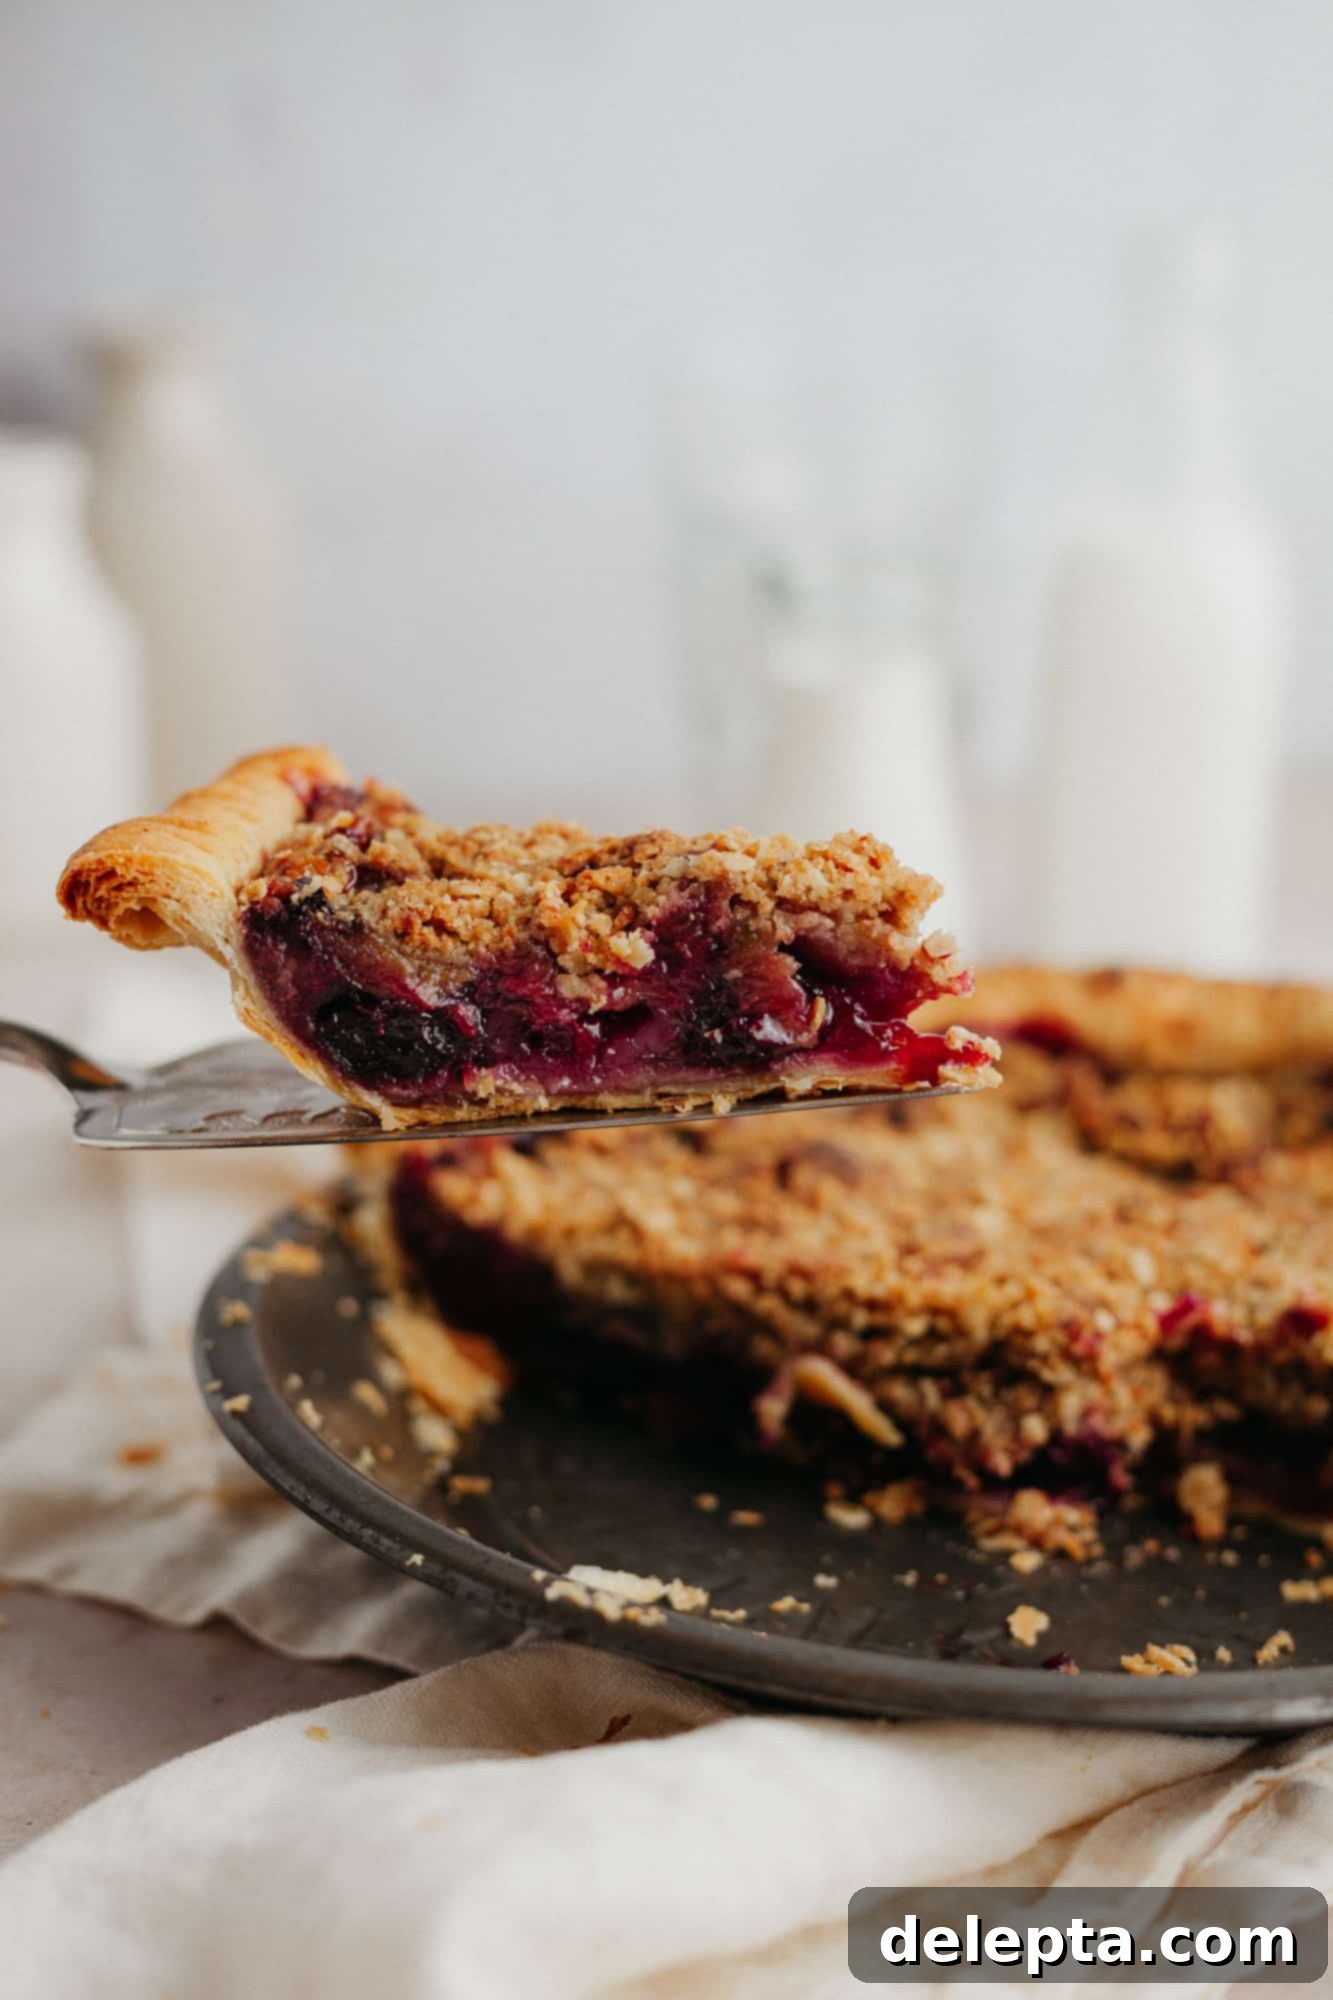
Eight: Assemble the Filling and Bake Your Pie: In a large bowl, combine the thawed cherries, sliced rhubarb, sugar, cornstarch, lemon juice, vanilla extract, almond extract, and kosher salt. Toss gently to coat all the fruit evenly. Let this mixture sit for about 10 minutes. This resting time allows the fruit to release some of its natural juices, which then combine with the cornstarch to create a thick, flavorful sauce as it bakes. Remove your chilled pie crust from the refrigerator and pour the fruit filling evenly into it. Finally, generously sprinkle the prepared cinnamon oat crumble topping over the fruit. Return the assembled pie to the fridge for another 15 minutes while the oven finishes preheating. This final chill helps maintain the crust’s structure. Place the pie on the foil-lined baking sheet and bake for 55-60 minutes, or until the juices are visibly bubbling thickly in the center and the crumble is golden brown.
Expert Baking Tips for a Perfect Pie
Achieving pie perfection is easier with a few insider tips. Keep these in mind as you bake your cherry rhubarb pie:
- Maintain a Cold Pie Crust: This is paramount for flakiness! If you notice your pie dough becoming warm or the butter starting to melt during the rolling process, don’t hesitate to pop it back into the fridge for 15-20 minutes. A warm dough means the butter will seep out of the crust in the initial baking stages, resulting in a brittle, tough, and less flaky crust. Always aim for a very cold crust before it goes into the oven.
- Identify When Your Pie is Truly Done: You’ll know your cherry rhubarb pie is perfectly baked when the fruit juices are actively bubbling in the center and around the edges. Look for slow, thick bubbles, not thin, watery ones. This indicates that the filling has thickened properly. The crumble topping should also be deeply golden brown.
- Prevent Over-Browning of the Crust: If you notice your pie crust or crumble topping browning too quickly during the baking process, especially around the edges, simply create a “foil tent.” Loosely cover the edges of the pie with aluminum foil to shield them from direct heat. This allows the pie to continue baking without burning the crust.
- Patience is Key: Allow the Pie to Cool Completely: This is arguably the most important step for a perfectly set pie. While it’s tempting to cut into a warm pie, resist the urge! The filling needs several hours (at least 3-4 hours, or even longer) to cool down and fully set. If you slice into it too soon, the juices will still be runny, leading to a sloppy, unappealing slice. A completely cooled pie will give you neat, firm slices.
- Don’t Overwork the Dough: When mixing your pie dough, stop as soon as it comes together. Overworking the dough develops gluten excessively, which can make your crust tough and less tender. Handle the dough as little as possible.
- Adjust Sugar to Taste: Depending on the sweetness of your cherries and the tartness of your rhubarb, you might want to adjust the sugar slightly. If your fruit is particularly sweet, you might reduce the sugar by a tablespoon or two. If it’s very tart, you can add a bit more.
- Make Ahead Option: You can prepare the pie dough disc up to 2-3 days in advance and keep it wrapped tightly in the refrigerator. You can also assemble the entire unbaked pie (with the crumble topping) and freeze it for up to 1 month. When ready to bake, place the frozen pie directly into a preheated oven (no need to thaw) and bake for a longer duration, adding about 20-30 minutes to the baking time, or until golden and bubbling.
Frequently Asked Questions About Cherry Rhubarb Pie
Absolutely, yes! This recipe was developed with frozen fruit in mind for year-round enjoyment. I successfully tested it with both frozen rhubarb and frozen sweet cherries. When using frozen fruit, remember to place them in a bowl in the refrigerator for about 4 hours to thaw completely. It’s crucial to drain any excess liquid that accumulates during thawing before adding the fruit to your pie filling. This prevents the pie from becoming watery.
If you are new to baking pies, a glass pie dish is an excellent choice. Glass allows you to visually check if the bottom crust is fully cooked and golden brown, which is often a challenge for beginners. For those with more experience, or who prefer a crispier bottom crust, a metal pie dish (like the one I used here) is a fantastic option as it conducts heat more efficiently, leading to faster and more even browning of the crust.
Once your pie has completely cooled, cover it loosely with plastic wrap or aluminum foil. Store the pie in the refrigerator for up to one week. For longer storage, you can freeze individual slices or the whole pie (if unbaked, see “Make Ahead Option” above) for up to 2-3 months. To reheat, thaw in the refrigerator overnight and warm gently in a low oven (around 300°F/150°C) until heated through.
To bring back that freshly baked warmth, preheat your oven to 300°F (150°C). Place individual slices or the entire pie (if not frozen) on a baking sheet and heat for about 15-20 minutes, or until warmed through. This method helps to re-crisp the crust and crumble topping. Avoid microwaving, as it can make the crust soggy.
This cherry rhubarb pie is delightful on its own, but it truly shines when paired with certain accompaniments. A scoop of premium vanilla bean ice cream is a classic choice, as its creaminess and sweetness perfectly complement the fruit. A dollop of freshly whipped cream also works wonderfully. For a touch of elegance, consider a drizzle of crème anglaise or a sprinkle of chopped toasted almonds.
Explore More Delicious Pie Recipes:
- Chocolate Coconut Cream Pie
- Peach Pie with Graham Cracker Crust
- Bourbon Apple Pie
If you bake this incredible cherry rhubarb pie, I’d love to see it! Make sure to tag me on Instagram @alpineella and leave a review below to share your experience. For more inspiring baking ideas and recipes, you can also follow me on Pinterest.
Recipe
Cherry Rhubarb Pie with Oat Crumble
Ella Gilbert
Pin Recipe
Save RecipeSaved!
Equipment
-
9″ pie tin
Ingredients
Pie Dough
- 1 ½ cups all purpose flour
- ½ teaspoon kosher salt
- 1 teaspoon cornstarch
- 10 tablespoon unsalted butter
- 1 teaspoon white wine vinegar
- ⅓ cup cold water
Cherry Rhubarb Pie Filling
- 3 cups cherries
- 3 cups thickly sliced rhubarb
- 1 teaspoon vanilla extract
- ¼ teaspoon almond extract
- 2 tablespoon lemon juice
- ⅓ cup cornstarch
- ½ teaspoon kosher salt
- 1 ⅓ cup sugar
- ¼ teaspoon ground cinnamon
Crumb Topping
- ½ cup rolled oats
- ⅓ cup all purpose flour
- ¼ cup light brown sugar
- ½ teaspoon kosher salt
- 4 tablespoon unsalted butter cold and cubed
- ¼ teaspoon ground cinnamon
Instructions
Make Pie Dough
-
Combine the flour, cornstarch, and salt in a large bowl. Cut the butter into ½-inch cubes and spread them on a plate. In a separate jug, mix the cold water and white wine vinegar. Place all these ingredients (dry mix, butter, and liquid mix) in the fridge for at least 15 minutes to chill thoroughly.
-
Transfer the chilled dry ingredients into the bowl of a stand mixer fitted with the paddle attachment. Add the cold butter cubes, ensuring they are well coated in the flour mixture.
-
Set the mixer speed to low and mix for approximately 2 minutes, until the butter pieces are roughly the size of peas. If mixing by hand, use your fingertips to combine the butter and flour until pea-sized.
-
With the mixer still running on low, slowly pour in the cold water/vinegar mixture until the dough is moistened and just begins to come together. You may not need all of the liquid; stop when the dough is dampened but not overly wet (I usually have about 1 tbsp leftover). If mixing by hand, make a well in the center of the dry ingredients and pour in the liquid, then gently toss with your hands until combined.
-
Turn the dough out onto a lightly floured surface and gently shape it into a disc. Wrap the disc tightly in plastic wrap and chill in the refrigerator for at least 1 hour.
-
While the dough chills, preheat your oven to 400°F (200°C). Line a baking tray with foil to catch any potential bubbling juices and prevent oven mess.
-
After the dough has chilled, roll it out on a lightly floured surface until it forms a circle approximately 1 inch wider than your 9-inch pie plate. Carefully transfer the rolled dough into the pie plate. Trim any excess dough, leaving about a 1-inch overhang, then tuck the edges under and gently press them together to form a neat rim. Crimp the edges as desired (a fork works well for a simple pattern). Chill the prepared pie crust for another 15 minutes while you prepare the filling.
Cherry Rhubarb Filling + Topping
-
In a large bowl, combine the thawed cherries, sliced rhubarb, sugar, cornstarch, lemon juice, vanilla extract, almond extract, and kosher salt. Toss gently to ensure all the fruit is coated. Let the mixture sit for 10 minutes to allow the flavors to meld and juices to release.
-
In a medium bowl, mix together all the crumble topping ingredients (rolled oats, flour, brown sugar, salt, cold cubed butter, ground cinnamon) until the mixture resembles coarse, wet sand with some small clumps.
-
Pour the prepared cherry rhubarb filling evenly into the chilled pie crust. Sprinkle the oat crumble topping generously over the fruit filling. Place the assembled pie back in the fridge for a final 15-minute chill.
-
Place the pie plate on the foil-lined baking sheet and bake for 55-60 minutes. The pie is ready when the juices in the center are visibly bubbling thickly, and the crumble topping is golden brown. If the crust edges brown too quickly, loosely tent them with foil.
Notes
Frozen Fruit: This recipe works wonderfully with frozen fruit. If using, thaw frozen cherries and rhubarb in a bowl in the fridge for at least 4 hours beforehand. Be sure to drain any excess liquid before combining with the other filling ingredients.
Kosher Salt Conversion: If you don’t have kosher salt, you can use regular fine-grain salt, but reduce the amount by half. As a general rule, 1 teaspoon of kosher salt is equivalent to ½ teaspoon of fine salt.
Butter Type: For an exceptionally flaky and rich pie dough, I highly recommend using European-style butter, which has a higher butterfat content.
Nutrition
