Irresistible Classic Peanut Butter Hershey’s Kiss Cookies: The Ultimate Thumbprint Blossom Recipe
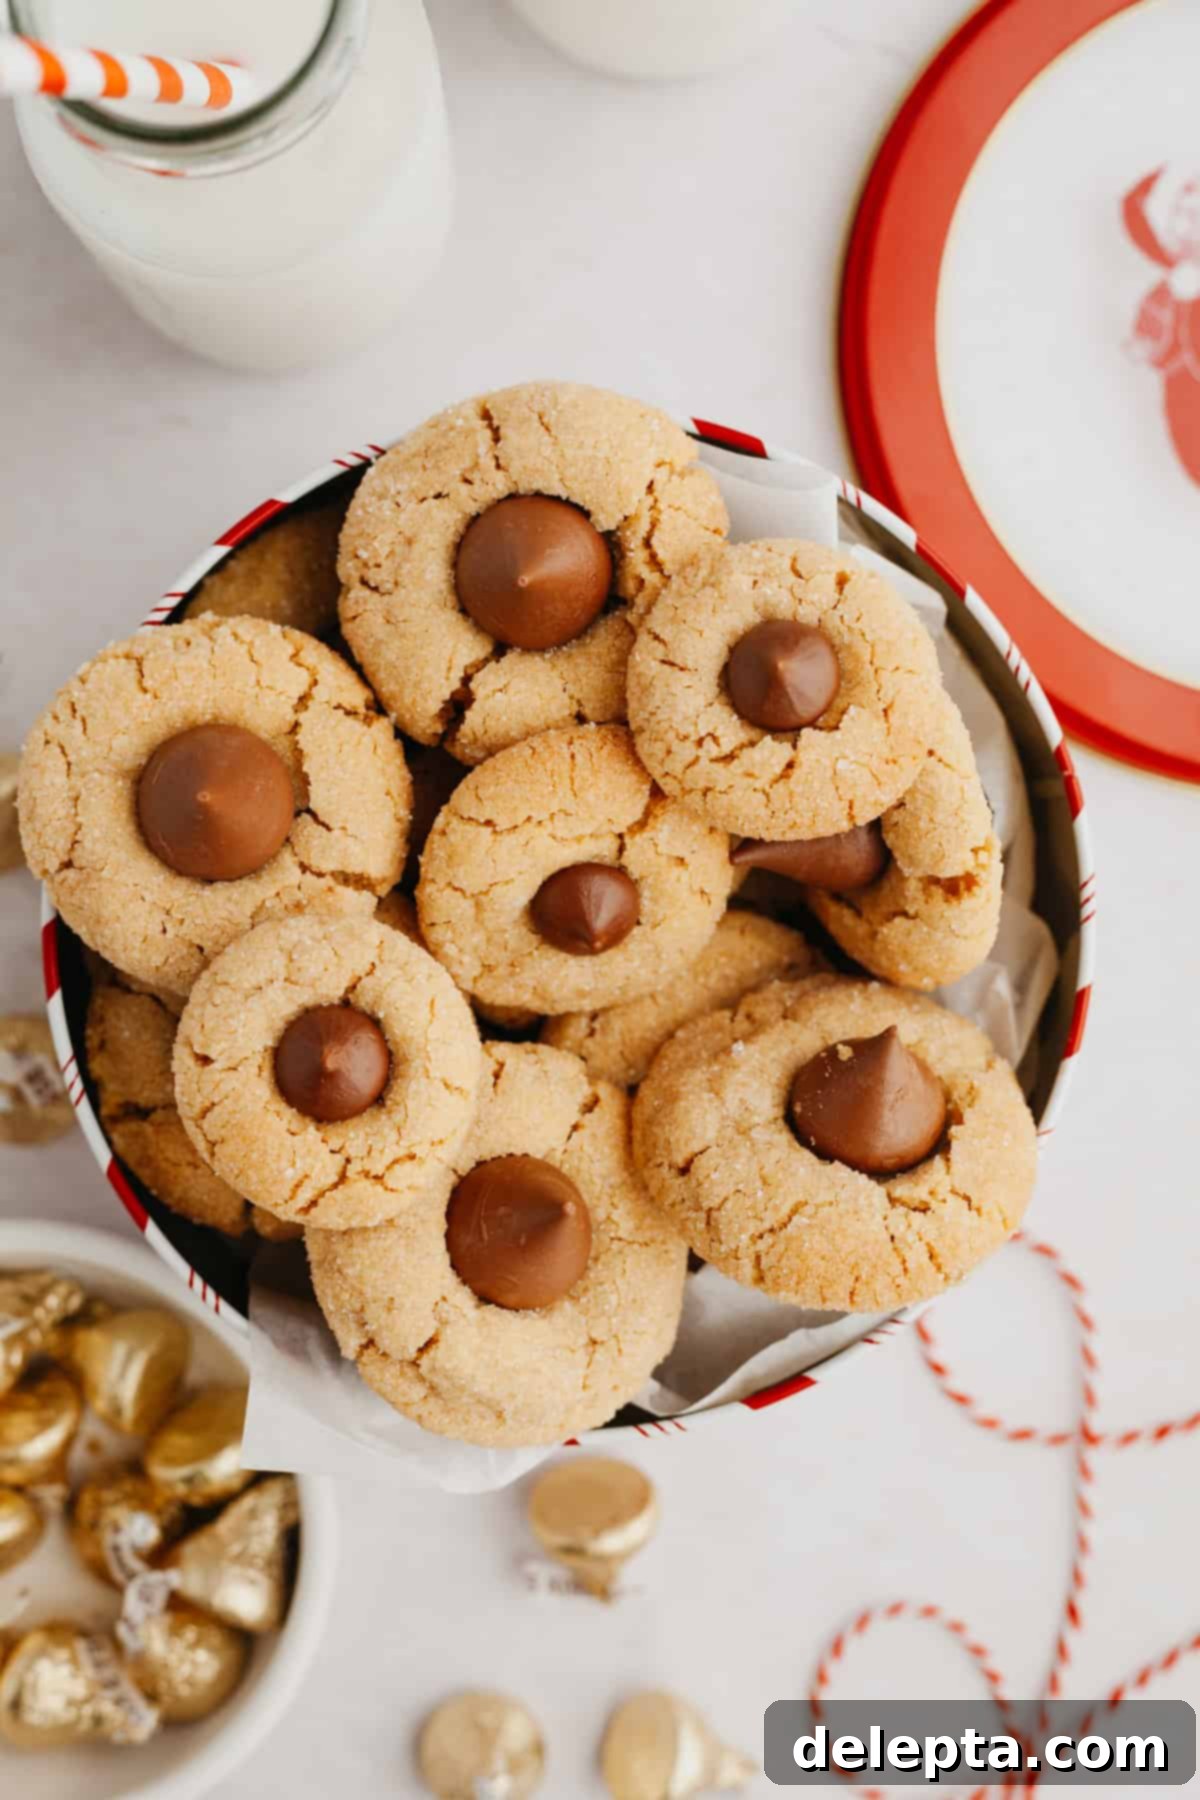
These classic peanut butter Hershey’s Kiss cookies, often affectionately known as “peanut butter blossoms,” are truly a confectionery masterpiece and arguably the best cookie you’ll ever bake! Imagine a soft, chewy peanut butter cookie, perfectly sweetened and rolled in sparkling granulated sugar, then crowned with a creamy Hershey’s Kiss. This iconic combination creates a delightful texture and flavor contrast that’s simply irresistible. Beyond their incredible taste, these cookies are incredibly practical to make – they require just 10 minutes of active prep time and can be whipped up in a single bowl, making them a fantastic choice for both seasoned bakers and beginners alike. Their timeless appeal makes them a star at holiday gatherings, cookie exchanges, or simply as an everyday treat.

This beloved recipe was originally published in July 2022 and has since been updated with fresh images and a helpful video to guide you through every step.
While these delightful peanut butter thumbprint cookies with Hershey’s Kisses are a staple for the holiday season, shining brightly at every Christmas cookie exchange, I firmly believe they deserve to be enjoyed throughout the entire year! Their comforting flavors and simple preparation make them perfect for any occasion. For those who adore chocolate and are looking for a delightful twist, be sure to explore my Cocoa Blossom Cookie Recipe, which offers a rich chocolate cookie base with a peppermint kiss. Imagine the fun you could have customizing these soft baked cookies – rolling them in different colored sparkling sugars to match various seasons or holidays, or even experimenting with different flavors of Hershey’s Kisses! From festive Christmas parties to simple weeknight cravings, these cookies are truly versatile and universally loved.
The classic pairing of peanut butter and chocolate is undeniably one of the greatest flavor combinations in the culinary world. It’s a duo I can never get enough of, whether it’s in a slice of my favorite Peanut Butter Chocolate Pie, rich Brownies with Peanut Butter Cups, or these charming thumbprint cookies. This recipe perfectly encapsulates that magical balance of salty and sweet, crunchy and creamy, delivering a satisfying treat every time.
Why You’ll Absolutely Love This Hershey Kiss Cookie Recipe!
- Effortless Preparation: These cookies are incredibly straightforward to make, requiring minimal fuss. You’ll only need about 10 minutes of active time to prepare the dough. While there’s an hour of chilling time for the dough and another hour for the Hershey’s Kisses, this timing works perfectly in tandem, allowing you to prep other things or simply relax while the flavors develop and textures firm up.
- No More Melted Kisses: One common frustration with thumbprint kiss cookies is the chocolate melting into a messy puddle. Our secret? Freezing the Hershey’s Kisses for an hour before pressing them into the hot cookies. This simple step ensures they retain their iconic shape and deliver that perfect, slightly softened chocolate center without any unsightly melting.
- Simple, Accessible Ingredients: You’ll be delighted to find that this recipe calls for just 11 basic ingredients, most of which are likely already stocked in your pantry. No fancy or hard-to-find items are needed, making these peanut butter blossoms an accessible baking project whenever the craving strikes.
- A Cookie for All Seasons: While these classic thumbprint kiss cookies are a beloved staple during Christmas and other holiday festivities, their delicious peanut butter and chocolate flavor profile makes them a fantastic treat any time of the year. They are too good to reserve for just one season!
Gather Your Essential Ingredients!
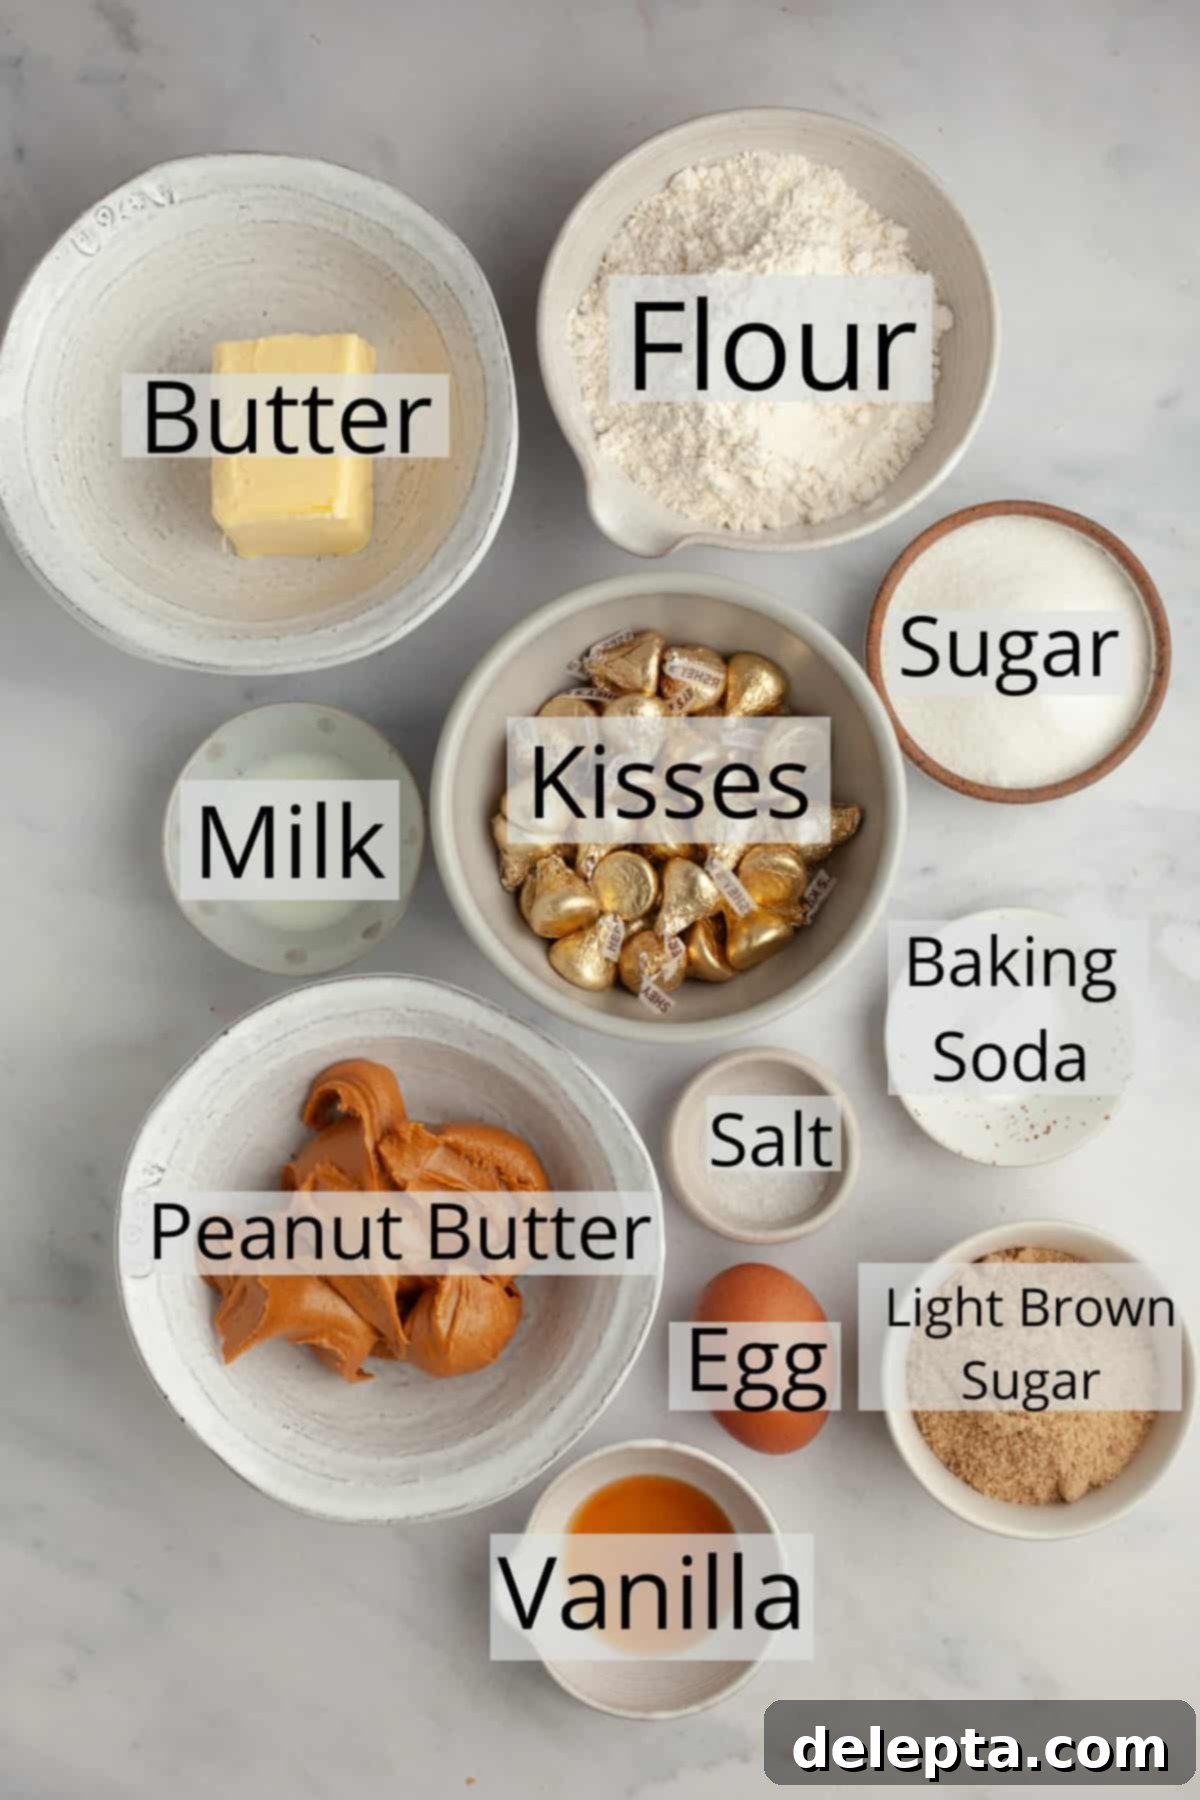
- All-Purpose Flour: For this recipe, standard all-purpose flour provides the perfect structure and tenderness. Please note that I have not extensively tested this recipe with gluten-free flour blends, so results may vary. For best results and consistency, stick with all-purpose.
- Hershey’s Kisses: I typically opt for classic milk chocolate kisses, but don’t hesitate to get creative! Feel free to use any variety you prefer, such as dark chocolate, white chocolate, or even flavored Kisses like caramel or cherry cordial. I’ve also had great success using the adorable tiny kisses (sometimes called Chipits) for smaller, bite-sized cookies, which are especially charming.
- Creamy Peanut Butter: The type of peanut butter you use is crucial for the texture of these cookies. Always use a soft, creamy peanut butter, ideally one that does not separate with oil on top. Natural peanut butters, which often have separated oil, can significantly alter the cookie’s texture, making them drier or more crumbly. Jif or Skippy are excellent choices.
- Sugars: This recipe utilizes a blend of both granulated sugar and light brown sugar within the cookie dough. The granulated sugar contributes to crispiness, while the brown sugar adds moisture, chewiness, and a deeper, molasses-like flavor. Additionally, you’ll need extra white granulated sugar for rolling the cookie dough balls, which creates that beautiful, sparkling crust.
- Unsalted Butter (Room Temperature): Butter adds richness and helps create that tender, chewy texture. Ensuring it’s at room temperature is vital for proper creaming with the sugars.
- Large Egg (Room Temperature): The egg acts as a binder and adds moisture. Like butter, a room-temperature egg emulsifies better with the other ingredients, leading to a smoother dough.
- Whole Milk: A touch of whole milk helps to achieve the perfect dough consistency and moisture level.
- Vanilla Extract: Pure vanilla extract enhances all the other flavors, adding a warm, aromatic depth to your cookies.
- Baking Soda: This leavening agent reacts with the acidic brown sugar to help the cookies rise and spread slightly, creating that classic soft and chewy texture.
- Kosher Salt: Salt balances the sweetness and brings out the rich flavors of both peanut butter and chocolate.
Let’s Bake a Batch of Delicious Hershey Kiss Cookies!
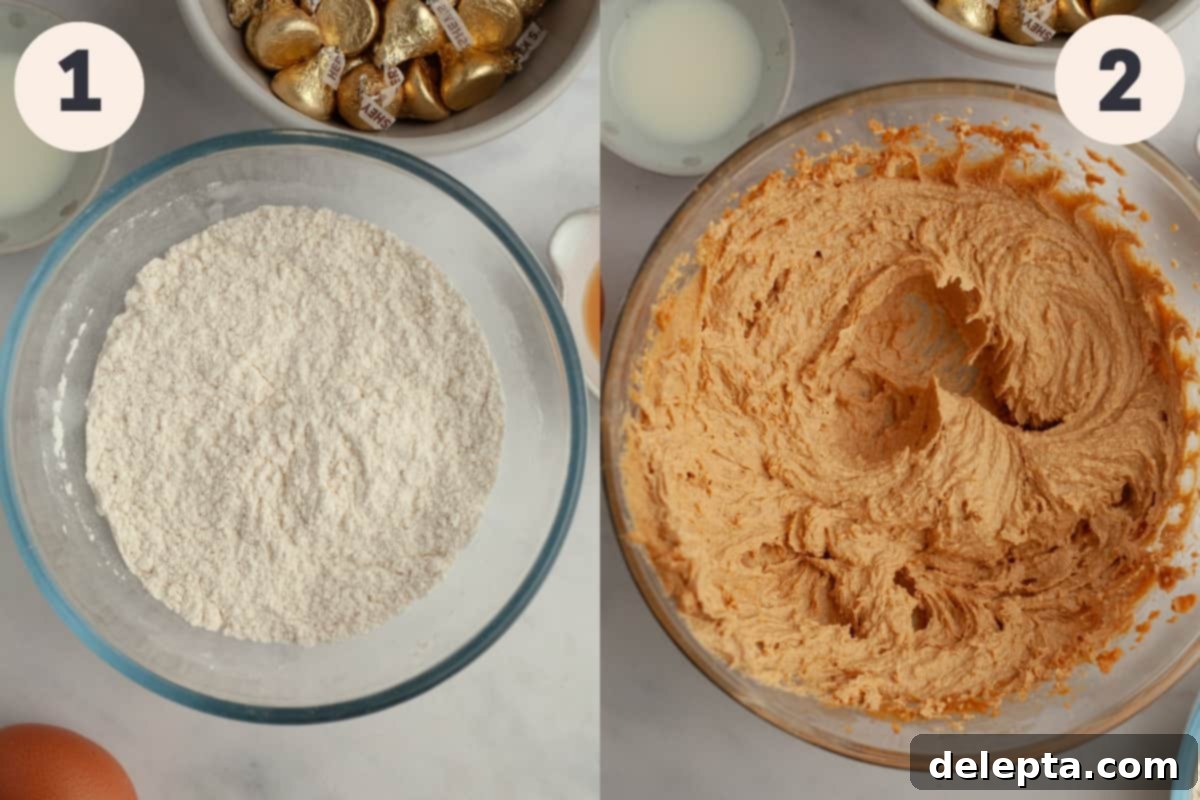
Step One: Prepare Dry Ingredients and Baking Sheets. In a medium-sized bowl, thoroughly whisk together your all-purpose flour, baking soda, and kosher salt. This ensures the leavening and seasoning are evenly distributed throughout the dry mixture. Next, prepare two large baking sheets by lining them with parchment paper. This prevents sticking and makes for easy cleanup. Set them aside for later use.
Step Two: Cream Wet Ingredients. In the bowl of a stand mixer fitted with the paddle attachment, or using a large mixing bowl and a handheld electric mixer, combine the softened unsalted butter with the creamy peanut butter, granulated sugar, and light brown sugar. Beat these ingredients together on medium speed until the mixture becomes light, fluffy, and noticeably paler in color. This creaming process incorporates air, which contributes to the cookies’ soft texture. Once fluffy, add the room temperature egg, vanilla extract, and whole milk. Continue to mix on medium speed just until all ingredients are well combined and no streaks of egg remain.
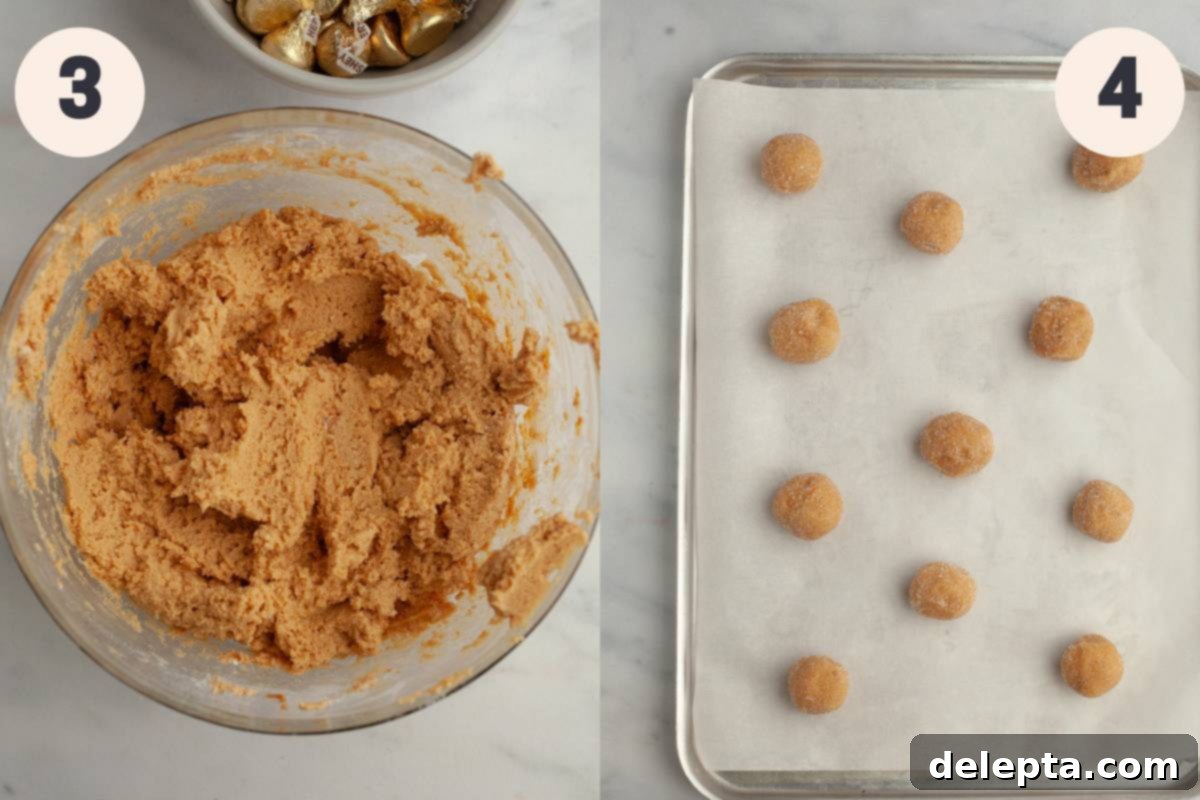
Step Three: Combine and Chill. Stop the mixer and gently fold the dry ingredients into the wet ingredients. It’s best to do this by hand using a rubber spatula to avoid overworking the dough. Mix just until there are no visible streaks of flour. Overworking the dough can lead to tough cookies. Once combined, cover the bowl and place the cookie dough in the refrigerator to chill for at least 1 hour, or up to 2 days. This chilling period is crucial as it allows the butter to firm up, preventing the cookies from spreading too much in the oven, and deepens the flavors. While the dough is chilling, unwrap all your Hershey’s Kisses and place them in a freezer-safe container or ziplock bag. Pop them into the freezer for at least 1 hour. This vital step prevents the chocolate kisses from melting completely when placed on the warm cookies, ensuring they retain their perfect shape.
Step Four: Scoop, Roll, and Bake. Preheat your oven to 375° Fahrenheit (190° Celsius). Have your prepared baking sheets ready. Remove the chilled dough from the fridge. If it has been chilling for more than an hour or two and is very firm, you might need to let it sit at room temperature for about 10-20 minutes to make it easier to scoop. Using a 1.5 tablespoon cookie scoop, portion out the dough. Roll each portion between your palms to form a smooth ball. Next, roll each cookie dough ball generously in the extra granulated sugar until it’s completely coated. Arrange the sugar-coated dough balls on your prepared baking sheets, ensuring you leave approximately 2-3 inches of space between each cookie to allow for proper spreading. Bake the cookies for 11-13 minutes. You’re looking for cookies that are lightly golden brown around the edges and slightly cracked on top. Just before the baking time is complete, retrieve the frozen Hershey’s Kisses from the freezer. As soon as you take the cookies out of the oven, gently but firmly press one frozen Hershey’s Kiss into the center of each warm cookie. The residual heat will slightly soften the chocolate, allowing it to adhere perfectly without fully melting. Let the cookies cool completely on the baking sheets before transferring them. This allows the cookies to set and the chocolate to firm up.

My Essential Baking Tips for Perfect Hershey Kiss Cookies!
- Precise Measuring for Success: For consistent and accurate baking results, I highly recommend using a digital kitchen scale to measure your ingredients, especially flour, using the metric system (grams). This method is significantly more accurate than using measuring cups and will make a huge difference in the outcome of your cookies.
- The “Fluff and Sprinkle” Method for Flour: If you’re not using a kitchen scale and are opting for measuring cups, it’s crucial to use the “fluff and sprinkle” method for flour. First, fluff your flour in its container with a spoon. Then, gently spoon the flour into your measuring cup until it overflows. Finally, level off the excess with the back of a knife. Never pack the flour into the cup, as this can result in too much flour and dry, crumbly cookies.
- Room Temperature Ingredients are Key: Always ensure that your butter and egg are at room temperature before you begin mixing. Room temperature butter creams smoothly with sugar, creating an airy base, and room temperature eggs incorporate more evenly into the batter. For best results, take these ingredients out of the fridge an hour or two before you plan to start baking.
- Avoid Overbaking: Keep a close eye on your cookies during the last few minutes of baking. They should be lightly golden brown and just beginning to crack on top. Overbaking can lead to dry, hard cookies. Remember, cookies continue to cook slightly even after they’re removed from the oven.
- Cool Completely for Best Texture: While it’s tempting to eat these warm, allowing the cookies to cool completely on the baking sheet is important. This helps them to set properly and allows the Hershey’s Kisses to firm up, preventing them from sliding off or making the cookies overly soft.
- Delightful Tiny Cookies: If you’re looking to make smaller, more delicate cookies, you can use miniature Hershey Kisses (often sold as “Chipits”). Simply scoop out ½ tablespoon portions of dough instead of 1.5 tablespoons. These smaller cookies are adorable and perfect for Santa’s elves, or any festive occasion!
Storage and Freezing Instructions
Storing Baked Cookies: Once your delicious peanut butter blossoms have cooled completely, transfer them to an airtight container. They will stay fresh and soft at room temperature for up to 1 week. For longer storage, you can refrigerate them, but they are best enjoyed at room temperature.
Freezing Unbaked Cookie Dough: These cookies are excellent for make-ahead baking! To freeze the dough, prepare it as directed in the recipe, then roll the dough into balls, but *do not* roll them in granulated sugar yet. Place the un-sugared cookie dough balls on a baking sheet lined with parchment paper and freeze until solid, about 1-2 hours. Once frozen, transfer the solid dough balls to a freezer-safe ziplock bag or airtight container. They can be frozen for up to 3 months. When you’re ready to bake, simply take the desired number of frozen cookie dough balls out of the freezer and let them come to room temperature for 20-30 minutes. Then, roll them in the granulated sugar and bake according to the recipe instructions. This is a fantastic way to have fresh, warm cookies on demand!
Freezing Baked Cookies: You can also freeze baked cookies. Once completely cooled, place them in a single layer on a baking sheet and freeze until solid. Then, transfer to an airtight freezer-safe container or bag for up to 1 month. Thaw at room temperature before serving.
Expand Your Holiday Cookie Repertoire with These Recipes!
- No Spread Sugar Cookies
- Cocoa Blossom Cookies
- The Best Browned Butter Snickerdoodles
- Molasses Crinkle Cookies
If you’ve had the pleasure of making this delightful recipe, please make sure to leave a ⭐️ rating and a thoughtful review below! I absolutely love seeing your culinary creations, so don’t forget to tag me on Instagram @alpineella when you share your pictures so I can admire what you’ve baked! You can also stay connected and follow along for more delicious recipes on Pinterest, Facebook, and TikTok!
Recipe

Thumbprint Hershey Kiss Cookies
Ella Gilbert
Pin Recipe
Save RecipeSaved!
Ingredients
- 1 ½ cups all purpose flour
- ½ teaspoon kosher salt
- 1 teaspoon baking soda
- ½ cup granulated sugar
- ½ cup light brown sugar
- ½ cup unsalted butter room temperature
- ¾ cup peanut butter
- 1 tablespoon whole milk
- 1 egg room temperature
- 1 teaspoon vanilla extract
- 32 Hershey’s Kisses
- ½ cup sugar for rolling the cookies
Instructions
-
In a medium bowl, whisk together the flour, salt and baking soda. Ensure these dry ingredients are thoroughly combined for even leavening.1 ½ cups all purpose flour, ½ teaspoon kosher salt, 1 teaspoon baking soda
-
In a stand mixer fitted with the paddle attachment, or in a mixing bowl with a hand held mixer, beat the butter with the peanut butter, light brown sugar and granulated sugar until light and fluffy on medium speed. This creaming process should take about 2-3 minutes, and the mixture should become noticeably lighter in color and texture, incorporating air.½ cup granulated sugar, ½ cup light brown sugar, ½ cup unsalted butter, ¾ cup peanut butter
-
Add the egg, vanilla extract, and whole milk. Beat again on medium speed just until all ingredients are fully combined and the mixture is smooth. Avoid overmixing at this stage.1 tablespoon whole milk, 1 egg, 1 teaspoon vanilla extract
-
Stop the mixer and pour in the dry ingredients mixture. Using a rubber spatula, gently fold everything together until there are no more visible streaks of flour. It’s crucial not to overwork the dough, as this can lead to tough cookies. Place the bowl, covered, in the fridge to chill for a minimum of 1 hour (or up to 2 days). This chilling firms the butter, preventing excessive spreading during baking and enhancing flavor.
-
While the dough chills, unwrap all 32 Hershey’s Kisses and place them in a freezer-safe container or bag. Transfer them to the freezer to chill for at least 1 hour. This step is essential to prevent the Kisses from melting completely when pressed into the warm cookies.32 Hershey’s Kisses
-
Preheat your oven to 375° Fahrenheit (190° Celsius) and ensure two baking trays are lined with parchment paper. Take the cookie dough out of the fridge. If it’s too firm to scoop, let it sit at room temperature for 10-20 minutes. Scoop out 1.5 tablespoons of dough for each cookie. Roll each portion into a smooth ball between your palms, then roll each ball generously in the extra ½ cup of granulated sugar until fully coated. Place the sugar-coated cookie dough balls approximately 2-3 inches apart on the prepared baking trays to allow for even spreading.½ cup sugar
-
Bake the cookies for 11-13 minutes. They should appear lightly golden brown around the edges and have slight cracks on the surface. While the cookies are baking, take the chilled Hershey’s Kisses out of the freezer. As soon as you remove the baked cookies from the oven, immediately and gently press one frozen Kiss into the center of each warm cookie. The residual heat will slightly melt the chocolate just enough to adhere without losing its shape. Allow the cookies to cool completely on the baking sheets to ensure they set properly and the chocolate firms up.
Video
Notes
Butter: I typically use high-quality European-style butter, such as Kerrygold, in my recipes. This type of butter has a higher fat content, which will contribute to a much creamier, richer, and more flavorful finished cookie.
Salt: If you don’t have kosher salt on hand, you can substitute it with fine table salt. Just be sure to halve the amount called for in the recipe, as fine salt is denser and saltier by volume. As a general rule, 1 teaspoon of kosher salt is equivalent to ½ teaspoon of fine salt.
Larger Cookies: For those who prefer a more substantial treat, you can use a medium cookie scoop to portion out 1.5 tablespoons of dough for each cookie. This adjustment will yield approximately 22 larger, satisfying cookies.
Mini Cookies: If you’re using miniature Hershey’s Kisses or chocolate chips (often called Chipits), you can adjust the cookie size accordingly. Scoop out ½ tablespoon portions of cookie dough to create delightful mini cookies that are perfectly sized for these smaller chocolates.
Peanut Butter Alternatives: If you or someone you’re baking for has a peanut allergy, don’t worry! You can easily substitute the peanut butter with another nut butter, such as almond or cashew butter, or even a seed butter like sunflower seed butter. The most important thing is to ensure you choose a thick, creamy variety that doesn’t have a separated oil layer, as this can significantly change the texture of your cookies.
Storage: Baked cookies can be kept in an airtight container at room temperature for up to 1 week, retaining their wonderful softness and flavor. For longer preservation, you can freeze unbaked cookie dough balls (without rolling them in sugar first) for up to 2 months. When you’re ready to bake, simply remove them from the freezer, let them come to room temperature for 20-30 minutes, then roll them in sugar and bake as directed.
Nutrition
Carbohydrates: 18g
Protein: 3g
Fat: 8g
Saturated Fat: 3g
Polyunsaturated Fat: 1g
Monounsaturated Fat: 2g
Trans Fat: 0.1g
Cholesterol: 14mg
Sodium: 104mg
Potassium: 49mg
Fiber: 1g
Sugar: 13g
Vitamin A: 97IU
Calcium: 18mg
Iron: 0.5mg
