The Ultimate Homemade Lemon Meringue Pie: A Zesty, Fluffy Classic Recipe
There’s nothing quite like a slice of classic lemon meringue pie – a symphony of textures and flavors that brightens any day. This beloved dessert features a perfectly crisp, homemade all-butter crust, a wonderfully tart and vibrant lemon curd filling, and a towering, fluffy Italian meringue topping toasted to golden perfection. It’s the quintessential pie for bringing a burst of sunshine into your life, especially when made from scratch with love. This comprehensive guide will walk you through every step, ensuring your homemade lemon meringue pie is nothing short of spectacular, from the flaky base to the airy peak.

Do you share my absolute passion for making homemade lemon curd? Its wonderfully tart, bright, and creamy texture is simply irresistible! If you adore the zesty goodness of lemon desserts, you’ll definitely want to explore more of my recipes. Be sure to check out my irresistible lemon curd cookies or my delightfully creamy lemon bars with a graham cracker crust. These treats perfectly capture that bright lemon flavor we all love, and mastering lemon curd for this pie will set you up for success with these other delightful creations!
Why You’ll Love This Lemon Meringue Pie Recipe
This lemon meringue pie recipe is a labor of love, but the results are incredibly rewarding. It’s designed to guide you through each component with precision, leading to a pie that tastes as good as it looks. Here’s what makes this recipe truly special:
- A Truly Hands-On Experience: This recipe encourages engagement, making the baking process an enjoyable culinary journey. It’s crucial to read through the entire recipe carefully and have all your ingredients precisely weighed and prepared before you begin. This meticulous preparation minimizes stress and ensures a smooth baking experience.
- Flaky All-Butter Pie Crust: We start with a foundation of a delicate, savory, and incredibly flaky all-butter pie dough. Since the lemon filling requires minimal baking time, we’ll begin by blind baking the pie crust to achieve that perfect golden-brown crispness on the bottom and sides, preventing any sogginess.
- Rich and Tart Lemon Curd Filling: The heart of this pie is its luscious lemon curd, made with a careful balance of egg yolks, cornstarch (also known as cornflour in many parts of Europe), water, sugar, and high-quality butter. This combination creates a creamy, intensely tart, and bright lemon filling that’s poured into the pre-baked crust while still warm, allowing it to meld beautifully.
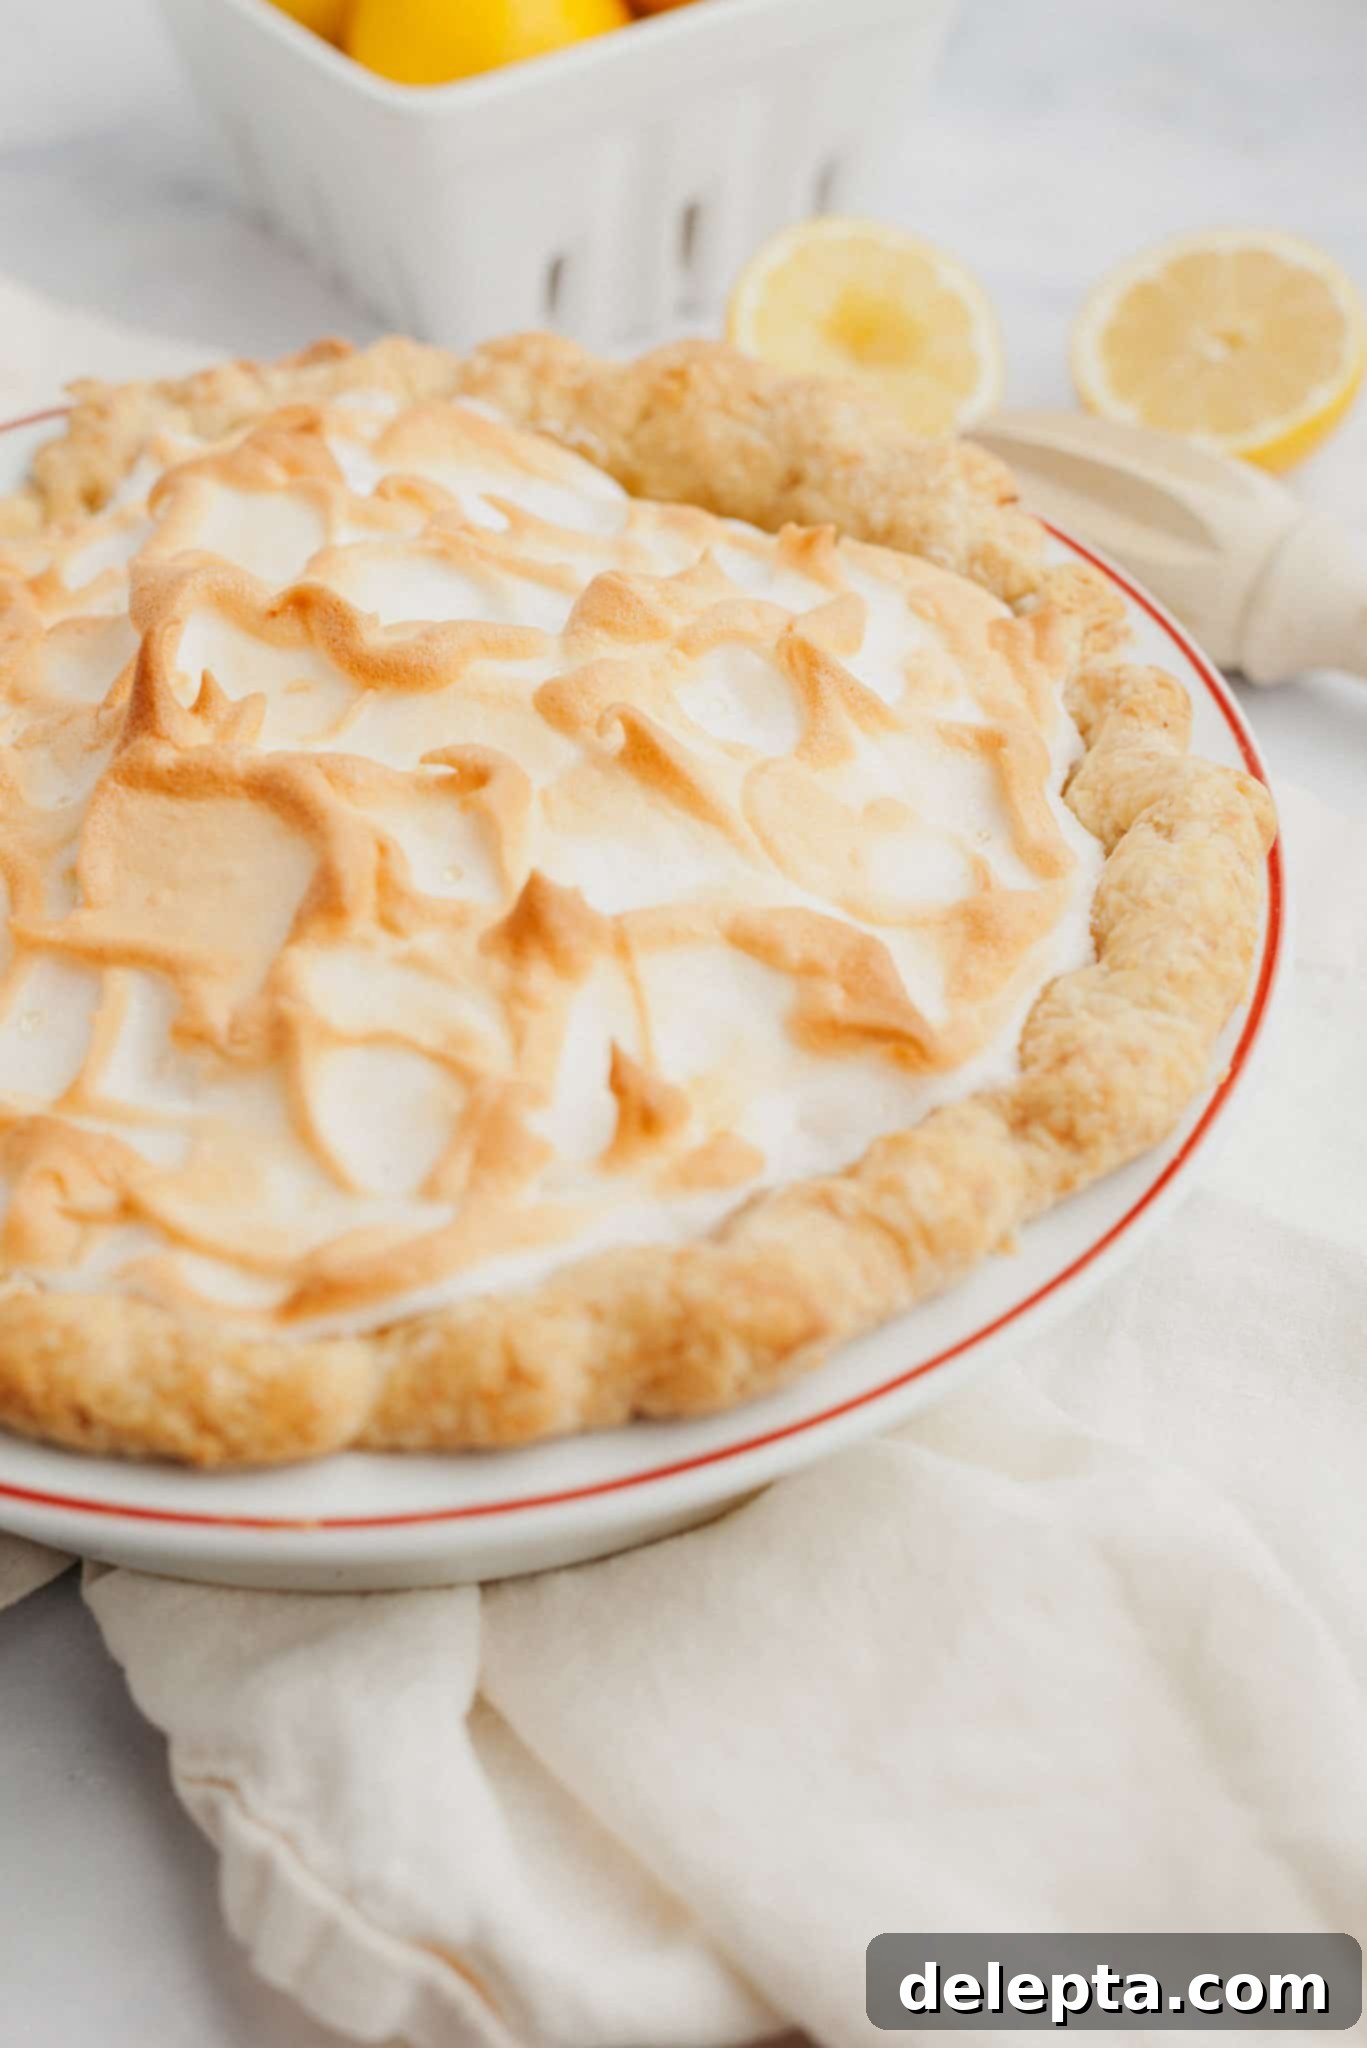
- Stable and Fluffy Italian Meringue Topping: The crown jewel of this pie is the majestic Italian meringue. Prepared by whisking egg whites with a touch of cream of tartar (for added stability) until soft peaks form, then slowly pouring in a boiling sugar syrup. Italian meringue is notably more stable than French or Swiss meringues, offering a beautiful structure and a delightful, airy texture that toasts wonderfully without weeping.
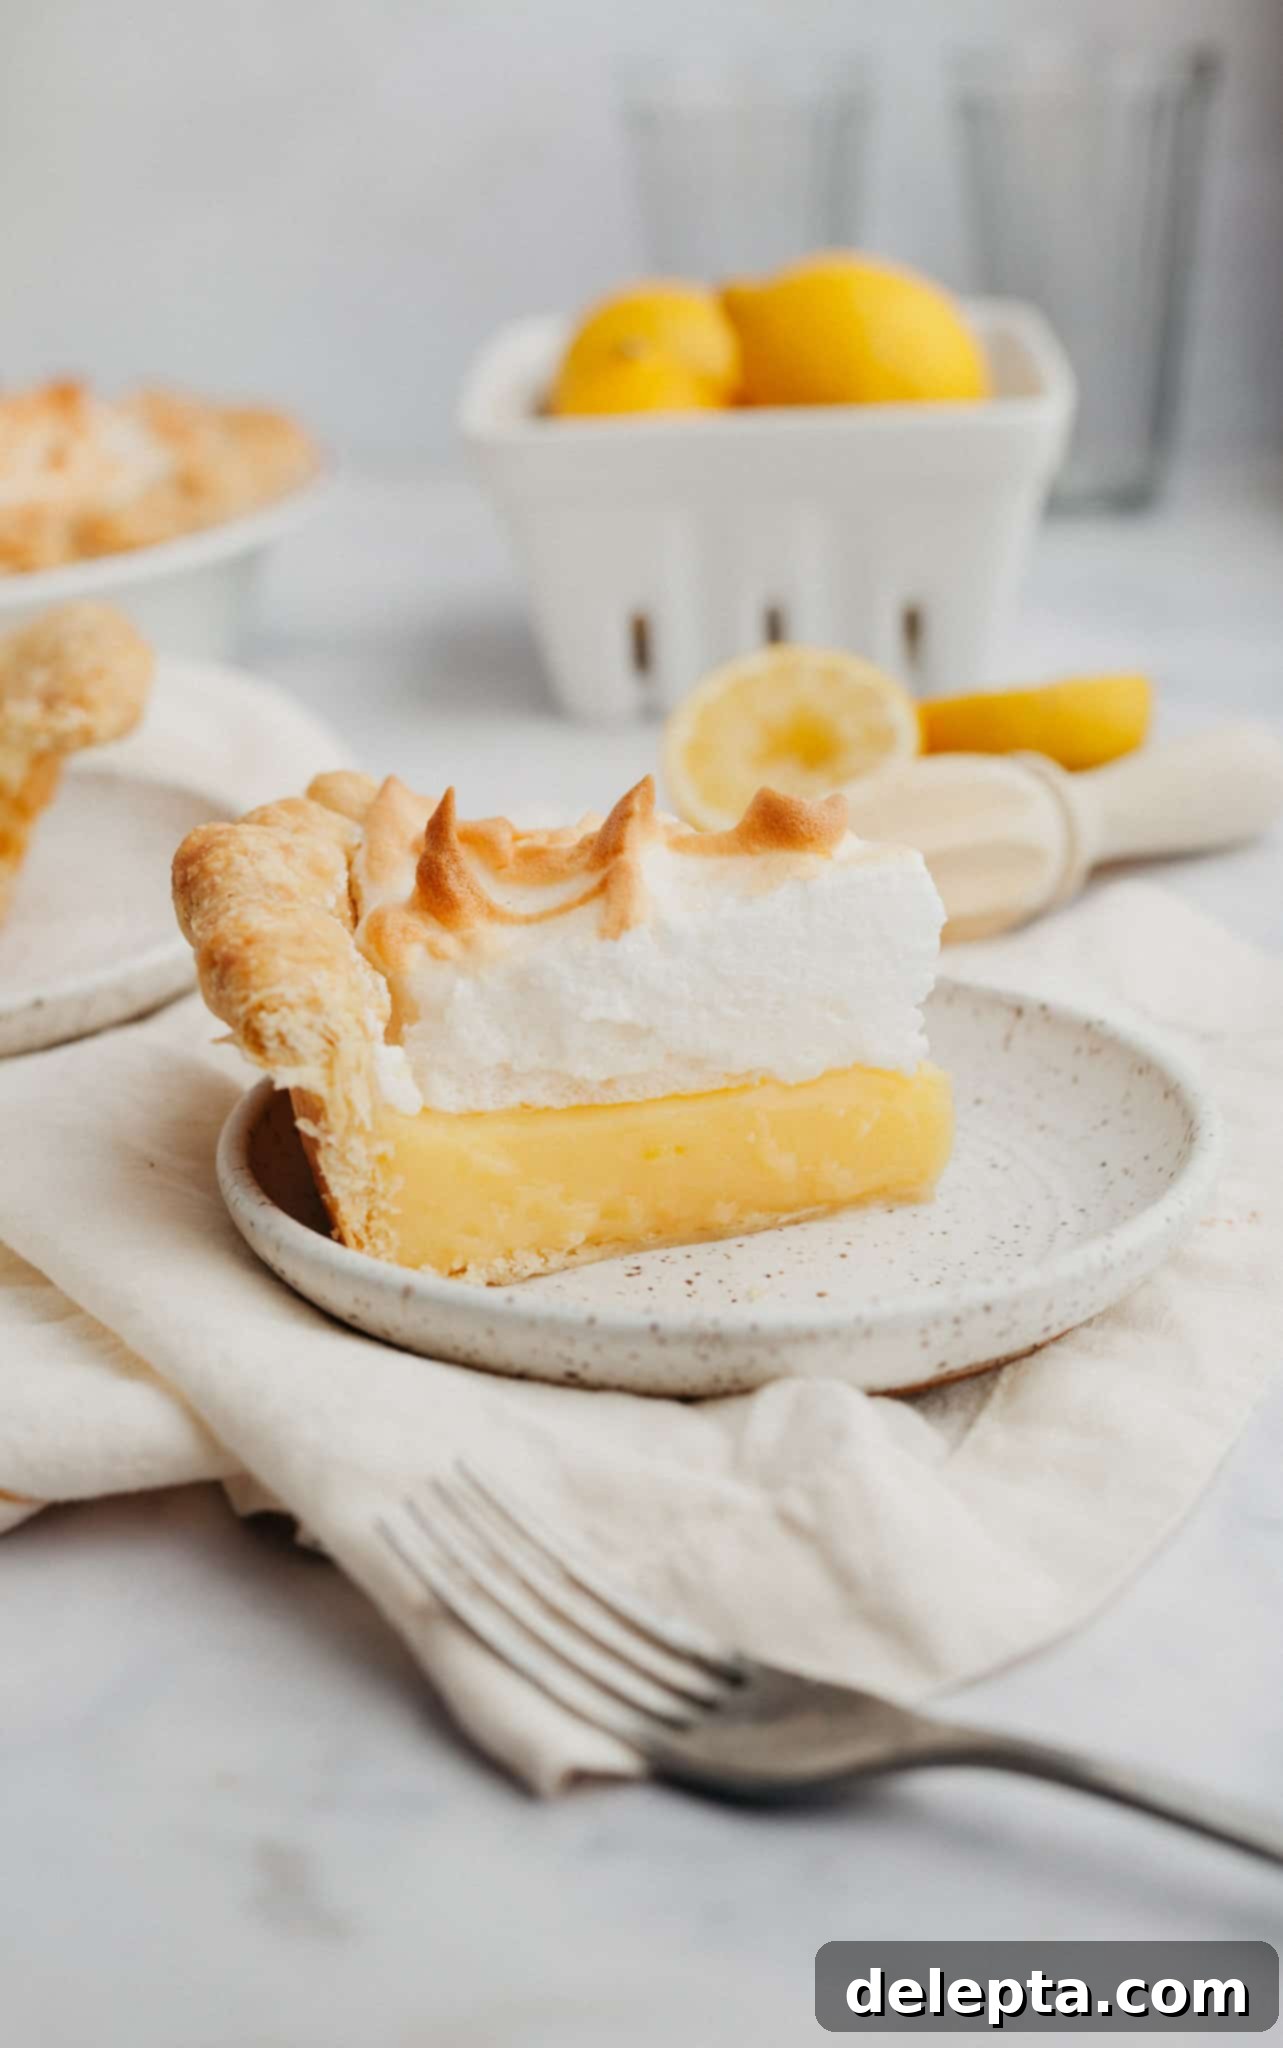
- Baked to Golden Perfection and Chilled to Set: After assembling, the pie is briefly baked to allow the meringue to achieve a gorgeous, toasted hue. The final, critical step is to let the pie chill completely in the refrigerator for several hours. This firming process is essential for the lemon curd to set properly, ensuring clean slices and a delightful texture with every serving.
Essential Ingredients for the Perfect Pie
Crafting this spectacular lemon meringue pie requires a selection of fresh, high-quality ingredients. Each component plays a vital role in achieving the desired texture and flavor profile. Below are the key ingredients you’ll need, along with tips for selection:
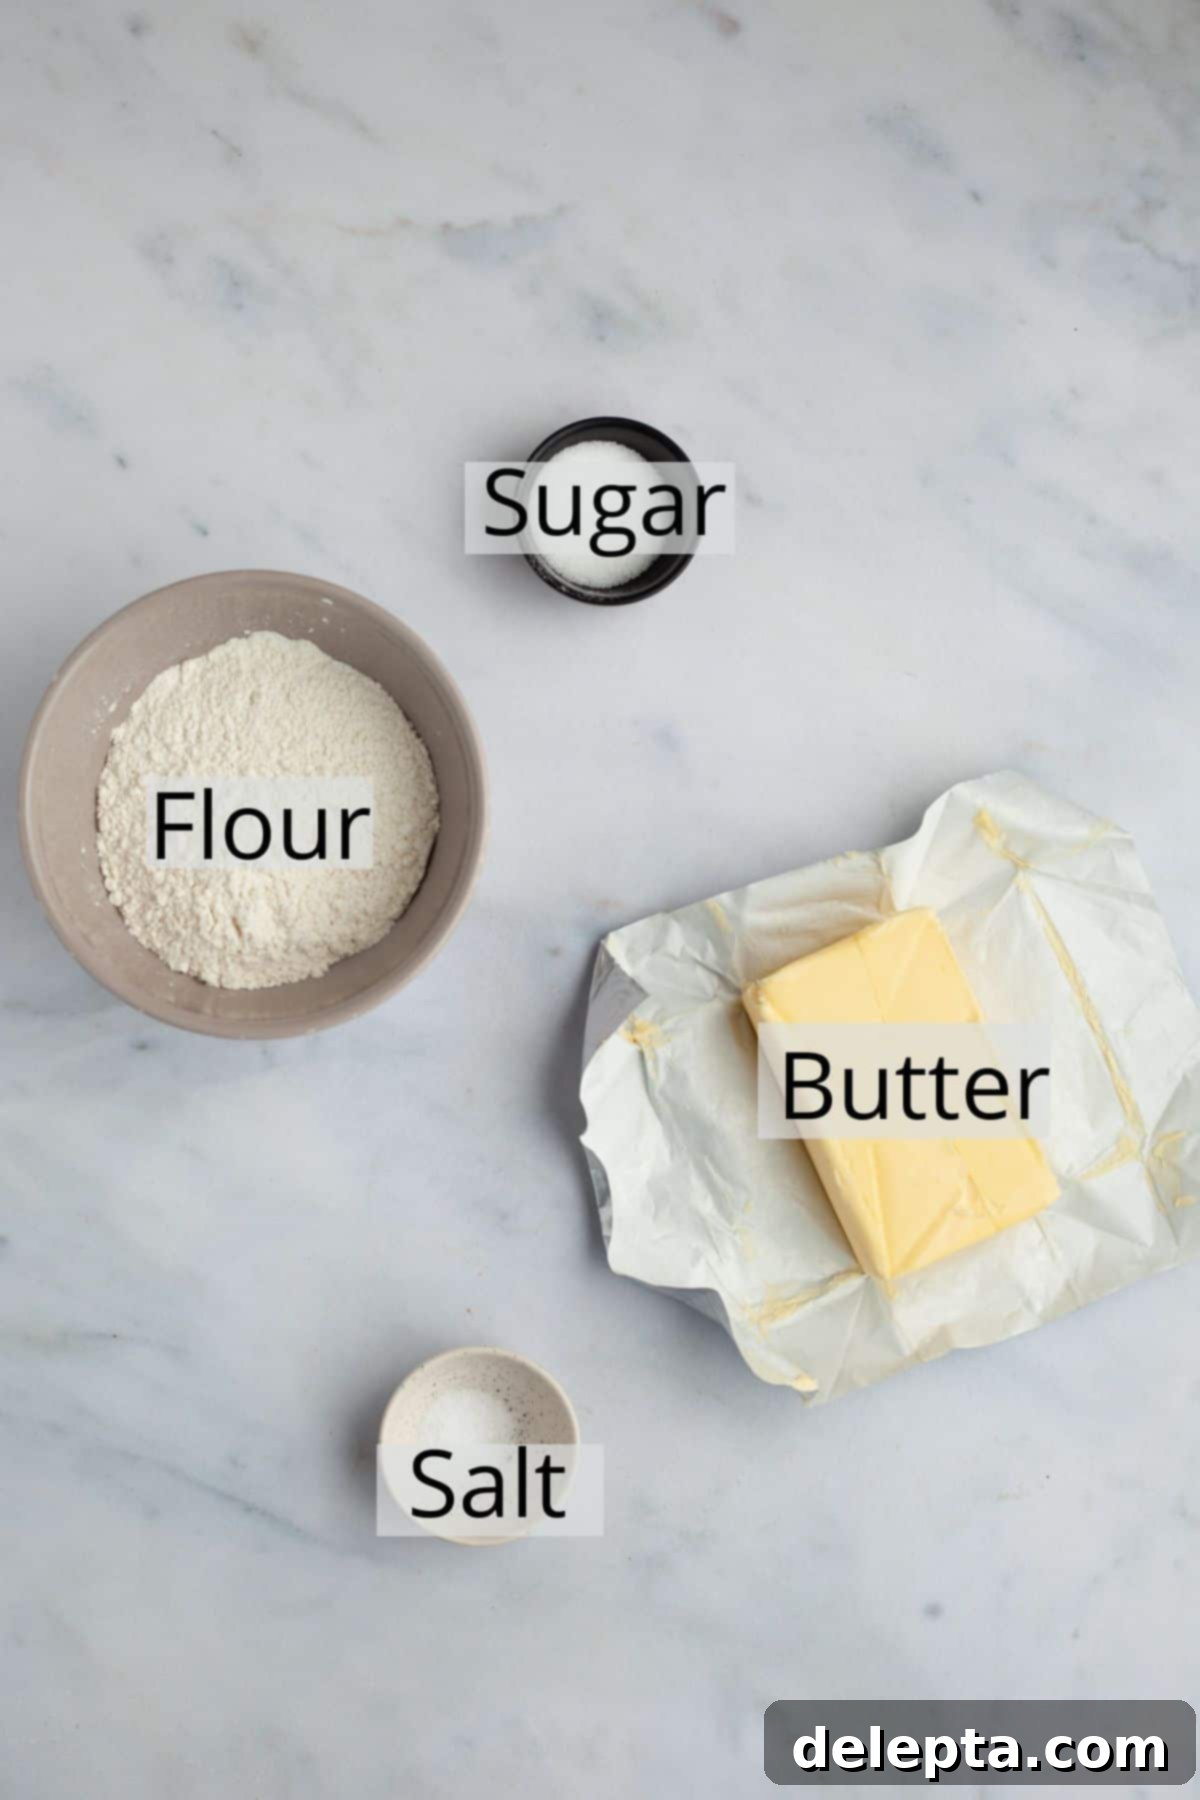
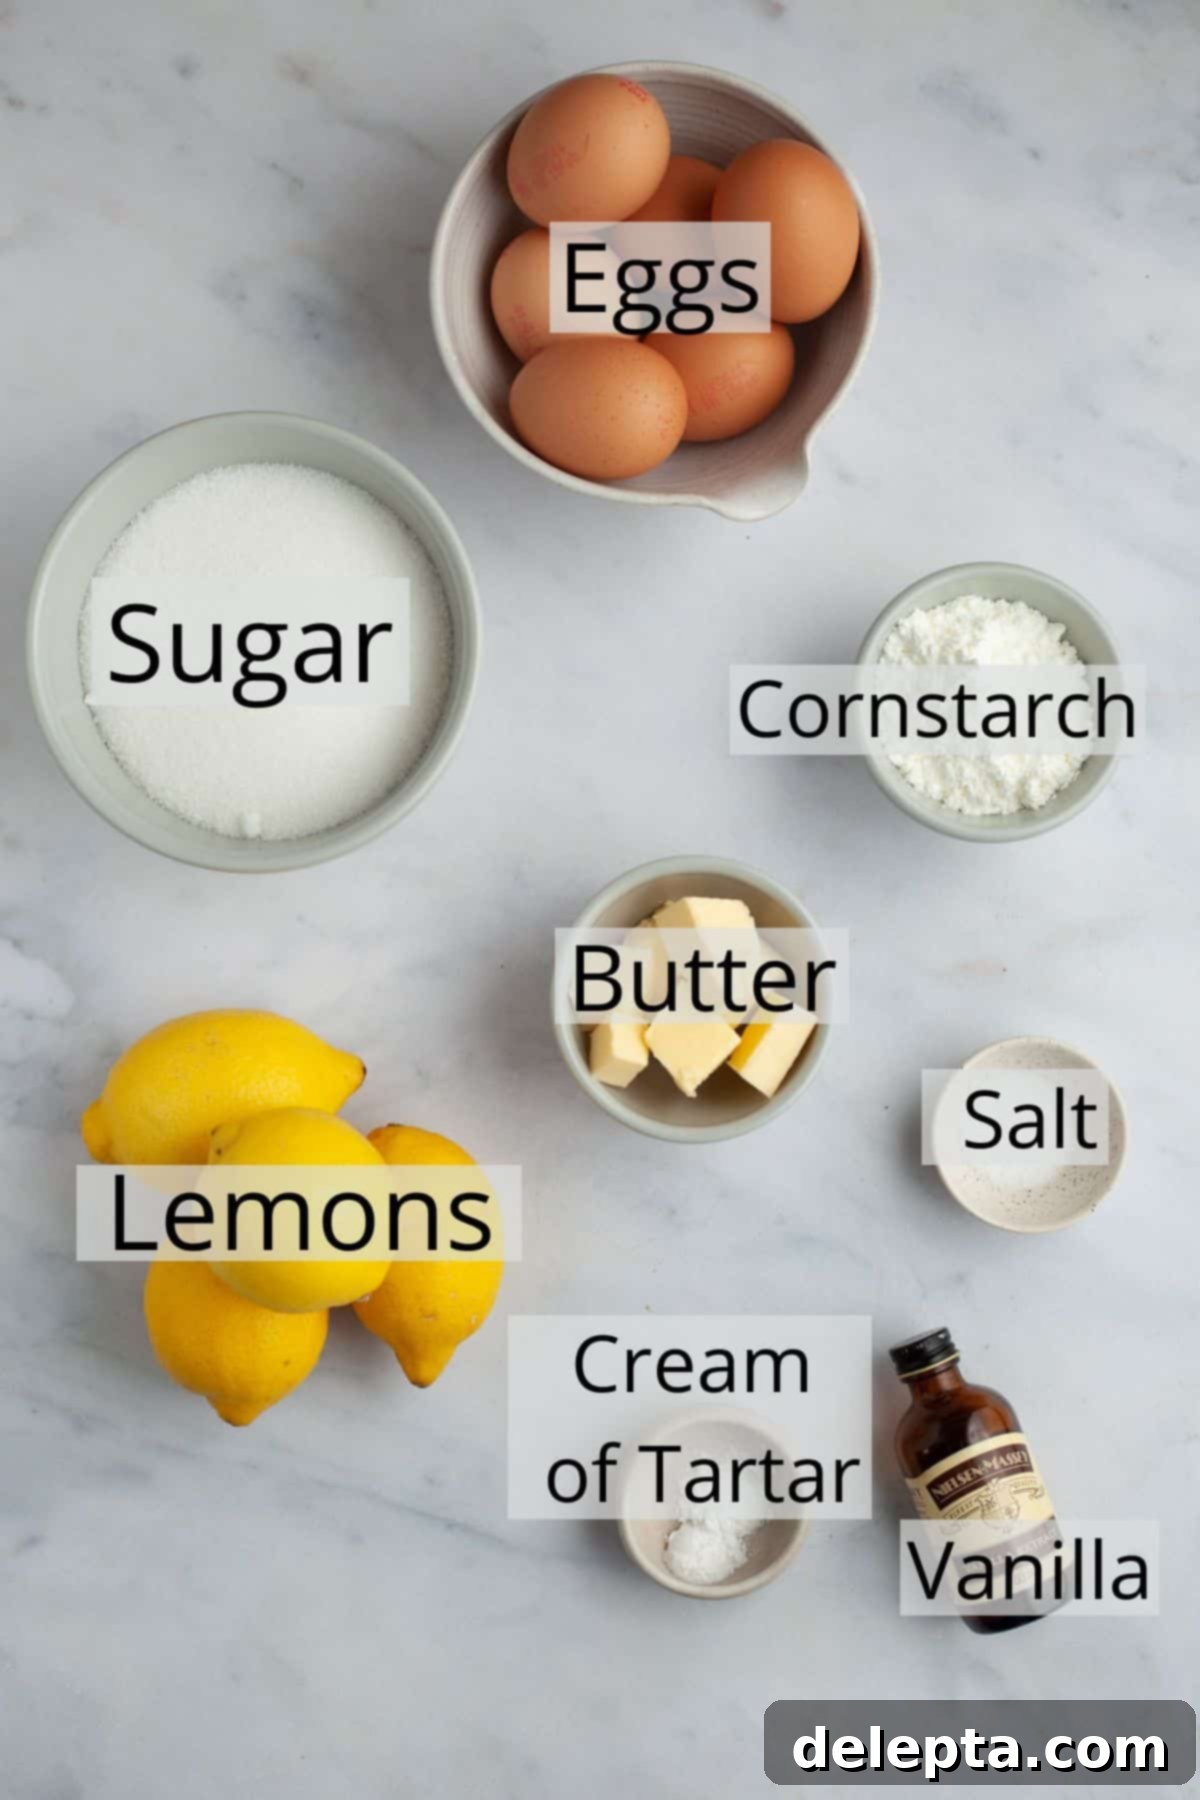
- Butter: For an truly exquisite all-butter pie crust, the quality of your butter is paramount. I highly recommend using the best European-style butter you can find, such as Kerrygold. These butters typically boast a higher butterfat content, which contributes to a flakier, richer, and more tender crust. Ensure your butter for the crust is very cold to achieve the best results.
- Flour: Standard all-purpose flour is perfect for our pie dough. It provides the necessary structure without being too strong, allowing for a tender crust that’s easy to work with.
- Cornstarch: This essential ingredient acts as the thickening agent for our luscious lemon curd filling. In many European countries, it’s known as cornflour. It helps achieve that perfectly creamy, set consistency without imparting any unwanted flavors.
- Cream of Tartar: A small but mighty ingredient, cream of tartar is crucial for stabilizing the meringue. It helps the egg whites hold their volume and prevents them from weeping or collapsing, ensuring your fluffy topping remains beautiful and airy.
- Eggs: You’ll need a generous quantity of eggs for both the rich lemon curd filling (using yolks) and the voluminous Italian meringue topping (using whites). A key tip: separate your eggs while they are cold, as the yolks are firmer and less likely to break into the whites. Remember to save those egg whites from the curd for your meringue! For the lemon curd and meringue, ensure both yolks and whites come to room temperature before use, as this helps them emulsify and whip more effectively.
- Lemons: Fresh lemons are non-negotiable for this recipe. You’ll need both the zest and the juice. The zest provides a concentrated burst of aromatic lemon oil, enhancing the overall flavor profile, while the juice delivers the essential tartness. Always wash your lemons thoroughly before zesting.
- Sugar: Granulated sugar is used in all three components: the pie crust, the lemon curd, and the Italian meringue. It provides sweetness, balances the tartness of the lemon, and contributes to the structure and texture of the meringue.
- Salt: A pinch of kosher salt is added to the pie crust and lemon curd to enhance and balance the flavors, preventing the pie from tasting flat. If using fine salt, remember to halve the amount.
- Water: Ice-cold water is vital for bringing the pie dough together without developing too much gluten, which would result in a tough crust. For the lemon curd, water helps to create the right consistency, and for the meringue, it creates the sugar syrup.
- Vanilla Extract: A touch of vanilla extract in the Italian meringue adds a subtle depth of flavor that complements the bright lemon beautifully.
Step-by-Step Guide to Baking Your Lemon Meringue Pie
Part 1: Crafting the All-Butter Pie Crust
A truly exceptional lemon meringue pie begins with a flawless crust. Our all-butter recipe ensures flakiness and rich flavor.
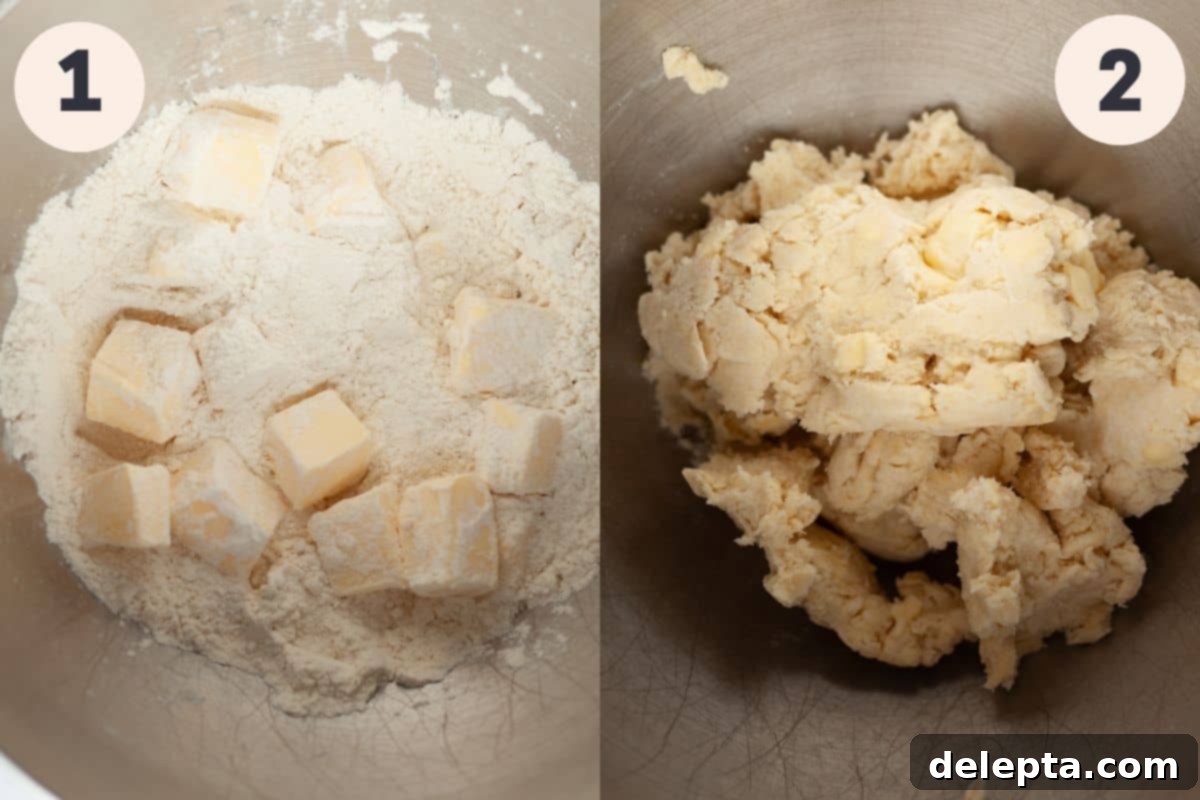
Step 1: Prepare the Butter and Dry Ingredients. Start by cutting half of your very cold unsalted butter into ½-inch cubes. Place the other half of the butter in thin, ⅛-inch slices back into the fridge. In a large mixing bowl, whisk together your all-purpose flour, sugar, and kosher salt. Add the cubed butter to the dry ingredients, tossing to ensure each cube is thoroughly coated with flour. Using your fingertips, gently “smoosh” or flatten these butter cubes, continuously tossing them through the flour until they are roughly the size of small peas. This technique creates pockets of butter that melt into steam during baking, resulting in a flaky crust.
Step 2: Incorporate Sliced Butter and Ice Water. Retrieve your chilled thin butter slices from the fridge and add them to the mixture. Toss them with the flour, and then use your fingers to further flatten these slices. You should now have a combination of pea-sized butter pieces and thinner, shingled butter flakes, all coated in flour. This variety of butter sizes is key to maximum flakiness. Gradually drizzle 5 tablespoons of ice-cold water over the mixture. Toss lightly with your hands until the mixture just begins to come together into a shaggy mass. Avoid overworking the dough. Gently knead it just enough to gather any large clumps and place them onto a piece of plastic wrap. If there are still dry, floury bits remaining in the bowl, drizzle a tiny bit more ice water (about ½ to 1 tablespoon at a time) and lightly knead until just moistened. Add these remaining dough bits to the main mass on the plastic wrap. The dough should be moist enough to hold together but not wet or sticky.
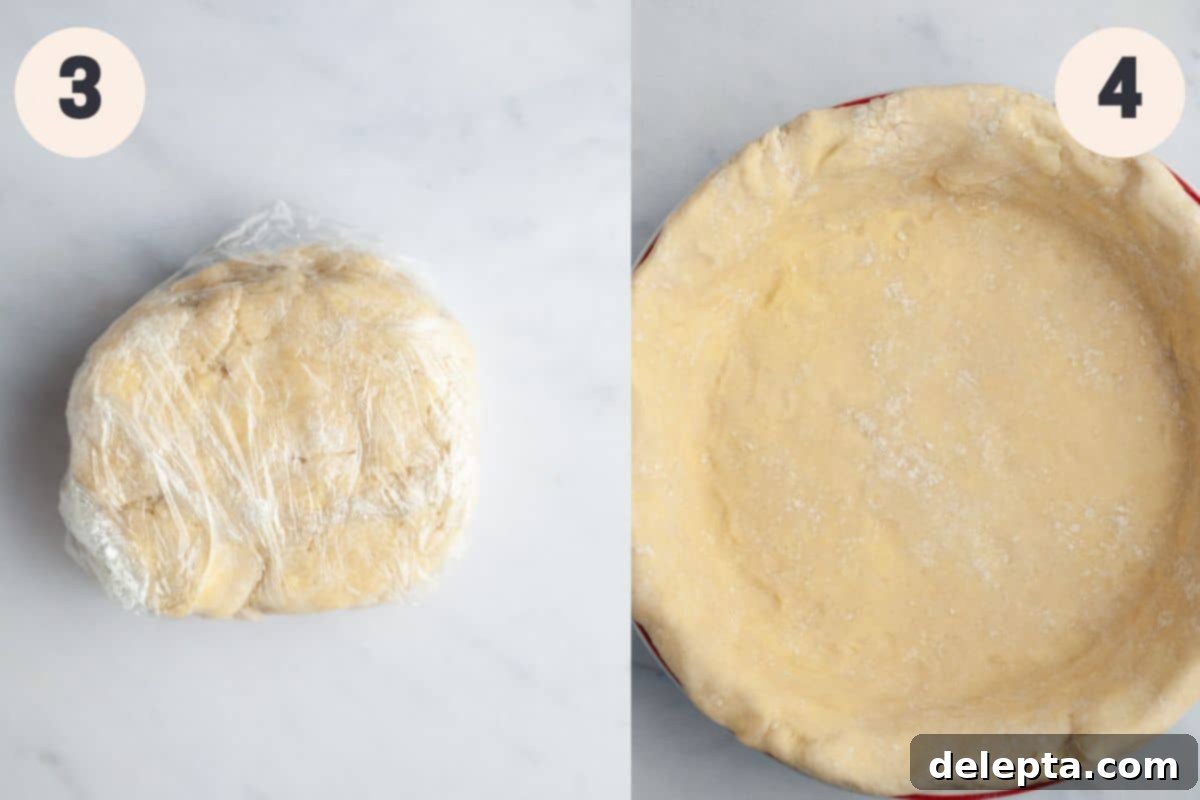
Step 3: Chill and Optionally Laminate the Dough. Tightly wrap the pie dough in plastic wrap and gently form it into a flat disc. Refrigerate this disc for at least 2 hours. This chilling period is crucial for the butter to firm up and for the gluten to relax, which prevents shrinkage during baking. For an even flakier crust, you can optionally perform a simple lamination: after the initial chill, take the dough out, roll it into a large rectangle, and then fold it into thirds (like a business letter or envelope). Re-wrap it in plastic and chill for another 30 minutes. This extra step creates additional layers of butter, enhancing flakiness significantly.
Step 4: Roll Out and Fit the Pie Dough. Position an oven rack in the middle of your oven and preheat it to 425°F (220°C). On a lightly floured surface, roll out your chilled pie dough until it forms a circle approximately 1.5 inches larger than your 9-inch deep-dish pie plate. Carefully transfer the rolled dough into your pie plate. Gently ease the dough into the plate, pressing firmly along the bottom and up the sides. This firm pressing helps the crust adhere to the plate and prevents it from slumping down during baking. Trim any excessive overhang, then tuck the remaining overhanging dough underneath itself, creating a slightly thicker edge. Crimp the edges as desired; not only does this add a decorative touch, but it also helps the crust maintain its shape and ‘stick’ to the plate more effectively.
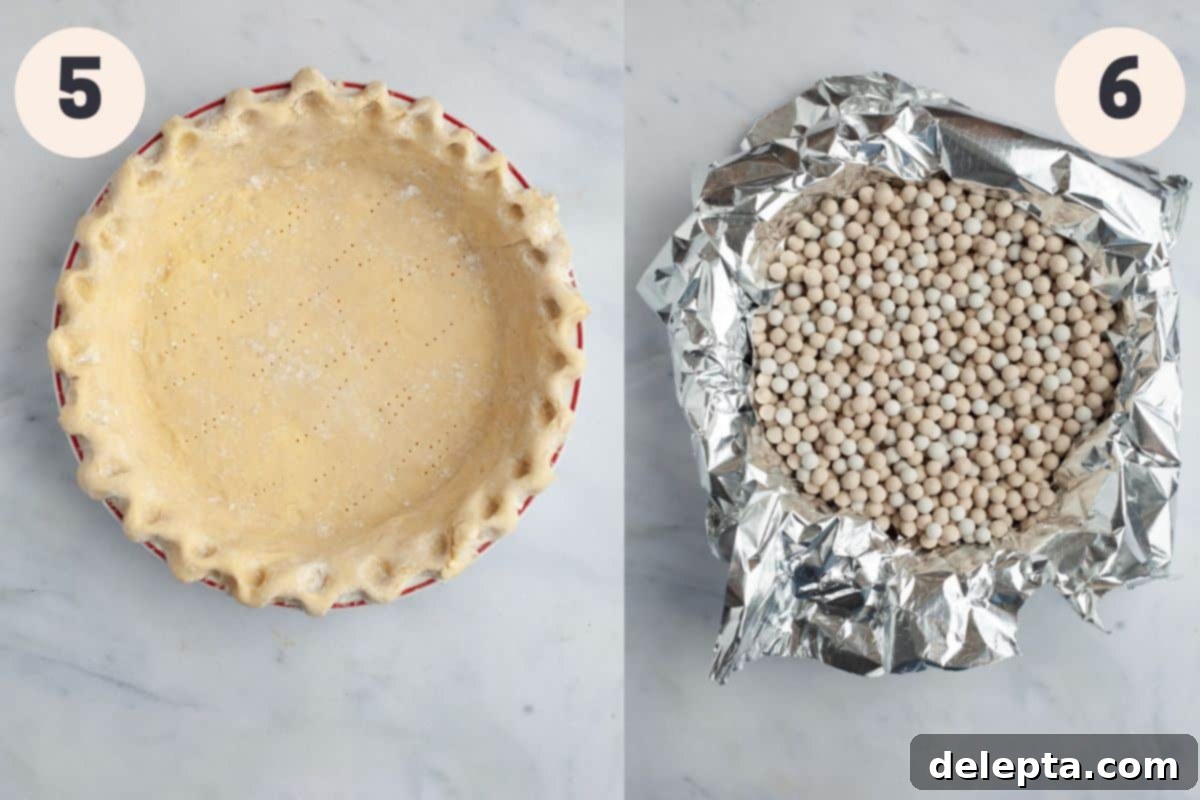
Step 5: Prepare for Blind Baking. Once your pie crust is crimped and ready, place the entire pie plate into the freezer for 10 minutes. This quick freeze helps the butter stay cold and firm, further preventing shrinkage. Before baking, quickly remove the pie from the freezer and use a fork to generously prick the bottom and sides of the crust. These small holes act as vents, allowing steam to escape and preventing the crust from puffing up excessively in the oven, ensuring a flat base for your filling.
Step 6: Blind Bake the Pie Crust. Line the inside of your chilled, pricked pie crust with two pieces of aluminum foil, creating an “X” shape. Ensure the foil extends over the edges of the crust to protect them from over-browning and to make removal easier. Fill the foil-lined crust with ceramic pie weights, dry beans, rice, or granulated sugar – filling them all the way to the top ensures even baking and prevents the sides from collapsing. Bake for 15-20 minutes at 425°F (220°C). The edges of the crust should appear lightly golden. Carefully remove the pie from the oven, lift out the foil and pie weights, and reduce the oven temperature to 350°F (175°C). Return the pie crust to the oven and bake for an additional 10-12 minutes, or until the bottom and sides are a uniform golden brown. This ensures a fully cooked, crisp crust. For extra insurance against a soggy bottom, whisk an egg yolk with a tiny bit of water and a pinch of salt to create an egg wash. Once the pie crust is removed from the oven and slightly cooled, use a pastry brush to apply this egg wash thinly over the bottom of the hot crust. The residual heat will cook the egg wash, creating a protective barrier that seals the crust and helps keep it from getting soggy later.
Part 2: Perfecting the Tart Lemon Curd Filling
The luscious, zesty lemon curd is the soul of this pie, offering a vibrant contrast to the sweet meringue.
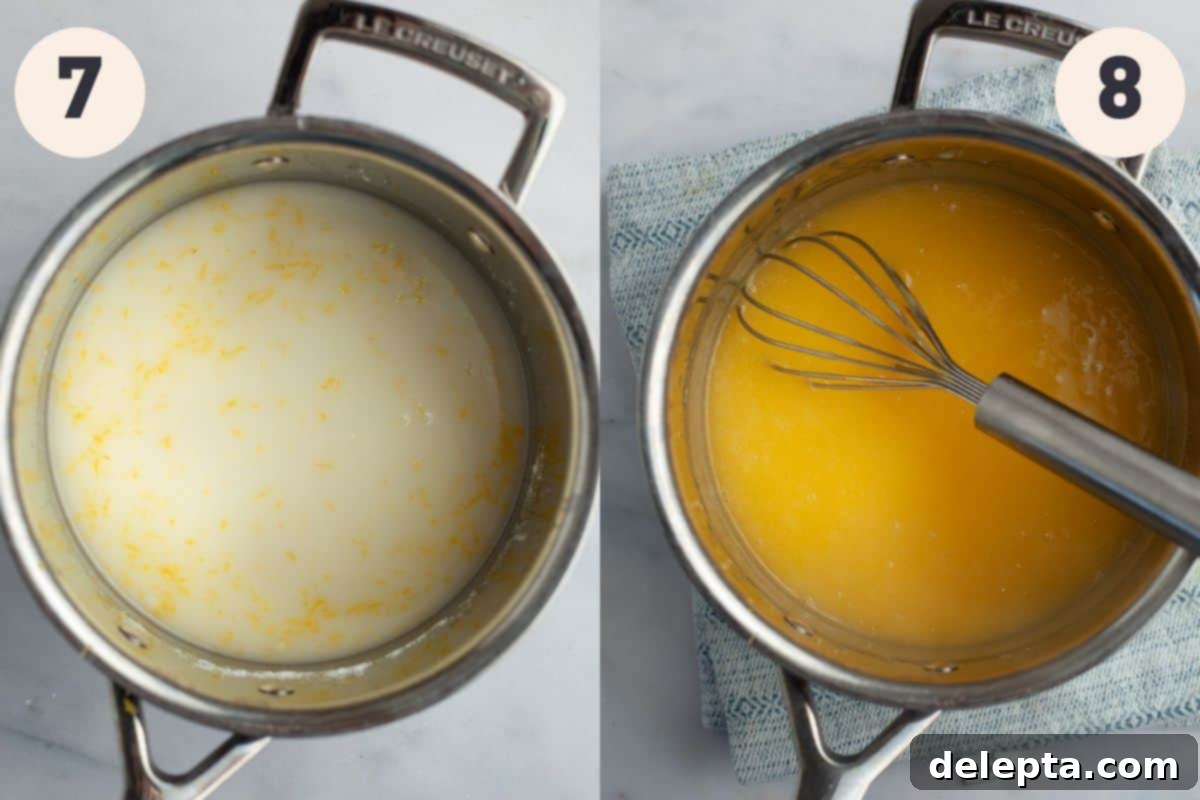
Step 7: Prepare Lemon Base and Temper Eggs. While your pie crust cools, preheat your oven to 375°F (190°C) for the final bake (if you didn’t do so at the end of crust baking). Carefully separate your eggs, placing the yolks into a jug and whisking them thoroughly. Set the egg whites aside in a very clean bowl for your Italian meringue. In a medium, non-reactive saucepan (stainless steel is ideal), whisk together the cornstarch, sugar, salt, fresh lemon juice, aromatic lemon zest, and water until well combined. Place the saucepan over medium heat and whisk constantly. The mixture will gradually thicken and begin to bubble, typically taking around 4-5 minutes. Consistent whisking is key here to prevent lumps and ensure even cooking.
Step 8: Cook the Curd to Perfection. Remove the saucepan from the heat. To prevent the egg yolks from scrambling, we need to temper them. Scoop about 1 cup of the hot lemon mixture and slowly pour it into your whisked egg yolks, whisking the yolks vigorously and continuously. This gradually brings the temperature of the yolks up. Once tempered, pour the warm egg yolk mixture back into the saucepan with the remaining lemon mixture. Return the saucepan to low heat. Continue to whisk constantly until the curd becomes very thick, glossy, and coats the back of a spoon, another 4-5 minutes. Be patient and keep whisking; the thickness is crucial for the pie to set properly.
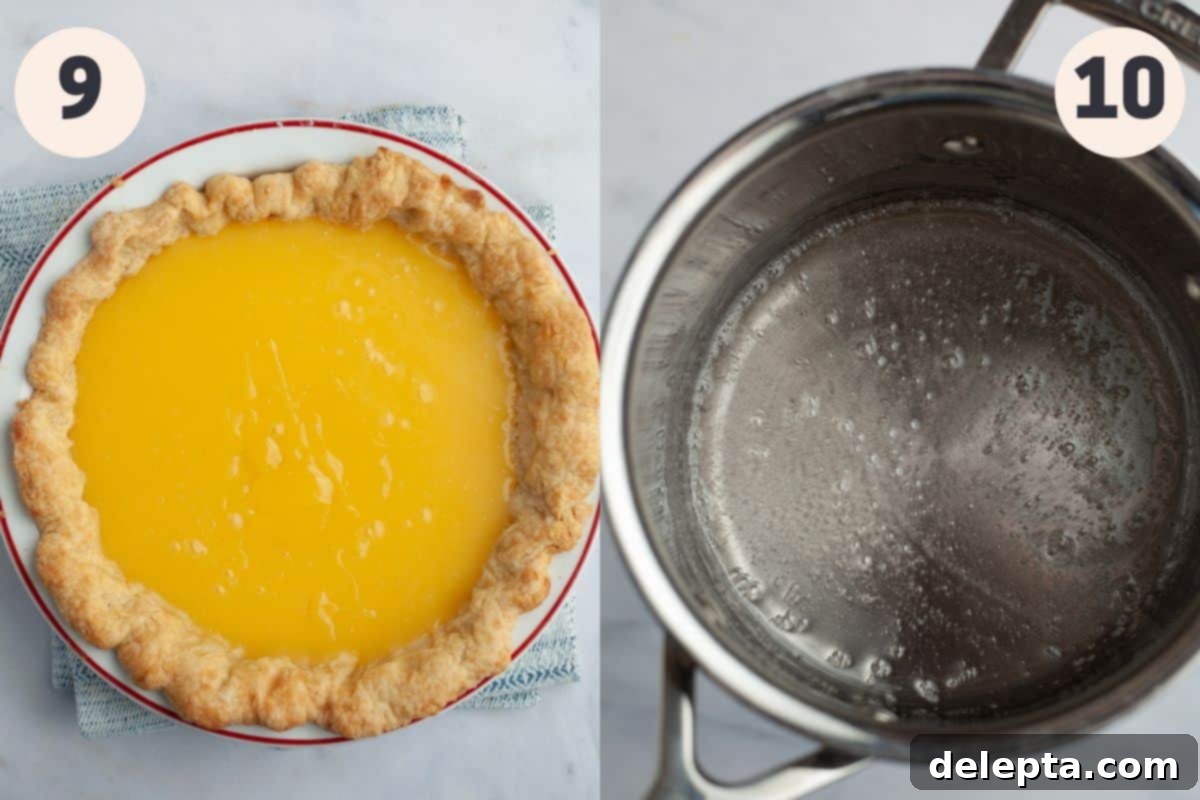
Step 9: Finish the Curd and Fill the Crust. Take the lemon filling off the heat and immediately whisk in your room temperature butter pieces, one at a time, until they have completely melted and are fully incorporated. The butter adds richness and a silky texture. Promptly pour the warm, smooth lemon curd into your completely cooled pie crust. To prevent a “skin” from forming on the surface of the curd as it cools, gently place a piece of plastic wrap directly onto the surface of the lemon filling. This creates a barrier against air and maintains the creamy texture.
Part 3: Whipping Up Fluffy Italian Meringue
The Italian meringue is renowned for its stability, volume, and delightful chewiness, making it the ideal topping that holds its shape beautifully and toasts evenly.
Step 10: Prepare Meringue Base and Sugar Syrup. To make the Italian meringue, ensure your stand mixing bowl and whisk attachment are absolutely spotless and free of any grease (even a tiny speck of fat can prevent egg whites from whipping). Place your room temperature egg whites and cream of tartar into the very clean stand mixing bowl. In a small saucepan, combine your sugar and water. Place the saucepan over medium heat, stirring gently until the sugar has fully dissolved and the mixture begins to bubble. Once boiling, lower the heat to the lowest setting to keep it warm while you begin whipping the egg whites.
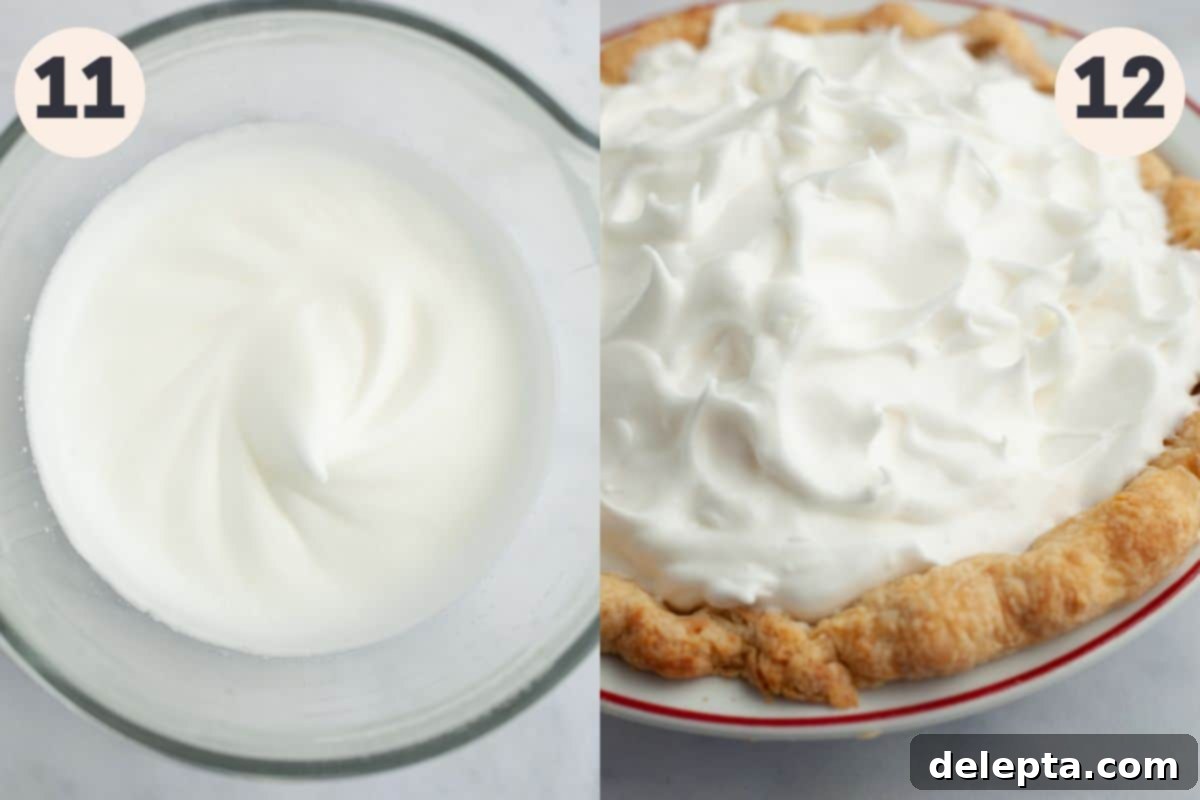
Step 11: Whip Egg Whites and Incorporate Hot Syrup. Return to your stand mixer and begin whisking the egg whites and cream of tartar on medium-high speed. Continue to beat until soft peaks form; the meringue should hold its shape when the whisk is lifted, but the tip should curl over gently. Stop the mixer temporarily. Now, increase the heat on your sugar syrup saucepan and insert a candy thermometer (or instant-read thermometer). Cook the syrup until it reaches precisely 236°F (113°C). Immediately remove it from the heat and carefully pour a small amount (a thin stream) of this hot sugar syrup onto the whipped egg whites while the mixer is running on high speed. Beat for 5 seconds. Stop the mixer, add about a third of the remaining syrup, and beat again on high for 5 seconds. Repeat this process two more times until all the syrup is incorporated. Continue beating on medium speed for about 2 minutes to allow the meringue to cool slightly and become very stiff and glossy. Finally, add the vanilla extract and whisk for another brief moment until fully combined.
Step 12: Top the Pie and Bake. Gently remove the plastic wrap from your lemon curd filling. Using a spatula or the back of a spoon, carefully spoon the Italian meringue topping over the lemon curd. It is crucial to ensure the meringue touches the pie crust all around the perimeter; this helps to “seal” the meringue and prevents it from shrinking or sliding off during baking. Use the back of a spoon or a small offset spatula to create beautiful swoops and swirls on top of the meringue, giving it an attractive, rustic toasted appearance. Place the pie into the preheated 375°F (190°C) oven and bake for 8-10 minutes, or until the meringue achieves a lovely golden-brown color. Once baked, remove the pie from the oven and allow it to cool completely on a wire rack for at least 1 hour at room temperature. After cooling, transfer the pie to the refrigerator and chill for a minimum of 3-4 hours. This chilling period is essential for the lemon curd to fully set, ensuring perfect, neat slices. Resist the temptation to cut into it too soon!
Expert Tips & Tricks for Perfect Lemon Meringue Pie
Achieving a bakery-quality lemon meringue pie at home is entirely possible with a few expert tips and tricks:
- Measure with Precision: For consistently perfect baking results, I cannot stress enough the importance of using a digital kitchen scale and measuring your ingredients the metric way (in grams). Baking is a science, and volumetric measurements (cups) can vary significantly. Metric measurements offer unparalleled accuracy, making a huge difference in the final texture and consistency of your pie.
- Room Temperature Ingredients for Curd and Meringue: While the butter for your pie dough needs to be icy cold, the ingredients for your lemon filling and meringue (especially eggs and butter for the curd) should be at room temperature. Take them out of the refrigerator 1-2 hours before you plan to start baking. Room temperature eggs whip up to greater volume, and butter incorporates more smoothly into the curd.
- Clean Lemons are Key: Always remember to thoroughly wash your lemons before you grate them for the lemon zest. This removes any wax or impurities, ensuring only pure, bright lemon flavor makes it into your pie.
- Separate Eggs When Cold, Handle Whites with Care: It’s much easier to separate egg yolks from whites when the eggs are cold, as the yolks are firmer. Once separated, allow the whites to come to room temperature for the best meringue volume. Crucially, ensure there are absolutely no traces of egg yolk in your egg whites. Even a tiny amount of fat from the yolk will prevent the meringue from whipping up properly. Use a very clean, grease-free bowl and whisk for your meringue.
- Seal the Meringue While Filling is Hot: For the best results and to prevent the dreaded “weeping” meringue, try to top the pie with the Italian meringue while the lemon filling is still hot or very warm. The residual heat helps to create a bond between the meringue and the curd, which minimizes moisture migration and weeping.
- Proper Chilling is Non-Negotiable: After baking, cooling and chilling the pie completely in the refrigerator for at least 3-4 hours is vital. This allows the cornstarch in the lemon curd to fully set, resulting in a firm, sliceable filling that won’t ooze out when cut. Patience truly pays off here!
- Prevent a Soggy Bottom: The egg wash applied to the blind-baked crust in Step 6 is your secret weapon against a soggy bottom. The cooked egg yolk creates a protective, waterproof barrier, ensuring your crust stays crisp beneath the moist lemon filling.
Frequently Asked Questions
Patience is a virtue when it comes to lemon meringue pie! You’ll need to allow the pie to cool completely at room temperature for at least an hour after baking, and then refrigerate it for a minimum of 3-4 hours. This extensive chilling period is crucial for the lemon filling to firm up and set properly. If you attempt to slice it too soon, the filling will likely be too soft and ooze out, making for messy servings. Planning ahead ensures beautifully firm and clean slices.
Absolutely, yes! Lemon meringue pie must be refrigerated both before slicing to allow it to set, and for any leftovers. Due to the egg-based filling and meringue, refrigeration is essential for food safety and to maintain its structure. To prevent the meringue from “weeping” (forming sugary beads of liquid on its surface), you can create a loose tent over the pie with aluminum foil before refrigerating. This helps to minimize moisture exposure.
Several factors can contribute to a watery lemon meringue pie, often stemming from insufficient setting or moisture issues. Common culprits include: 1) Incorrect ingredient measurements for the filling – precision with cornstarch is key. 2) Not cooking the lemon curd long enough over the stove; it needs to reach a thick, glossy consistency. 3) Failing to cover the hot lemon filling with meringue promptly; this can lead to a skin forming and moisture separation. 4) Most commonly, not allowing the pie to chill sufficiently in the fridge. The cornstarch needs ample time to fully hydrate and set the curd. While a watery pie can be disappointing, remember that even a pie that hasn’t fully set will still be wonderfully delicious! Don’t lose heart, and try adjusting these points next time.
Lemon meringue pie is best enjoyed on the day it’s made, when the crust is freshest and the meringue is at its fluffiest. However, you can store it in the refrigerator for up to 1-2 days. Always keep it refrigerated, and as mentioned above, tenting it loosely with aluminum foil can help protect the meringue. Beyond two days, the meringue may start to weep more significantly, and the crust can begin to soften.
While a homemade all-butter crust truly elevates this pie, you can certainly use a good quality store-bought pie crust to save time. Just ensure it’s a deep-dish variety and follow the blind baking instructions in the recipe. The baking times for a pre-made crust might vary slightly, so keep an eye on it to achieve that golden-brown finish.
Discover More Zesty Lemon Recipes!
If this classic lemon meringue pie has awakened your love for all things lemon, then you’re in for a treat! Explore more delightful lemon-infused creations that are sure to satisfy your cravings for bright, tangy flavors.
- Creamy Lemon Bars with Graham Cracker Crust
- Lemon Curd Cookies
- Blueberry Almond Lemon Cake
- Easy Lemon Poppy Seed Cupcakes
Have you made this delightful recipe? Don’t forget to tag me on Instagram @alpineella and leave a review below if you’ve tried it! For even more delicious baking ideas and inspiration, you can always follow me on Pinterest.
Recipe Card: Classic Lemon Meringue Pie

Lemon Meringue Pie
Author: Ella Gilbert
Summary: A classic lemon meringue pie featuring a tart lemon curd filling, a homemade all-butter pie crust, and a fluffy, toasted Italian meringue topping.
Rating: 5 out of 5 stars (1 vote)
Pin Recipe
Save Recipe
Prep Time: 40 mins
Cook Time: 40 mins
Chill Time: 2 hrs 30 mins
Total Time: 3 hrs 50 mins
Course: Dessert
Cuisine: American
Servings: 12 slices
Calories: 363 kcal
Equipment
- 9 inch deep dish pie plate
- Stand mixer with whisk attachment
- Medium non-reactive saucepan
- Small saucepan
- Measuring jug
- Candy thermometer or instant-read thermometer
- Rolling pin
- Parchment paper or aluminum foil
- Pie weights (or dried beans/rice/sugar)
- Pastry brush
- Wire rack
Ingredients
All Butter Pie Crust
- 200 grams all purpose flour
- ½ teaspoon kosher salt
- 140 grams unsalted butter (cold)
- 1 tablespoon sugar
- 5-6 tablespoons ice water
Lemon Filling
- 300 grams sugar
- 6 egg yolks (room temperature)
- 57 grams unsalted butter (room temperature)
- 45 grams cornstarch
- 1 teaspoon kosher salt
- 1 tablespoon lemon zest
- 120 ml lemon juice
- 360 ml water
Italian Meringue
- 99 grams sugar
- 4 egg whites (room temperature)
- 2 tablespoons water
- pinch kosher salt
- ½ teaspoon cream of tartar
- 1 teaspoon vanilla extract
Instructions
Make Pie Crust
- Fill a measuring jug with water and ice; place in the fridge. Prepare a piece of plastic wrap.
- Cut half of your cold butter into thin slices (about ⅛ inch thick) and place in the fridge.
- In a large bowl, whisk together the flour, salt, and sugar.
- Cut the remaining butter into ½-inch cubes. Toss cubes in dry ingredients. Use fingers to flatten butter until pea-sized.
- Add chilled butter slices to the bowl. Toss to coat and flatten further with fingers.
- Drizzle 5 tablespoons of ice water into the flour mixture (avoid ice). Toss until a shaggy mass forms. Lightly knead to gather large clumps onto plastic wrap. Drizzle more water (1 tbsp at a time) into remaining floury bits and knead until just moistened. Add to main dough.
- Form dough into a disc and wrap tightly in plastic wrap. Refrigerate for at least 2 hours.
- (Optional for extra flakiness) Let dough sit for 5-10 minutes, roll into a rectangle, fold into thirds, rewrap, and refrigerate for another 30 minutes.
- Preheat oven to 425°F/220°C (rack in middle position).
- Let dough sit for 5-10 minutes. Roll out dough on a lightly floured surface to about an inch wider than your 9-inch deep dish pie plate. Carefully transfer to the pie plate.
- Gently slump dough into the plate and press very firmly onto the bottom and where the side meets the bottom of the plate to prevent slumping.
- Tuck the overhanging dough underneath to create a thicker edge. Firmly press dough into the pie plate and crimp edges as desired.
- Place pie plate in the freezer for 10 minutes. Remove and prick the bottom a few times with a fork to prevent puffing.
- Line the crust with two pieces of foil in an “X” shape, ensuring foil hangs over the edges to protect the crust and for easy removal.
- Fill with pie weights (or dried beans/sugar) all the way to the top. Bake for 15-20 minutes until edges are light golden.
- Quickly remove from oven, lift out foil and weights. Reduce oven temperature to 350°F/175°C. Return pie to oven and bake for another 10-12 minutes until golden brown. Remove and cool completely.
- Brush an egg wash (whisked egg yolk with a splash of water and pinch of salt) on the bottom of the cooled pie crust using a pastry brush to seal it and prevent sogginess.
Make Lemon Filling
- Preheat oven to 375°F/190°C. Place your pre-baked pie crust on a baking sheet.
- In a jug, whisk together your egg yolks. Set aside egg whites for meringue.
- In a medium non-reactive saucepan, whisk cornstarch, sugar, salt, lemon zest, lemon juice, and water. Place over medium heat and whisk constantly until thickened and bubbling (4-5 minutes).
- Remove from heat. Scoop about 1 cup of hot lemon mixture into the whisked egg yolks, whisking vigorously to temper the eggs.
- Pour tempered egg mixture back into the saucepan. Whisk over low heat until very thick and glossy (another 4-5 minutes).
- Remove from heat and whisk in room temperature butter pieces until completely melted.
- Pour the warm lemon curd into your cooled pie crust. Place plastic wrap directly onto the surface of the filling to prevent a skin from forming.
Make Italian Meringue
- Place room temperature egg whites and cream of tartar into a very clean stand mixer bowl fitted with a whisk attachment. Ensure no egg yolk is present.
- In a small saucepan, stir sugar and water together. Cook over medium heat, stirring, until sugar dissolves and bubbles. Reduce heat to lowest setting.
- Beat egg whites on medium-high speed until medium-soft peaks form (tips should curl gently). Stop mixer.
- Increase heat on sugar syrup. Insert a candy thermometer. Boil syrup until it reaches 236°F/113°C. Remove from heat and pour into a glass measuring jug to stop cooking.
- With mixer on high speed, slowly pour a small stream of hot sugar syrup onto egg whites. Beat for 5 seconds. Stop. Add about a third of remaining syrup; beat for 5 seconds. Repeat twice more.
- Beat on medium speed for 2 minutes to cool meringue and make it stiff and glossy. Add vanilla extract and pinch of salt, whisk briefly.
- Remove plastic wrap from lemon filling. Spoon meringue over the filling, ensuring it touches the crust all around to prevent shrinking. Create swoops and swirls with the back of a spoon.
- Bake for 8-10 minutes at 375°F until meringue is golden brown.
- Remove from oven. Cool on a wire rack for at least 1 hour, then refrigerate for 3-4 hours before serving.
- Best eaten on the same day. For storage, refrigerate and tent with foil.
Notes
- Metric vs. US Customary: Recipes developed and tested in metric grams. Highly recommend using a weighing scale for accuracy. US cup conversions are provided but untested by author.
- Room Temperature: All ingredients for filling and topping should be at room temperature (1-2 hours before baking), except for the pie dough butter which must be cold.
- Salt: If using fine salt instead of kosher salt, halve the amount (1 teaspoon kosher salt = ½ teaspoon fine salt).
- Butter: European-style butter (e.g., Kerrygold) is recommended for its higher butterfat content, contributing to a creamier, richer bake.
- Making Ahead: The pie dough can be prepared up to 2 days in advance and stored in the refrigerator.
- Storage: Best eaten on the day of making. Can be stored in the fridge for 1-2 days, tented with foil to protect the meringue.
Nutrition
Carbohydrates: 52g
Protein: 4g
Fat: 16g
Saturated Fat: 9g
Polyunsaturated Fat: 1g
Monounsaturated Fat: 5g
Trans Fat: 1g
Cholesterol: 133mg
Sodium: 316mg
Potassium: 81mg
Fiber: 1g
Sugar: 35g
Vitamin A: 541IU
Vitamin C: 5mg
Calcium: 22mg
Iron: 1mg
Tried this recipe? Leave a comment below! You can also tag me on Instagram @alpineella so I can see what you made!
