Ultimate Fudgy Peanut Butter Cup Brownies: An Easy, Irresistible Homemade Recipe
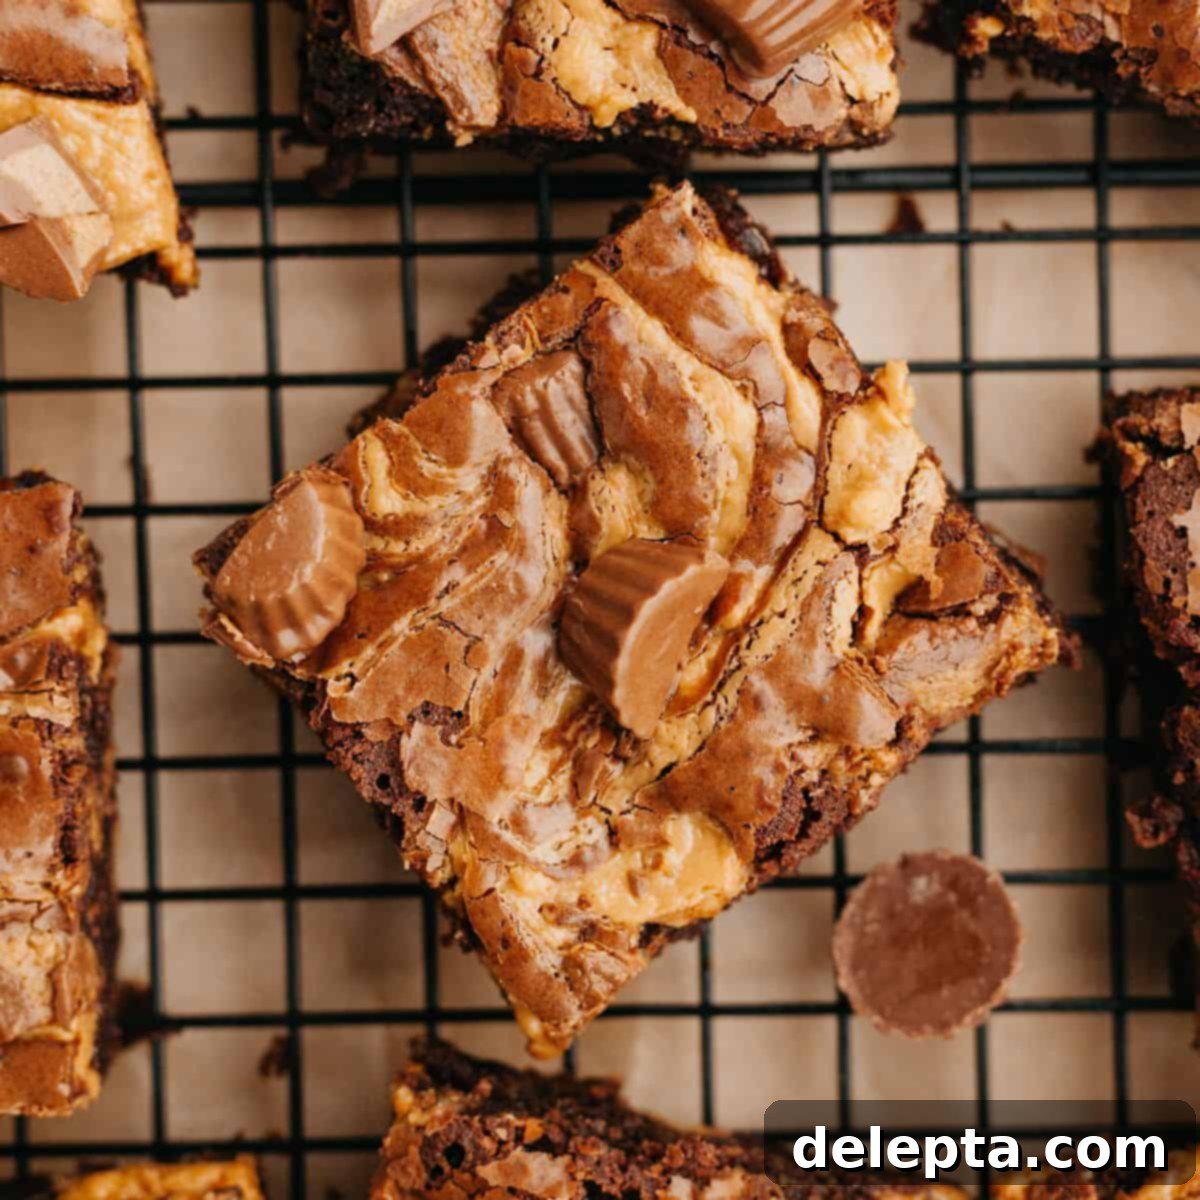
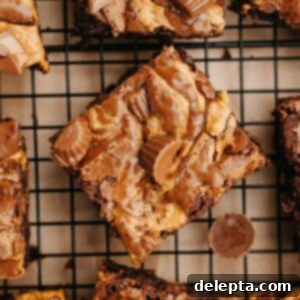
Prepare for an extraordinary treat with these extra fudgy chocolate brownies swirled with a rich peanut butter filling and loaded with chopped peanut butter cups! This isn’t just another brownie recipe; it’s a celebration of the classic chocolate and peanut butter combination, delivering an intensely chewy and supremely fudgy texture that will satisfy even the most discerning dessert lover. What makes these homemade brownies truly special is their incredible simplicity – they come together in just 20 minutes of active prep time, and you won’t even need a stand mixer!
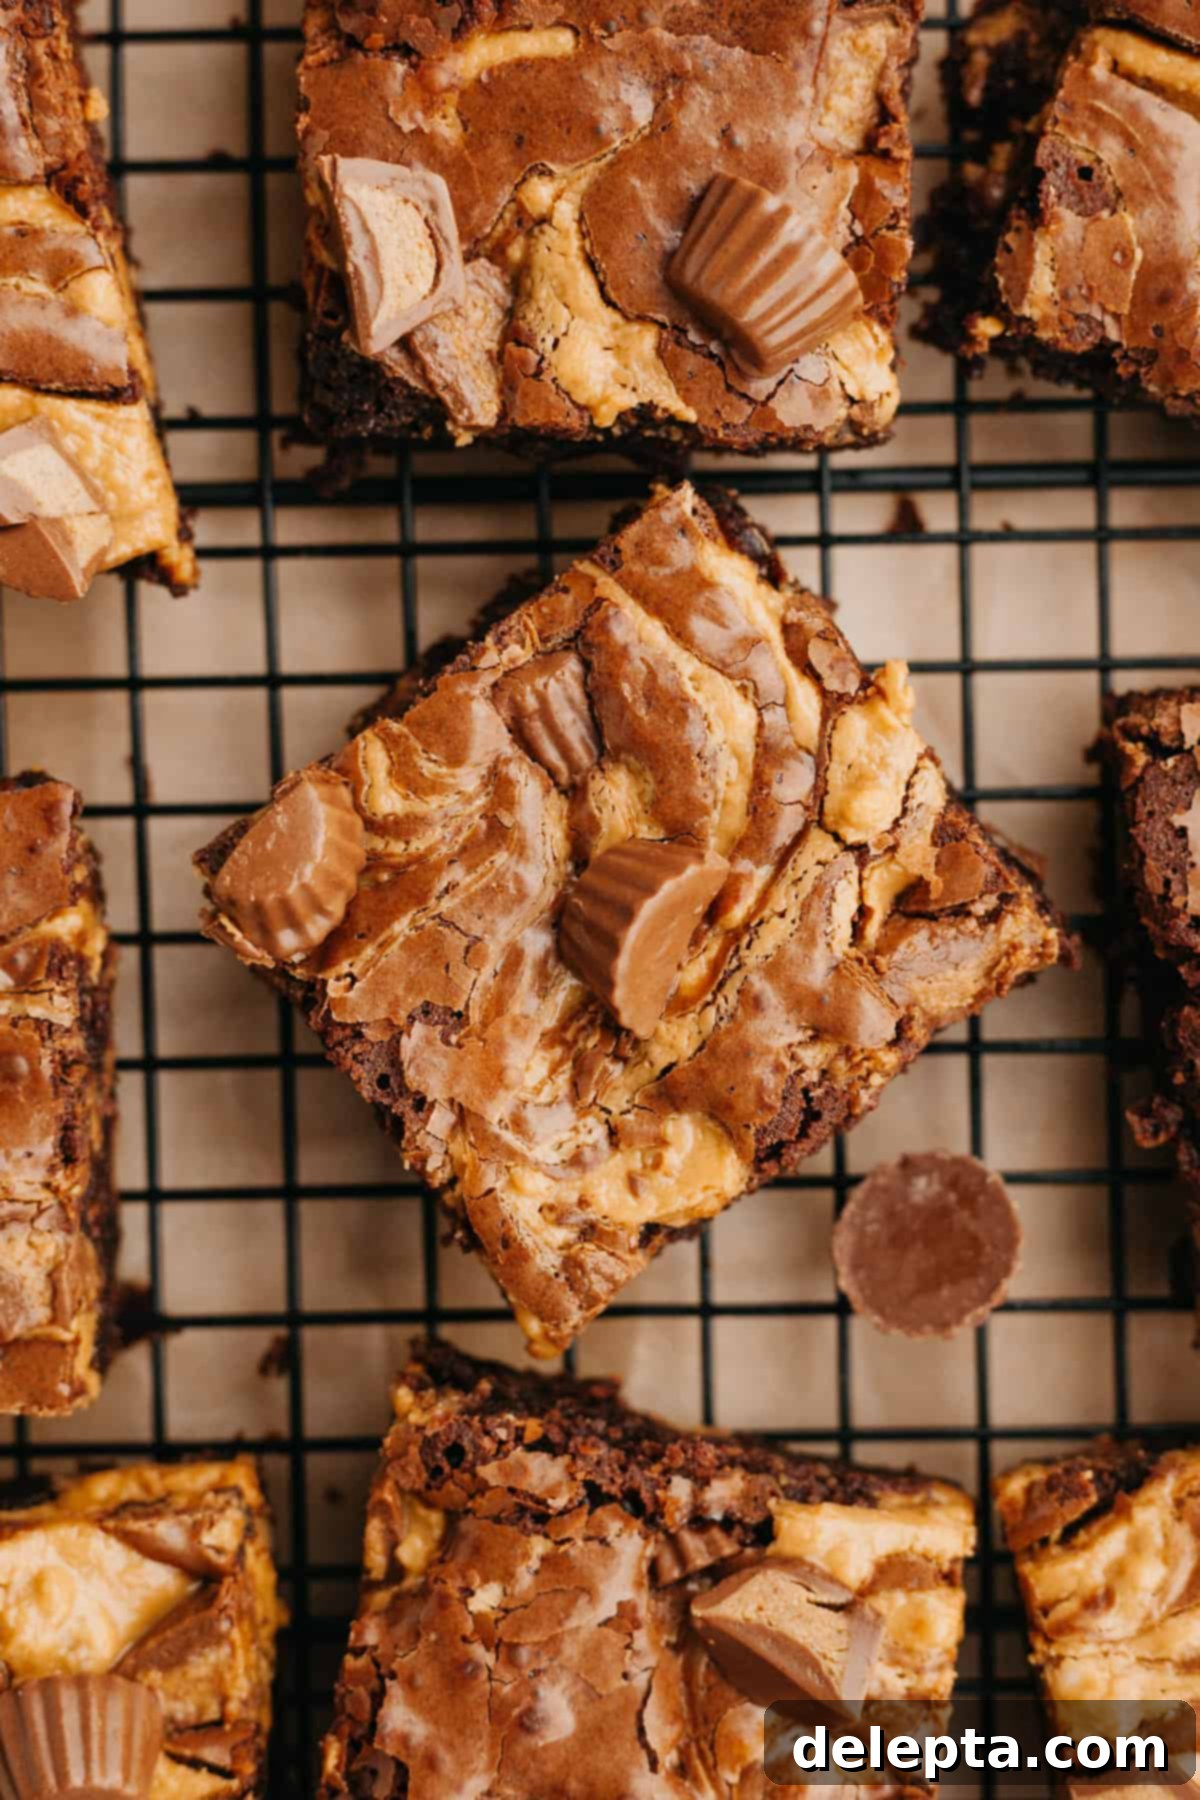
This irresistible brownie recipe was originally published in May 2021 and has been lovingly updated with fresh images and expanded details to make your baking experience even better.
The harmonious blend of chocolate and peanut butter stands as one of my all-time favorite flavor pairings! If you share this deep appreciation, you absolutely must try these peanut butter cup brownies. They feature a profoundly fudgy and intensely chocolatey brownie base, elegantly swirled with a smooth, simple peanut butter filling, and generously studded with an abundance of chopped mini peanut butter cups. It’s a triple threat of flavor and texture that creates an unforgettable dessert experience. For those who enjoy a creamy, tangy twist, be sure to explore my chocolate peanut butter pie or, if you prefer a cheesecake-style brownie, my peanut butter cheesecake brownies!
Craving more amazing brownie creations? Don’t stop here! Dive into my collection of other fantastic brownie recipes, including decadent brownies with cream cheese frosting, indulgent oreo cheesecake brownies, and beautifully swirled marbled cheesecake brownies. Each one promises a unique and delightful treat!
Why You’ll Fall in Love with These Peanut Butter Brownies!
- Super Chocolatey: Get ready for an intense chocolate experience! These fudgy brownies boast a double dose of rich chocolate flavor, thanks to a thoughtful combination of high-quality cocoa powder and finely chopped dark chocolate. This layering of chocolate ensures every bite is deeply satisfying and truly decadent.
- Perfectly Fudgy Brownies: Say goodbye to dry, cakey brownies! The secret to the incredibly chewy and fudgy texture of these brownies lies in the absence of baking powder or baking soda. This intentional omission prevents the brownies from rising too much, resulting in that dense, moist, and wonderfully gooey consistency that true brownie lovers crave.
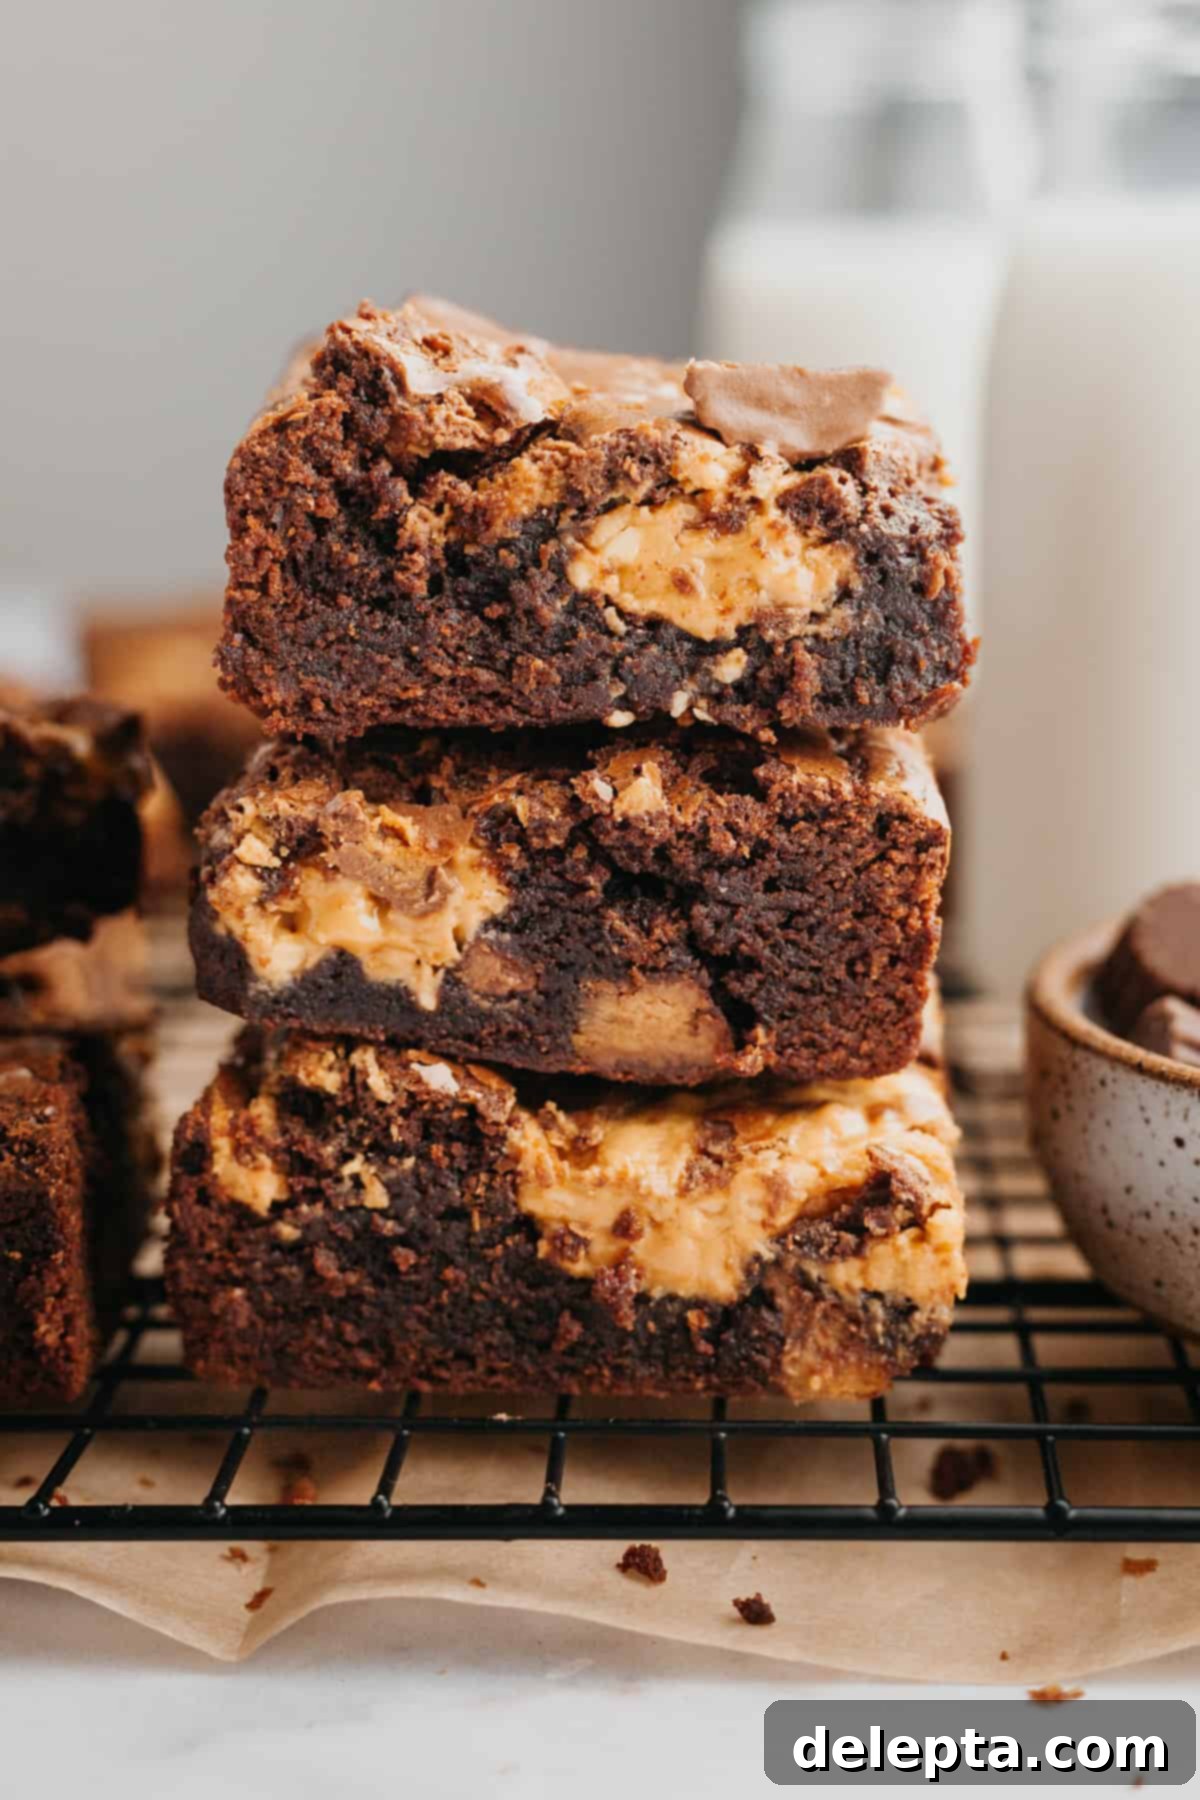
- Irresistible Peanut Butter Flavor: The peanut butter isn’t just an afterthought here; it’s a star! These chocolate peanut butter brownies are elegantly swirled with a luscious, creamy peanut butter filling, which permeates the entire batch with its nutty goodness. To elevate the experience even further, they are generously sprinkled with an abundance of chopped miniature peanut butter cups, ensuring a burst of peanut butter in every bite.
- Signature Crackly Top: Achieve that coveted, shiny, crinkly top that is the hallmark of a perfectly baked brownie. Our recipe includes a specific whisking technique for the wet ingredients that helps create this beautiful, delicate crust, adding an appealing visual and textural contrast to the soft interior.
- No Mixer Required, Quick Prep: Forget about dragging out heavy kitchen equipment! This entire brownie recipe comes together with just a whisk and a couple of bowls. The active preparation time is a mere 20 minutes before they even hit the oven, making these fudgy peanut butter brownies an ideal choice for a quick, hassle-free baking project.
Essential Ingredients for Your Peanut Butter Cup Brownies
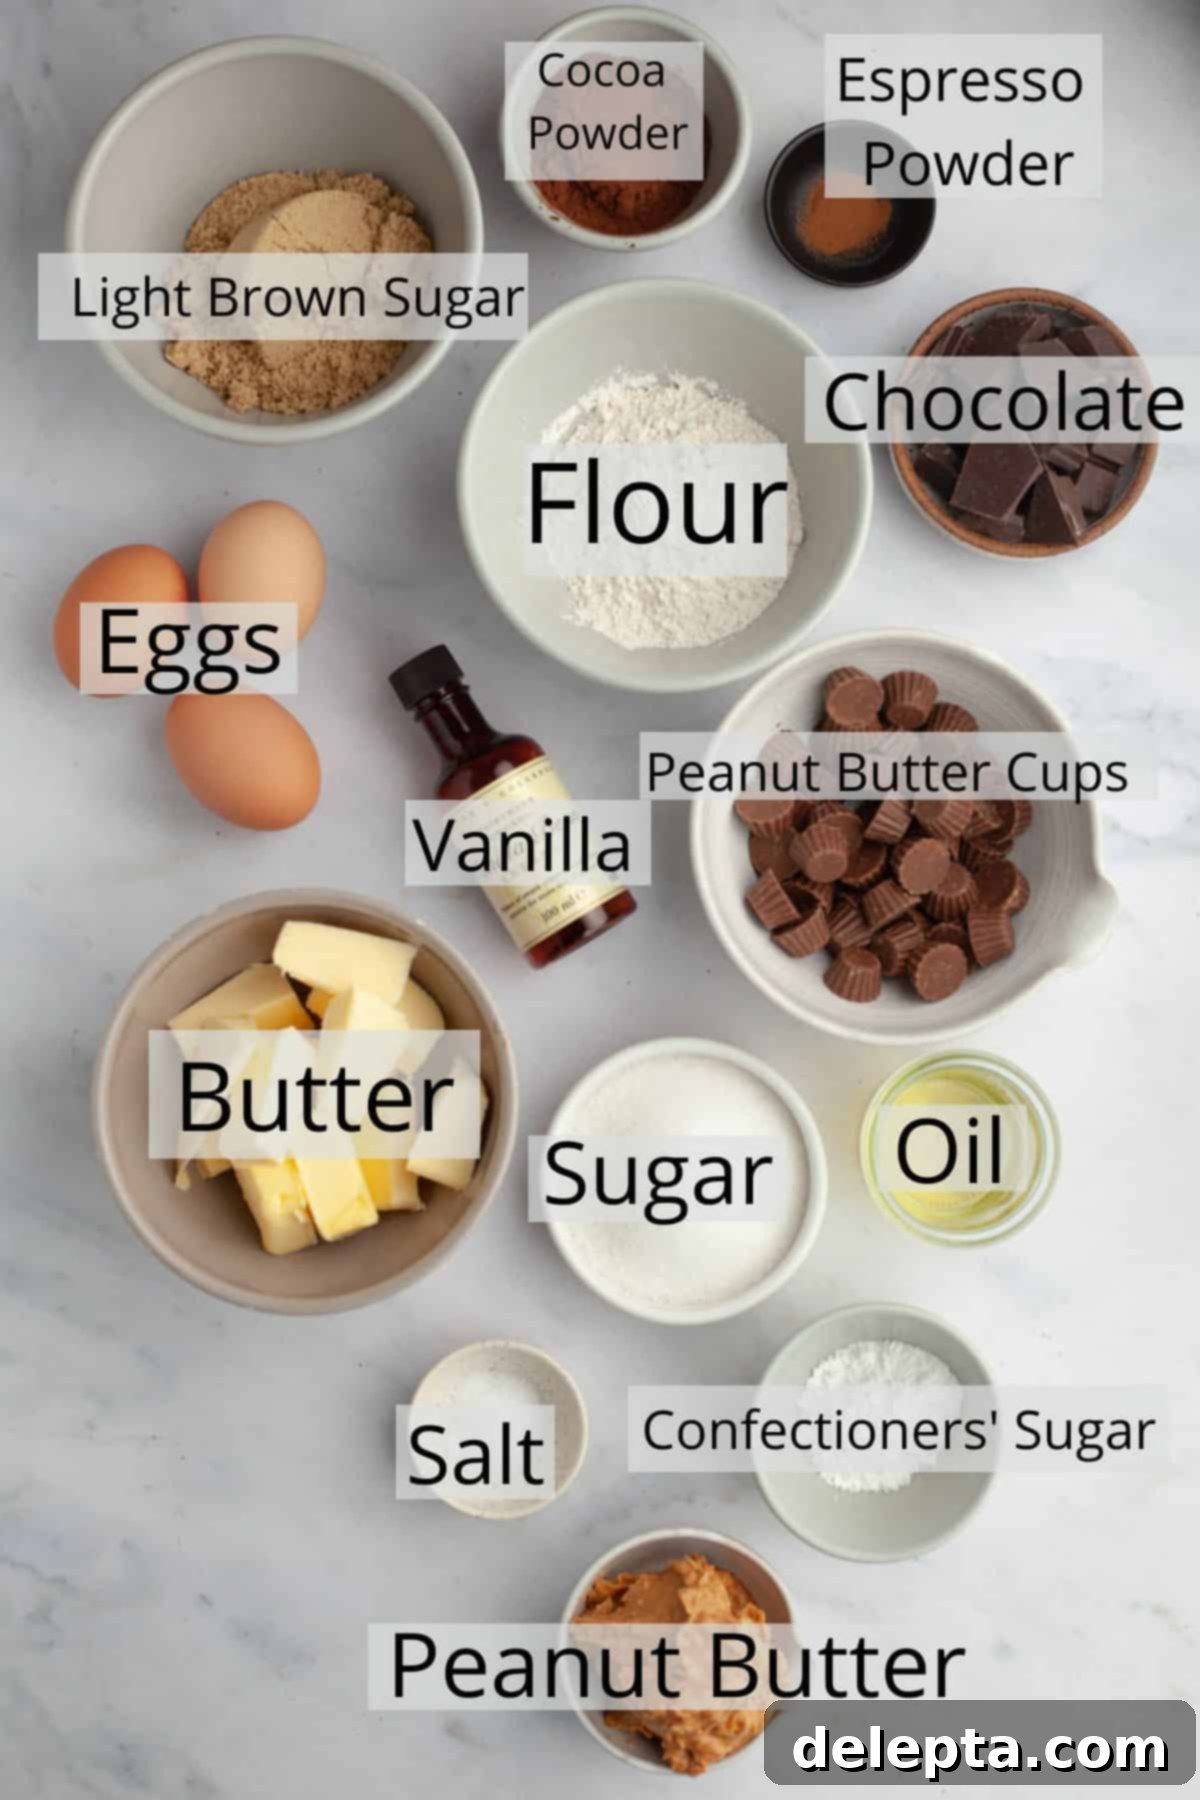
- Chocolate: These truly fudgy brownies benefit from a luxurious double dose of chocolate. We use both rich cocoa powder and finely chopped dark chocolate to create an unparalleled depth of flavor. Aim for a high-quality dark chocolate (around 60-70% cacao) for the best results.
- All-Purpose Flour: For optimal consistency and texture, this recipe has been meticulously tested exclusively with all-purpose flour. Using a different type of flour may alter the brownie’s fudginess and overall structure.
- Cocoa Powder: To achieve that deep, dark chocolate color and intense flavor, I highly recommend using Dutch-processed cocoa powder. This type of cocoa powder has been treated with an alkali to reduce its acidity, resulting in a smoother, less bitter chocolate taste. If you’re in a pinch, natural cocoa powder can be used, but the color and flavor will be slightly different. To identify Dutch-processed cocoa, simply check the ingredients list for “acidity regulators” or “alkali.”
- Unsalted Butter: I personally love incorporating European-style unsalted butter into my baking. Its higher fat content contributes to a richer, creamier texture in baked goods, enhancing the overall lusciousness of these peanut butter brownies. However, any good quality unsalted butter will work beautifully.
- Neutral Oil: To ensure the chocolate and peanut butter flavors shine, use a neutral-tasting oil. Vegetable oil is my preferred choice for its subtle profile, allowing the other robust flavors to take center stage. Canola oil also works well as a substitute.
- Espresso Powder: This is your secret weapon for intensifying the chocolate flavor! Just a small amount of espresso powder doesn’t add a coffee taste, but rather magically deepens and enriches the chocolate notes, making them even more pronounced and delicious. Don’t skip this ingredient for truly next-level brownies.
- Mini Peanut Butter Cups: For delightful pockets of peanut butter goodness, I use chopped mini peanut butter cups. Their small size integrates perfectly into the brownie batter and topping. If you only have regular-sized peanut butter cups, simply chop them into similarly small pieces to ensure an even distribution throughout the brownies.
- Creamy Peanut Butter: For the smoothest and most consistent peanut butter swirl, I strongly recommend using a creamy, conventional peanut butter. Avoid natural peanut butter that tends to separate with oil on top, as it can lead to a greasy or inconsistent filling texture.
- Eggs & Egg Yolk: Using both whole eggs and an extra egg yolk contributes significantly to the brownies’ fudgy texture and rich flavor. Ensure they are at room temperature, as this helps them emulsify better with the other ingredients, leading to a smoother batter and a more uniform bake.
- Granulated & Light Brown Sugar: The combination of these two sugars creates the perfect balance of sweetness and moisture. Granulated sugar contributes to the crackly top, while light brown sugar adds depth of flavor and ensures a moist, chewy interior.
- Vanilla Extract: A splash of vanilla extract enhances all the other flavors, particularly the chocolate and peanut butter, adding a warm, aromatic complexity to the brownies.
- Kosher Salt: Salt is crucial for balancing the sweetness and intensifying the chocolate and peanut butter flavors. Kosher salt, with its larger flakes, disperses nicely. (See notes for substitution if using fine salt).
Easy Step-by-Step Guide to Making Peanut Butter Cup Brownies
Creating these divine chocolate peanut butter brownies is simpler than you might think. Follow these straightforward steps to achieve perfectly fudgy results every time:
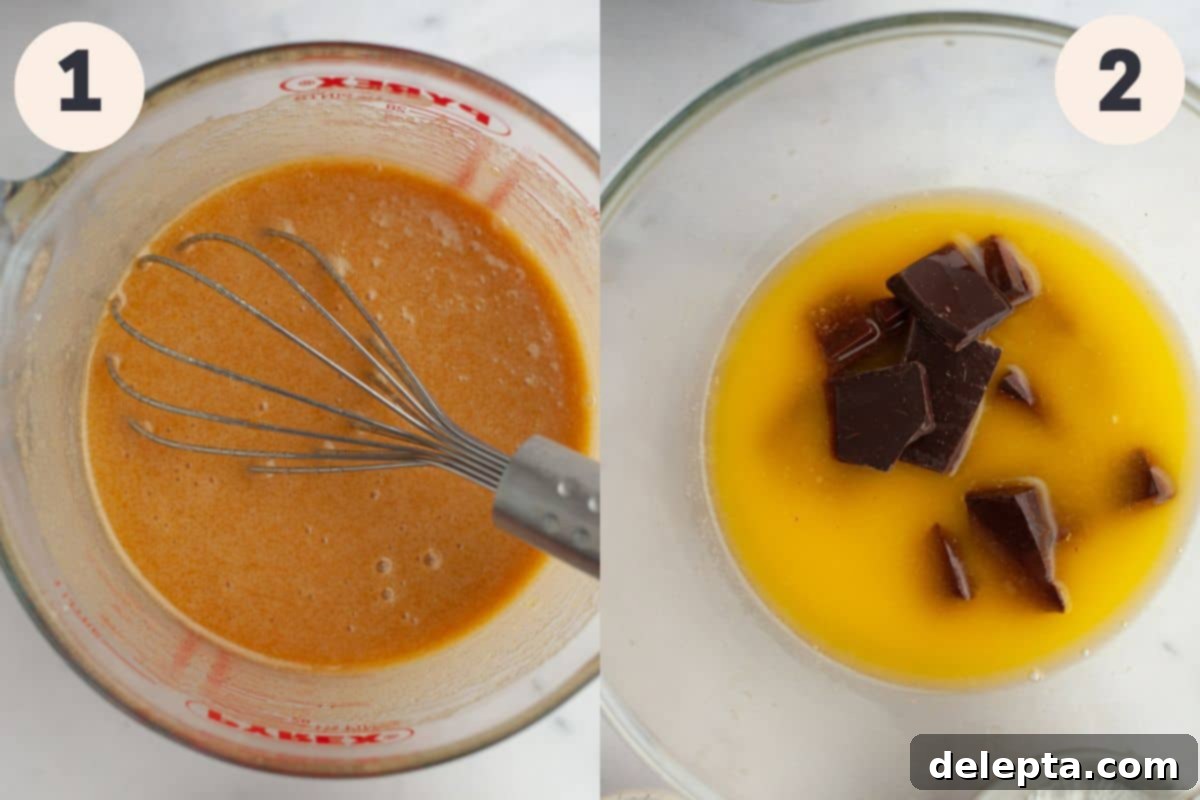
Step One: Prepare the Wet Ingredients for the Brownie Base. In a spacious medium bowl or a large heat-safe jug, combine your room temperature eggs, extra egg yolk, both granulated and light brown sugars, neutral oil, a touch of espresso powder, and vanilla extract. Whisk this mixture vigorously for at least 1 minute until it becomes noticeably smooth and slightly pale. This crucial step incorporates air and helps to develop that desirable crinkle top on your brownies.
Step Two: Melt the Chocolate and Butter. In a microwave-safe bowl, melt the unsalted butter in short intervals until it’s fully liquefied. Immediately add your finely chopped dark chocolate to the hot butter. Let the mixture sit undisturbed for a few minutes to allow the residual heat to melt the chocolate. Then, whisk until it’s perfectly smooth and glossy. If any large chocolate pieces remain, microwave for additional 10-second increments, stirring after each, until completely melted and uniform.
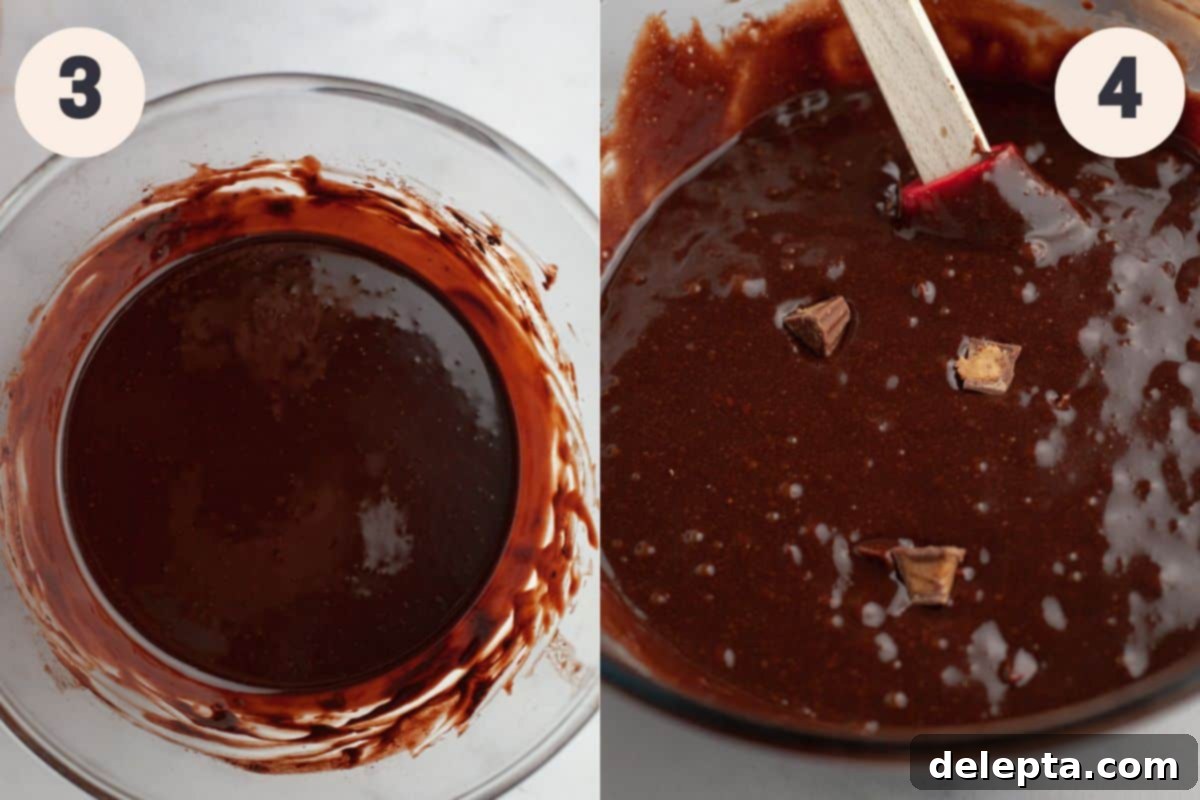
Step Three: Combine Chocolate and Sugar Mixtures. To your melted chocolate and butter mixture, add the cocoa powder. Whisk until it’s thoroughly combined and smooth, ensuring no dry pockets of cocoa remain. Next, pour the previously whisked sugar and egg mixture into the chocolate mixture. Whisk gently but thoroughly until all ingredients are completely incorporated and the batter is homogeneous.
Step Four: Incorporate Dry Ingredients and Peanut Butter Cups. Sift the all-purpose flour and kosher salt into the chocolate batter. Using a spatula, gently fold these dry ingredients into the wet mixture. Be careful not to overmix; stop folding as soon as you no longer see streaks of flour. Overmixing can lead to tougher brownies. Finally, gently stir in the majority of your chopped mini peanut butter cups, reserving a small handful to sprinkle on top later for an extra pop of color and flavor.
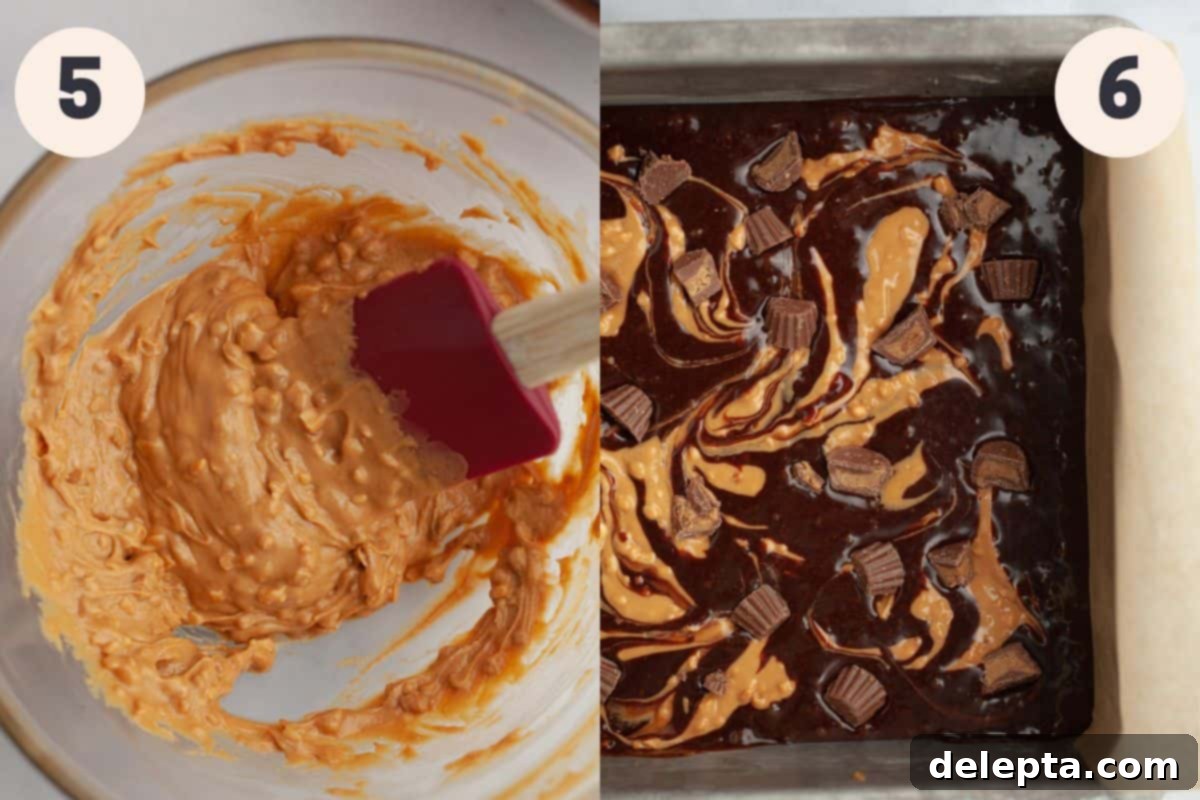
Step Five: Prepare the Peanut Butter Swirl Filling. In a separate small, microwave-safe bowl, melt the creamy peanut butter in the microwave for approximately 15-20 seconds, or until it’s warm and easily stirrable. Once melted, add the confectioners’ sugar, a dash of vanilla extract, and a pinch of kosher salt. Stir all these ingredients together until you achieve a smooth, pourable peanut butter filling.
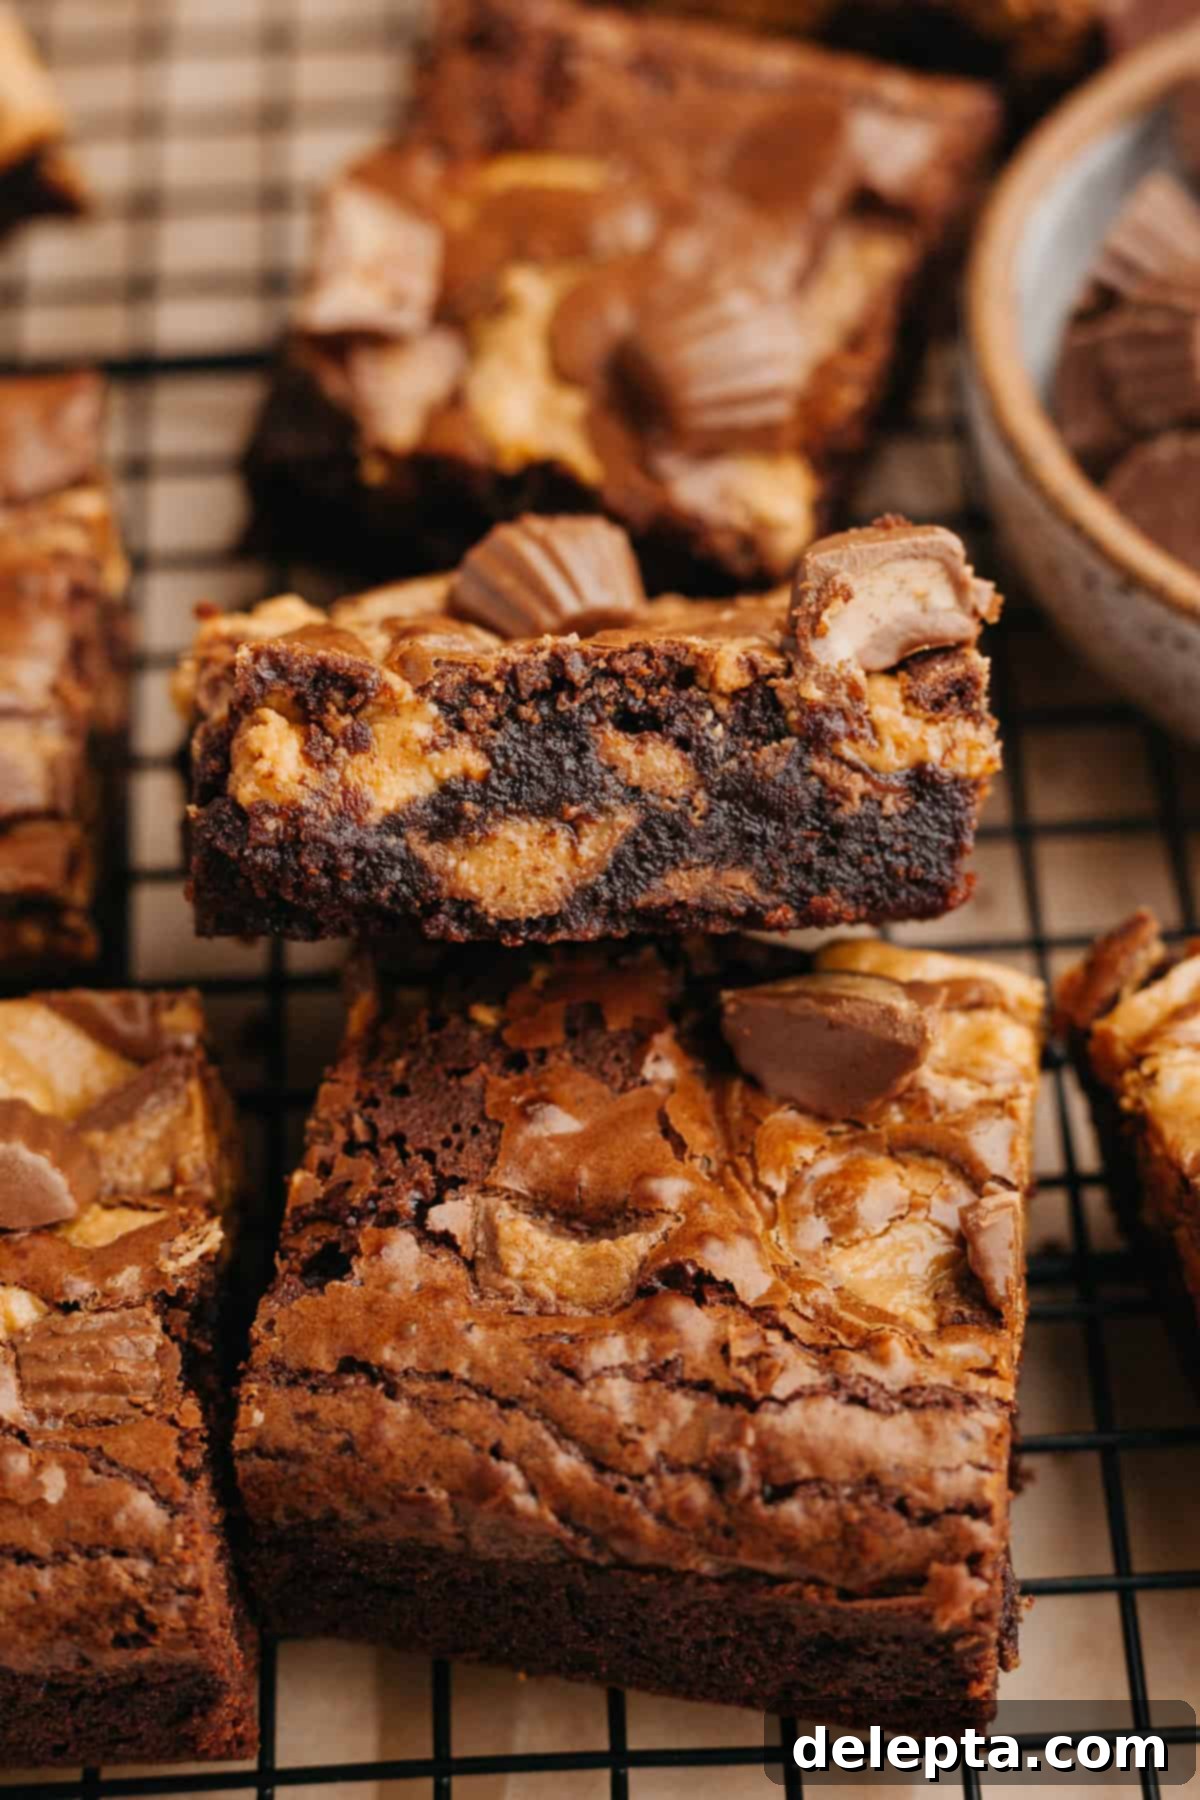
Step Six: Assemble, Swirl, and Bake. Pour the rich brownie batter evenly into your prepared 8×8 inch baking pan (greased and lined with parchment paper). Dollop spoonfuls of the peanut butter mixture over the top of the brownie batter. Now, using a butter knife or a skewer, gently swirl the peanut butter through the chocolate batter to create beautiful marbled patterns. Be mindful not to overswirl, as you want distinct streaks of peanut butter! Finally, sprinkle your reserved chopped peanut butter cups over the swirled top. Bake in an oven preheated to 350°Fahrenheit (175°Celsius) for 25-30 minutes. The brownies are ready when the top has a lovely crackled appearance and a toothpick inserted into the center comes out with a few moist crumbs attached, but not wet batter. Allow them to cool completely in the pan on a wire rack before attempting to remove and cut them for the cleanest slices.
Expert Tips & Tricks for Perfect Fudgy Brownies
Achieving bakery-quality fudgy brownies with that perfect peanut butter swirl is easy with these insider tips:
- Avoid Overbaking at All Costs: This is perhaps the most critical rule for achieving truly fudgy brownies! Overbaking is the arch-nemesis of a chewy, gooey texture, inevitably leading to dry, crumbly results. Keep a close eye on your oven; it’s always better to slightly underbake these brownies. They will continue to “set” and firm up in the hot pan even after you’ve removed them from the oven, resulting in that desirable moist and dense interior. Look for a crackly top and a toothpick with a few moist crumbs, not wet batter.
- Master the Swirl – Don’t Overdo It: When it comes to adding that beautiful peanut butter swirl, less is often more. After dolloping the melted peanut butter mixture onto your brownie batter, use a butter knife or a skewer to gently create swirls. Make just a few elegant passes through the batter. Swirling too much will cause the peanut butter to fully incorporate into the chocolate, and you’ll lose those distinct, eye-catching peanut butter ribbons that make these brownies so appealing.
- Patience is a Virtue: Cool Completely: We know the anticipation is almost unbearable when the aroma of fresh chocolate peanut butter brownies fills your kitchen! However, resisting the urge to cut into them while they’re still warm is paramount. Allowing the brownies to cool completely in the pan on a wire rack not only ensures they firm up properly for that signature fudgy texture but also makes them significantly easier to cut into clean, perfect squares. Warm brownies tend to be too soft and crumbly to slice neatly.
- Room Temperature Ingredients: Always ensure your eggs and egg yolk are at room temperature. This helps them incorporate more easily and evenly into the batter, preventing curdling and contributing to a smoother, more uniform texture in the final brownie.
- Don’t Skimp on Quality Chocolate: Since chocolate is a star ingredient, using a good quality dark chocolate (around 60-70% cocoa solids) and a Dutch-processed cocoa powder will make a noticeable difference in the depth and richness of your brownies.
Recipe FAQs for Peanut Butter Brownies
For the best results with these chocolate peanut butter brownies, I highly recommend using a pan made of light-colored metal. Dark metal pans tend to absorb and retain more heat, which can cause the edges and bottom of your brownies to bake much faster and potentially dry out, resulting in a less fudgy texture overall. A light metal pan promotes a more even bake.
To ensure your delicious peanut butter cup brownies can be easily lifted out of the pan once cooled, start by greasing your pan thoroughly. Then, create a ‘sling’ using two strips of parchment paper, positioned perpendicular to each other, allowing the ends to hang over the sides of the pan. This parchment paper sling acts as handles, making it incredibly simple to lift the entire batch of brownies out of the pan once they’ve cooled a bit, preventing any sticking or breakage.
Absolutely! If you’re feeding a crowd or just want extra fudgy goodness, this recipe is easily scalable. Simply double all the ingredients exactly as listed, and then bake the larger batch in a 9×13 inch pan. Keep an eye on the baking time, as it might increase slightly, but the overall process remains the same.
To maintain their delicious fudgy texture and fresh flavor, store your peanut butter cup brownies in an airtight container. If kept at room temperature, they will remain wonderfully fresh for about 3 days. For extended freshness, you can store them in the refrigerator, where they will last for approximately 5 days. You can also freeze individual brownies for up to 3 months for a longer-term treat!
More Decadent Desserts to Try!
- Easy Raspberry White Chocolate Blondies
- Marbled Cheesecake Brownies
- Banana Cake with Chocolate Frosting
- Marble Loaf Cake
If you’ve had the pleasure of making this incredible recipe, please don’t hesitate to leave a ⭐️ rating and a thoughtful review below! I absolutely adore seeing your culinary creations, so remember to tag me on Instagram @alpineella so I can admire what you’ve baked! You can also stay connected and discover more delicious recipes by following along on Pinterest, Facebook, and TikTok!
Recipe
Brownies with Peanut Butter Cups: Fudgy & Irresistible
Ella Gilbert
Pin Recipe
Save RecipeSaved!
Equipment
-
8″ square pan
Ingredients
Fudgy Brownie Base
- 2 large eggs room temperature
- 1 large egg yolk room temperature
- ¾ teaspoon pure vanilla extract
- 5 ½ ounces unsalted butter
- ¼ cup Dutch process cocoa powder for deep chocolate flavor
- ½ cup all-purpose flour
- 4 ounces dark chocolate chopped, about 60-70% cacao
- 1 teaspoon kosher salt (use ½ tsp fine salt if substituting)
- ½ cup light brown sugar packed
- ½ cup granulated sugar
- ¼ cup vegetable oil or canola oil
- ¼ teaspoon espresso powder enhances chocolate flavor
- 1 cup mini peanut butter cups chopped, plus extra for topping
Creamy Peanut Butter Swirl
- ½ cup creamy peanut butter not natural, for best texture
- 2 tablespoon confectioners’ sugar powdered sugar
- ¼ teaspoon vanilla extract
- pinch kosher salt
Instructions
-
Preheat your oven to 350°F (175°C). Prepare an 8×8 inch baking pan by greasing it well, then lining it with parchment paper, creating a ‘sling’ for easy removal.
-
In a small bowl, whisk together the all-purpose flour and kosher salt until well combined. Set aside.
-
In a large jug or medium bowl, whisk together the room temperature eggs, egg yolk, granulated sugar, light brown sugar, vegetable oil, espresso powder, and vanilla extract. Whisk vigorously for at least 1 minute until the mixture is smooth and slightly airy – this helps create the crackly top.
-
Using a microwave or a double boiler, melt the unsalted butter. Once melted, add the chopped dark chocolate. Let it sit for a few minutes, then whisk until completely smooth and shiny. If needed, microwave in 10-second bursts, stirring in between, until fully melted.
-
To the melted chocolate and butter mixture, add the Dutch-processed cocoa powder. Whisk until it is smooth and no dry cocoa powder remains.
-
Pour the egg and sugar mixture (from Step 2) into the chocolate-cocoa mixture. Whisk until everything is fully combined and the batter is uniform.
-
Add the flour and salt mixture (from Step 1) to the wet ingredients. Gently fold the dry ingredients into the batter using a spatula until just combined and no streaks of flour are visible. Be careful not to overmix.
-
Fold in most of the chopped mini peanut butter cups into the brownie batter. Reserve a small handful to sprinkle over the top later.
-
For the peanut butter filling: In a separate small bowl, melt the creamy peanut butter in the microwave for 15-20 seconds until it’s pourable. Stir in the confectioners’ sugar, vanilla extract, and a pinch of kosher salt until completely smooth.
-
Pour the brownie batter into your prepared 8×8 inch baking pan. Dollop spoonfuls of the peanut butter filling over the top of the brownie batter. Take a butter knife or skewer and gently swirl the peanut butter through the chocolate batter to create an attractive marbled effect. Avoid overswirling to maintain distinct peanut butter ribbons.
-
Sprinkle your reserved chopped peanut butter cups generously over the swirled top of the brownies. Bake for 25-30 minutes. The brownies are done when the top has a lovely crackled appearance and a toothpick inserted into the center comes out with a few moist crumbs attached (not wet batter).
-
Once baked, transfer the pan to a wire rack and allow the brownies to cool completely at room temperature. This is essential for achieving the perfect fudgy texture and for neat slicing.
Notes
Butter Selection: I often use European-style butter in my baking for its higher fat content, which contributes to a richer flavor and a more luxurious, creamy texture in the final product. However, any good quality unsalted butter will yield delicious results.
Salt Adjustment: The recipe specifies kosher salt. If you only have fine table salt available, please halve the amount called for in the recipe to prevent your brownies from becoming too salty. For example, if 1 teaspoon of kosher salt is listed, use ½ teaspoon of fine salt. Please note that these measurements are based on Diamond Crystal Kosher Salt; Morton’s Kosher Salt is denser and much saltier, and should not be substituted at a 1:1 ratio. Always taste your batter if you’re unsure about salt levels.
Storage Instructions: To keep your chocolate peanut butter cup brownies wonderfully fresh and fudgy, store them in an airtight container. At room temperature, they will maintain their quality for approximately 3 days. If you wish to extend their freshness, transfer them to the refrigerator, where they will last for about 5 days. You can also freeze individual brownies, wrapped tightly, for up to 3 months for a convenient future treat.
Nutrition
