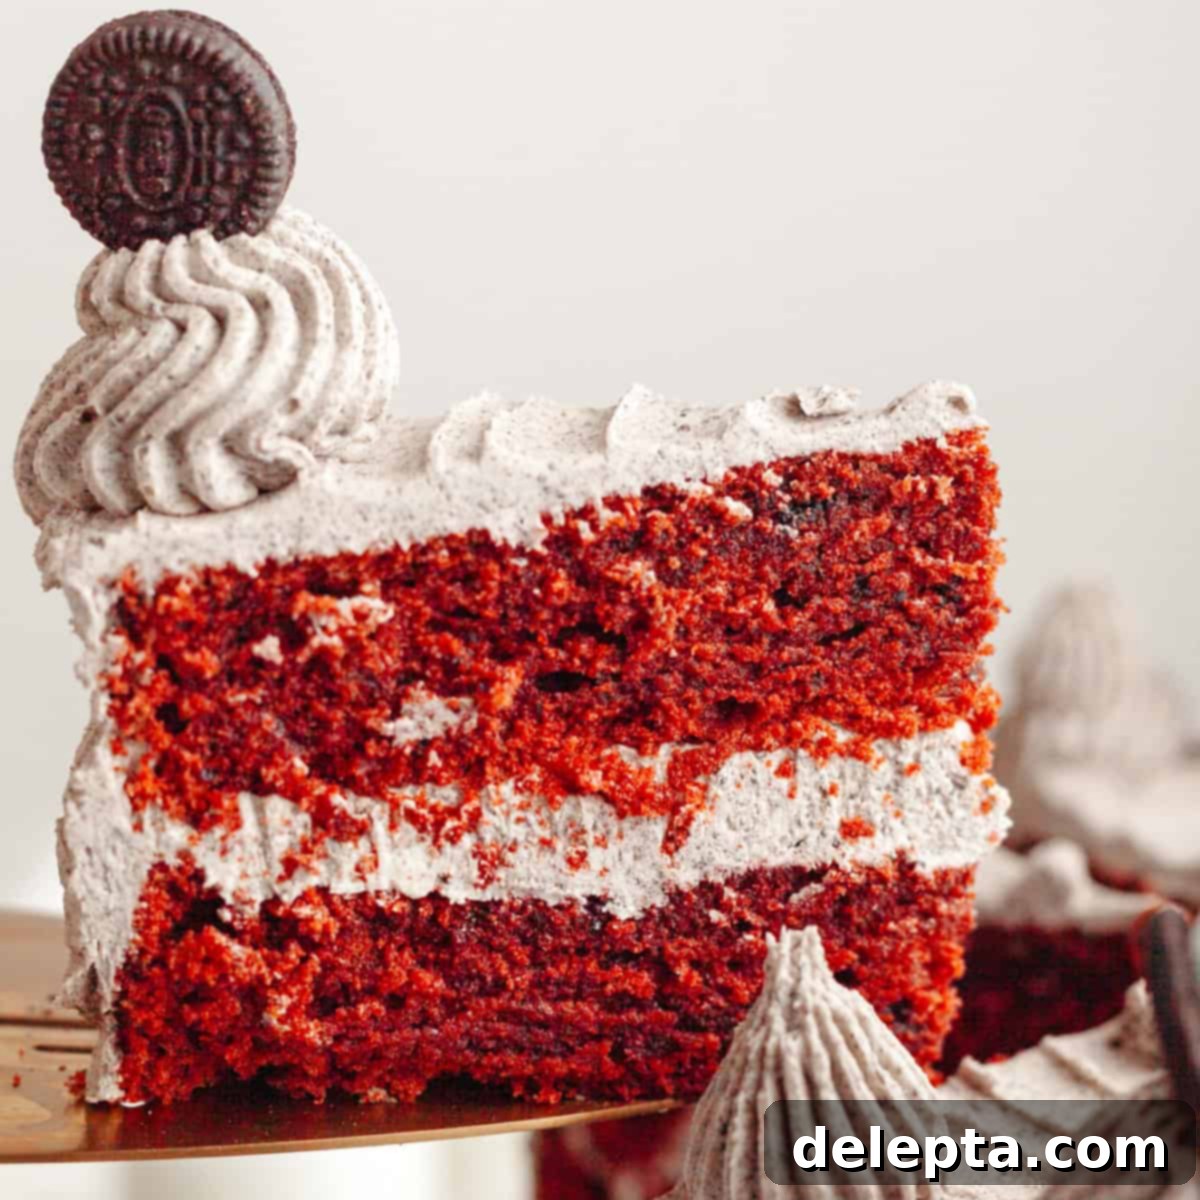
Decadent Red Velvet Oreo Cake: The Ultimate Cookies and Cream Celebration Dessert
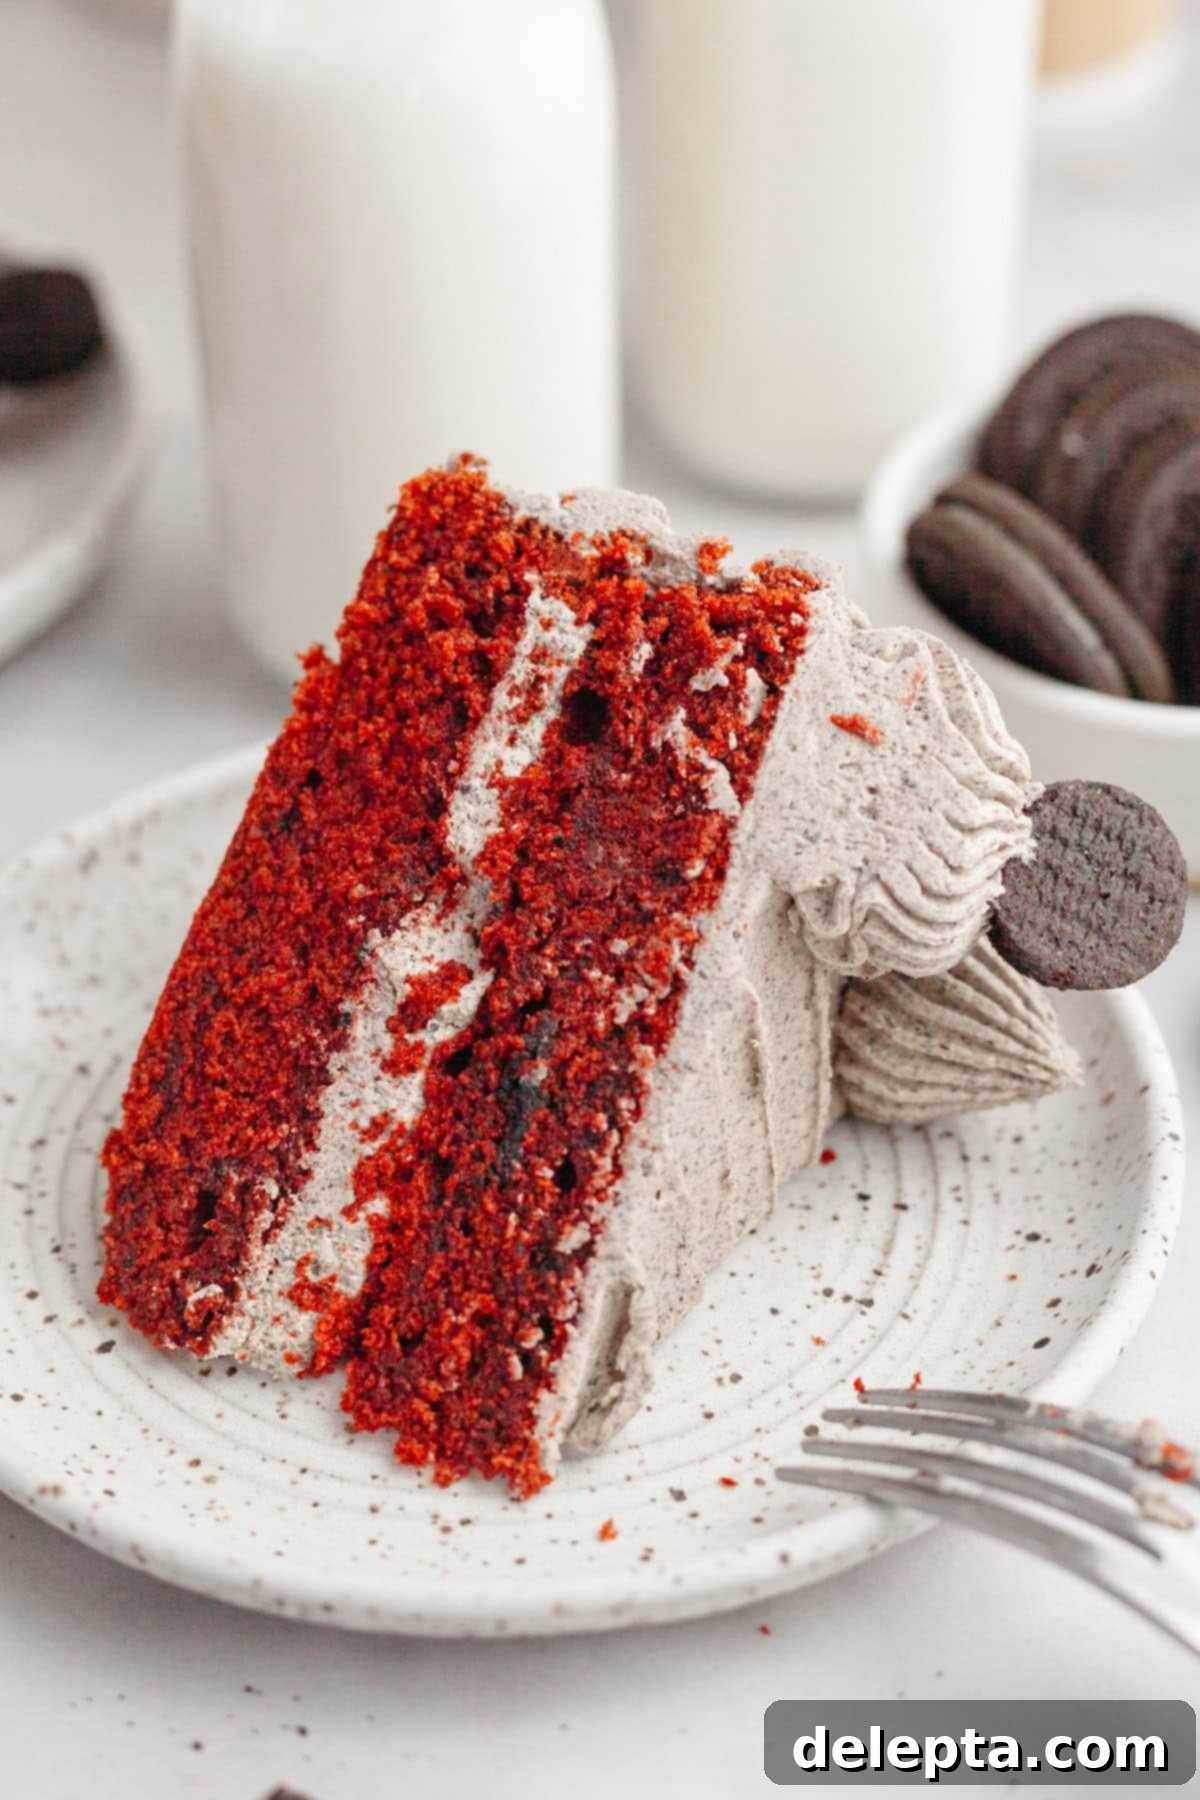
This Red Velvet Oreo Cake is truly what dessert dreams are made of! It artfully combines the beloved, classic flavors of rich, moist red velvet cake with the iconic crunch of Oreo cookies. Each tender cake layer is baked with crushed Oreo pieces, creating an irresistible texture and an explosion of cookies and cream flavor. The layers are then generously frosted with a simple, creamy Oreo American buttercream, delivering a luxurious and utterly delicious experience. This show-stopping cake is perfect for any celebration – be it birthdays, special occasions like Valentine’s Day, or simply a treat to brighten an ordinary day (no judgment here, we all deserve a slice of joy!).
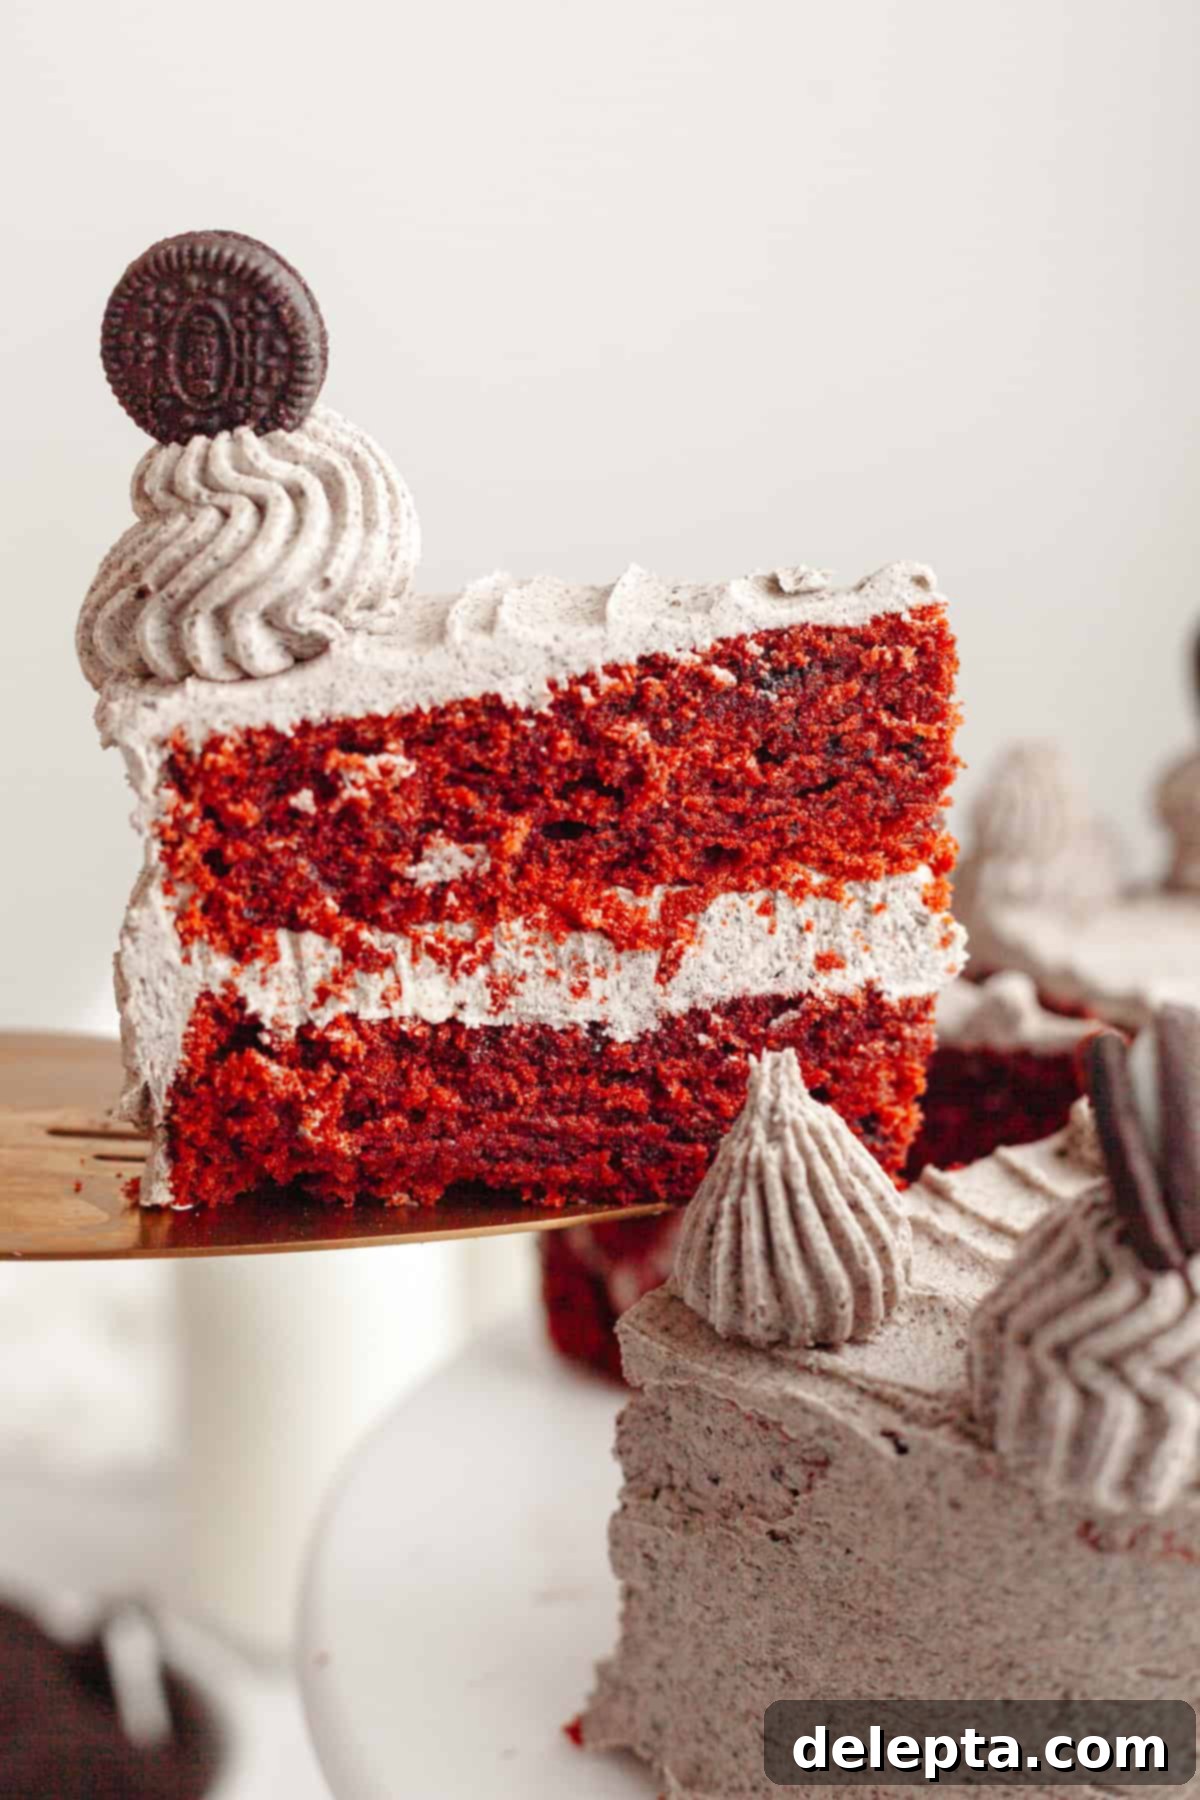
Lately, I’ve found myself completely enchanted by red velvet, and I simply can’t get enough! After perfecting my red velvet cake with mini chocolate chips, I knew my next creation had to pair this vibrant cake with one of my all-time favorite frosting recipes: a decadent Oreo buttercream. The combination was destined to be a winner.
While traditional red velvet cake is often associated with tangy cream cheese frosting, I opted for something different for a couple of key reasons. Firstly, cream cheese frosting, though delicious, can sometimes be tricky to work with, especially for intricate decorating or in warmer climates. Secondly, Oreo cookies represent a truly classic and nostalgic flavor that brings a smile to everyone’s face. To amplify the signature cookies and cream flavor in this cake, I took it a step further by crushing Oreo cookies and folding them directly into the red velvet cake batter just before baking. This infuses every bite with that beloved chocolatey crunch.
When developing my recipes, my philosophy is always to create a cake that is not only easy to bake for home enthusiasts but also delivers an unforgettable, show-stopping taste and appearance. This cookies and cream red velvet cake embodies that philosophy perfectly, promising to impress anyone who tries a slice!
If you share my passion for Oreo desserts (and who doesn’t?!), you absolutely must explore some of my other popular recipes. Dive into my funfetti Oreo cake with Oreo frosting, indulge in chocolate Oreo cupcakes with rich Oreo cream cheese frosting, or try this incredibly easy no-bake red velvet Oreo cheesecake. These are just a few examples; my collection of Oreo-inspired treats is constantly growing because, frankly, I can’t get enough of them!
Key Ingredients & Why They Matter
Creating an exceptional Red Velvet Oreo Cake relies on understanding the role of each ingredient. Here’s a breakdown of what you’ll need and why these components are crucial for achieving the perfect flavor and texture:
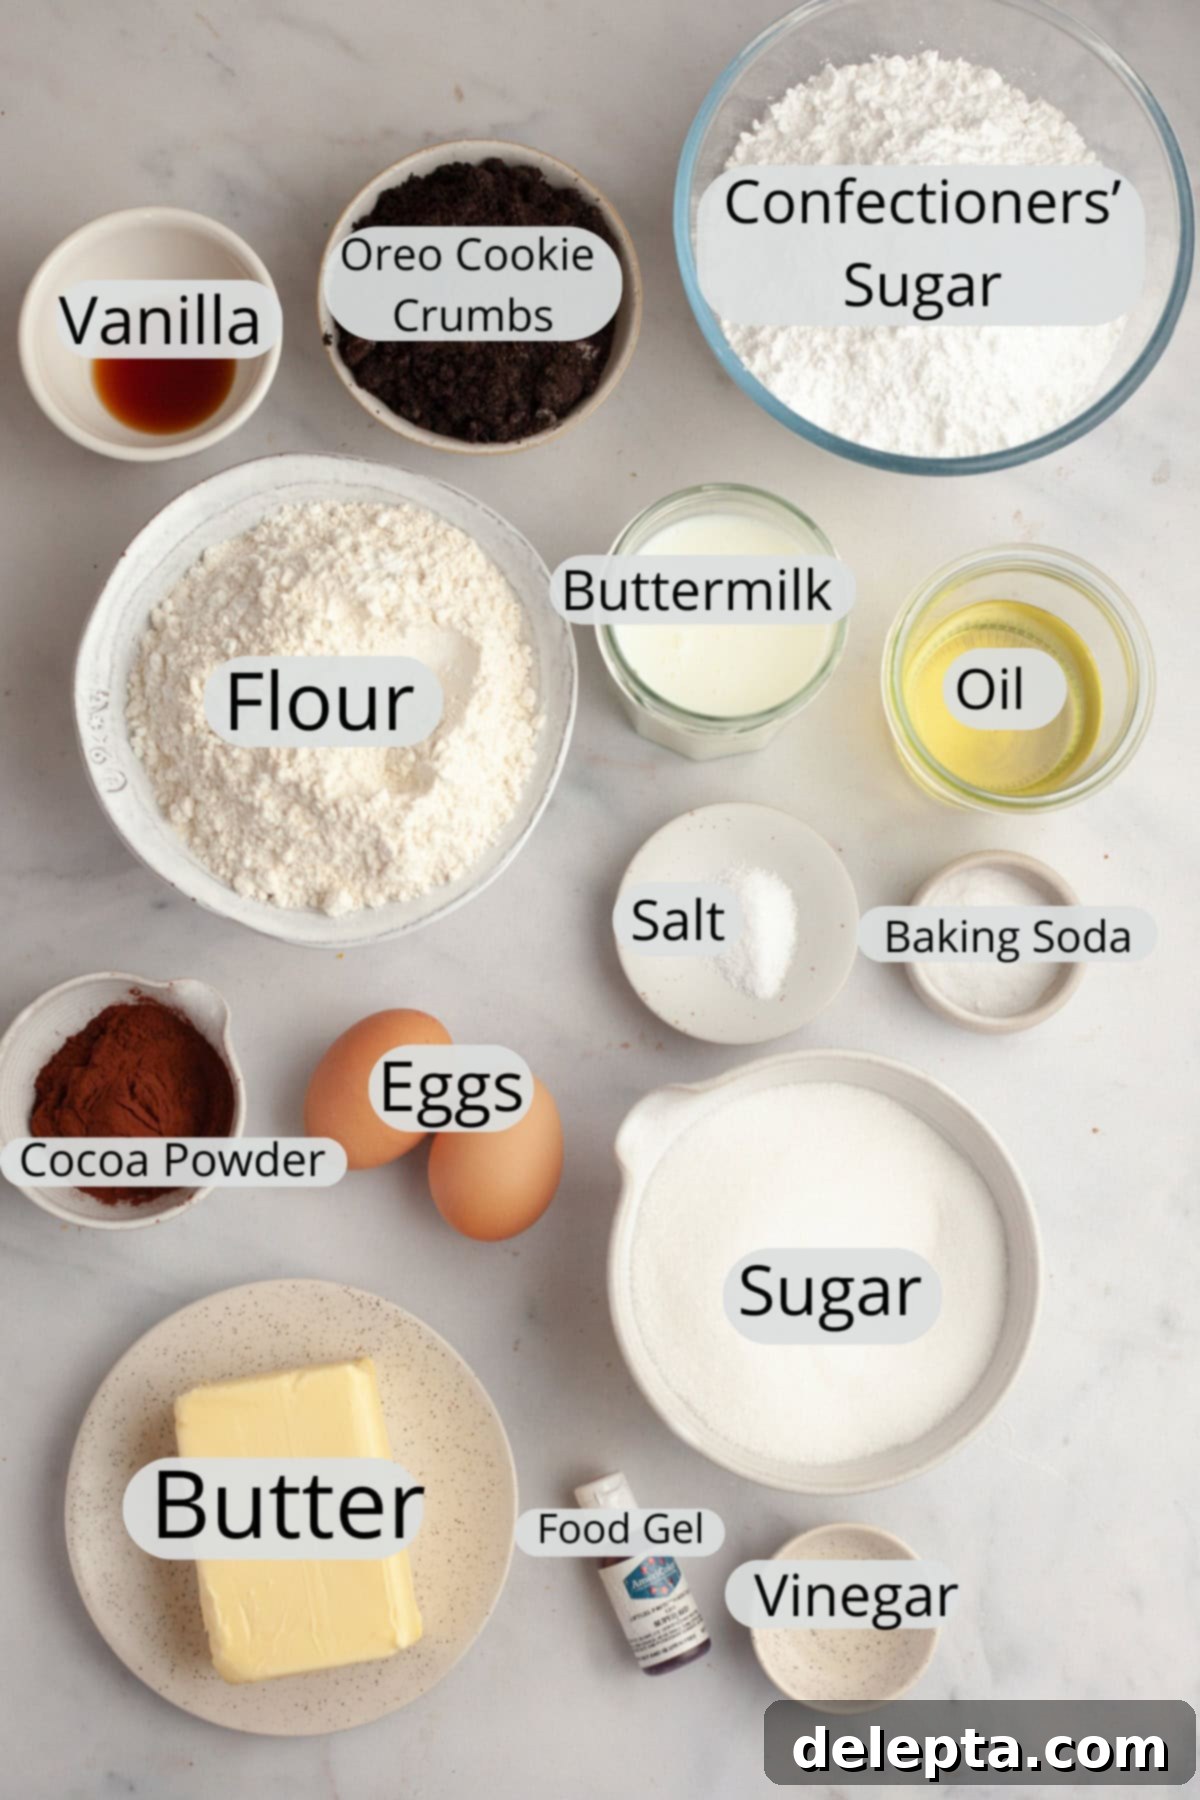
- Oreo Cookie Crumbs: These are the star of our cookies and cream creation! You’ll need crushed Oreo cookies in two forms: a slightly coarser crumb to bake directly into the red velvet cake layers for textural contrast and an intense chocolatey flavor, and a very fine powder for the rich Oreo buttercream frosting. For the frosting, it’s absolutely essential that the Oreo crumbs are finely powdered. Any larger pieces will likely get stuck in your piping tip when you’re decorating, making for a frustrating experience!
- Red Food Gel: To achieve that iconic, deep red hue that gives red velvet its name, a high-quality food gel is indispensable. Liquid food coloring can dilute your batter and result in a paler, less vibrant color. My absolute favorite for achieving a rich, true red is Americolor Super Red, known for its intense pigmentation.
- White Vinegar: Often considered a “secret ingredient” in red velvet cake, white vinegar plays a vital role. It reacts with the baking soda, activating it and contributing to the cake’s signature tender, fluffy texture. Historically, this chemical reaction between acidic cocoa powder, vinegar, and baking soda was also believed to enhance the reddish tint in early red velvet recipes, giving the cake its distinctive name and subtle tang.
- Natural Cocoa Powder: The type of cocoa powder you use makes a significant difference. For this recipe, ensure you’re using natural cocoa powder, not Dutch-processed! Natural cocoa powder is acidic and reacts with the alkaline baking soda and vinegar to produce carbon dioxide, which helps the cake rise and creates its delicate crumb. Dutch-processed cocoa, on the other hand, has been neutralized with an alkali and would react differently, potentially affecting the cake’s rise and texture. Always check your label!
- Cake Flour: For an incredibly soft, tender, and light red velvet cake, cake flour is my preferred choice. It has a lower protein content than all-purpose flour, which results in a more delicate crumb. During recipe testing, I once ran out of cake flour, leading to a clever workaround! For every cup of all-purpose flour, add 1 tablespoon of cornstarch, then sift it thoroughly. This homemade cake flour substitute works beautifully and still yields a wonderfully soft cake. In the worst-case scenario, regular all-purpose flour can be used, but note that the cake may be slightly less tender. (If you’re in the UK, please remember cake flour is not the same as self-rising flour; just use plain flour).
- Neutral Oil: This is my little secret trick for achieving an extra moist cake that stays soft for days! By replacing a portion of the butter with a neutral-flavored oil, such as vegetable oil or canola oil, the cake benefits from the oil’s liquid state at room temperature, which keeps the crumb tender and moist. It also contributes to a finer crumb structure. It’s crucial to use an oil with no discernible taste or smell, allowing the red velvet and Oreo flavors to shine.
- Buttermilk: Buttermilk is essential for both flavor and texture in red velvet cake. Its acidity reacts with the baking soda, further tenderizing the cake and contributing to its classic tangy notes. If you don’t have buttermilk on hand, you can easily make a substitute: simply add 1 tablespoon of lemon juice or white vinegar to a liquid measuring cup, then fill the rest of the cup with whole milk to the 1-cup line. Let it sit for 5-10 minutes until it slightly curdles, then use as directed.
- Room Temperature Ingredients: This is a fundamental baking rule for a reason! Ensuring your butter, eggs, and buttermilk are at room temperature allows them to emulsify properly, creating a smooth, uniform batter. Cold ingredients can cause the batter to curdle or become lumpy, resulting in a cake with a less desirable texture. Plan ahead and pull your ingredients out of the fridge at least 30 minutes to an hour before you start baking.
Let’s Bake This Incredible Red Velvet Oreo Cake!
Embarking on this baking adventure is a joy, and with these step-by-step visuals and tips, you’ll create a stunning and delicious Red Velvet Oreo Cake that will surely be the talk of the town. Let’s get started on the journey to sweet perfection!
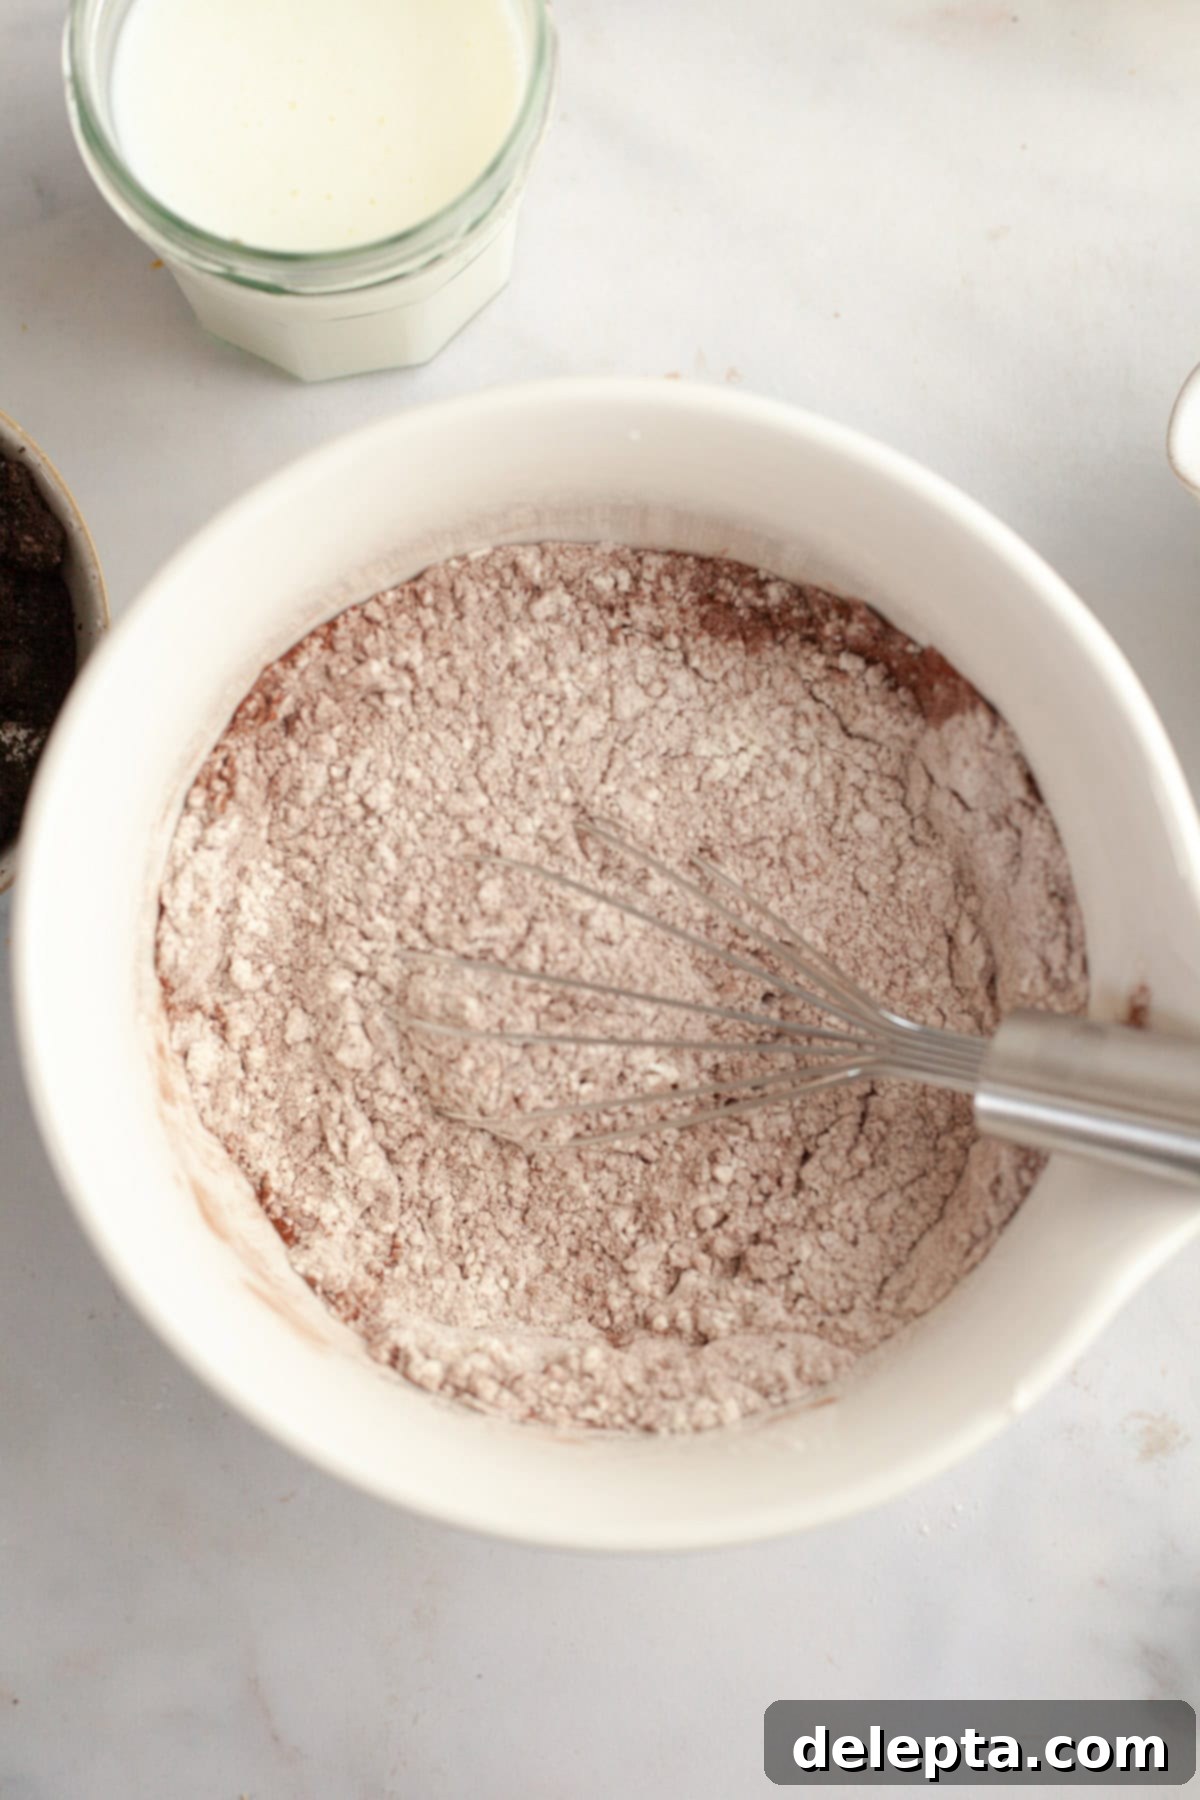
- Begin by mixing all your dry ingredients together thoroughly. This ensures they are well combined before adding to the wet ingredients.
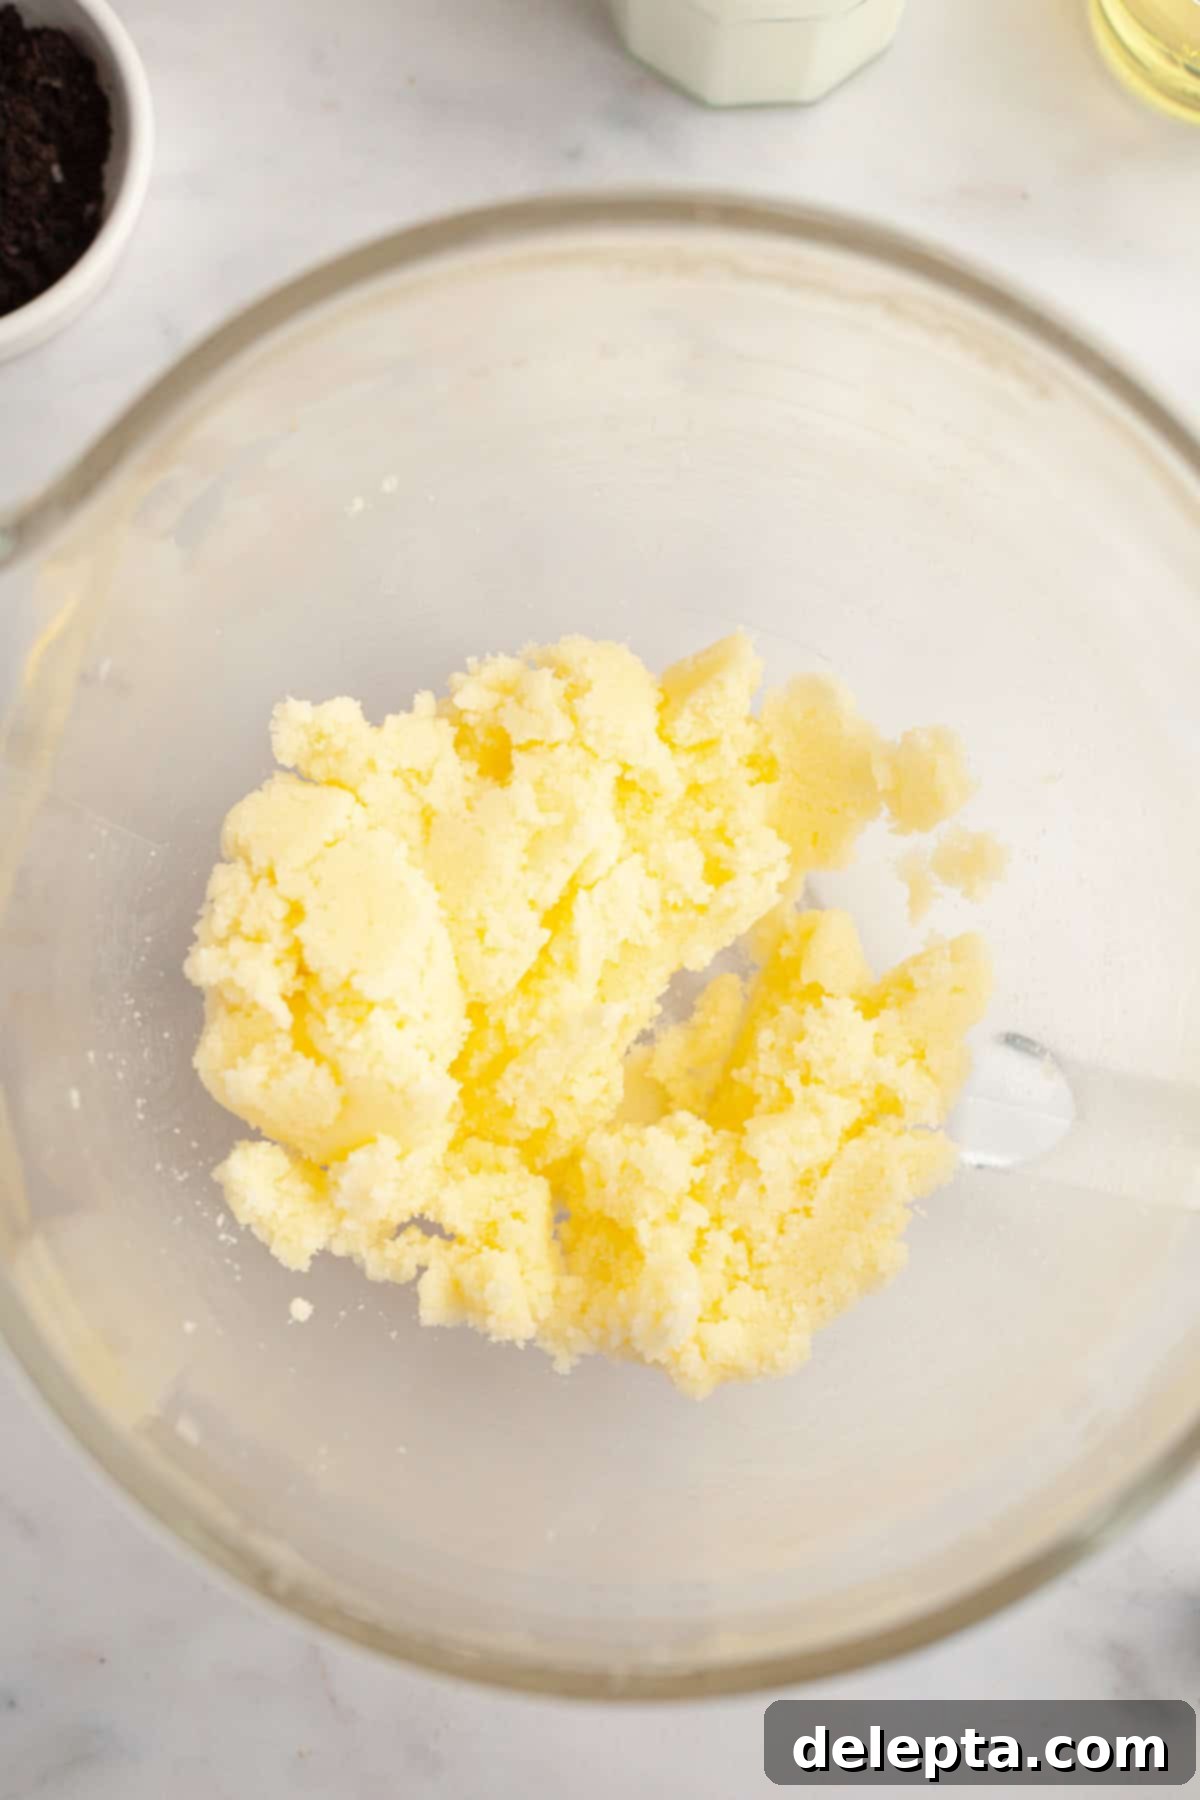
- In your stand mixer, combine the softened butter with the granulated sugar and beat until the mixture is light, fluffy, and pale in color.
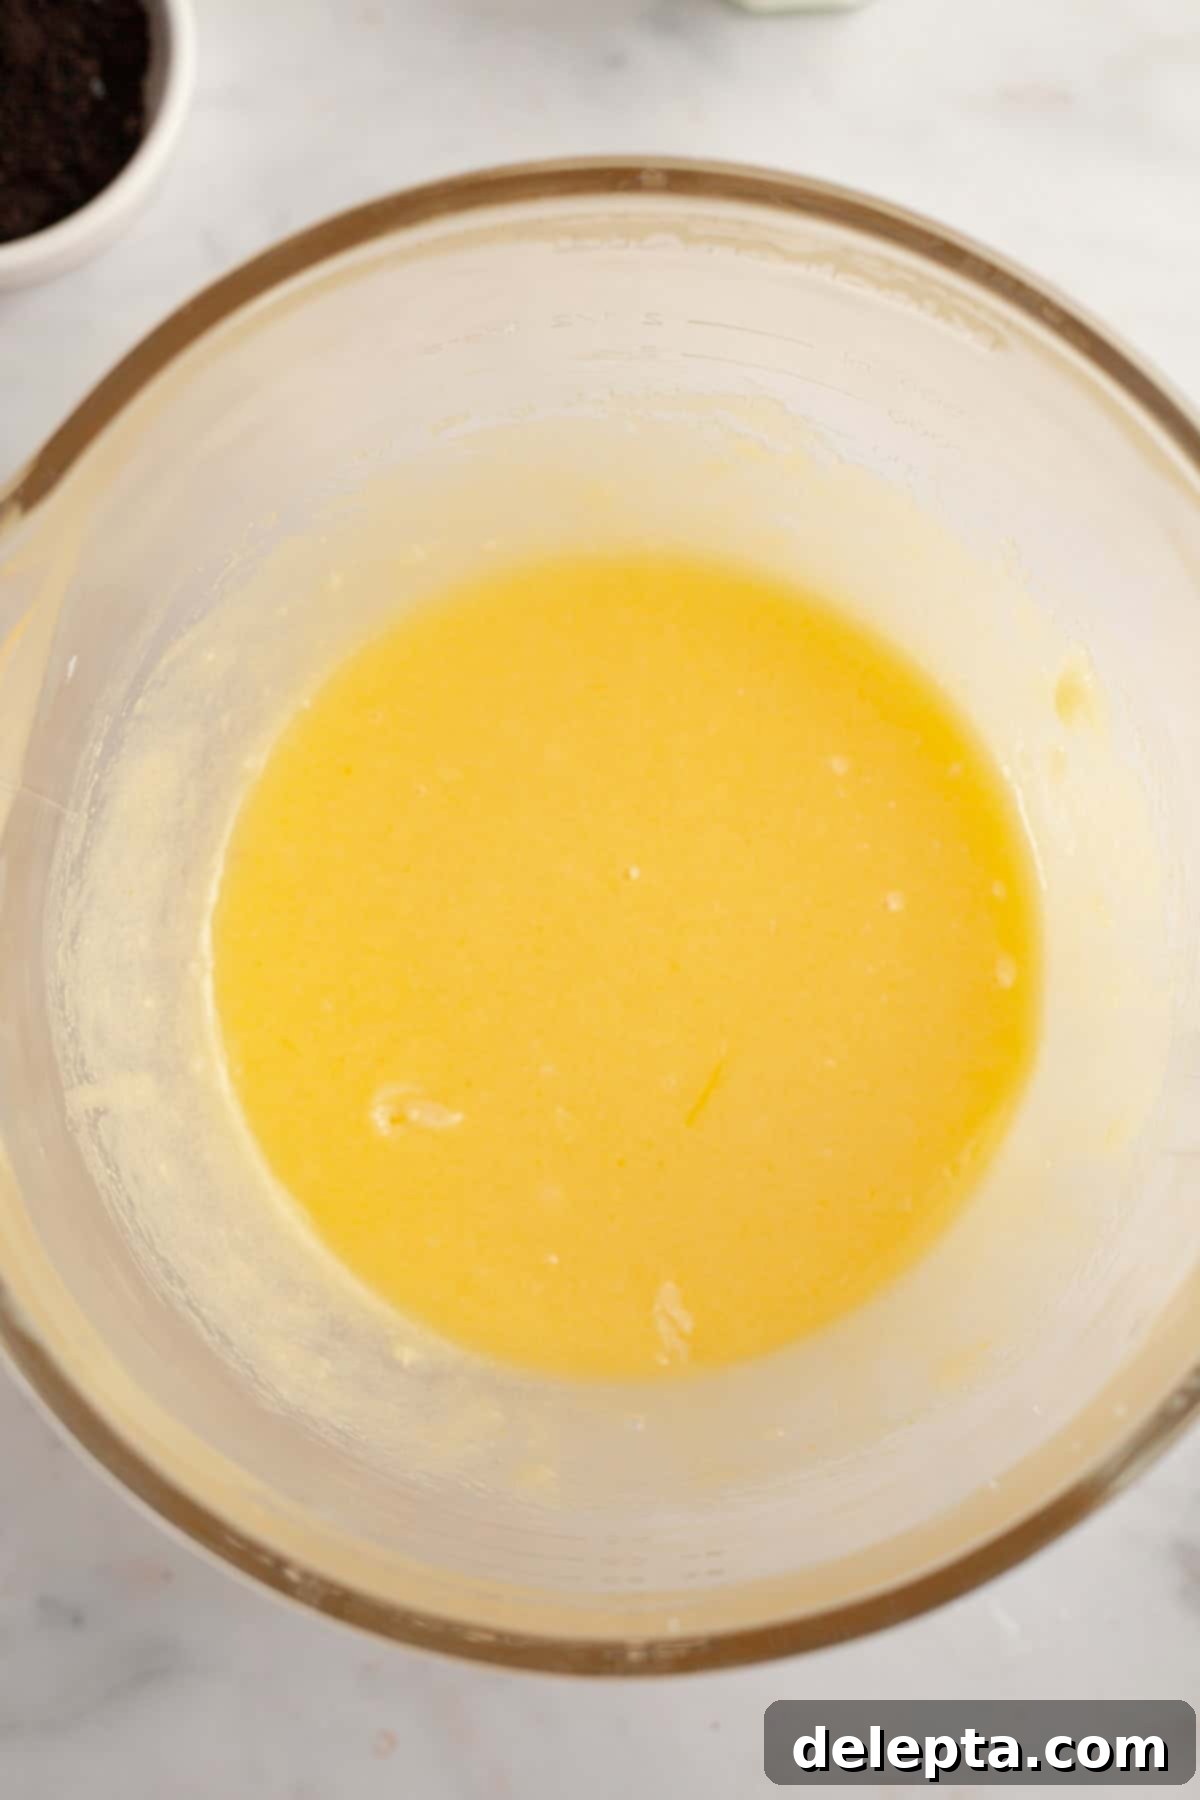
- Gradually incorporate the eggs one at a time, followed by the vanilla extract, neutral oil, and white vinegar, mixing well after each addition.
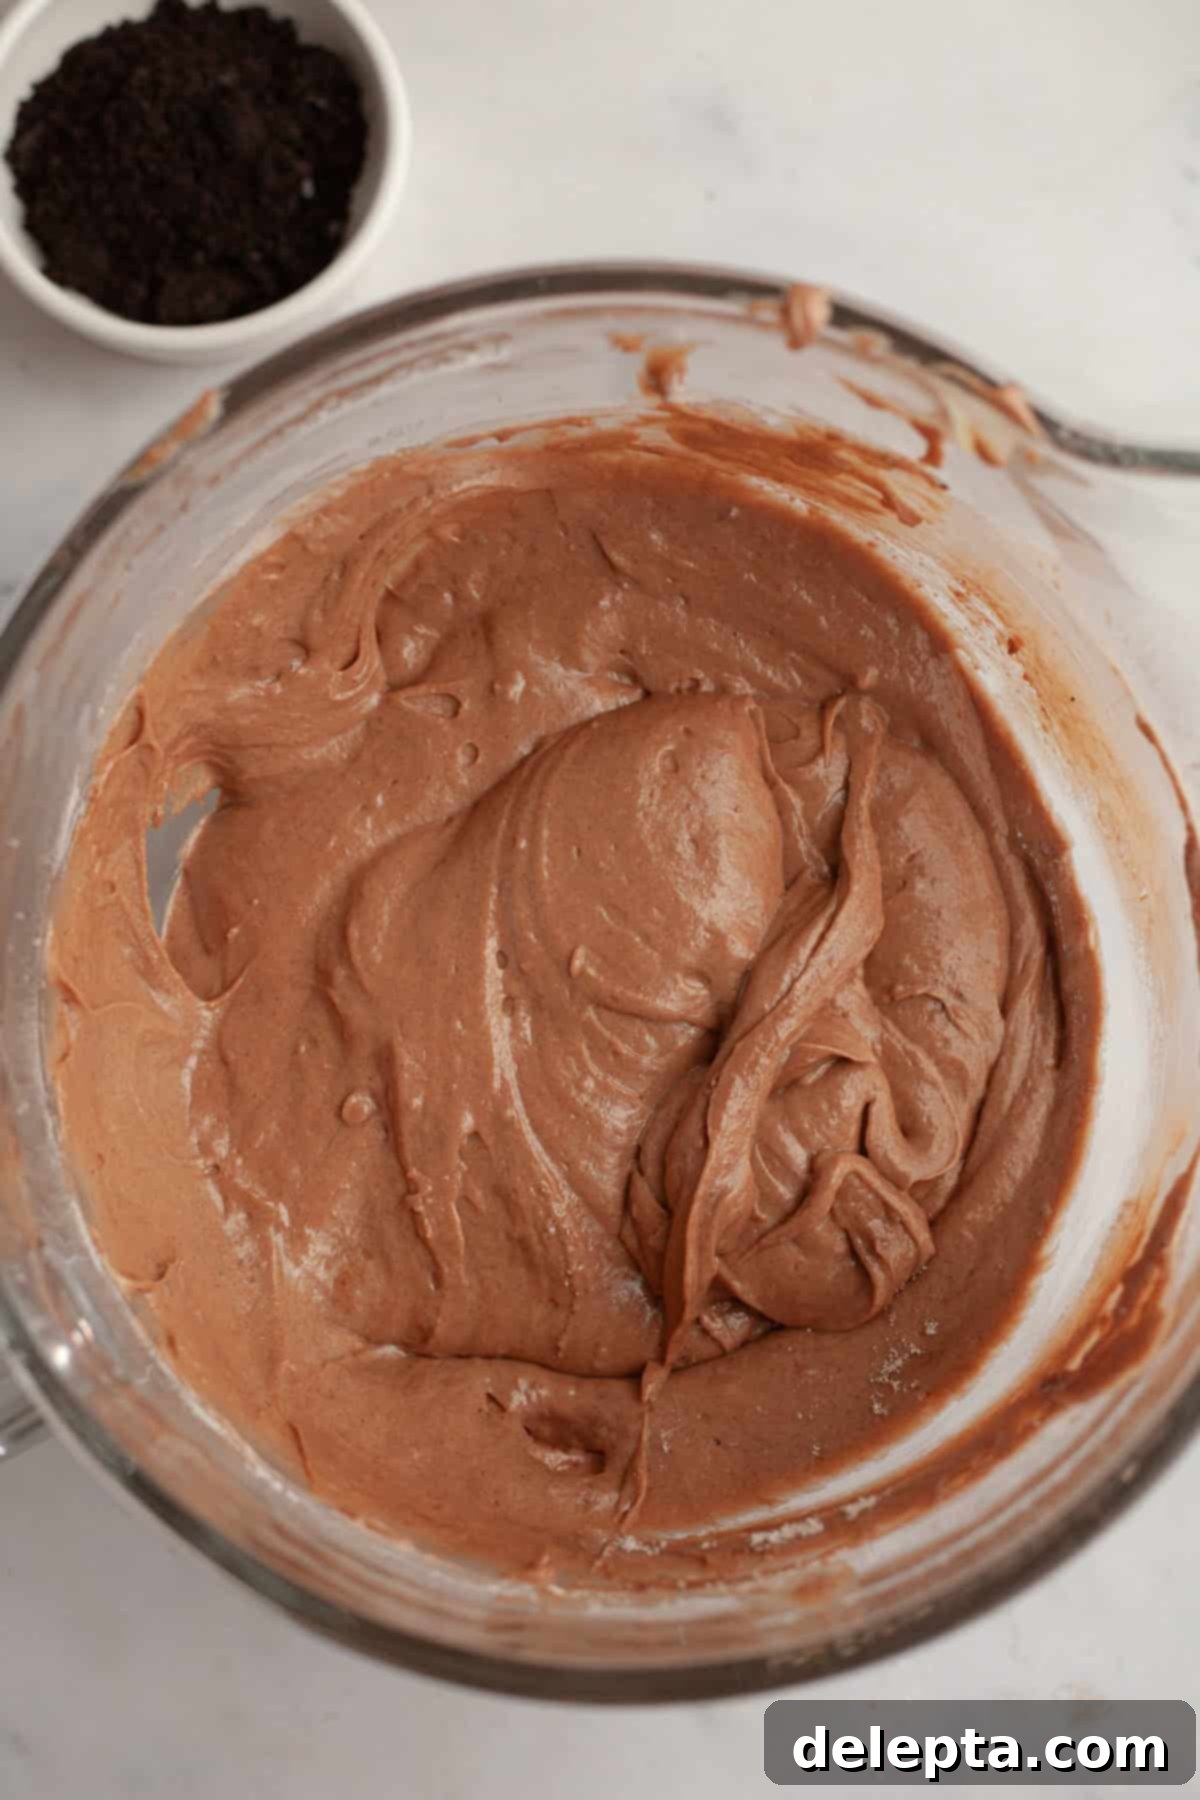
- Carefully add the dry ingredients to the wet mixture in three alternating additions with the buttermilk, starting and ending with the dry ingredients.
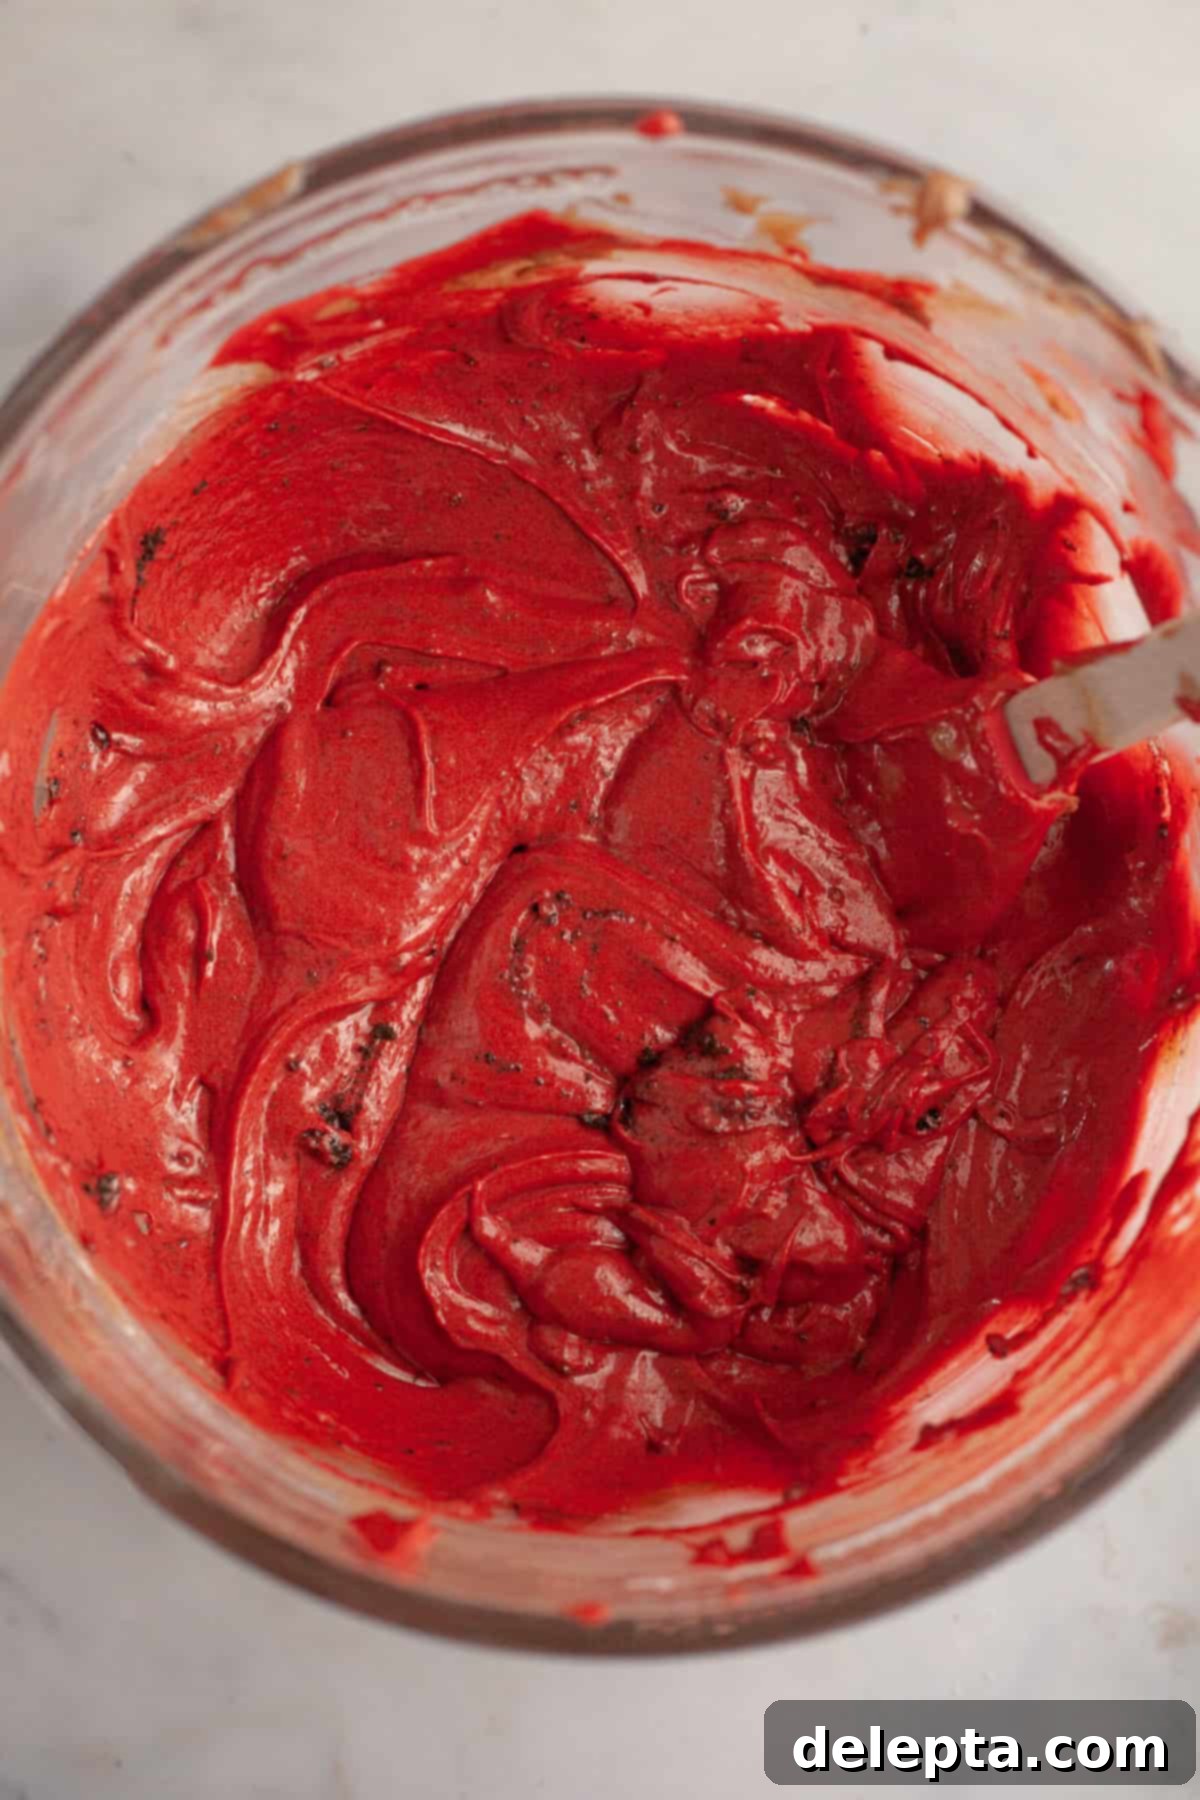
- Mix in the red food gel until you achieve your desired vibrant red color, then gently fold in the crushed Oreo cookies.
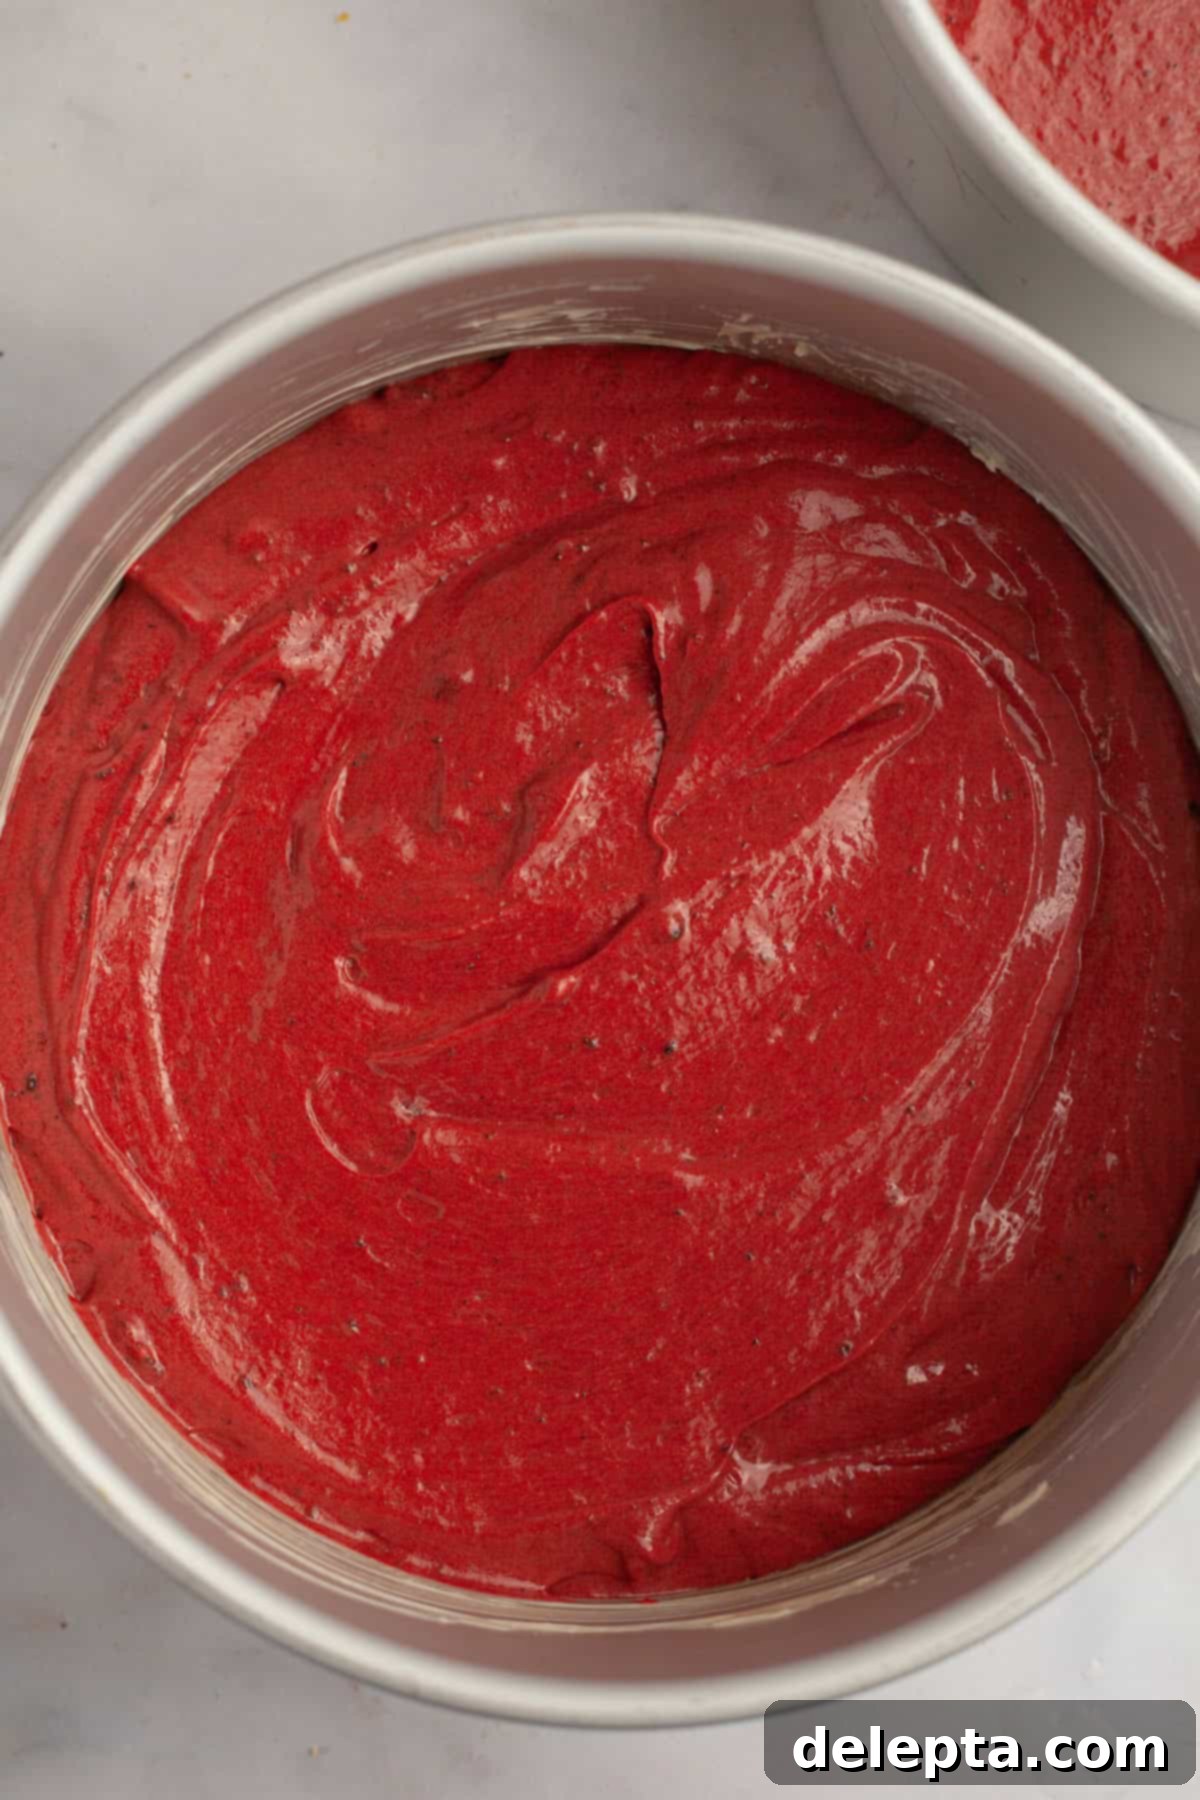
- Pour the batter into your prepared cake pans and bake in the preheated oven until a toothpick inserted comes out clean.
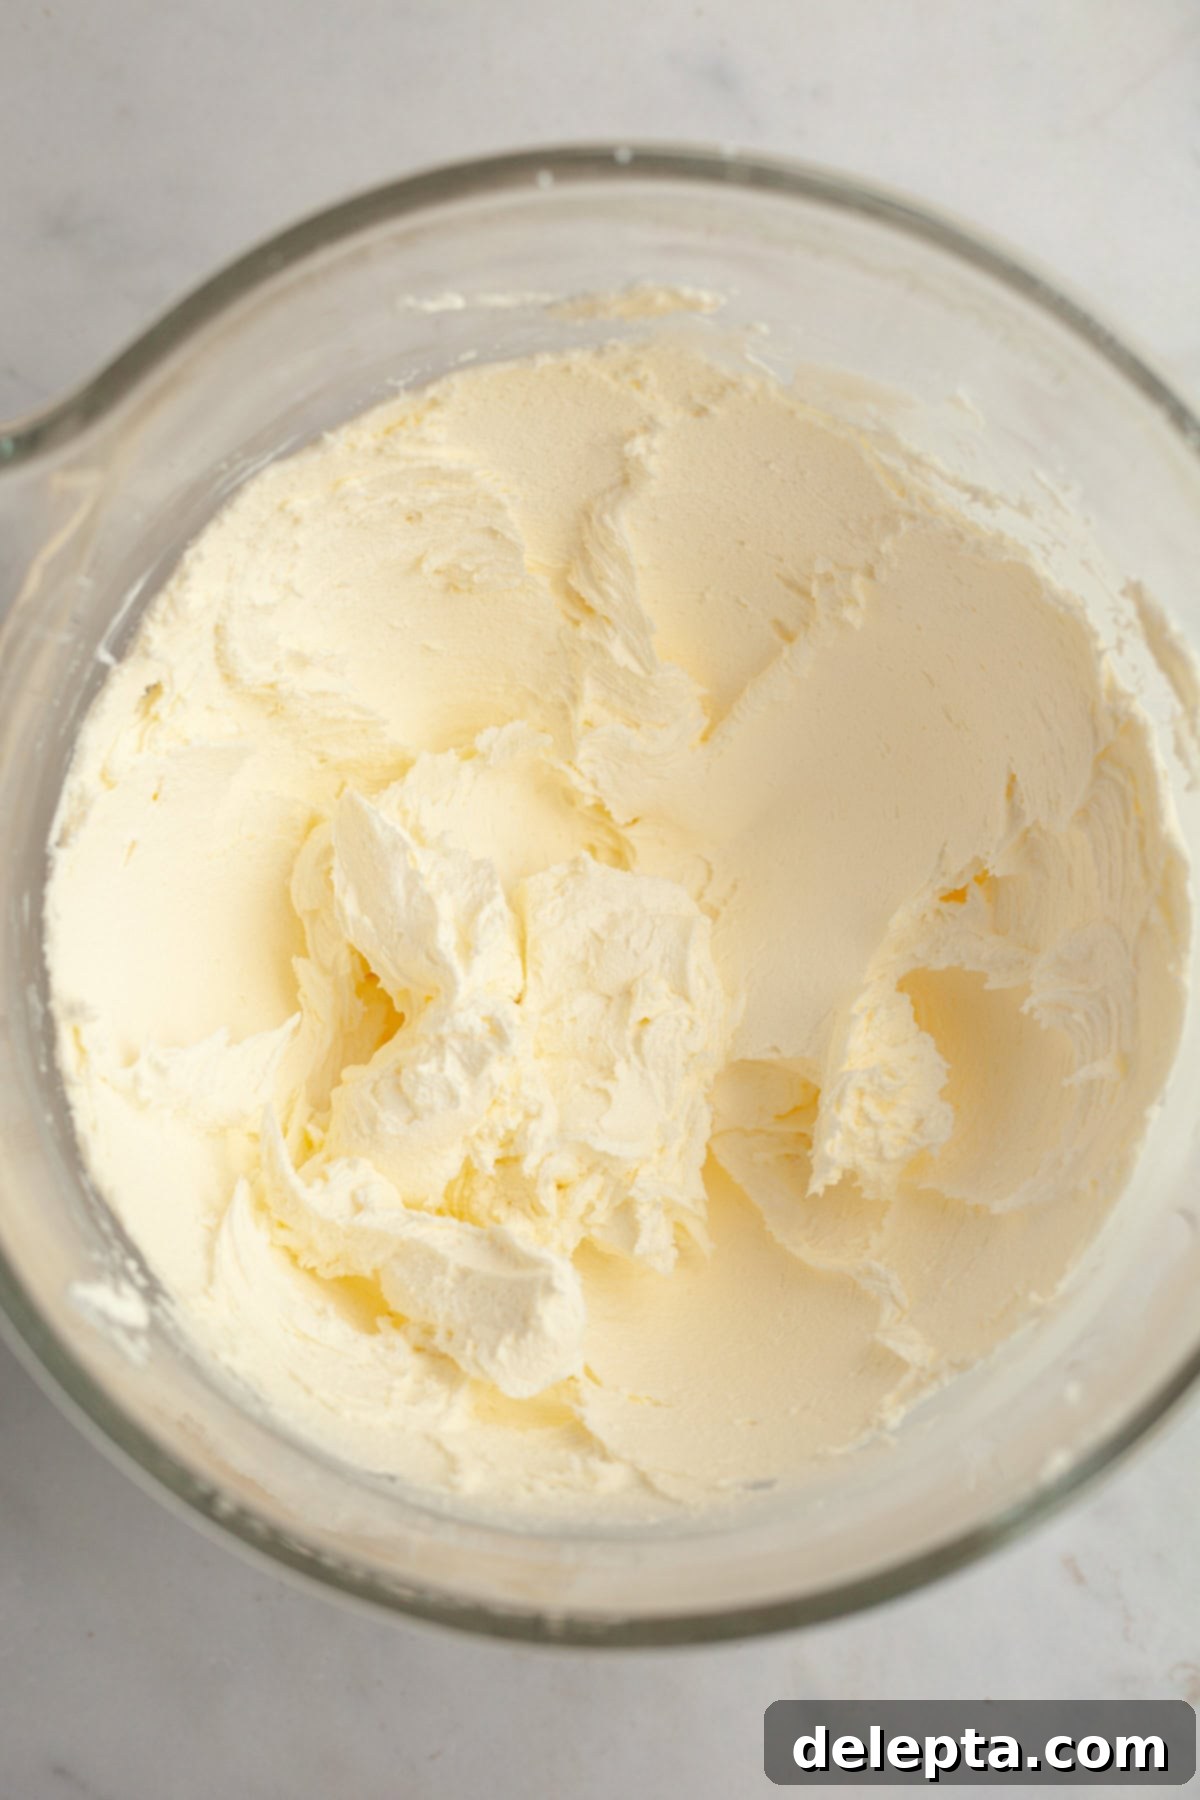
- For the frosting, beat the softened butter with confectioners’ sugar until well combined and fluffy.
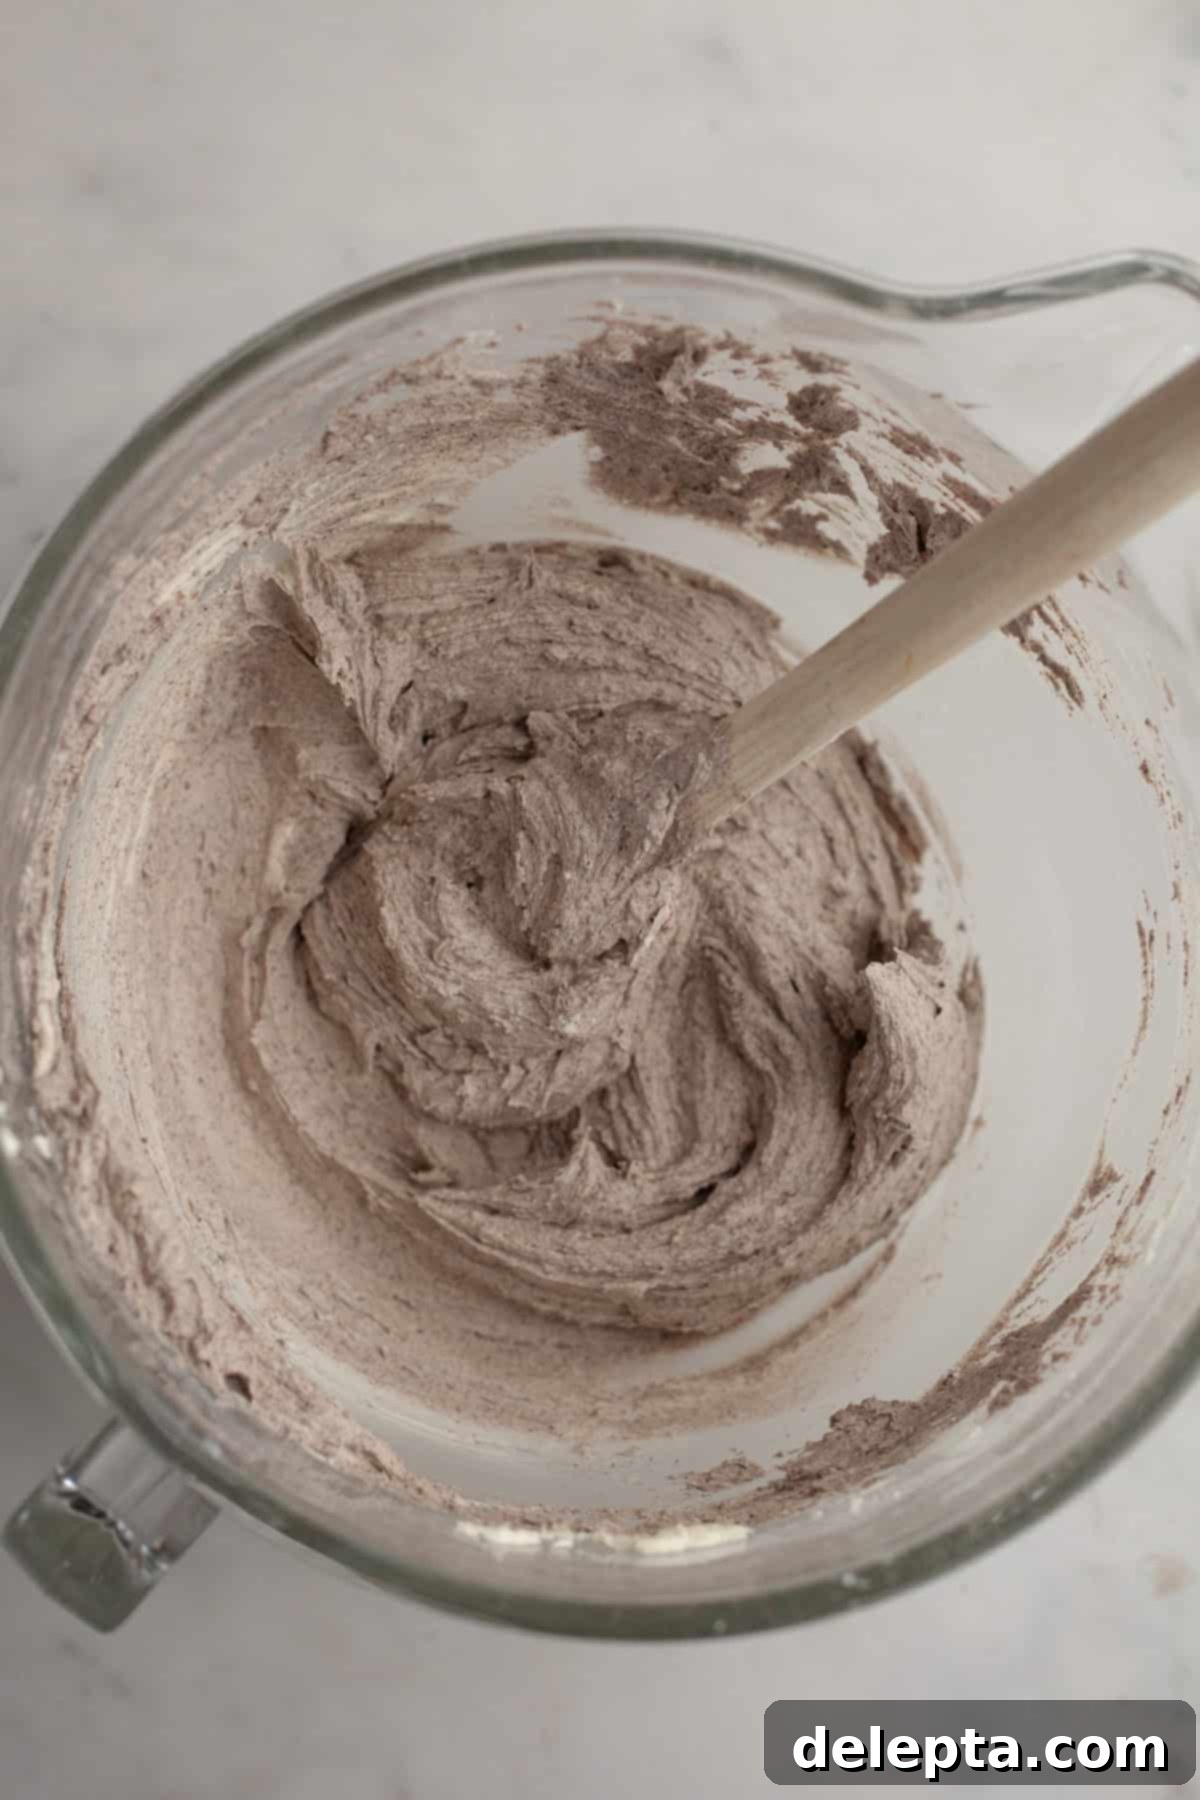
- Add the remaining frosting ingredients, including the finely crushed Oreos, and beat until smooth. Once your cake layers are completely cool, you can begin frosting!
Mastering Cake Assembly for a Beautiful Finish!
Assembling your cake is where artistry meets baking. Follow these steps to ensure your Red Velvet Oreo Cake looks as stunning as it tastes, creating clean lines and a professional finish:
- Level Your Cakes: For a perfectly straight and stable cake, your layers need to be flat. If your baked cake layers have domed tops, you’ll need to level them. Use a long, serrated knife or a specialized cake leveler to carefully trim off any unevenness. I also highly recommend using cake strips around your pans during baking (when I can actually remember to soak them in water first!). These ingenious strips help the cakes bake more evenly, preventing doming and ensuring flatter layers right out of the oven.
- Ensure Complete Cooling: Patience is a virtue in baking, especially when it comes to frosting. Make absolutely certain that your cake layers are completely cool before you even think about applying frosting. Warm cake layers and cold frosting are a recipe for disaster: the frosting will melt, causing your layers to slide, creating a crumbly mess, and ruining your beautiful work. If in doubt, chill them in the fridge for 20-30 minutes.
- Smooth Out Your Frosting: After you’ve prepared your delicious Oreo buttercream, turn off the mixer. Take a sturdy rubber spatula and manually mix the Oreo frosting by hand for a minute or two. This simple step helps to remove any trapped air bubbles created by the mixer, resulting in a super smooth, silky frosting that’s much easier to spread and pipe for a flawless finish.
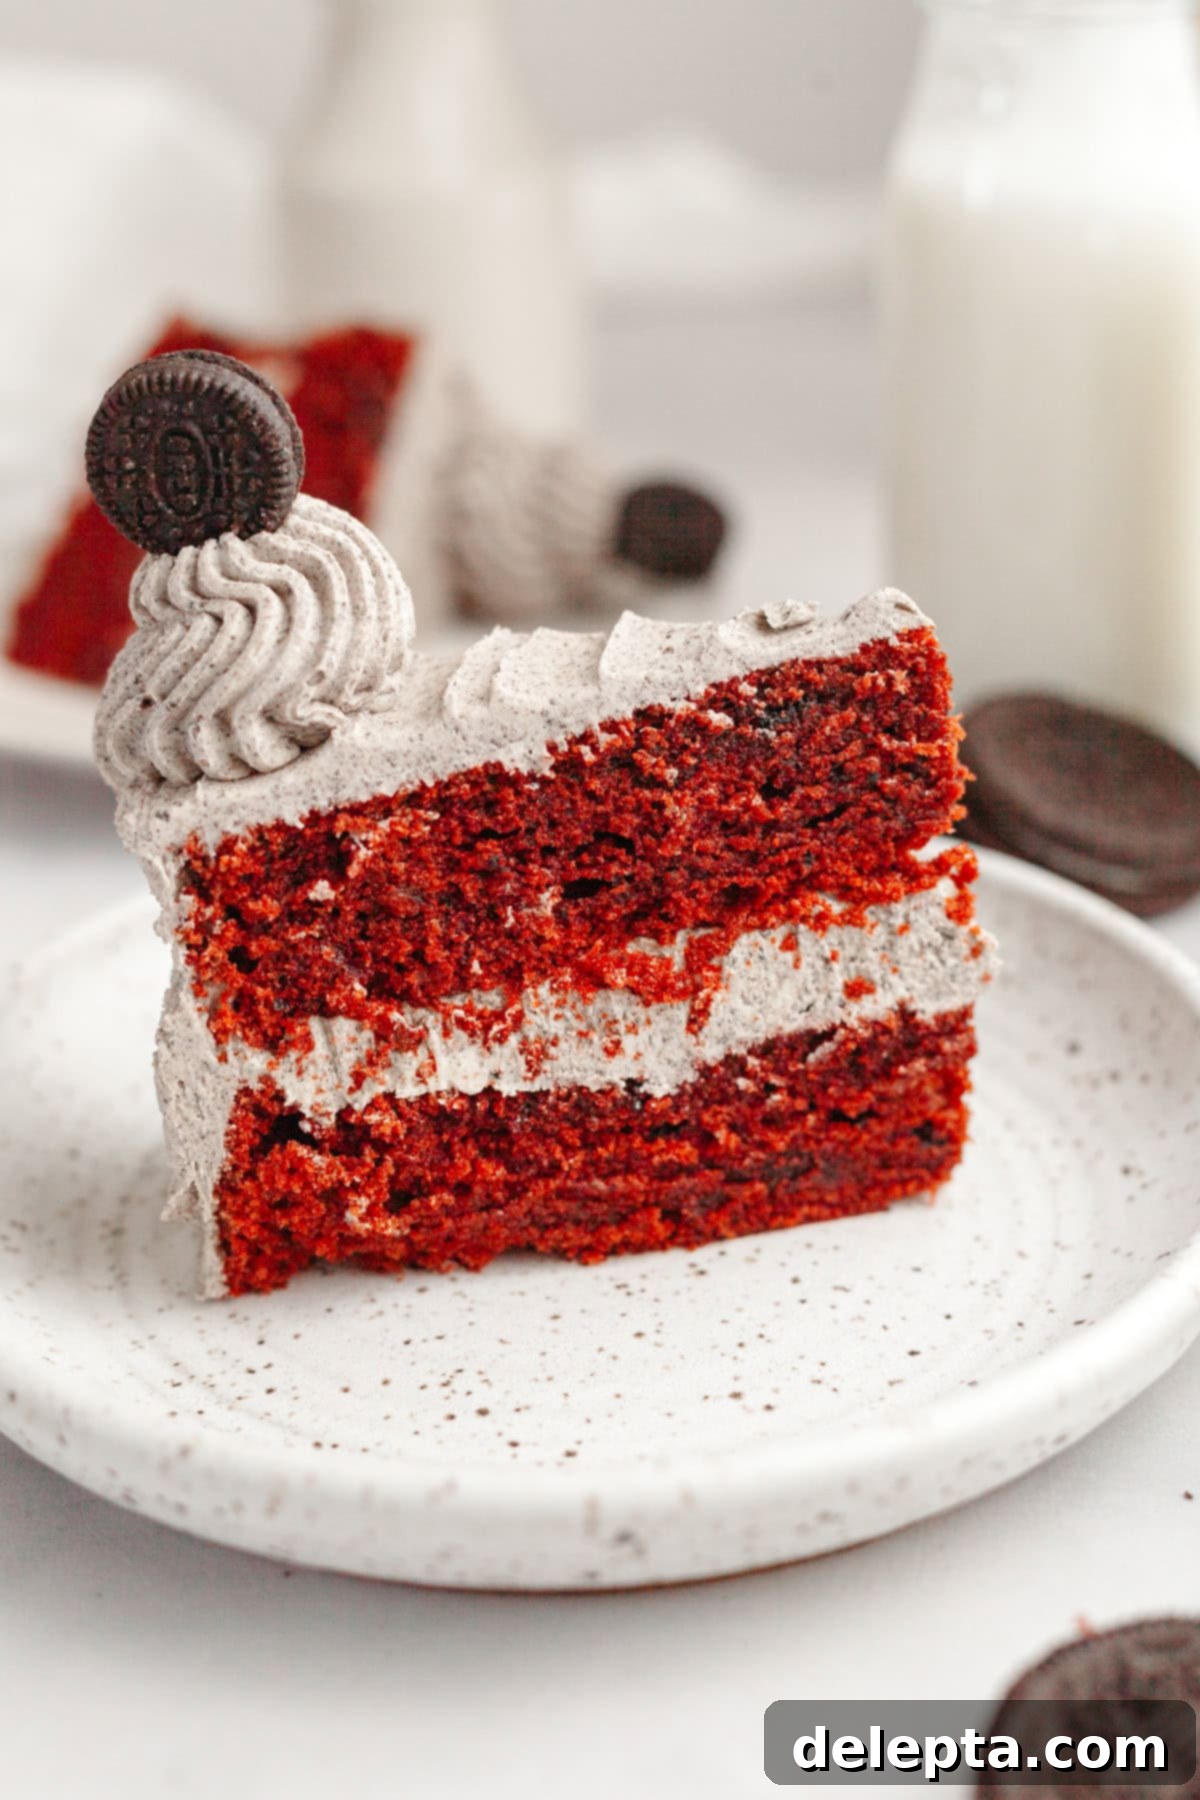
- First Layer & Filling: Place your first completely cooled cake layer down on your chosen cake plate or serving stand. Use a small offset spatula to spread an even layer of frosting across the top. If you want to elevate the Oreo flavor and add another delightful crunch, feel free to sprinkle an extra layer of finely crushed Oreo cookies over the frosting before adding the next cake layer!
- Stacking & Crumb Coat: Carefully place the second cake layer on top. Scoop a generous amount of frosting onto this second layer. Using your small offset spatula, begin to spread the frosting across the top and gently down the sides of the cake. This initial layer of frosting is often called a “crumb coat” – it traps any loose crumbs, ensuring a smooth and crumb-free final coat. Don’t worry about perfection at this stage; just aim for an even, thin layer.
- Achieving Smooth Sides: Once the crumb coat is applied, chill the cake in the fridge for about 15-20 minutes to set the frosting. Then, apply your final layer of frosting. To achieve impeccably smooth sides, I use a bench scraper. Hold it perpendicular to the cake and parallel to your turntable, then slowly rotate the cake while holding the scraper steady, gently scraping away excess frosting until the sides are perfectly smooth.
- Decorating Touches: For a professional and delightful presentation, I used any leftover Oreo frosting to pipe elegant swirls around the top edge of the cake. To truly make it a showstopper, I topped every other swirl with a charming mini Oreo cookie, adding a whimsical and delicious garnish.
Storage & Freezing Tips for Your Red Velvet Oreo Cake
To keep your Red Velvet Oreo Cake fresh and delicious for as long as possible, proper storage is key. Here are my best tips:
Keep the frosted cake in an airtight container in the fridge for up to 5 days. This will prevent it from drying out and absorbing other flavors from your refrigerator. For the best eating experience, I highly recommend letting it come to room temperature for at least 30-60 minutes before serving. Cold cake tends to have a muted flavor and a firmer texture, whereas a room-temperature slice allows the flavors to truly blossom and the cake to be at its softest. Once you’ve sliced into the cake, to protect the exposed edges from drying out, I like to gently press a piece of parchment paper or plastic wrap against the sliced portion.
You can also freeze individual slices or even the whole cake for longer preservation. Wrap slices of cake tightly in plastic wrap, then place them in a freezer-safe container or freezer bag. They will keep well for up to 2 months. When you’re ready to enjoy, simply let them thaw completely in the fridge overnight before bringing them to room temperature and indulging.
Craving More Celebration Cakes? I’ve Got You Covered!
If you loved this Red Velvet Oreo Cake, you’re in for a treat! My collection of celebration cakes is designed to bring joy to every occasion. Explore more delectable recipes to satisfy your sweet tooth:
- The Best Triple Chocolate Layer Cake
- Chocolate Covered Strawberry Cake with Strawberry Ganache
- Moist & Easy Chocolate Cake with Chocolate Ganache
- Vanilla Cake with Strawberry Filling
If you’ve whipped up this delightful Red Velvet Oreo Cake, I would absolutely love to hear about it! Make sure to leave a ⭐️ rating and review below to share your experience. Your feedback means the world to me and helps other bakers. I adore seeing your creations, so please tag me on Instagram @alpineella so I can admire your work! You can also stay updated with my latest recipes and baking tips by following along on Pinterest, Facebook, and TikTok!
Red Velvet Oreo Cake Recipe
Red Velvet Oreo Cake (with Oreo American Buttercream)
Ella Gilbert
Pin Recipe
Save RecipeSaved!
Equipment
-
2 8-inch cake pans
-
Stand Mixer
-
Kitchen Scale
-
Measuring Spoons
-
Bowl
-
Rubber Spatula
Ingredients
Red Velvet Cake
- ½ Cup Unsalted Butter room temperature
- 1 ½ Cups Granulated Sugar
- 2 Large Eggs room temperature
- Red Food Color
- 3 Tablespoons Cocoa Powder natural cocoa powder
- 1 Teaspoon Kosher Salt
- 1 Teaspoon Baking Soda
- 1 Teaspoon White Vinegar
- 2 ½ Cups Cake Flour
- 1 Cup Buttermilk
- ½ Cup Neutral Oil
- 2 Teaspoons Vanilla Extract
- 5 Oreo Cookies crushed
Oreo Frosting
- 2 Sticks Unsalted Butter room temperature
- 4 Cups Confectioners’ Sugar
- 1 Teaspoon Vanilla Extract
- ¼ Teaspoon Kosher Salt
- ¼ Cup Heavy Cream
- 10 Oreo Cookies pulsed into a powder
Instructions
-
Preheat your oven to 350℉/175℃. Prepare two 8-inch cake pans by greasing them thoroughly and lining the bottoms with parchment paper for easy release.
-
In a medium bowl, carefully whisk together the cake flour, kosher salt, baking soda, and natural cocoa powder until uniformly combined. Set this dry mixture aside.3 Tablespoons Cocoa Powder, 1 Teaspoon Kosher Salt, 1 Teaspoon Baking Soda, 2 ½ Cups Cake Flour
-
Using a stand mixer fitted with the paddle attachment, or a large bowl with a handheld mixer, beat the room temperature unsalted butter and granulated sugar together. Cream them on medium-high speed until the mixture becomes light, fluffy, and noticeably paler in color, which should take about 3-5 minutes.½ Cup Unsalted Butter, 1 ½ Cups Granulated Sugar
-
Add the room temperature eggs one at a time, beating well after each addition until fully incorporated. Then, mix in the neutral oil, vanilla extract, and white vinegar. Continue to beat on high speed for an additional 1-2 minutes until the mixture is smooth and well emulsified.2 Large Eggs, 1 Teaspoon White Vinegar, ½ Cup Neutral Oil, 2 Teaspoons Vanilla Extract
-
With the mixer on low speed, gradually add the dry ingredients to the wet mixture in three additions, alternating with the buttermilk. Begin and end with the dry ingredients, mixing just until combined after each addition to avoid overmixing.1 Cup Buttermilk
-
Now, it’s time for that vibrant color! Mix in your red food coloring gel until you achieve your desired intense red hue. Remember, gel colors are more concentrated.Red Food Color
-
Gently fold in the crushed Oreo cookies using a rubber spatula. Be careful not to overmix, as this can break up the cookie pieces too much.5 Oreo Cookies
-
Divide the cake batter evenly between your two prepared 8-inch cake pans. Bake in the preheated oven for 25-30 minutes, or until a wooden skewer or toothpick inserted into the center of one of the cakes comes out clean. Let the cakes cool in the pans for 10-15 minutes before inverting them onto a wire rack to cool completely.
-
Oreo Frosting Instructions
-
While the cakes are cooling, prepare your Oreo frosting. In a stand mixer with the paddle attachment, or in a large bowl with a handheld mixer, beat the room temperature unsalted butter and confectioners’ sugar together on low speed until they are just combined and no dry sugar remains.2 Sticks Unsalted Butter, 4 Cups Confectioners’ Sugar
-
Increase the mixer speed to high and beat until the frosting is incredibly light and fluffy, which should take approximately 2-3 minutes. Scrape down the sides of the bowl as needed to ensure everything is well mixed.
-
Reduce the speed to low and mix in the vanilla extract, kosher salt, and the finely pulsed Oreo cookies. Beat until just combined and evenly distributed.1 Teaspoon Vanilla Extract, ¼ Teaspoon Kosher Salt, 10 Oreo Cookies
-
If your frosting appears too thick or stiff, gradually add up to ¼ cup of heavy cream, one tablespoon at a time, until you reach your desired smooth, spreadable consistency.¼ Cup Heavy Cream
-
Once your red velvet cake layers are completely cool, proceed with assembly (refer to the “Assembling Your Masterpiece” section above for detailed tips!). Frost your cake generously and enjoy this spectacular dessert!
Video
Notes
I always emphasize using room temperature ingredients (including the buttermilk and butter!) before starting any baking project. This ensures proper emulsification and a smooth, consistent batter, leading to a perfectly textured cake. So, remember to pull out all your ingredients well in advance.
Cake Flour: The secret to a truly soft cake lies in cake flour, which boasts a lower protein content compared to all-purpose flour. This creates a tender, delicate crumb. If you find yourself without cake flour, an easy substitute is to use all-purpose flour. Simply replace 1 tablespoon of all-purpose flour with 1 tablespoon of cornstarch for every cup needed, then sift it together. While all-purpose flour alone works, the texture won’t be quite as soft. For my UK bakers, please note that cake flour is not the same as self-rising flour; use plain flour instead.
Red Food Gel: For the most vibrant and rich red color, I exclusively use Americolor Super Red food gel. It offers superior pigmentation without diluting your batter.
Salt: If you don’t have kosher salt on hand, you can substitute it with fine table salt, but remember to halve the amount called for in the recipe. A general rule of thumb is 1 teaspoon of kosher salt equals ½ teaspoon of fine salt. Please note, I use Diamond Crystal kosher salt, which is less dense than Morton Salt – another common kosher salt – so the salinity can differ.
Buttermilk: No buttermilk? No problem! You can easily substitute an equal amount of sour cream or full-fat yogurt. Alternatively, make your own buttermilk by adding 1 tablespoon of lemon juice or white vinegar to 1 cup of milk and letting it sit for 5-10 minutes until it slightly curdles.
Cocoa Powder: It’s crucial to use natural cocoa powder for this recipe, not Dutch-processed cocoa powder. Natural cocoa is acidic and reacts with the baking soda and vinegar to leaven the cake. Dutch-processed cocoa has a neutralized pH and will not react the same way, potentially impacting your cake’s rise and texture. Check the ingredients list; if it mentions alkali or acidity regulators, it’s Dutch-processed.
Storage: To maintain maximum freshness, keep your frosted Red Velvet Oreo Cake tightly wrapped or in an airtight container in the fridge for up to 5 days. For the best flavor and texture, always allow the cake to come to room temperature for at least 30-60 minutes before serving.
Making Ahead: Planning ahead can simplify your baking process! The cake layers can be baked in advance. Once they are completely cooled, wrap each layer tightly in several layers of plastic wrap. They can be stored in the fridge for up to 2 days, or in the freezer for up to 2 months. If frozen, ensure they are fully defrosted in the fridge and then brought to room temperature before you begin frosting.
Nutrition
