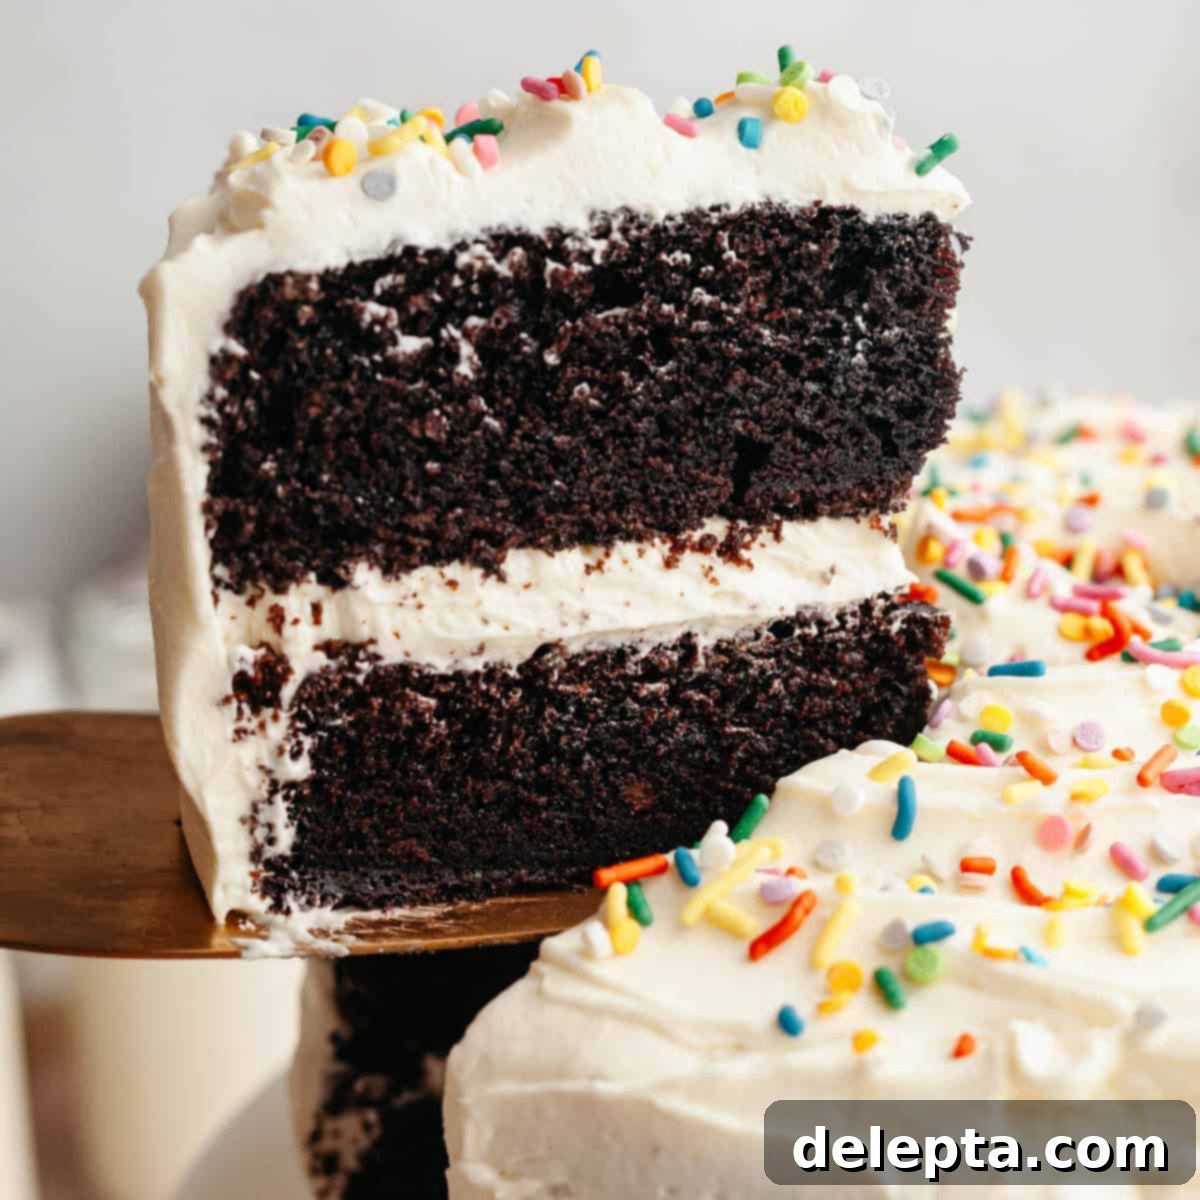
Ultimate Moist Chocolate Cake with Dreamy Vanilla Buttercream Frosting
Prepare yourself for what could very well be the best chocolate cake with vanilla frosting you’ve ever tasted! This isn’t just *any* chocolate cake; it’s my cherished, incredibly easy, go-to recipe that defies expectations by requiring nothing more than a simple bowl and a whisk. Forget the hassle of lugging out heavy stand mixers – pure deliciousness awaits with minimal effort. Imagine sinking your teeth into layers of intensely moist, rich chocolate cake, perfectly complemented by a cloud of light and creamy vanilla buttercream frosting, all adorned with a festive scattering of rainbow sprinkles. What truly makes this recipe a standout is its accessibility: you likely already have all 13 simple pantry ingredients needed to create this show-stopping dessert. Whether you’re a seasoned baker or just starting your culinary journey, this cake promises a foolproof path to pure bliss and is guaranteed to become a family favorite.
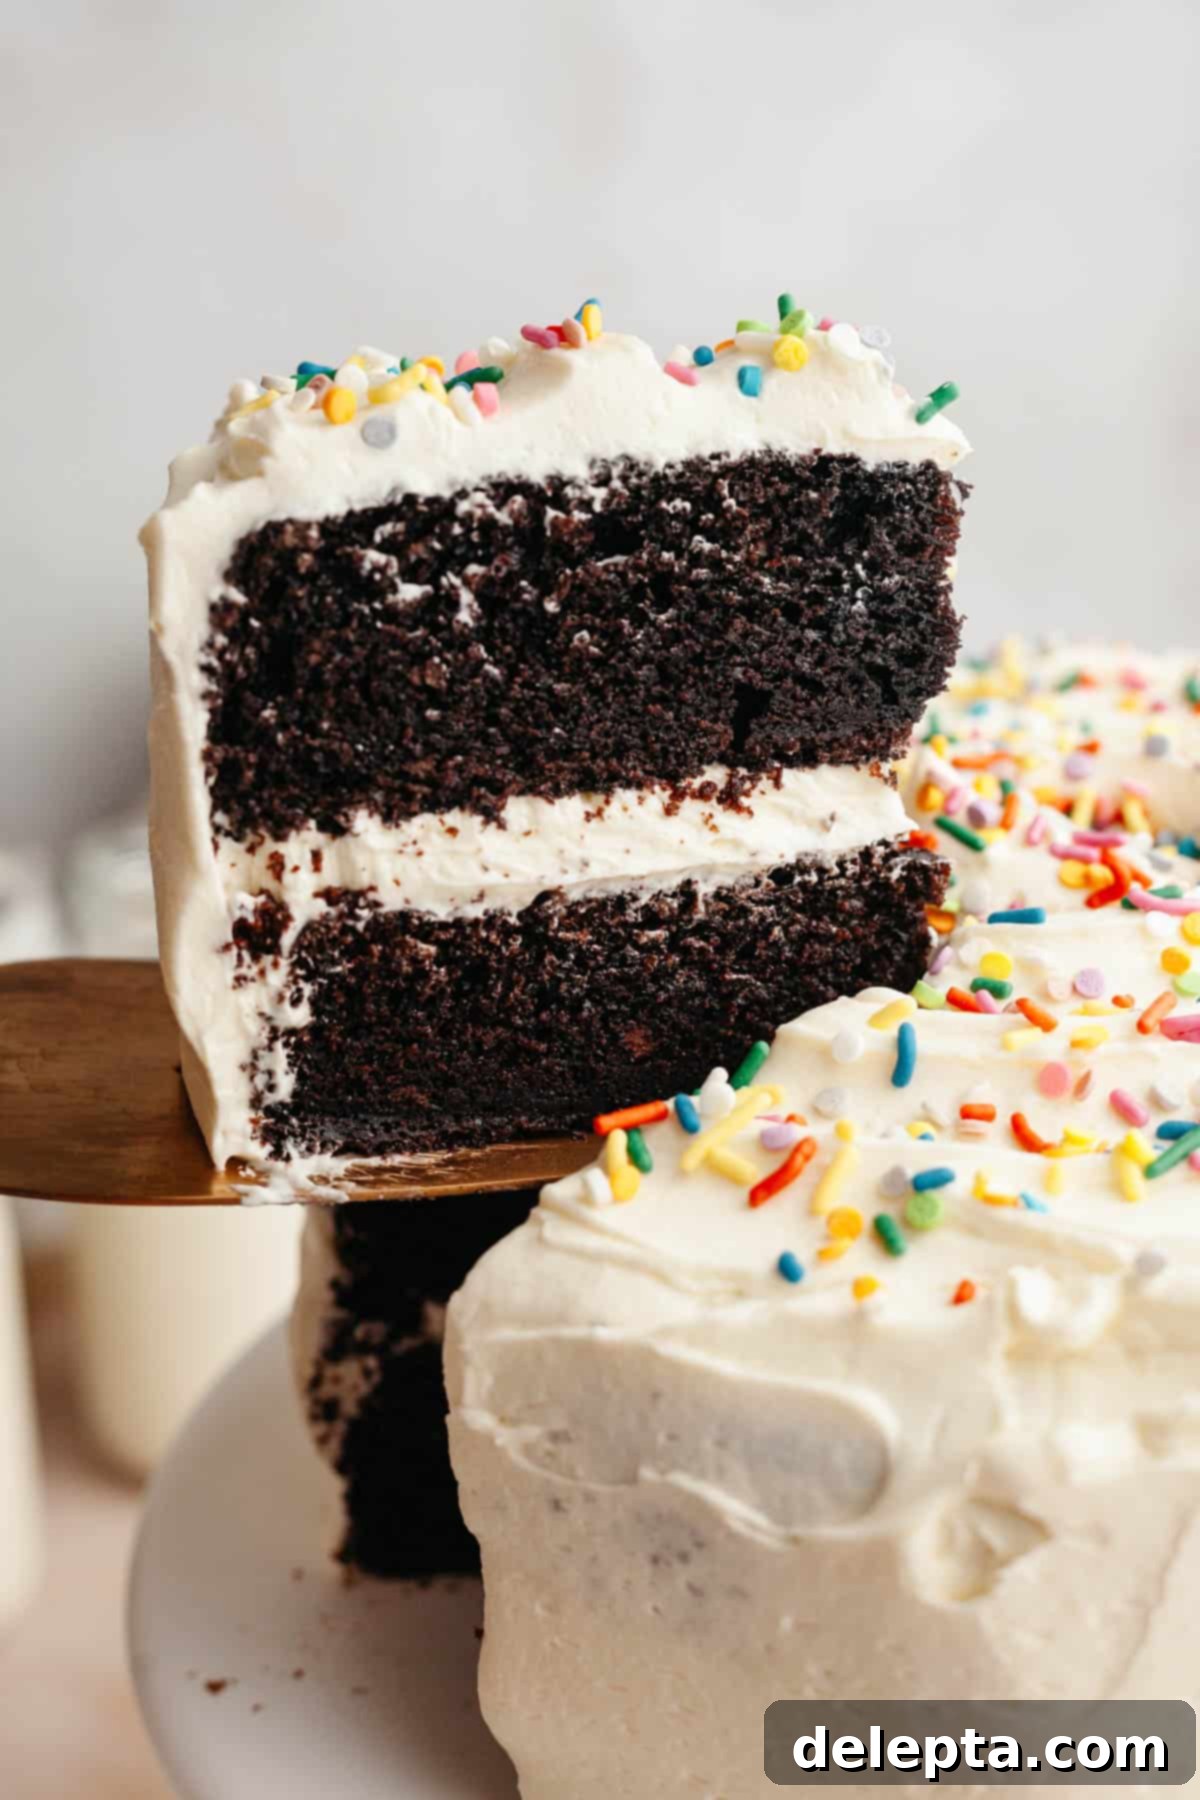
It’s probably no secret by now that I have a serious passion for baking cakes. With over 20 years of cake-making experience, I’m constantly refining recipes to ensure they are nothing short of perfect. This extraordinary chocolate cake with vanilla frosting stands as a delightful inverse to my popular birthday vanilla cake with chocolate frosting, offering another irresistible combination for all dessert enthusiasts. Both recipes are designed to bring joy and ease to your kitchen, proving that exceptional cakes don’t have to be complicated.
The foundation of this masterpiece is a deeply rich and exceptionally moist chocolate cake recipe that I’ve meticulously developed and perfected over countless batches. It’s the same beloved recipe used in my famous Matilda’s chocolate cake, my decadent triple chocolate layer cake, and my luxurious chocolate cake with chocolate ganache. This speaks volumes about its reliability and consistent results – it truly is my ultimate chocolate cake base for every occasion!
My primary goal when creating this cake was to achieve an unparalleled level of moistness and a wonderfully soft crumb. I absolutely cannot tolerate a dry cake, and I’m sure you feel the same! To ensure it stays incredibly soft and tender for days, I’ve opted for an oil-based recipe rather than butter in the cake batter. This crucial detail locks in moisture beautifully. Additionally, the inclusion of buttermilk works wonders, reacting with the cocoa and leaveners to create a fine, delicate, and ultra-soft crumb that melts in your mouth with every bite.
Complementing this exquisite chocolate cake is my signature vanilla buttercream. This is my tried-and-true American buttercream recipe, perfected through extensive testing to achieve the ideal balance of sweetness and texture. It’s incredibly simple to whip up, transforming into a luxuriously creamy frosting that is never stiff or overly firm. I believe a perfect buttercream should be smooth and luscious, easy to spread, and contribute to the overall melt-in-your-mouth experience of the cake. The addition of vibrant rainbow sprinkles makes it an instant classic for any celebration, adding a playful touch that delights both young and old.
If you’re looking for more show-stopping celebration cakes to add to your repertoire, don’t miss my delightful red velvet cake with chocolate chips, the refreshing vanilla cake with strawberry filling, or another iteration of my popular triple chocolate layer cake! Each one offers a unique flavor profile but shares the same commitment to moistness and incredible taste.
Why This Chocolate & Vanilla Cake is a Must-Bake!
- Unites Chocolate & Vanilla Lovers: This cake is the ultimate crowd-pleaser, expertly balancing the deep, rich notes of chocolate with the sweet, creamy lightness of vanilla. No more debates over which flavor to choose for your next gathering – everyone gets the best of both worlds in one harmonious bite. It’s perfect for families with diverse preferences, ensuring smiles all around.
- Effortlessly Simple Baking: This chocolate cake recipe truly stands out for its simplicity. It’s one of my absolute favorites not only for its incredible taste but also for its straightforward process. You won’t need a bulky stand mixer; just a bowl and a whisk are all it takes to create a perfectly moist and fluffy cake. This makes it an ideal recipe for beginner bakers or for those busy days when you crave homemade goodness without the fuss.
- The Quintessential Celebration Cake: With its vibrant rainbow sprinkles, this cake is practically begging to be the centerpiece of any birthday party or festive occasion! It’s naturally cheerful and universally loved. While rainbow sprinkles are my personal favorite for a classic birthday vibe, feel free to get creative and swap them out for seasonal sprinkles, elegant chocolate shavings, or fresh fruit to match any theme or holiday throughout the year. Its versatility makes it suitable for anniversaries, graduations, or just a delightful weekend treat.
Essential Ingredients for Your Perfect Cake
Creating an exceptional cake starts with understanding the role of each ingredient. Here’s a closer look at some key components that contribute to the incredible texture and flavor of this chocolate cake with vanilla frosting, ensuring every element works in harmony to produce a truly unforgettable dessert.
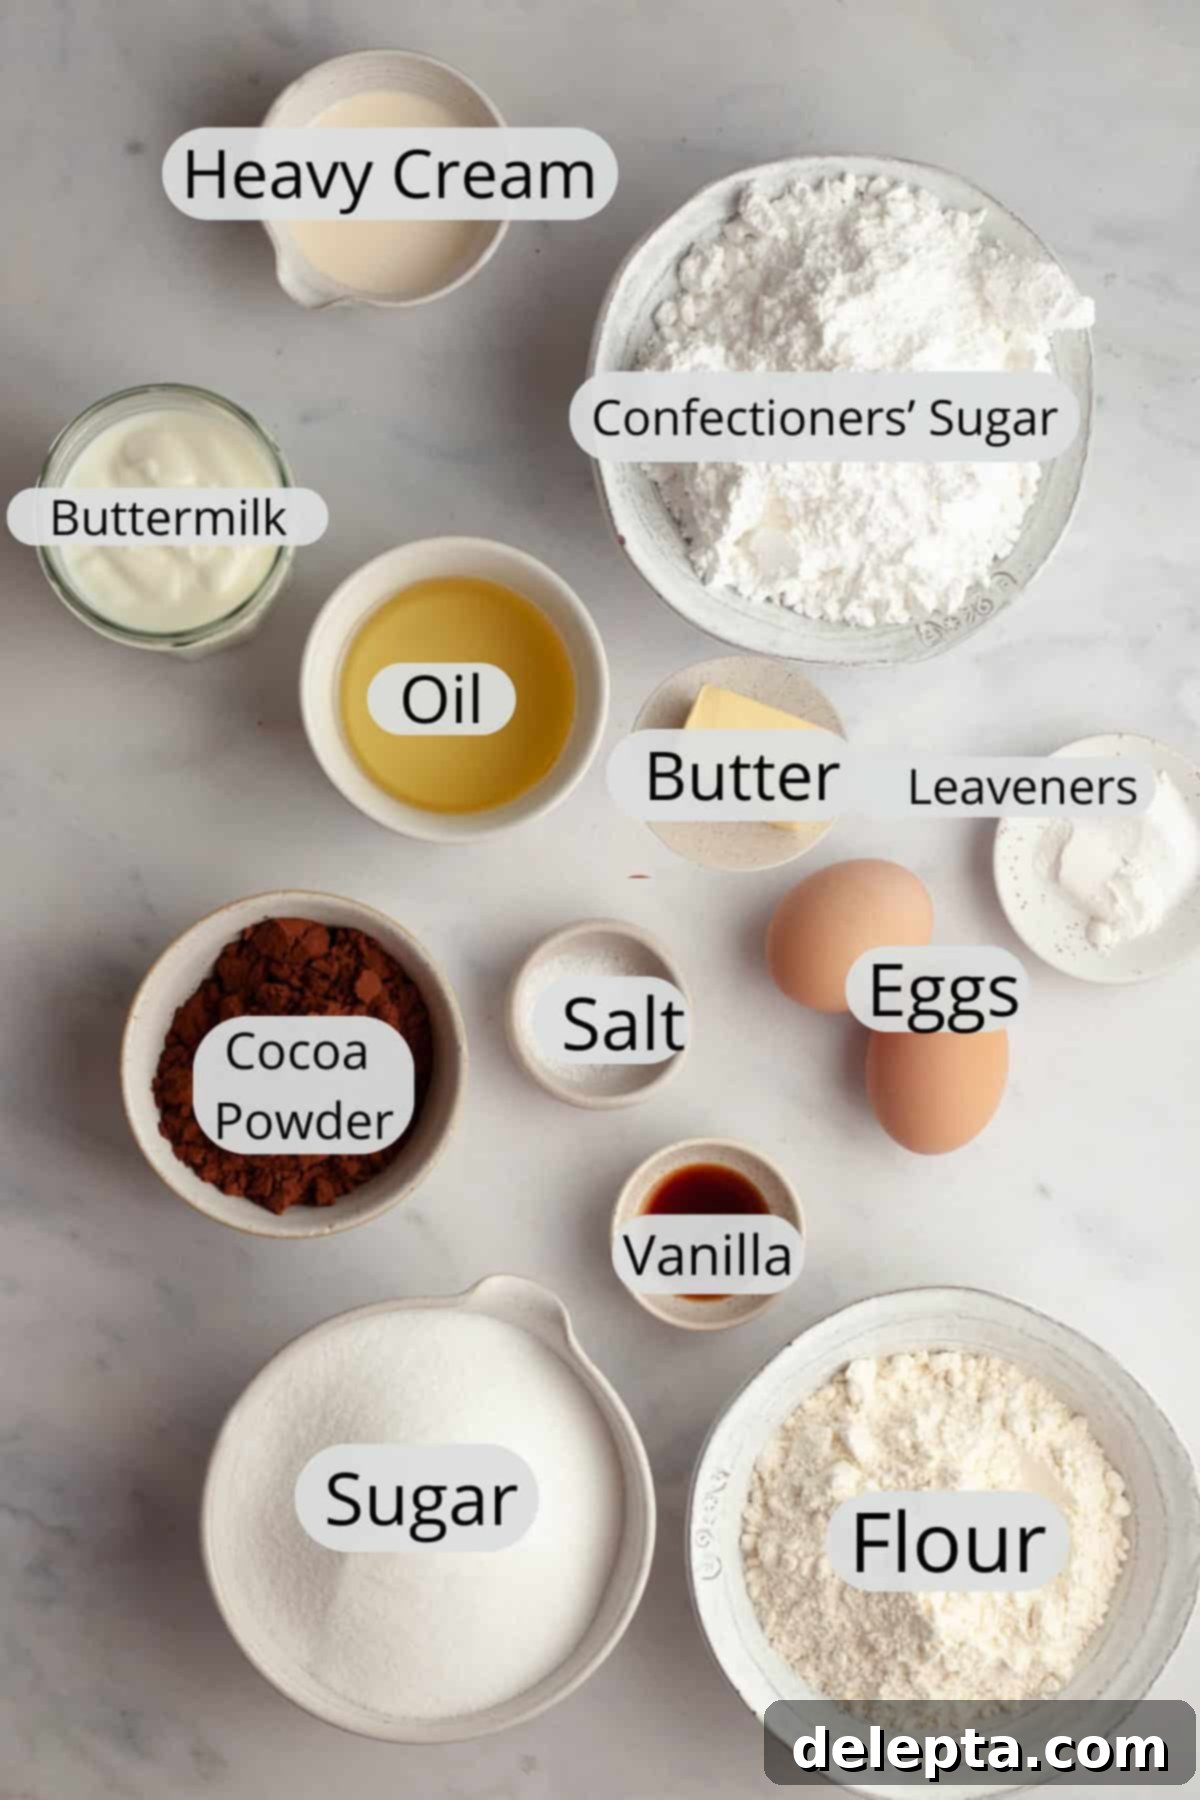
- Neutral Oil: This is the ultimate secret weapon for achieving an incredibly moist and tender chocolate cake. Unlike butter, which can solidify and make cake denser when cold, oil remains liquid at room temperature, keeping your cake consistently soft, squishy, and wonderfully moist for days. Opt for a neutral-flavored oil such as vegetable oil, sunflower oil, or canola oil to ensure the rich chocolate flavor shines through without any competing tastes. Its high fat content also contributes to the cake’s luxurious texture.
- Dutch-Processed Cocoa Powder: The type of cocoa powder you use significantly impacts both the flavor and the chemical reaction of your cake. I’ve exclusively tested this recipe with Dutch-processed cocoa powder, which has been treated to reduce its acidity, resulting in a darker color and a smoother, less bitter chocolate flavor. Natural cocoa powder and Dutch-processed cocoa powder react differently with leavening agents (baking powder and baking soda), so swapping them out without adjusting the recipe can lead to an undesirable texture or density. For the best results, stick to Dutch-processed as specified.
- Buttermilk: Buttermilk is a magical ingredient in cake baking, renowned for its ability to create an extra soft, moist, and tender crumb. Its acidity reacts with the baking soda in the recipe, producing carbon dioxide that helps the cake rise beautifully and contributes to that desirable light texture. If you don’t have buttermilk on hand, don’t fret! You can easily substitute it with an equal amount of Greek yogurt, sour cream, or even full-fat plain yogurt. Alternatively, you can make a quick homemade version by adding 1 tablespoon of lemon juice or white vinegar to 1 cup of regular milk and letting it sit for 5-10 minutes until it slightly curdles.
- All-Purpose Flour: The backbone of our cake’s structure. Using standard all-purpose flour provides the perfect balance of protein to give the cake stability without making it tough. Always measure your flour correctly (preferably by weight) to avoid a dry or dense cake.
- Granulated Sugar: Beyond sweetness, sugar plays a vital role in keeping the cake moist by attracting and retaining moisture. It also contributes to the cake’s tender crumb and promotes browning during baking, adding to its appealing appearance.
- Eggs (Room Temperature): Eggs bind the ingredients, add richness, and provide structure and lift. Bringing them to room temperature before mixing is crucial as they emulsify better with other ingredients, creating a smoother, more uniform batter and a finer cake crumb.
- Baking Soda & Baking Powder: These leavening agents work in tandem to give the cake its light and airy texture. Baking soda reacts with the acidic buttermilk and cocoa powder, while baking powder provides additional lift, ensuring a well-risen and tender cake.
- Kosher Salt: A pinch of salt is essential for balancing the sweetness and enhancing the deep chocolate flavors in the cake and the vanilla notes in the frosting. It’s a flavor enhancer that makes all the other ingredients truly sing.
- Very Hot Water: Adding hot water at the end of the batter mixing process is a technique often used in chocolate cakes. It helps “bloom” the cocoa powder, intensifying its flavor and color. It also creates a very thin batter, which helps produce an incredibly tender and moist final product.
- Unsalted Butter (for Frosting, Room Temperature): The base for our luscious vanilla buttercream. Using unsalted butter allows you to control the salt content. Ensuring it’s at perfect room temperature is key for whipping it into a light and fluffy consistency, free from lumps.
- Confectioners’ Sugar: Also known as powdered sugar, this fine sugar is indispensable for achieving a smooth, velvety buttercream texture. Its finely ground nature dissolves easily, preventing any grainy consistency in your frosting.
- Vanilla Extract: High-quality vanilla extract is paramount for a truly delicious vanilla buttercream. It imparts a warm, aromatic flavor that perfectly complements the rich chocolate cake. Don’t skimp on good vanilla!
- Heavy Cream: This ingredient is what transforms the buttercream from merely sweet to wonderfully creamy and spreadable. It helps lighten the frosting and achieve that dreamy, soft consistency that makes this American buttercream so irresistible. You can adjust the amount slightly to reach your preferred thickness.
How to Bake Your Perfect Chocolate Cake with Vanilla Frosting
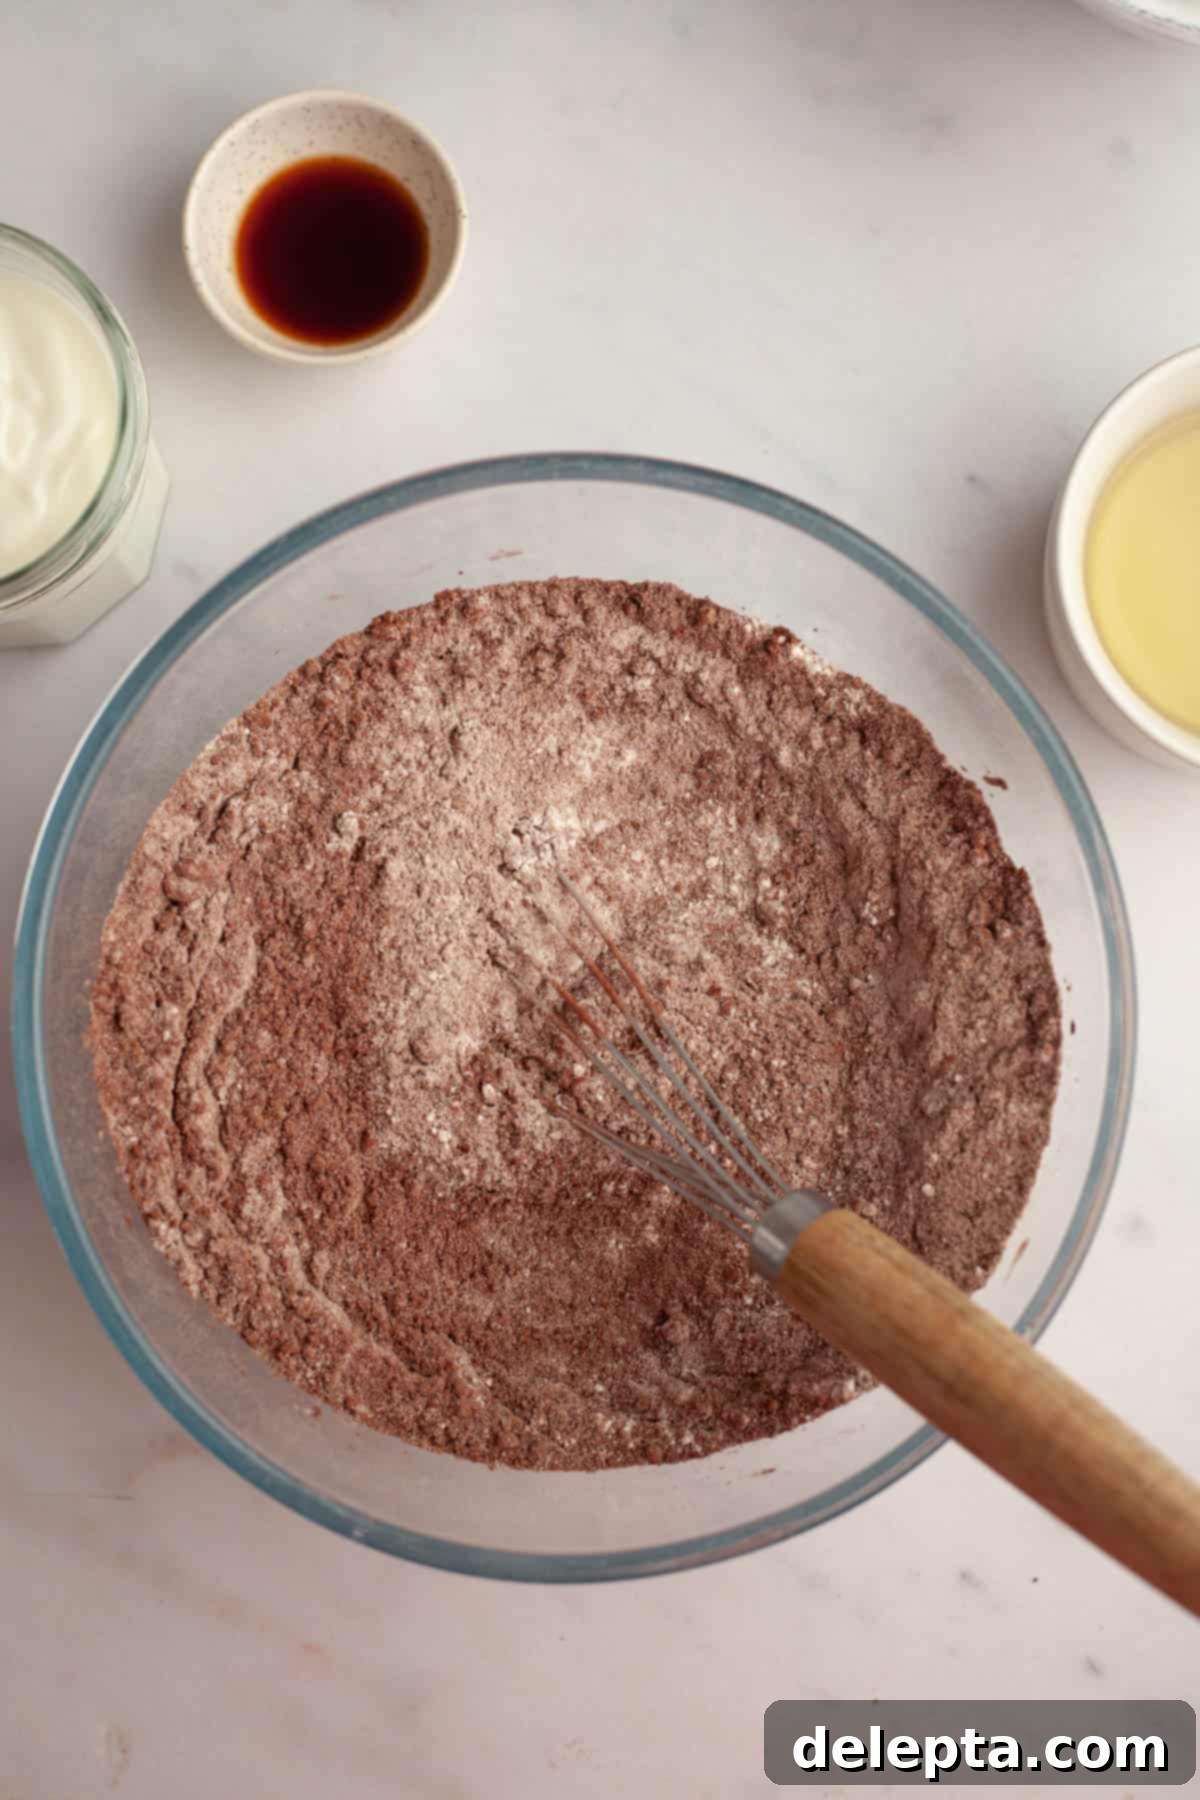
- Step 1: Prepare Your Pans & Dry Ingredients. Begin by preheating your oven to 350°F (175°C). Properly prepare two 8-inch round cake pans by greasing them thoroughly and lining the bottoms with parchment paper. This crucial step prevents sticking and ensures your cakes release cleanly. In a large mixing bowl, combine all of your dry ingredients: flour, Dutch-processed cocoa powder, granulated sugar, baking soda, baking powder, and kosher salt. Whisk them together thoroughly until uniformly combined and free of lumps. Set this bowl aside for a moment.
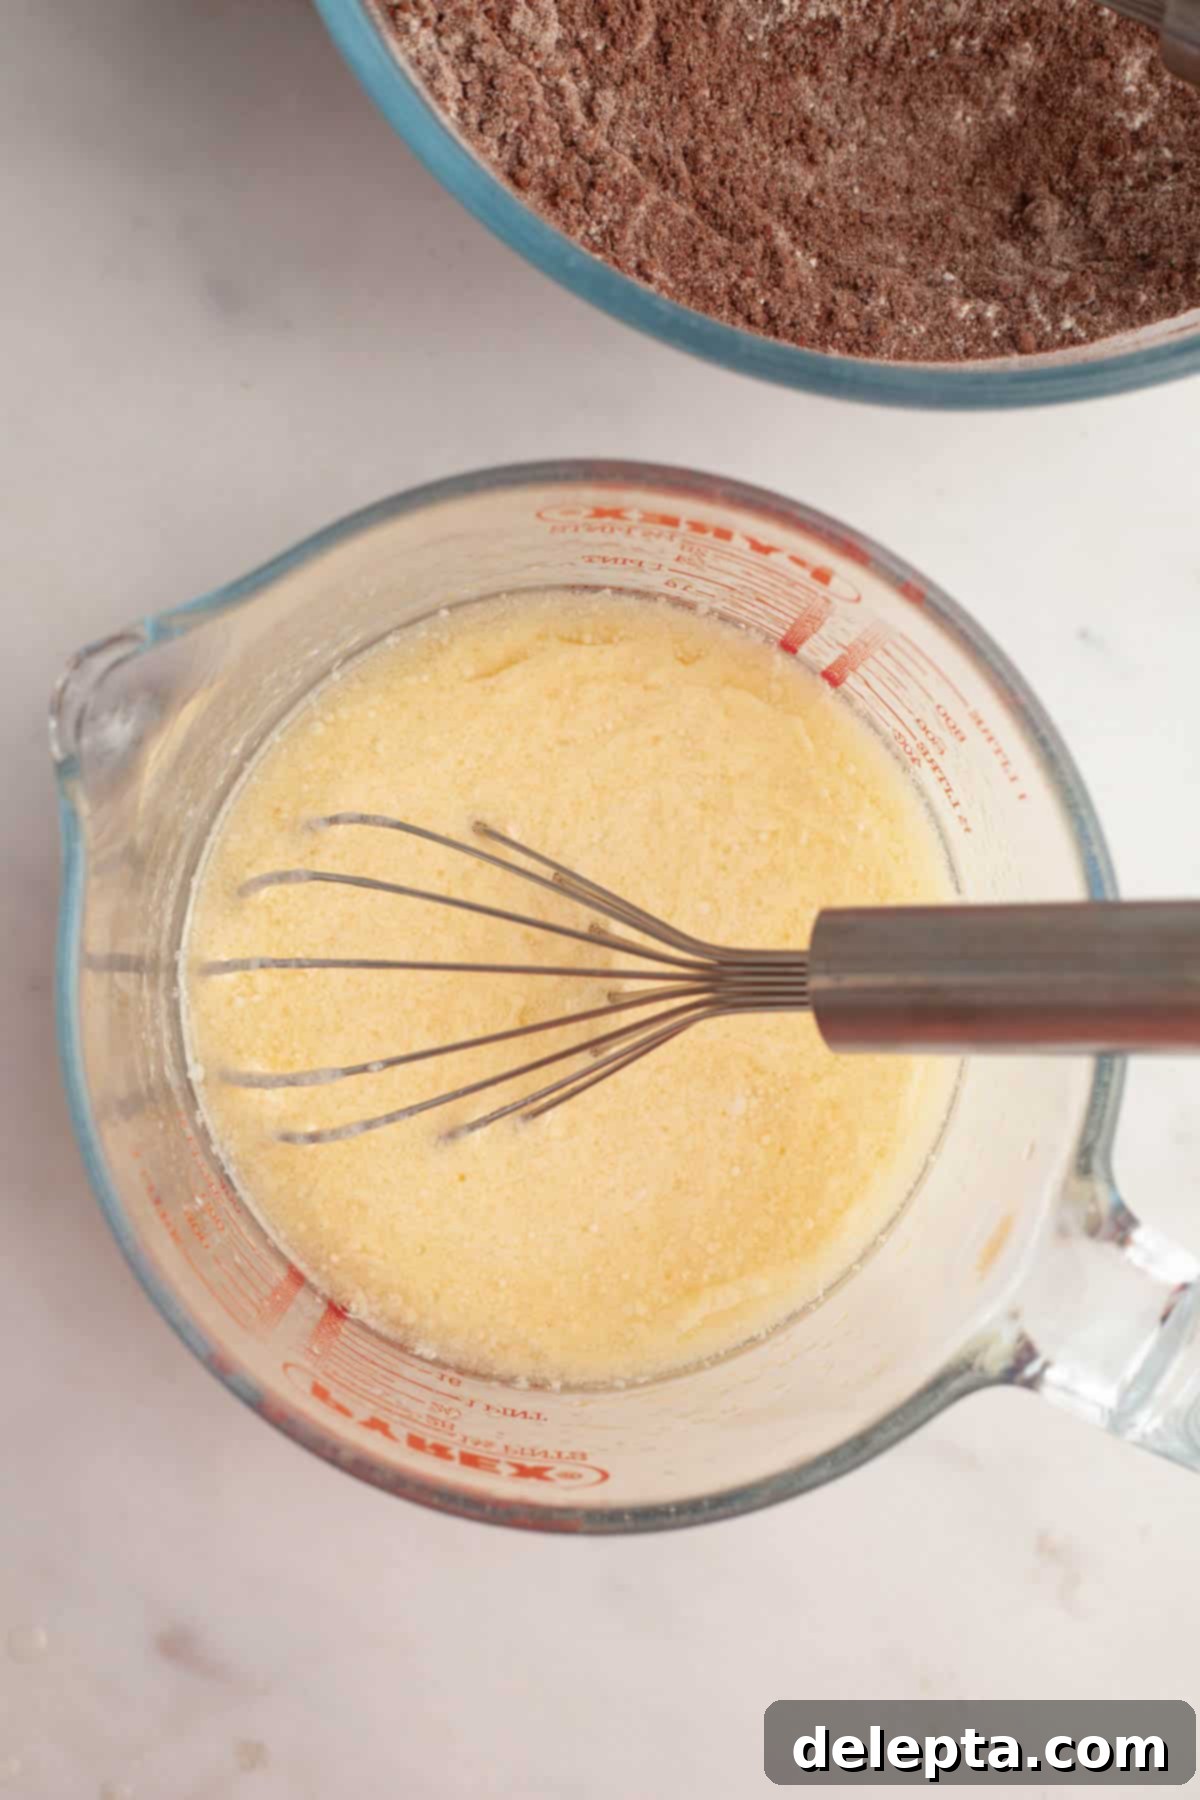
- Step 2: Combine Wet Ingredients. In a separate bowl or a large liquid measuring jug, whisk together your wet ingredients (excluding the hot water for now). This includes the buttermilk, vegetable oil, eggs (at room temperature), and vanilla extract. Whisk vigorously until the mixture is completely smooth and well-emulsified. Ensuring your eggs and buttermilk are at room temperature will help them combine more easily and create a more uniform batter.
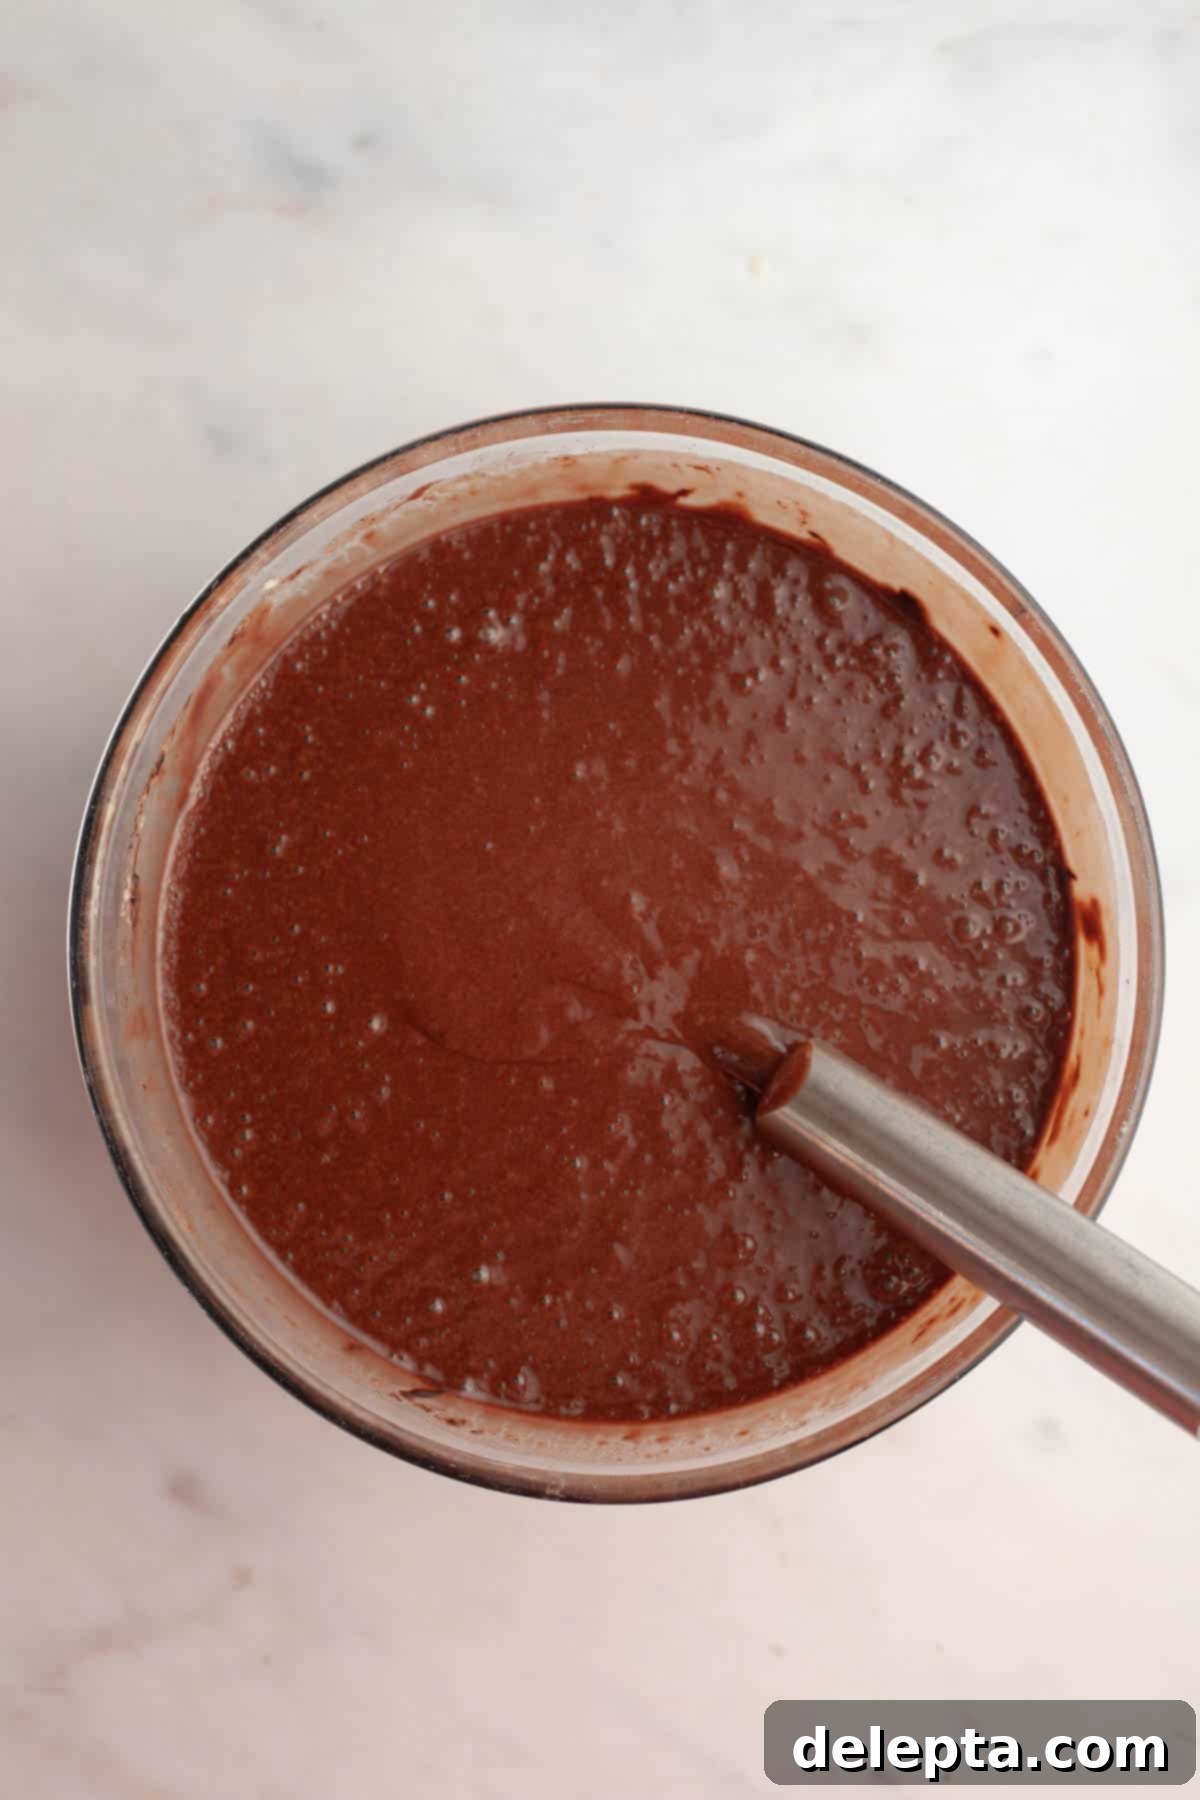
- Step 3: Mix Batter & Add Hot Water. Pour the wet ingredients from the jug directly into the bowl with your dry ingredients. Using your whisk, mix until they are *just* combined. Be careful not to overmix, as this can lead to a tough cake. The batter will still be quite thick at this stage. Now, carefully pour in the very hot water and mix gently once more until everything is just incorporated. The hot water will thin the batter considerably, which is exactly what we want for an incredibly moist cake.
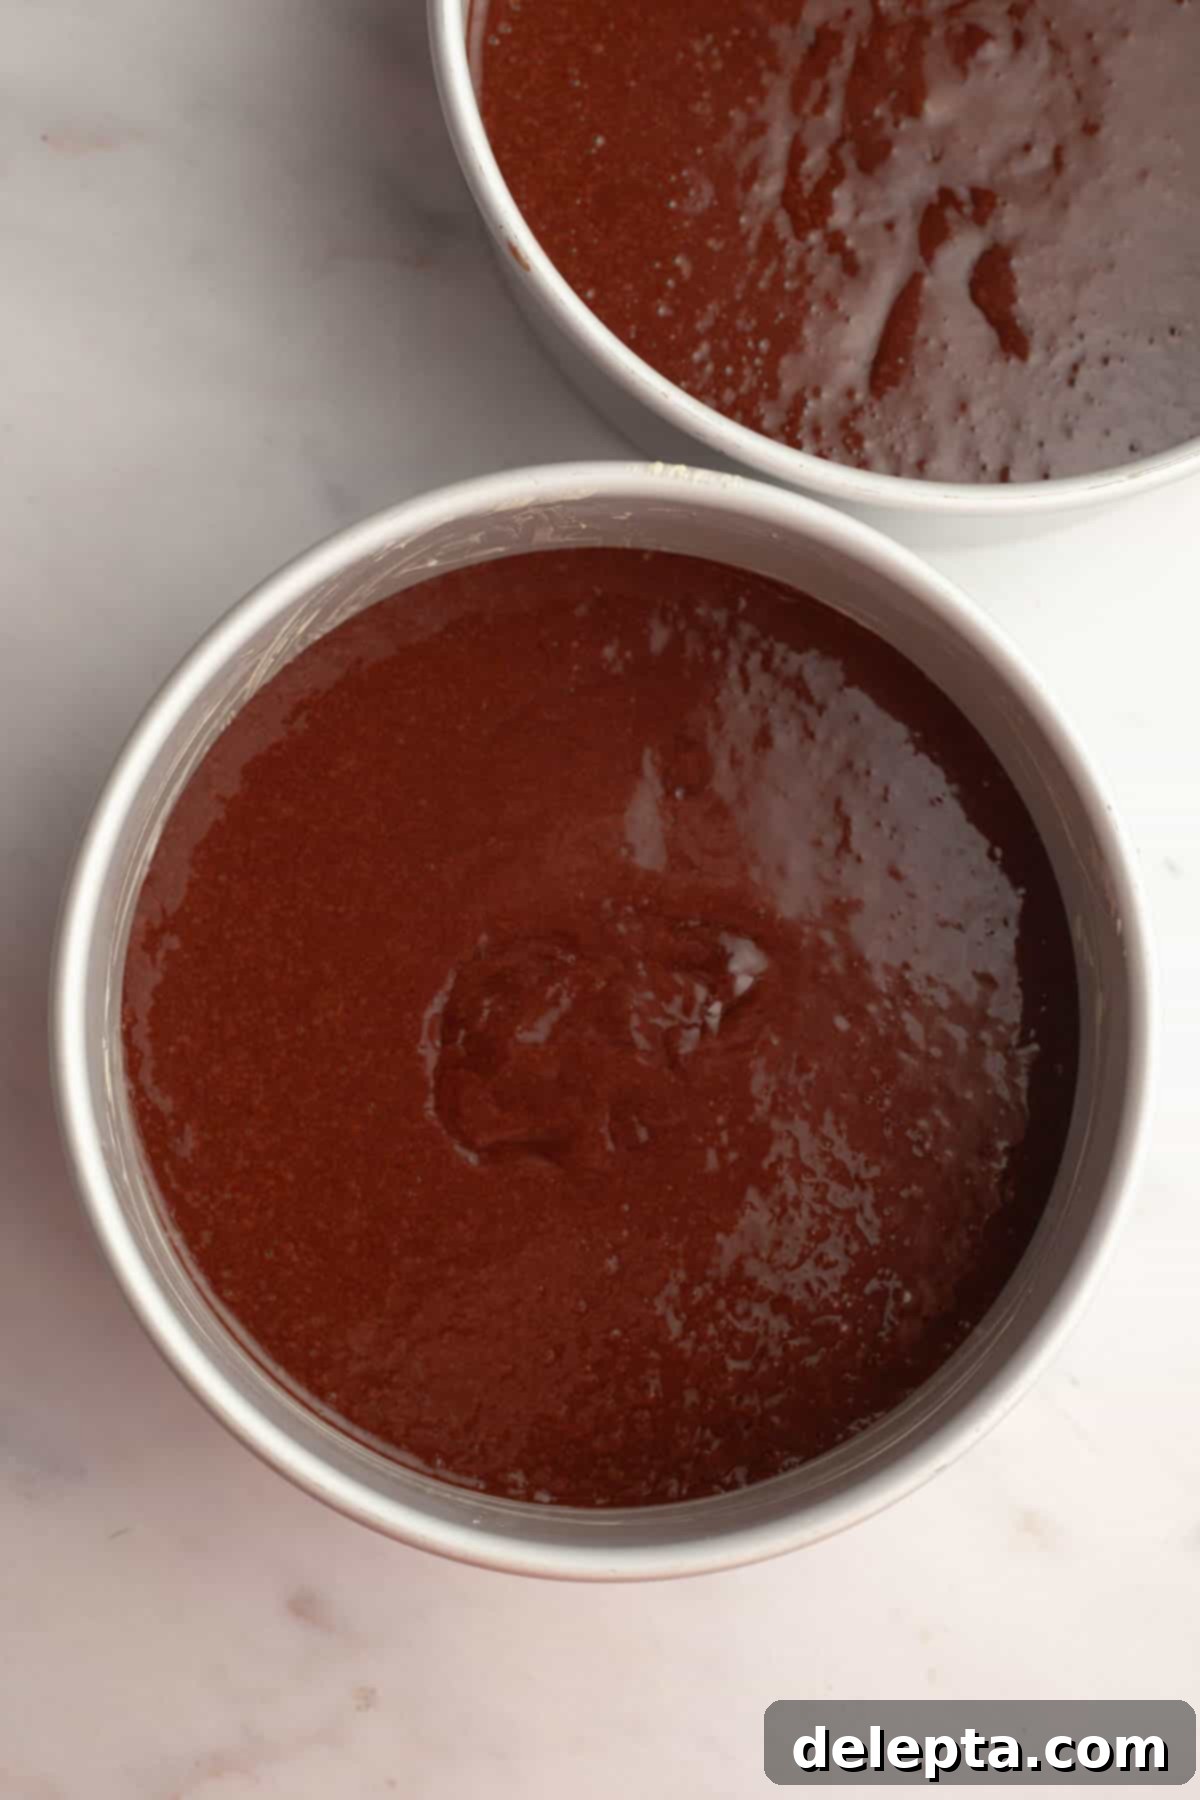
- Step 4: Bake the Cakes. Divide the chocolate cake batter evenly between your two prepared 8-inch pans. Place them into your preheated oven and bake for 35-40 minutes. To check for doneness, insert a toothpick into the center of each cake; it should come out clean or with a few moist crumbs attached, but no wet batter. Once baked, remove the pans from the oven and let the cakes cool in their pans for about 10 minutes. This helps them firm up slightly before you attempt to transfer them. After 10 minutes, carefully invert them onto a wire cooling rack to cool completely. Ensure the cakes are entirely cool before frosting to prevent the buttercream from melting.
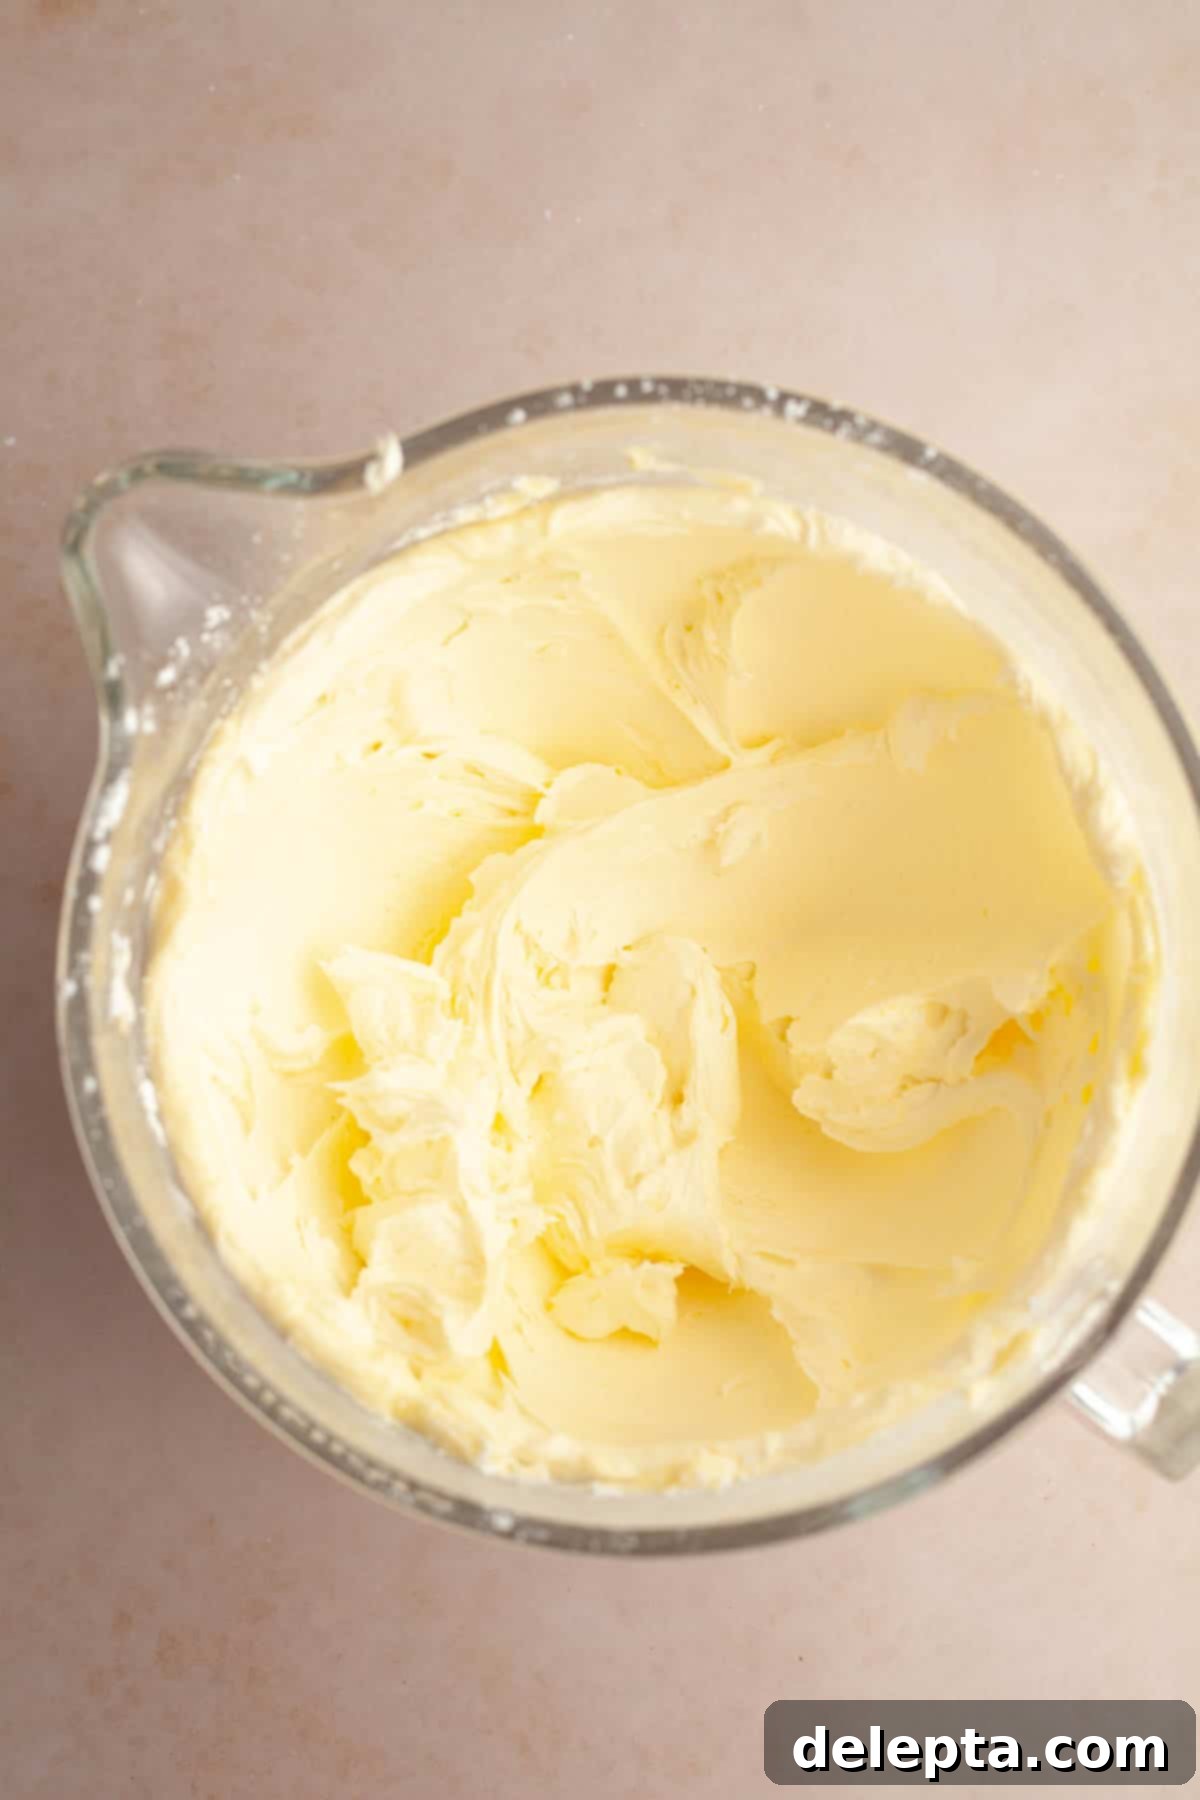
- Step 5: Start Your Vanilla Buttercream. While the cakes are cooling, it’s time to prepare the luscious vanilla frosting. In the bowl of a stand mixer fitted with the paddle attachment (or a large bowl with a hand mixer), combine the room temperature unsalted butter and confectioners’ sugar. Begin beating on low speed until the sugar is fully incorporated with the butter and no longer dusty. This prevents a cloud of sugar from engulfing your kitchen! Once combined, increase the speed to medium-high and beat for 2-3 minutes. This aerates the butter, making the frosting light and fluffy.
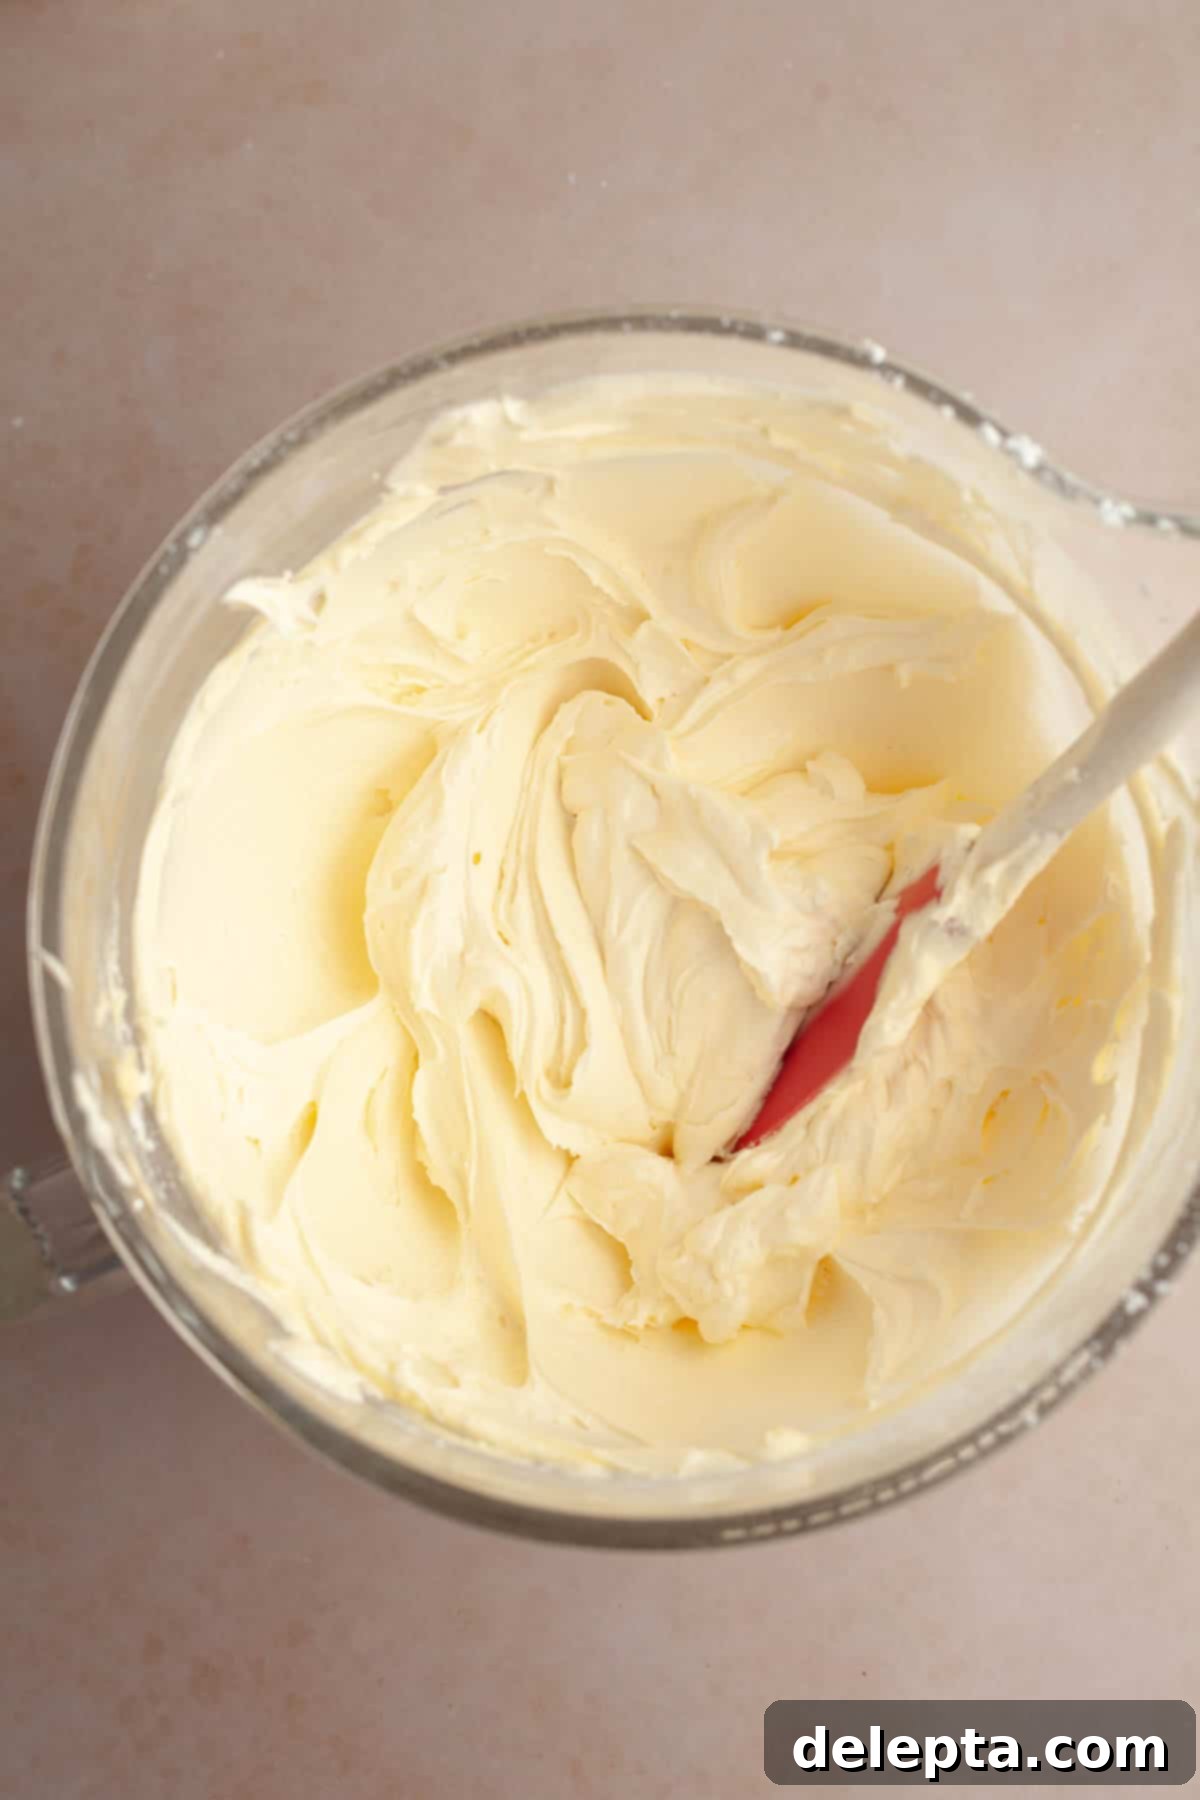
- Step 6: Finish & Frost. Stop the mixer and scrape down the sides of the bowl. Add the vanilla extract and a pinch of kosher salt to the butter mixture. Beat again on medium-high speed for another 1-2 minutes until everything is well combined and fragrant. Finally, with the mixer on its lowest speed, slowly pour in the heavy cream. Once added, increase the speed to medium and beat until the frosting is wonderfully creamy, smooth, and easily spreadable. Avoid over-beating at this stage. Once your cake layers are completely cooled, assemble and frost your cake, decorating with rainbow sprinkles as desired. Slice and enjoy your homemade masterpiece!
Ella’s Expert Baking Tips & Tricks for Perfect Results
- Embrace Your Kitchen Scale: For baking, precision is everything. I cannot stress enough the importance of using a kitchen scale over measuring cups, especially for dry ingredients. Not only does it significantly reduce the number of dishes you’ll have to wash, but it’s also far more accurate. It’s incredibly easy to accidentally add too much flour or cocoa powder when using cups, which can quickly lead to a dry, dense cake. A scale ensures consistent, perfect results every time.
- Patience is Key: Allow the Cake to Cool Completely: This might be the most critical step for a successful frosted cake! You absolutely *must* ensure your cake layers have cooled down completely, reaching room temperature, before you even think about applying frosting. Attempting to frost a warm cake will result in a messy disaster – the frosting will melt, slide off, and ruin all your hard work. Plan ahead and give your cakes ample time to cool on a wire rack.
- Mix and Match Your Frosting Flavors: While this vanilla buttercream is truly exceptional, don’t hesitate to get creative with your frosting! The chocolate cake base is incredibly versatile. Explore different flavor profiles by trying my chocolate cake with chocolate cream cheese frosting, chocolate coffee cake, Nutella filled cake, or opt for a unique topping like Oreo frosting, strawberry cream cheese frosting, or even a rich fudgy chocolate frosting. Each will transform the experience of this already delicious cake.
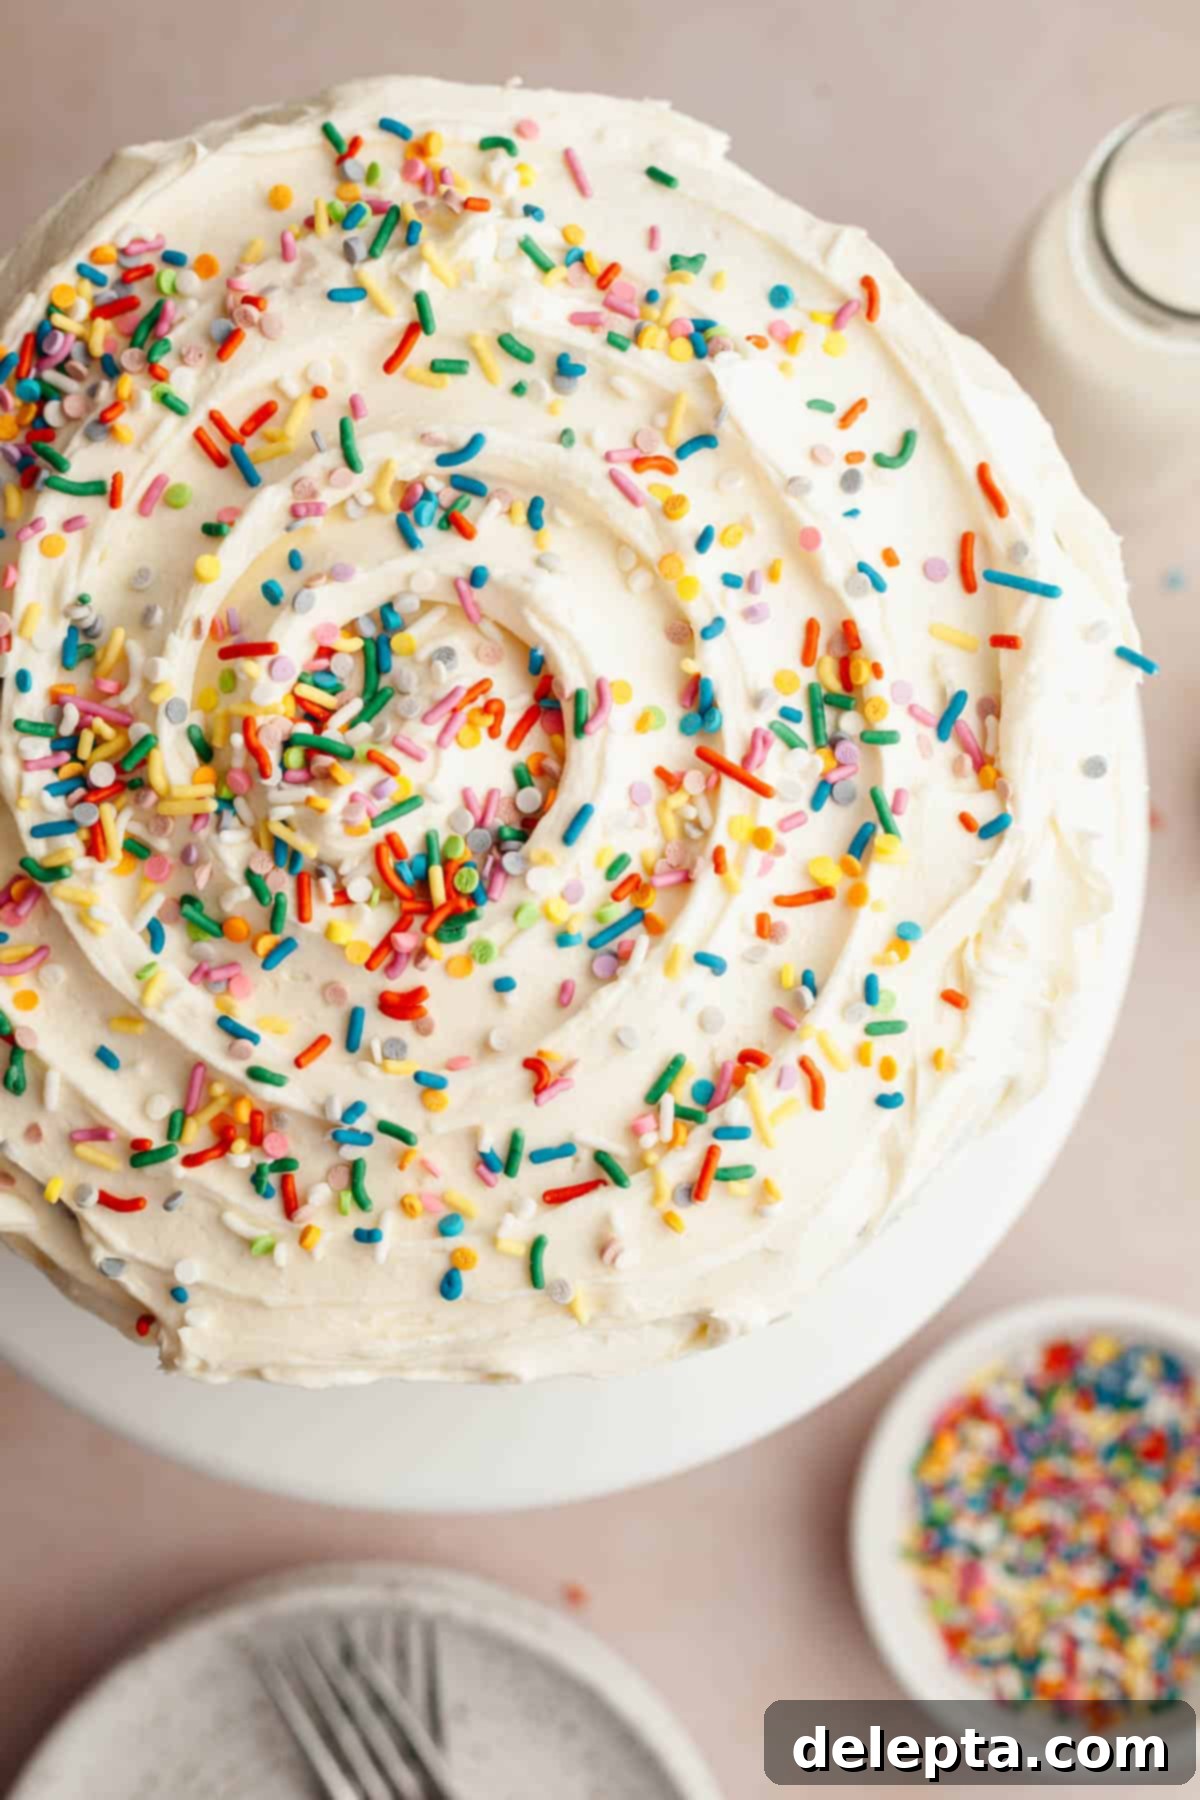
- Master the Swirly Top Decorating Trick: For an effortlessly elegant finish on layer cakes, my favorite simple decorating trick is the charming swirly top you see in the images above! To achieve this, place your frosted cake on a cake turntable. Using a small offset spatula, lightly press the tip onto the edge of the cake’s top surface. Slowly and steadily spin the cake turntable while keeping the spatula tip gently in place. This motion will create a beautiful, even swirled pattern. If a visual demonstration helps, you can easily watch me execute this technique in my Instagram reel.
- Room Temperature Ingredients Matter: For both the cake batter and the buttercream, ensure all cold ingredients like eggs, buttermilk, and butter are at room temperature before you start. Room temperature ingredients combine more easily and create a smoother, more emulsified batter and frosting, leading to a superior texture in your final bake.
- Avoid Overmixing: Once you add the wet ingredients to the dry, mix only until *just* combined. Overmixing develops the gluten in the flour, which can lead to a tough and dense cake. A few small lumps are perfectly fine; they’ll disappear during baking.
- Quality Vanilla for the Win: The flavor of your vanilla extract significantly impacts the overall taste of your buttercream. Invest in a good quality pure vanilla extract for the best, most aromatic results.
Storage & Make-Ahead Options for Convenience
This delicious chocolate cake with vanilla frosting is perfect for preparing in advance or enjoying over several days. Knowing how to properly store and prepare components ahead of time can save you a lot of effort and ensure you always have a delightful treat ready.
Making Cake Layers & Frosting Ahead
You can efficiently make the cake layers in advance. Once baked and completely cooled, carefully wrap each cake layer tightly in several layers of plastic wrap to prevent them from drying out. Store these well-wrapped layers in the refrigerator for up to 2-3 days. For longer storage, the wrapped cake layers can be frozen for up to 2 months. When ready to use, simply thaw them in the refrigerator overnight before bringing them to room temperature for frosting.
The vanilla buttercream can also be prepared ahead of time. Store it in an airtight container in the refrigerator for up to a week. Before using, allow it to come to room temperature, then re-whip it with a stand mixer or a handheld mixer for a few minutes until it regains its smooth, creamy, and spreadable consistency. This re-whipping process revitalizes the texture after refrigeration.
Storing the Assembled Cake
Once assembled and frosted, store the entire cake in an airtight container in the refrigerator for 4-5 days. For the best flavor and texture, I always recommend letting the cake come to room temperature for about 30-60 minutes before enjoying a slice. This allows the cake and frosting to soften slightly, enhancing their delicious qualities.
If you don’t have a container large enough for the whole cake, or if you’ve already cut into it, you can prevent exposed slices from drying out by gently pressing a piece of parchment paper or plastic wrap directly onto the cut surfaces. This creates a barrier against air and helps maintain moisture.
Freezing Slices for Later Enjoyment
To enjoy this cake even further into the future, you can freeze individual slices. Once the cake has been cut, tightly wrap each slice in plastic wrap, then place them in a freezer-safe ziploc bag or an airtight container. They will keep beautifully in the freezer for up to 2 months. When you crave a treat, simply transfer a slice to the refrigerator to thaw overnight, or let it come to room temperature on the counter for a quicker defrost. I’ve personally tested freezing and defrosting this cake, and it retains its amazing moistness and flavor incredibly well!
Explore More Decadent Layer Cakes!
If you loved this moist chocolate cake, you’re sure to adore these other fantastic layer cake recipes. Each one is crafted with care to bring deliciousness to your table!
- Chocolate & Orange Cake
- Vanilla Cake with Strawberry Filling
- Strawberry Filled Cake
- Cardamom Cake with Browned Butter Cream Cheese Frosting
Recipe
Chocolate Cake with Vanilla Frosting
Ella Gilbert
Pin Recipe
Save Recipe
Saved!
Equipment
-
2 8″ round cake pans
Ingredients
Chocolate Cake
- ¾ cup cocoa powder dutch processed
- 1 ¾ cups granulated sugar
- ¾ teaspoon vanilla extract
- ¾ teaspoon kosher salt
- 2 eggs room temperature
- 2 cups all purpose flour
- 2 teaspoon baking soda
- 1 teaspoon baking powder
- 1 cup buttermilk room temperature
- ½ cup vegetable oil
