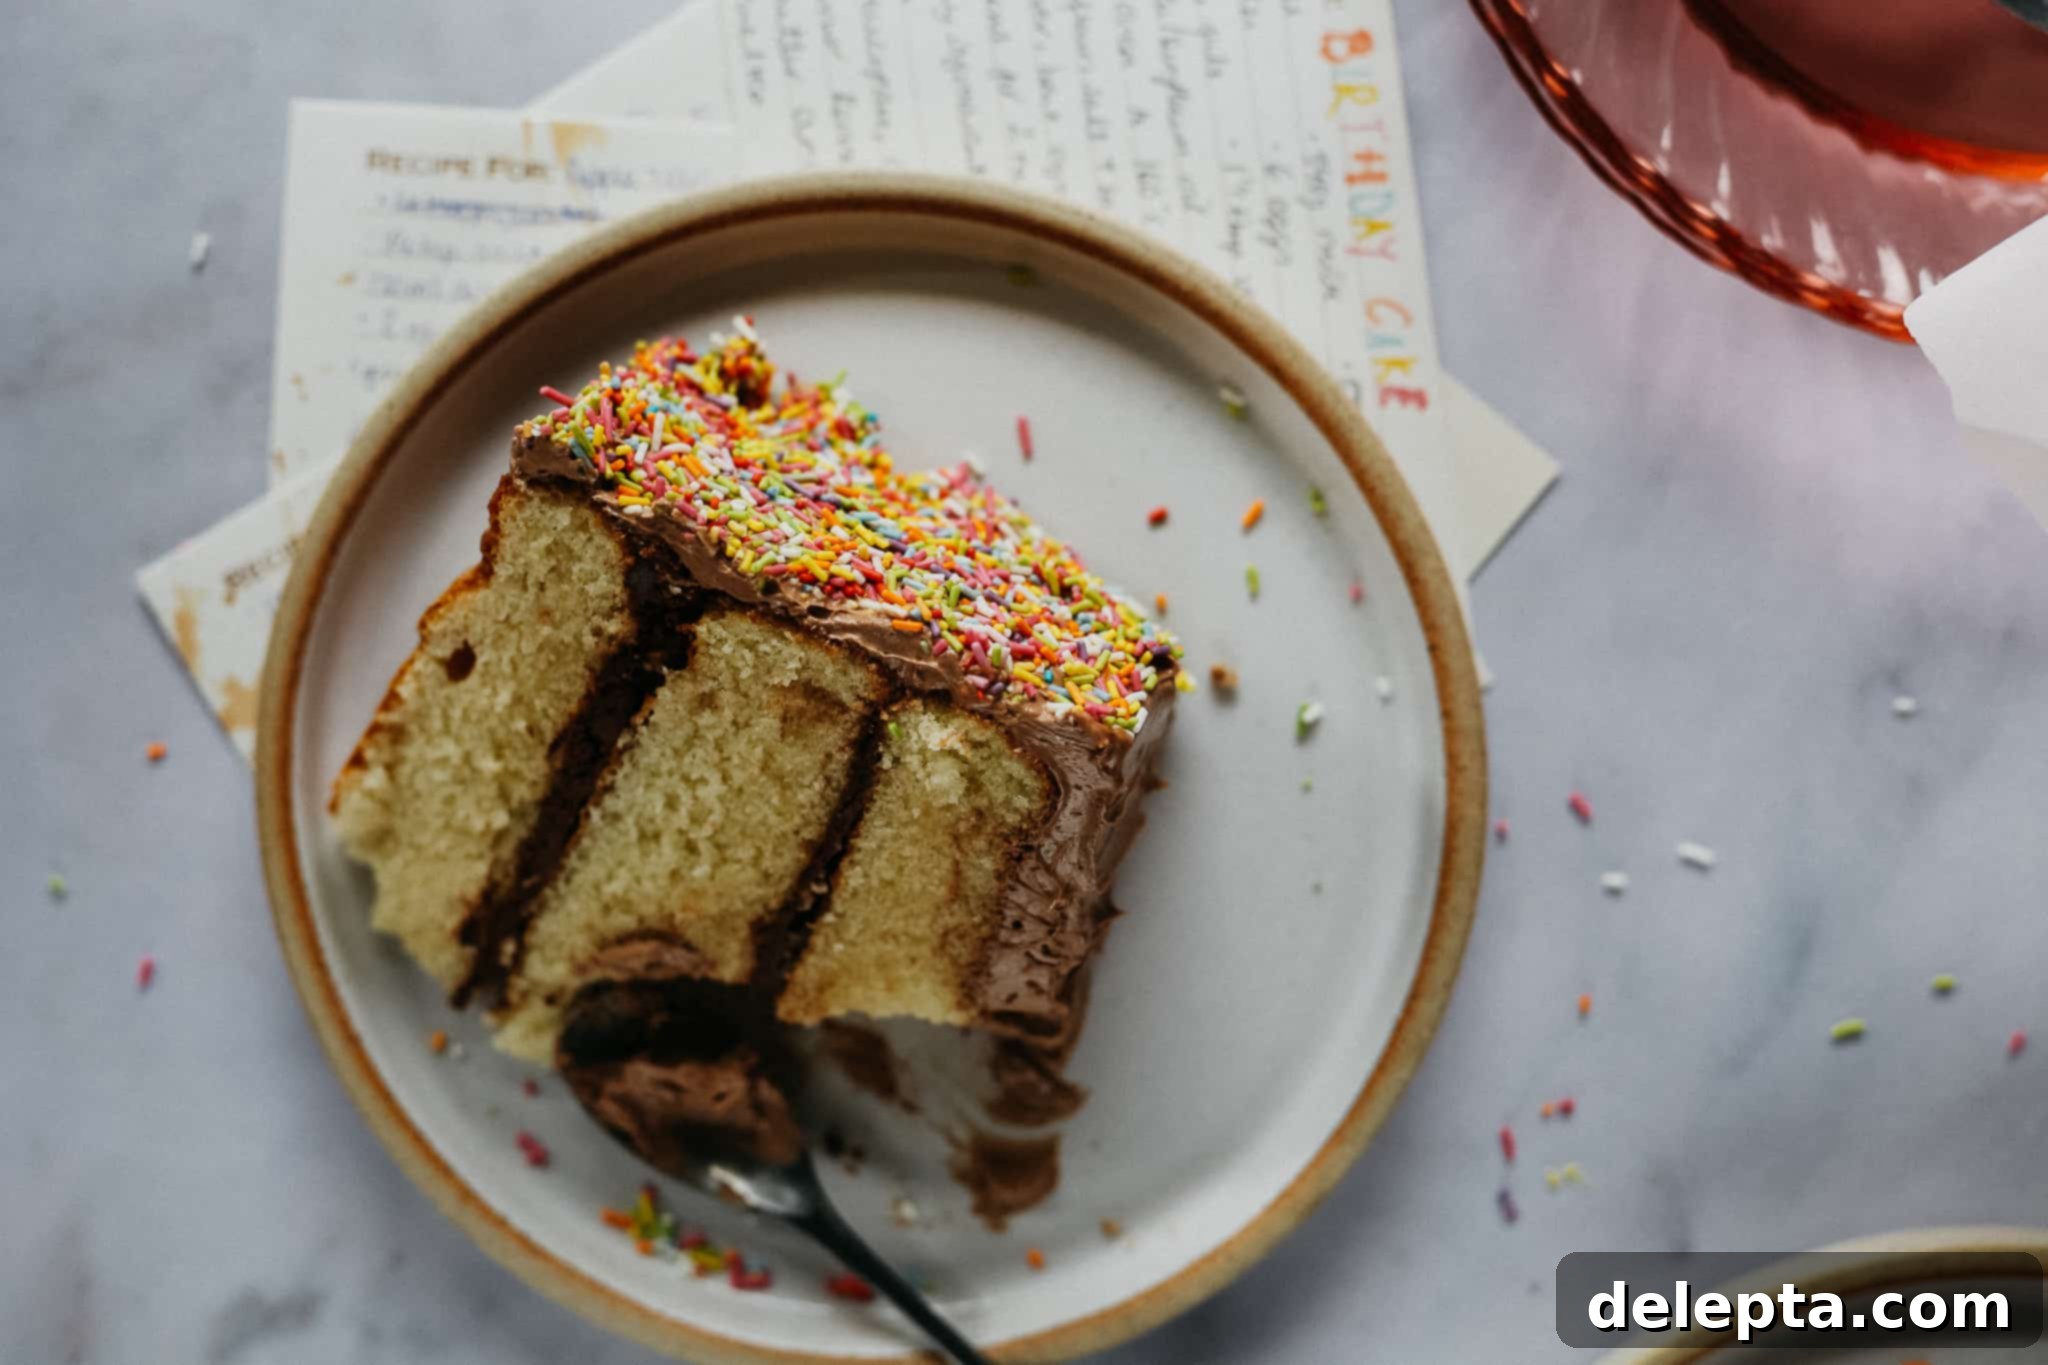
The Ultimate Classic Yellow Birthday Cake with Silky Chocolate Swiss Meringue Buttercream
Every year, as my husband Will’s birthday approaches, there’s one question that inevitably comes up: “What kind of cake do you want this year?” And without fail, his answer is always the same: “Yellow cake.” Not a fancy chocolate ganache dream, nor an elaborate red velvet creation, but a simple, perfectly nostalgic yellow cake. This isn’t just any yellow cake; he envisions the quintessential yellow cake from childhood birthday parties – the kind that evokes memories of laughter, brightly colored sprinkles, and perhaps even those coveted goodie bags. (Seriously, why did goodie bags disappear in adulthood? I still remember the year someone handed out Tamagotchis – mind-blown!)
The humble yellow cake holds a special place in many hearts, a testament to its timeless appeal and comforting flavor. It’s the backdrop for countless celebrations, and for good reason. Its rich, buttery vanilla flavor is universally loved, providing a canvas for a myriad of frosting and filling combinations. Yet, achieving that ideal homemade yellow cake – one that is both perfectly moist and tender, with a fine, even crumb – can be surprisingly elusive, often leading home bakers back to the convenience of a box mix. But I was determined to crack the code for a truly exceptional, scratch-made version that would rival any childhood memory.
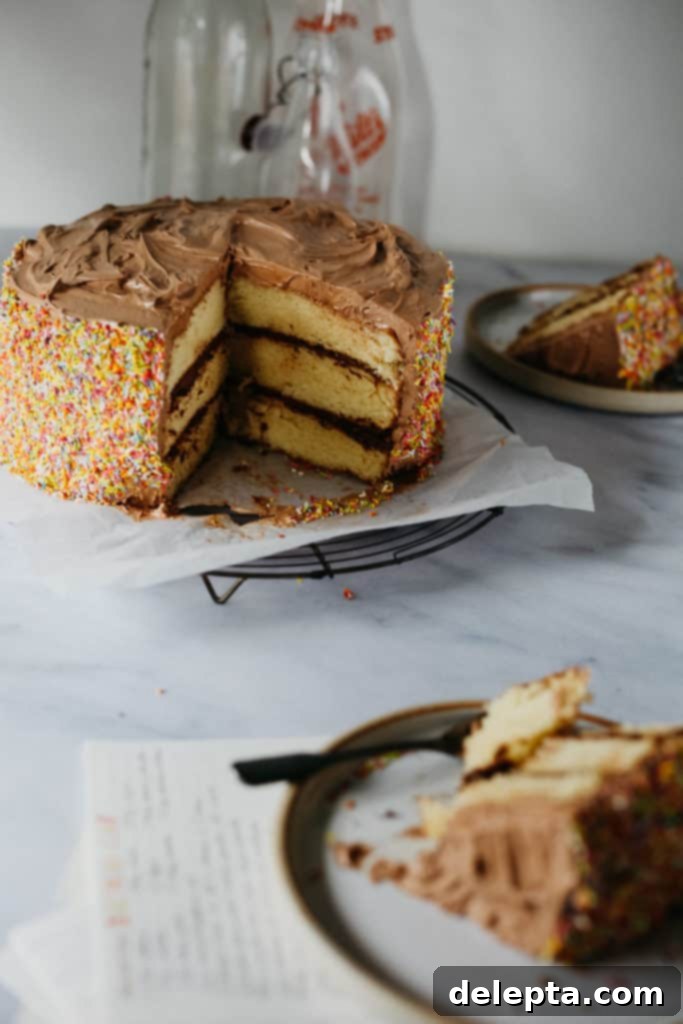
My personal quest for the perfect yellow birthday cake really solidified after watching the Baking School videos from Bon Appetit. Early in lockdown, I was captivated by their stunning classic yellow birthday cake, elegantly adorned with a luscious chocolate ganache filling and vibrant sprinkles cascading down its sides. The visual appeal was undeniable, sparking an immediate desire to recreate that masterpiece. However, to my dismay, the videos showcased the beauty without providing the actual recipes. This presented a delightful challenge, pushing me to experiment and formulate my own recipe for a yellow cake that lived up to the visual promise and, more importantly, Will’s cherished childhood memories.
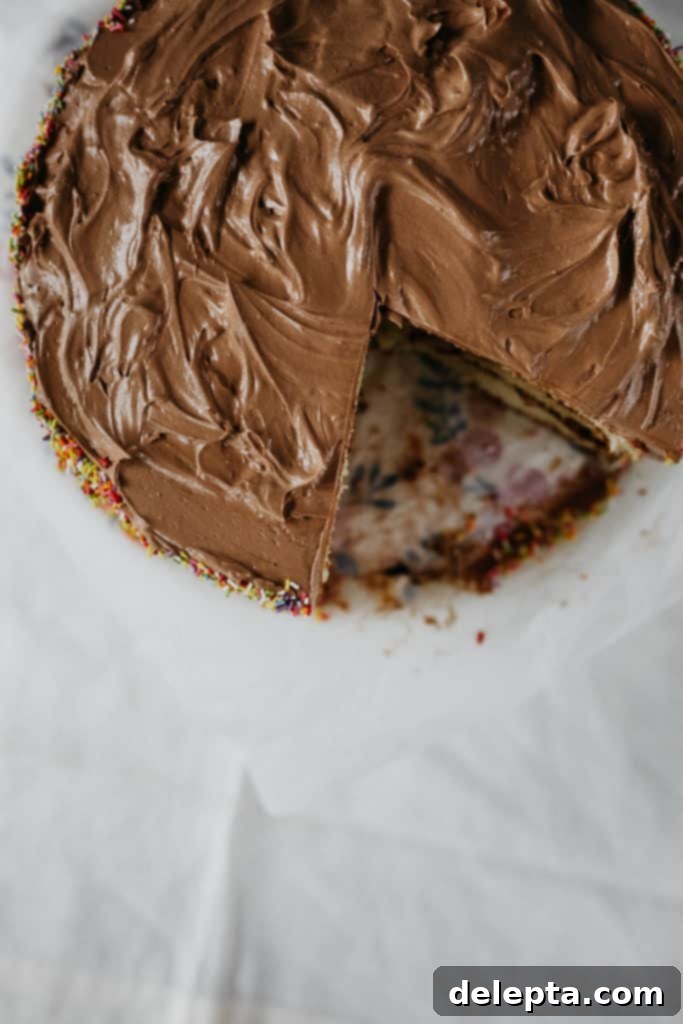
The Quest for the Perfect Crumb: Yellow Cake Experiments
Throughout my initial trials for this homemade yellow cake, I confess there were moments I almost threw in the towel and reached for a box mix. I briefly entertained the thought that perhaps there’s a reason those convenient mixes exist – because the truly perfect yellow cake, with its delicate balance of moisture and tenderness, is an elusive beast when baking from scratch. The sheer number of attempts and the mountain of empty butter wrappers were a testament to my dedication (or perhaps stubbornness!).
via GIPHY
I experimented with several different mixing methods, hoping to unlock the secret to a superior crumb. First, I tried the traditional creaming method, where butter and sugar are beaten together until light and fluffy before adding the remaining ingredients. This method incorporates air, resulting in a lighter cake, but sometimes it can lead to a slightly drier texture if not done perfectly. Next, I moved on to the reverse creaming method, which involves combining the butter with the dry ingredients first to create a coarse, sandy texture, then gradually adding the wet ingredients. This technique is often lauded for producing a tender crumb and a more even distribution of fat, theoretically minimizing gluten development. Newsflash – neither method yielded the “perfect” result I was chasing! My kitchen became a battlefield of flour, sugar, and countless empty butter wrappers, each failed attempt fueling my resolve to find the ideal technique for a moist yellow cake.
Just when I felt all hope was lost and my baking endeavors were truly failing, a spark of inspiration struck from an unexpected source: the King Arthur Flour website. That very morning, I had successfully used their site to find a buttermilk pancake recipe, which turned out to be, and I mean literally (in a Chris Traeger voice), the best pancakes I had ever made. With renewed confidence in their expertise, I delved into their yellow cake recipes. There, I discovered a unique approach: heating the milk and melting the butter directly in the saucepan before incorporating it into the batter. I decided to give this unconventional method a shot, and huzzah! It was a revelation. This simple alteration delivered the most incredibly tender, moist, and perfectly structured yellow cake I have ever created from scratch. The gentle heat and pre-emulsification of the milk and butter proved to be the magic touch, ensuring a rich flavor and a melt-in-your-mouth texture that perfectly captures that classic yellow cake charm.
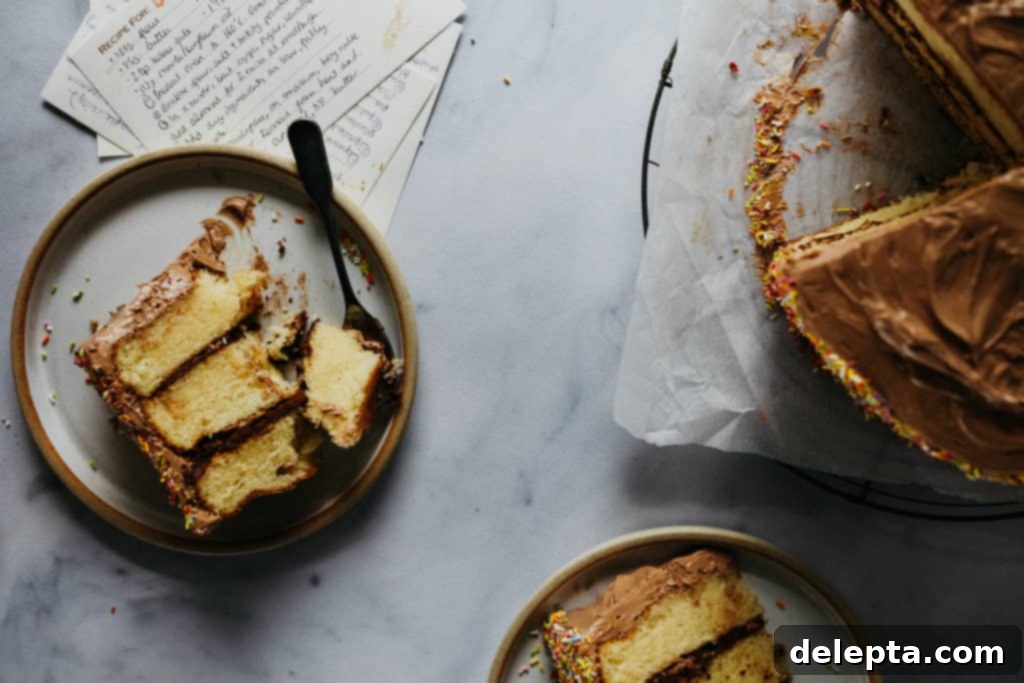
Exploring the Wonderful World of Buttercreams
When I first embarked on this baking journey, I hadn’t fully grasped the incredible diversity of frostings available. For years, my go-to was always the familiar American buttercream, a delightful concoction made by simply creaming butter and icing sugar together until light and fluffy. While undeniably delicious, it’s also quite sweet, making it an excellent choice for cupcakes where a smaller portion is enjoyed, but potentially overwhelming when generously slathered over an entire layer cake. Its robust sweetness and often denser texture are part of its charm, but for a balanced layer cake, I sought something different.
For this classic yellow birthday cake, I opted for a sophisticated and less sweet alternative: Swiss meringue buttercream. This exquisite frosting starts with a meringue base, crafted by gently heating egg whites and granulated sugar over simmering water until the sugar completely dissolves and the mixture reaches a specific temperature (typically around 115°F/46°C). This pasteurized egg white mixture is then whipped into magnificent, glossy soft peaks. Once stable and cooled, cubes of softened butter are gradually incorporated, along with any desired colorings or flavorings. The result is a wonderfully silky, light, and less sugary buttercream that holds its shape beautifully and pipes like a dream, making it perfect for elegant layer cakes that require a smooth finish and a delicate flavor profile.
Another fantastic meringue-based buttercream is Italian meringue buttercream. This version is quite similar to its Swiss counterpart, but it uses an Italian meringue as its foundation. Instead of heating egg whites and sugar directly, a hot sugar syrup (cooked to a higher temperature, usually 240°F/115°C) is carefully drizzled into vigorously whipping egg whites, creating stiff, glossy peaks. Like Swiss meringue, butter and flavorings are then added to create a rich, stable, and less sweet frosting. I particularly love using Italian meringue buttercream when I’m aiming for a distinctively marshmallowy texture. Its superior stability and resistance to heat make it ideal for warmer climates or for when you want to get creative and torch the surface for a beautiful toasted effect, adding another layer of flavor and visual appeal to your dessert.
Why Swiss Meringue Buttercream for this Yellow Cake?
For this specific classic yellow birthday cake, Swiss meringue buttercream was the clear winner. Its smooth, luxurious texture and balanced sweetness perfectly complement the rich, buttery, vanilla flavor of the yellow cake without overpowering it. Unlike American buttercream, it provides a light and airy contrast, ensuring each bite is a harmonious blend of flavors and textures. It’s also incredibly stable, making it a dream to work with for layering and decorating, and its natural elegance truly elevates this traditional birthday treat to a gourmet experience. Plus, it’s easier to achieve a silky smooth finish, which is essential for a beautiful presentation, making it the ideal choice for this special occasion cake.
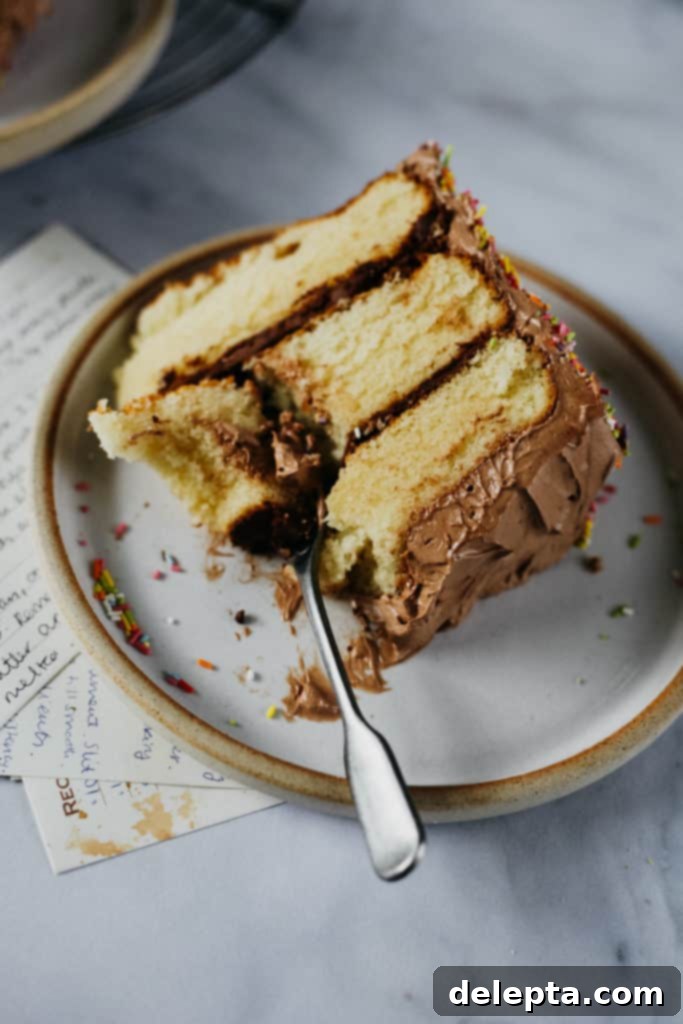
The Joy of Contrasting Fillings!
For many years, whenever I baked a layer cake, I would simply use the same frosting for both the outer coating and the interior filling. It seemed logical and straightforward. However, a profound realization struck me during those enlightening Bon Appetit Baking School videos: some of the most memorable and delicious cakes I’ve enjoyed in real life (the ones I *didn’t* bake myself) often featured a *different* filling than the exterior frosting. This small variation, I discovered, makes all the difference! It introduces an exciting element of surprise, a delightful textural and flavor contrast that awaits the person cutting into the cake, transforming a good cake into a truly extraordinary one.
For this specific yellow birthday cake, I chose a simple yet incredibly effective **dark chocolate ganache** for the filling. The intense richness and slight bitterness of the dark chocolate ganache brilliantly cuts through the sweetness of the Swiss meringue buttercream and the added sprinkles. It creates a beautiful balance, preventing the cake from becoming overly cloying and ensuring a sophisticated flavor profile. The smooth, dense ganache also provides a lovely textural counterpoint to the airy buttercream and tender cake layers, making each forkful a delightful experience of complementary tastes.
But don’t stop there! The world of fillings offers endless possibilities, allowing for immense creativity and personalization. Imagine a rich dark chocolate cake paired with a vibrant cream cheese and tart cherry filling, offering a burst of fruity freshness against the deep chocolate, or perhaps a hint of almond for extra complexity. Or consider a delicate white cake elevated by a luxurious caramel coconut filling, introducing a chewy texture and tropical sweetness that transports you to a sunny paradise. For those who love classic combinations, a moist milk chocolate cake with a creamy peanut butter filling is an absolute dream, marrying salty and sweet in perfect harmony. These diverse fillings truly give you so much room for culinary “activities” and can transform a basic cake into a unique masterpiece that will surprise and delight your guests!
Essential Baking Tips for Layer Cake Success
Baking a successful layer cake, especially one as beloved as a classic yellow cake, relies on a few fundamental techniques and careful attention to detail. These tips will help ensure your cake turns out perfectly moist, tender, and beautifully constructed, ready for any celebration:
- Room Temperature Ingredients are Key: This is arguably one of the most crucial tips for any baking project, especially cakes. Ensure all your perishable ingredients, such as eggs, butter, and milk, are at room temperature. Ingredients at a consistent, warmer temperature emulsify better, meaning they blend more smoothly and evenly. This creates a homogeneous batter that traps air efficiently, leading to a lighter, more uniform crumb structure. Cold ingredients can cause the batter to curdle and result in a dense, less tender cake. If you forget to take your eggs out of the fridge, a quick trick is to place them in a bowl of warm (not hot!) water for 5-10 minutes. For butter, cutting it into smaller pieces will help it soften faster, but avoid melting it.
- Precision with Weight for Even Layers: While volume measurements (cups) are common, weighing your cake batter into your pans is far more accurate and highly recommended for professional-looking layer cakes. Using a kitchen scale ensures that each cake layer receives the exact same amount of batter, resulting in layers of equal thickness and even baking. This uniformity makes stacking and decorating significantly easier and produces a much more visually appealing final product that stands tall and proud.
- Leveling for a Smooth Surface: It’s common for cakes to develop a slight dome in the center during baking, especially if your oven runs a bit hot. While charming, these domes can make stacking layers challenging and lead to an uneven, wobbly cake. Once your cakes are completely cooled, use a long, sharp serrated knife (like a bread knife) to carefully level the top of each layer. Simply hold the knife parallel to your work surface and saw gently through the highest point of the dome to create a flat, stable surface for stacking. These trimmed cake scraps make excellent baker’s treats – or a sneaky chef’s snack!
- Cool Completely Before Frosting: This tip cannot be stressed enough: your cakes *must* be completely cool before you even think about applying frosting. Attempting to frost a warm cake is a recipe for disaster, as the heat will melt your buttercream or ganache, leading to a runny, messy situation that will quickly slide off the cake. To ensure optimal cooling, I often bake my layer cakes the night before I plan to fill and frost them. Once cooled, wrap each layer tightly in cling film to prevent drying out and refrigerate overnight. This also makes the cakes firmer and easier to handle during the assembly process.
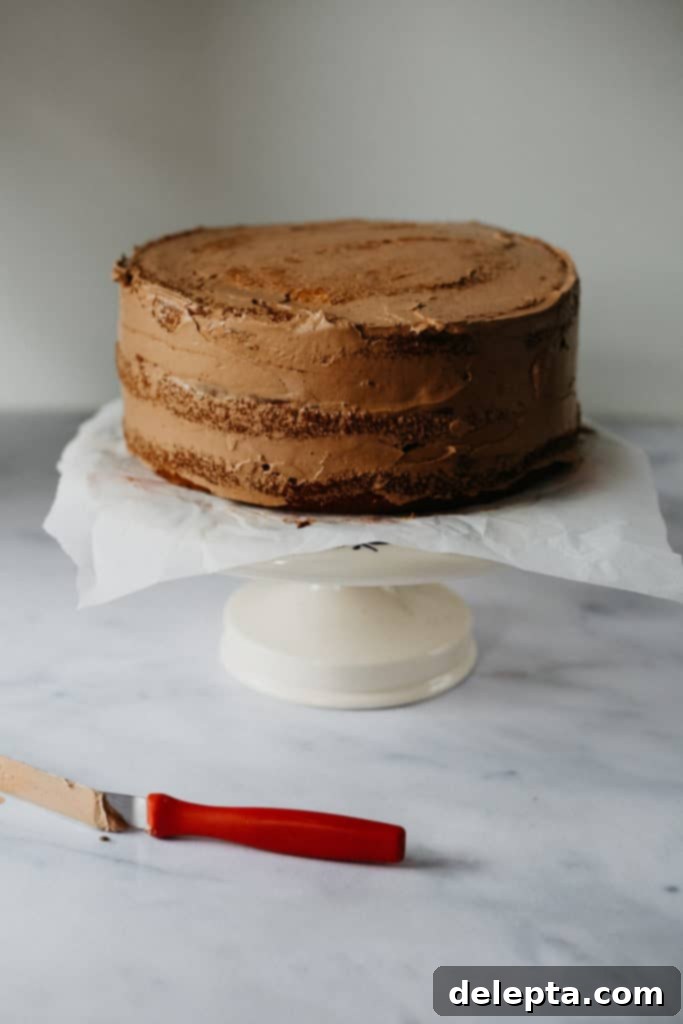
- The Magic of a Crumb Coat: Always, always, *always* apply a crumb coat! This is a thin, initial layer of frosting that seals in any loose crumbs from your cake layers. Once applied, chill the cake in the refrigerator for 15-30 minutes until the crumb coat is firm. This initial layer acts as a barrier, ensuring that your final, decorative layer of frosting remains perfectly smooth and crumb-free, giving your cake a polished, professional finish. It’s the secret to a pristine exterior!
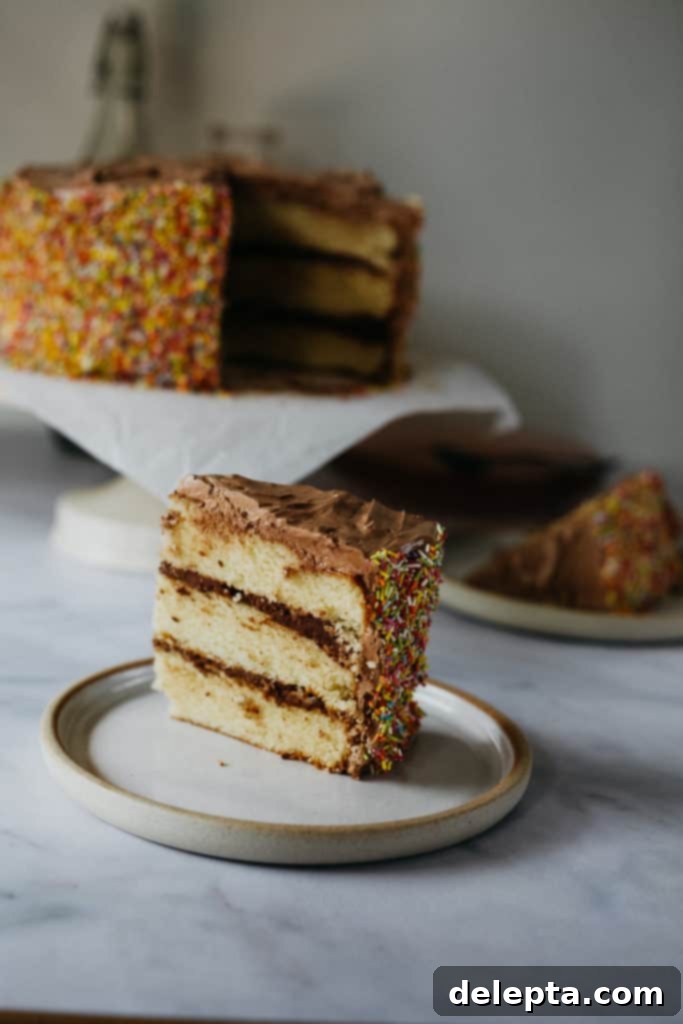
Recipe
Yellow Cake with Swiss Meringue Buttercream
Ella Gilbert
Pin Recipe
Save RecipeSaved!
Equipment
-
3 9″ cake pans
Ingredients
Yellow Cake
- 383 grams cake flour or all-purpose flour
- 85 grams unsalted butter
- 340 grams milk
- 6 eggs
- 113 grams sunflower oil
- 595 grams caster sugar
- 1 tablespoon baking powder
- 2 teaspoon kosher salt 1 teaspoon fine sea salt if you don’t have kosher
- 1 ½ tablespoon vanilla extract
- ¼ teaspoon almond extract
Chocolate Ganache
- 113 grams dark chocolate
- 120 grams double cream
- 28 grams unsalted butter
- ⅛ teaspoon kosher salt
Chocolate Swiss Meringue Buttercream
- 225 grams granulated sugar
- 135 grams egg whites about 5 eggs
- 300 grams unsalted butter cut into pieces
- ½ teaspoon kosher salt ¼ teaspoon if you have fine sea salt
- ¼ teaspoon cream of tartar
- 156 grams dark chocolate
Instructions
Yellow Cake
-
Preheat oven to 165°C. Grease 3 9″cake pans and line the bottom with parchment paper. Grease the top of the parchment paper too.
-
In a small bowl, mix the flour, salt and baking powder. Set aside.
-
In a larger bowl, using a stand mixer or handheld electric mixer, beat the eggs, vanilla, sugar and almond extract until thick and gold, about 2-3 minutes at medium-high speed.
-
Add the dry ingredients to the large bowl and mix just enough to combine.
-
In a small saucepan over medium heat, simmer the milk. Once it has started to simmer remove from heat and add the oil and butter. Stir until all the butter has melted.
-
Turn the mixer on a low speed, and slowly pour in the milk mixture. Combine until the mixture is smooth. Compared to other yellow cake batters, this one is much more fluid – but that isn’t a bad thing!
-
Divide the batter evenly among the three pans. Bake the cakes for 35-40 minutes, you’ll know they’re ready when a toothpick inserted in the centre comes out clean. Leave to cool for 15 minutes before taking them out of their pans, and leave to cool completely on a wire rack.
-
Once the cakes are completely cool, I wrap each one in clingfilm and keep in the fridge to frost the next day.
Chocolate Ganache
-
Place chocolate in a medium bowl. In a small saucepan, bring the double cream and salt to a simmer over medium-low heat. Pour the cream mixture over the chocolate and let it sit for 10 minutes. Whisk the mixture until the chocolate is completely melted and glossy. Let it cool, for 45-60 minutes.
-
Using a mixer on medium speed, beat the butter in the ganache until the mixture is light and has turned matte, about 3 minutes.
Chocolate Swiss Meringue Buttercream
-
Fill a medium saucepan with a few inches of water, bring to a gentle simmer. Break the chocolate into small pieces and place in a heatproof bowl. Carefully place the bowl in the saucepan, but don’t let the bowl touch the water! Stir occasionally while the chocolate melts. Once you have just a few chunks left, take it off of the heat and whisk the mixture so all of the chocolate melts. Leave to cool completely to room temperature.
-
Keep the medium saucepan with the water simmering. Combine the sugar, salt, cream of tartar and egg whites in a large mixing bowl (if you have a stand mixer, you’ll want to use that bowl), set the bowl above the simmering water. Heat, whisking constantly, until the sugar dissolves. The mixture will go from a yellowy, granular substance to white and opaque, this takes about 5 minutes. Using a thermometer, it should read 115°F. If you don’t have a thermometer, when you pull the whisk up feel the mix with your fingers – if it is no longer grainy then it is ready!
-
Put the bowl into your stand mixer with a whisk attachment and beat on medium-high until you get a stiff, glossy meringue – about 8-10 minutes. You’ll want to be beating the mixture until the bowl is completely cool.
-
Add butter one piece at a time, allowing it to incorporate fully, while still at medium-high speed. This should take 8-12 minutes. When you’ve added all the butter and the mixture looks smooth, slowly pour in the chocolate. Give it one final mix using a rubber spatula to make sure all of the chocolate is incorporated.
