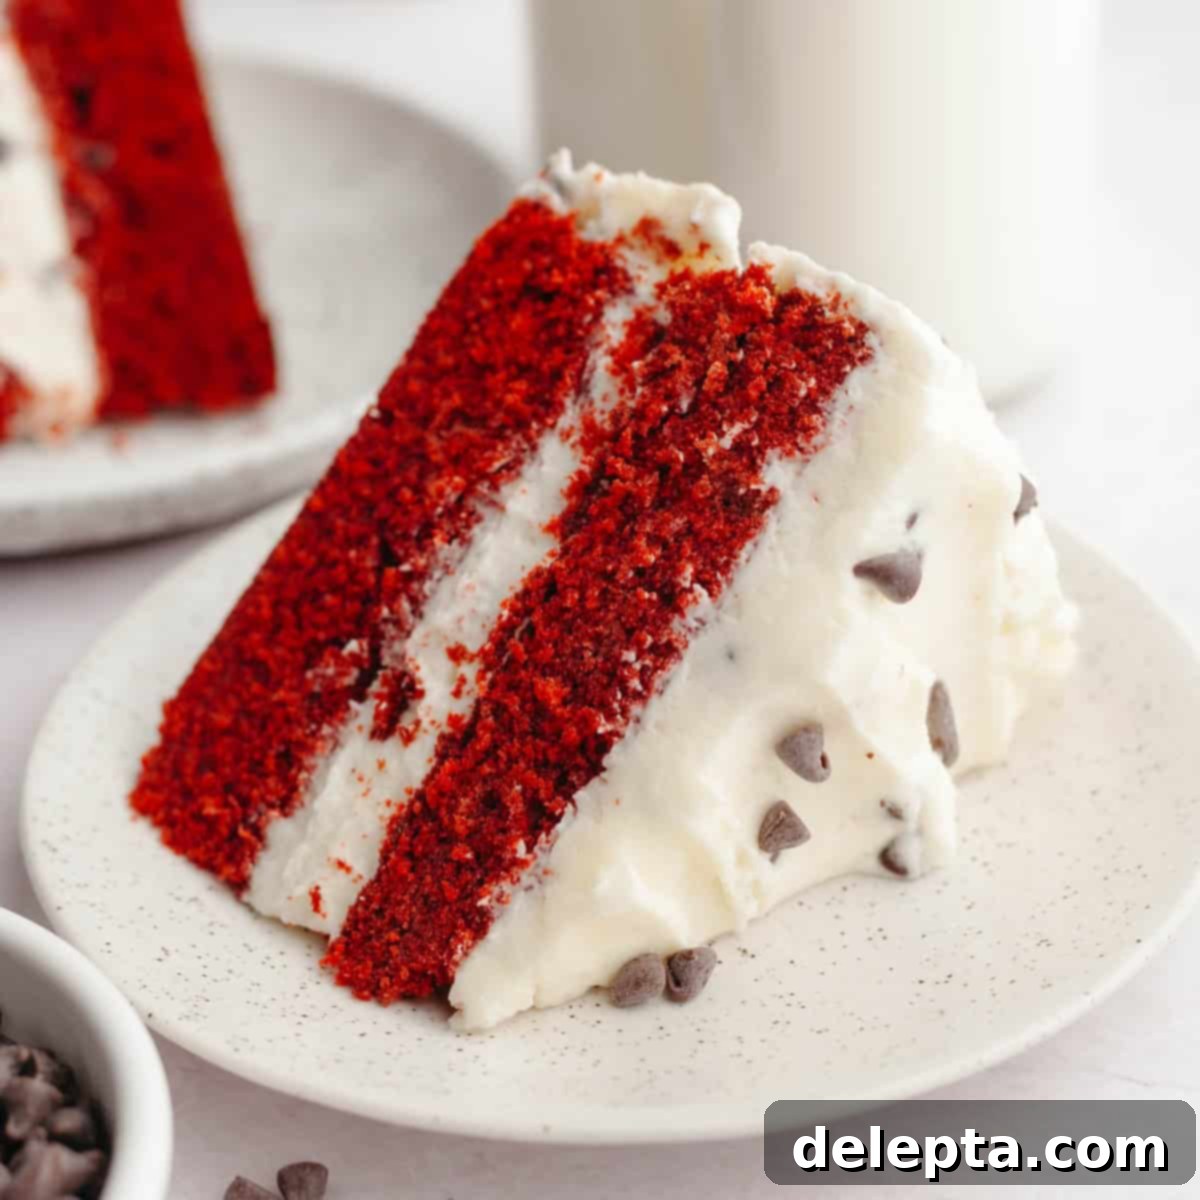
Indulge in the Ultimate Red Velvet Chocolate Chip Cake with Tangy Cream Cheese Frosting
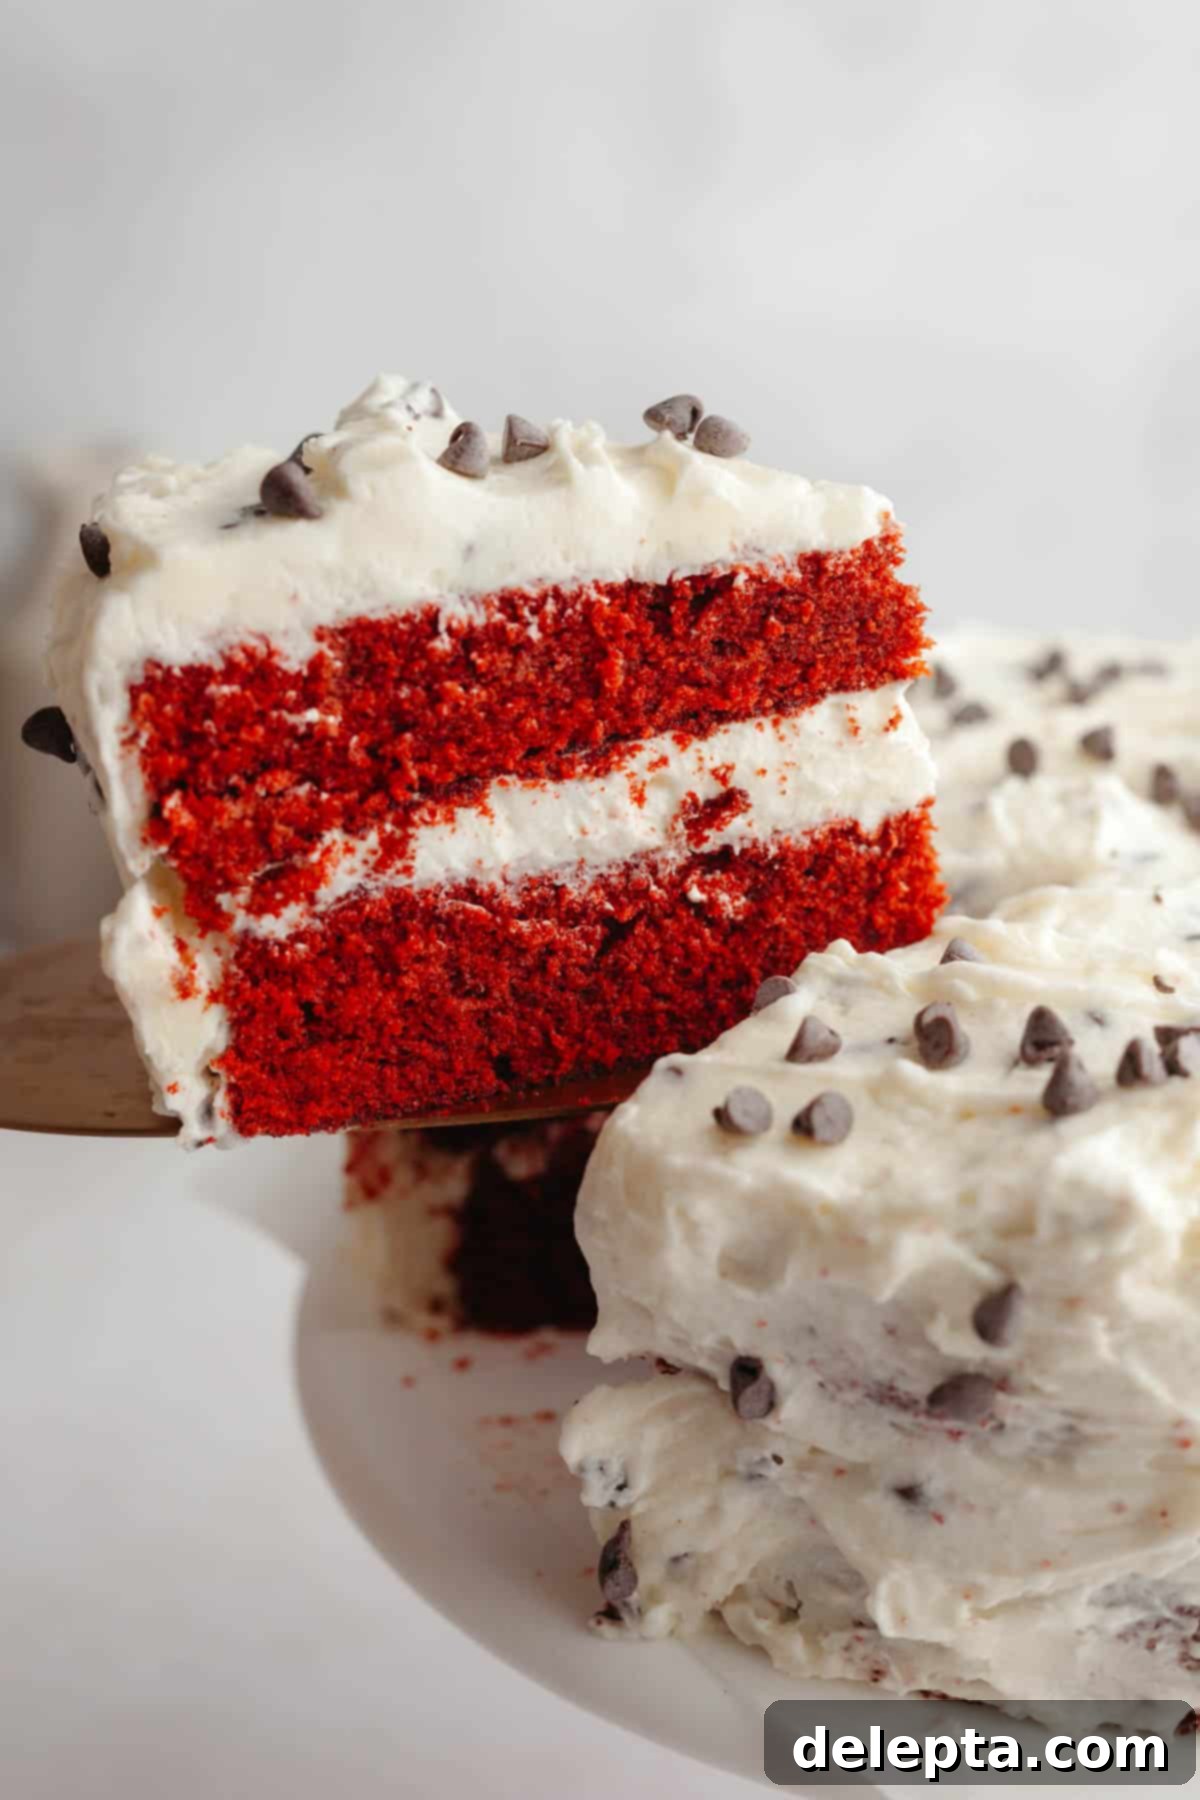
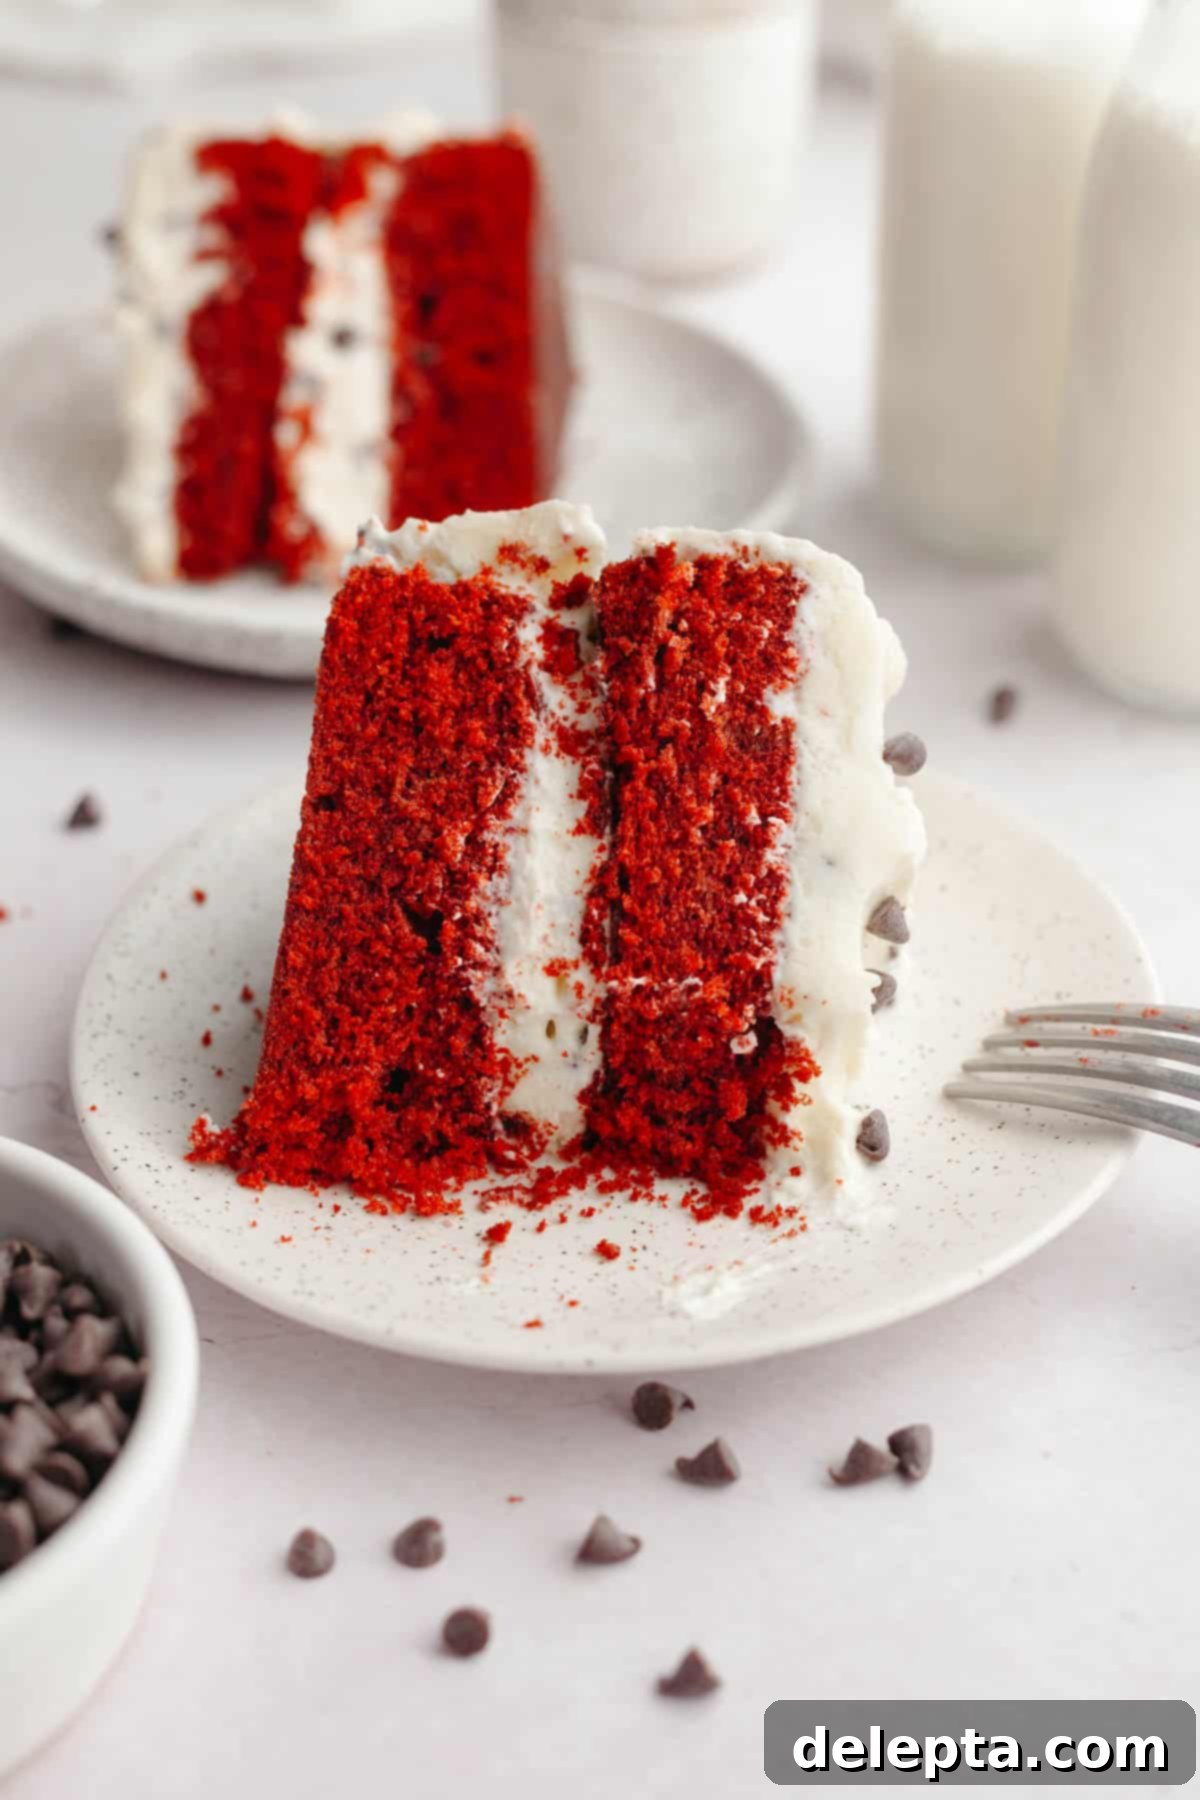
Prepare to be enchanted by this incredibly soft, supremely fluffy red velvet cake, studded with delightful chocolate chips and generously slathered in a rich, classic cream cheese frosting. Our recipe masterfully combines buttermilk and cake flour, resulting in wonderfully moist and tender red velvet cake layers that practically melt in your mouth. The homemade cream cheese frosting isn’t just a sweet accompaniment; it’s a star in its own right, generously packed with mini chocolate chips to elevate every single bite!
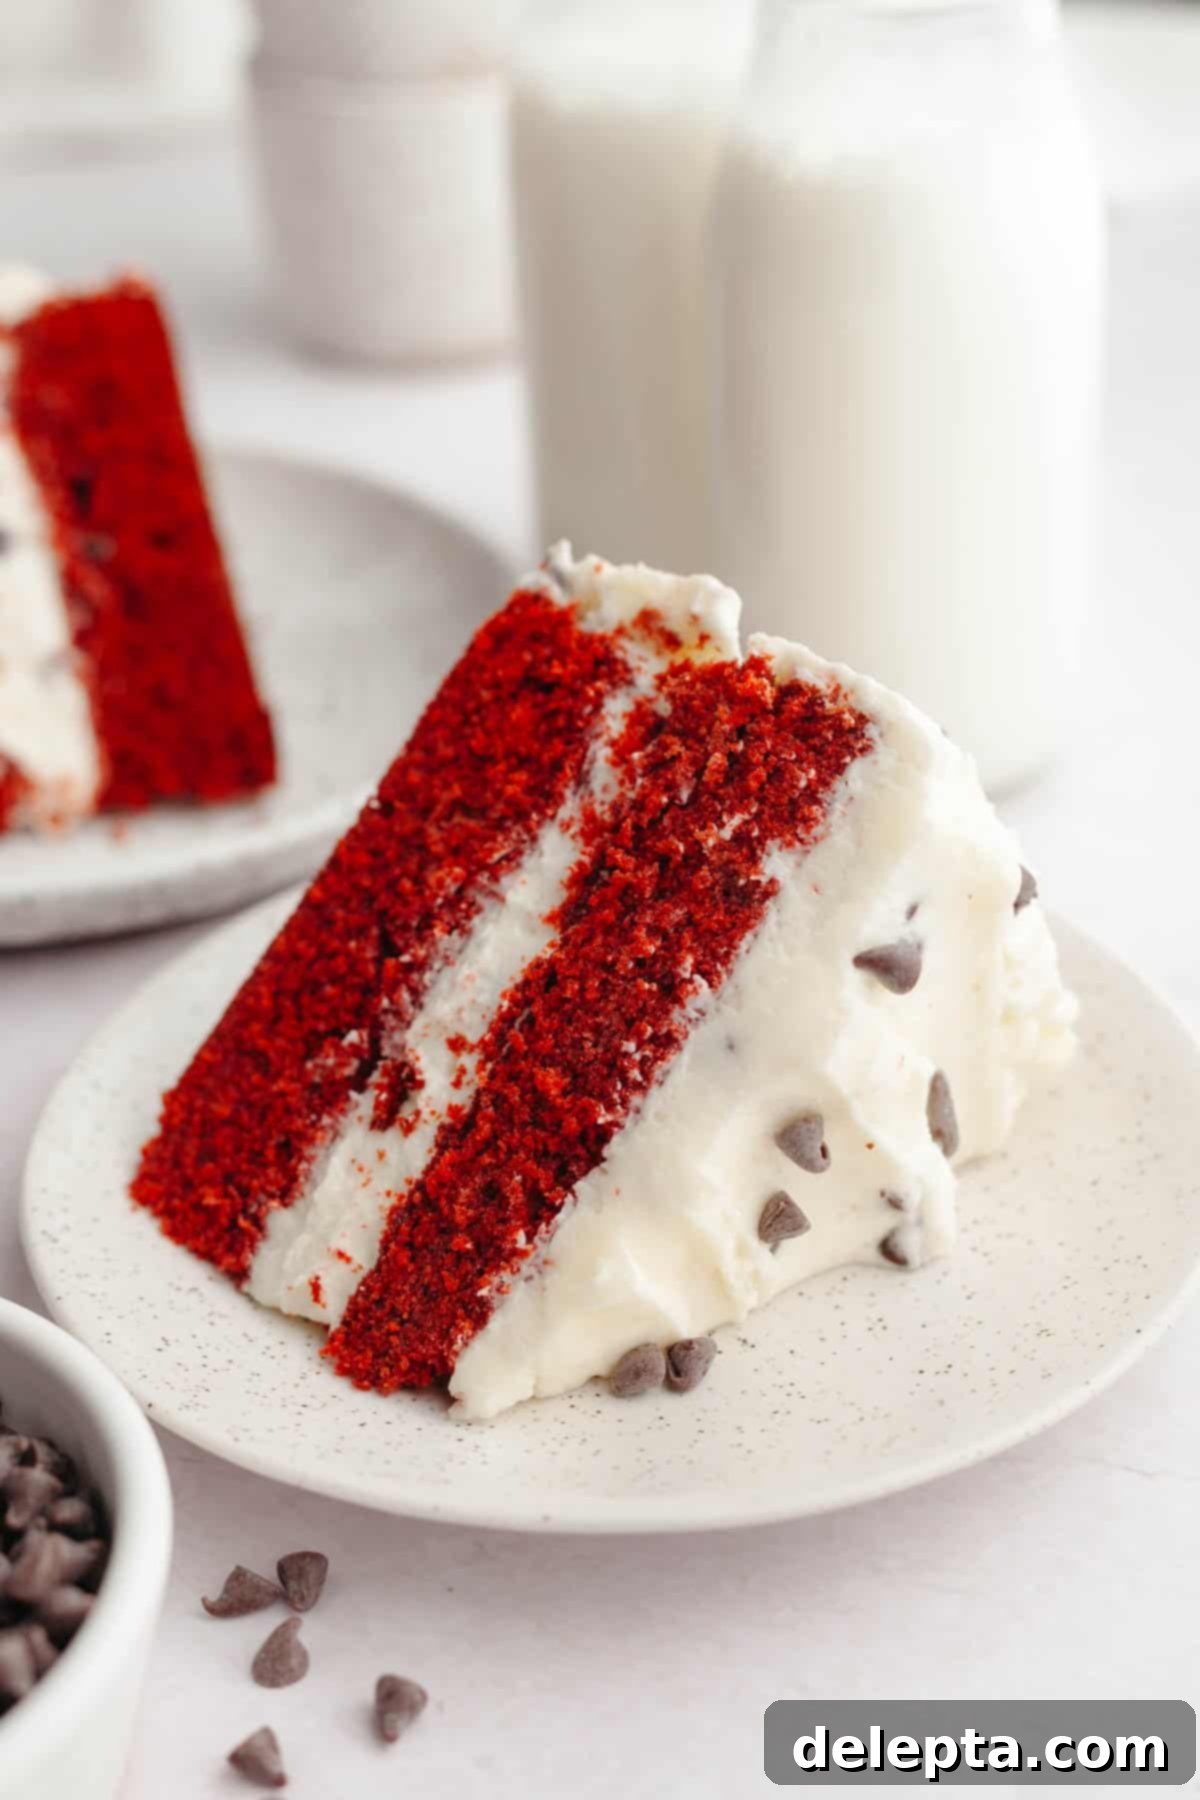
While I’ve shared beloved red velvet recipes like my decadent red velvet cheesecake, chewy red velvet cookies, and even a dramatic black velvet cake, I realized a quintessential classic red velvet cake recipe was missing from my collection. My vision for this particular red velvet cake was clear: it needed to be incredibly simple to prepare, yet yield an irresistibly soft and fluffy texture – absolutely no dry cakes allowed!
To achieve this perfect balance of flavor and tenderness, I employed one of my favorite baking secrets: a thoughtful combination of both butter and neutral oil in the cake batter. This is a technique I often use, as seen in my popular vanilla cupcakes with chocolate frosting. Butter is essential for delivering that rich, delicious flavor, while the neutral oil ensures the cake remains exceptionally soft, light, and wonderfully moist. Furthermore, I opted for cake flour, which has a lower protein content compared to standard all-purpose flour, to impart an even greater degree of tenderness to the cake layers.
During my recipe development, I experimented with incorporating mini chocolate chips directly into the red velvet cake batter. However, I discovered that their dark color made them virtually invisible against the vibrant red hue of the cake. So, with a stroke of inspiration, I decided to fold them into the creamy dream cheese frosting instead – and just like that, this glorious red velvet cake with chocolate chips was born! If you’re a fan of cookies and cream, don’t miss out on my delightful red velvet Oreo cake with cookies and cream buttercream!
For those who adore elegant layer cakes, you absolutely must explore some of my other popular creations. Try the rich and indulgent chocolate cake with chocolate ganache, the celebratory and bright strawberry funfetti cake, the comforting chocolate cake with vanilla frosting, or the classic pairing of chocolate cake with cream cheese frosting.
Why You’ll Adore This Red Velvet Chocolate Chip Cake!
- A Timeless Classic with a Twist: This recipe delivers the quintessential red velvet cake experience you know and love, reminiscent of famous bakeries. It’s a gorgeous two-layer cake adorned with traditional cream cheese frosting, but with an exciting addition: a generous sprinkle of mini chocolate chips throughout the frosting, adding a delightful texture and extra burst of flavor.
- Surprisingly Simple to Bake: Just like all the recipes I create, this red velvet cake is designed to be straightforward and approachable for home bakers. While a handheld or stand mixer is highly recommended for achieving that perfect fluffy texture, the steps are clear and easy to follow, ensuring a successful bake every time.
- Moist & Tender Texture: Thanks to the thoughtful combination of buttermilk, cake flour, and a blend of butter and oil, each bite of this cake is incredibly moist and tender. Say goodbye to dry, crumbly cakes – this one promises a melt-in-your-mouth experience.
- Irresistible Flavor Profile: The subtle cocoa notes, the tang of buttermilk and vinegar, and the rich cream cheese frosting create a harmonious flavor profile that is both comforting and sophisticated. The added mini chocolate chips provide a delightful textural contrast and an extra layer of chocolatey goodness.
Gather Your Essential Ingredients
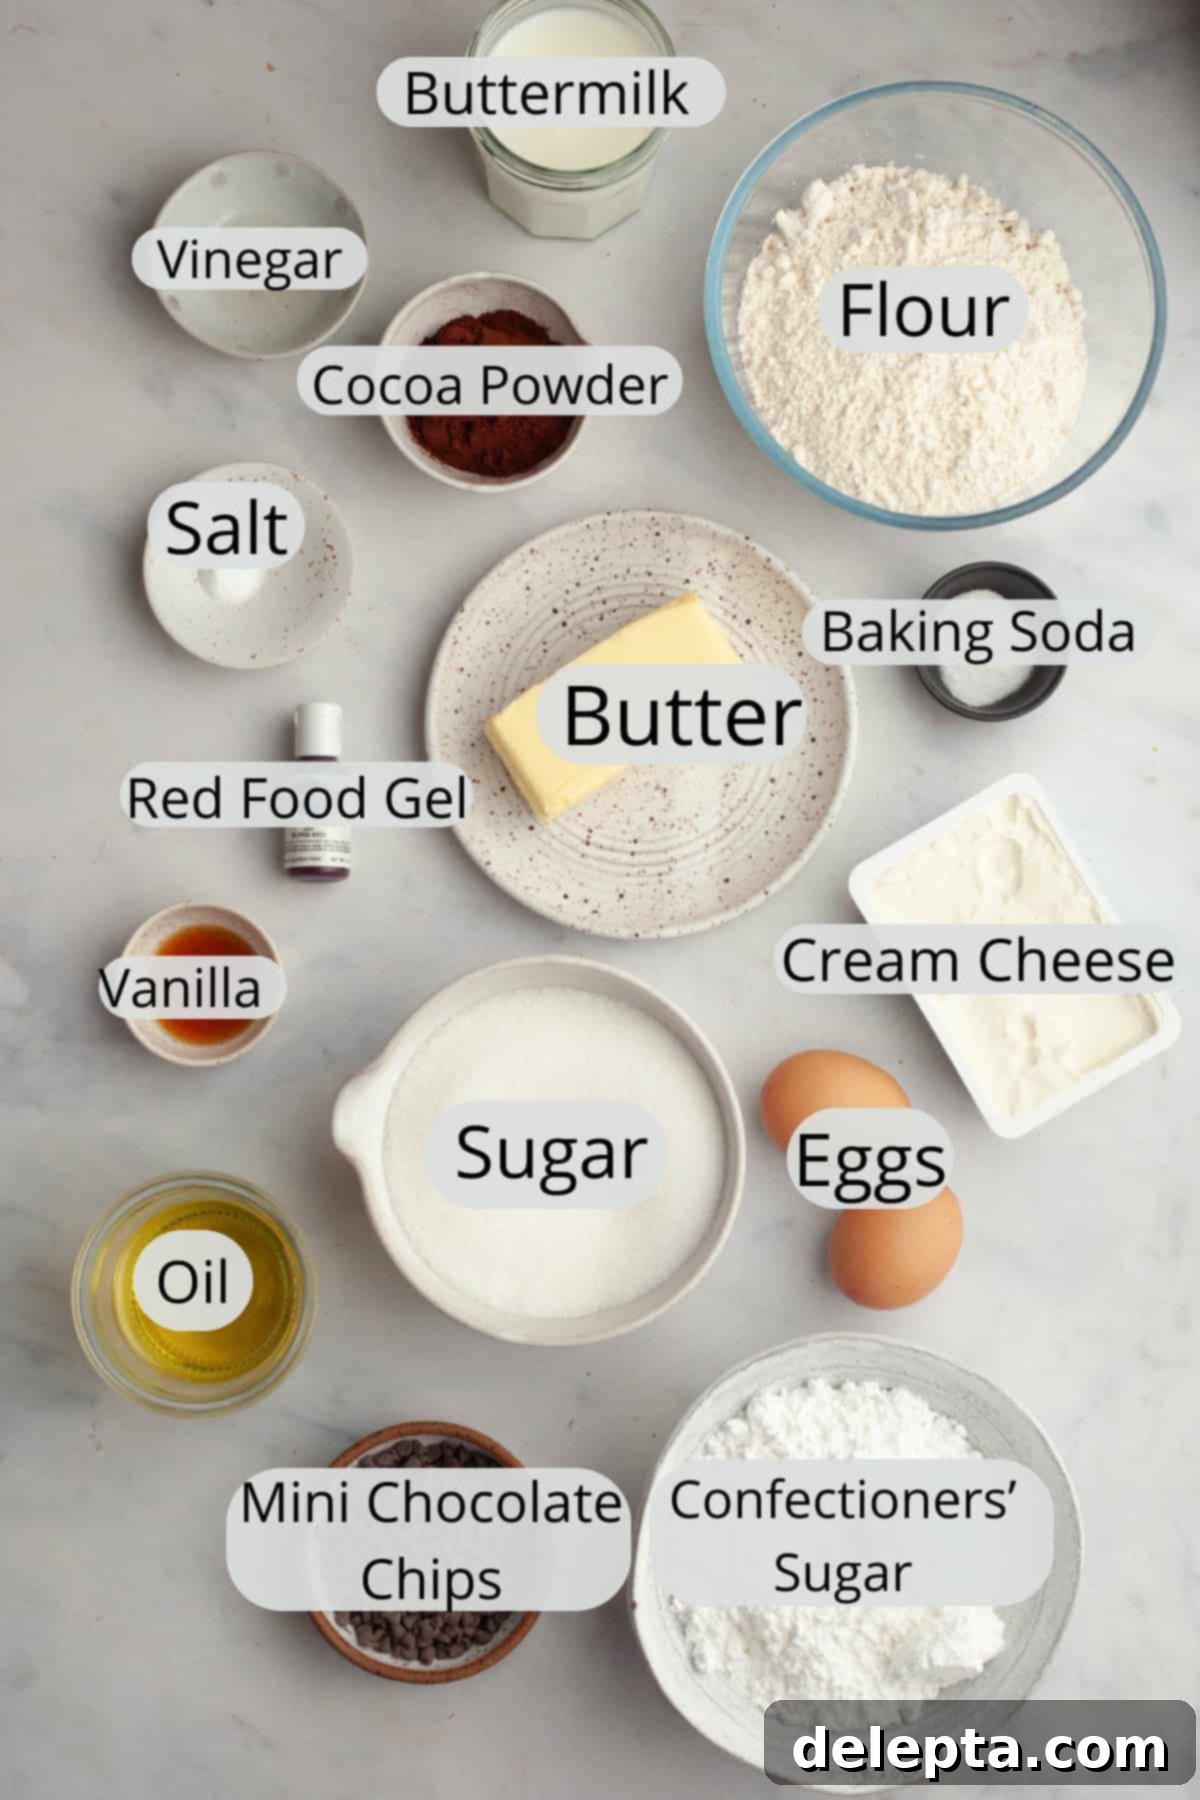
- Cake Flour: This ingredient is key to achieving an exceptionally soft and delicate crumb. Cake flour boasts a lower protein content than standard all-purpose flour, which translates to a more tender cake. While all-purpose flour can work in a pinch, cake flour will truly elevate the texture. I personally used Swan’s Cake Flour for my tests.
- Neutral Oil: Incorporating a neutral oil alongside butter is my secret weapon for ultimate moistness and a wonderfully soft texture. Opt for oils without a strong flavor profile, such as vegetable oil, canola oil, or sunflower oil. Avoid olive oil or coconut oil, as their distinct tastes can overpower the delicate red velvet flavor.
- Red Food Coloring: For that iconic vibrant red hue, I highly recommend using a high-quality food gel instead of liquid food coloring. Gels offer a much more intense and concentrated color, meaning you’ll need less to achieve a stunning result. My go-to is Americolor ‘Super Red’ gel. Keep in mind that different brands have varying color intensities, so adjust the amount to your desired shade.
- Unsalted Butter: Always choose unsalted butter for both the cake and frosting. This allows you to precisely control the salt content in your bake, ensuring perfect flavor balance. European-style butter, with its higher butterfat, will also contribute to a richer and creamier texture in both the cake and the decadent frosting.
- Cream Cheese: For the best cream cheese frosting, full-fat cream cheese is a must. If possible, opt for block cream cheese over those sold in tubs. Tub varieties tend to have a higher moisture content, which can result in a runnier frosting that is difficult to work with. I’ve tested low-fat cream cheese, and it invariably leads to a liquidy frosting. A pro tip: using *cold* cream cheese helps maintain the frosting’s firm consistency.
- Natural Cocoa Powder: This recipe specifically calls for unsweetened natural cocoa powder, not Dutch-processed cocoa. The distinction is crucial because these two types of cocoa have different acidity levels and react differently with baking soda. Natural cocoa powder is acidic and will react with the alkaline baking soda, creating carbon dioxide bubbles that help the cake rise and achieve its fluffy texture. Dutch-processed cocoa, which has been treated to reduce its acidity, will not react with baking soda. If you’re unsure which type you have, check the ingredients label: if it lists ‘alkali’ or ‘acidity regulators,’ it’s Dutch-processed.
- Buttermilk: Beyond adding a unique tangy depth that is characteristic of classic red velvet, buttermilk also tenderizes the cake, making it softer than if you used regular milk. The traditional red velvet flavor profile is a delightful interplay between the acidity of vinegar, the richness of buttermilk, and the subtle notes of cocoa powder.
- White Vinegar: Don’t worry, you won’t taste the vinegar in the finished cake! Its primary role here is chemical: it reacts with the baking soda and buttermilk to produce carbon dioxide, which acts as a leavening agent. This reaction is what gives the cake its beautiful lift and contributes to its wonderfully fluffy texture.
Recipe Variations: Substitutions & Additions
- Chocolate Chips: While mini chocolate chips are fantastic for their even distribution and delicate crunch, feel free to use regular chocolate chips if that’s what you have on hand. My personal preference is for semisweet chocolate chips, but this recipe is versatile enough to accommodate milk chocolate, dark chocolate, or even white chocolate chips, depending on your taste.
- Frosting Alternatives: If cream cheese frosting isn’t quite what you’re craving, or if you simply want to experiment, there are many delicious alternatives. Consider a rich fudgy chocolate frosting, a light and airy whipped ganache frosting, or my fun Oreo frosting! For a butter-free cream cheese frosting option, check out my dedicated cream cheese frosting without butter recipe.
- Flour Type: As mentioned, cake flour yields the softest texture. However, I have successfully tested this recipe using all-purpose flour. Just be aware that the resulting cake will have a slightly denser, though still delicious, crumb compared to one made with cake flour.
Step-by-Step: How to Make This Delicious Red Velvet Cake
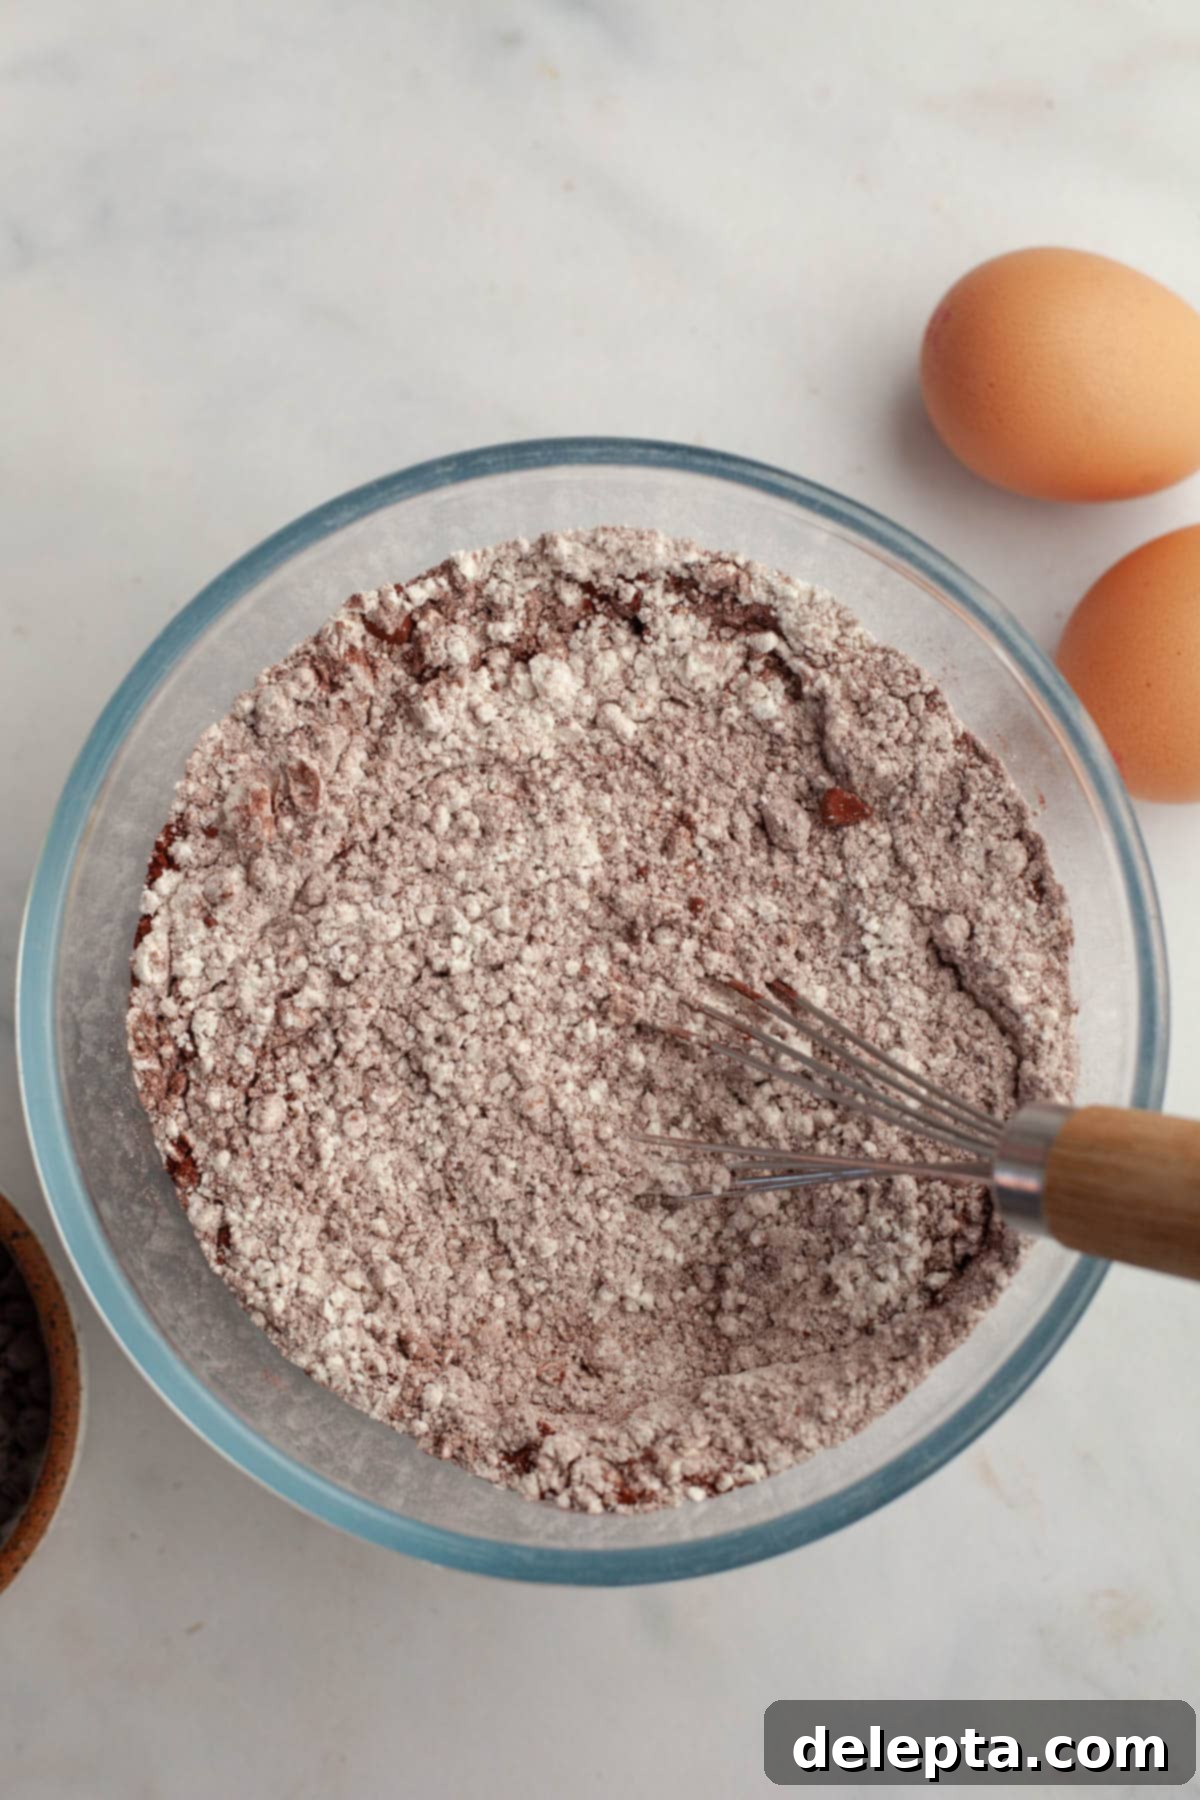
- Step 1: Begin by preheating your oven to 350°Fahrenheit (175°C). Prepare two 8-inch cake pans by greasing them thoroughly and lining the bottoms with parchment paper. In a separate medium bowl, whisk together your dry ingredients: the cake flour, baking soda, salt, and natural cocoa powder until well combined. Set this mixture aside.
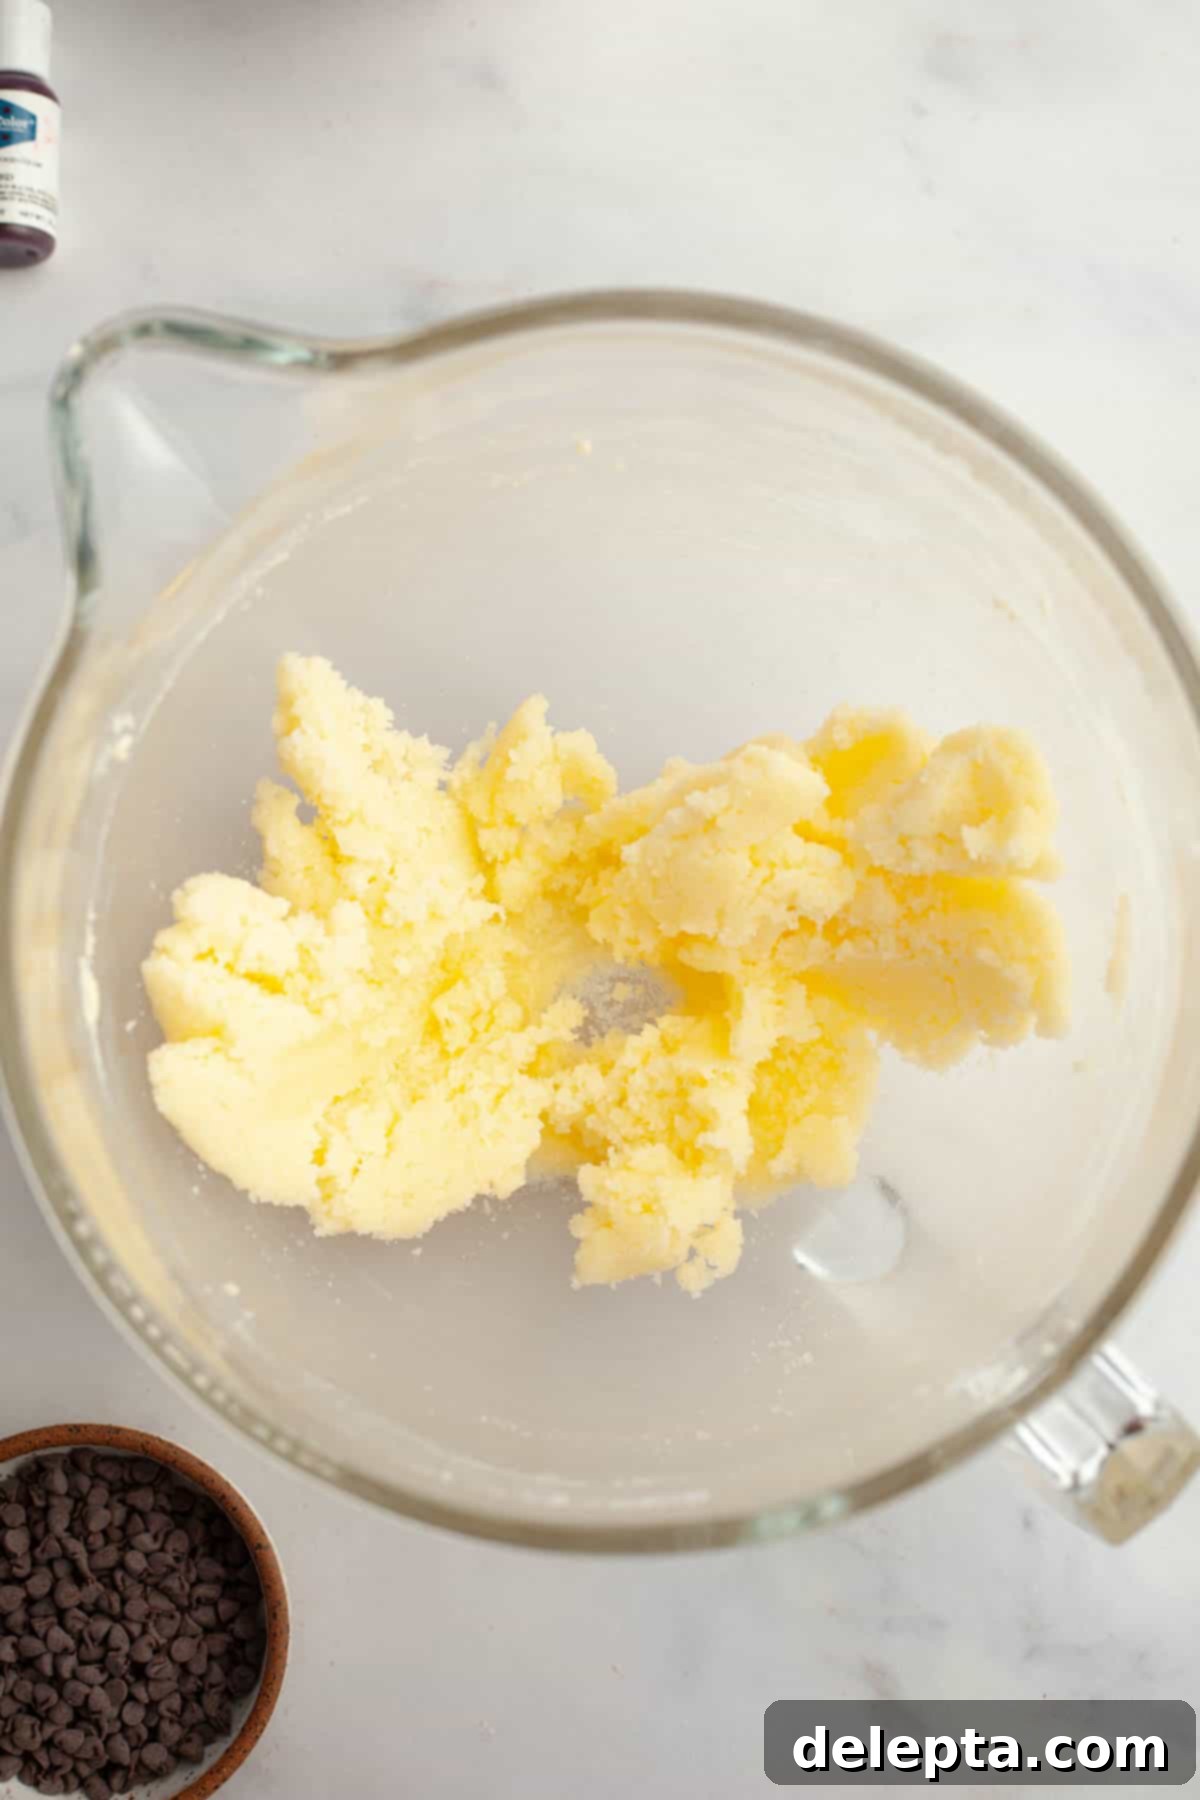
- Step 2: In the bowl of a stand mixer fitted with the paddle attachment (or using a large mixing bowl with a hand mixer), beat the softened unsalted butter with the granulated sugar until the mixture becomes wonderfully light, fluffy, and noticeably pale in color. This creaming process typically takes about 2-3 minutes on medium-high speed.
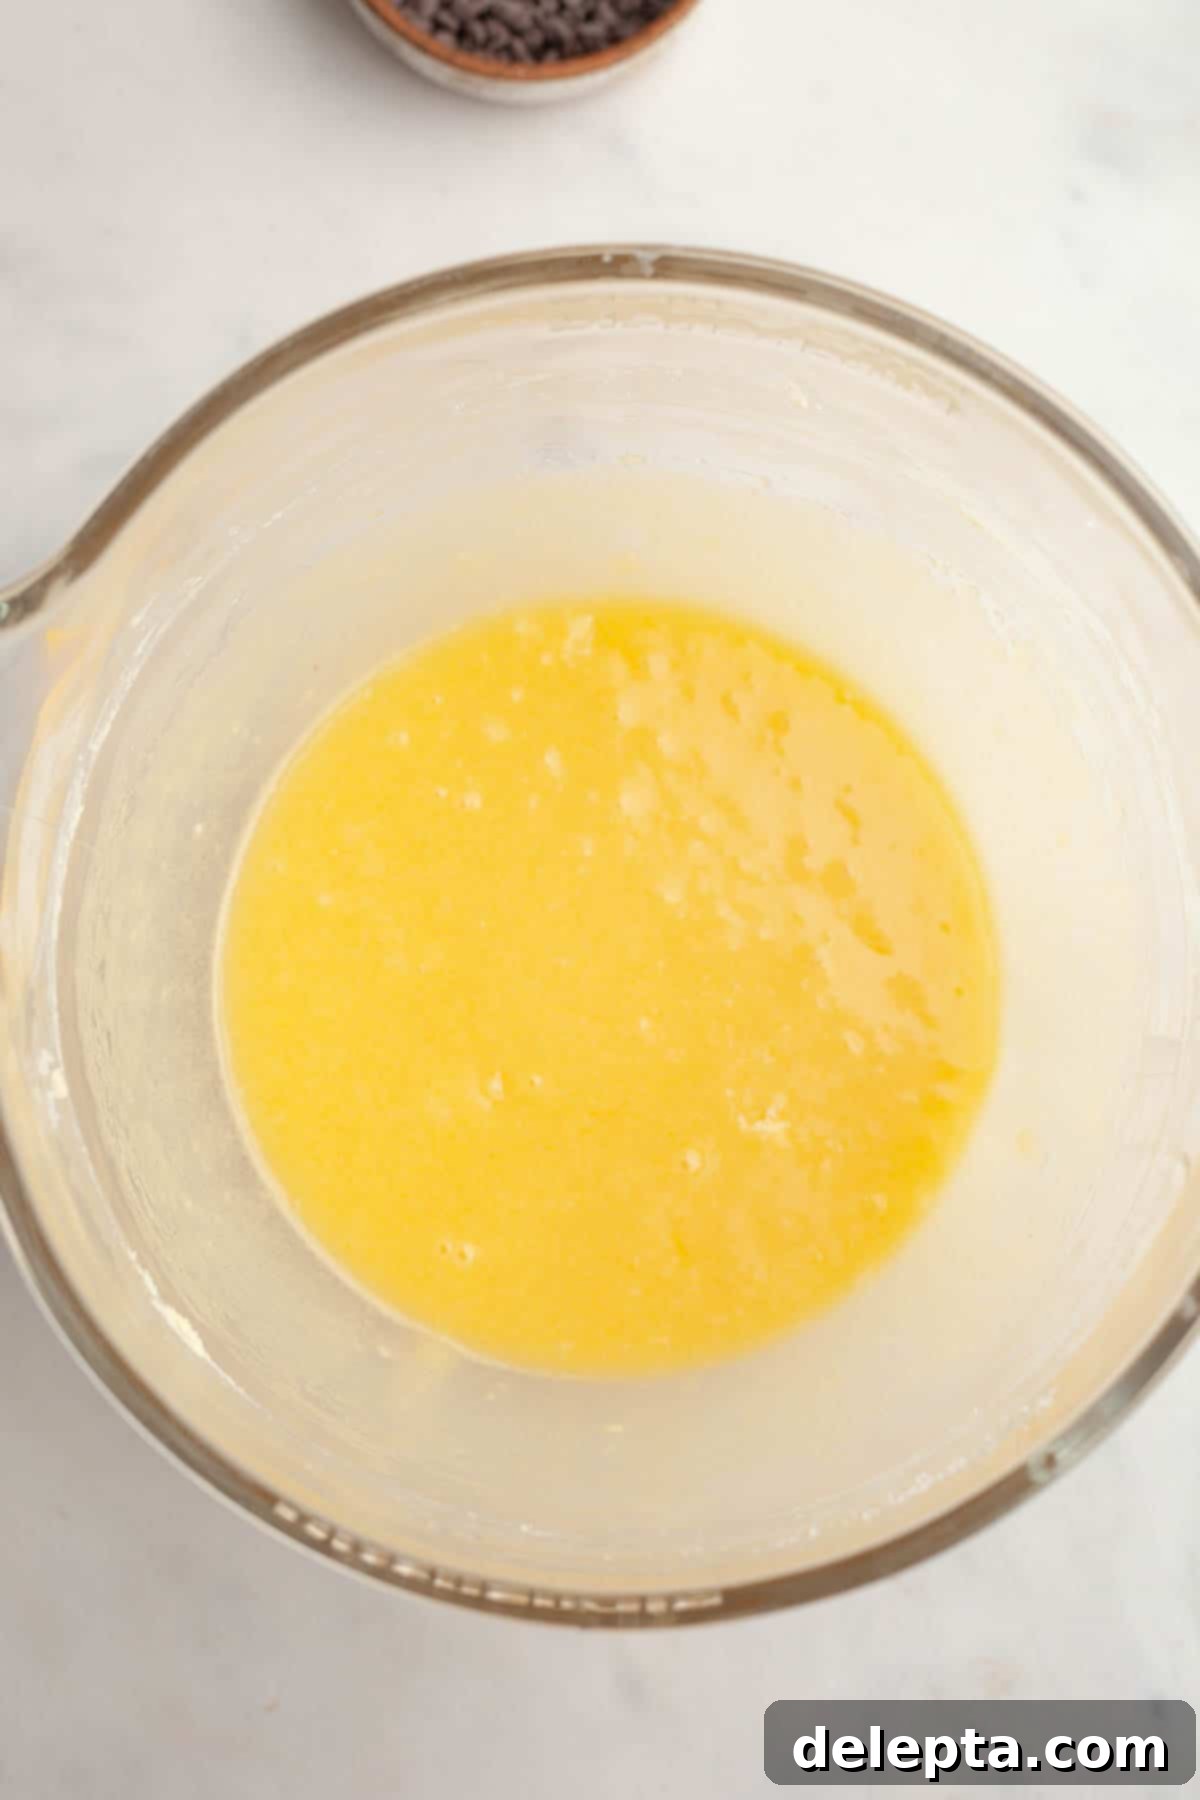
- Step 3: Stop the mixer and scrape down the sides of the bowl. Add the room temperature eggs, neutral oil, vanilla extract, and white vinegar to the butter-sugar mixture. Mix on high speed for 1-2 minutes. Don’t be alarmed if the mixture initially appears slightly curdled; it will smooth out as you continue to beat it, becoming a uniform, emulsified batter.
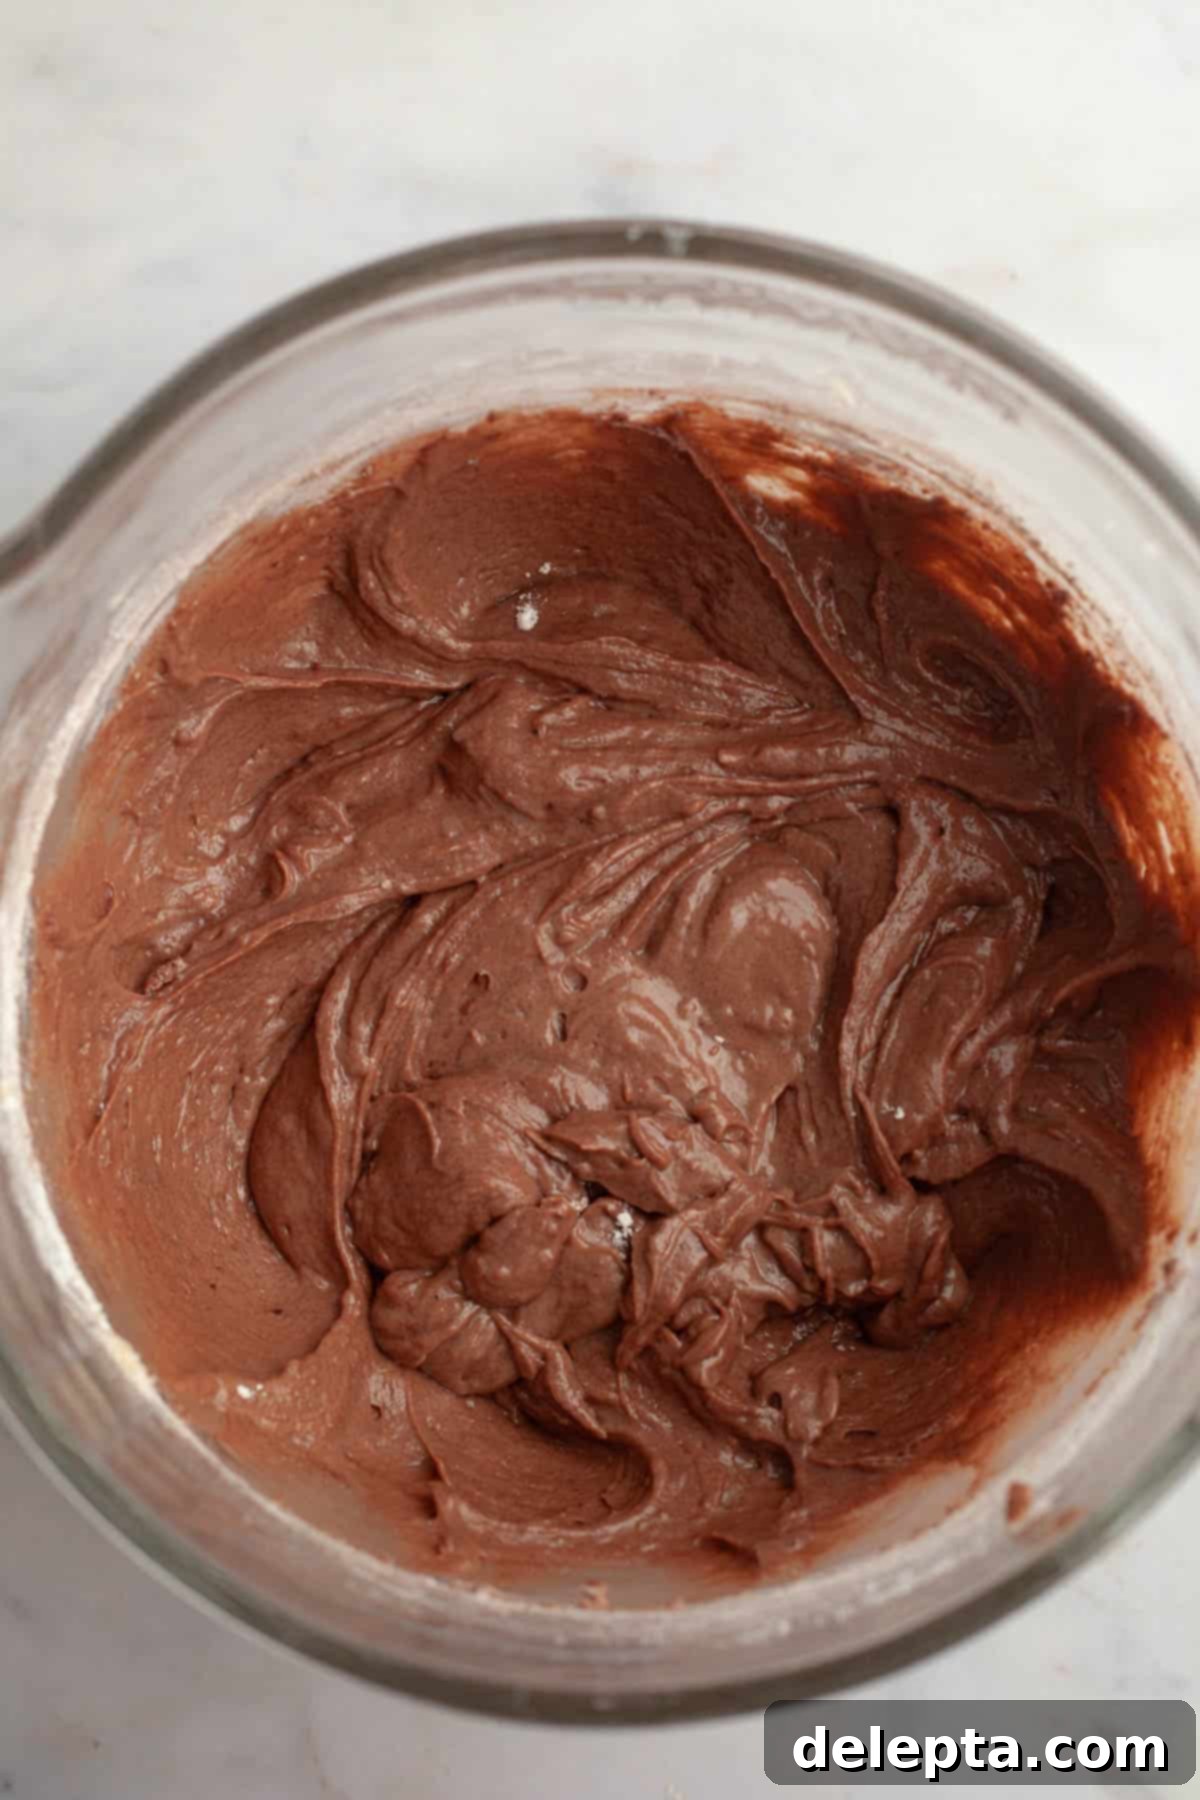
- Step 4: Gradually add the whisked dry flour mixture to the wet ingredients in three separate additions, alternating with the buttermilk. Ensure you scrape down the sides of the bowl frequently with a rubber spatula to guarantee all ingredients are thoroughly and evenly mixed. This alternating method helps prevent overmixing and ensures a tender crumb.
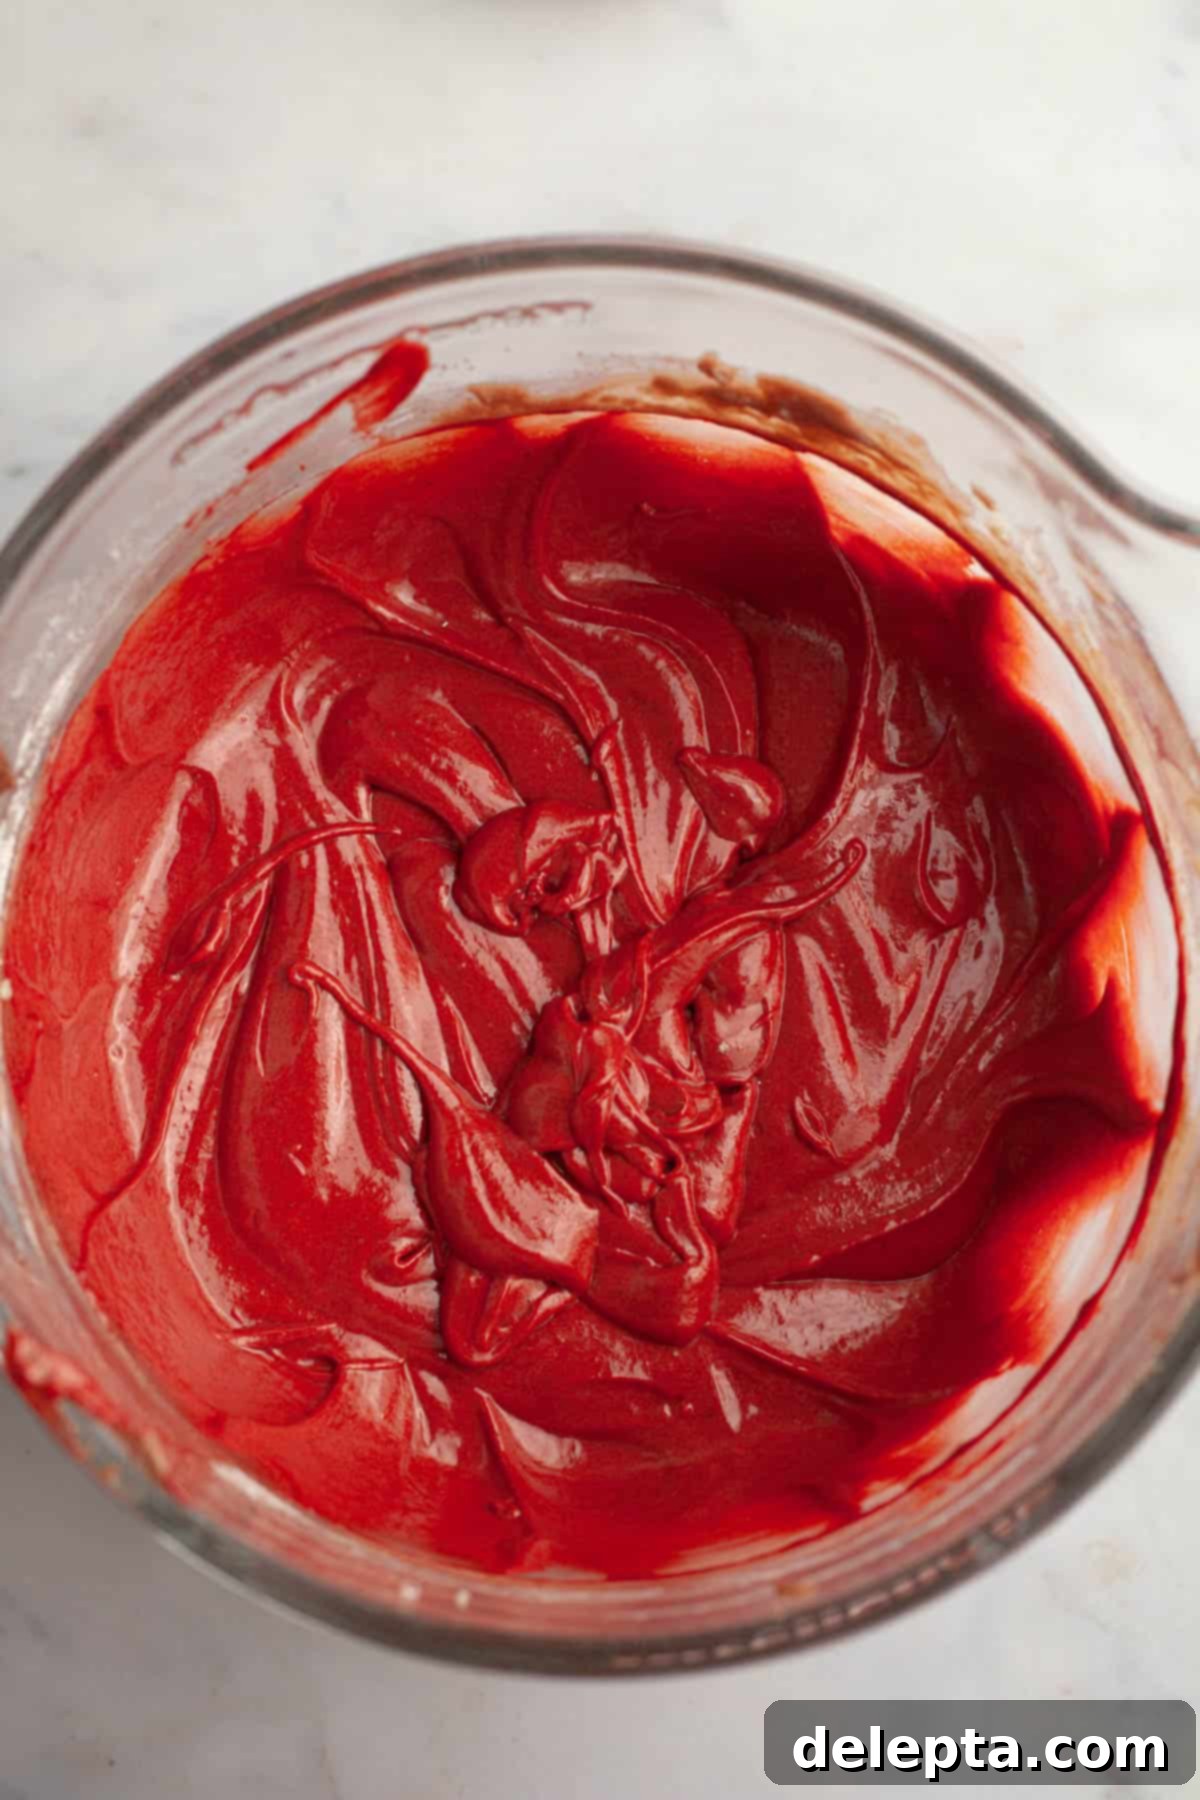
- Step 5: Now it’s time for the signature color! Add the red food gel to the cake batter. Start with a few drops, then turn your mixer on low speed to incorporate. Continue to add more food coloring, a few drops at a time, until you achieve your desired vibrant red hue. Remember, you can always add more, but you can’t take it out!
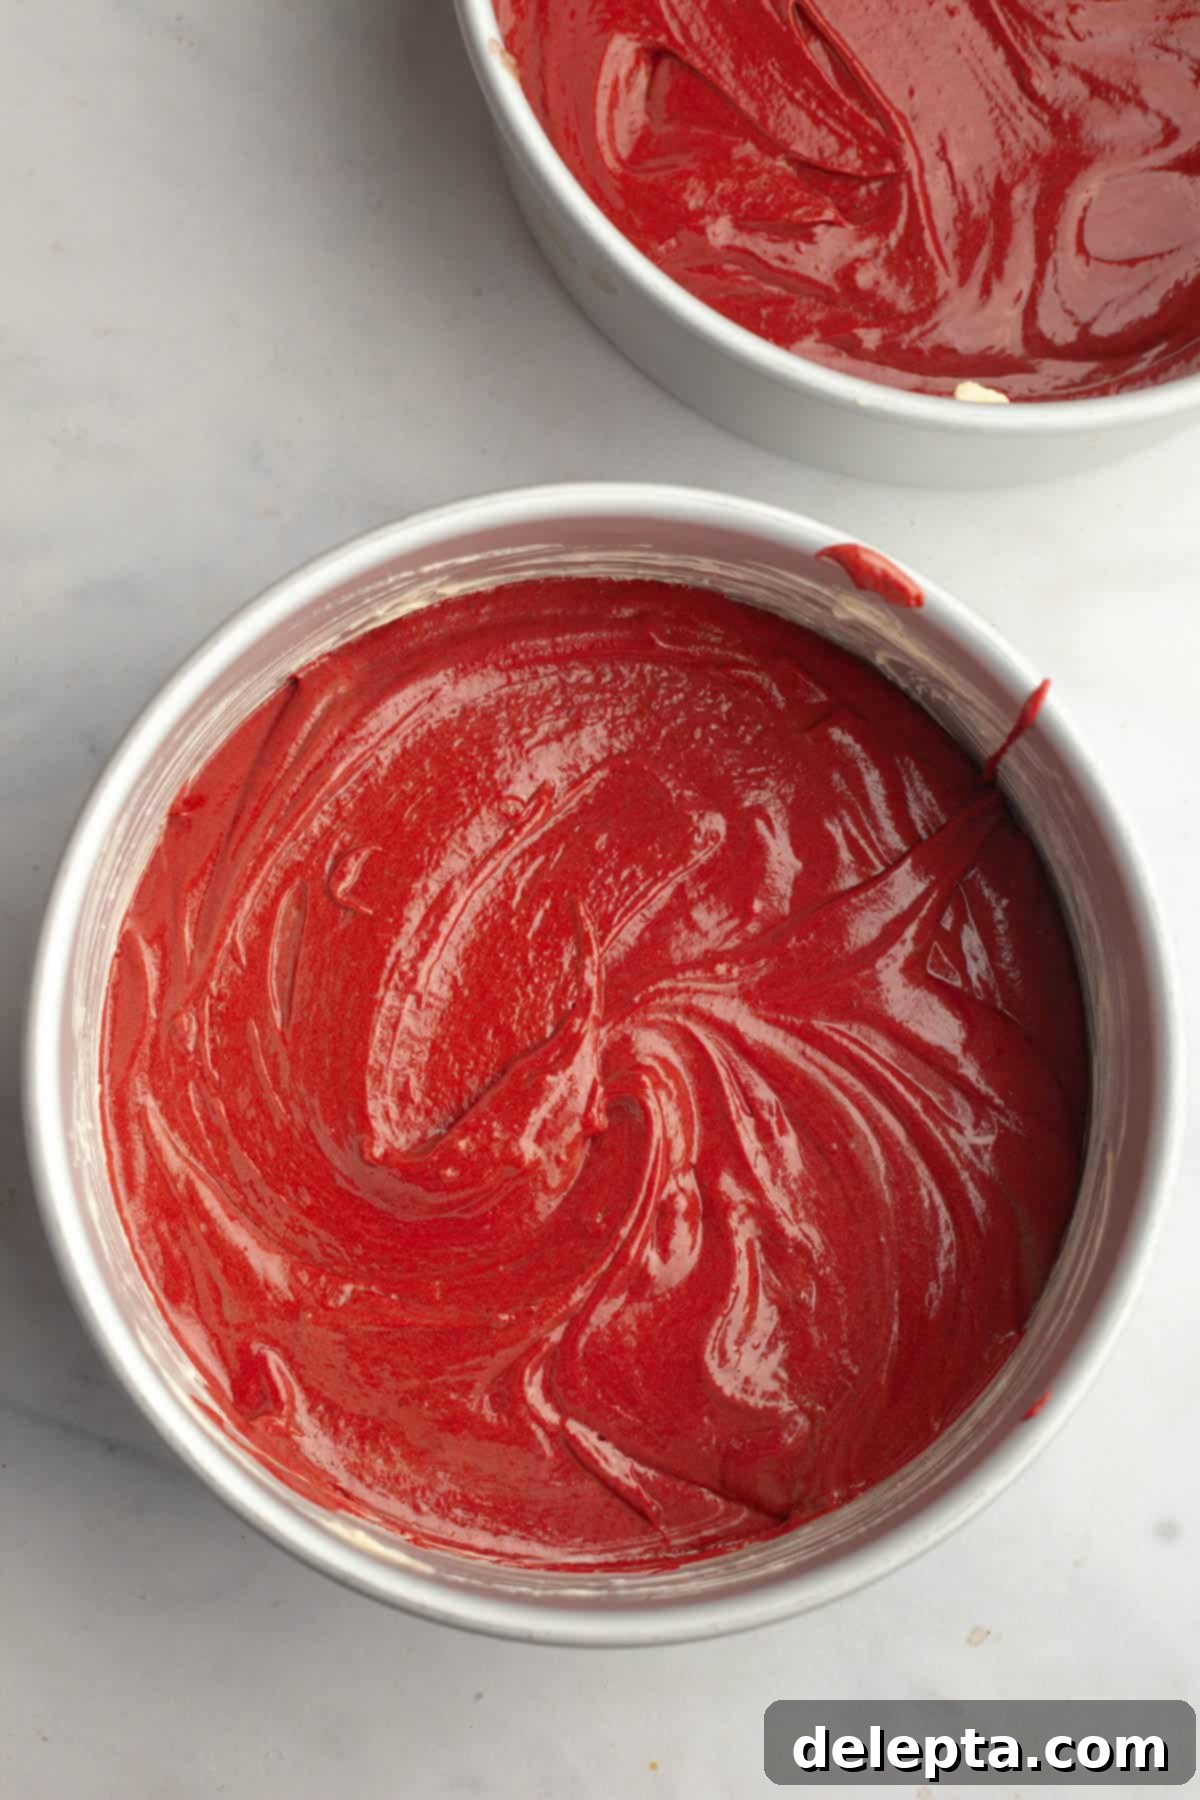
- Step 6: Divide the red velvet cake batter evenly between your two prepared 8-inch cake pans. Bake in the preheated oven for approximately 25-30 minutes. To test for doneness, insert a toothpick into the center of the cake; it should come out clean. Allow the cakes to cool in their pans for 5-10 minutes before carefully inverting them onto a wire rack to cool completely.
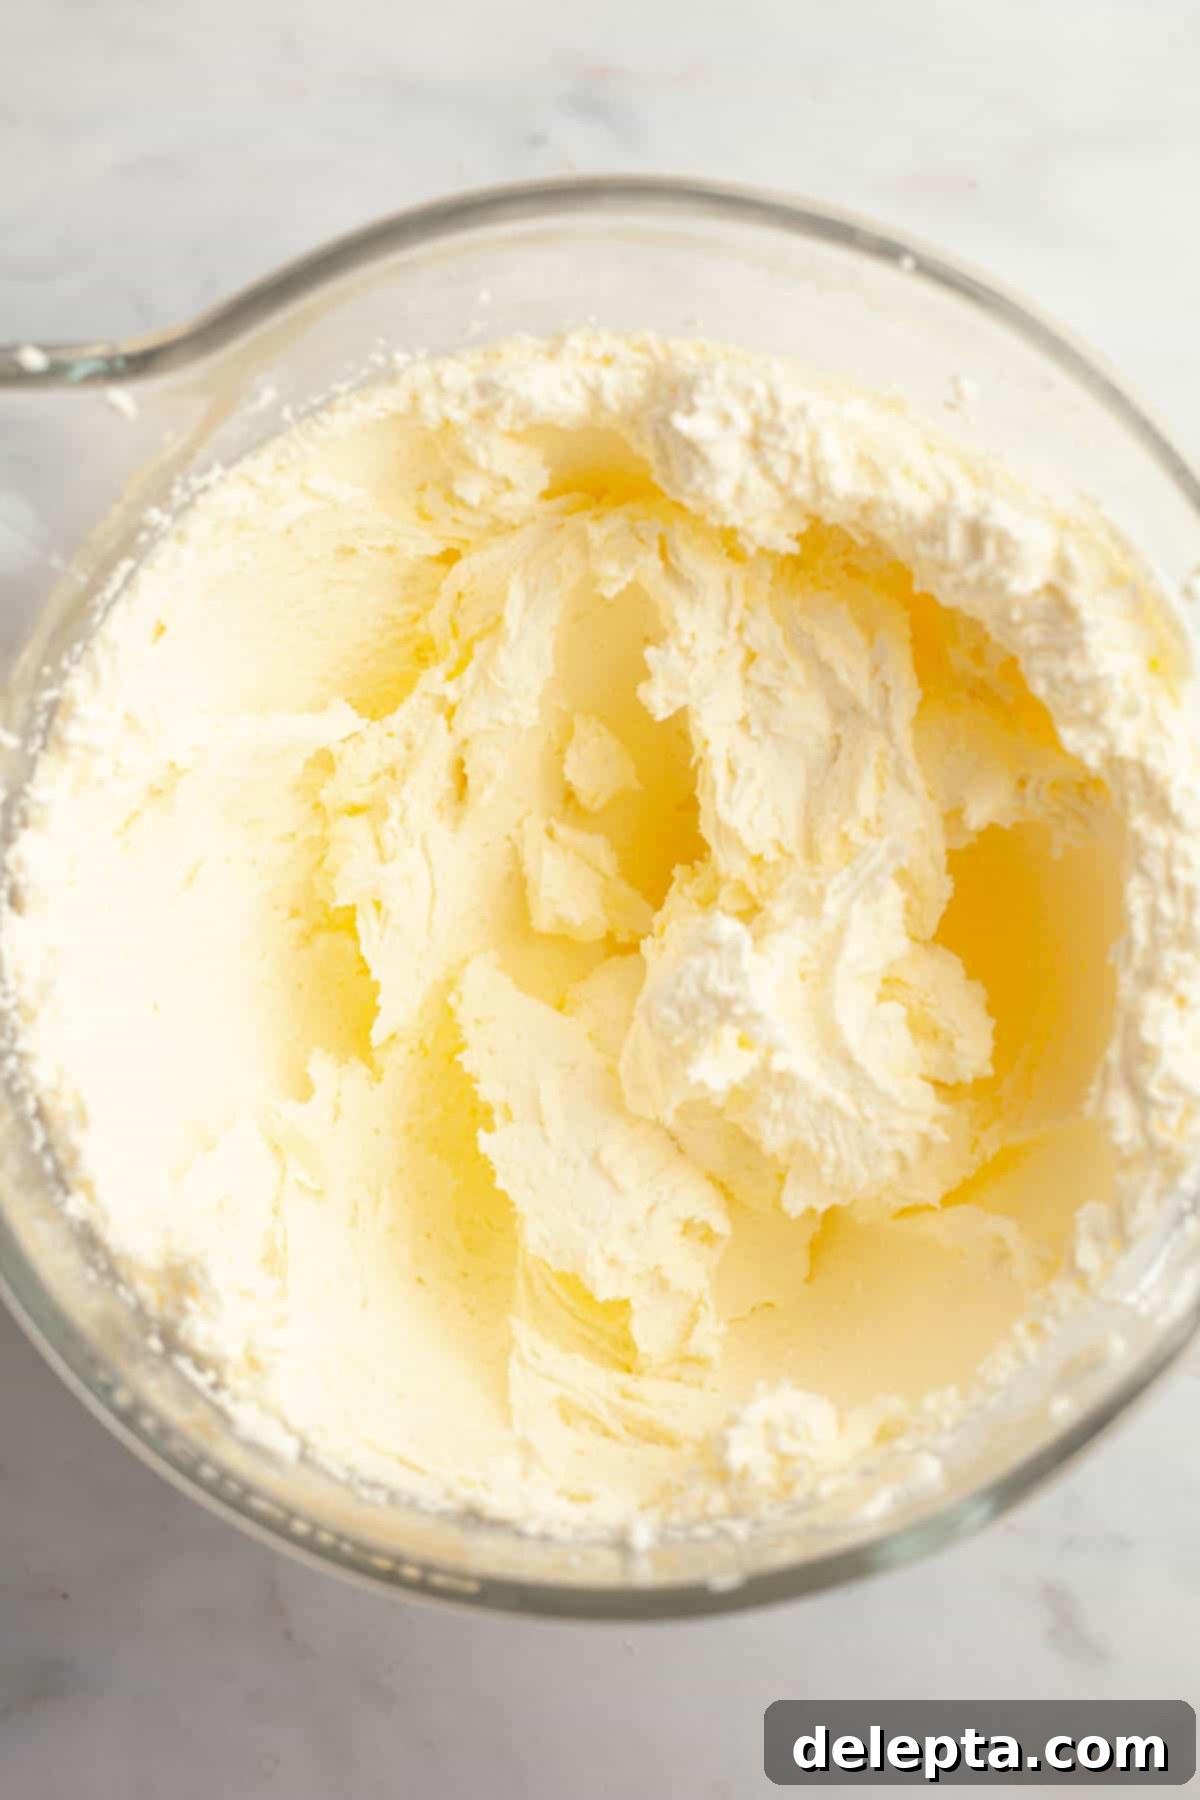
- Step 7: Once your cake layers are completely cool, it’s time to whip up the luscious cream cheese frosting. In a stand mixer fitted with the paddle attachment (or using a large bowl with a handheld electric mixer), begin by beating the room temperature butter and confectioners’ sugar together on low speed until they are just combined and no dry sugar remains. Then, increase the speed to medium-high and continue to beat for 2-3 minutes until the frosting is delightfully light, thick, and fluffy.
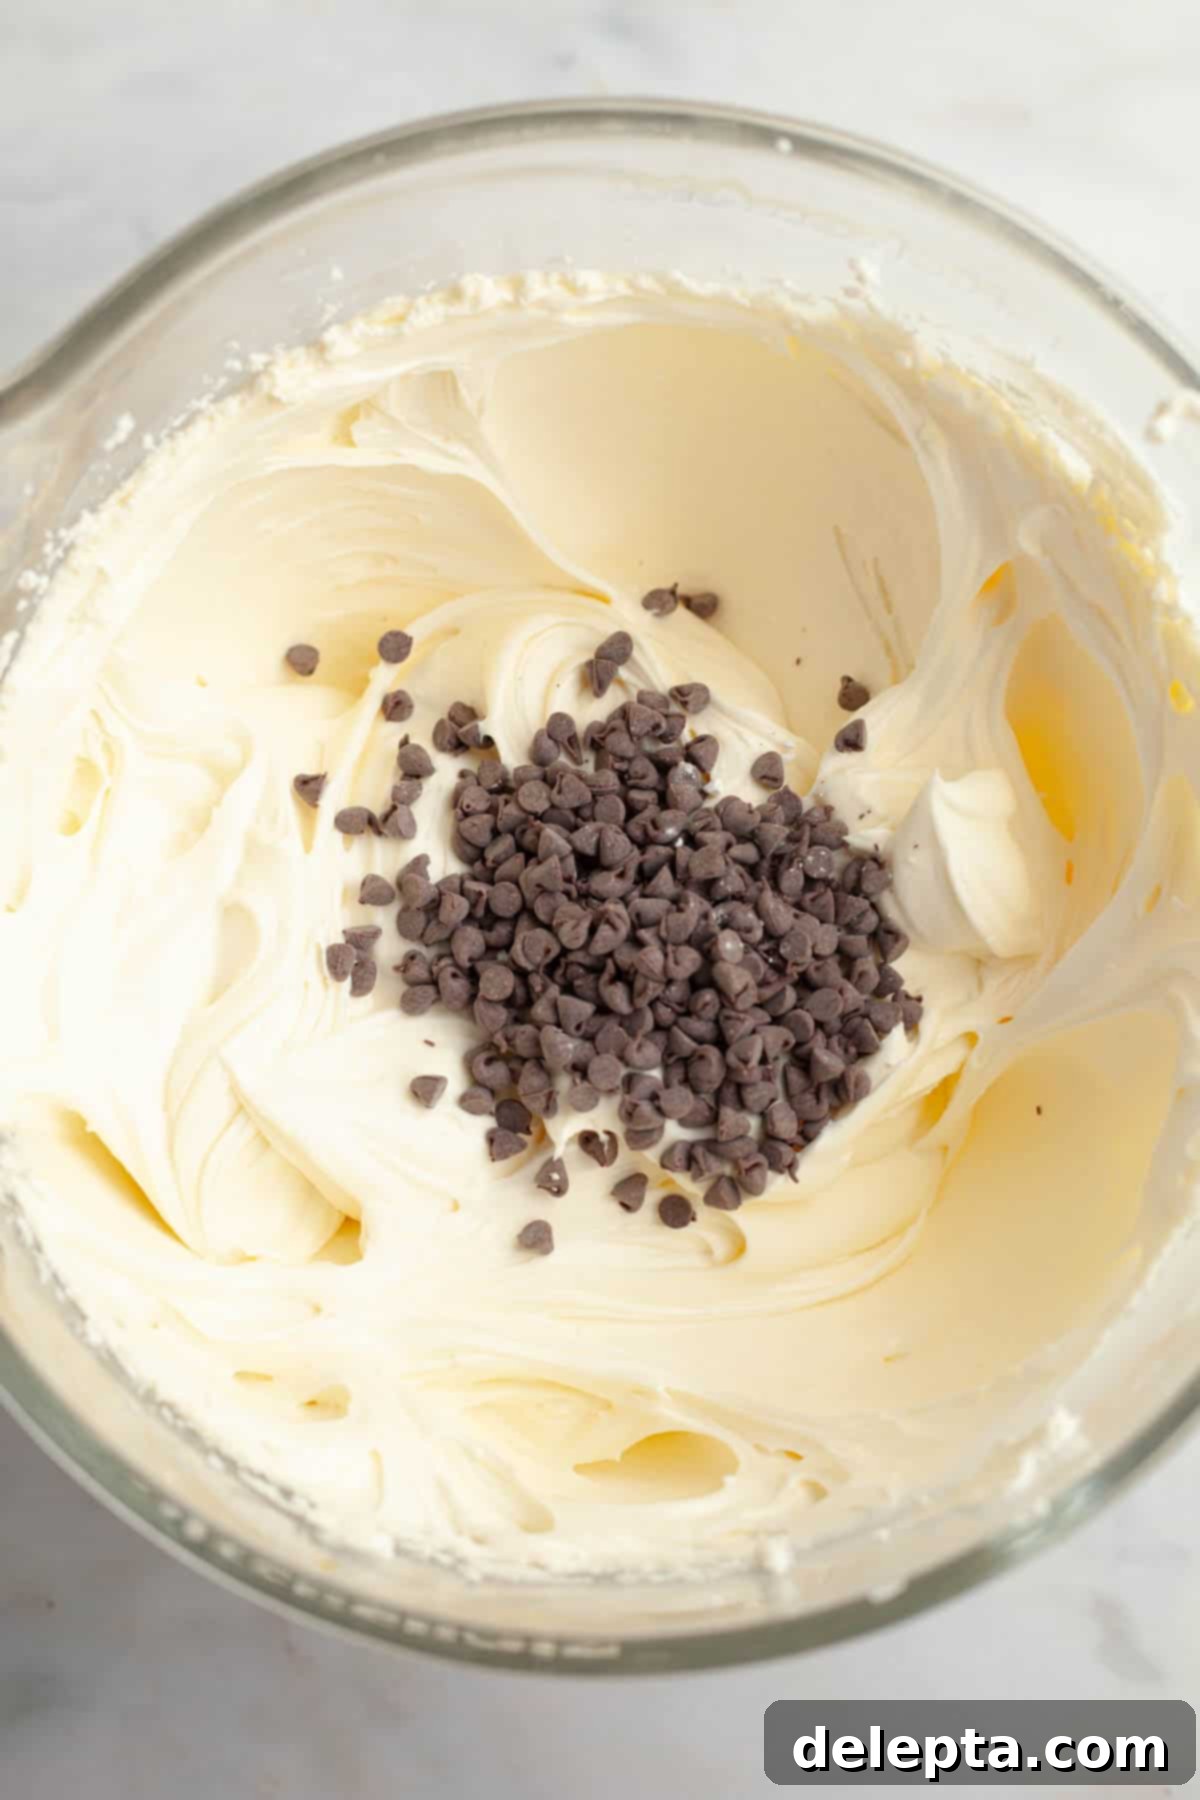
- Step 8: Add the salt, vanilla extract, and crucially, the cold cream cheese to the frosting mixture. Beat on low speed until everything is *just* combined and smooth. Be careful not to overmix the cream cheese, as this can make the frosting runny. Finally, gently stir in most of your mini chocolate chips, reserving a small handful to decorate the top of the cake. To assemble, place one cooled cake layer on your serving plate, spread an even layer of frosting, place the second cake layer on top, and then frost the remainder of the cake. Slice, serve, and savor every indulgent bite!
Expert Baking Tips for a Perfect Cake
- Achieve Perfectly Even Cake Layers: For uniformly flat cake tops, consider using cake strips. These are fabric strips that you soak in water and wrap around your cake pans, helping the cakes bake more evenly by insulating the edges. I admit, I often forget this step! If you do, don’t worry. Once the cakes are completely cooled, you can easily use a serrated bread knife to carefully level off any domed tops, ensuring your layers stack beautifully and straight.
- Boost Chocolate Flavor: If you’re a true chocolate enthusiast and want an extra layer of chocolatey goodness, you can certainly add about half a cup of mini chocolate chips directly into the cake batter. Gently fold them in just before pouring the batter into the prepared pans. Using mini chocolate chips is preferable as they are less likely to sink to the bottom during baking compared to larger chips.
- The Importance of Room Temperature Ingredients: For the cake batter itself, it is absolutely vital that your butter, buttermilk, and eggs are at room temperature. Ingredients that are at a similar temperature emulsify more easily, leading to a smoother, more homogenous batter and ultimately a better-textured cake. However, for the frosting, remember the opposite rule: always use *cold* cream cheese to ensure a firm and stable consistency.
- Embrace the Kitchen Scale: I cannot stress this enough – a kitchen scale is your best friend in baking! You can find an accurate one for under $10, and it offers unparalleled precision compared to measuring cups. Weighing your ingredients (especially flour) prevents accidental over-measurement, which is a common culprit for dry or dense cakes. Plus, it significantly reduces the number of dishes you’ll need to wash!
- Preparation Made Easy – Make Ahead: To simplify your baking day, you can prepare the cake layers up to 2 days in advance. Once they are completely cooled, wrap each layer tightly in plastic wrap to prevent them from drying out. Store them at room temperature if your kitchen isn’t too warm, or in the refrigerator. This allows you to spread out the baking process and enjoy your delicious cake with less stress.
Creative Serving Suggestions
- Romantic Valentine’s Day Treat: Red velvet cake is inherently romantic and makes for a perfect Valentine’s Day dessert. Imagine serving this beautiful cake after a delightful meal, perhaps following my flavorful spicy vodka pasta for a truly memorable evening.
- Seasonal Cake Decorations: Customize your cake to fit any occasion or season! If you’re baking in the spring or summer, enhance its freshness by topping it with a scattering of fresh sliced strawberries alongside the mini chocolate chips. For a festive holiday twist, consider garnishing with sugared cranberries (just like those in my cranberry lemon bread recipe!) or a sprinkle of colorful Christmas sprinkles.
- Elegant Chocolate Ganache Drip: For an extra touch of sophistication and indulgence, transform this cake into a showstopper with a luxurious chocolate ganache drizzle. Simply follow the easy recipe for the ganache from my Oreo drip cake to add this stunning finish.
Storage & Freezing Instructions
Once your red velvet cake is frosted, it should be stored in an airtight container in the refrigerator. It will stay fresh and delicious for up to 4-5 days. If you don’t possess a cake container large enough, a useful trick is to gently press a piece of parchment paper against any cut slices of cake. This barrier helps prevent the exposed cake from drying out. For the best eating experience, allow the cake to come to room temperature for about 30 minutes before serving.
Yes, this cake is freezer-friendly! You can freeze individual slices or whole unfrosted layers. For slices, place them in an airtight container, and they will keep well for up to 2 months. To enjoy, simply thaw the cake in the refrigerator overnight, then let it reach room temperature before indulging. Unfrosted cake layers can also be wrapped tightly in plastic wrap and then foil, frozen for up to 2 months, and thawed before frosting.
Explore More Layer Cake Recipes!
- Easy Vanilla Cake with Chocolate Frosting
- Vanilla Cake with Strawberry Filling
- Easy & Simple Chocolate Cake with Vanilla Frosting
- Cardamom Cake with Browned Butter Cream Cheese Frosting
If you’ve brought this incredible recipe to life in your kitchen, please don’t hesitate to leave a ⭐️ rating and a thoughtful review below! I absolutely adore seeing your culinary creations, so remember to tag me on Instagram @alpineella so I can admire your work! You can also stay connected and follow along for more delicious inspiration on Pinterest, Facebook, and TikTok!
Recipe
The Best Red Velvet Cake with Chocolate Chips
Ella Gilbert
Pin Recipe
Save RecipeSaved!
Equipment
-
2 8-inch cake pans
-
Stand Mixer
-
Kitchen Scale
-
Measuring Spoons
-
Bowl
-
Rubber Spatula
Ingredients
Red Velvet Cake
- ½ cup Unsalted Butter room temperature
- 1 ½ cups Granulated Sugar
- 2 large Eggs room temperature
- Red Food Color
- 3 tablespoons Cocoa Powder natural cocoa powder
- 1 teaspoon Kosher Salt
- 1 teaspoon Baking Soda
- 1 teaspoon White Vinegar
- 2 ½ cups Cake Flour
- 1 cup Buttermilk
- ½ cup Neutral Oil
- 2 teaspoons Vanilla Extract
Mini Chocolate Chip Cream Cheese Frosting
- 1 cup Unsalted Butter room temperature
- 5 ½ cups Confectioners’ Sugar
- 1 ½ teaspoon Vanilla Extract
- ¾ teaspoon Kosher Salt
- 6 oz Cream Cheese cold
- ⅓ cup Mini Chocolate Chips
Instructions
-
Preheat oven to 350℉/175℃ and grease and line two 8-inch cake pans with parchment paper.
-
In a medium bowl, whisk together the flour, salt, baking soda and cocoa powder. Set aside.3 tablespoons Cocoa Powder, 1 teaspoon Kosher Salt, 1 teaspoon Baking Soda, 2 ½ cups Cake Flour
-
In a stand mixer fitted with the paddle attachment, or in a large bowl with a handheld mixer, beat the butter and sugar together until light and fluffy.½ cup Unsalted Butter, 1 ½ cups Granulated Sugar
-
Add in the eggs, oil, vanilla extract and vinegar and beat on high speed for 1-2 minutes.2 large Eggs, 1 teaspoon White Vinegar, ½ cup Neutral Oil, 2 teaspoons Vanilla Extract
-
Add the dry ingredients in 3 additions, alternating with the buttermilk. Make sure to start and end with the dry ingredients.1 cup Buttermilk
-
Mix in your food coloring until you have your desired color.Red Food Color
-
Pour the cake batter into your prepared pans. Bake in the preheated oven for 25-30 minutes, or until a toothpick inserted in the middle of one of the cakes comes out clean.
-
In a stand mixer with the paddle attachment or a large bowl with a handheld mixer, beat the butter and confectioners’ sugar together on low speed until combined.1 cup Unsalted Butter, 5 ½ cups Confectioners’ Sugar
-
Increase the speed to high and beat until light and fluffy, about 2-3 minutes
-
Mix in the vanilla extract and salt.1 ½ teaspoon Vanilla Extract, ¾ teaspoon Kosher Salt
-
Add the cold cream cheese and cocoa powder. Mix until combined. If the frosting is too thick, add a tablespoon of heavy cream at a time until you have your desired consistency.6 oz Cream Cheese
-
Stir in mini chocolate chips and assemble your cake!⅓ cup Mini Chocolate Chips
Notes
For optimal results, ensure all your cake ingredients are at room temperature before you begin mixing. This includes butter, eggs, and buttermilk, as they combine more smoothly and create a more uniform batter.
Cake Flour: Cake flour is specially milled with a lower protein content than all-purpose or plain flour, which is the secret to a supremely soft and tender cake. If you don’t have cake flour, all-purpose flour can be used, but note that the cake’s texture will be slightly less soft. For bakers in the UK, “cake flour” is equivalent to plain flour, not self-raising flour.
Butter: I often use European-style butter, such as Kerry Gold, in my baking. Its higher butterfat content contributes to a richer flavor and a creamier, more luxurious texture in both the cake and the frosting.
Salt: If you’re using fine table salt instead of kosher salt, remember to halve the amount specified in the recipe. A good rule of thumb is: 1 teaspoon of kosher salt equals ½ teaspoon of fine salt.
Buttermilk: No buttermilk on hand? No problem! You can substitute it with an equal amount of sour cream or full-fat plain yogurt for similar results. Alternatively, you can easily make your own buttermilk by adding 1 tablespoon of lemon juice or white vinegar to 1 cup of regular milk and letting it sit for 5-10 minutes until it slightly curdles.
Cocoa Powder: It’s important to use natural (non-Dutch-processed) cocoa powder for this recipe. Natural cocoa is acidic and reacts with baking soda to help the cake rise. Dutch-processed cocoa has been alkalized, so it won’t react the same way. Check your label: if you see “alkali” or “acidity regulators” in the ingredients, it’s Dutch-processed.
Neutral Oil: Any unflavored oil will work for this recipe, such as canola oil, sunflower oil, or even grapeseed oil. The goal is to add moisture without imparting a strong taste.
Storage: Store the frosted cake in an airtight container in the fridge for up to 5 days. For the best flavor and texture, let slices come to room temperature for about 30 minutes before serving.
Making Ahead: The cake layers can be baked and prepared up to 2 days in advance. Once fully cooled, wrap each layer tightly in plastic wrap to maintain freshness. They can be kept at room temperature (if not too warm) or refrigerated. For longer storage, freeze the wrapped layers for up to 2 months. When ready to frost, allow frozen layers to thaw in the fridge, then come to room temperature.
Nutrition
