Homemade Strawberry Blueberry Pie: Your Guide to a Flaky, Flavorful Summer Dessert
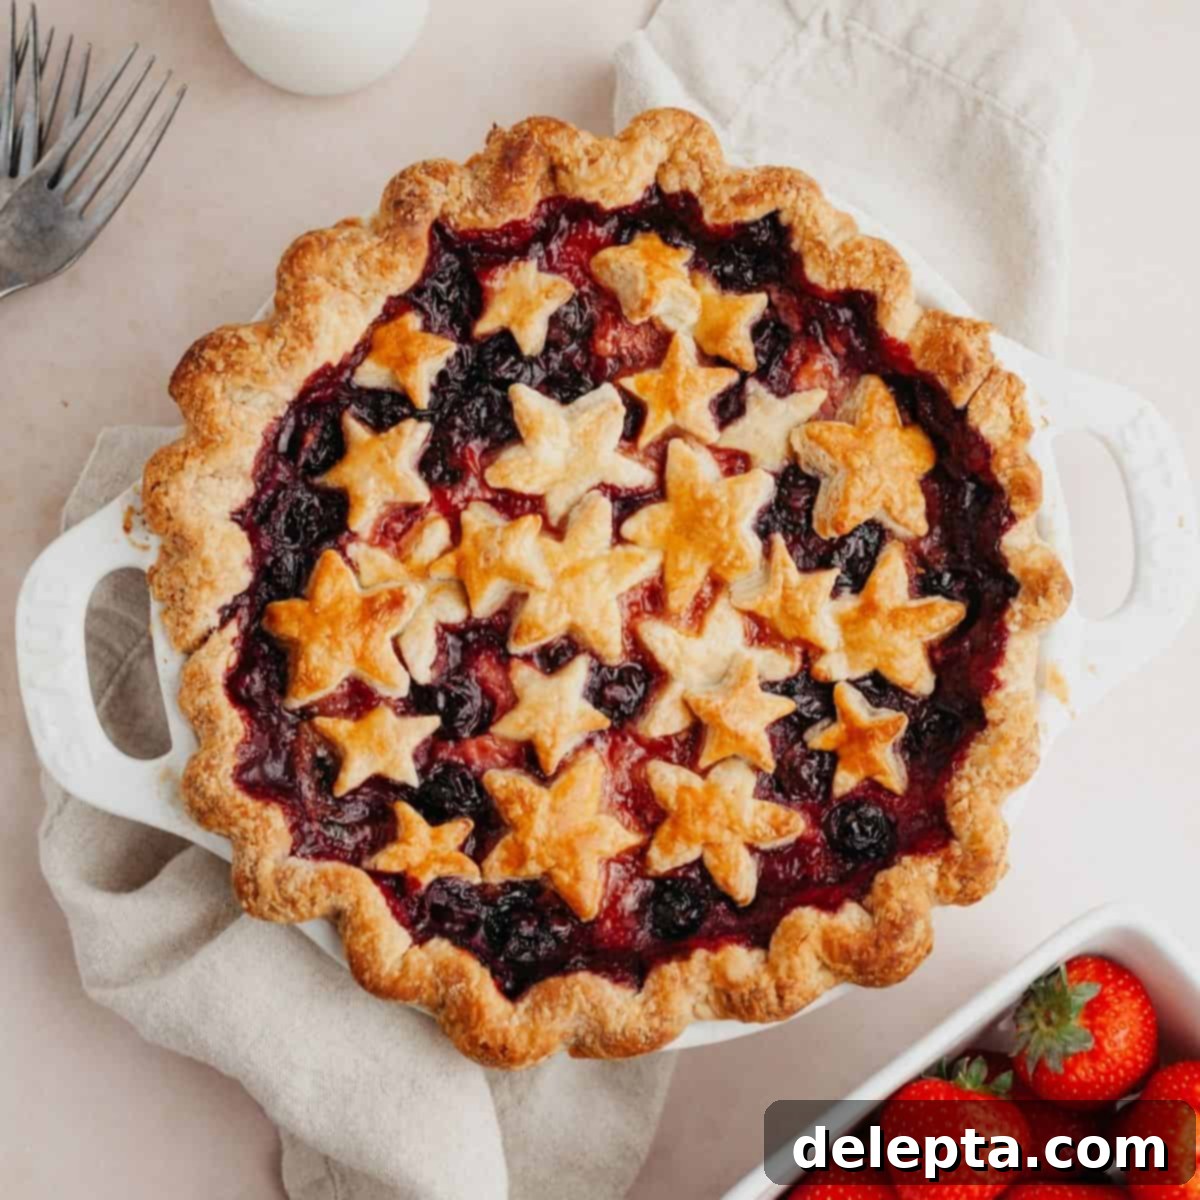
Imagine a quintessential summer dessert: a vibrant pie bursting with juicy strawberries and plump blueberries, all encased in an irresistibly flaky, golden-brown all-butter crust. This homemade strawberry blueberry pie is more than just a treat; it’s a celebration of seasonal flavors, perfect for your Fourth of July gatherings, backyard BBQs, or simply a sweet evening indulgence. We’re not just talking about any mixed berry pie; this recipe ensures a perfectly balanced filling, tangy with a hint of lemon, and, crucially, never runny. Say goodbye to soggy bottoms and overflowing juices! I’ll walk you through every step to achieve that ideal consistency, from mastering the buttery crust to reducing the berry juices into a rich, flavorful syrup. Get ready to impress your family and friends with a slice of this magnificent summer pie, ideally served warm with a generous scoop of creamy vanilla ice cream or a dollop of freshly whipped cream. It’s truly the taste of summer in every bite!
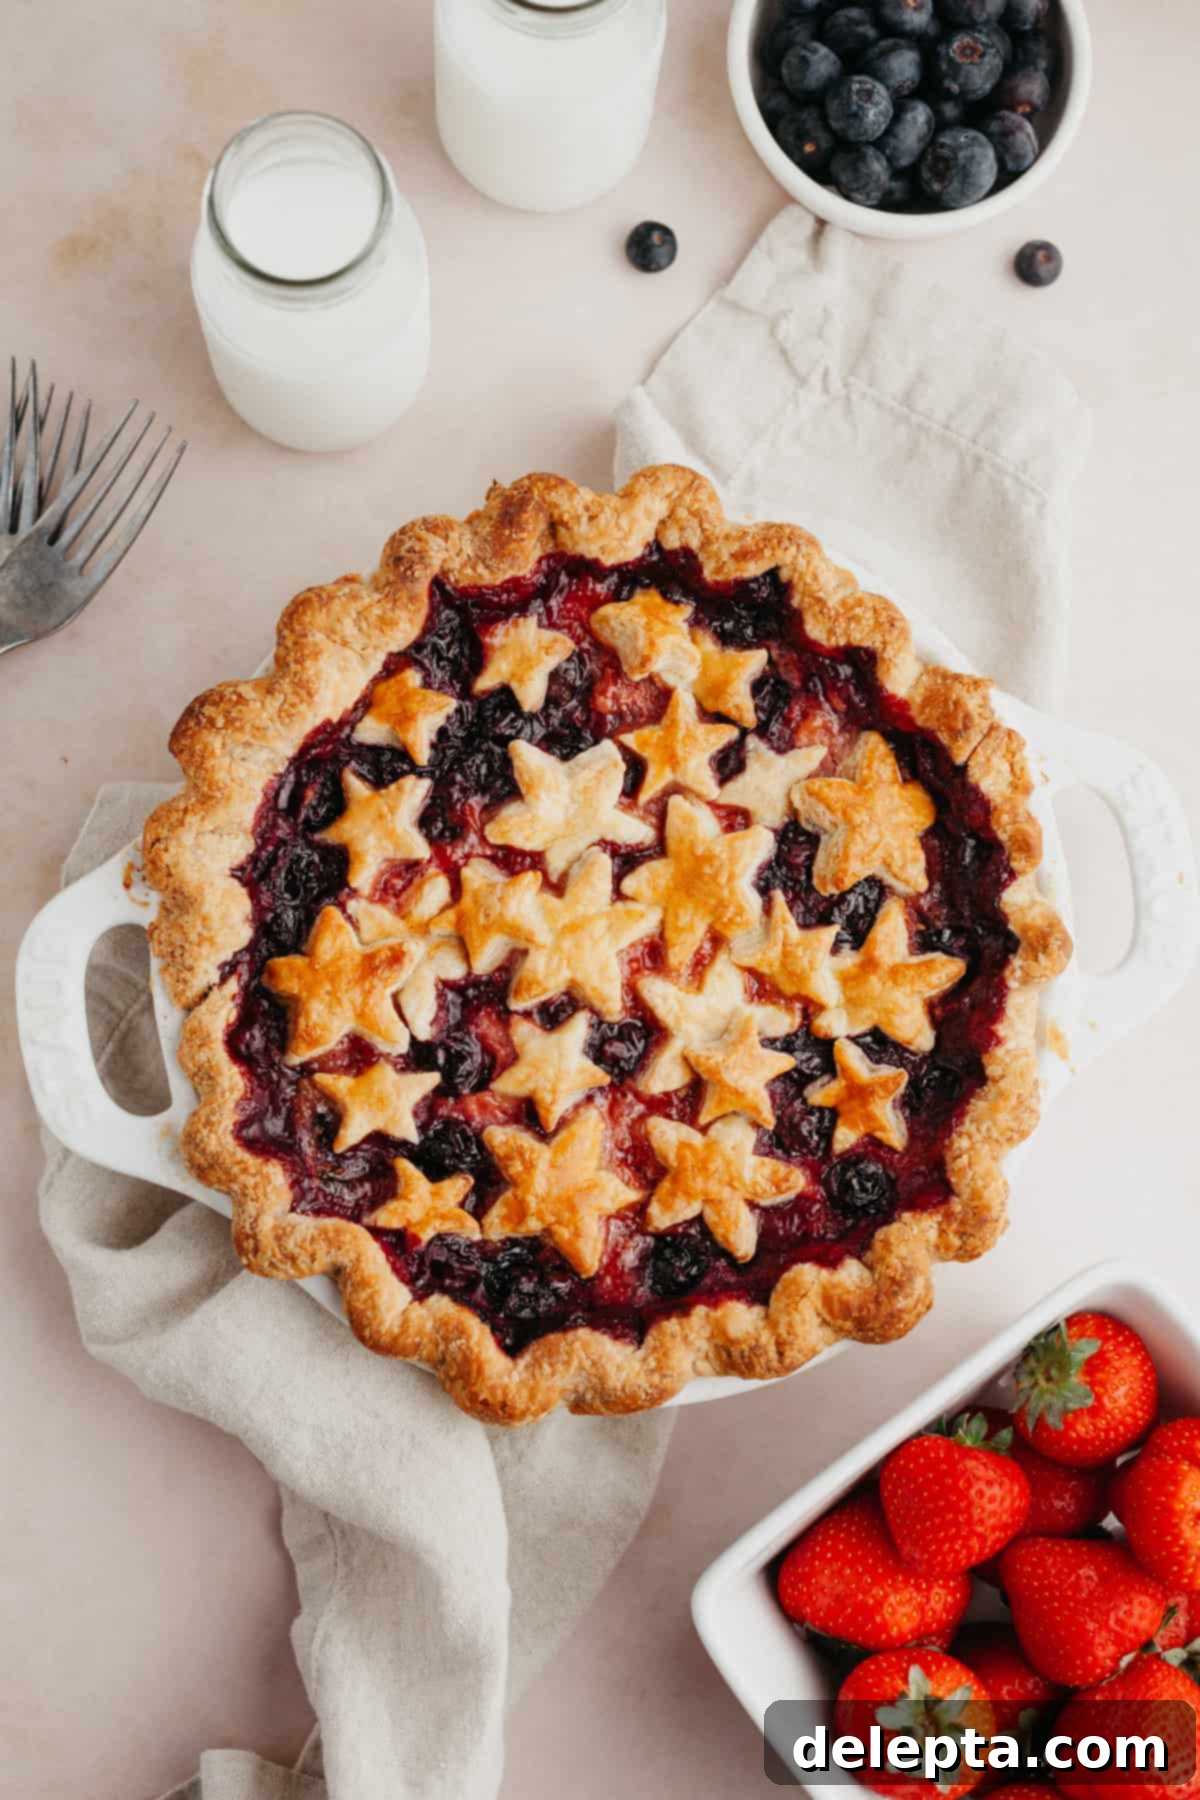
While the intricate artistry of a lattice crust, like the one featured in my bourbon apple pie, holds a special charm, I find that decorating the top of a pie with pastry cutouts is both simpler and incredibly charming. For patriotic holidays like the 4th of July, star shapes are a fantastic choice, adding a festive touch. However, the creative possibilities are endless – you could use any cookie cutter shape that inspires you! Alternatively, if you prefer a different texture, consider topping your pie with a delightful crumble, similar to the one used in my popular strawberry apple crisp recipe, for an added layer of buttery goodness.
[feast_advanced_jump_to]
Why You’ll Adore This Strawberry Blueberry Pie Recipe!
- Bursting with Fresh Fruit Flavor – There’s nothing quite like the taste of summer, and this pie truly captures it. We use an abundance of ripe, fresh strawberries and sweet blueberries, ensuring every bite is packed with vibrant, natural fruit flavor. Opting for in-season berries guarantees the best possible taste and aroma, making this dessert a true highlight of the warmer months. It’s a delightful way to enjoy nature’s candy at its peak.
- The Ultimate All-Butter Flaky Pie Dough – A pie is only as good as its crust, and this recipe delivers the absolute best. Our homemade all-butter pie dough yields an incredibly flaky, tender, and rich crust that melts in your mouth. While store-bought crusts can be a time-saver, nothing compares to the depth of flavor and texture achieved with a scratch-made, buttery masterpiece. We’ll guide you through making it perfectly, ensuring golden-brown edges and a delightful crunch.
- No More Runny Pie! Perfectly Thick Fruit Filling – One of the biggest pie frustrations is a watery, unset filling. We’ve tackled this common issue head-on! Our secret lies in a two-step process: first, macerating the fresh berries with sugar. This hygroscopic magic draws out excess moisture from the fruit. Then, instead of adding thickeners to a watery mess, we drain those flavorful juices and gently simmer them until they transform into a concentrated, thick, and glossy syrup. This syrup is then returned to the fruit, ensuring your pie filling is beautifully set, bursting with intense berry flavor, and never disappointingly runny.
- Conveniently Make Ahead Options – While making a pie from scratch requires some dedicated time for chilling the dough and macerating the fruit, many components of this recipe can be prepared in advance. This makes it a fantastic option for entertaining or busy schedules. You can prepare the pie dough up to two days ahead, and even assemble the entire pie the day before baking. This flexibility allows you to spread out the work and enjoy a stress-free baking experience, ensuring a fresh-baked pie whenever you’re ready.
Essential Ingredient Notes for Your Perfect Pie
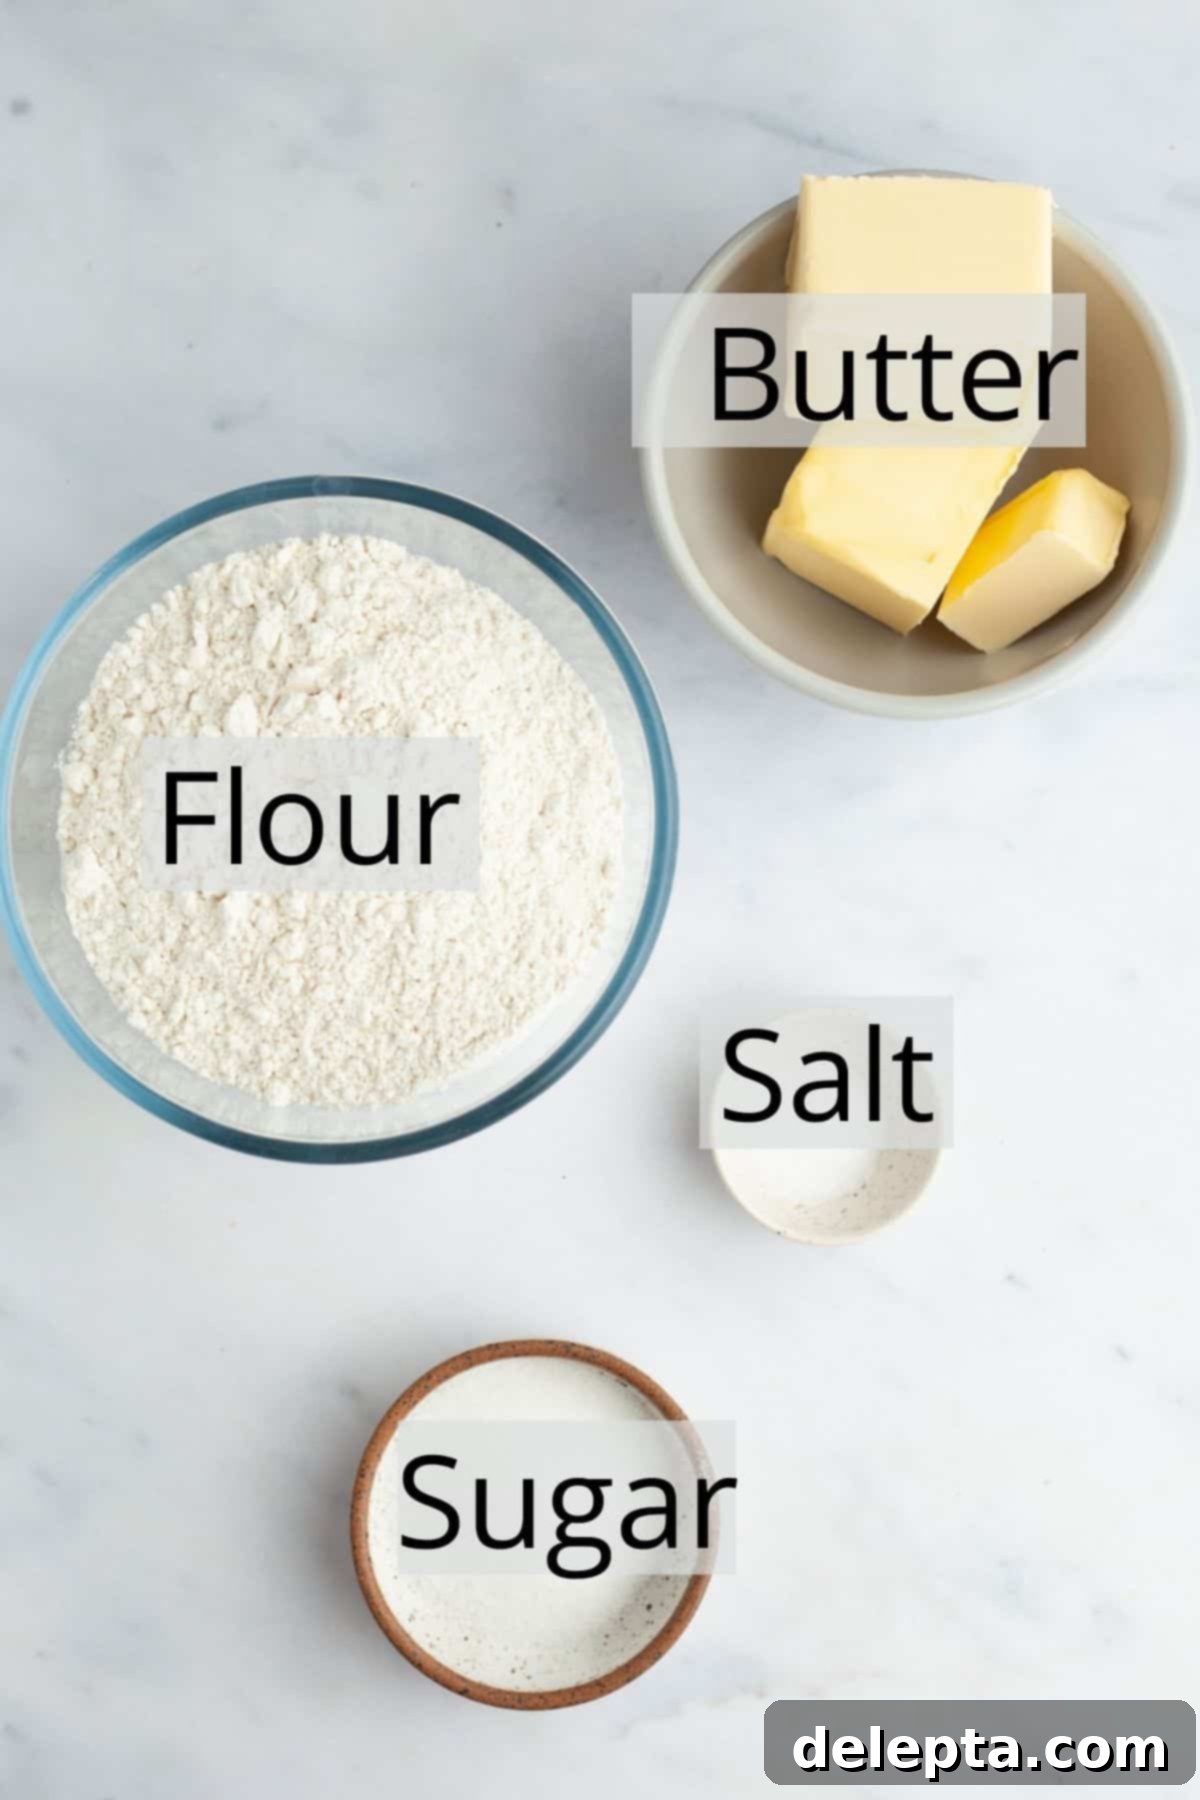
All-Purpose Flour: For this recipe, standard all-purpose flour is your go-to. It provides the perfect balance of protein to create a tender yet structured pie crust. While I haven’t specifically tested this recipe with gluten-free flour blends, if you’re experimenting, look for a blend designed for baking that includes xanthan gum for structure.
Unsalted European-Style Butter: Always opt for unsalted butter when baking, as it gives you complete control over the salt content in your recipe. My preference is European-style butter, such as Kerrygold. These butters typically boast a higher butterfat percentage (around 82-83% compared to 80% in American-style butter), which translates to a richer flavor and an incredibly tender, flakier crust. The higher fat content creates more distinct layers in the dough, contributing significantly to that coveted melt-in-your-mouth texture.
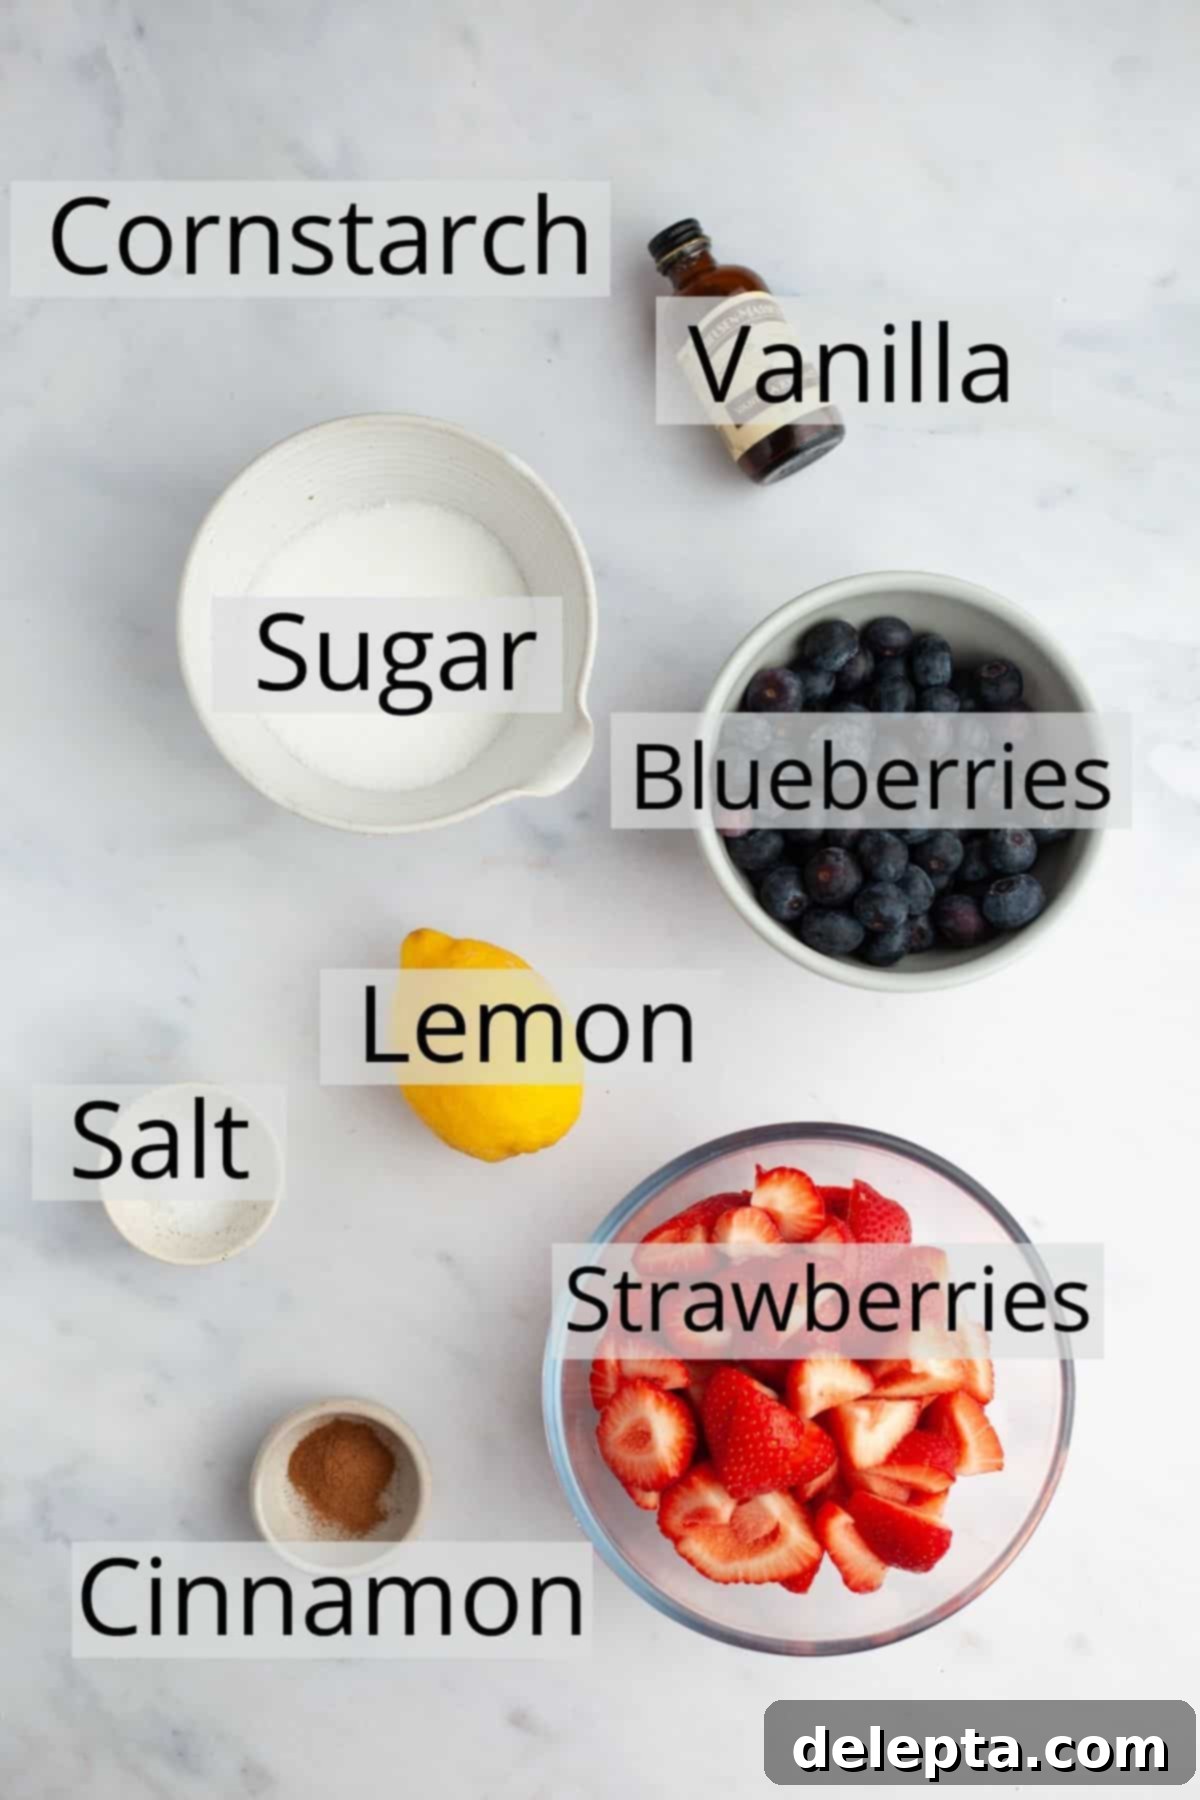
Cornstarch: This unassuming ingredient is vital for achieving a perfectly set, thick fruit filling. Cornstarch acts as a powerful thickening agent, binding with the fruit juices to prevent a runny pie. Ensure your cornstarch is fresh and lump-free for optimal results. You can substitute with tapioca starch or arrowroot powder if preferred, adjusting quantities as per package instructions.
Fresh, In-Season Berries: The quality of your fruit profoundly impacts the final flavor of your pie. For the most vibrant and intensely fruity taste, prioritize fresh, in-season strawberries and blueberries. Out-of-season berries often lack the natural sweetness and depth of flavor required, resulting in a less impactful pie. Ripe, juicy berries are key to a truly unforgettable dessert.
Fresh Lemon Juice: A squeeze of fresh lemon juice is not just for tang; it’s a flavor enhancer! It brightens the overall taste of the berry filling, providing a crucial tart counterpoint to the sweetness of the strawberries and blueberries. This balance prevents the pie from tasting overly sweet and adds a refreshing zing that elevates the entire dessert. Always use fresh lemon juice for the best flavor.
Step by Step Instructions for Baking Your Delicious Pie
Embarking on the journey to create this magnificent strawberry blueberry pie is a delightful process. Before you begin, gather your essential tools: a sturdy rolling pin, a selection of large and medium mixing bowls, a small saucepan for simmering the berry juices, a flexible rubber spatula, and a 9-inch pie plate. Having everything laid out and ready will make the baking process smooth and enjoyable, allowing you to focus on each step with ease.
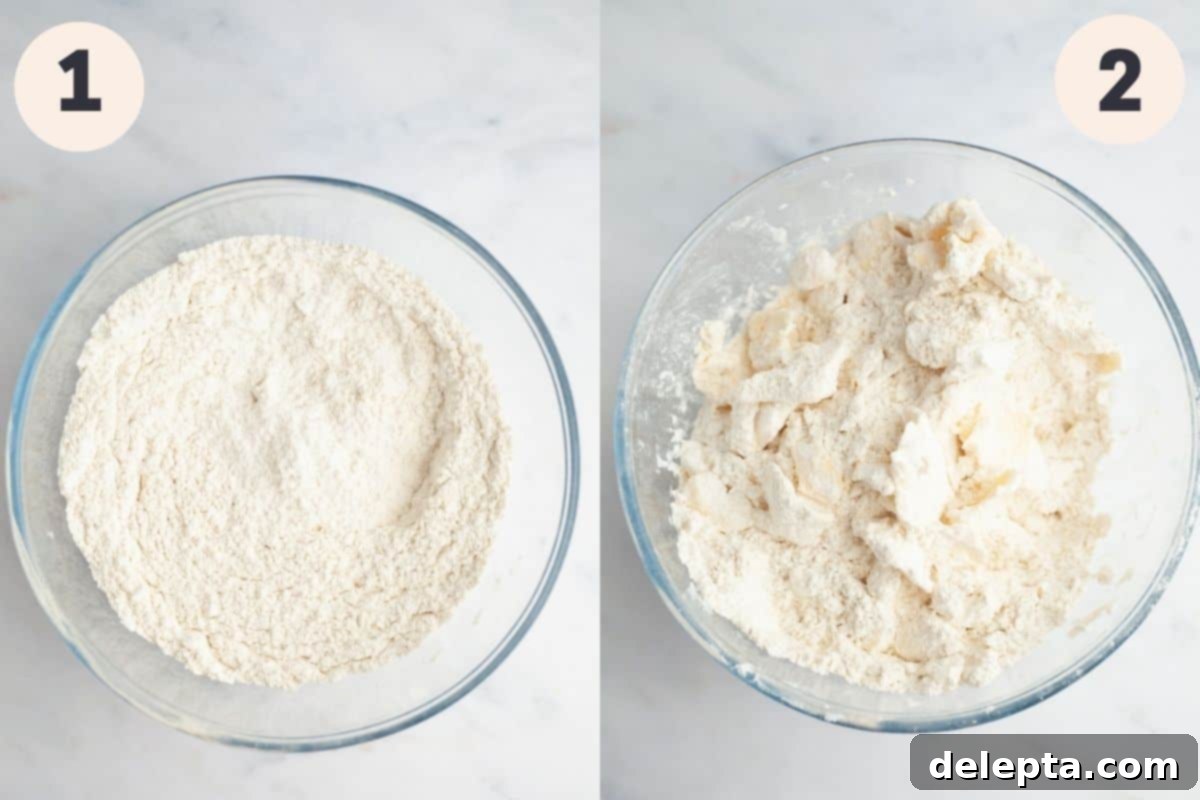
Step 1: Combine Dry Ingredients for Your Flaky Pie Dough. In a spacious mixing bowl, thoroughly whisk together the all-purpose flour, granulated sugar, and kosher salt. This initial step is crucial for ensuring that the salt and sugar are evenly distributed throughout the flour, preventing pockets of overly salty or sweet dough and guaranteeing a consistently flavored crust.
Step 2: Incorporate the Chilled Butter for Flakiness. This step is key to a flaky crust. Begin by cutting half of your very cold unsalted butter into thin, coin-like slices or small sheets, approximately ⅛ inch thick. Cube the remaining butter into ½-inch pieces. First, add the butter cubes to the dry flour mixture and toss to coat them evenly. Using your fingertips, gently flatten or “smoosh” the butter cubes into the flour. The goal is to create flat, pea-sized pieces of butter, no larger than a walnut half. Once done, incorporate the chilled butter slices, repeating the tossing and gently flattening process. Ensure all butter pieces are thoroughly coated in flour; this prevents them from clumping and creates those desirable pockets of steam during baking that result in a truly flaky texture.
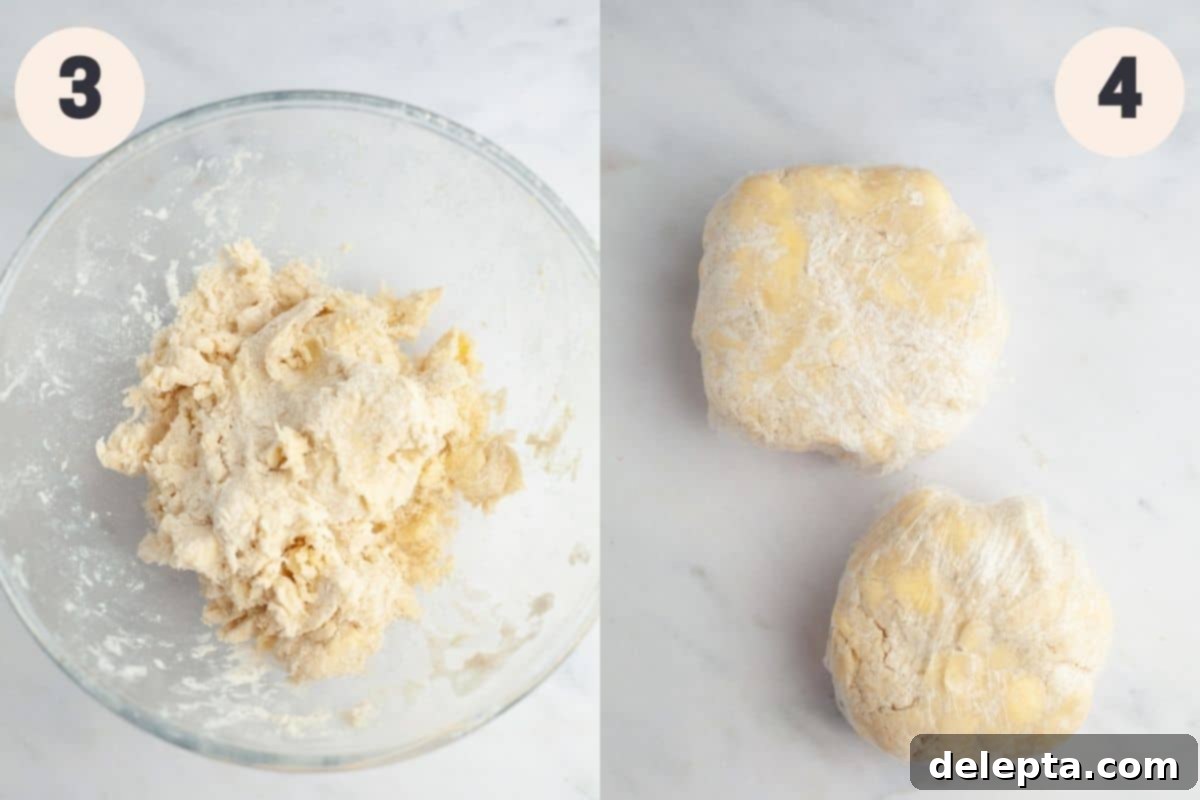
Step 3: Gradually Add Ice Water to Form the Dough. Slowly drizzle 10 tablespoons of ice-cold water (ensure no ice cubes fall in!) over the butter-flour mixture. Using your hands or a rubber spatula, gently toss and bring the mixture together. The dough should start to form a shaggy mass. The exact amount of water can vary based on your flour’s hydration and ambient humidity, so add additional ice water one tablespoon at a time, if necessary. The dough is ready when it just barely comes together when pressed, with only a few dry spots remaining, forming a cohesive ball that you can lightly knead. Overworking the dough at this stage will develop gluten, leading to a tough crust, so handle it minimally.
Step 4: Chill and Laminate for Ultimate Flakiness. Divide the prepared dough into two portions; make one disc slightly larger than the other. The larger portion is for the main pie crust, and the smaller for decorative pastry cutouts. Shape each into a flat disc, wrap tightly in plastic wrap, and refrigerate for a minimum of 2 hours, or up to 2 days. This chilling period is crucial: it allows the gluten to relax and the butter to firm up, making the dough easier to roll and ensuring a tender, flaky crust. For an even flakier result (an optional but highly recommended step!), take out one disc, roll it into a large rectangle on a lightly floured surface, fold it into thirds like an envelope, rewrap, and chill for an additional 30 minutes. Repeat with the second disc. This lamination creates extra layers, enhancing the pie’s texture beautifully.
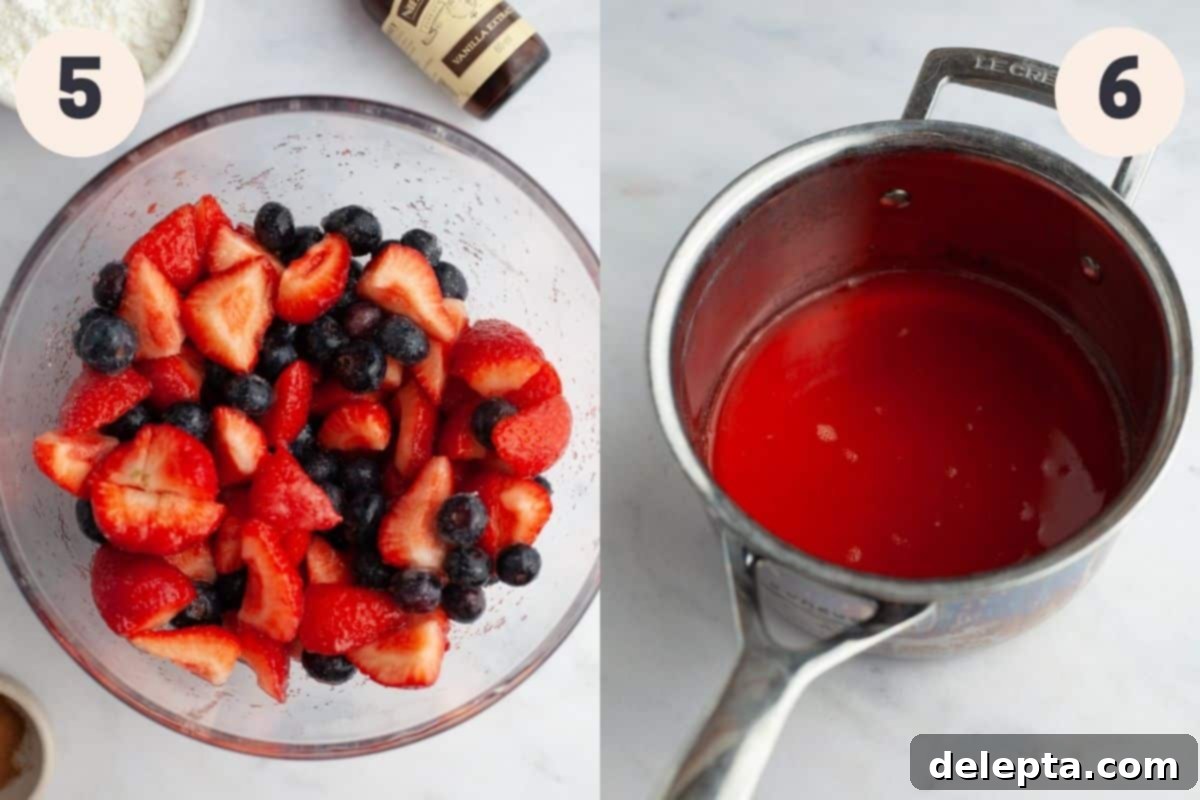
Step 5: Macerate the Fruit for Maximum Flavor and Texture. While your pie dough chills, prepare your fruit filling. This step is best done during the initial 2-hour dough chilling period. In a large bowl, combine the fresh strawberries and blueberries with half of the granulated sugar and the fresh lemon juice. Gently toss the mixture until the fruit is evenly coated. Allow the fruit to macerate at room temperature for at least 1 hour, or ideally up to 4 hours, tossing occasionally. Maceration is the process where sugar draws out the natural juices from the fruit, intensifying its flavor and preventing a watery pie. If your berries are less ripe or out of season, extend the maceration time to the full 4 hours to ensure sufficient juice extraction.
Step 6: Reduce Berry Juices to Create a Thick Syrup. Once the fruit has macerated, carefully place a fine-mesh sieve or colander over a small saucepan. Pour the fruit mixture into the sieve, allowing all the rich, flavorful berry juices to drain into the saucepan. Return the macerated fruit to the large bowl. Place the saucepan with the collected juices over medium-low heat and bring it to a gentle boil. Once boiling, reduce the heat to a simmer and stir frequently to prevent sticking. Continue simmering until the juices have reduced significantly, leaving you with about 2-3 tablespoons of a visibly thick, syrupy concentrate. This reduction process intensifies the berry flavor and ensures your pie filling will be wonderfully set, not watery. The time needed will vary depending on the amount of juice extracted, but typically takes around 10 minutes.
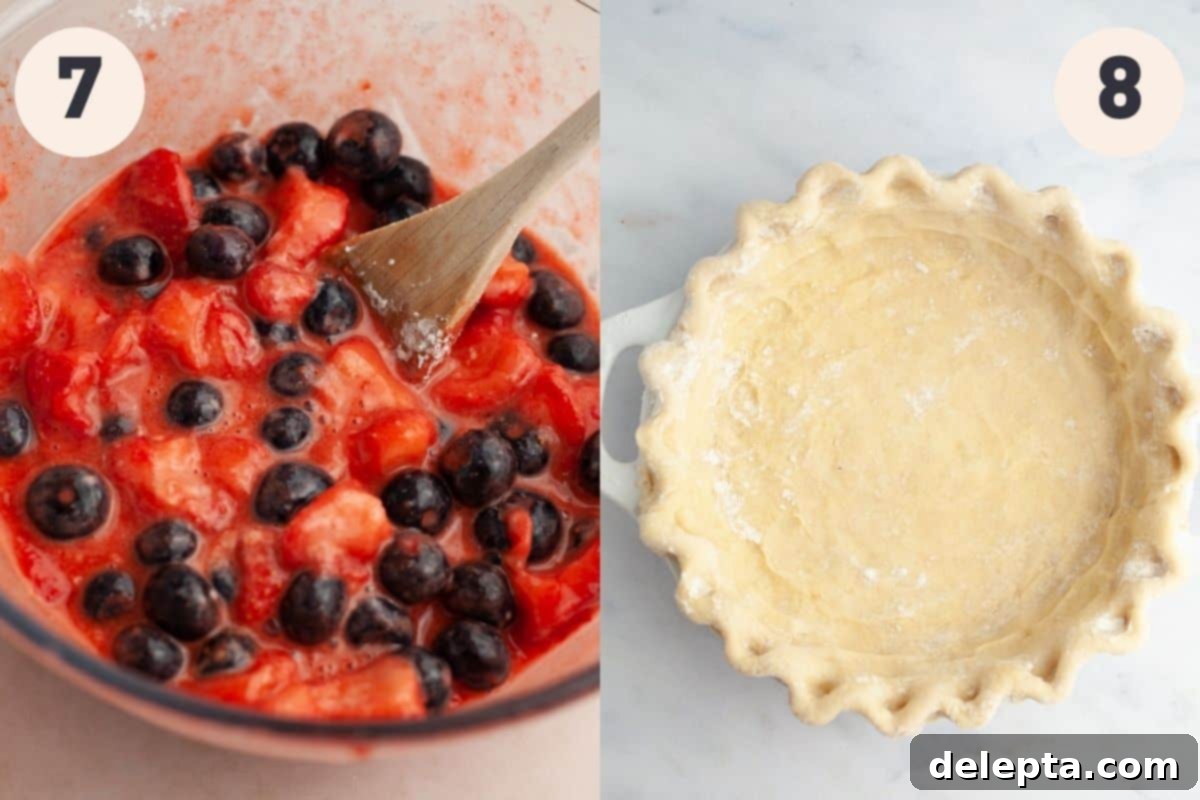
Step 7: Complete and Season Your Delicious Berry Filling. Pour the thickened berry syrup back over the macerated fruit in the large bowl. Now, add the remaining granulated sugar, cornstarch (your key thickener!), kosher salt, a touch of vanilla extract for warmth, and ground cinnamon for a comforting spice note. Gently toss all the ingredients together with a rubber spatula until the berries are thoroughly and evenly coated. This ensures that the thickener and seasonings are uniformly distributed, creating a harmonious flavor profile and a perfectly set filling.
Step 8: Prepare and Chill Your Pie Crust. On a lightly floured surface, roll out the larger disc of chilled pie dough using a rolling pin. Aim for a circle that is approximately 1½ to 2 inches wider than your 9-inch pie plate. Carefully transfer the rolled dough into the pie plate; you can gently roll it onto your pin and then unroll it over the plate. Allow the dough to softly settle into the contours of the plate without stretching it. Trim any excess dough around the edges, leaving about a 1-inch overhang. Tuck this overhang underneath itself to create a thicker, more stable edge. Using lightly floured hands, firmly press the dough along the bottom and sides of the pie plate, particularly where the bottom meets the sides. This crucial step helps prevent the crust from shrinking or slumping during baking. Finally, crimp the edges decoratively as desired and place the lined pie plate in the refrigerator to chill for at least 15 minutes. This final chill ensures the butter remains cold and the crust holds its shape beautifully.
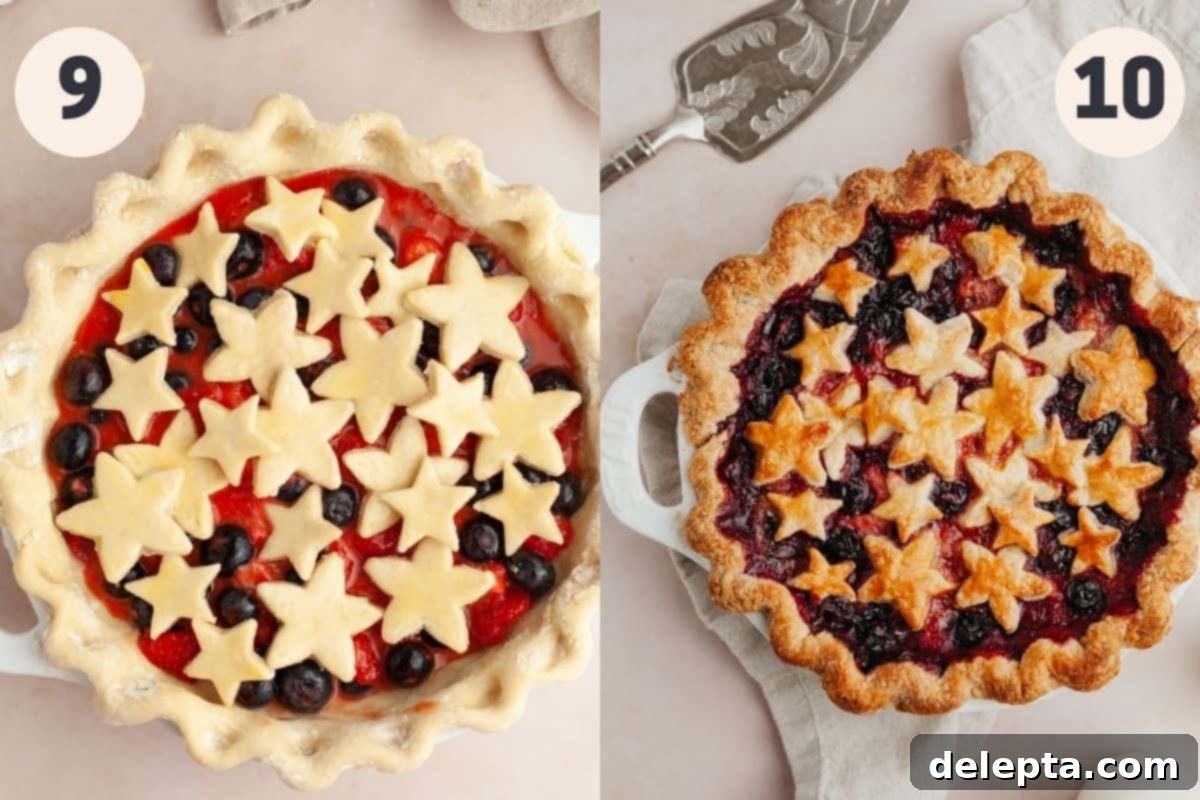
Step 9: Craft Decorative Pastry Cutouts and Assemble the Pie. While your pie crust is enjoying its final chill, take the smaller disc of pie dough from the refrigerator. Roll it out on a lightly floured surface to your desired thickness. Using cookie cutters or specific pie crust cutters, create your chosen decorative shapes—stars, leaves, or geometric patterns work wonderfully. Arrange these cutouts on a small plate. For a beautiful golden-brown finish, lightly brush the pastry cutouts with a beaten egg wash (a single egg whisked with a tablespoon of water or milk). Retrieve the chilled pie crust from the fridge, pour the luscious berry filling evenly into it, and then artfully arrange your golden-brown-bound pastry cutouts on top of the pie, creating an appealing visual design.
Step 10: Bake to Golden Perfection. Place your assembled, chilled pie directly onto the middle rack of your oven, which should be preheated to a hot 425°F (220°C). Bake at this high temperature for an initial 15 minutes; this burst of heat helps to set the crust quickly and initiate a beautiful lift. After 15 minutes, without opening the oven door, reduce the temperature to 350°F (175°C) and continue baking for an additional 45-50 minutes. The pie is ready when the berry filling is actively bubbling through the cutouts or at the edges, and the top crust and decorative edges are a rich, golden brown. If you notice the crust browning too quickly, loosely tent the edges or the entire top with aluminum foil to prevent over-browning.
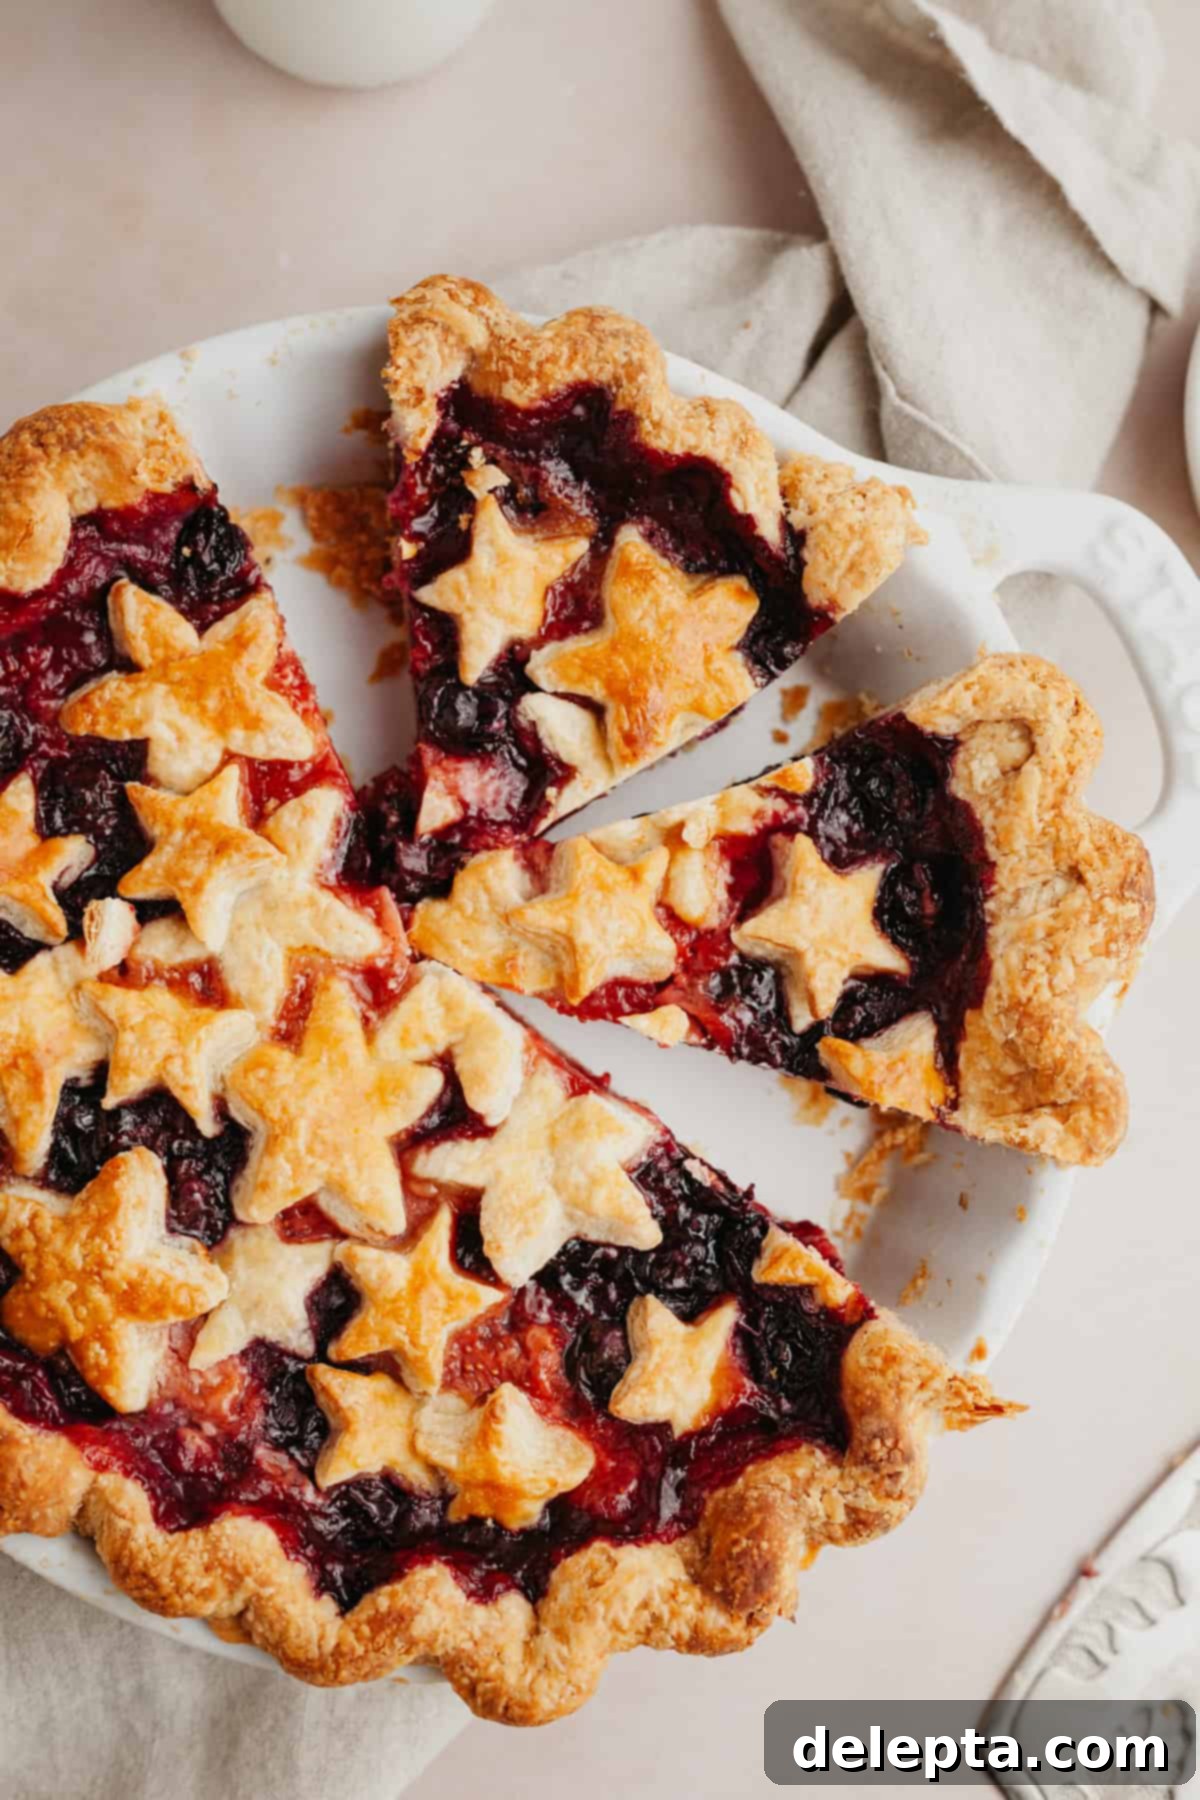
Cool Completely Before Serving: This is arguably the most challenging but crucial step! Once baked, carefully remove the pie from the oven and place it on a wire rack to cool completely. This process can take several hours, but it is essential for the filling to fully set. Slicing into a warm pie will result in a runny, messy filling, no matter how perfectly you boiled down the juices. Once cooled, slice generously and serve this delightful summer dessert with a scoop of your favorite vanilla ice cream or a dollop of fresh, lightly sweetened whipped cream. Enjoy every irresistible bite!
Expert Recipe Tips & Tricks for Pie Perfection
- Precision in Measuring Ingredients is Key: For consistent and professional baking results, I cannot stress enough the importance of using a digital kitchen scale and measuring your ingredients in grams (the metric way). Volume measurements (cups and spoons) can be highly inaccurate due to variations in how ingredients are packed, leading to vastly different outcomes. Weighing ensures precise quantities, making a significant difference in the texture and success of your pie dough and filling.
- Proper Flour Measurement (if not weighing): If a kitchen scale isn’t available and you’re using measuring cups, employ the “fluff and sprinkle” method for flour. First, gently fluff the flour in its container with a spoon. Then, lightly spoon the flour into your measuring cup until it overflows, and level it off with a straight edge (like the back of a knife). Never scoop directly from the bag, as this compacts the flour, adding too much to your recipe. This method minimizes compaction, getting you closer to the correct amount.
- The Absolute Necessity of Cold Butter and Chilled Dough: This is arguably the most critical tip for a truly flaky pie crust. Warm butter melts into the flour too quickly, creating a tough, dense dough. Ensure your butter is ice-cold before you start, and maintain its temperature throughout the process. Crucially, chill the dough thoroughly for at least 2 hours after mixing, and again for 15 minutes after lining the pie plate. In warmer environments or summer months, extending these chilling times can be beneficial. Taking the pie from the fridge directly into a hot oven creates steam from the cold butter, which is what gives your crust its incredible layers and prevents slumping.
- Customize Your Mixed Berry Blend: While this recipe spotlights the delightful combination of strawberries and blueberries, feel free to get creative with your berry choices! This pie is wonderfully versatile. You could make an all-strawberry or all-blueberry pie, or introduce other berries like tart raspberries, blackberries, or even cherries for an even more complex flavor profile. If you choose to add an additional berry, simply ensure the total fruit volume remains consistent by slightly reducing the quantities of strawberries and blueberries to maintain the optimal filling-to-crust ratio and prevent overflow.
Frequently Asked Questions
Preventing a runny pie filling is crucial for a perfect slice! Follow these key steps: First, properly macerate your fruit for 1 to 4 hours to draw out excess moisture. Second, meticulously drain those flavorful juices and simmer them until they reduce into a thick, concentrated syrup. Third, ensure you use the correct amount of a fresh, active thickener like cornstarch in your filling. Finally, and perhaps most importantly, bake your pie until the filling is visibly bubbling vigorously in the center, indicating the thickener has fully activated. After baking, allow the pie to cool completely on a wire rack for several hours before slicing. This extended cooling period is vital for the filling to set properly; cutting into a warm pie will almost always result in a fluid filling.
While this recipe was developed and tested using fresh, in-season berries for optimal flavor and texture, you may be able to adapt it for frozen berries. If you choose to use frozen berries, do not thaw them first; add them directly to the macerating step as frozen. Be aware that frozen berries release significantly more liquid, so you may need to extend the maceration time and ensure you reduce the juices even further to a very thick syrup. Also, consider increasing the cornstarch slightly (by about 1-2 teaspoons) to account for the extra moisture. The baking time might also need to be slightly longer. Please share your results if you try it!
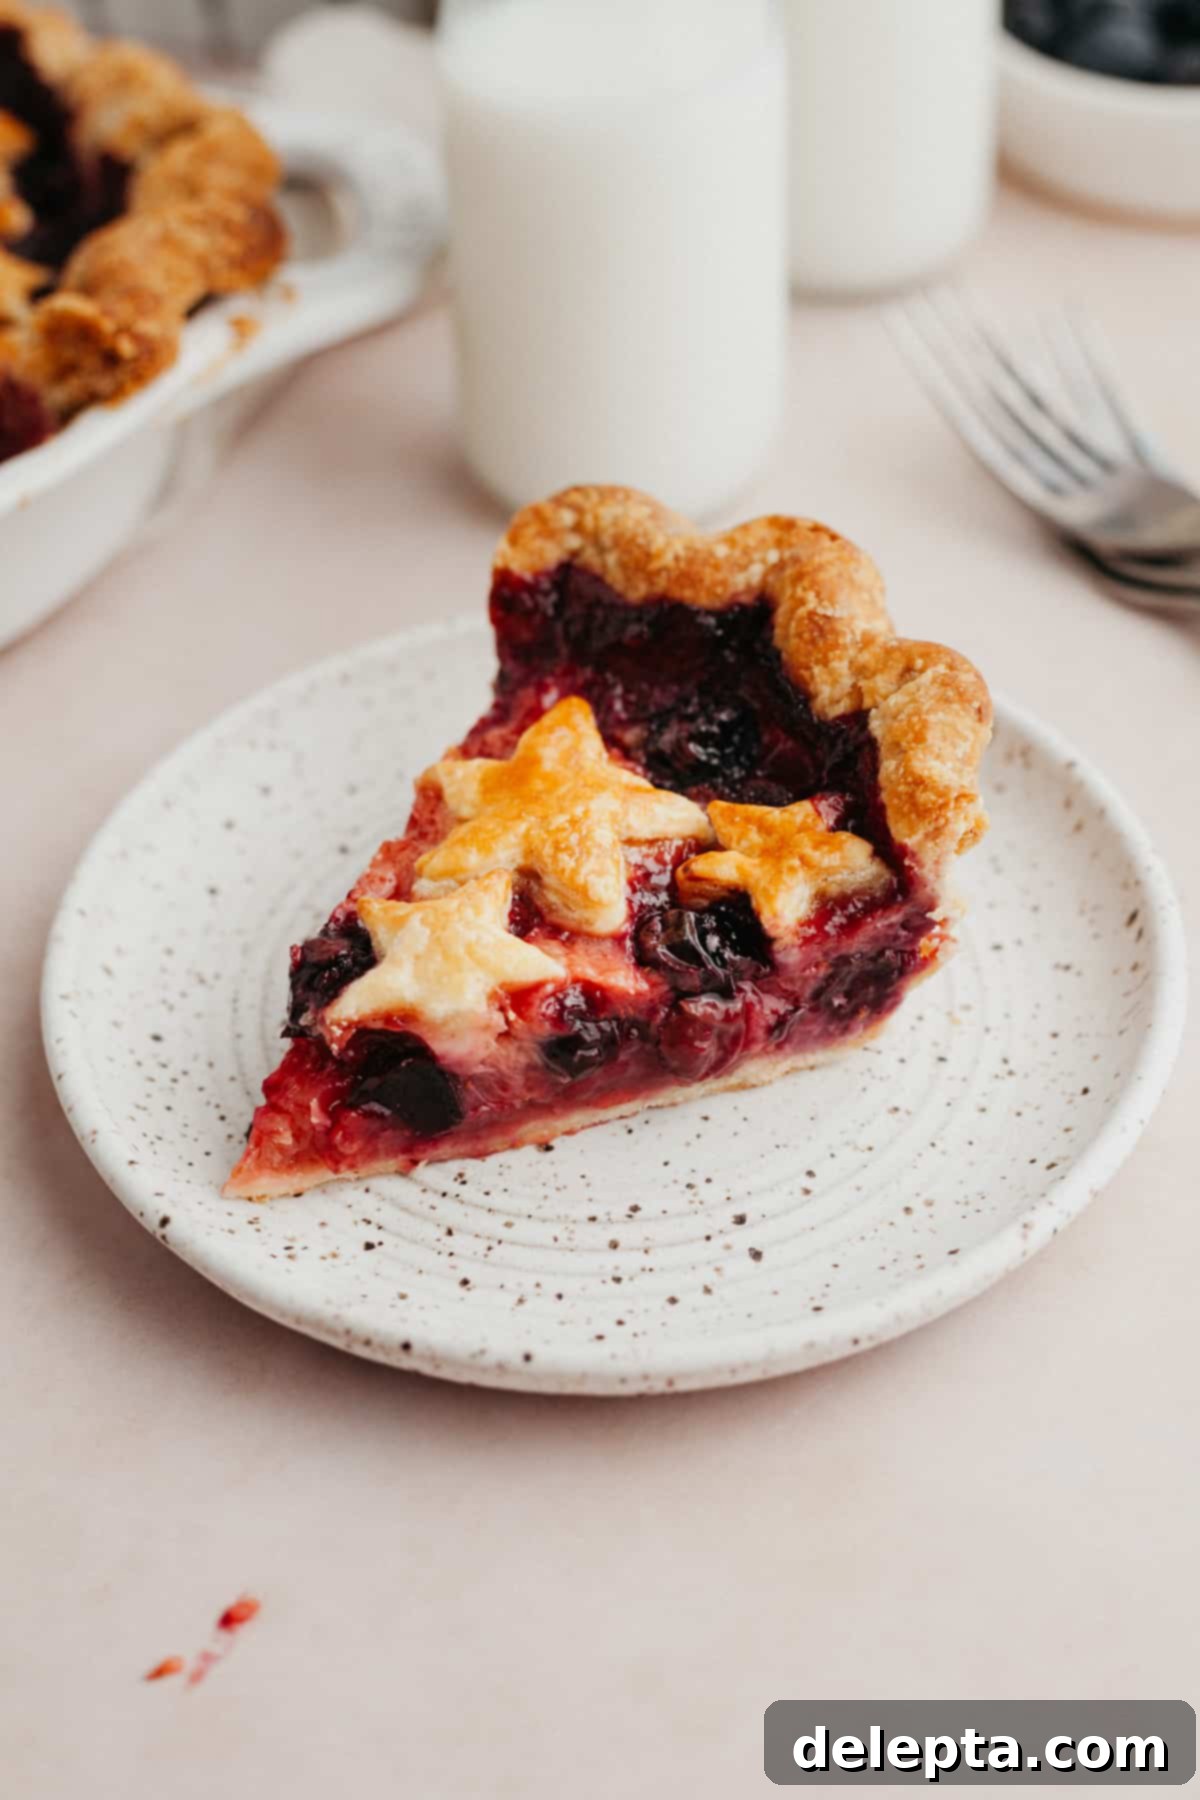
To maintain the freshness and quality of your baked strawberry blueberry pie, ensure it is completely cooled before storing. Once cool, cover the pie tightly with plastic wrap or aluminum foil, or transfer individual slices to an airtight container. Store the pie in the refrigerator for up to 5 days. For best taste and texture, allow slices to come closer to room temperature before serving, or gently warm them in the oven.
Expand Your Baking Repertoire: Try These Fruity Recipes Next!
- Easy Lemonade Bundt Cake
- Blackberry Lemon Bread
- Easy Strawberry Apple Crisp
- Blueberry Filled Cake with Lemon Buttercream
Have you made this recipe? Please rate the recipe below! Don’t forget to follow me on Instagram @alpineella and Pinterest!
Recipe Card: Strawberry Blueberry Pie

Strawberry Blueberry Pie
Ella Gilbert
Pin Recipe
Save RecipeSaved!
Equipment
-
1 9 inch pie plate
Ingredients
Pie Dough
- 3 cups all purpose flour
- 1 teaspoon kosher salt
- 2 tablespoons white granulated sugar
- 2 ½ sticks unsalted butter cold
Strawberry Blueberry Filling
- 2 cups blueberries
- 3 cups strawberries cut into quarters
- 3 tablespoons lemon juice
- ½ cup white granulated sugar
- ⅓ cup cornstarch
- ½ teaspoon ground cinnamon
- 1 teaspoon kosher salt
- ½ teaspoon vanilla extract
- 1 egg beaten
Instructions
Make Pie Dough
-
Prepare an ice water bath in a measuring jug and chill. Lay out two pieces of plastic wrap for later use.
-
Slice half of the cold butter into ⅛-inch thick pieces and return to the fridge.
-
Whisk together flour, salt, and sugar in a large bowl.
-
Cut remaining butter into ½-inch cubes. Toss with dry ingredients, then “smoosh” with fingers until pea-sized, ensuring all butter is coated.
-
Add chilled butter slices, toss to coat, and flatten with fingers to incorporate with flour.
-
Gradually drizzle 10 tbsp ice water into the flour, tossing and gently kneading until a shaggy mass forms. Add more water, 1 tbsp at a time, until the dough comes together with minimal dry spots.
-
Divide dough into two discs (one slightly larger for the crust, one smaller for cutouts). Wrap tightly and refrigerate for at least 2 hours. (Proceed to fruit maceration while dough chills).
-
Let chilled dough soften for 5-10 minutes. On a floured surface, roll one disc into a rectangle, fold into thirds (like an envelope), rewrap, and chill for 30 minutes. Repeat with the second disc (optional, for flakier dough).
Make Pie
-
In a large bowl, combine fresh berries, half of the sugar, and lemon juice. Toss and let macerate at room temperature for 1-4 hours, tossing occasionally, until juices accumulate. (Perform this while pie dough chills).
-
Place a sieve over a saucepan and drain fruit juices into the pan. Return fruit to the bowl. Simmer juices over medium-low heat, stirring, until reduced to 2-3 tablespoons of thick syrup (approx. 10 minutes).
-
Pour reduced syrup over the fruit. Add remaining sugar, cornstarch, salt, vanilla extract, and cinnamon. Toss until berries are evenly coated.
-
Preheat oven to 425°F (220°C) with a rack in the middle.
-
Let the large dough disc sit for 5-10 minutes. On a floured surface, roll it out 1-2 inches wider than your pie plate. Carefully transfer to the plate.
-
Allow dough to settle into the plate. Firmly press along the bottom and sides to prevent slumping during baking.
-
Trim overhang to 1 inch, tuck underneath for a thicker edge. Firmly press dough into the plate and crimp edges as desired to maintain shape.
-
Chill pie plate for 15 minutes. Meanwhile, roll out the second dough disc on a floured surface. Cut out decorative shapes, place on a plate, and brush with beaten egg for a golden finish.
-
Remove chilled crust, pour in filling, and arrange pastry cutouts on top.
-
Immediately transfer the cold pie to the preheated oven. Bake at 425°F (220°C) for 15 minutes. Reduce temperature to 350°F (175°C) (without opening door) and bake for 45-50 minutes, or until filling bubbles and crust is golden. Loosely tent with foil if crust browns too quickly.
-
Remove pie and cool completely on a wire rack before slicing. (Crucial for filling to set).
Notes
Salt: If you don’t have kosher salt, please halve the amount of salt specified in the recipe. For reference, 1 teaspoon of kosher salt is roughly equivalent to ½ teaspoon of fine table salt.
Butter: For superior richness and a tender crumb in my baked goods, I exclusively use European-style butter, such as Kerrygold, in my recipes. Its higher butterfat content significantly enhances the finished product.
Making Ahead: The pie dough can be prepared and refrigerated for up to 2 days in advance. For ultimate convenience, the entire assembled pie can be made the day before you plan to bake and serve it.
Storage: Store any leftover pie tightly covered with plastic wrap or in an airtight container in the refrigerator for up to 5 days, ensuring maximum freshness.
Nutrition Information
