Mastering Birthday Cake Macarons: The Easy Swiss Meringue Method & Funfetti Buttercream
Embark on a delightful baking journey and learn how to create your very own batch of show-stopping birthday cake macarons! This comprehensive guide will walk you through the Swiss meringue method, a remarkably stable and straightforward technique that consistently yields perfect, glossy macaron shells. But the indulgence doesn’t stop there; these vibrant, celebratory shells are generously filled with a creamy, dreamy cake batter buttercream that comes together in just seven minutes, adding an irresistible funfetti flavor to every bite. Get ready to impress your friends and family with these homemade, picture-perfect treats!
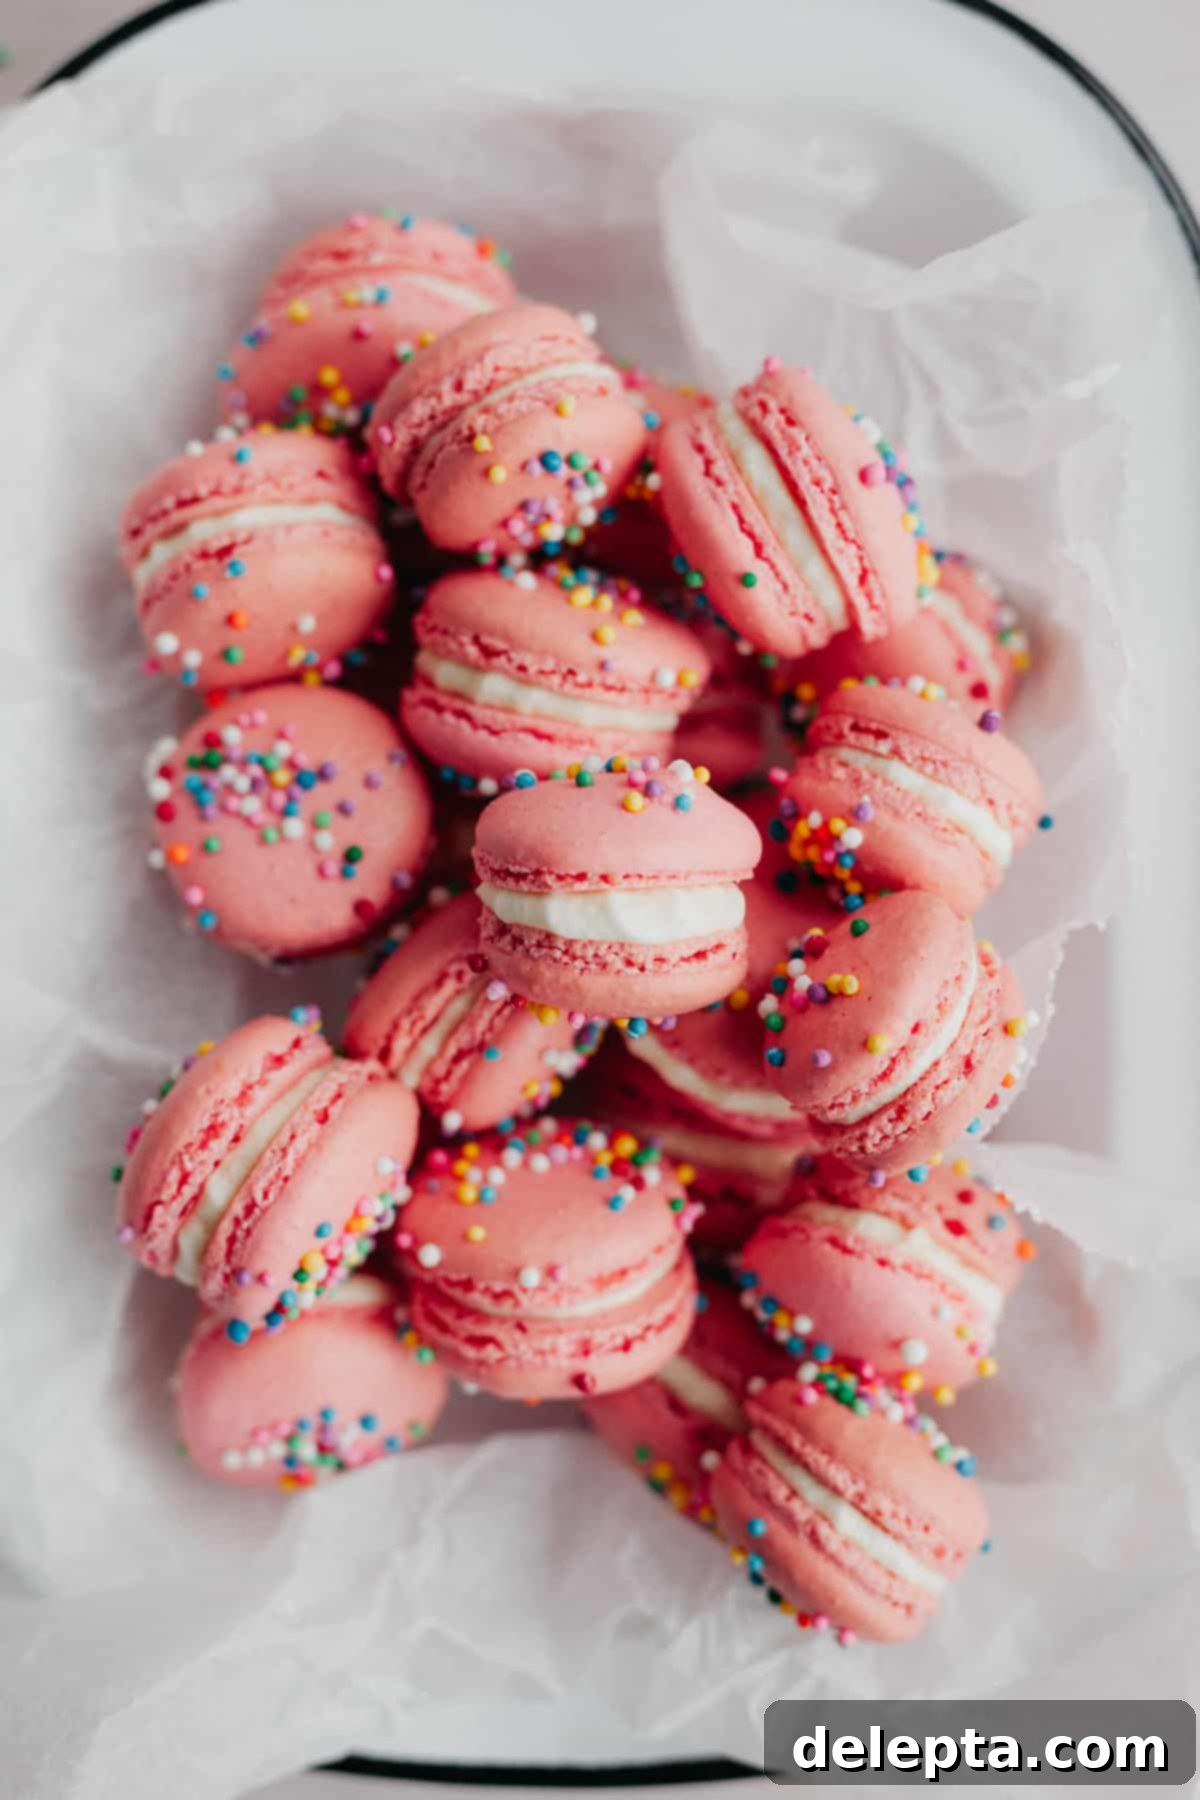
Everything You Need to Know About These Delicious Birthday Cake Macarons!
- Flavor Profile: Prepare your taste buds for an explosion of classic birthday cake nostalgia! The delicate macaron shells are infused with clear vanilla extract, a key ingredient that delivers that distinctive “funfetti cake batter” taste without altering the shell’s vibrant color. The luxurious buttercream filling enhances this experience further, combining the rich tang of cream cheese with more clear vanilla, creating a truly irresistible and celebratory flavor.
- Irresistible Texture: These macarons offer a delightful interplay of textures. The shells boast that signature crisp exterior that gives way to a wonderfully chewy interior, a hallmark of a perfectly baked macaron. Complementing this, the cake batter buttercream is incredibly smooth and creamy, providing a melt-in-your-mouth contrast. Remember to store these beauties in the fridge to maintain the buttercream’s perfect consistency and extend their freshness.
- Achievable for the Ambitious Baker: While macarons are often perceived as challenging, this recipe, utilizing the Swiss method, makes them more accessible than you might think. It’s true that precision is paramount – this isn’t a throw-together beginner recipe – but with careful attention to each instruction and the use of a digital weighing scale for accuracy, you’ll find perfect macaron shells are well within your reach. Consider it a rewarding step up in your baking repertoire!
- Time Commitment: Don’t let their elegant appearance fool you; the hands-on preparation for the macaron shells takes surprisingly little time, approximately 20 minutes. Baking is quick too, at about 15 minutes per tray. The main time investment comes from crucial resting periods, which are essential for structure and flavor development, but are mostly passive waiting.
- A Recipe to Revisit: Absolutely! These birthday cake macarons are not only incredibly satisfying to eat but also immense fun to create. Experimenting with various food colorings to achieve vibrant hues and different sprinkle combinations allows for endless customization, making each batch a unique and joyful baking adventure.
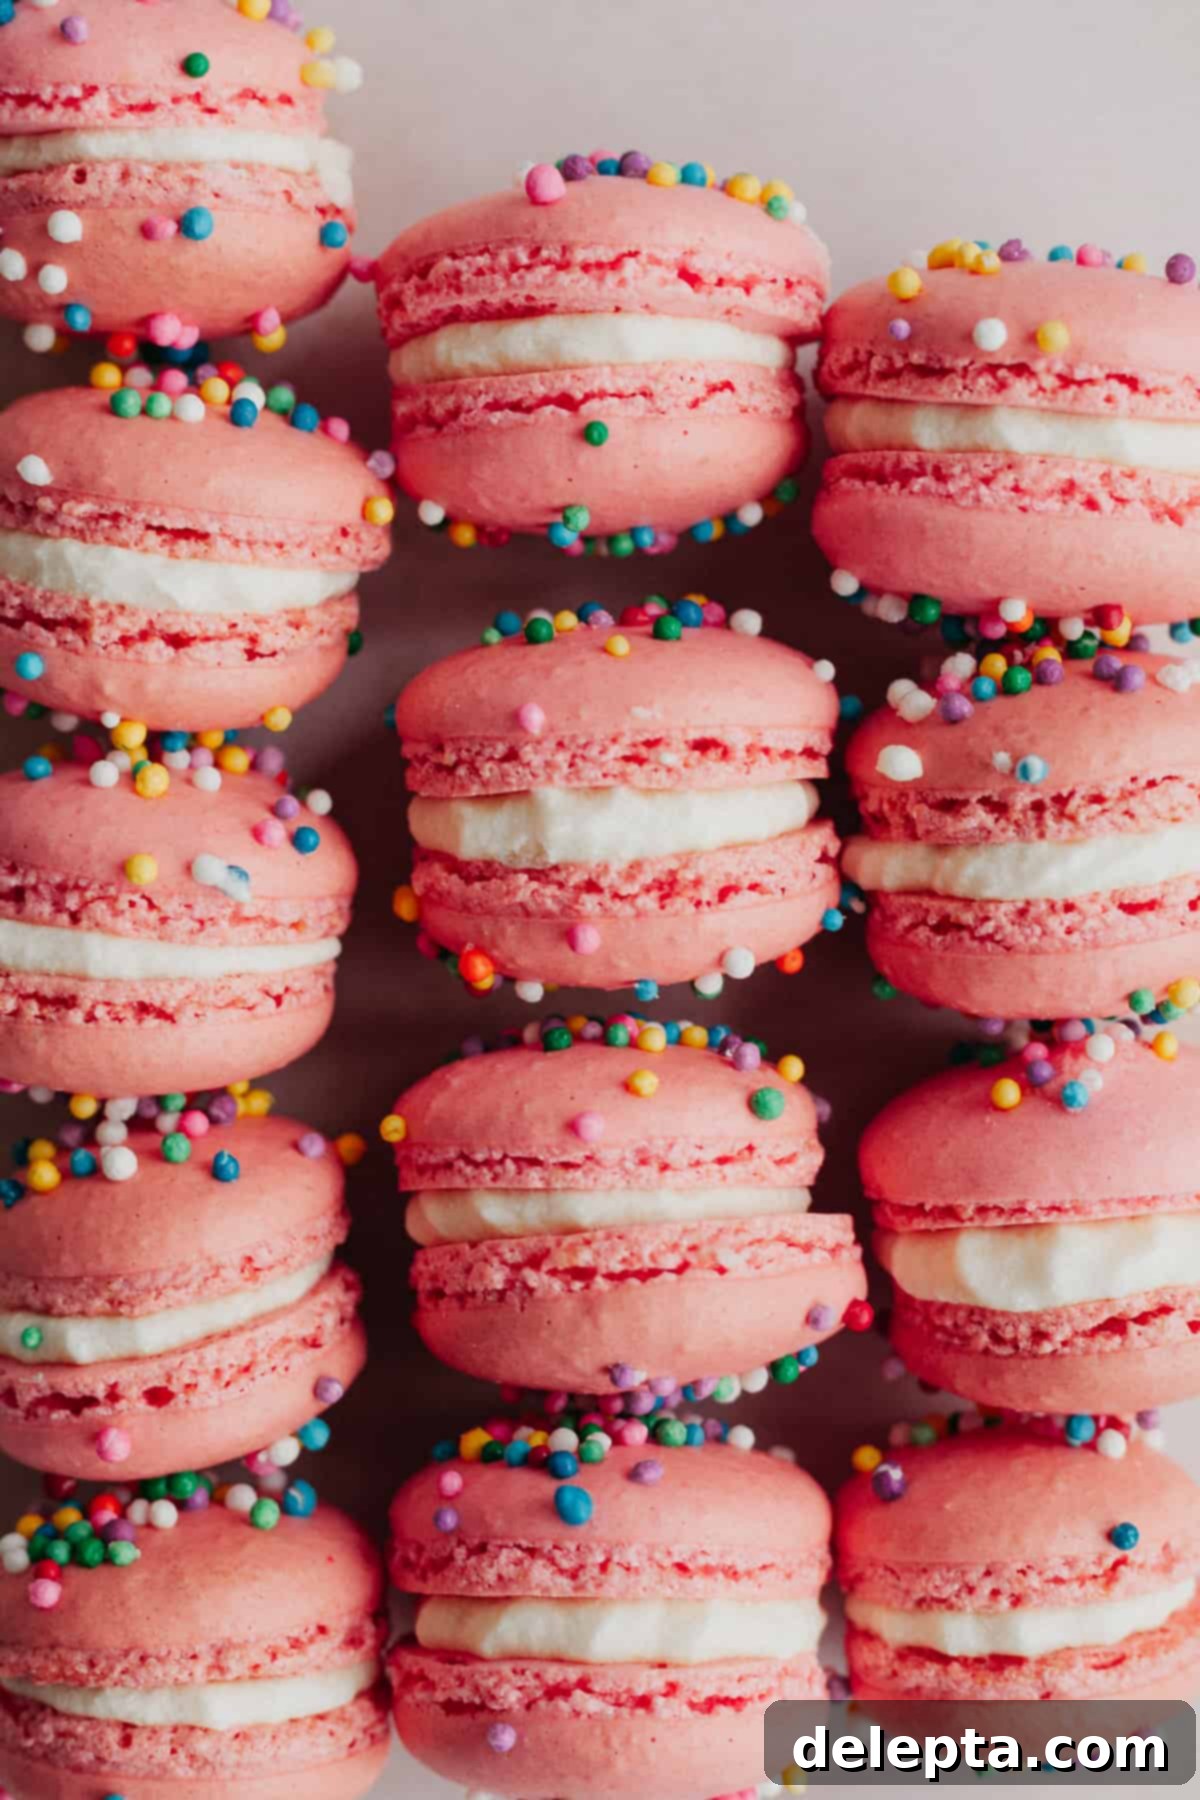
Essential Macaron Terminology for Success
Understanding these key terms will empower you as you navigate the macaron-making process:
- Macaronage: This crucial stage involves gently folding the stiff meringue with the dry ingredients (almond flour and powdered sugar) until the batter reaches the perfect flowing consistency. It’s a delicate balance; under-mixing results in lumpy shells, while over-mixing leads to runny batter.
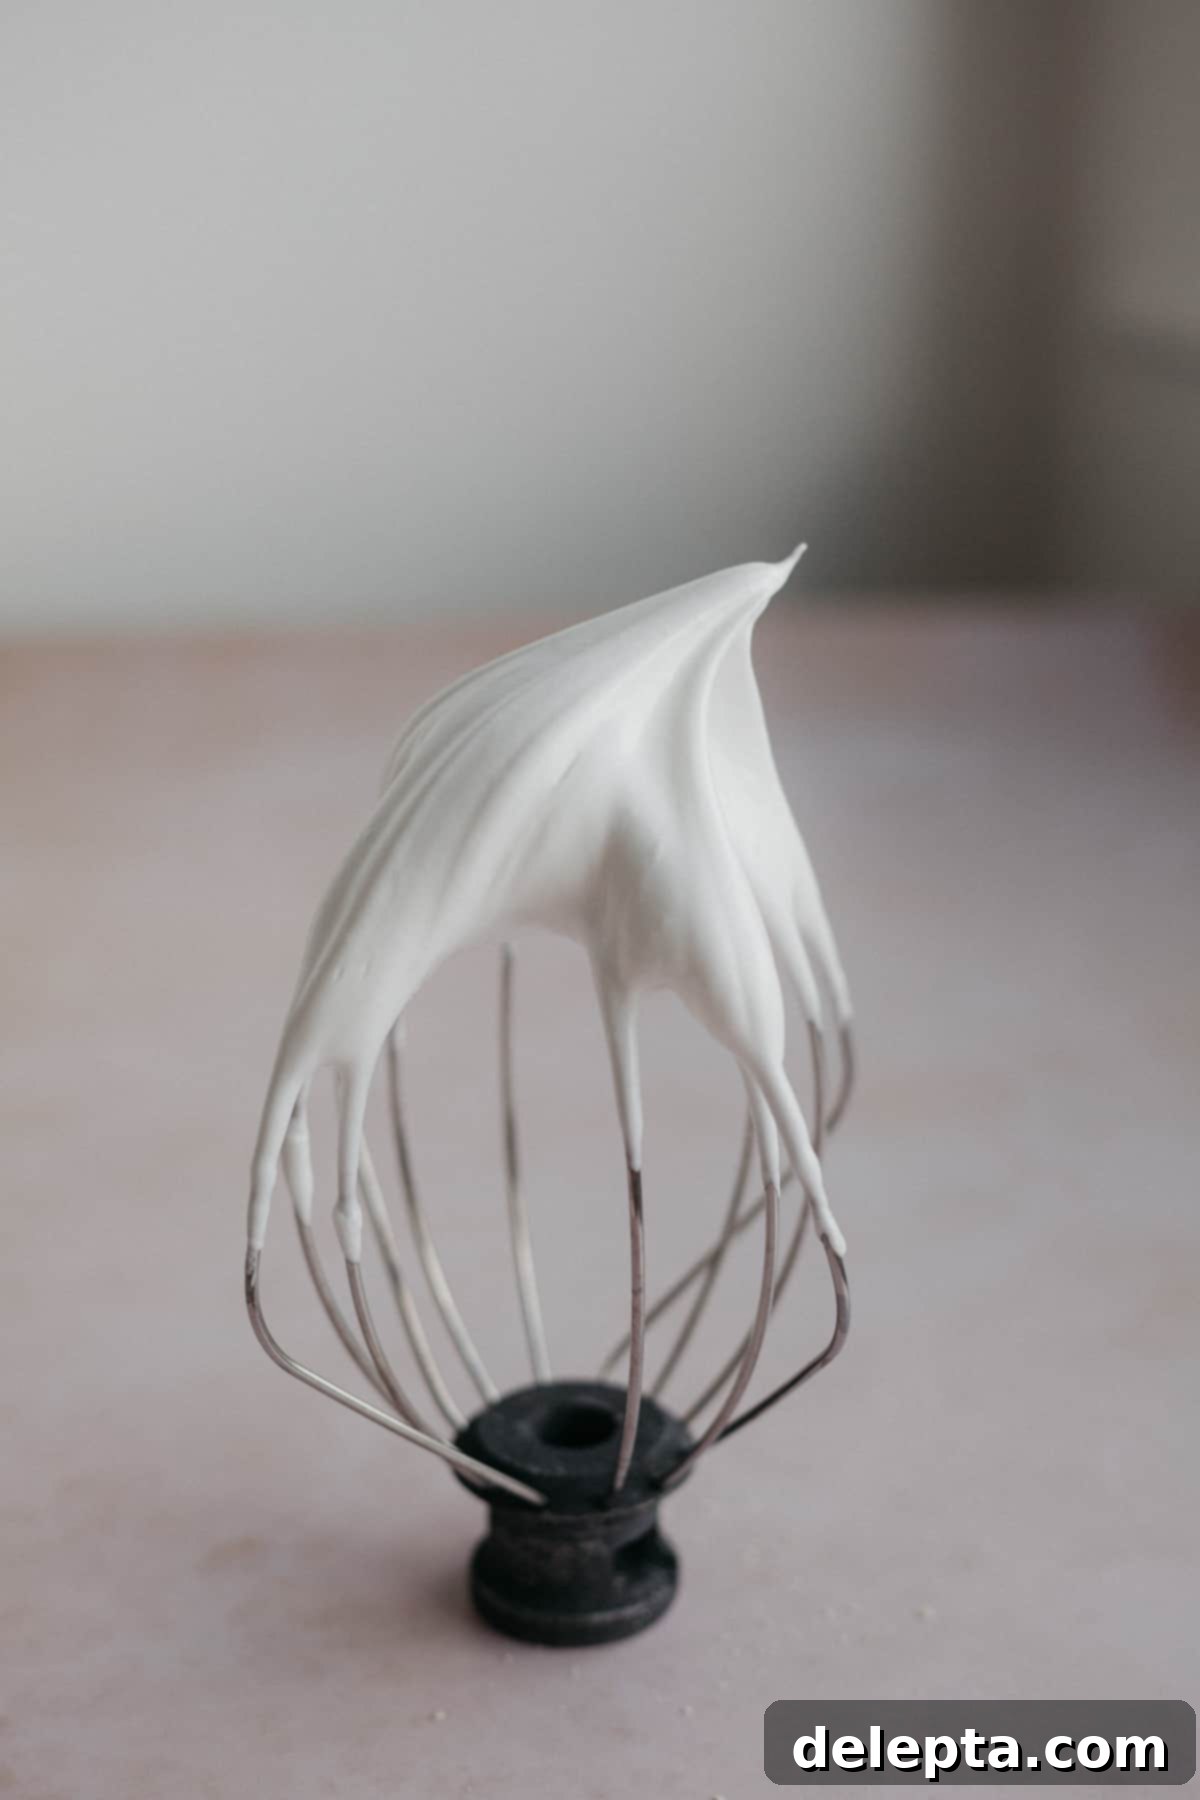
- Stiff Peak Meringue: This refers to the desired consistency of your whipped egg whites and sugar. At this stage, the meringue will be thick, glossy, and hold its shape firmly when the whisk is lifted, with only a slight, graceful curl at the very tip.
- Resting (or Drying): After piping your macaron shells onto baking sheets, they need to rest at room temperature. During this time, a ‘skin’ forms on the surface, which is vital for preventing cracks and encouraging the formation of those characteristic “feet” during baking.
- Feet (or Collars): These are the delicate, ruffled edges that appear at the base of each macaron shell during baking. They are a sign of a properly made macaron and contribute to its iconic appearance.
Mastering Macarons with the Swiss Meringue Method
Having experimented extensively with both French and Swiss macaron methods, I consistently find the Swiss approach to be more forgiving and reliable, particularly for home bakers. While it introduces one extra step – gently heating the egg whites and sugar over a double boiler – this initial warmth creates a highly stable meringue. This stability is a game-changer, making the macaronage process less stressful and significantly reducing the likelihood of common issues like ruffled feet, which I found much more prevalent with the French method. The Swiss method provides a robust foundation, setting you up for success with perfectly formed shells.
Before you begin, ensure that all your ingredients, especially the egg whites, are at room temperature. This isn’t just a suggestion; it’s a critical step for successful macarons. Room temperature egg whites whip up with more volume and stability, which is essential for a robust meringue. For an even greater edge, I often ‘age’ my egg whites: 24 hours prior to baking, I separate them and place them in a bowl in the fridge. This subtle step helps reduce their moisture content. Then, about two hours before starting my macaron prep, I take them out to allow them to reach optimal room temperature. While not strictly essential, I’ve found this aging process contributes to consistently excellent results.
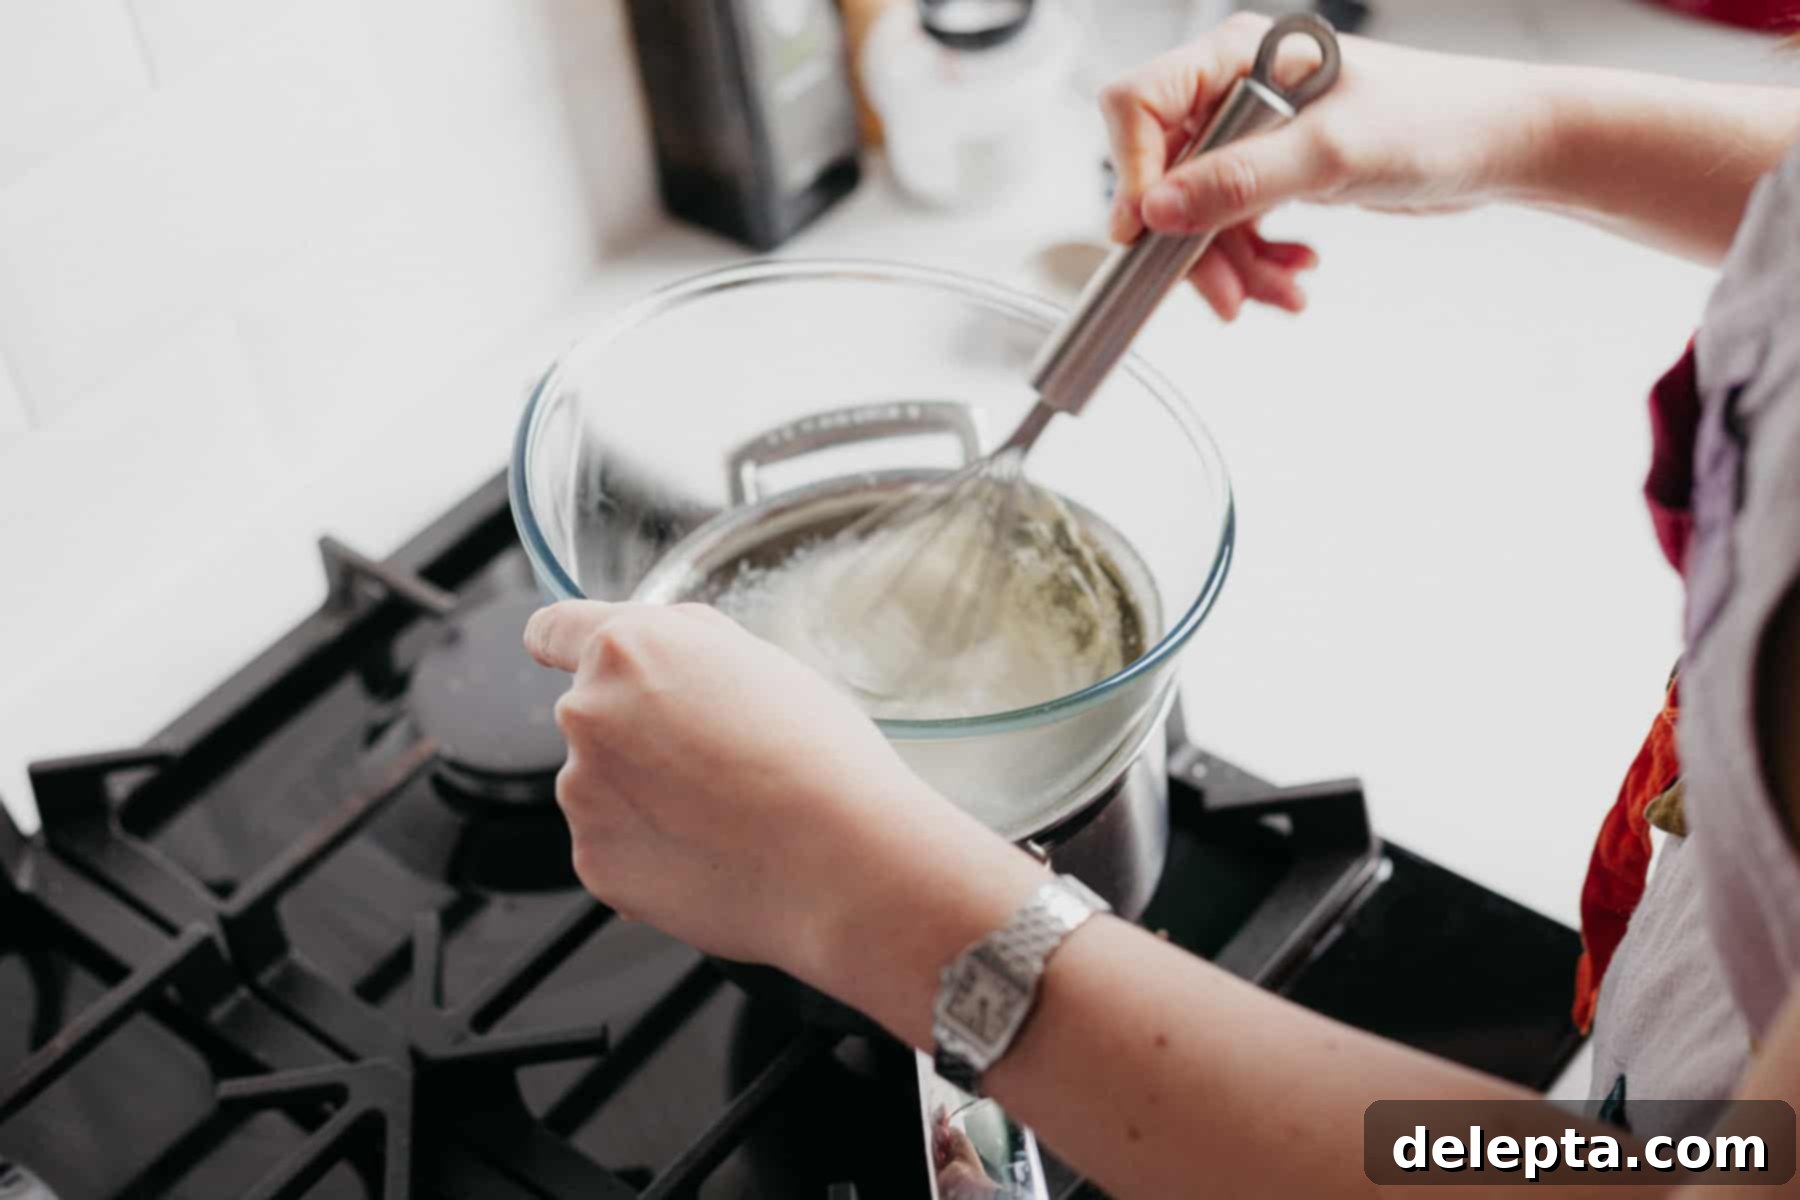
To begin the Swiss meringue, select a small saucepan and fill it with about an inch of water. Place it over medium-low heat and bring it just to a gentle simmer – you don’t want a rolling boil. In a heatproof bowl (such as a glass or metal mixing bowl), combine your egg whites and granulated sugar. Carefully set this bowl directly over the simmering water, ensuring the bottom of the bowl does not touch the water. If the bowl makes contact, you risk scrambling the egg whites rather than dissolving the sugar evenly.
Whisk the egg white and sugar mixture constantly for approximately two minutes. The goal here is to dissolve the sugar completely. You don’t necessarily need a thermometer for this step; simply lift your whisk and rub a small amount of the mixture between your fingers. If you can’t feel any sugar granules, it’s perfectly ready to be transformed into meringue!
Whipping Up the Fluffy, Stable Meringue
Once your egg white and sugar mixture is warmed and the sugar is fully dissolved, it’s time for the magic of whipping. Carefully pour the mixture into the clean, dry bowl of a stand mixer fitted with the whisk attachment. Begin whisking on low speed for about 30 seconds. At this initial stage, the mixture should become foamy and turn a cloudy white color.
Next, increase the mixer speed to medium-high. Continue whisking diligently until the meringue transforms into a beautifully glossy, thick, and voluminous consistency. You’ll know it has reached the perfect ‘stiff peak’ stage when you stop the mixer and carefully lift the whisk attachment: the meringue should hold its shape firmly, forming a distinct peak, with just a slight, elegant bend at its very tip. This robust and stable meringue is the backbone of perfect macaron shells.
The Art of Macaronage: Achieving Perfect Batter Consistency
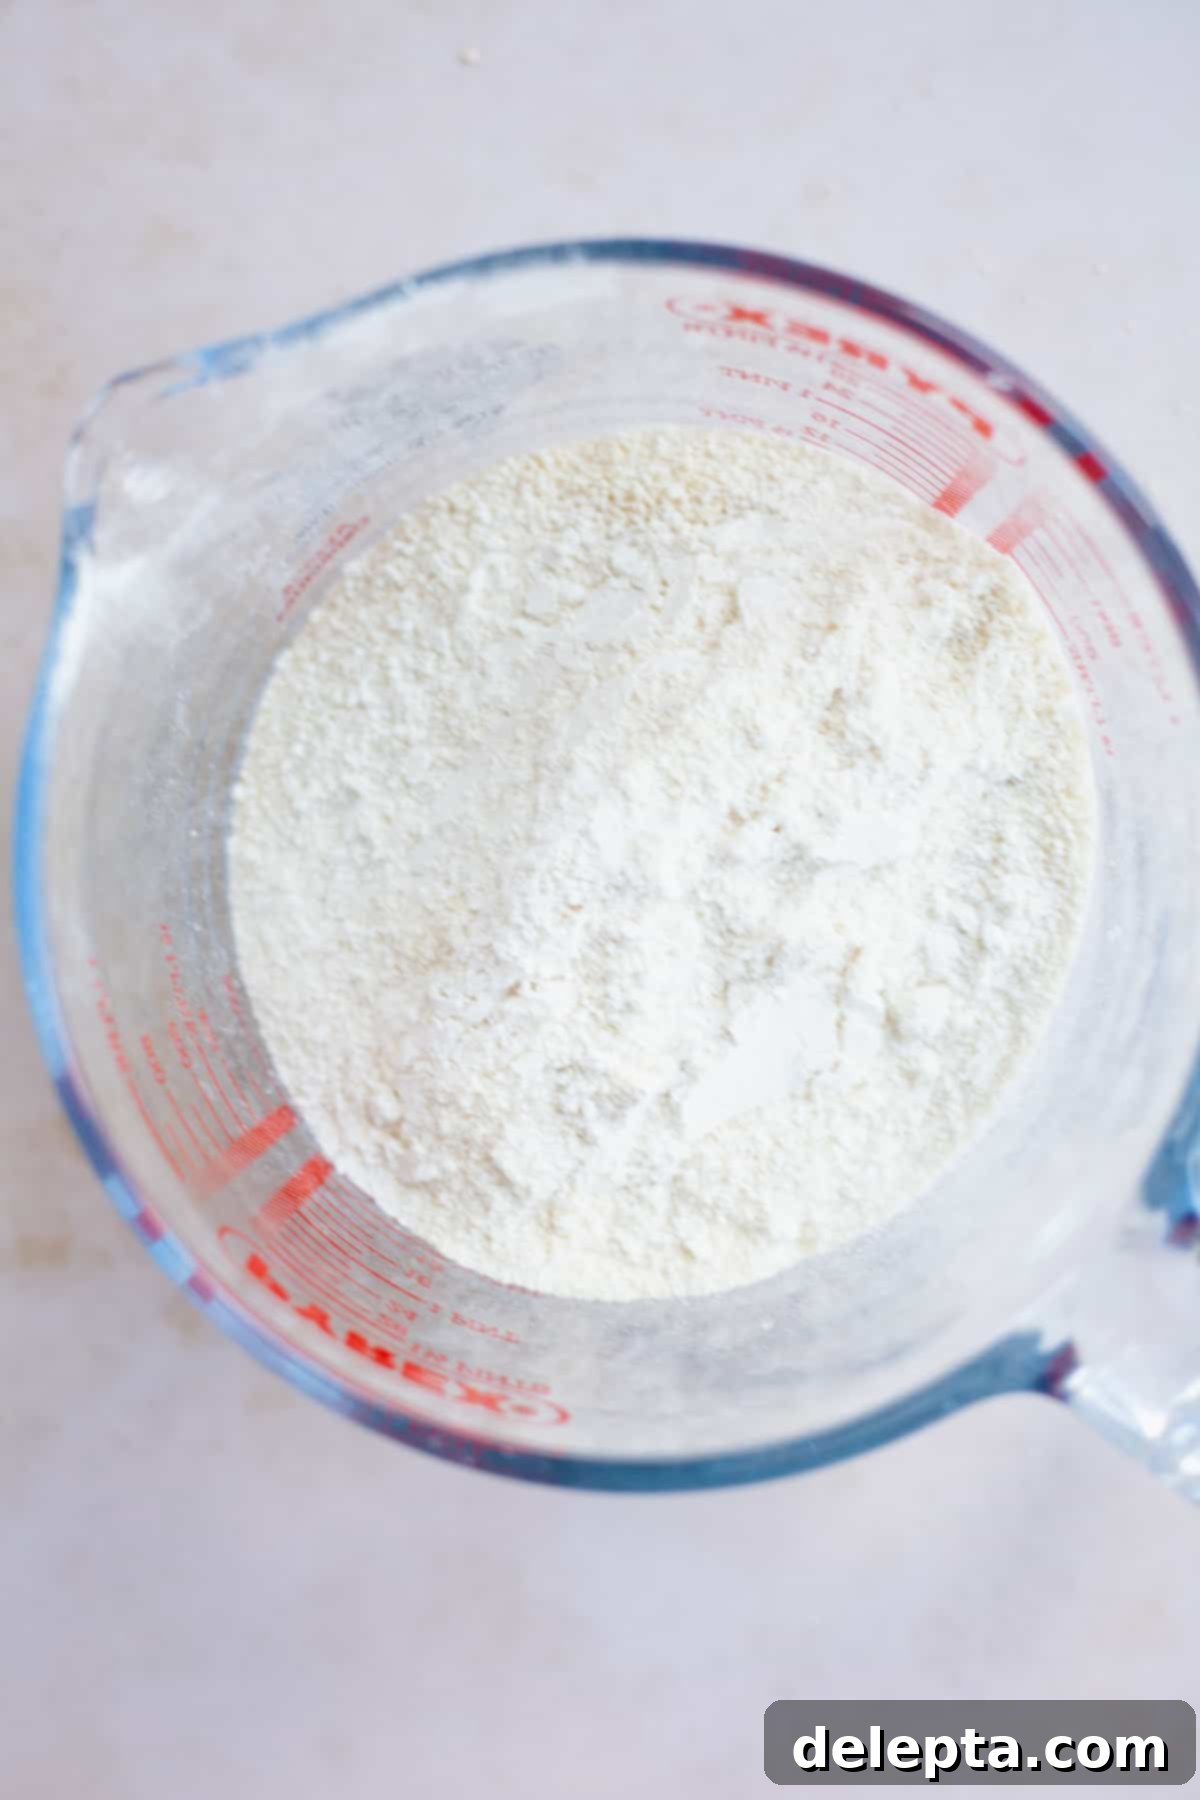
The macaronage stage is where raw ingredients truly begin their transformation into macaron batter, and precision here is non-negotiable. Start by sifting together your almond flour and powdered sugar not once, but twice. This double sifting is paramount because many commercial ground almonds or almond flours aren’t fine enough, and any larger particles can lead to rough, irregular macaron shells instead of the smooth, pristine surface we’re aiming for.
Once your dry ingredients are perfectly sifted, gently add this almond flour mixture into your prepared stiff meringue. This is also the opportune moment to incorporate your clear vanilla extract for that signature birthday cake flavor, along with any gel food coloring you desire to achieve those vibrant, funfetti-worthy hues. Remember, only gel food coloring should be used, as liquid or oil-based colorings can disrupt the delicate balance of the batter’s consistency.
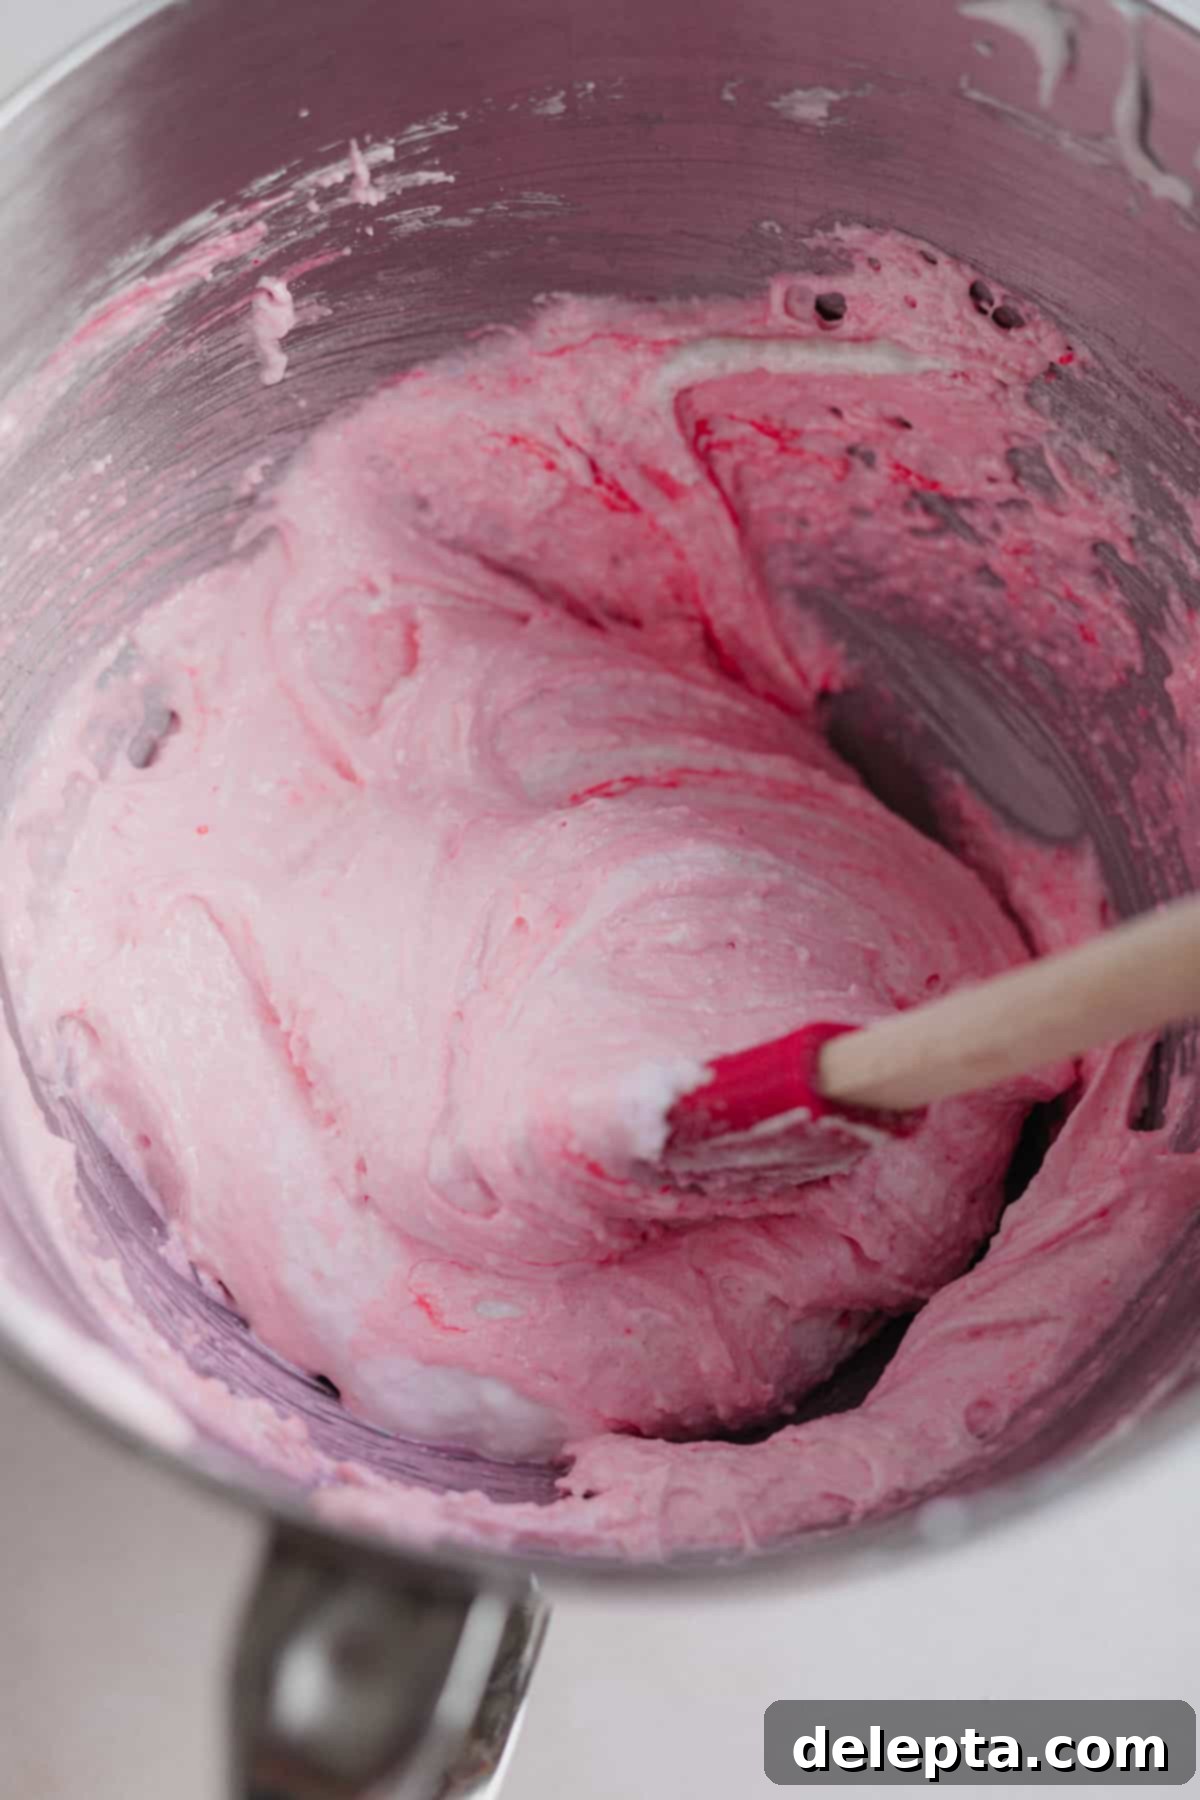
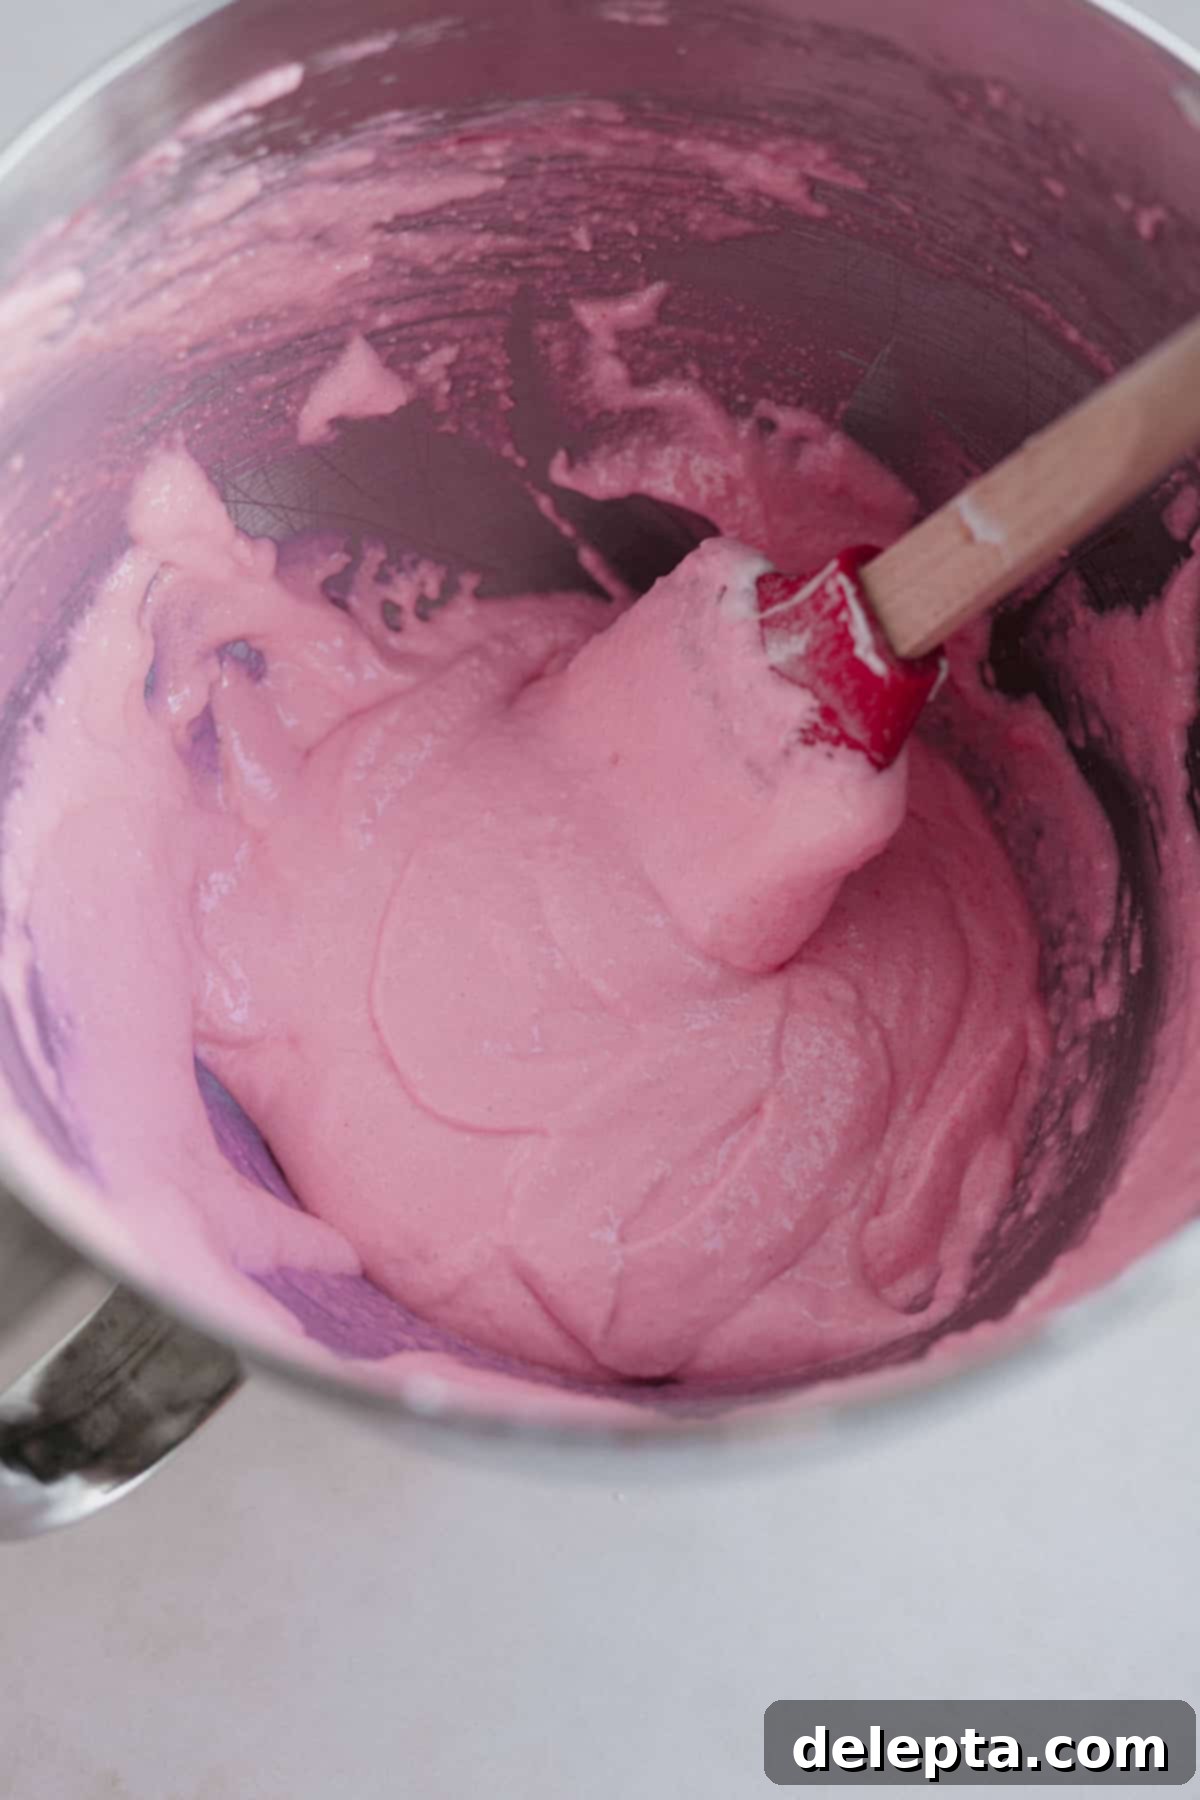
Now, the delicate process of macaronage begins. Gently fold the almond flour mixture into the meringue using a rubber spatula. Use a circular motion, scraping the sides of the bowl and turning the batter over itself. Continue this gentle folding, periodically pressing the batter against the sides of the bowl to remove air, until your batter reaches the ideal consistency. You’ll know the batter is ready when it flows slowly and continuously from your spatula, resembling molten lava. A foolproof trick is the “figure 8” test: you should be able to lift your spatula and trace a figure ‘8’ in the air with the flowing batter without it breaking. It’s crucial not to over-fold; if the batter becomes too liquidy, your piped shells will spread excessively and lose their shape.
Piping and Resting for Perfect Macaron Shells
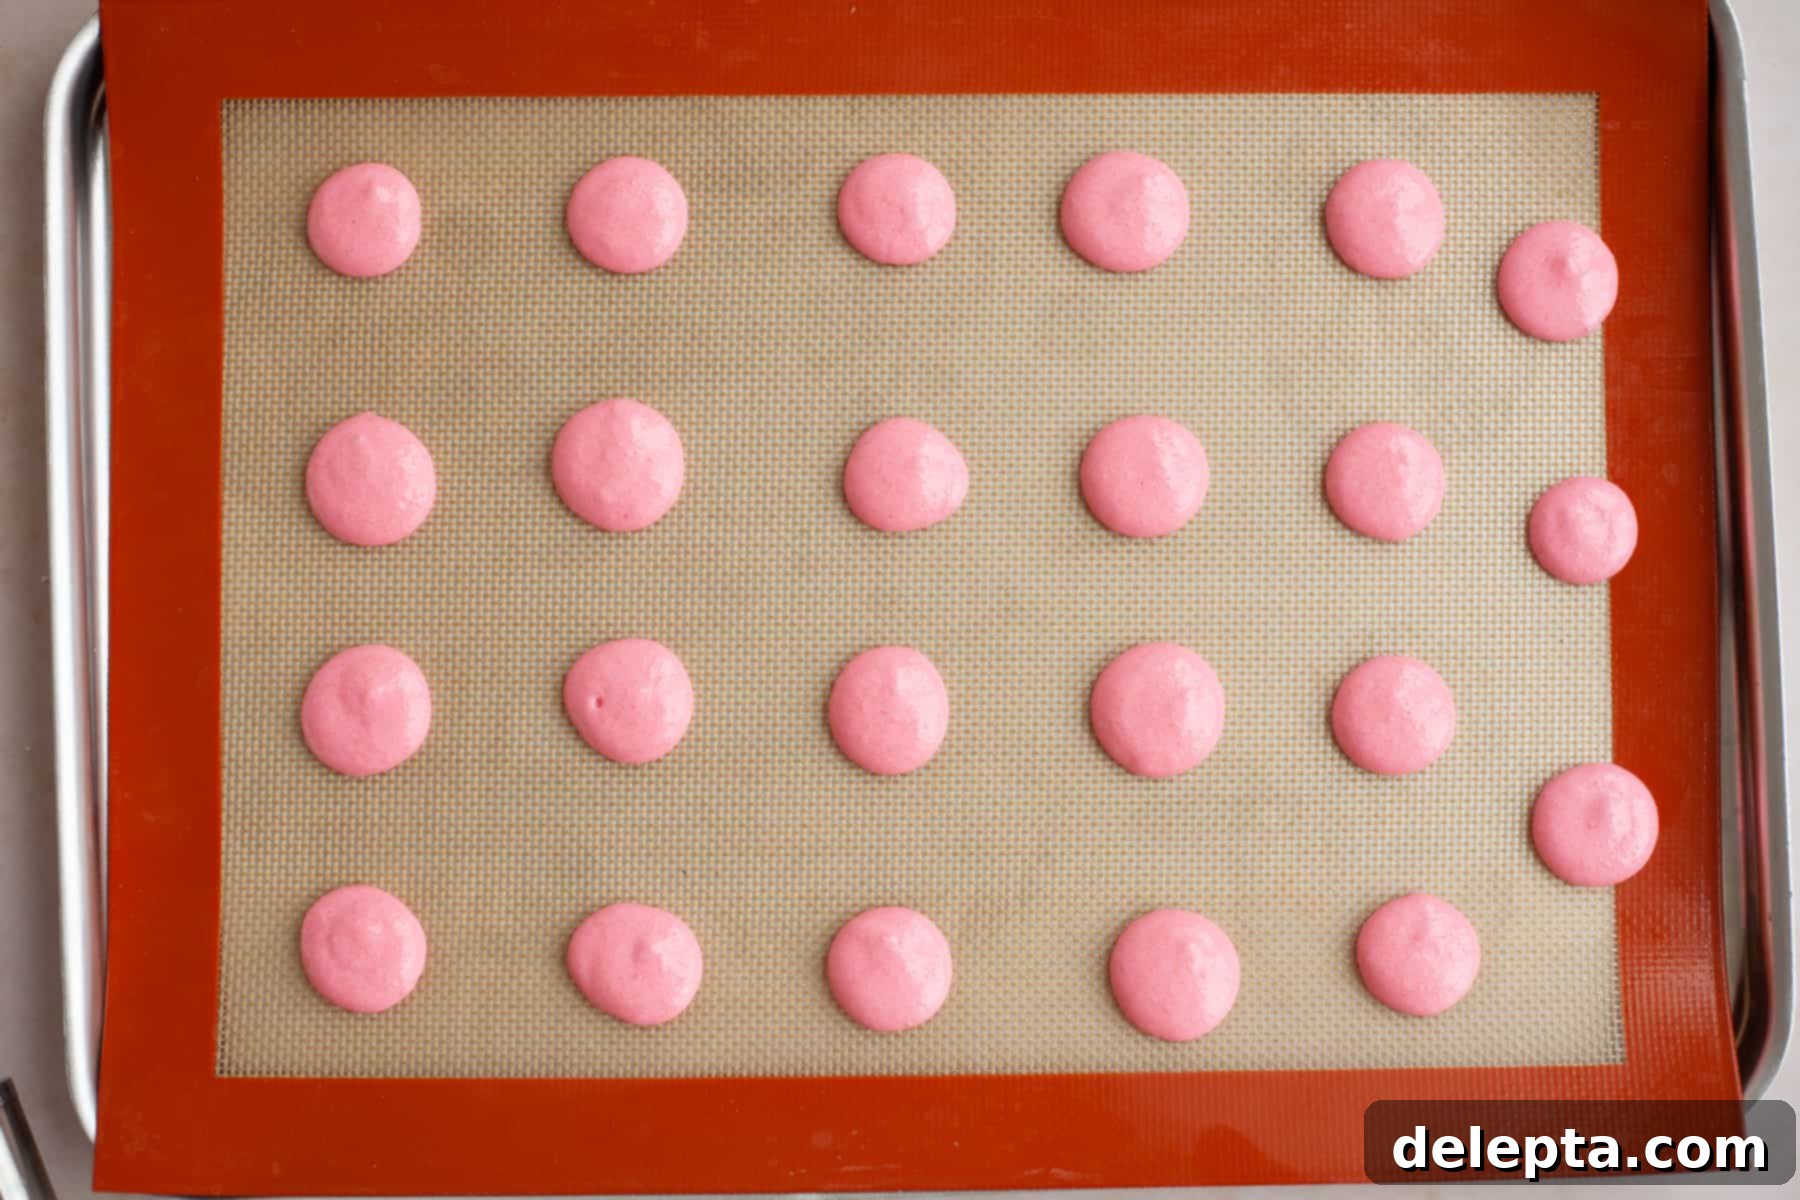
For the piping stage, you have two excellent options: either use high-quality parchment paper or a reusable silicone baking mat, such as a Silpat. If you opt for parchment, you can easily find and print macaron templates online to trace circles, ensuring your macarons are consistently sized at about 1.5 cm wide. This uniformity is key for even baking and a beautiful final presentation.
Carefully transfer your perfectly prepared macaron batter into a piping bag fitted with a medium-sized circular tip. Hold the piping bag perpendicular to your baking surface (at a 90-degree angle) and pipe out your individual macaron shells. As soon as all your shells are piped, grasp the baking tray firmly and bang it sharply against your countertop a couple of times. This vital step helps to release any trapped air bubbles within the batter. Neglecting this can lead to unsightly air pockets or even cracks in your finished shells. For any stubborn bubbles that remain, a gentle poke with a toothpick will do the trick.
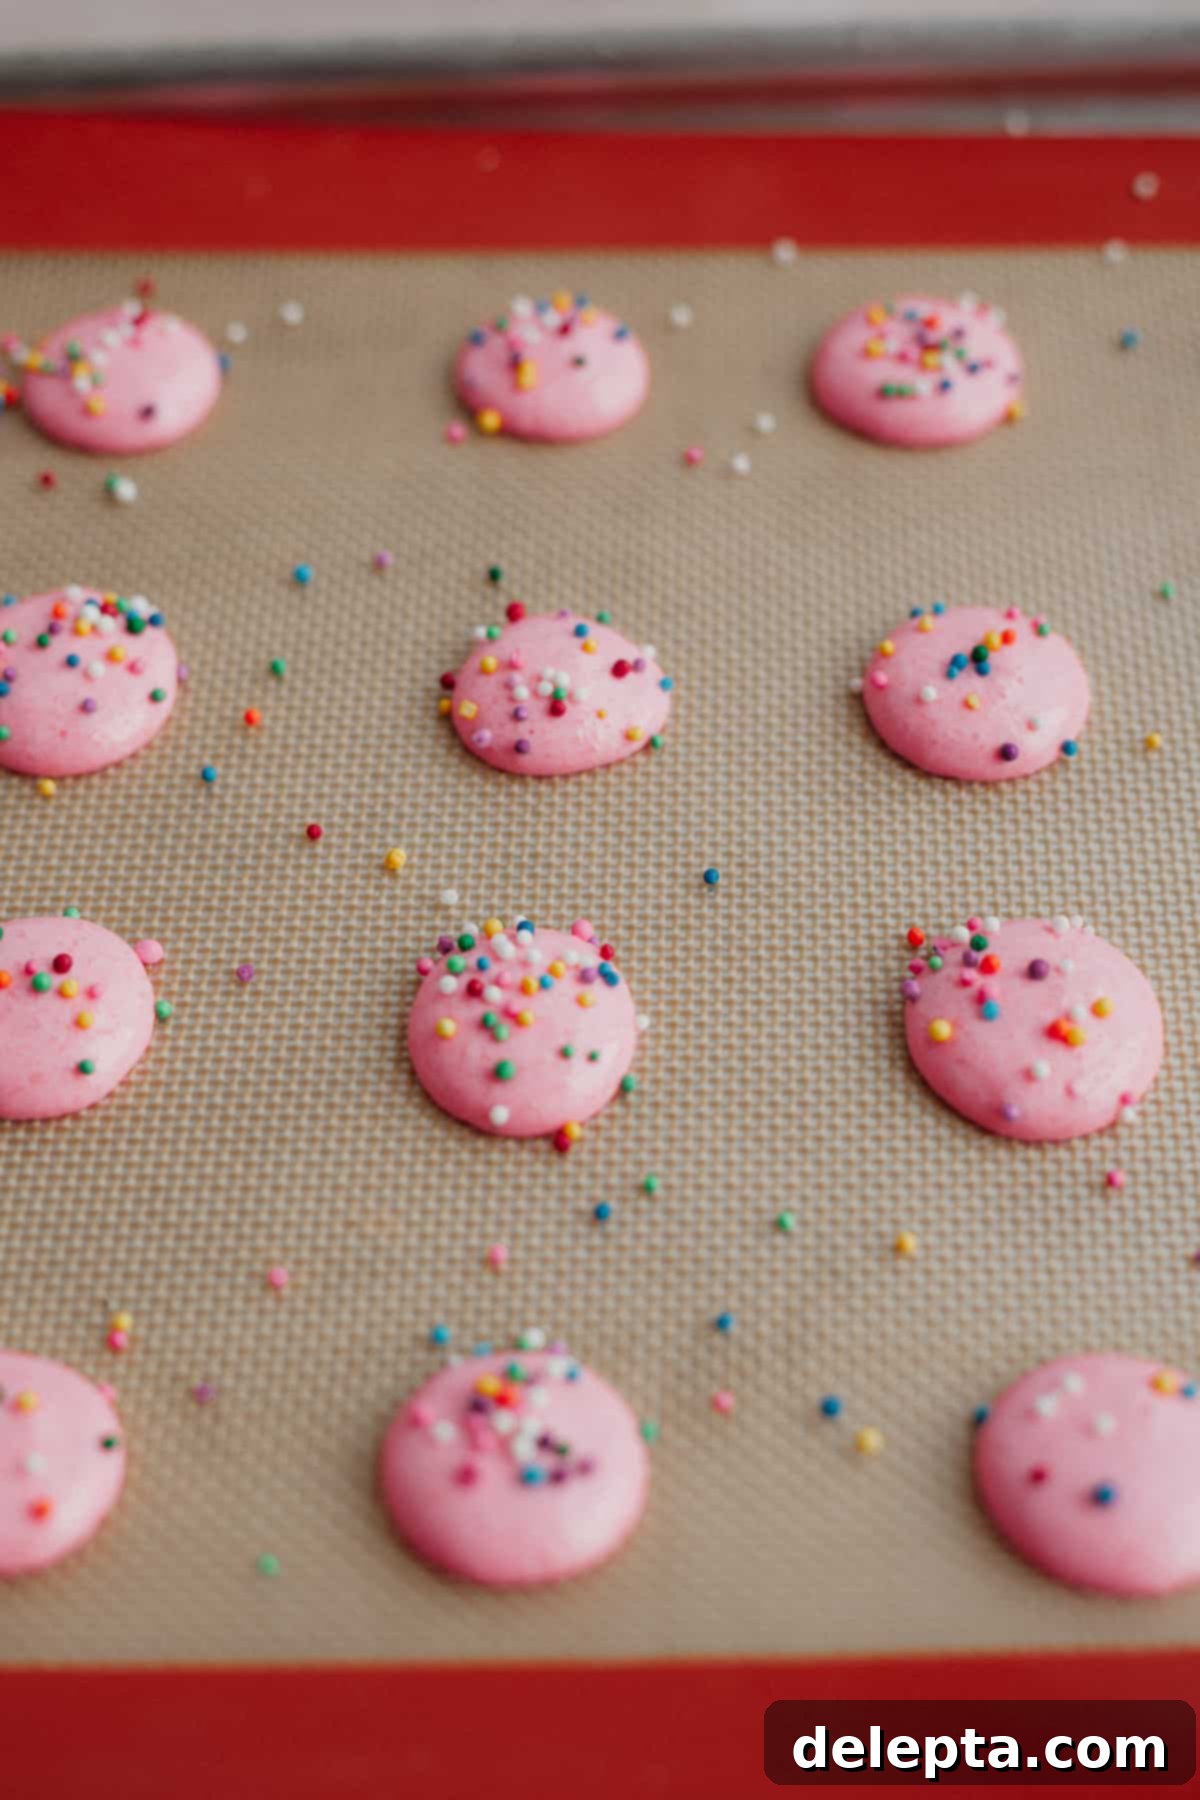
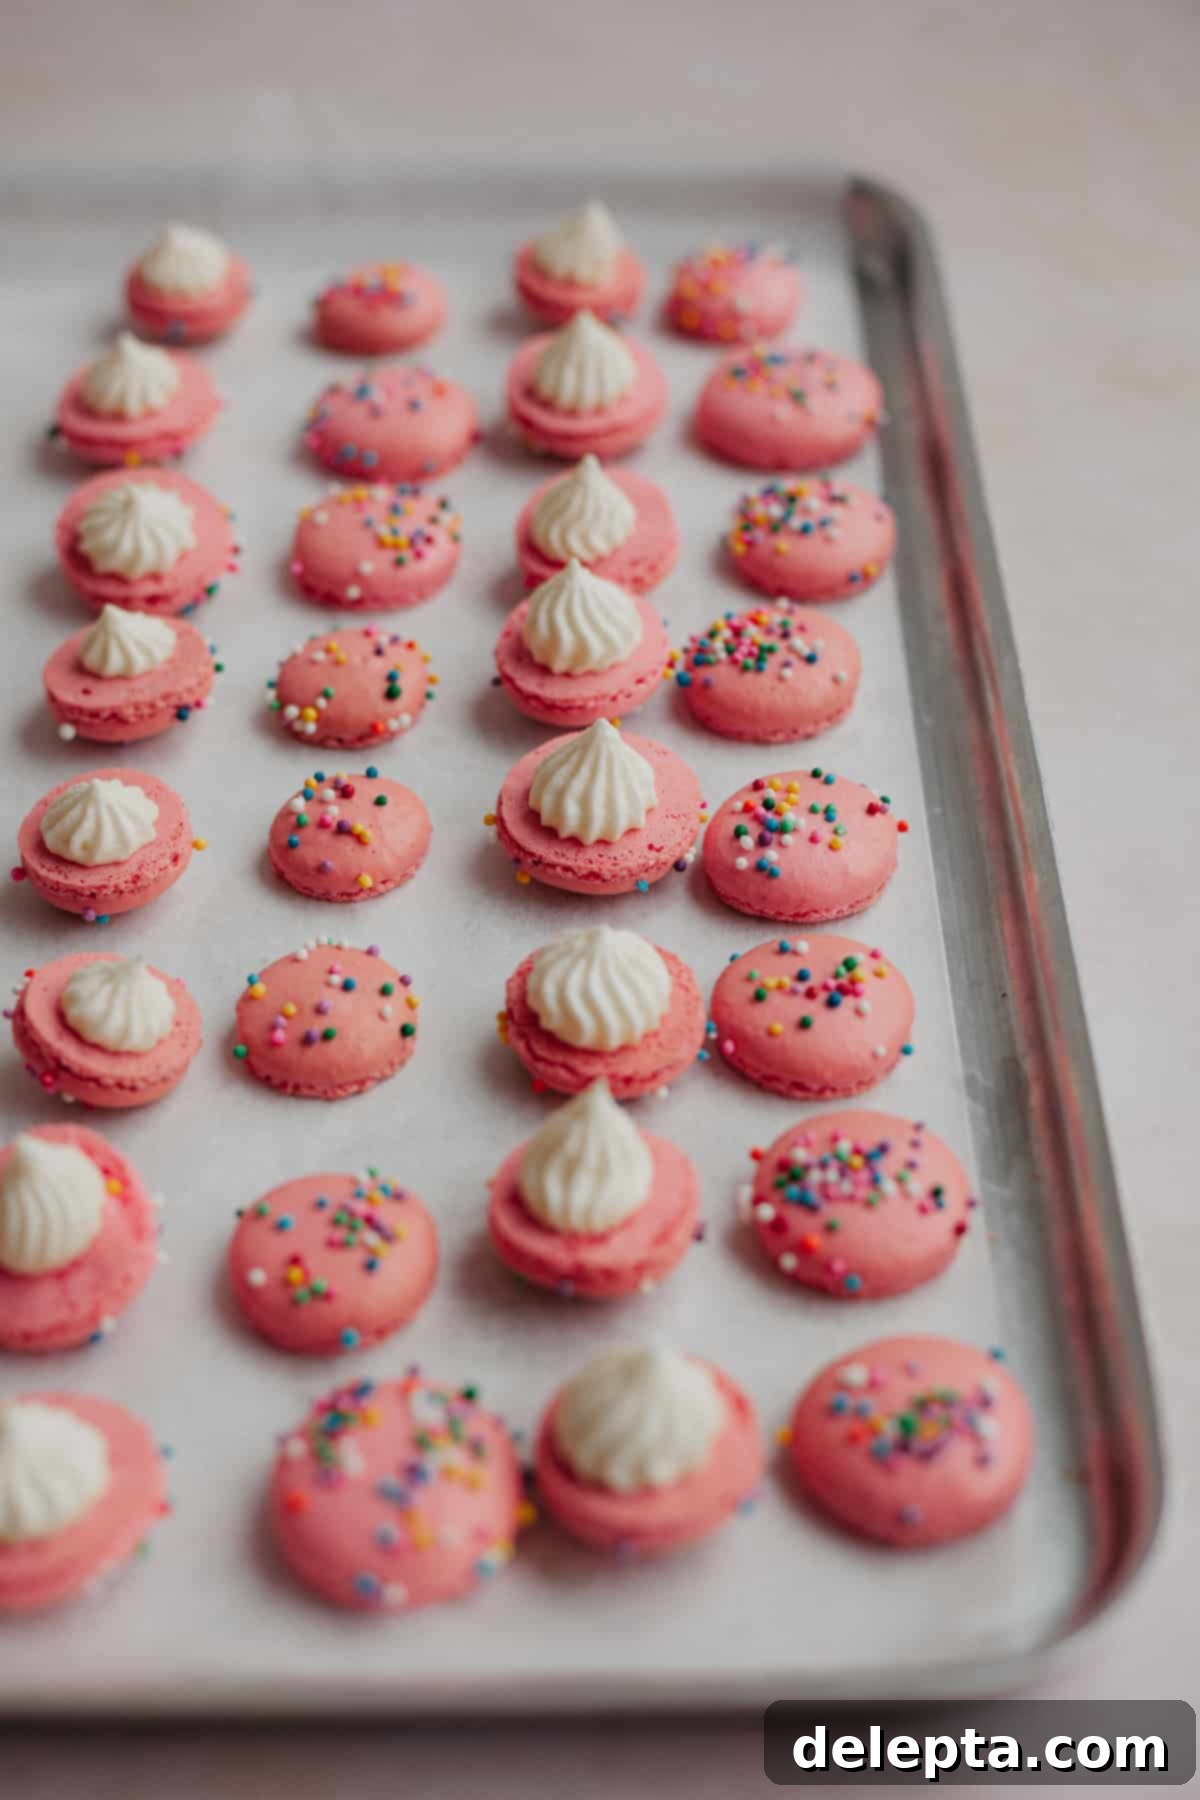
After deflating the air bubbles, you can immediately decorate your macarons with festive sprinkles, adding to their birthday cake charm. The next crucial step is allowing the piped macarons to ‘rest’ at room temperature. This resting period, typically around half an hour, is essential for a delicate skin to form on the surface of each shell. You’ll know they’re ready when you can gently touch a shell with your finger and it feels firm and dry, not sticky or wet. Keep in mind that humidity levels in your kitchen can affect this drying time, potentially requiring more or less than 30 minutes.
Once your beautiful shells are baked and filled with the luscious cake batter buttercream, resist the urge to devour them all immediately! For the absolute best flavor and texture, leave the assembled macarons to rest overnight in your fridge. This allows the flavors to mature and meld beautifully, creating an even more exquisite treat the next day. The waiting is the hardest part, but it’s truly worth it!
Macaron Troubleshooting: Common Questions & Solutions
This is perhaps the trickiest part of macaron making, but with practice, you’ll get a feel for it. It’s always safer to under-mix your batter than to over-mix it, as an over-mixed batter cannot be rescued. During the macaronage stage, the batter is ready when it flows smoothly and continuously from your rubber spatula, resembling slow-moving lava. A reliable test is the “figure 8” method: you should be able to lift your spatula and draw a continuous figure ‘8’ in the air with the batter without it breaking. If it breaks too quickly, it needs more folding; if it pours too rapidly, it’s likely over-mixed.
Ruffly feet are a common issue and can stem from a few factors. It could be due to over-mixing your meringue batter during the whipping stage, causing it to be too airy and unstable. Another culprit is over-mixing during the macaronage stage, which breaks down the meringue’s structure. Lastly, an oven temperature that is too high can cause the feet to erupt unevenly. While they might not be textbook perfect, remember that ruffled feet still result in delicious macarons – so don’t despair!
Hollow shells are a frequent concern among macaron bakers, and unfortunately, there are numerous potential causes. Issues can range from an oven that’s either too hot or too cold, to under-mixing or over-mixing the batter. Even letting the piped shells rest for too long or environmental factors like high humidity can contribute to hollowness. However, many macaron experts argue that slight hollowness can actually enhance the overall texture. My primary recommendation to mitigate this is investing in an oven thermometer. For example, my oven runs 5 degrees colder than its setting, and even such a small temperature discrepancy can significantly impact macaron results.
For the best results, I highly recommend using nonpareils, which are the small, spherical sprinkles. I’ve experimented with longer, rod-shaped sprinkles in the past, but depending on the brand, they can sometimes melt in the oven. When this happens, the melted sprinkle material can seep through the macaron shell, leaving an undesirable hole on top. Nonpareils hold their shape and color beautifully, adding that perfect festive touch without compromise.
When it comes to coloring macaron batter, gel food coloring is undeniably your best choice, with brands like Americolor being highly regarded. Unlike liquid or oil-based food colorings, gels are highly concentrated, meaning you need only a tiny amount to achieve vibrant colors without adding excess moisture to your delicate batter. Using liquid or oil food coloring can significantly impact the batter’s consistency, making it too liquidy and difficult to work with, leading to flat or spreading shells.
I personally use a Silpat mat, which is a fantastic reusable silicone baking mat that significantly reduces the amount of parchment paper I go through with my frequent baking. You can even purchase Silpat mats that come pre-printed with macaron circles, making piping incredibly easy and consistent. While some bakers suggest that parchment paper can lead to subtle wrinkles on the underside of macarons, I haven’t personally experienced this issue with either baking surface, so feel free to use whichever you prefer.
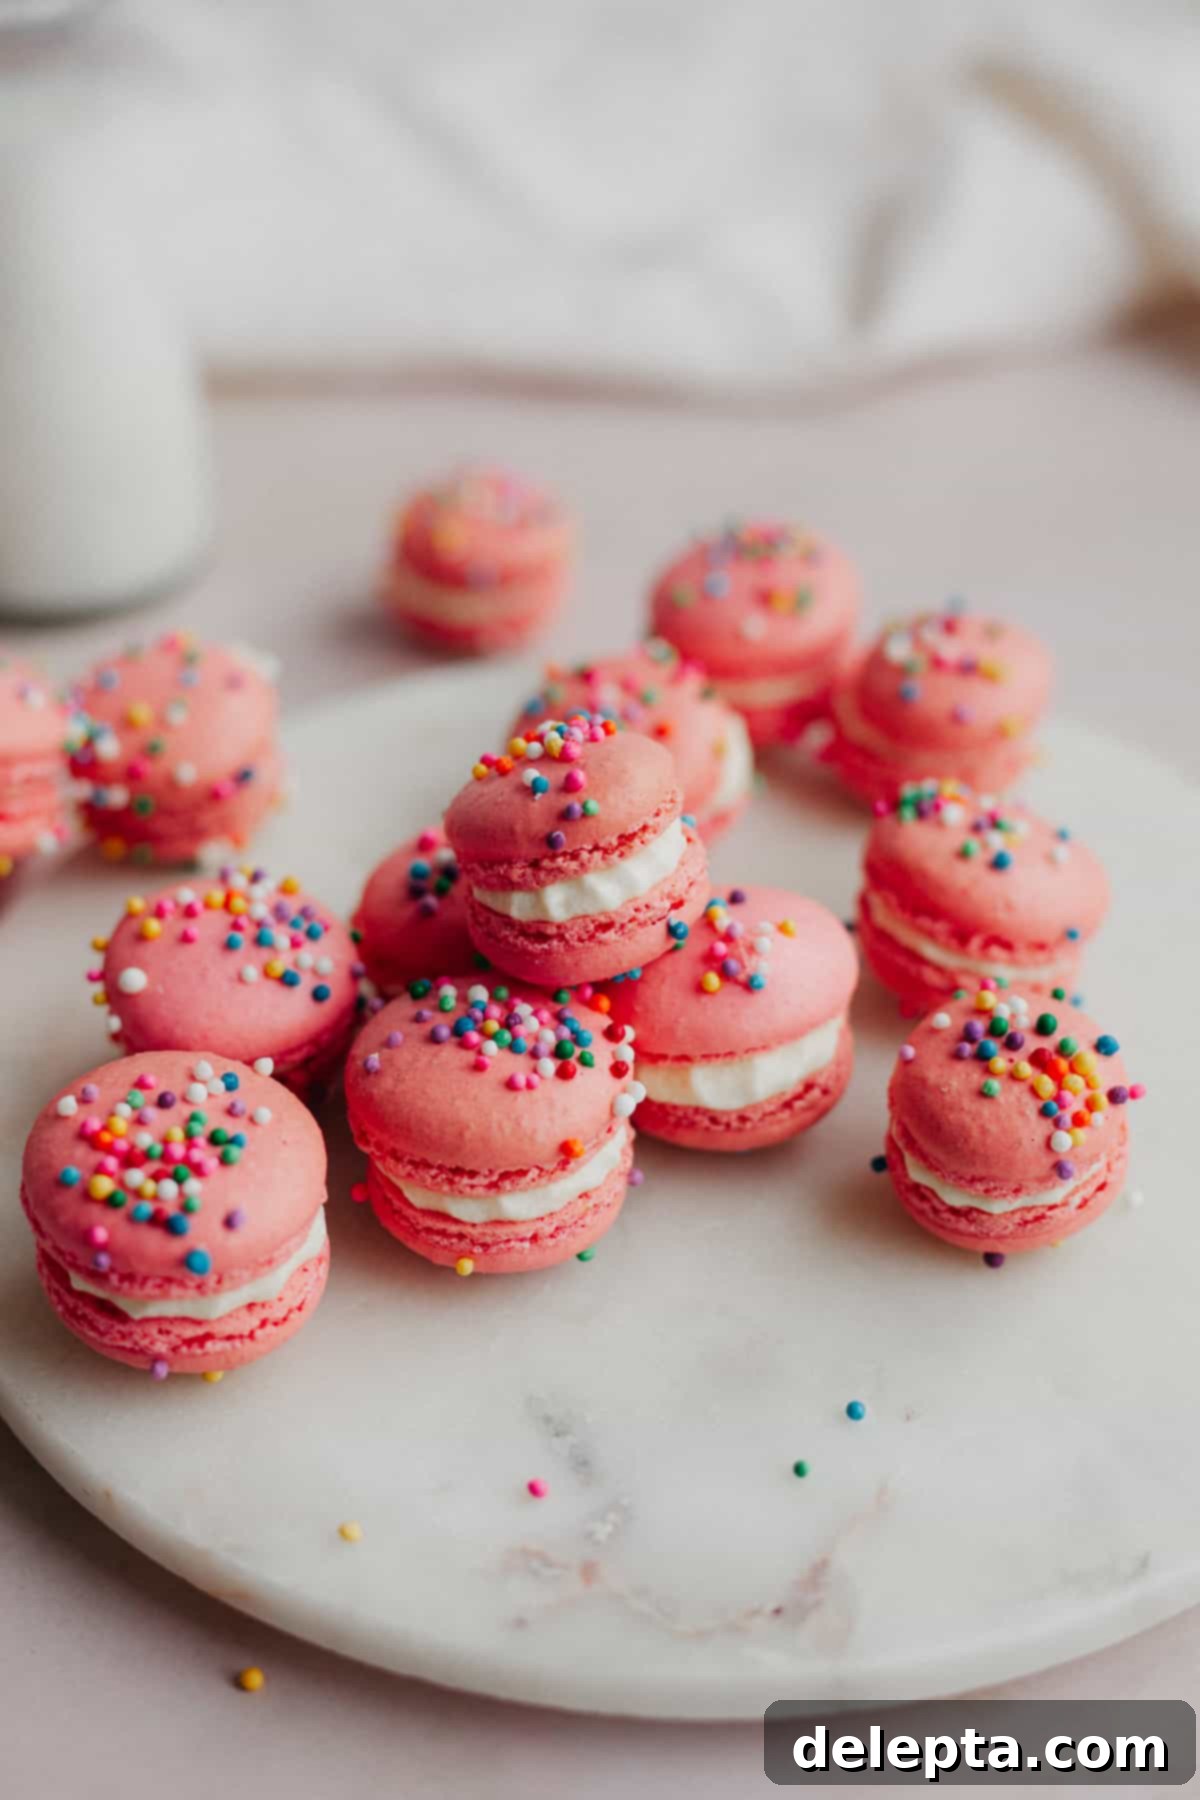
Other Macaron Recipes to Explore:
- Delightful Cookies and Cream Macarons
- Festive Eggnog Macarons
If you’ve whipped up these enchanting birthday cake macarons, I’d absolutely love to see your creations! Make sure to tag me on Instagram @alpineella and consider leaving a review below to share your experience. For even more exciting baking ideas and delicious inspiration, you can also follow me on Pinterest!
Recipe

Birthday Cake Macarons
Ella Gilbert
Pin Recipe
Save RecipeSaved!
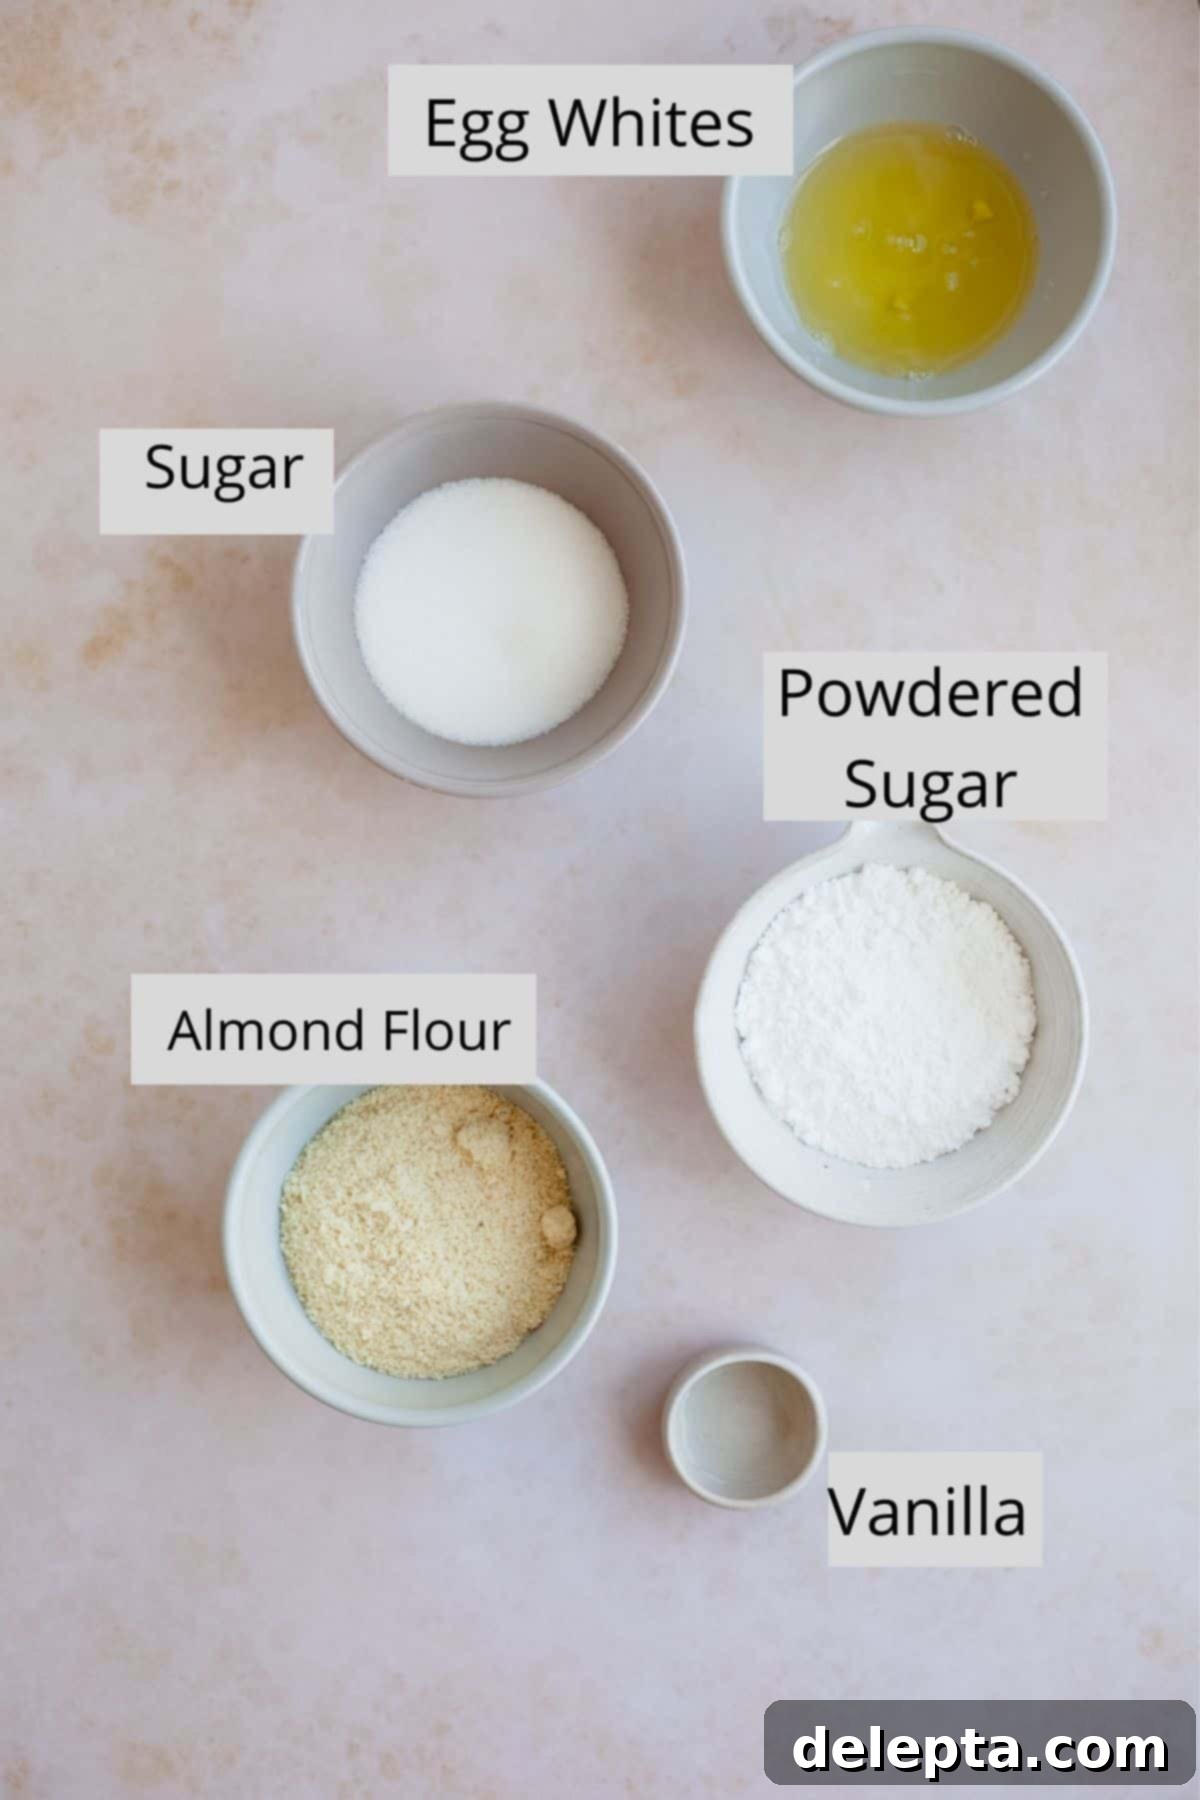
Ingredients
Macarons
- 100 grams egg whites
- 100 grams sugar
- 100 grams almond flour
- 105 grams powdered sugar
- ½ teaspoon clear vanilla extract
- gel food coloring
Cake Batter Buttercream
- 56 grams unsalted butter room temperature
- 56 grams cream cheese room temperature
- ¼ teaspoon salt
- 1 teaspoon clear vanilla extract
- ¼ teaspoon almond extract
- 2 teaspoon heavy cream
- 126 grams powdered sugar
Instructions
Macarons
-
Line three baking sheets with parchment paper or silicone mats.
-
Sift together your powdered sugar and almond flour, twice. Set aside.
-
Whisk together the egg whites and granulated sugar in a heatproof bowl over a double boiler. Whisk for about 2 minutes, until the sugar dissolves. You can tell it is ready when you pull the whisk up and touch the mixture with your fingers, you shouldn’t feel any granules. Do not let the bowl touch the water or it will cook the eggs.
-
Pour the mixture into the bowl of a stand mixer, fitted with the whisk attachment.
-
Whisk on low speed for 30 seconds, it should begin to foam. Increase the speed to medium for 2 minutes, until it becomes white and fluffy.
-
Increase the speed to medium-high, it should turn glossy and when you stop the mixer and pull the whisk out, you should have a stiff peak at the end of the whisk which only slightly bends at the end. This is how you know it is ready.
-
Pour in the powdered sugar/almond mixture as well as your vanilla and food coloring.
-
Gently fold them all together. Continue to fold and press the batter against the sides of the bowl. It is ready when it flows like lava from the rubber spatula, and you can make a figure 8 in the air without the batter breaking.
-
Carefully transfer the batter into a piping bag with a medium circular tip.
-
Pipe out 72 macaron shells, piping at a 90 degree angle. Once they have all been piped out, bang each tray twice on your counter. Use a toothpick to pop any remaining air bubbles. Sprinkle over your sprinkles.
-
Let them sit at room temperature for 30 minutes until they form a skin.
-
Preheat your oven to 325°F/162°C. Bake them one tray at a time for 15-17 minutes. Let them cool completely.
Make Buttercream
-
Sift your powdered sugar and set aside.
-
In a stand mixer with the whisk attachment, whisk together the cream cheese and butter for 2 minutes, until smooth.
-
Add in the vanilla extract, almond extract and salt. Beat together for 30 seconds.
-
While the mixer is running on a low speed, slowly pour in half of the powdered sugar. Then add in your heavy cream. Add the rest of the sugar.
-
Increase the speed to medium-high and beat until fluffy, about 3 minutes.
-
Transfer to a piping bag and pipe a dollop on half of the macaron shells, then sandwich each of them.
-
Let the macarons rest overnight in your fridge.
Notes
- I do not include cup measurements for this recipe, as you do need to be precise when making macarons.
- If you want to age your egg whites (not a requirement but it can help!), separate your egg whites 24 hours before and place in a bowl in the fridge. Take them out 2 hours before making your macarons so they can come to room temperature.
- Clear vanilla extract is what gives you that birthday cake taste, but you can substitute regular vanilla extract. Almond extract also brings out that cake mix taste, but if you don’t have any then you can leave it out.
Nutrition

