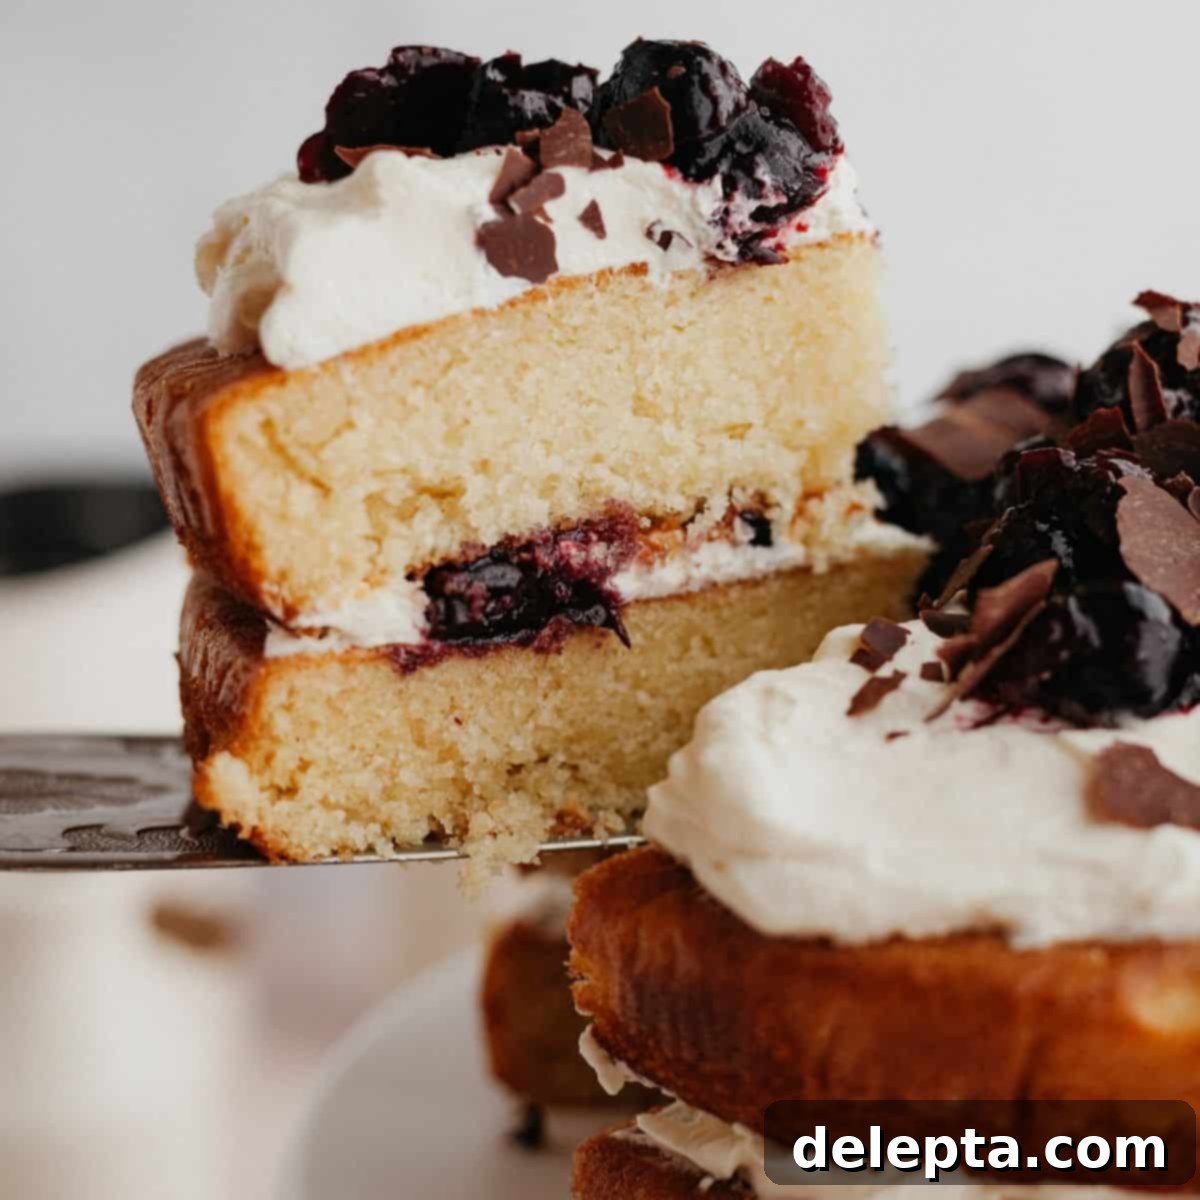
Decadent Homemade White Forest Cake: The Ultimate Vanilla & Cherry Celebration Dessert
Prepare to be enchanted by this truly showstopping White Forest Cake! Imagine a soft, moist, and wonderfully fluffy vanilla cake, generously layered with clouds of fresh, airy whipped cream, and a luscious, homemade cherry preserve that bursts with vibrant fruit flavor. This elegant dessert is a delightful twist on a classic, offering a brighter, more vanilla-forward experience perfect for any special occasion.
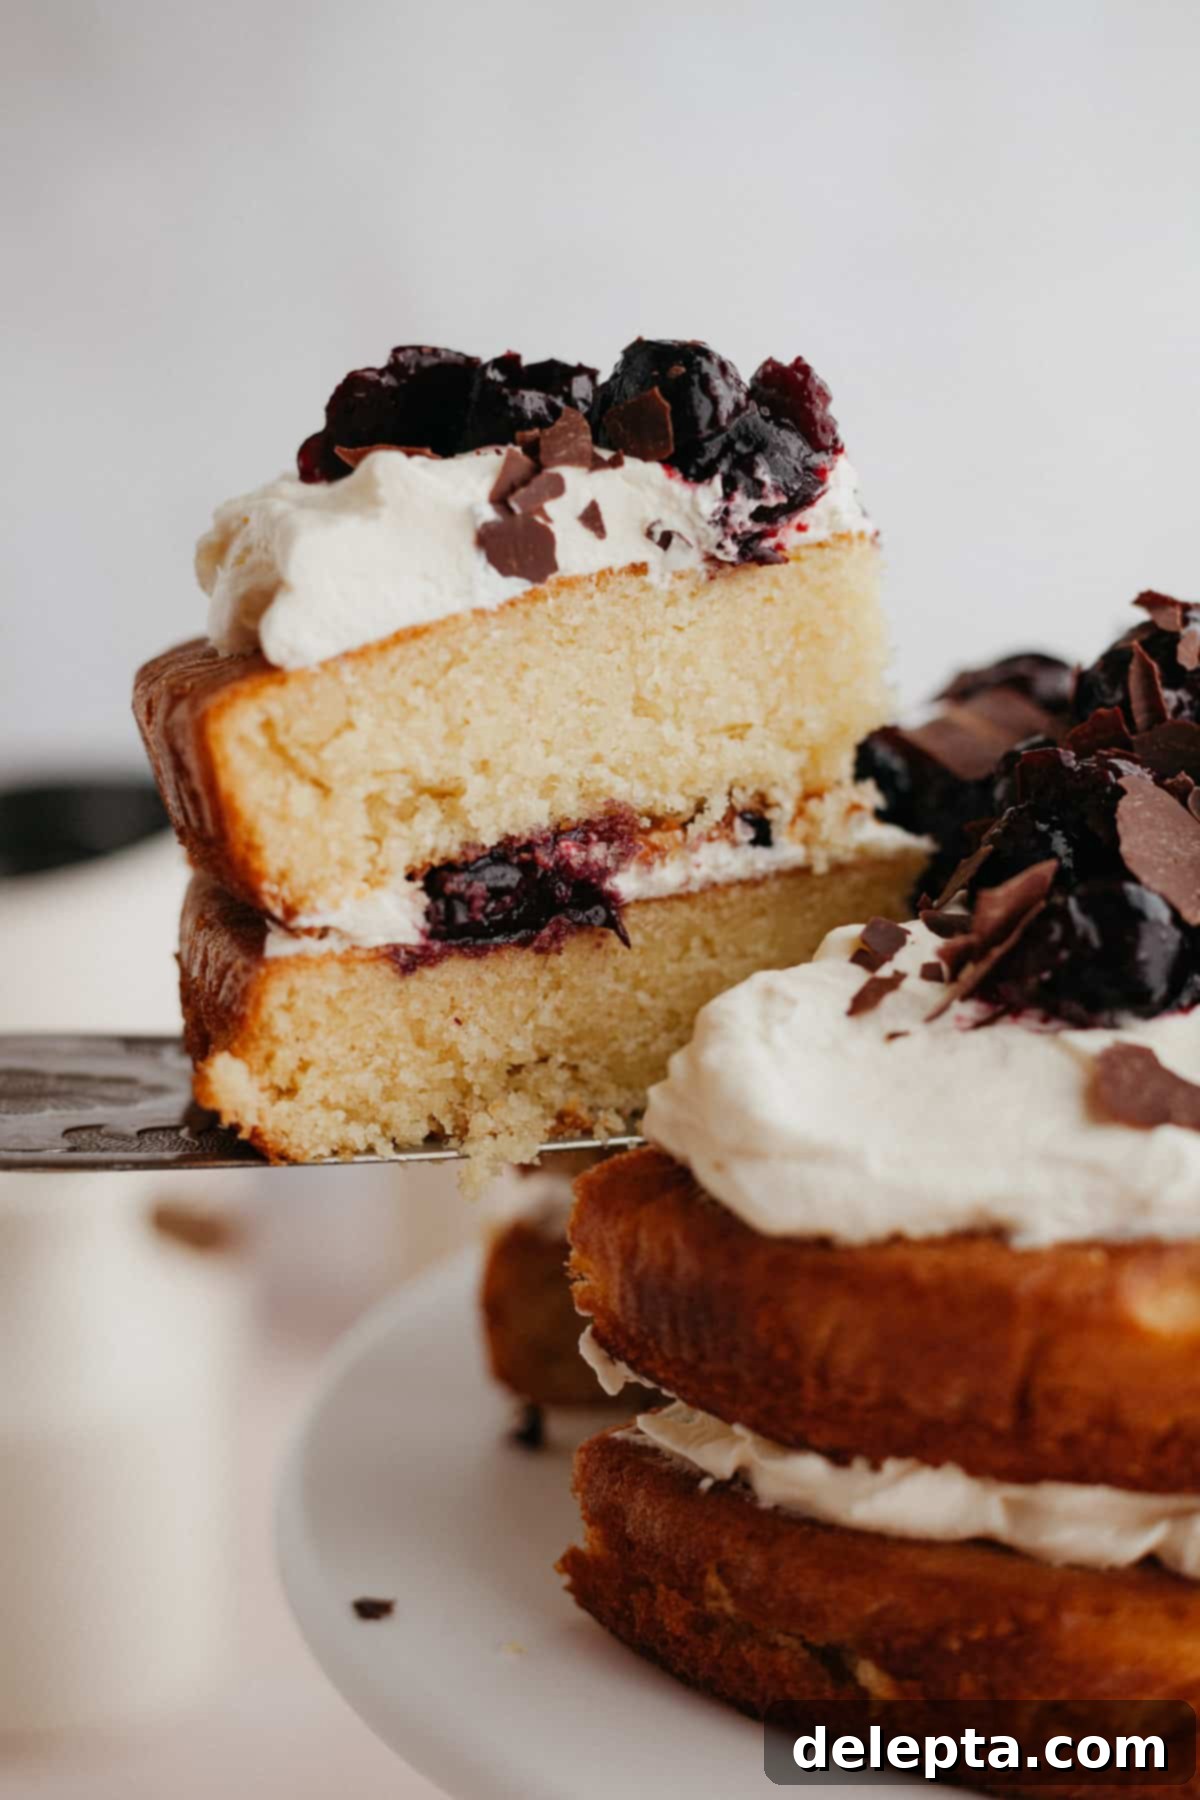
This beloved recipe was originally published in October 2021 and has since undergone a significant update. It now features an even more irresistible cake recipe and stunning new images to inspire your baking journey.
Consider this exquisite creation the sophisticated vanilla counterpart to the famed traditional Black Forest Cake. While the Black Forest boasts rich chocolate layers, our White Forest rendition shines with a moist, tender vanilla cake base. This updated vanilla cake recipe is inspired by my popular vanilla cake with chocolate frosting, ensuring a reliably delicious foundation. It’s then lavishly filled with silky smooth fresh whipped cream and an intensely flavorful, homemade cherry filling that truly elevates every bite.
I find immense joy in crafting a beautiful layer cake for significant family gatherings and celebrations, especially birthdays. The best part about a cake like this is its deceptive simplicity – it’s surprisingly easy to assemble, yet consistently delivers a breathtaking visual impact and an unforgettable taste that will impress everyone at the table. Its pristine white exterior, contrasted with vibrant red cherries and delicate chocolate shavings, makes it a true centerpiece.
[feast_advanced_jump_to]
Why You’ll Adore This White Forest Cake!
This isn’t just another cake; it’s a culinary experience designed to delight. Here are several compelling reasons why this White Forest Cake will quickly become a favorite in your baking repertoire:
- Unbelievably Soft and Fluffy Vanilla Cake: Our signature vanilla and almond cake combines the best of both worlds, using both butter and oil. This magical duo ensures an incredibly moist crumb and a wonderfully soft, tender texture that practically melts in your mouth. The subtle hint of almond perfectly complements the cherry notes.
- Vibrant Homemade Cherry Preserve: Forget bland, artificial fillings! Our cherry sauce is made by gently heating frozen (or fresh) cherries with just the right amount of cornstarch and sugar. The cornstarch acts as a natural thickener, transforming the cherries into a glossy, rich preserve that holds its shape beautifully between the cake layers, offering a burst of authentic fruit flavor.
- Light-as-Air Whipped Cream Frosting: Instead of heavy buttercream, this cake features a simple yet exquisite fresh whipped cream. Made from whipping heavy cream with a touch of vanilla and confectioners’ sugar, it creates a light, dreamy, and refreshing contrast to the cake and cherry filling, making each slice feel incredibly indulgent without being overly rich.
- Elegantly Impressive, Surprisingly Simple: While this cake looks like it came from a professional bakery, its assembly is remarkably straightforward. The layering process is intuitive, allowing even novice bakers to create a visually stunning dessert that’s sure to garner compliments.
- A Refreshing Twist on a Classic: If you love the concept of Black Forest Cake but prefer vanilla, this White Forest version is an absolute dream. It offers all the charm and celebratory feel of its chocolate cousin, but with a lighter, brighter flavor profile that appeals to a wider palate.
Essential Ingredients for Your White Forest Masterpiece
Crafting this delightful White Forest Cake begins with selecting quality ingredients. Each component plays a vital role in achieving the perfect balance of flavor and texture. Here’s a detailed look at what you’ll need and why:
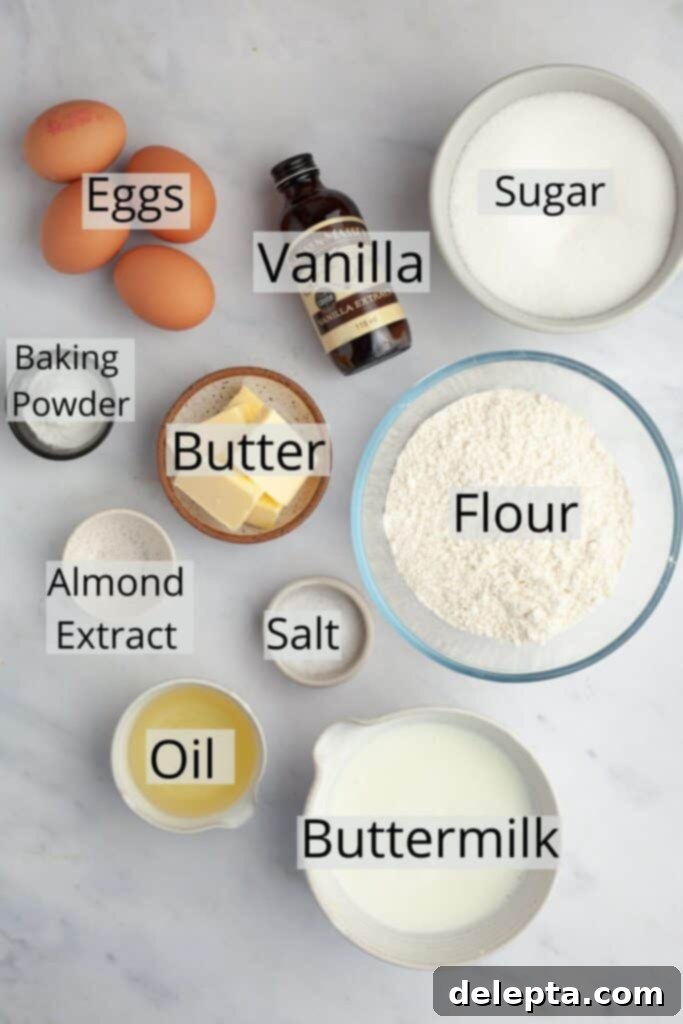
- Unsalted Butter: For superior richness and flavor, I consistently opt for high-quality European-style butter in my baking. Its higher butterfat content contributes to a more tender crumb and a luxurious taste in your cake. Ensure it’s at room temperature for proper creaming.
- Neutral Oil: The addition of a neutral-flavored oil, such as canola, sunflower, or vegetable oil, is crucial. It works in conjunction with the butter to ensure the cake remains incredibly moist and tender, even after refrigeration, without imparting any strong flavors.
- Buttermilk: This acidic ingredient is a secret weapon for achieving an extra moist and tender cake crumb. The acidity reacts with the baking powder, providing a beautiful lift. If you don’t have buttermilk on hand, you can easily make a substitute by adding one tablespoon of lemon juice or white vinegar to a measuring cup, then filling the rest with regular milk to make one cup. Let it sit for 5-10 minutes until it slightly curdles.
- Almond Extract: While optional, I enthusiastically recommend including almond extract. Its delicate, nutty aroma and flavor create a truly exquisite pairing with the sweet-tart cherry filling, adding a layer of complexity that elevates the entire cake. Use sparingly as it can be quite potent.
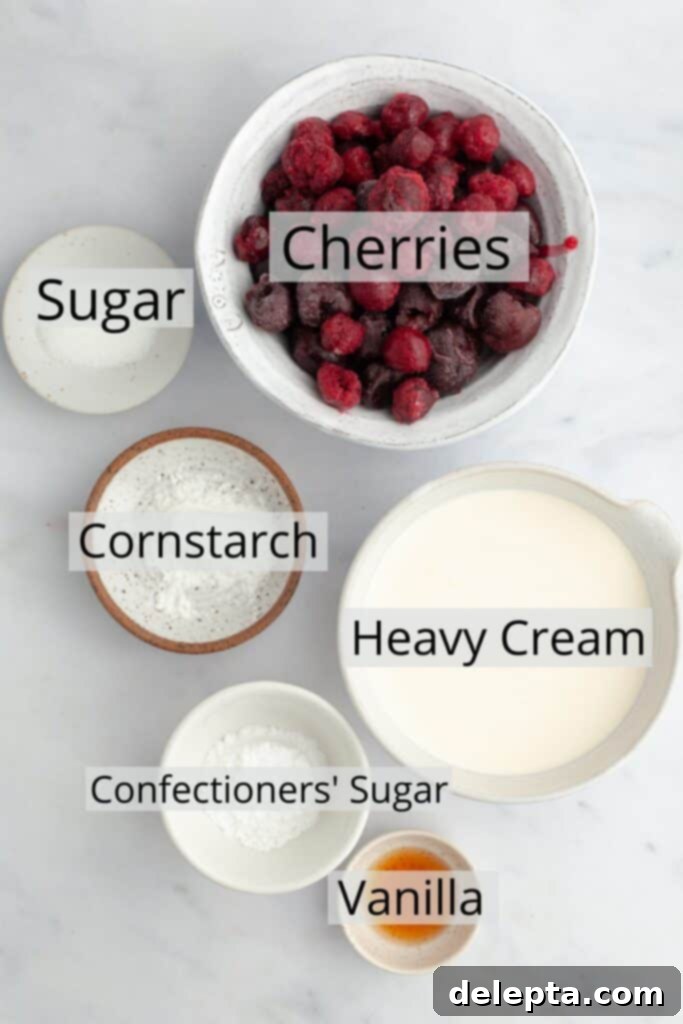
- Cherries: For convenience and consistent availability, I prefer using high-quality frozen cherries for my homemade preserves. They break down beautifully when cooked. If you’re fortunate enough to use fresh cherries when they’re in season, remember to pit them thoroughly before cooking. Both options yield a delicious result.
- All-Purpose Flour: The foundation of our cake. Ensure you measure it correctly, preferably by weight, to avoid a dense cake.
- Sugar: Granulated sugar provides sweetness and contributes to the cake’s moist texture.
- Eggs: Large, room-temperature eggs bind the ingredients and add structure and richness to the cake.
- Vanilla Extract: Essential for that classic, comforting vanilla flavor in both the cake and whipped cream.
- Baking Powder & Kosher Salt: Leavening and flavor enhancers crucial for a well-risen and balanced cake.
- Cornstarch: Key for thickening the cherry preserve, giving it a smooth, Spoonable consistency.
- Heavy Cream & Confectioners’ Sugar: The base for our light and airy whipped cream, providing richness and just the right amount of sweetness. Make sure the cream is very cold for best whipping results.
Crafting Your White Forest Cake: Detailed Instructions
Follow these detailed steps carefully, and you’ll be on your way to creating a truly magnificent White Forest Cake. Precision in baking leads to perfection!
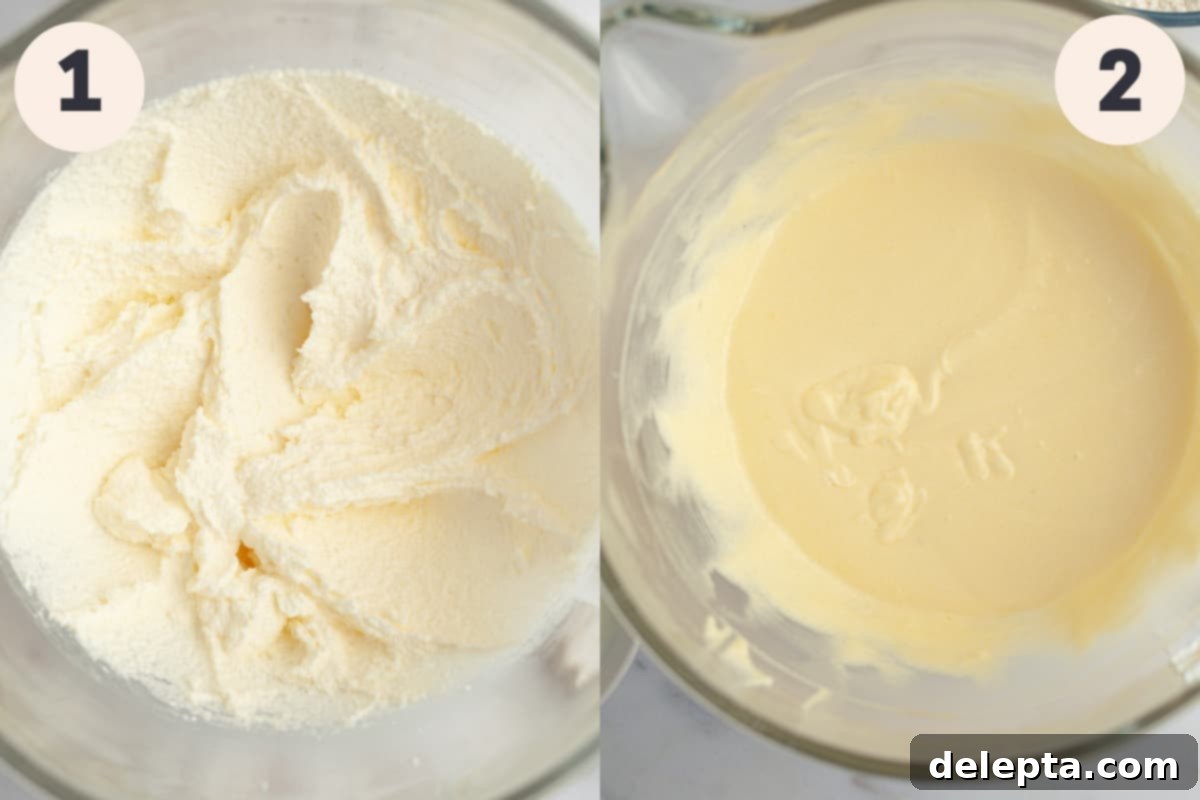
Step 1: Prepare the Cake Base. Begin by preheating your oven to 350°F (175°C) and preparing two 8-inch cake pans. Grease them thoroughly and line the bottoms with parchment paper to ensure easy removal. In a large mixing bowl, combine your room temperature butter, neutral oil, and granulated sugar. Using either a handheld electric mixer or a stand mixer fitted with the paddle attachment, beat these ingredients together on medium speed until the mixture becomes light, creamy, and visibly fluffy. This usually takes about 2-3 minutes. Don’t worry if it still appears a bit grainy; this is perfectly normal at this stage.
Step 2: Incorporate Eggs and Extracts. Next, add the large eggs one at a time, ensuring each egg is fully incorporated into the batter before adding the next. After each egg addition, make sure to scrape down the sides and bottom of the bowl with a spatula to ensure everything is evenly mixed. Finally, stir in the vanilla extract and, if you’re using it, the almond extract. These extracts provide the beautiful aromatic base for your cake.
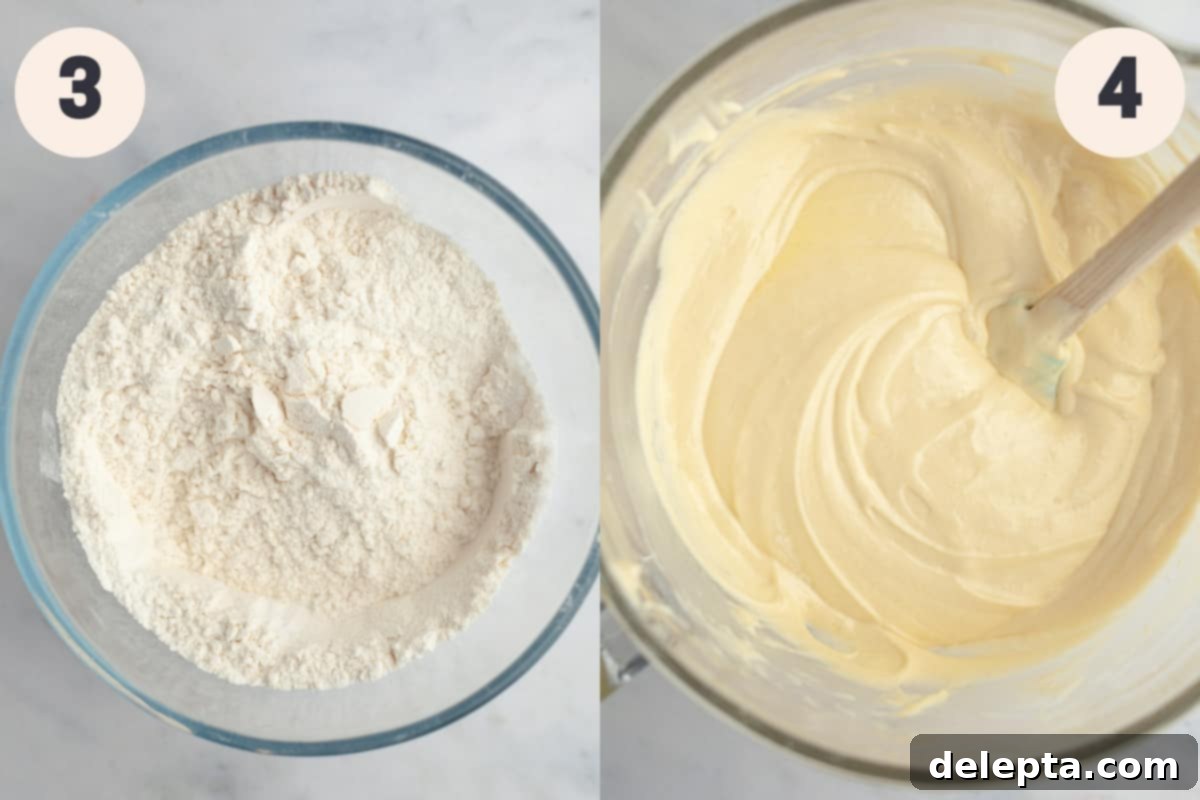
Step 3: Combine Dry Ingredients. In a separate, medium-sized bowl, whisk together the all-purpose flour, baking powder, and kosher salt. Whisking them ensures that the leavening agents and salt are evenly distributed throughout the flour, which is crucial for a consistent rise and flavor in your cake.
Step 4: Alternate Wet and Dry Mixtures. Now, it’s time to combine the wet and dry ingredients using the “alternating method.” Add approximately one-third of the dry flour mixture to the butter and egg mixture, mixing on low speed until just combined. Then, add half of the buttermilk and mix again until incorporated. Repeat this process once more with another third of the dry mixture and the remaining buttermilk. Finish by adding the last third of the dry mixture. Mix only until no streaks of flour remain; be very careful not to overmix, as this can lead to a tough cake.
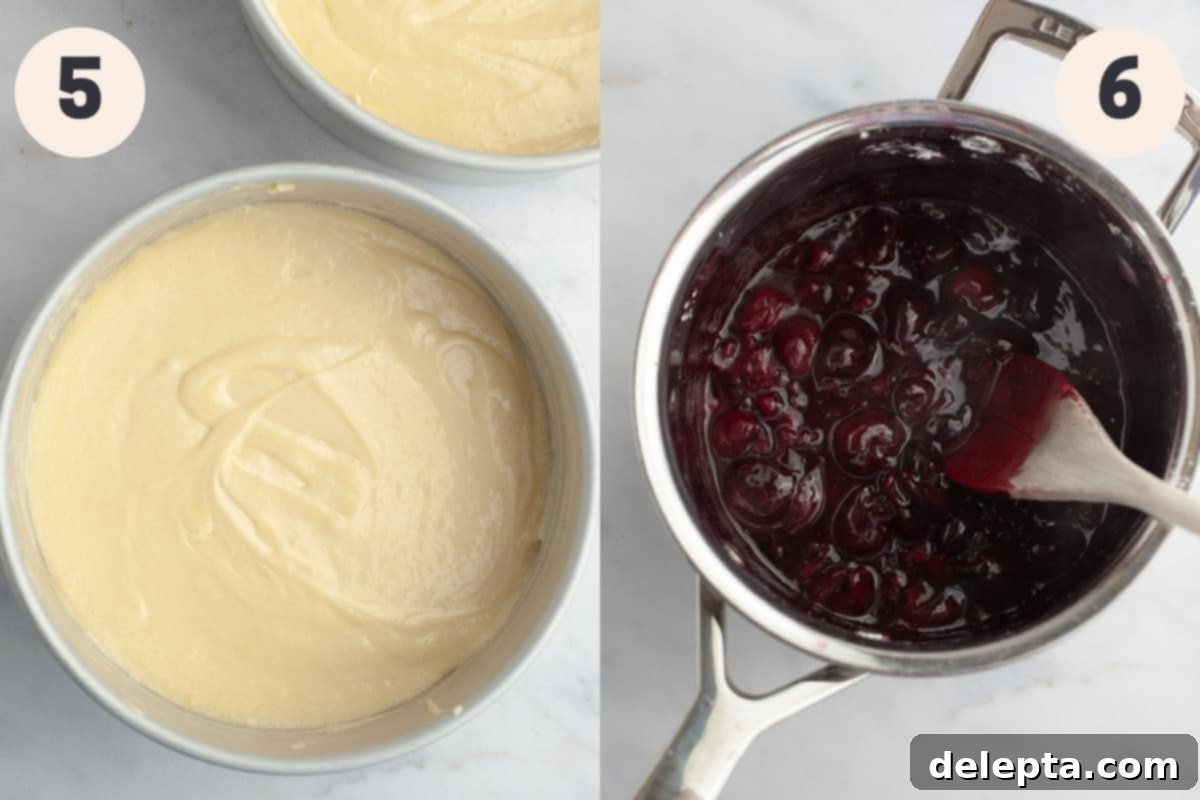
Step 5: Bake the Cake Layers. Divide the smooth cake batter evenly between your two prepared 8-inch cake pans. Place them in your preheated oven and bake for 30-35 minutes. To check for doneness, insert a toothpick into the center of each cake; it should come out clean. Once baked, remove the pans from the oven and let the cakes cool in their pans for 10-15 minutes. This allows them to firm up slightly before you attempt to transfer them. After this initial cooling, carefully invert them onto a wire rack to cool completely. Ensure they are fully cooled before frosting, which might take a couple of hours.
Step 6: Prepare the Homemade Cherry Preserve. While the cakes are cooling, prepare your luscious cherry filling. In a small saucepan, combine the frozen cherries (or pitted fresh cherries), granulated sugar, and cornstarch. Cook this mixture over medium-high heat, stirring constantly, for about 6 minutes until it comes to a gentle simmer. The cornstarch will begin to thicken the sauce significantly. Reduce the heat to medium-low and continue to cook for another 1-2 minutes. The mixture should become very thick and glossy, with some of the cherries naturally breaking down, creating a beautiful texture. Pour the finished cherry preserve into a bowl and allow it to cool completely to room temperature. This step is crucial, as warm filling will melt your whipped cream.
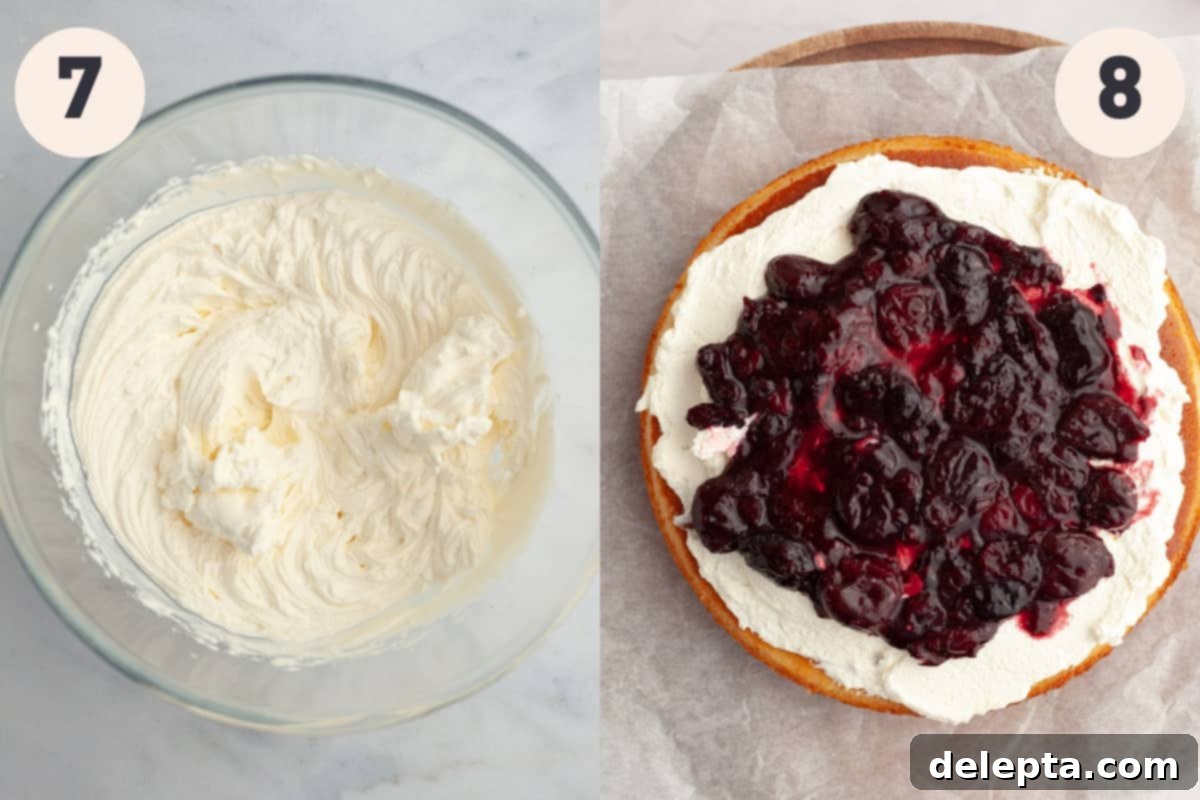
Step 7: Whip the Cream. For the best results, ensure your heavy cream, mixing bowl, and whisk attachment (if using a stand mixer) are very cold. In a stand mixer fitted with the whisk attachment, or in a large bowl with a handheld electric mixer, whip the cold heavy cream, vanilla extract, and confectioners’ sugar on medium-high speed. Continue whipping until you achieve beautiful medium peaks – the cream should hold its shape but still be soft and Spoonable. Be careful not to over-whip, or it might turn grainy. Use immediately for assembly.
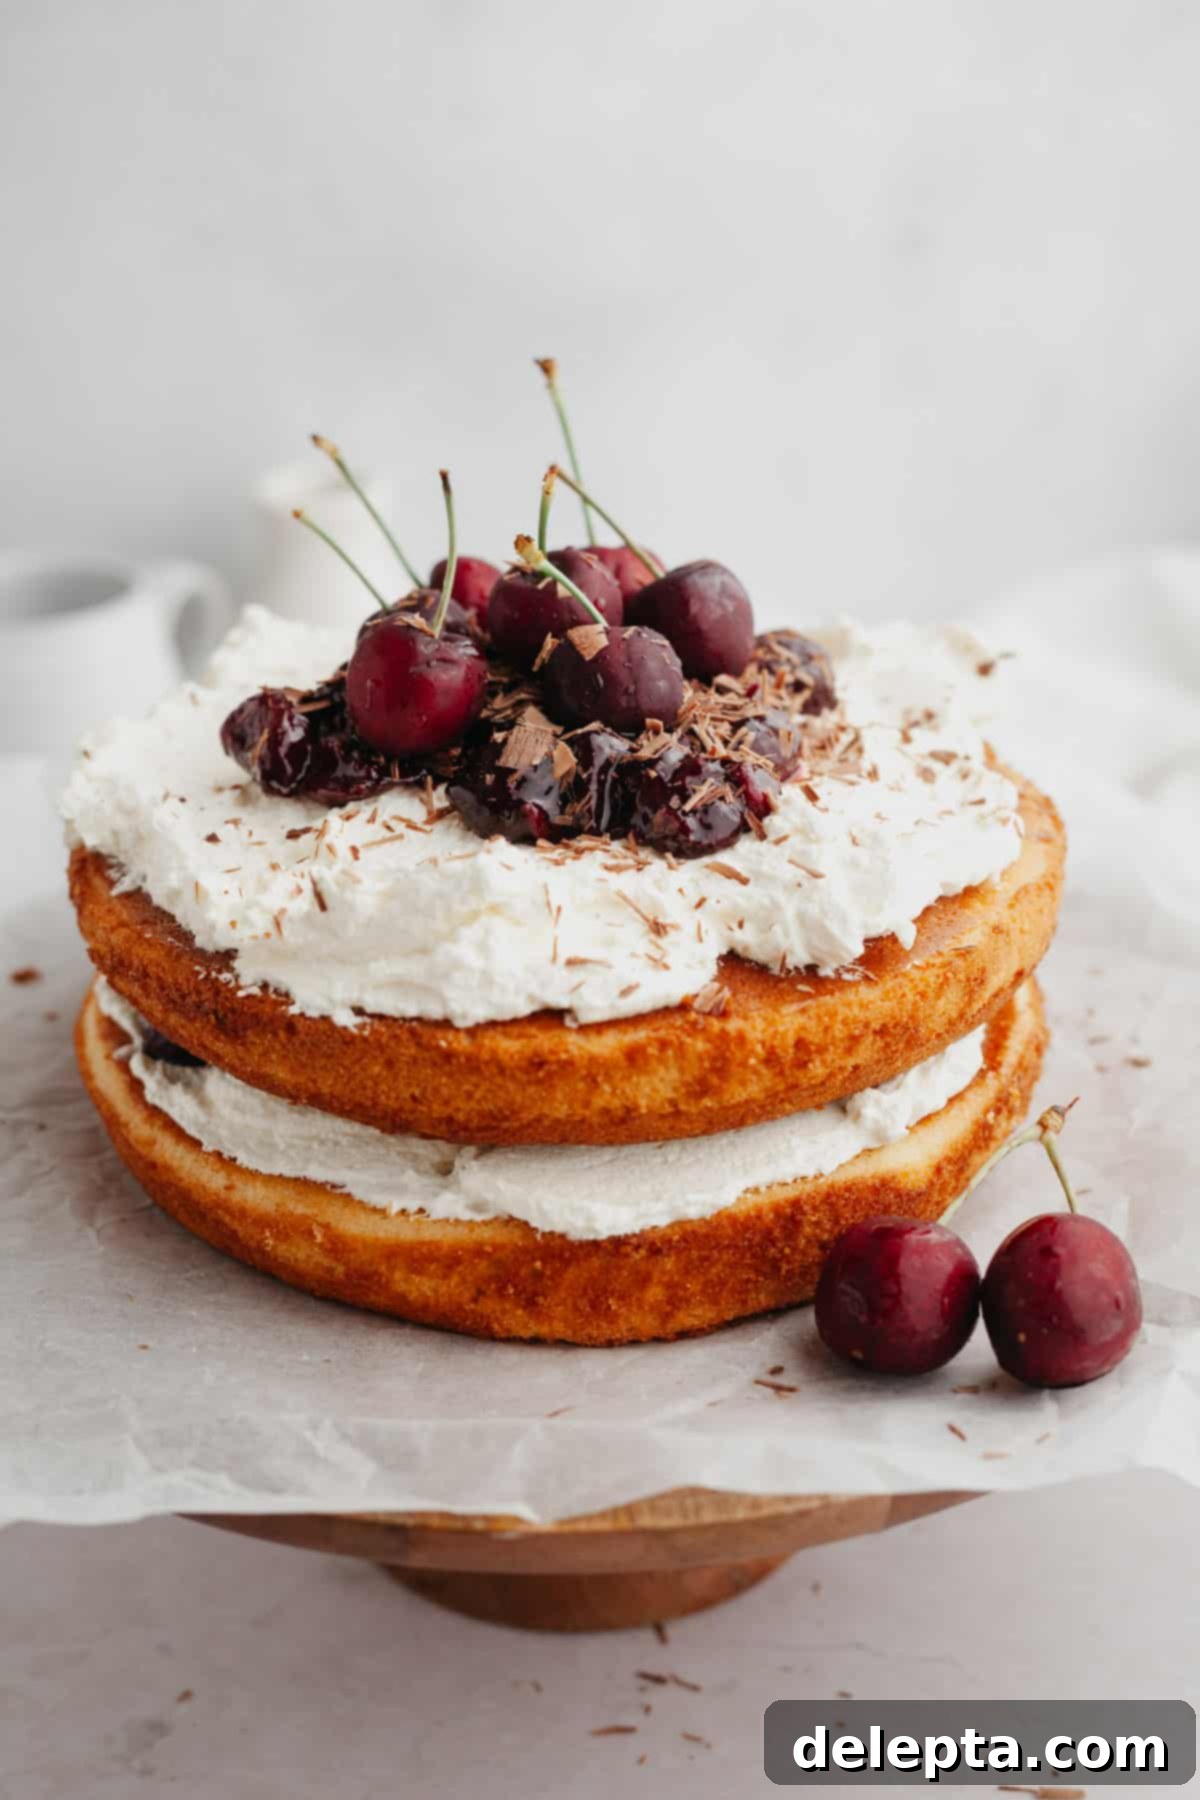
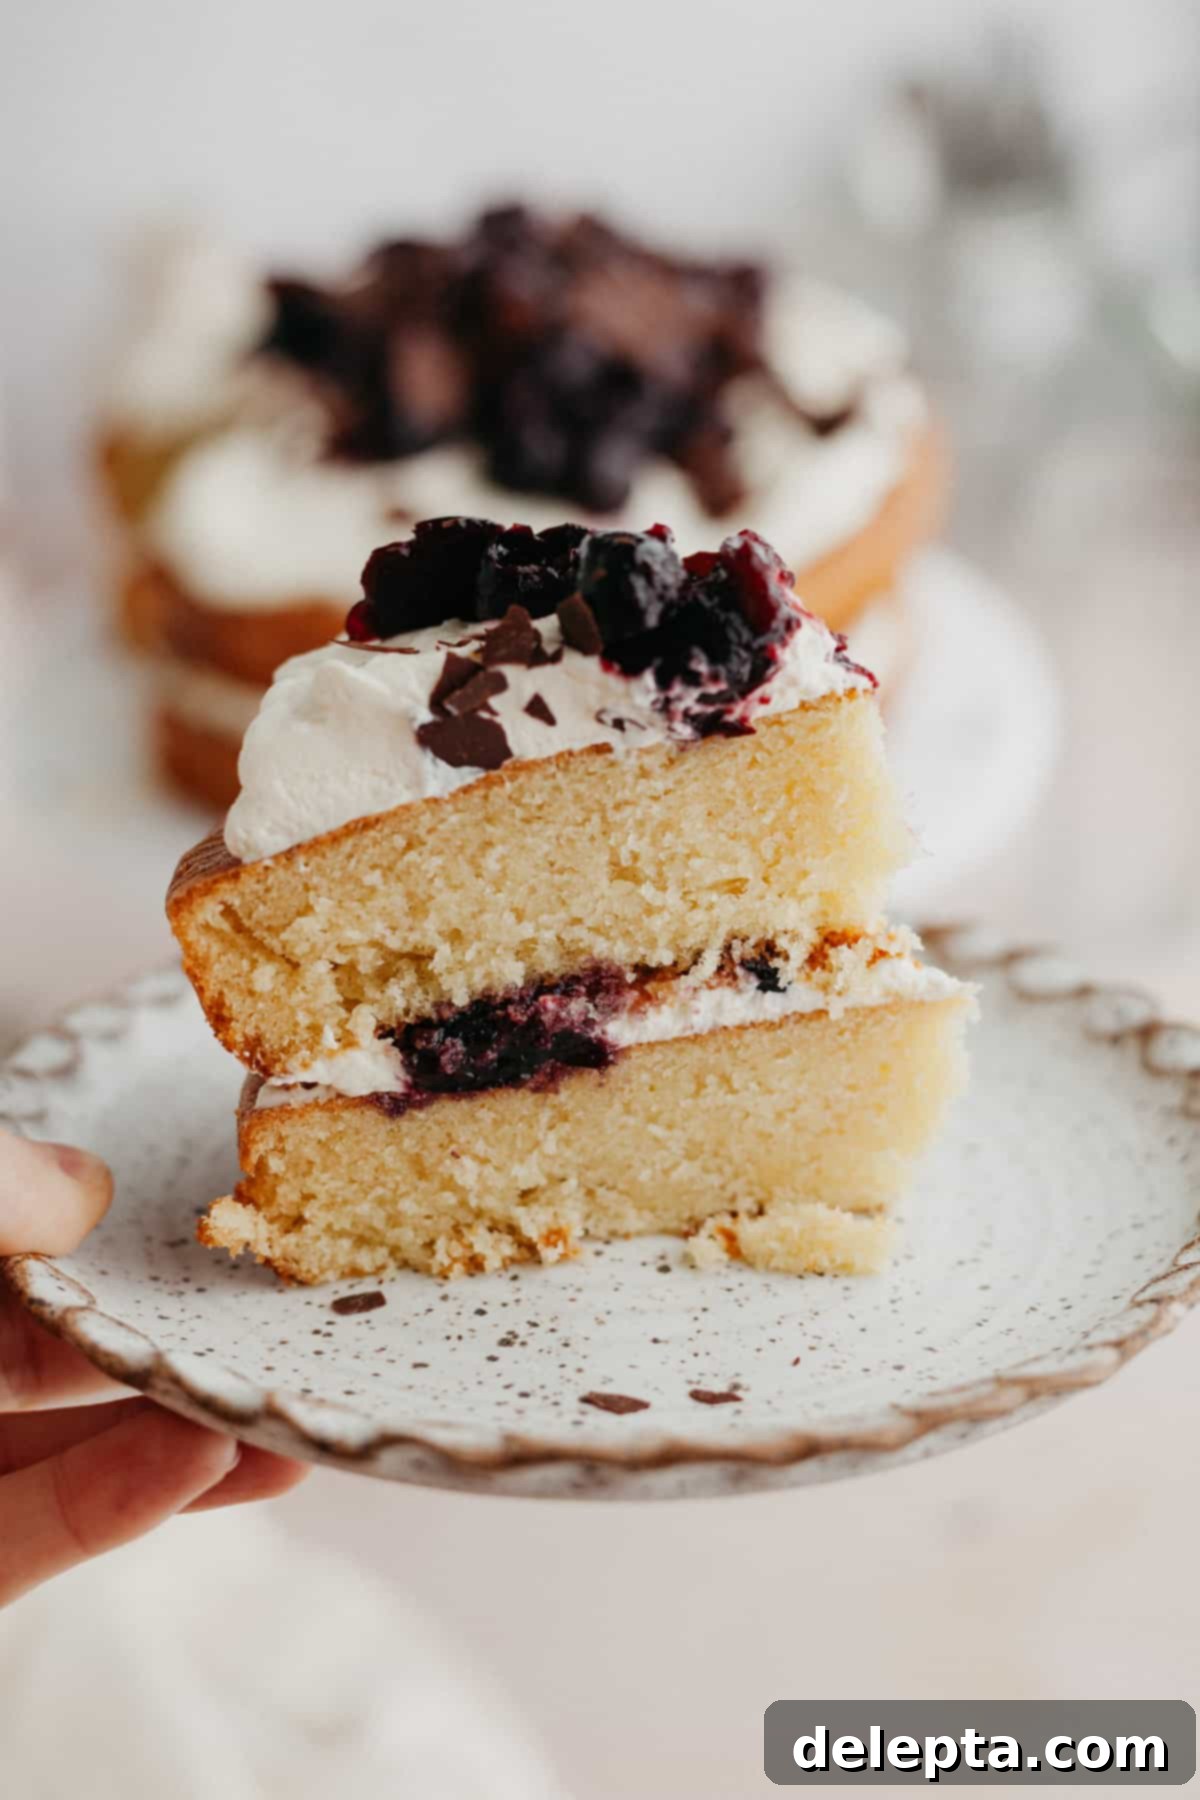
Step 8: Assemble Your White Forest Cake. Once all components are completely cooled, it’s time for the exciting assembly! Place one cooled cake layer onto your serving plate or cake stand. Spread just under half of your freshly whipped cream evenly over this first layer. Next, spoon half of the cooled cherry preserve over the whipped cream. Carefully place the second cake layer on top, then repeat the layering process with the remaining whipped cream and cherries. For a classic finish, I love to add delicate dark chocolate shavings on top, but you could also use white chocolate shavings or simply leave the top adorned with just the vibrant cherries for a simpler look. Chill the cake for at least 30 minutes before slicing to allow the layers to set.
Expert Tips for a Perfect White Forest Cake
Achieving bakery-quality results at home is easier than you think with these helpful tips and tricks:
- Embrace Your Kitchen Scale: For unparalleled accuracy in baking, especially with cakes, I cannot stress enough the importance of using a kitchen scale and measuring your ingredients in metric grams. Volume measurements (cups) can be inconsistent due to varying packing densities, leading to unpredictable results. A scale ensures every bake is precise and perfect!
- Room Temperature Ingredients are Key: This is a non-negotiable step for successful baking! Ensure that your butter, eggs, and buttermilk are all at true room temperature (around 68-70°F or 20-21°C). This allows them to emulsify properly, creating a smooth, homogenous batter that holds more air, resulting in a lighter and fluffier cake. Pull them out of the fridge at least 2 hours before you plan to start baking.
- Prepare Cherry Filling in Advance: To prevent your beautiful whipped cream from melting during assembly, it is absolutely crucial that the cherry preserves are completely cool before you use them. You can easily make the filling up to 2 days ahead of time. Simply store it in an airtight container in the refrigerator, and let it come to room temperature or slightly chilled before layering.
- Creative Decorating Ideas: While I’ve adorned the top of this cake with elegant dark chocolate shavings, feel free to get creative! White chocolate shavings would perfectly complement the “white forest” theme. For an extra touch of freshness and color, consider adding a few whole fresh cherries or delicate mint sprigs.
- Consider a Buttercream Alternative: If you or your guests prefer a more stable or richer frosting than fresh whipped cream (especially in warmer climates), a cream cheese frosting would be a fantastic alternative. My lemon curd cake recipe features a delightful cream cheese frosting that would pair wonderfully with the vanilla cake and cherry filling.
- Do Not Overmix the Batter: After adding the flour, mix on the lowest speed only until the ingredients are just combined and no dry streaks of flour remain. Overmixing develops the gluten in the flour, leading to a tough, dry cake.
- Level Your Cake Layers: For a professional, even appearance, it’s a good idea to level your cake layers if they have domed tops. Use a serrated knife or a cake leveler to carefully trim off any domes once the cakes are completely cool.
- Chilling for Clean Slices: Once assembled, chilling the cake for at least 30-60 minutes before slicing will help the whipped cream and cherry filling set, resulting in much cleaner, more defined slices.
Frequently Asked Questions About White Forest Cake
Here are some common questions you might have about making and enjoying this delicious cake:
The primary distinction lies in the cake layers themselves. A traditional Black Forest Cake features rich, dark chocolate cake layers, whereas a White Forest Cake utilizes light, fluffy vanilla cake layers. Both varieties typically share the common elements of fresh whipped cream and a luscious cherry filling.
Absolutely! You can prepare the cherry filling up to 2 days in advance; simply store it in an airtight container in the refrigerator until you’re ready to assemble. The cake layers can also be baked 2 days ahead of time; once completely cooled, wrap each layer tightly in plastic wrap and store them at room temperature or in the fridge. However, I highly recommend making the whipped cream just before assembly for the best texture and freshness.
Due to the fresh whipped cream and fruit filling, this cake must be stored in the refrigerator. Cover it loosely with plastic wrap or a cake dome to prevent it from drying out, and it will remain delicious for up to 3 days. For best flavor and texture, allow it to sit at room temperature for about 15-20 minutes before serving.
Yes, absolutely! If fresh cherries are in season, they’ll add an incredible flavor. Just remember to pit them thoroughly before proceeding with the cherry filling recipe. The cooking time and method remain the same for both fresh and frozen cherries.
The most common reasons for whipped cream not stiffening are using cream that isn’t cold enough or over-whipping it. Ensure your heavy cream is straight from the refrigerator, and if possible, chill your mixing bowl and whisk attachment for 10-15 minutes beforehand. Whip only until medium peaks form; beyond this, it can quickly turn grainy or separate.
Explore More Delicious Cake Creations!
If you loved baking this White Forest Cake, you’re in for a treat! Discover more delightful cake recipes that are perfect for celebrations or simply indulging your sweet tooth:
- Oreo Drip Cake
- Simple Moist Chocolate Walnut Cake
- Chocolate & Orange Cake
- Easy Nutella Filled Cupcakes
If you’ve made this incredibly delicious White Forest Cake recipe, please make sure to leave a ⭐️ rating and a thoughtful review below! I absolutely adore seeing your culinary creations, so don’t forget to tag me on Instagram @alpineella so I can admire your beautiful bakes! You can also stay connected and discover more recipes by following along on Pinterest, Facebook, and TikTok!
Recipe Card
White Forest Cake
Ella Gilbert
Pin Recipe
Save RecipeSaved!
Equipment
-
Two x 8-inch pans
Ingredients
Cake
- ⅓ cup unsalted butter room temperature
- 1 ⅔ cups sugar
- ¼ cup neutral oil
- 4 large eggs room temperature
- 3 teaspoons vanilla extract
- ⅛ teaspoon almond extract optional
- 2 teaspoons baking powder
- 1 ½ teaspoons kosher salt
- 2 ¼ cups all purpose flour
- 1 cup buttermilk room temperature
Cherry Filling
- 2 cups frozen cherries
- 2 teaspoons sugar
- 2 teaspoons cornstarch
Whipped Cream
- 1 cup heavy cream
- ⅛ cup confectioners’ sugar
- 1 teaspoon vanilla
Instructions
Cake
-
Preheat your oven to 350°F/175°C. Grease and line two 8-inch cake pans.
-
In a stand mixer fitted with the paddle attachment, cream the room temperature butter with the oil and sugar until creamy on medium speed. This will take about 2-3 minutes, and it’ll look a bit grainy and fluffy.⅓ cup unsalted butter, 1 ⅔ cups sugar, ¼ cup neutral oil
-
Add the eggs one at a time, beating well and scraping the bowl after each addition. Mix in the almond and vanilla extract.4 large eggs, 3 teaspoons vanilla extract, ⅛ teaspoon almond extract
-
In a small bowl, whisk together the flour with the baking powder and salt.2 teaspoons baking powder, 2 ¼ cups all purpose flour, 1 ½ teaspoons kosher salt
-
Add ⅓ of the flour mixture, then mix on low. Add ½ the buttermilk. Repeat once more, then end with the flour mixture.1 cup buttermilk
-
Pour the smooth cake batter into the prepared pans.
-
Bake for 30-35 minutes, or until a toothpick inserted comes out clean. Let the cakes cool in the pans for 10-15 minutes before removing and letting them cool completely on wire cooling racks.
Cherry Filling
-
Combine all of the ingredients in a saucepan over medium-high heat. Let it come to a simmer and stir constantly for 6 minutes.2 cups frozen cherries, 2 teaspoons sugar, 2 teaspoons cornstarch
-
Turn the heat to medium-low and let it cook for another 2 minutes. It should have gotten very thick and glossy. Pour into a bowl and let it cool completely.
Whipped Cream
-
In a stand mixer fitted with the whisk attachment, beat the heavy cream, sugar and vanilla on medium-high speed for 3 minutes. Beat until you have medium peaks.1 cup heavy cream, ⅛ cup confectioners’ sugar, 1 teaspoon vanilla
Assembly
-
Place one cake layer down and cover with half of your whipped cream. Spoon over half of your cherry filling. Carefully place the second cake layer on top, then top with the remaining whipped cream and cherries.
Notes
Butter: I use European style butter in my recipes. This will make your cake much creamier and richer.
Salt: If you don’t have kosher salt, halve the amount of salt called for in the recipe. 1 teaspoon kosher salt = ½ teaspoon fine salt. Please note, I’m using Diamond Crystal Kosher Salt, not Morton Salt which is much saltier.
Storage: Keep the cake in the fridge for up to 3 days.
Making Ahead: You can make the cake layers ahead of time. Bake them and then once completely cooled, wrap in plastic wrap tightly. Store in the fridge for up to 2 days or in the freezer for up to 2 months. If frozen, allow to defrost and come to room temperature before frosting the cake.
Nutrition
