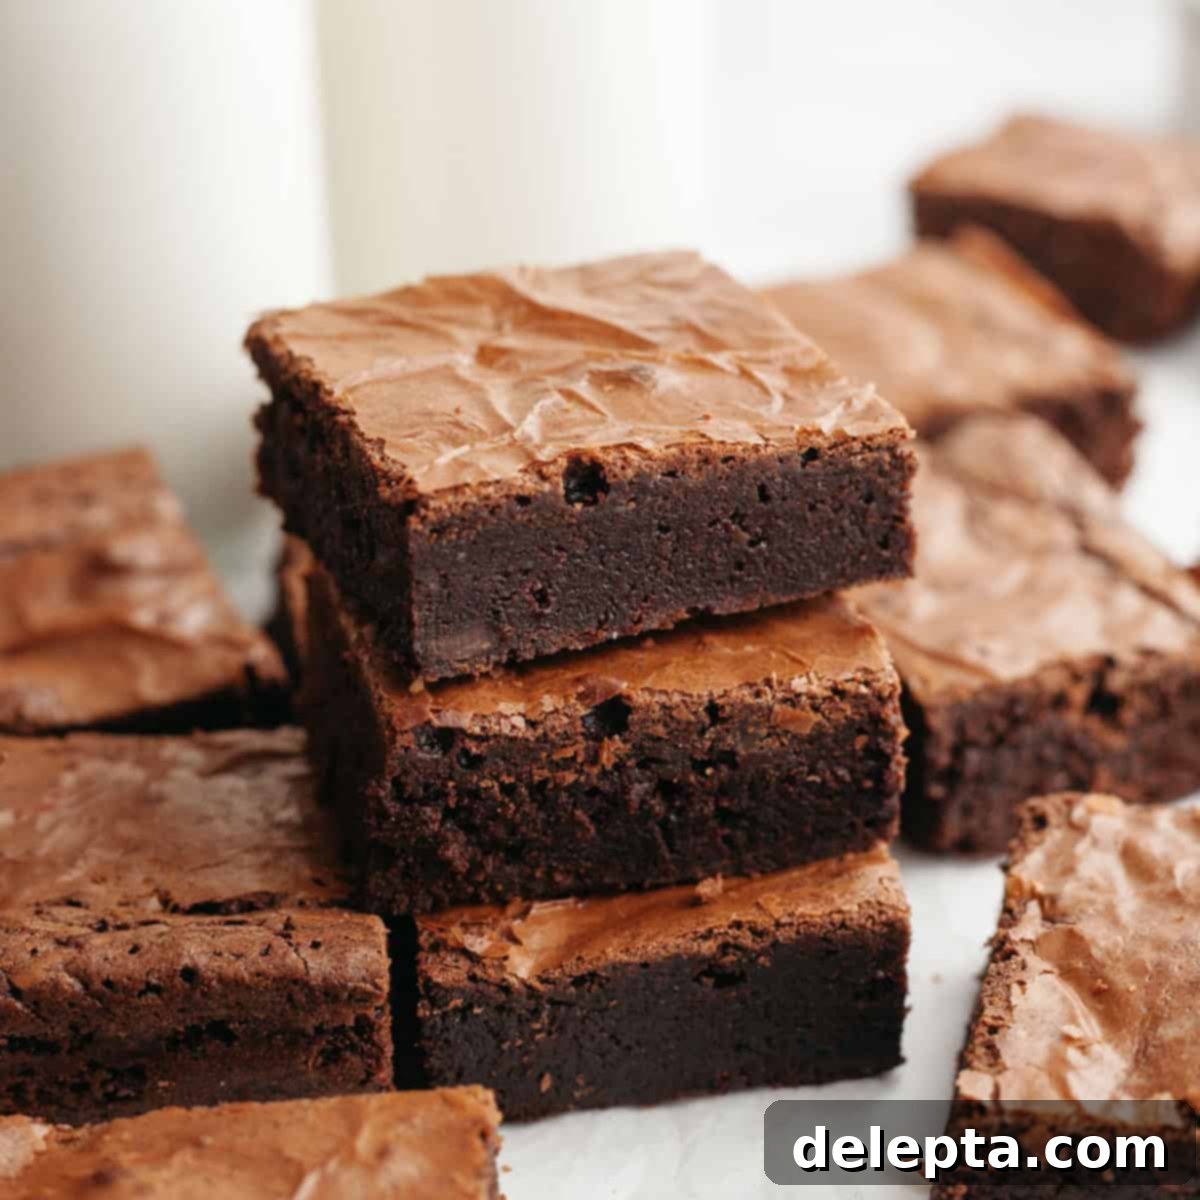
The Ultimate Double Fudge Brownies: Achieve Perfect Fudginess with a Signature Crinkle Top
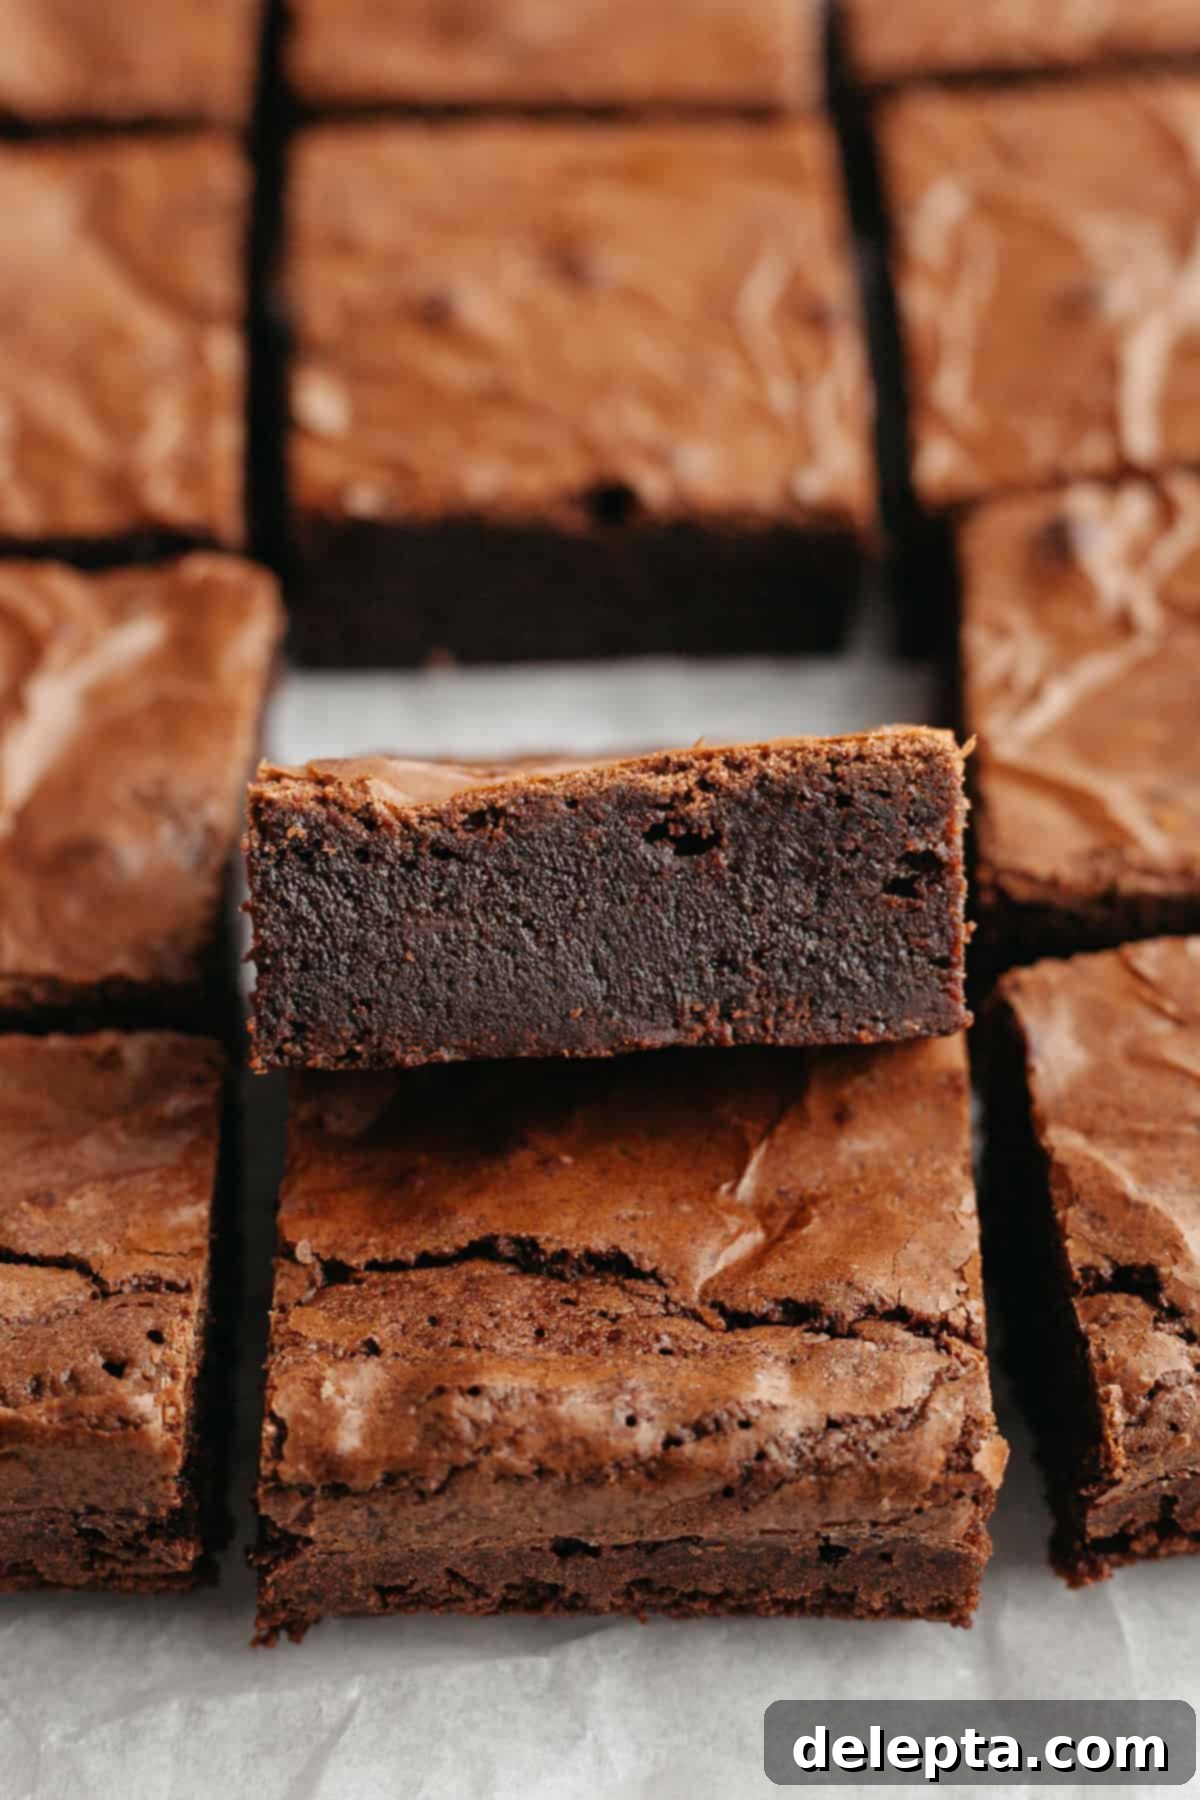
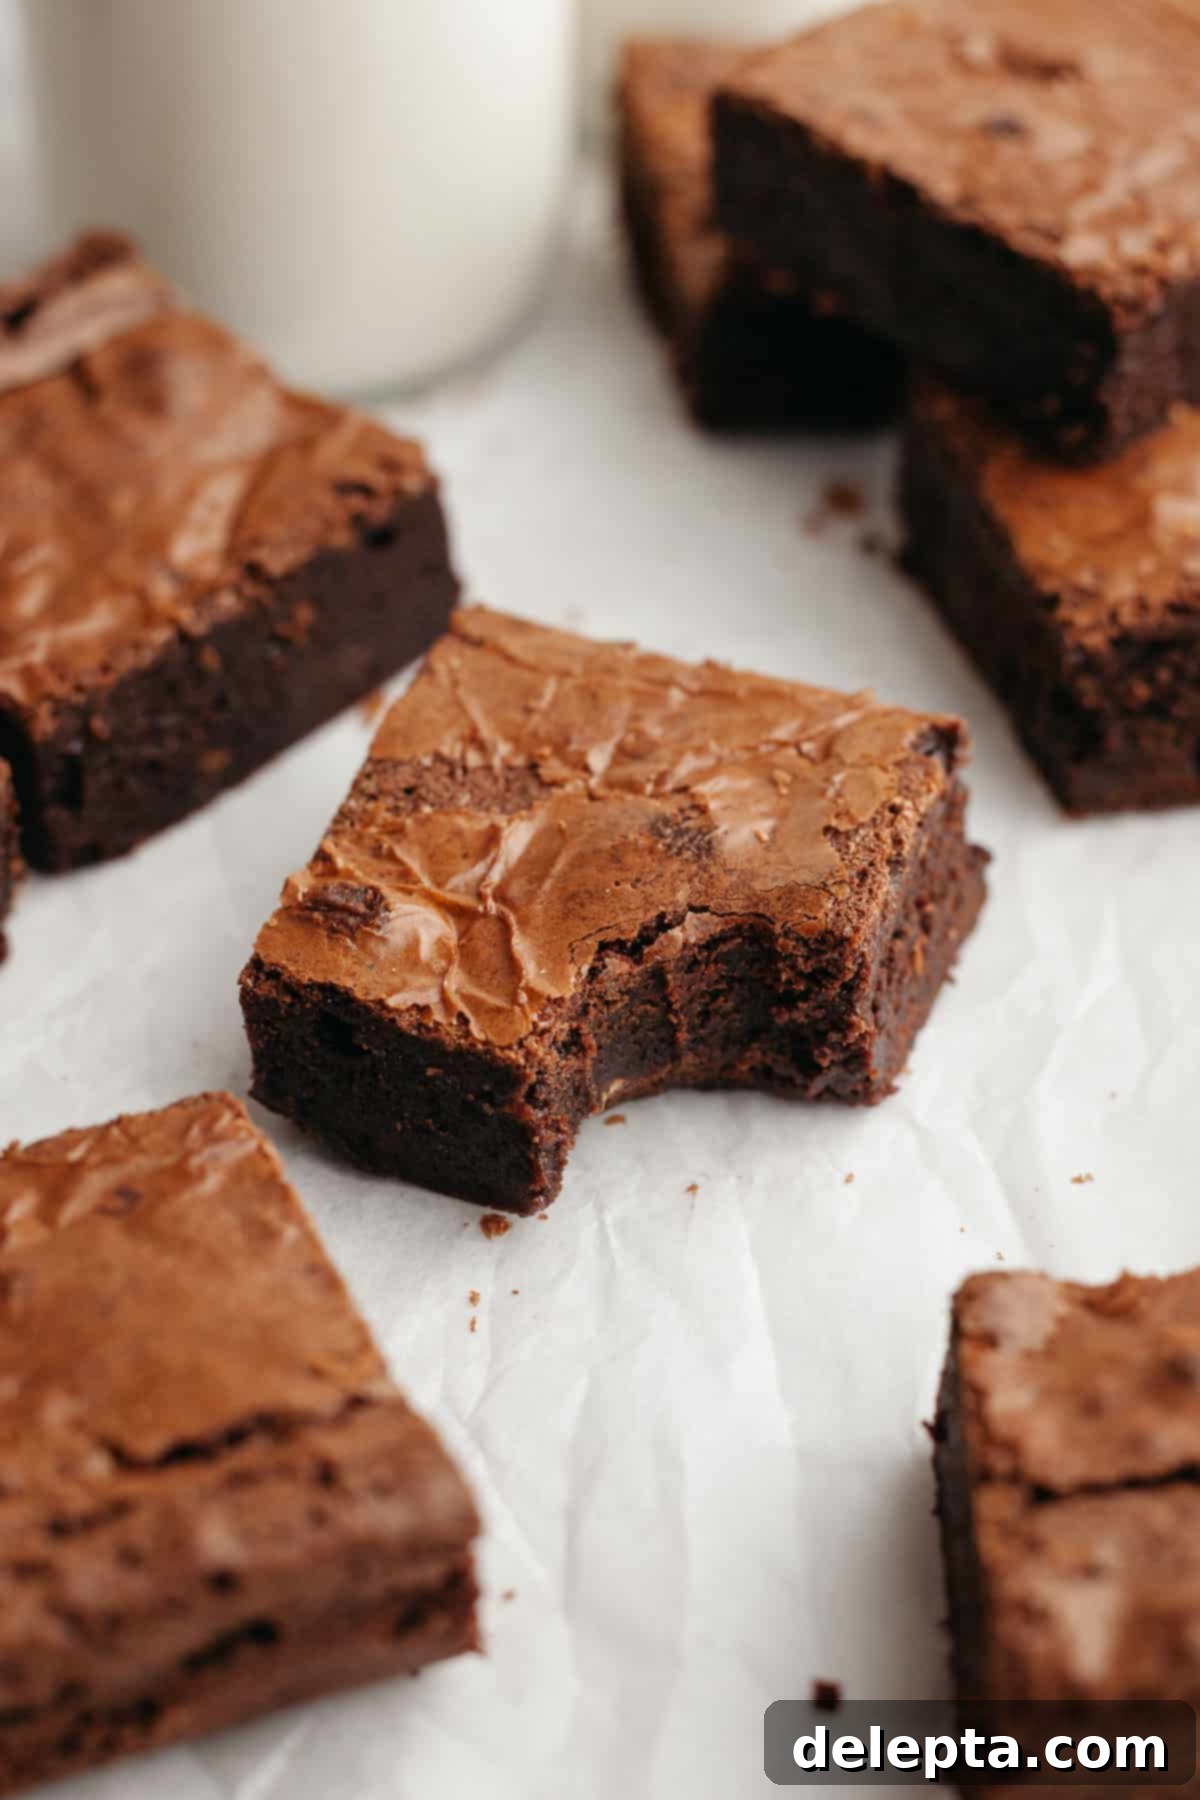
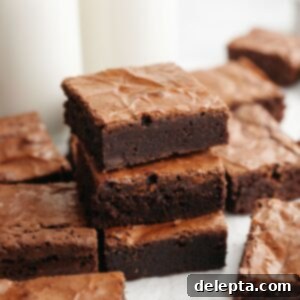
Prepare to discover the ultimate recipe for double fudge brownies that will truly elevate your baking game! These incredible brownies are richer, chewier, and more intensely chocolatey than anything you’ve ever tasted, easily outperforming even the best bakery offerings. Crafted with a powerful combination of both premium cocoa powder and finely chopped chocolate, they deliver an unparalleled depth of flavor. Get ready for that coveted shiny, crinkly top and a melt-in-your-mouth fudgy texture that defines brownie perfection. The best part? This simple, one-bowl recipe doesn’t even require a mixer, and I’m sharing all my expert tips to guarantee that sought-after crackly crust.
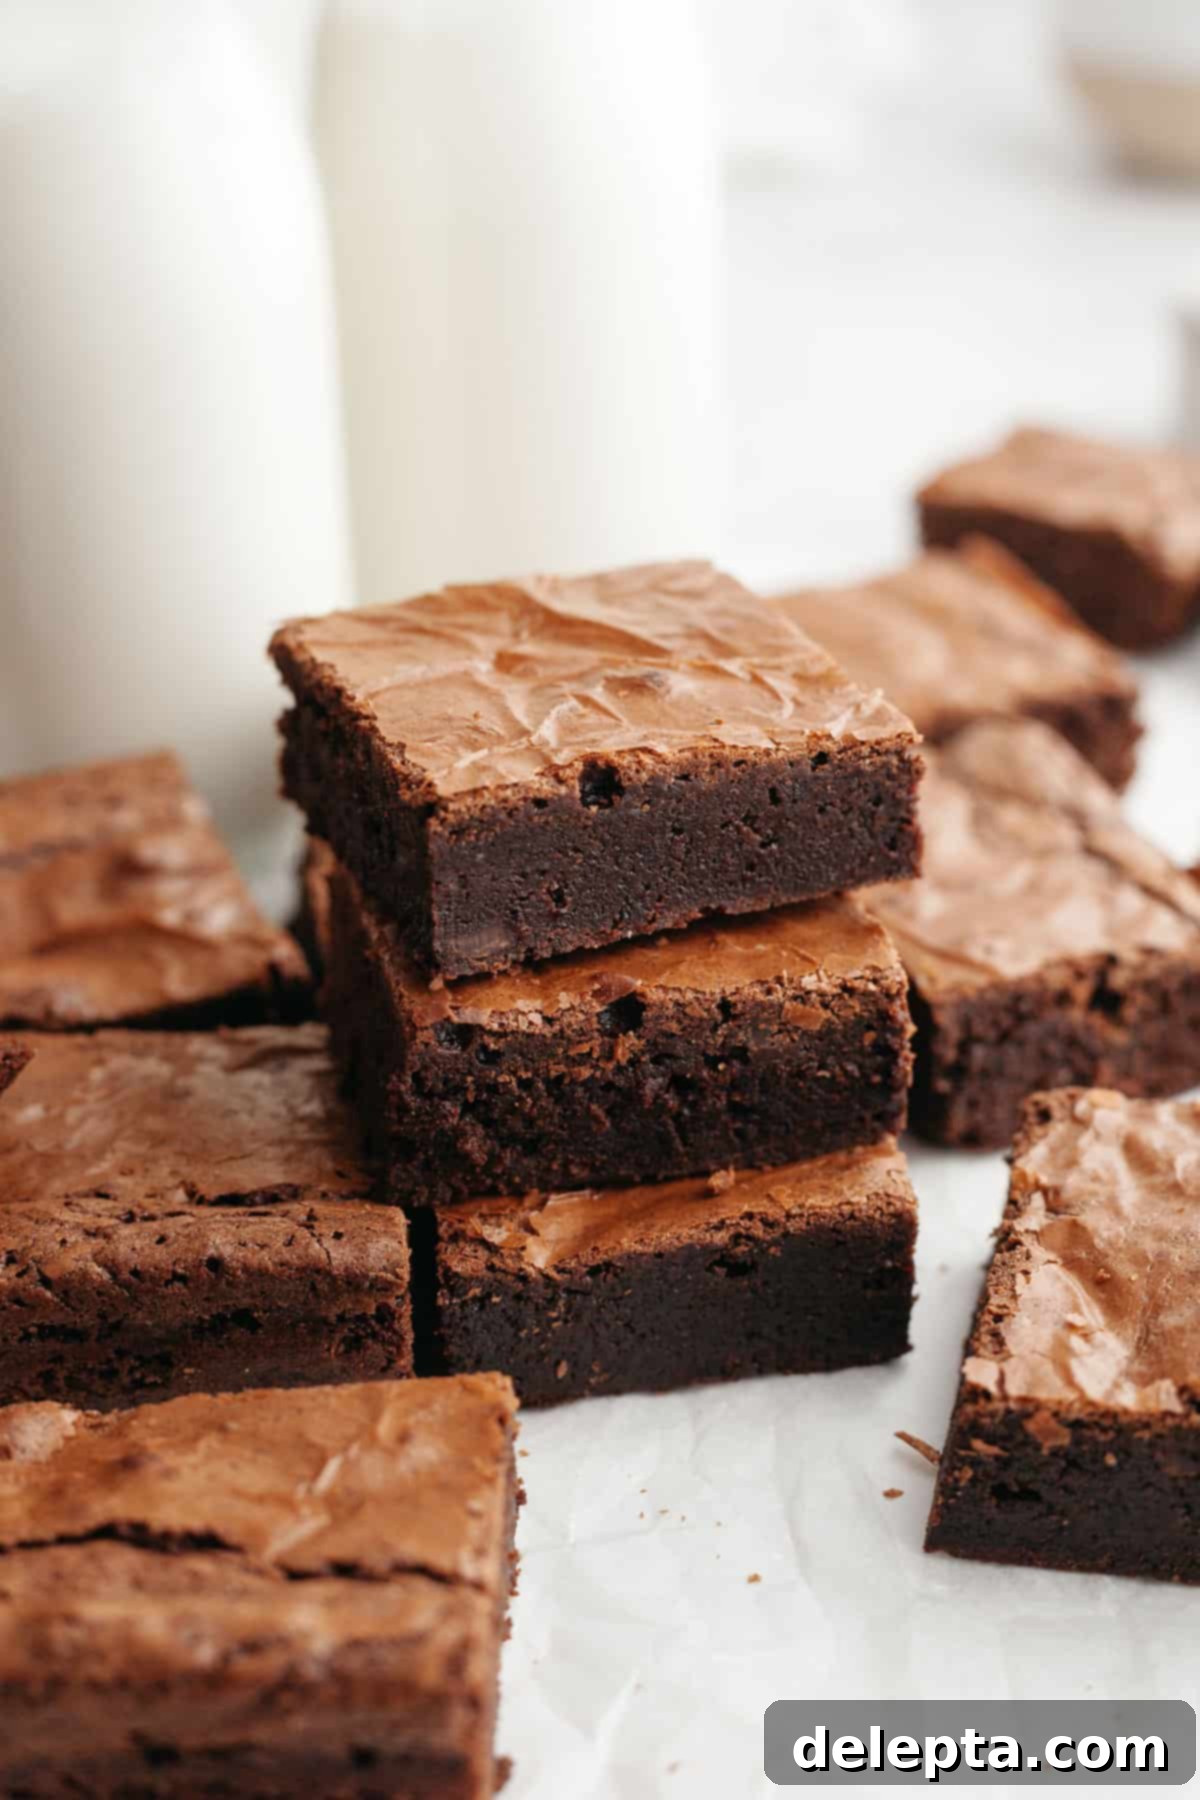
My Journey to Perfection: A Million Recipe Tests Later…
The quest for these flawless double chocolate fudge brownies was a truly epic undertaking, filled with countless trials and invaluable lessons. While I deeply adore my existing recipes, like the delightful triple chocolate brownies and fun M&M brownies, I was determined to create a new benchmark: a brownie recipe that *guaranteed* that iconic crinkly top. After extensive experimentation, I can confidently say, this is the perfect brownie!
My journey began with a deep dive into extensive research. I devoured countless articles and blog posts about the science behind brownies, specifically focusing on how to achieve that elusive shiny crust. The frustrating part was the inconsistency: sometimes I’d get that beautiful top, other times it would simply vanish. This led to a grueling series of tests – I conducted six variations in just 48 hours! At one point, I was genuinely questioning my sanity (my notes from “Test 5” famously read: “I’m losing my mind”). Just as I was about to give up, I stumbled upon an incredible blog post from Buttermilk By Sam, which proved to be the turning point.
Sam had embarked on a similar research path, meticulously documenting her findings. Her key insight resonated deeply: a lot of the magic behind the crinkle top depended on properly dissolving the sugar. Traditional methods suggested whisking sugar with eggs or using warm butter. While these sometimes worked, they weren’t foolproof. Sam’s breakthrough involved adding finely chopped chocolate to the brownie batter, and she found this technique consistently produced a perfect, shiny crust! I eagerly tried her method, and “huzzah!”—it worked flawlessly! I literally did a victory lap around my kitchen, thrilled with the results.
So, why is adding chopped chocolate so crucial for that shiny top? As King Arthur Baking explains, the extra sugar introduced by the chopped chocolate plays a vital role. This additional sugar melts and rises to the surface during baking, forming a thin, meringue-like layer. This layer then dehydrates and crisps, creating the desirable, delicate crackly crust we all love. It’s a game-changer for homemade brownies, ensuring every batch has that professional bakery-quality finish.
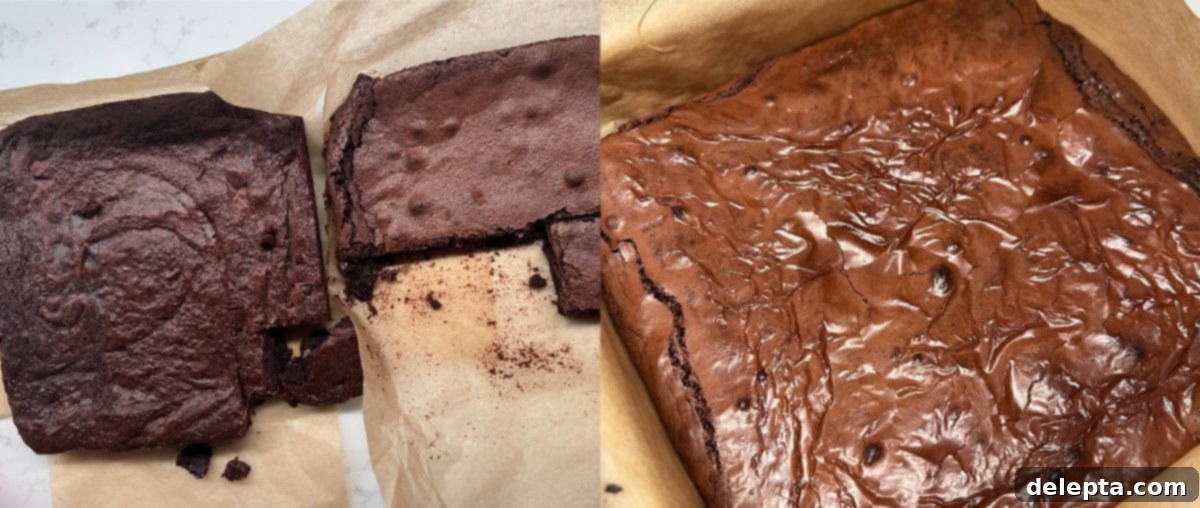
The image above clearly illustrates my testing journey. On the left, you see tests 4 and 5, where I relied solely on dissolving sugar in eggs or warm butter, without the crucial chopped chocolate. The tops are flatter, lacking that signature crinkle. On the right, Test 6 shows the transformative effect of incorporating Sam’s discovery: dissolving sugar in microwaved butter, then adding eggs and chopped chocolate. The difference is undeniable. No more waiting! Let’s get baking and create some truly incredible brownies!
Why This is The Best Double Fudge Brownie Recipe!
These aren’t just any brownies; they are the result of meticulous testing and a passion for perfection. Here’s why this recipe stands out as the absolute best:
- Guaranteed Shiny Crackly Crust: This recipe employs a specialized technique involving carefully melting the sugar into the butter, combined with the strategic addition of finely chopped chocolate. This scientific approach ensures you achieve that highly coveted, glossy, and beautifully crackled top on every single batch of brownies. It’s not just luck; it’s a method developed for consistent perfection.
- Effortless One-Bowl Preparation: Say goodbye to piles of dirty dishes and complicated steps! This entire recipe is designed to be made in just one large bowl. You won’t need a bulky stand mixer or an assortment of specialized equipment, making cleanup a breeze and the baking process wonderfully simple and accessible for everyone, regardless of baking experience.
- Unbelievably Fudgy and Chewy Texture: The secret to the exceptionally dense, moist, and delightfully chewy texture of these brownies lies in the thoughtful inclusion of an extra egg yolk. This additional yolk contributes richness and structure without adding excess moisture that could compromise the fudginess, resulting in double fudge brownies that are intensely satisfying with every bite.
Gather Your Essential Ingredients!
Achieving bakery-quality brownies at home starts with selecting the right ingredients. Each component in this recipe plays a crucial role in delivering the rich flavor, perfect texture, and iconic crinkle top.
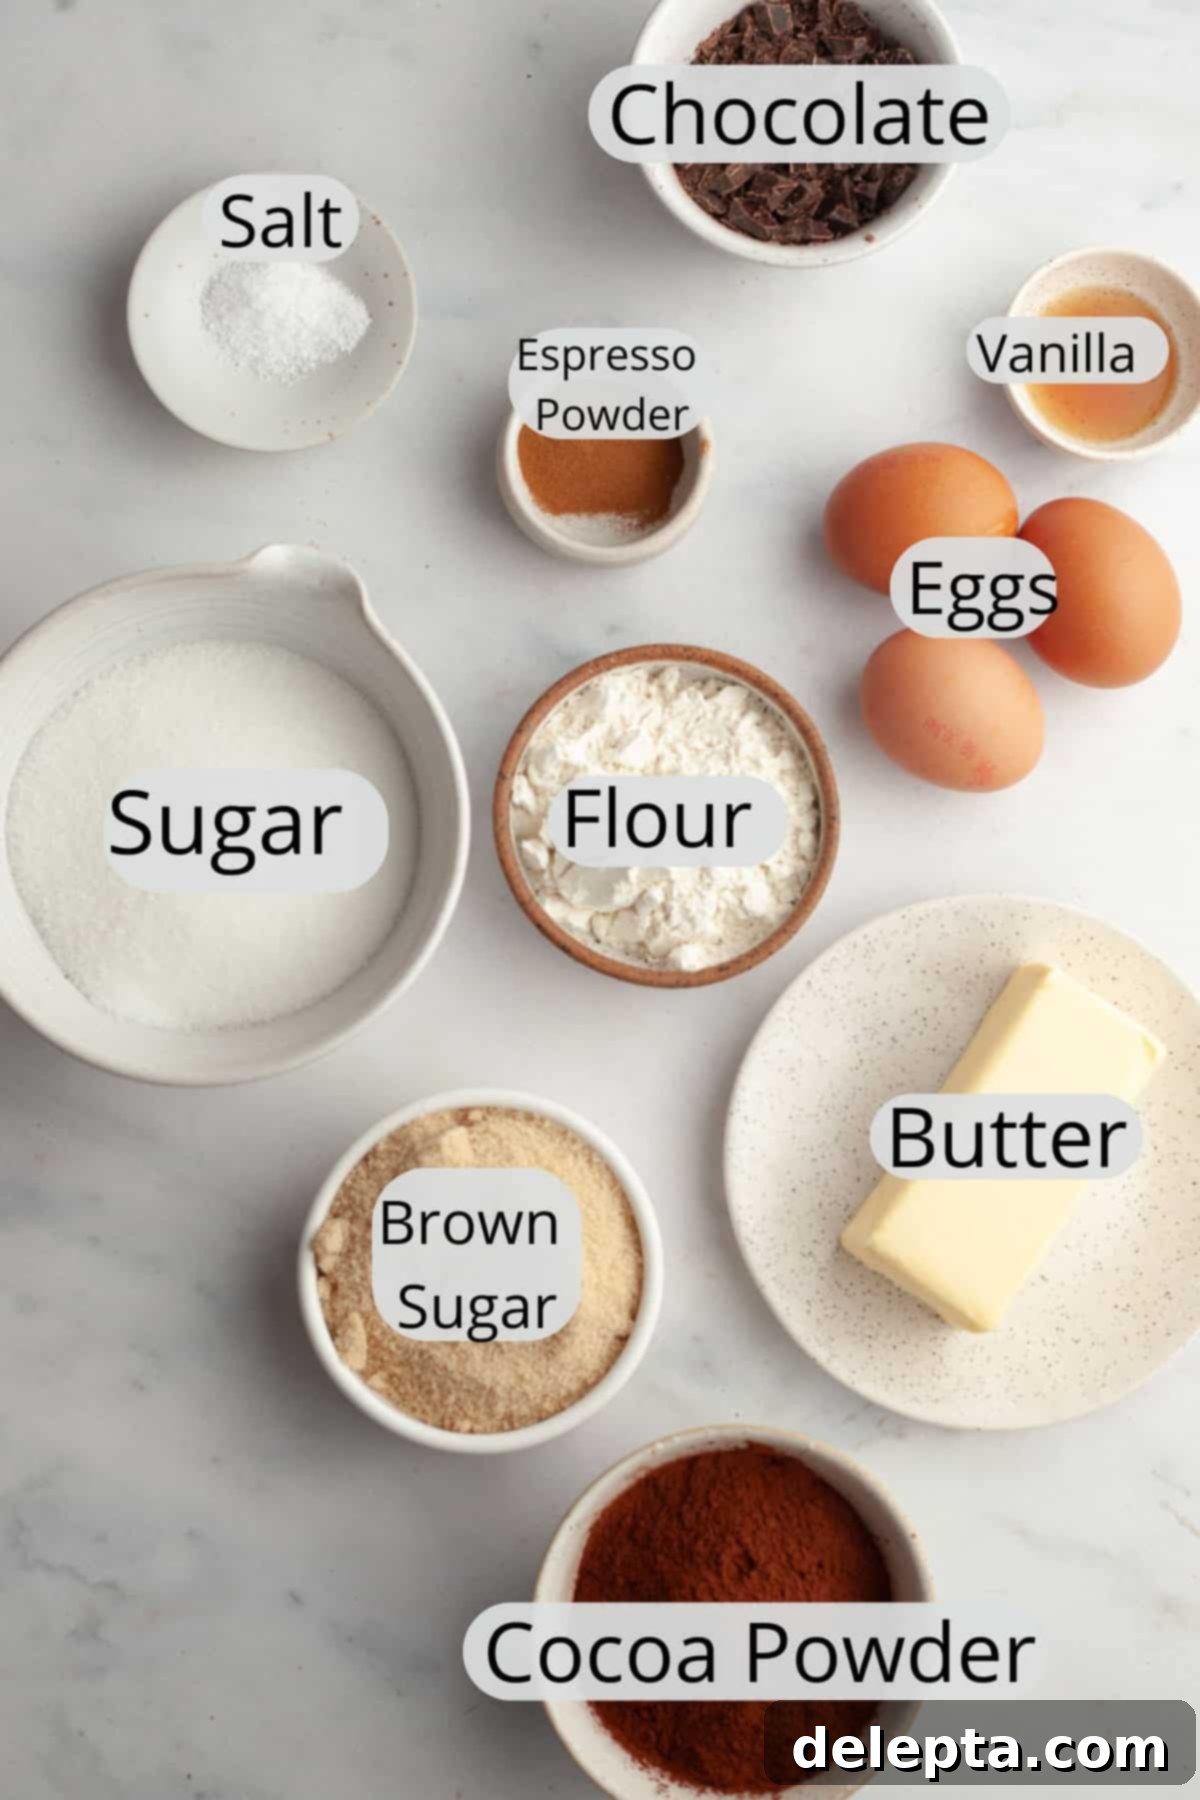
- Cocoa Powder: For the most intense, rich chocolate flavor and a deep, dark color, I highly recommend using Dutch-processed cocoa powder. Unlike natural unsweetened cocoa powder, Dutch-processed cocoa has been treated with an alkali to reduce its acidity, resulting in a smoother, less bitter, and more mellow chocolate taste. While natural cocoa powder can be used in a pinch, your brownies won’t achieve the same depth of flavor or signature dark hue. To check which type you have, simply look for “alkali” or “acidity regulators” on the ingredients label – if present, it’s Dutch-processed.
- Sugar: Our recipe calls for a precise blend of both light brown sugar and granulated sugar. Granulated sugar is key for achieving that essential shiny, crackly crust, while light brown sugar introduces moisture and a subtle caramel note, contributing significantly to the chewy, fudgy texture. This combination is essential for the ideal balance.
- Eggs: You’ll need a combination of whole eggs and an extra egg yolk. The whole eggs provide structure and moisture, while the additional egg yolk is a secret weapon for enhanced fudginess and chewiness. We avoid adding a full extra egg white because the increased water content could interfere with the formation of that beautiful shiny crinkle top we’re aiming for.
- Unsalted Butter: I always recommend using unsalted butter for baking as it gives you complete control over the salt content in your recipe. However, if salted butter is all you have, feel free to use it – I promise not to tell anyone! Just be mindful that you might want to slightly reduce the added salt in the recipe.
- Espresso Powder: A small but mighty ingredient, espresso powder is added to these brownies not to make them taste like coffee, but to dramatically intensify and deepen the natural chocolate flavor. It acts as a flavor enhancer, bringing out the rich cocoa notes without imparting any distinct coffee taste. If you’re looking for a more pronounced espresso flavor, I highly recommend trying my espresso brownies.
- Chopped Chocolate: This is a crucial ingredient for our signature crinkle top! I recommend using a high-quality semisweet chocolate, typically with a cocoa percentage around 60-70%. While chocolate chips are convenient, they contain stabilizers that prevent them from fully melting and dispersing as effectively as chopped chocolate. Finely chopping your own chocolate allows it to melt more evenly into the batter and contribute its extra sugar to the surface, which is vital for creating that thin, delicate, meringue-like crust. Choose a good quality eating chocolate for the best flavor results.
How to Craft These Perfect Double Fudge Brownies
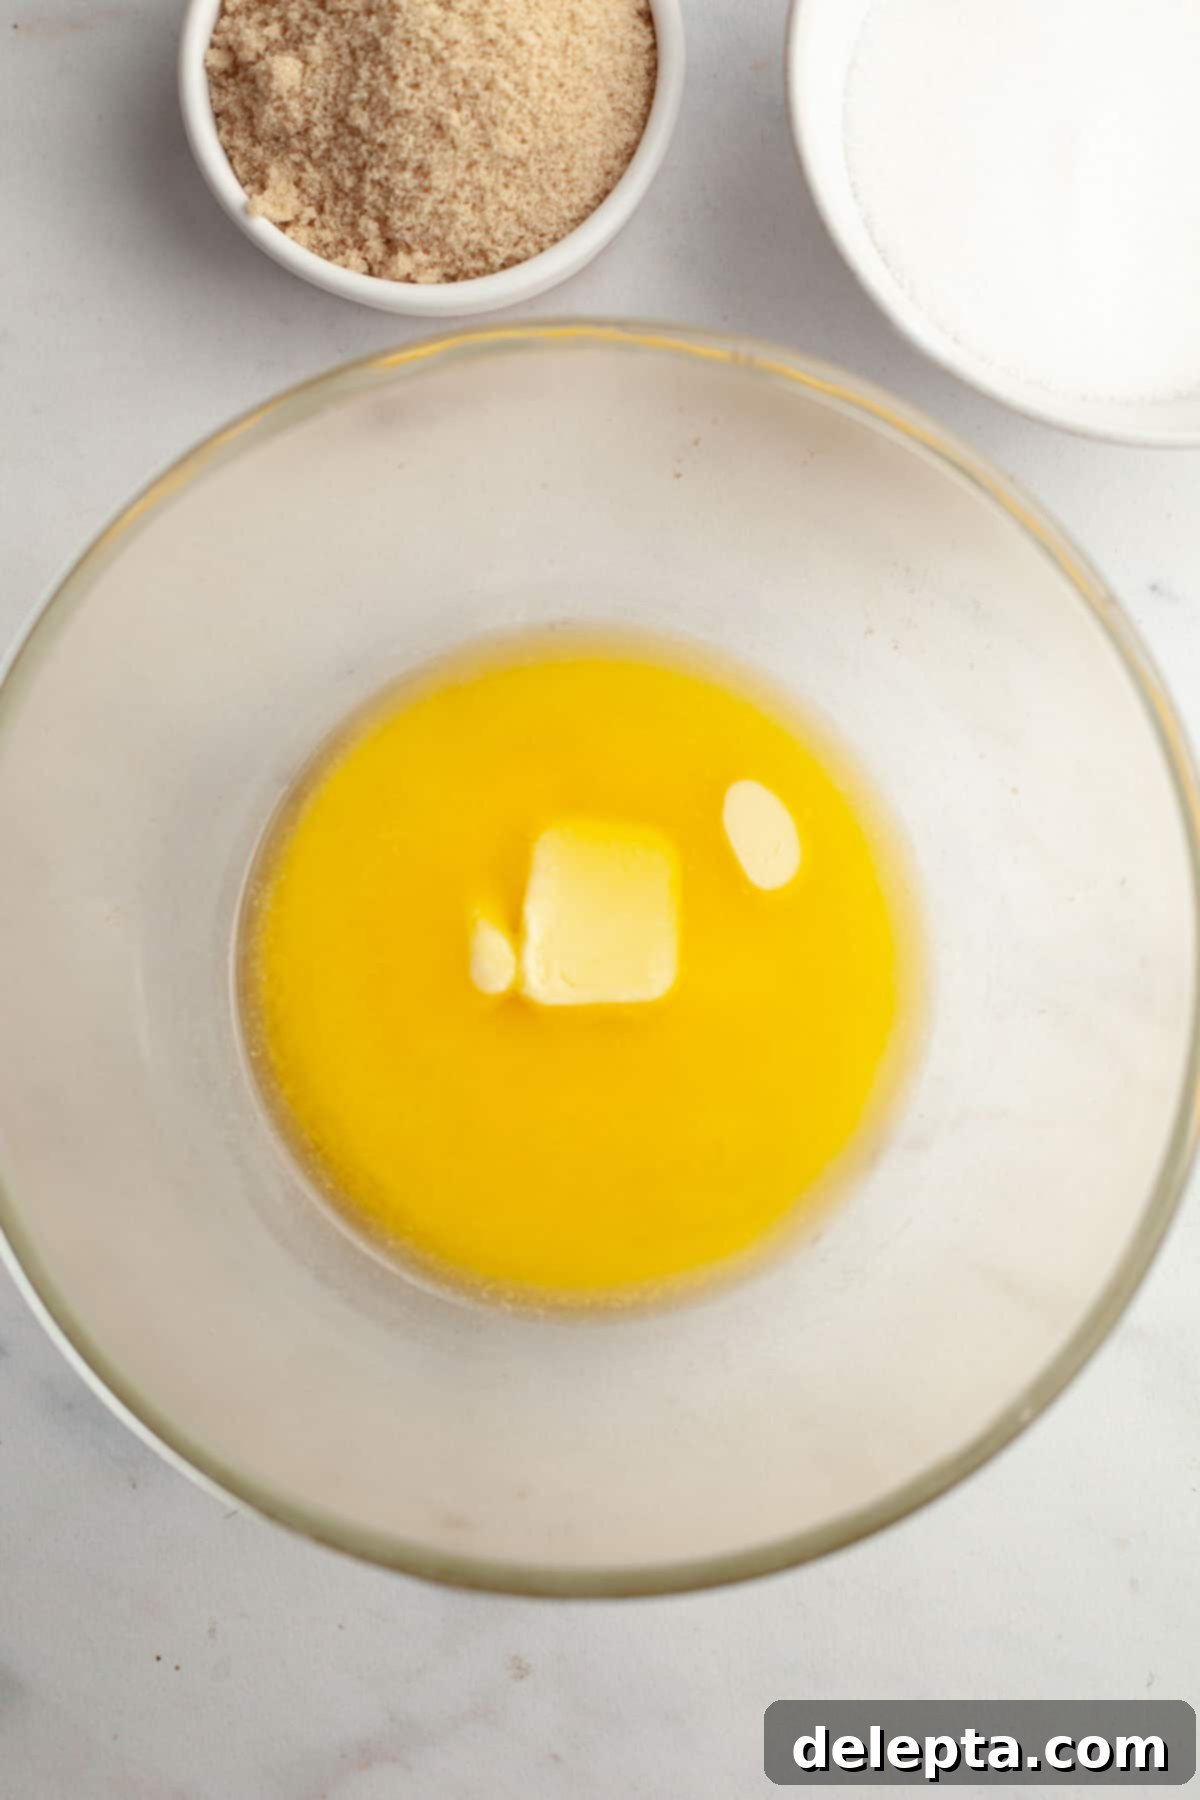
- Step 1: Begin by preheating your oven to 350ºF (175ºC). Line an 8×8 inch (20×20 cm) baking pan with parchment paper or aluminum foil, ensuring the lining overhangs the sides. This makes it incredibly easy to lift the cooled brownies out of the pan later for clean slicing. In a large, microwave-safe bowl, melt the unsalted butter. For quicker melting, consider slicing your butter into smaller pieces.
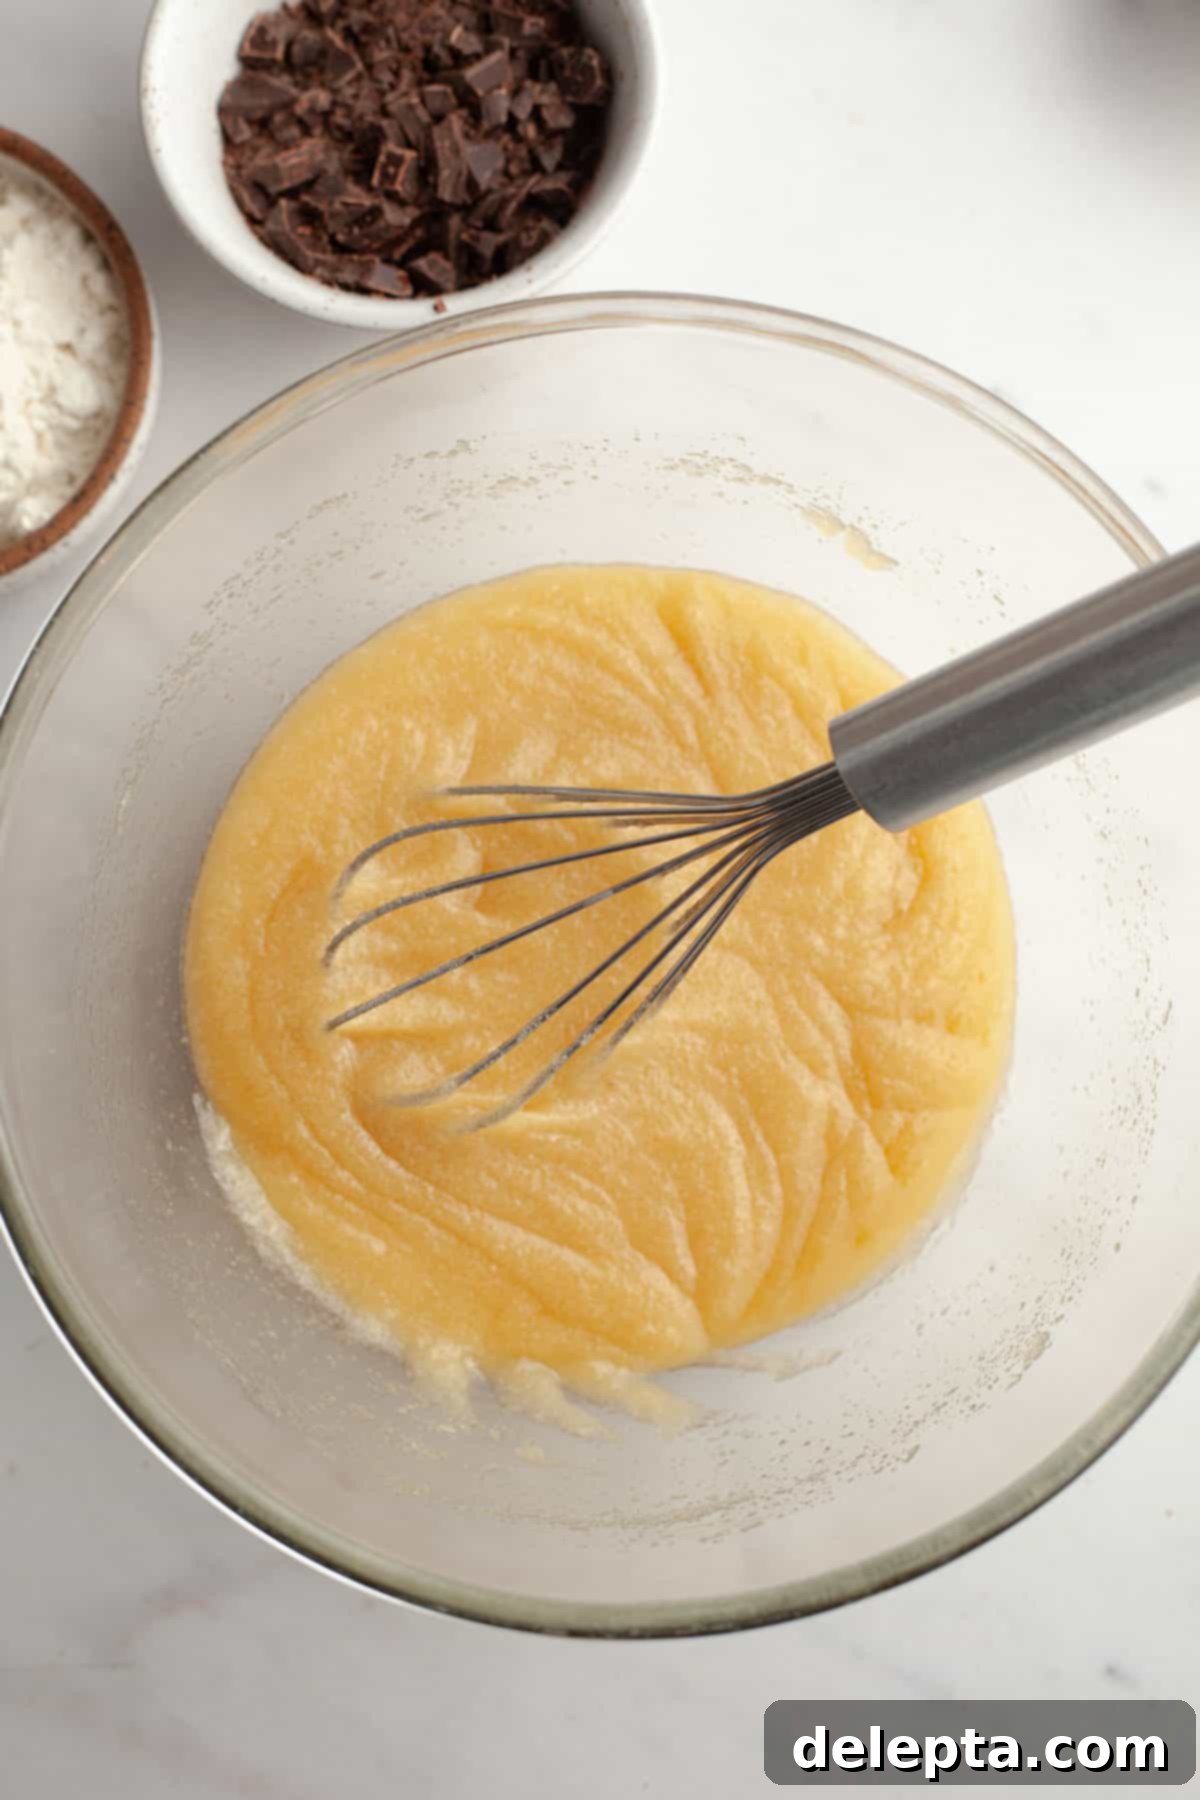
- Step 2: Add both the granulated sugar and light brown sugar to the hot melted butter. Whisk vigorously until the mixture appears smooth and well combined. Return the bowl to the microwave for another 20-30 seconds to further heat the mixture, which helps in dissolving the sugar crystals. Whisk again for a full minute to ensure maximum sugar dissolution – this is a critical step for that shiny crinkle top!
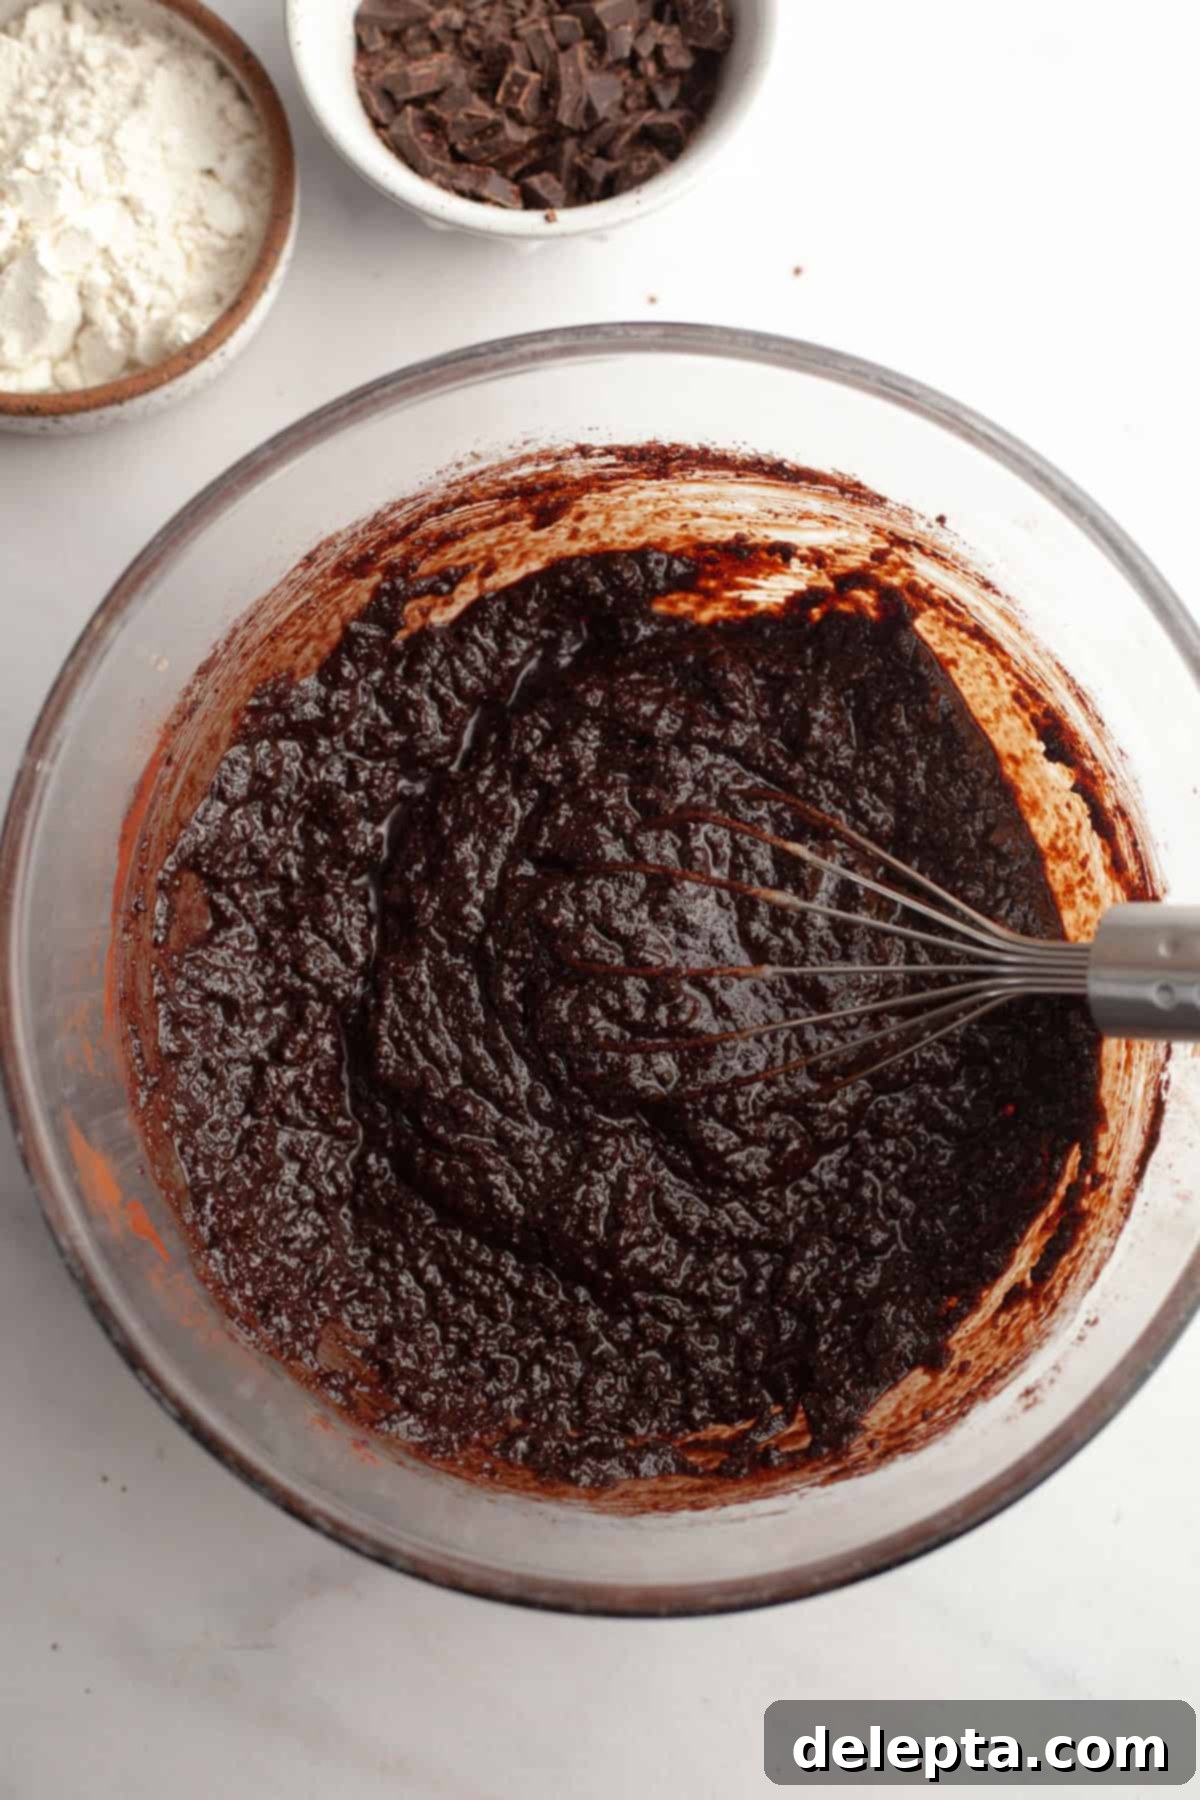
- Step 3: Into your butter and sugar mixture, whisk in the vanilla extract, kosher salt, and Dutch-processed cocoa powder. The mixture will look quite thick and grainy at this stage – don’t worry, this is completely normal! Microwave the bowl for another 20-30 seconds. Whisk again for about a minute; this step, known as “blooming” the cocoa, intensifies the chocolate flavor significantly.
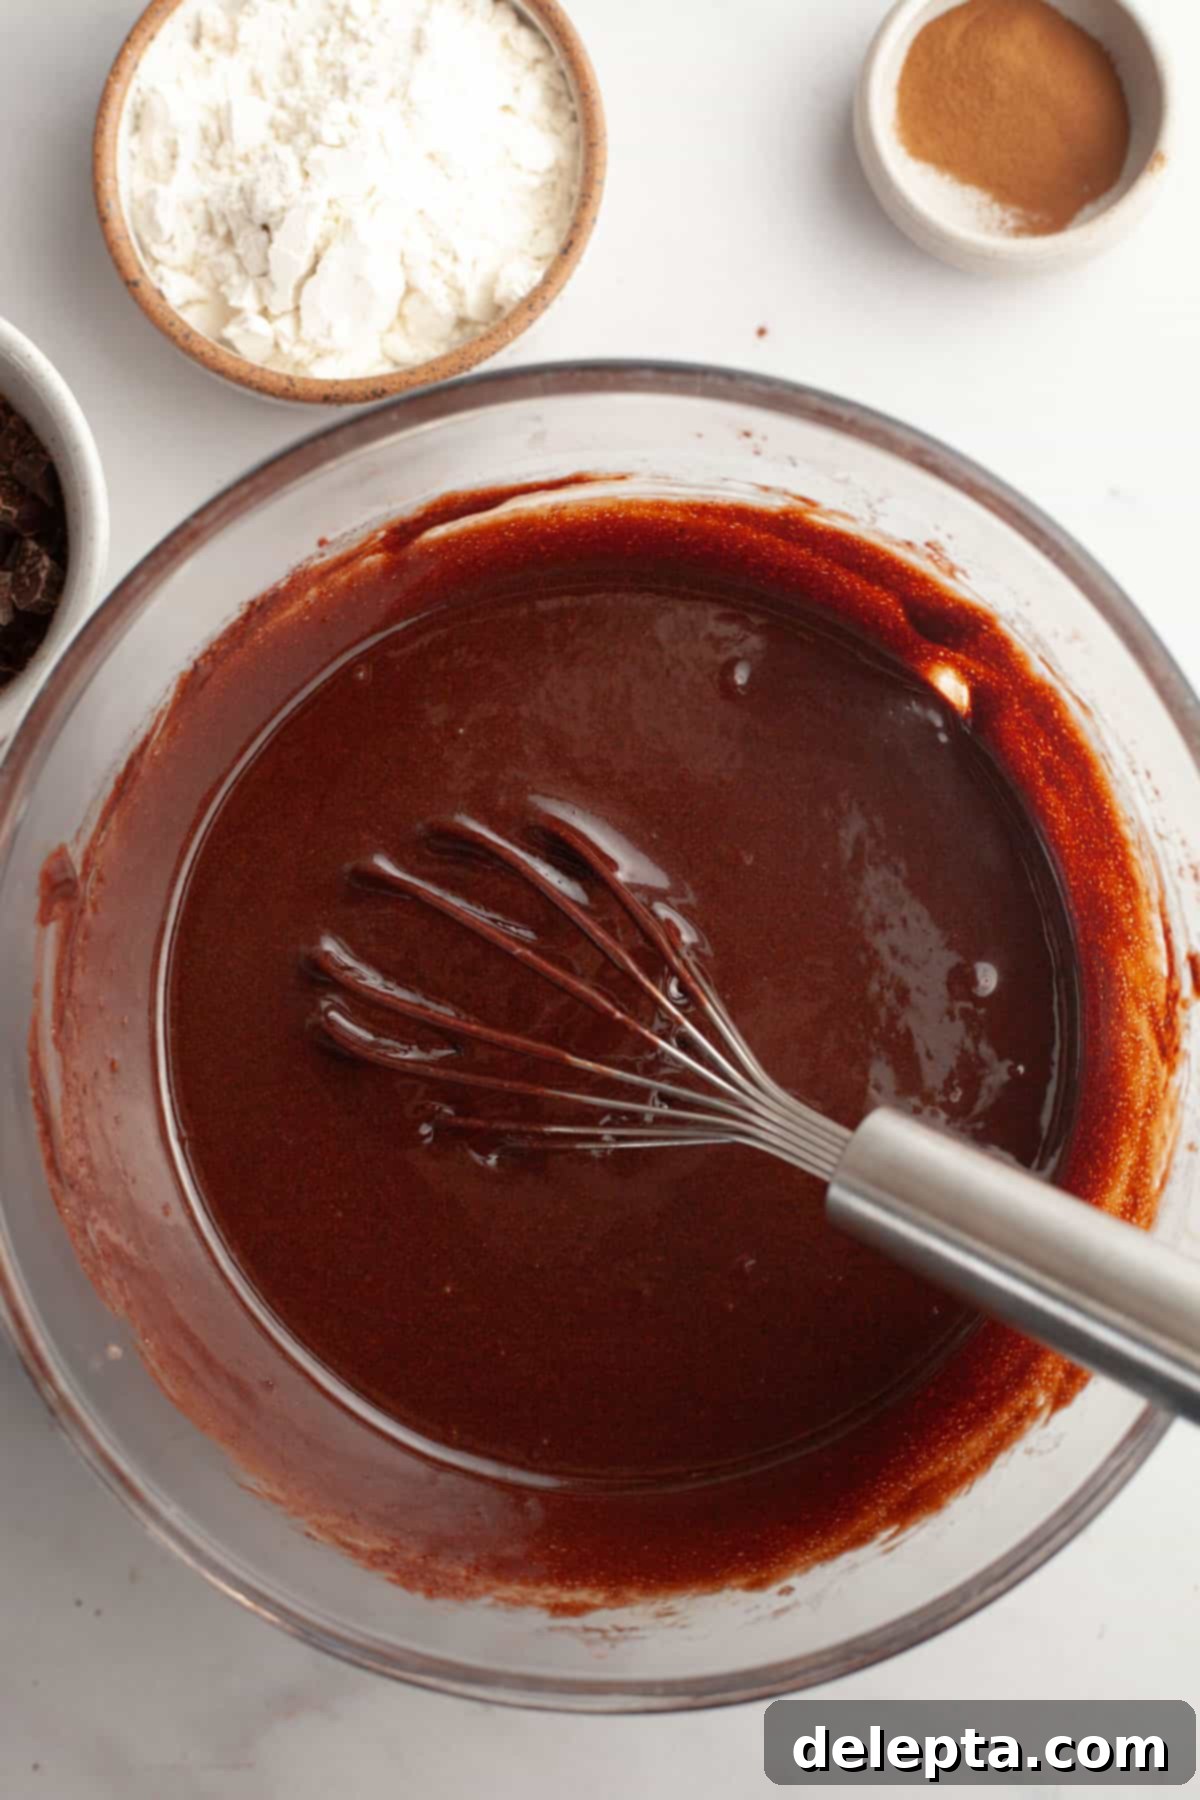
- Step 4: Add the two whole eggs and the additional egg yolk to the chocolate mixture. Now comes the workout! Whisk vigorously for a full 2-3 minutes. This extensive whisking incorporates air, helps fully dissolve any remaining sugar crystals, and develops the batter’s structure, contributing to both the crinkle top and chewy texture. Your arm might feel a little sore, but it’s worth it for the incredibly smooth and glossy batter you’ll achieve.
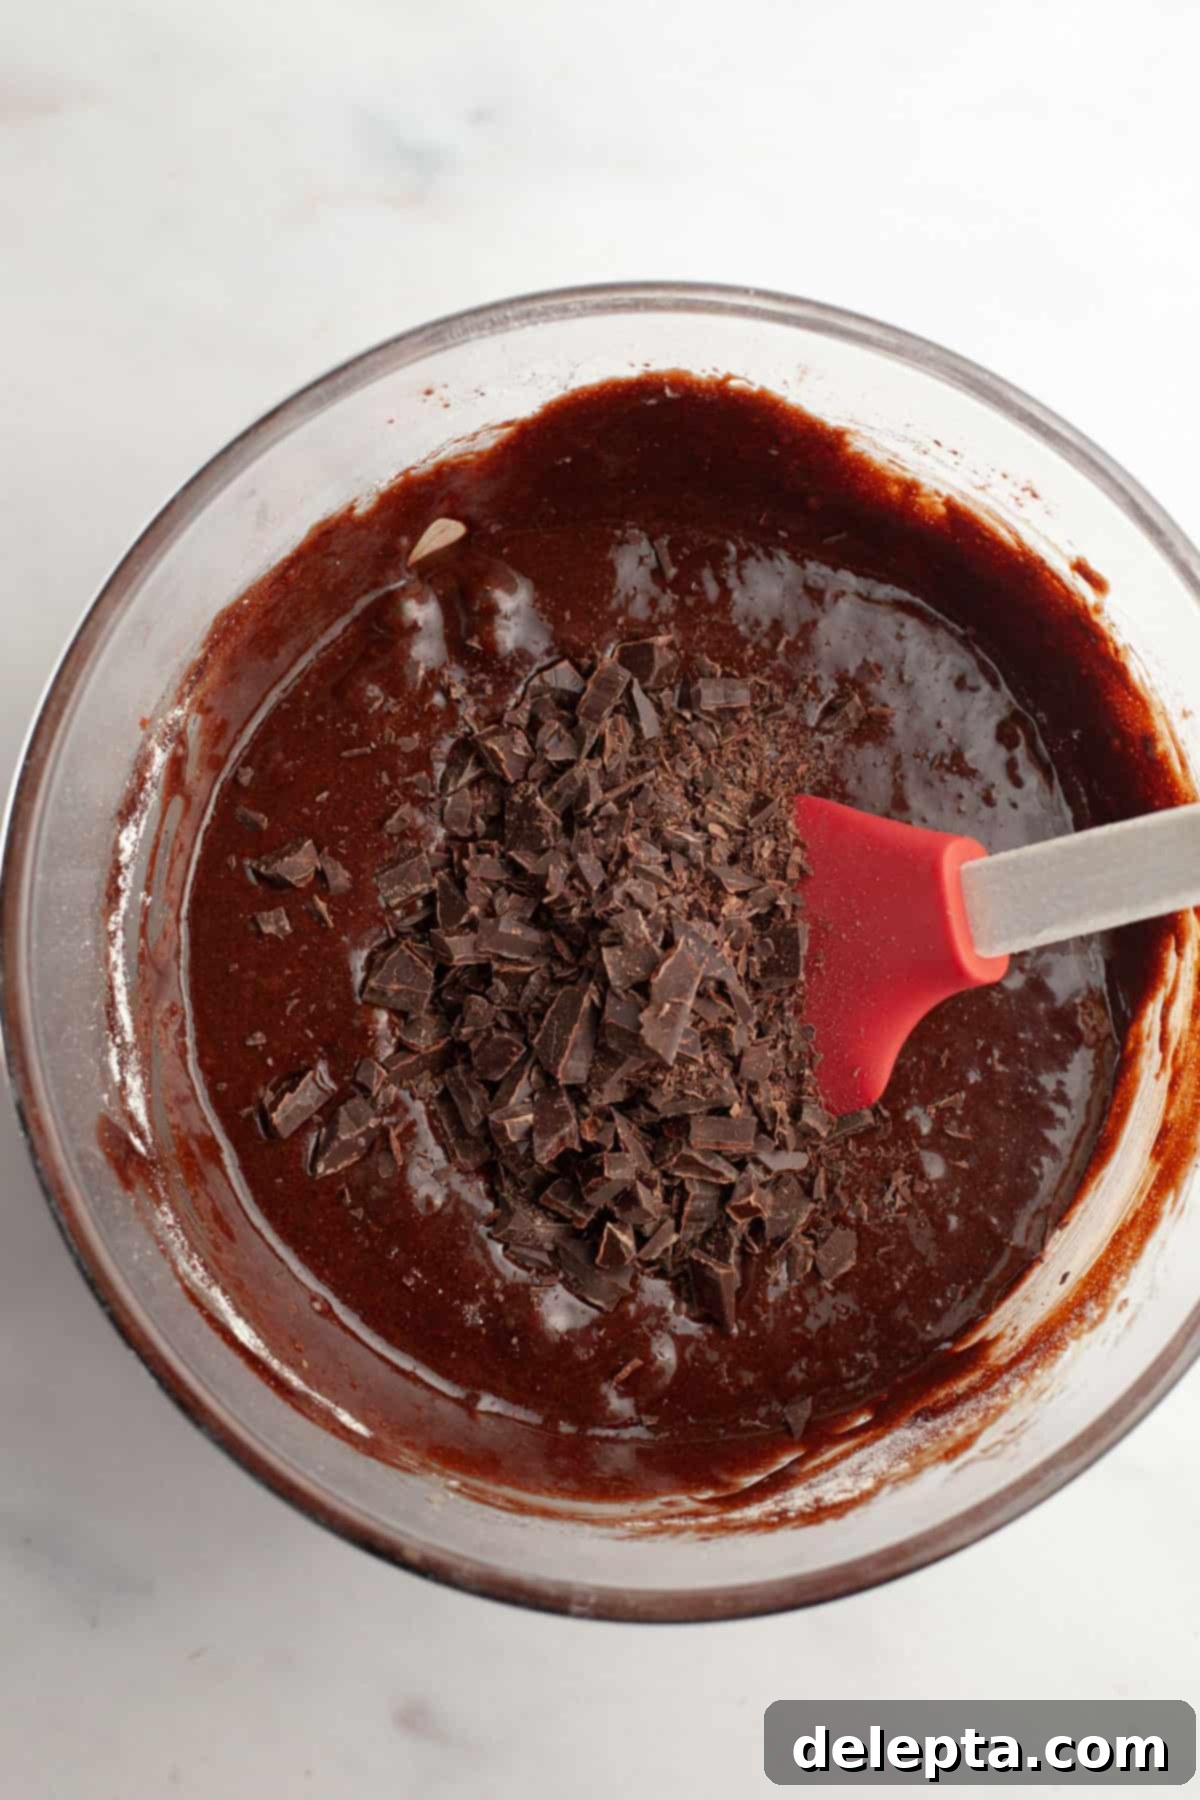
- Step 5: Gently fold in the all-purpose flour and espresso powder using a rubber spatula. Mix until just combined, being careful not to overmix, as this can lead to tough brownies. At this point, your brownie batter should be luxuriously thick and noticeably shiny. Finally, stir in the finely chopped chocolate shards. These pieces will melt into the batter, adding extra pockets of chocolate and contributing to the signature crinkle top.
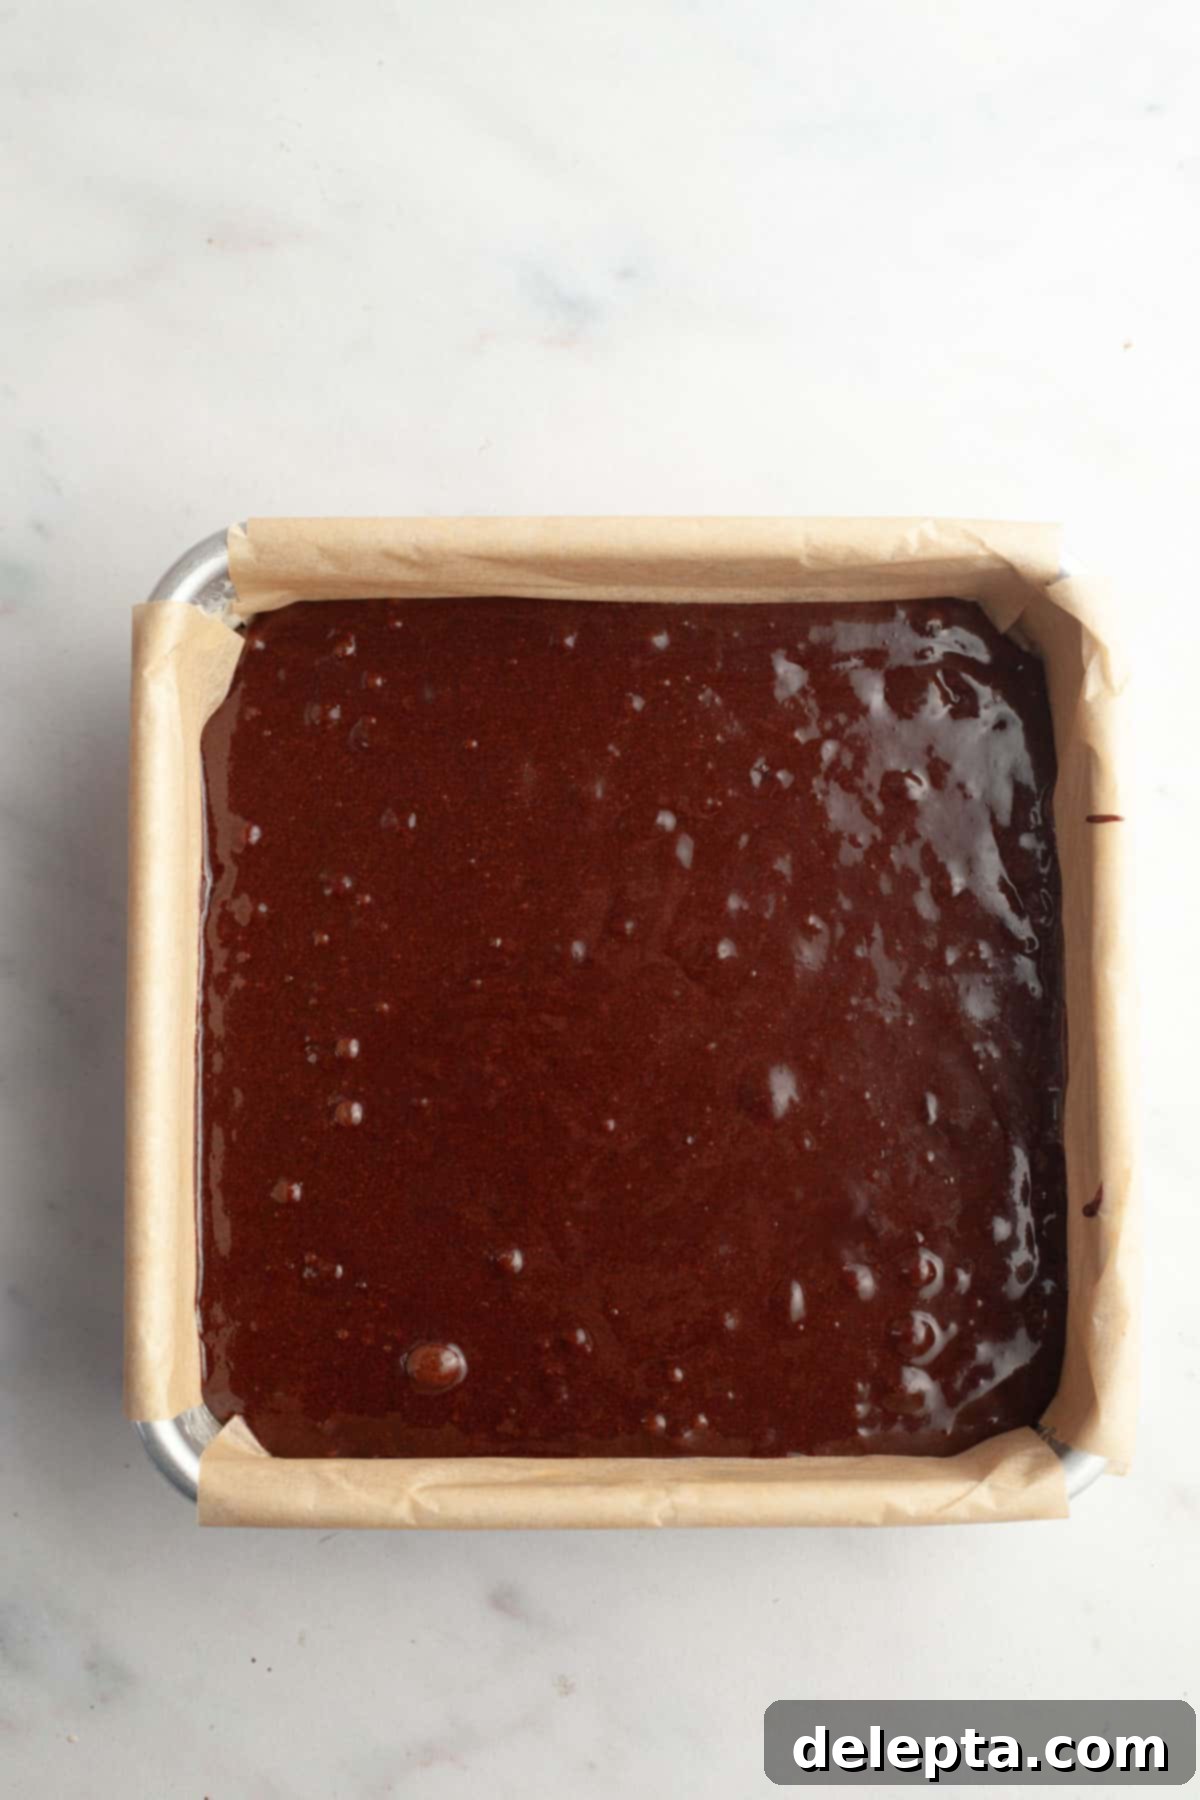
- Step 6: Pour the prepared brownie batter evenly into your lined 8×8 inch baking pan. Transfer the pan to the preheated oven and bake on the middle rack for 25-32 minutes. The brownies are ready when the edges are set and a toothpick inserted into the center comes out with moist crumbs, not wet batter. Crucially, let the brownies cool completely in the pan on a wire rack before attempting to remove and slice them. This allows them to set properly and develop their full fudgy texture.
My Essential Brownie Baking Tips for Success
To ensure your double fudge brownies turn out absolutely perfect every time, keep these expert tips in mind:
- Maintain Warm Butter: You might wonder why we repeatedly warm the butter. The science is simple: sugar dissolves much more effectively in warm liquids than in room-temperature ones. Higher temperatures increase solubility, allowing the sugar crystals to fully integrate into the butter, which is absolutely essential for achieving that desirable shiny, crackly brownie top. Don’t skip these microwave steps!
- Choose the Right Pan: For optimal results, always try to use a light metal baking pan. Metal is an excellent conductor of heat, ensuring even baking from edges to center. Avoid glass pans if possible. Glass heats up slowly and retains heat aggressively, which often leads to overcooked, dry edges and bottoms, while the center of your brownies remains underdone and gooey.
- Unlock Flavor by Blooming the Cocoa Powder: When you add the cocoa powder to the hot butter and sugar mixture and whisk it thoroughly, you’re performing a technique called “blooming.” This process rehydrates the dry cocoa particles and releases their flavor compounds, significantly intensifying the chocolate flavor of your brownies. It’s a simple step that makes a world of difference in richness.
- Achieve Ultra-Fudgy Texture by Chilling: My number one secret for creating super fudgy double chocolate brownies is to chill them! After baking, allow your brownies to cool completely in the pan at room temperature. Then, for at least a few hours (or ideally, overnight), pop them into the fridge. This chilling process allows the fats and sugars to solidify, transforming the texture into an incredibly dense, rich, and ultra-fudgy delight that slices beautifully.
- Opt for Finely Chopped Chocolate (Not Chips): While convenient, standard chocolate chips contain stabilizers that prevent them from melting as smoothly and evenly as finely chopped chocolate. For that guaranteed crinkly top, the extra sugar from the finely chopped chocolate needs to disperse thoroughly into the batter and rise to the surface. Chocolate chips often retain their shape and don’t contribute to this crucial process effectively.
Storage & Freezing Instructions
To maintain their optimal fudgy texture and rich flavor, I recommend storing these double fudge brownies in an airtight container in the fridge for up to 5-6 days. You can also store them at room temperature for 3-4 days, but chilling them significantly enhances their fudginess and shelf life.
For longer-term storage, these brownies freeze beautifully! Once completely cooled, wrap individual brownies or the entire slab tightly in plastic wrap, then place them in a freezer-safe container or a heavy-duty ziploc bag. Freeze for up to 2 months. When you’re ready to enjoy, simply let them thaw at room temperature for an hour or two, or gently warm them in the microwave for a few seconds for that freshly baked feel.
Discover More Irresistible Brownie Recipes!
If you loved these double fudge brownies, be sure to explore more of my delectable brownie creations. Each recipe is designed to deliver maximum flavor and satisfying textures!
- Birthday Cake Brownies (Easy & Fudgy)
- Easy Fudgy Peanut Butter Cream Cheese Brownies
- Chocolate Brownies with Cream Cheese Frosting
- Fudgy Brownies with Chocolate Ganache
If you’ve made this incredibly fudgy double fudge brownie recipe, please make sure to leave a ⭐️ rating and a thoughtful review below! I absolutely love seeing your culinary creations, so be sure to tag me on Instagram @alpineella so I can share your delicious results! You can also follow along on Pinterest, Facebook, and TikTok for more baking inspiration and tips!
Recipe
Easy Double Fudge Brownies (Better Than Bakery Brownies)
Ella Gilbert
Pin Recipe
Save RecipeSaved!
Equipment
-
8×8 baking pan
-
Mixing Bowl
-
Whisk
-
Rubber Spatula
-
Measuring Spoons
-
Kitchen Scale
-
Microwave
Ingredients
- 1 ¼ stick unsalted butter
- ¾ cup dutch process cocoa powder
- 2 large eggs
- 1 large egg yolk
- 1 cup granulated sugar
- ½ cup light brown sugar
- 1 teaspoon vanilla extract
- ½ cup all purpose flour
- 1 teaspoon kosher salt
- 1 teaspoon espresso powder
- ⅓ cup finely chopped chocolate
Instructions
-
Preheat the oven to 350℉/175℃. Line an 8×8 baking pan with parchment paper or foil. I recommend having it overhang on the sides so it’s easier to remove the brownies once cool.
-
Place the butter in a large bowl and melt in the microwave until hot and melted. I recommend slicing your butter into smaller pieces so it’ll melt faster.1 ¼ stick unsalted butter
-
Add the sugars, whisk until smooth and place back in the microwave for 20 -30 seconds. Whisk again for 1-2 minutes.1 cup granulated sugar, ½ cup light brown sugar
-
Whisk in the salt and vanilla extract and cocoa powder. Microwave for 20-30 seconds. Whisk for about a minute. At this point it’s going to look weird and grainy right now and that’s ok!¾ cup dutch process cocoa powder, 1 teaspoon kosher salt, 1 teaspoon vanilla extract
-
Add the eggs and egg yolk. Finish with 2-3 minutes of whisking – sorry if your arm is getting sore! It should now be super smooth.2 large eggs, 1 large egg yolk
-
Stir in the flour and espresso powder. It’ll be a shiny fairly thick brownie batter.½ cup all purpose flour, 1 teaspoon espresso powder
-
Fold in the chocolate shards with a rubber spatula.⅓ cup finely chopped chocolate
-
Pour into prepared 8×8 pan. Bake for 25-32 minutes.
-
Let the brownies cool completely in the pan before removing and slicing up. I recommend chilling the brownies in the fridge for a few hours if you want them to be extra fudgy!
Video
Notes
My recipes have been developed and tested in metric grams. I highly recommend using a weighing scale and measuring out your ingredients the metric way. I have provided a conversion to US cups but please note that I haven’t tested the recipe with this method. Just click on ‘Metric’ above the ingredients to see the metric measurements.
Don’t have a microwave? If you don’t have a microwave you can use the double boiler method instead. Fill a large saucepan with an inch or two of water and bring the water to a simmer. Place your large bowl on top, making sure the water doesn’t touch the bowl. Follow steps until you’ve added the cocoa powder, then remove the bowl from the saucepan.
Kosher Salt: if you don’t have kosher salt, halve the amount of salt in the ingredient list (1 teaspoon kosher salt = ½ teaspoon fine salt). Please note, that I’m using Diamond Crystal Kosher Salt. Morton Salt is a different type of kosher salt and is much saltier.
Cocoa Powder: I’m using dutch processed cocoa powder but you can swap it out for natural cocoa powder, just note that the brownies won’t be as rich.
Espresso Powder: adding espresso powder is going to amplify the chocolate flavor, it won’t make the brownies taste like coffee.
Pan: I recommend using a metal pan and not a glass pan. A glass pan can’t conduct heat like metal can, so your brownies will have overcooked sides and bottom but an undercooked metal.
Storage: Keep them in an airtight container in the fridge for up to 5 days.
Nutrition
