Fluffy Brioche Doughnuts with Dreamy Whipped Chocolate Mascarpone Filling: Your Guide to Homemade Perfection
There’s truly nothing more satisfying than biting into a warm, pillowy-soft brioche doughnut, especially when it’s generously filled with a decadent, creamy delight. While all doughnuts have their charm, yeast-raised brioche doughnuts possess a unique quality—an unparalleled lightness and richness that sets them apart. Many assume these beautiful pastries are complex to create at home, but I’m here to tell you that mastering them is more achievable than you think. This recipe guides you through making incredibly tender brioche doughnuts, complete with a luscious, whipped chocolate mascarpone filling that perfectly complements their delicate texture. Get ready to impress yourself and everyone lucky enough to try these homemade treats!

Discover the Magic of These Homemade Brioche Doughnuts
Let’s dive into what makes this particular brioche doughnut recipe an absolute standout and why it deserves a spot in your baking repertoire. This isn’t just another doughnut recipe; it’s a journey to creating a pastry that’s truly special.
- The Brioche Base: Unmatched Softness and Richness. At its heart, this is a classic brioche recipe, meaning the dough is enriched with key ingredients like eggs, butter, sugar, and milk. This combination is what bestows brioche with its signature qualities: an unbelievably soft, tender crumb, a fluffy texture, and a rich, buttery flavor. Unlike simpler doughs, brioche has a luxurious feel that truly elevates the humble doughnut.
- Yeast-Raised for Superior Texture and Flavor. Instead of relying on chemical leavening agents like baking soda or baking powder, these are traditional yeast-raised doughnuts. The yeast works its magic, creating air pockets that result in that delightful, airy chewiness we all love in a classic doughnut. While it does require a bit more patience for the dough to rise, this natural leavening process also develops a deeper, more complex flavor profile that instant leaveners can’t replicate. The waiting time is an essential part of the flavor development!
- Convenient Overnight Option for Fresh Morning Treats. We understand that life can be busy, which is why this recipe includes a fantastic overnight rising option. Preparing the dough the night before means you can simply wake up, fry, and fill your brioche doughnuts, enjoying fresh, warm pastries without an early morning rush. Not only does this save time on baking day, but the extended cold fermentation can also enhance the dough’s flavor and make it easier to handle.
- The Star Filling: Whipped Chocolate Mascarpone. What truly takes these brioche doughnuts to the next level is the luscious filling. We’ve crafted a light and creamy whipped chocolate mascarpone filling that’s pure bliss. The mascarpone lends a subtle tang and incredible richness, perfectly balanced by the sweet, smooth chocolate. It’s a filling that’s substantial enough to satisfy your chocolate cravings, yet wonderfully airy, ensuring it doesn’t overwhelm the delicate doughnut. This combination is a match made in dessert heaven!
Essential Ingredients for Your Brioche Doughnuts
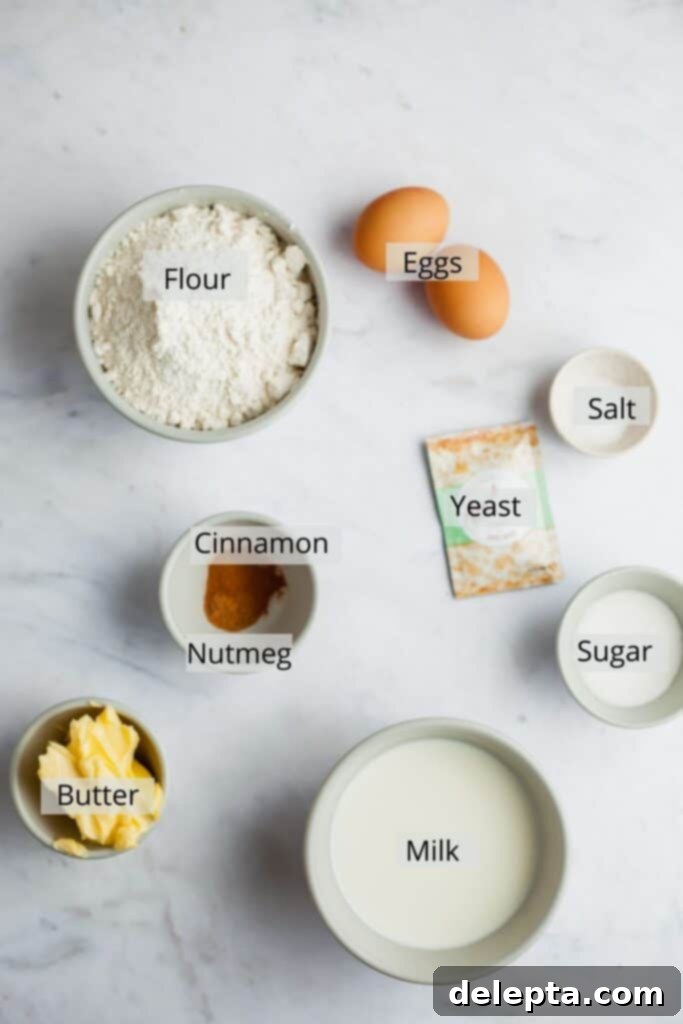
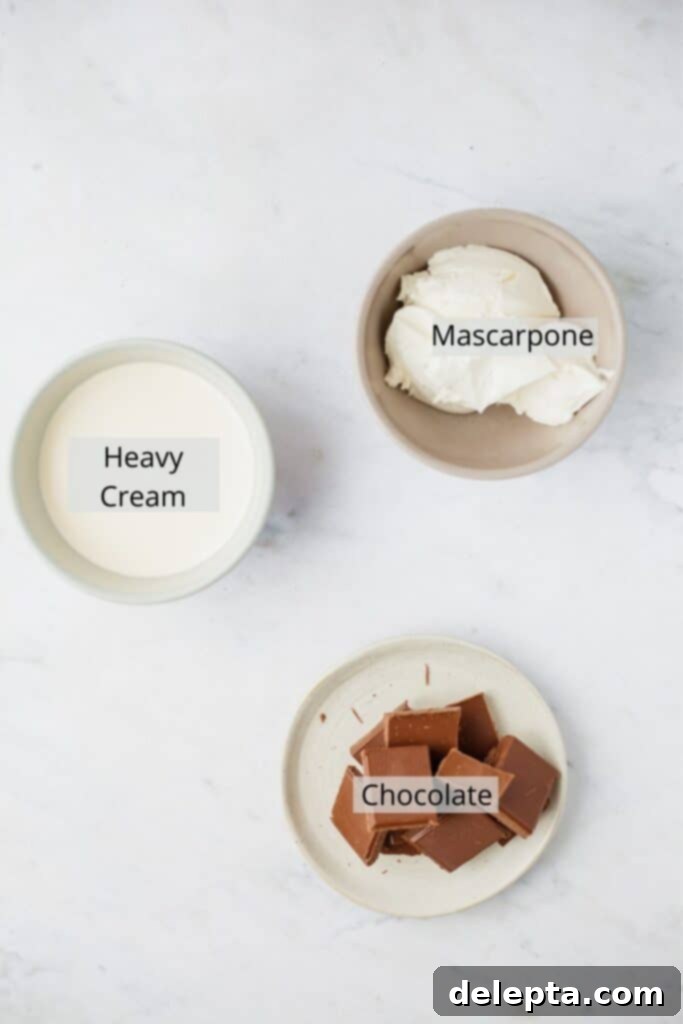
Crafting these delectable brioche doughnuts with chocolate mascarpone filling requires a specific list of ingredients, each playing a crucial role in achieving the perfect texture and flavor. Below are the visual guides for the main components.
-

Doughnut Ingredients -

Filling Ingredients
For the complete list of ingredients with precise measurements and detailed instructions, please refer to the printable recipe card located at the conclusion of this article.
Important Ingredient Insights
Understanding your ingredients is key to successful baking. Here are some detailed notes to ensure your brioche doughnuts turn out perfectly:
- Yeast: The Heart of Your Dough. This recipe specifically calls for active dry yeast. It’s absolutely crucial to check the expiration date on your yeast package before you begin. Old or inactive yeast will prevent your dough from rising, leading to dense, heavy doughnuts. If you’re unsure, you can “proof” your yeast: dissolve it in the lukewarm milk with a pinch of sugar. If it foams and becomes bubbly after 5-10 minutes, it’s active and ready to go!
- Butter: The Secret to Brioche’s Richness. While the original text mentions unsalted butter (melted), I highly recommend using a high-quality European-style unsalted butter, such as Kerrygold, for this brioche dough. These butters typically have a higher fat content, which contributes significantly to the brioche’s signature rich flavor and incredibly tender crumb. Make sure it’s melted but not hot, just warm enough to incorporate smoothly into the dough.
- Oil: The Frying Medium. Though not typically pictured with the dry ingredients, cooking oil is undeniably essential for deep-frying these brioche doughnuts. You’ll need a neutral-flavored oil with a high smoke point to ensure crisp, golden-brown doughnuts without imparting any unwanted taste. Excellent choices include vegetable oil, canola oil, rapeseed oil, or sunflower oil. Avoid olive oil or butter for frying, as they have lower smoke points and will burn easily, affecting the flavor and appearance of your doughnuts.
- Spices: A Touch of Warmth. I find that just a hint of cinnamon and nutmeg in the brioche dough works wonders. These warm spices don’t overpower but rather enhance the natural sweetness and buttery notes of the doughnut, adding a subtle depth of flavor that makes each bite even more satisfying. Feel free to adjust the quantities to your personal preference, or even omit them if you prefer a pure brioche flavor.
- Mascarpone Cheese: Creamy Indulgence. For the filling, mascarpone is a game-changer. This Italian cream cheese is incredibly rich and smooth, providing a luxurious base for our chocolate filling. Ensure your mascarpone is cold when you start to ensure it whips up beautifully into a light and airy consistency.
- Chocolate: Choose Your Favorite. The quality of your chocolate will directly impact the taste of your filling. Use good quality chocolate that you enjoy eating on its own, whether it’s semi-sweet, dark, or even milk chocolate, depending on your preference for sweetness. Chopping it finely ensures it melts smoothly when combined with the hot cream.
Crafting Your Homemade Brioche Doughnuts: A Step-by-Step Guide
Making these brioche doughnuts is a process, but each step is straightforward and incredibly rewarding. Follow along carefully to ensure perfect results.
-

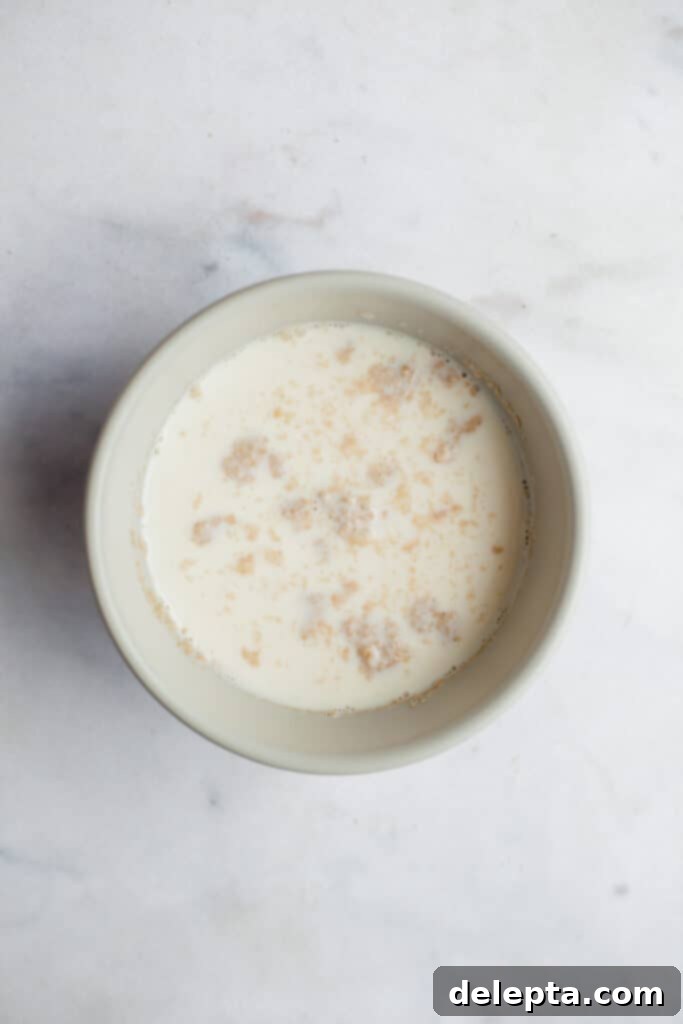
Step One: Proofing the Yeast -

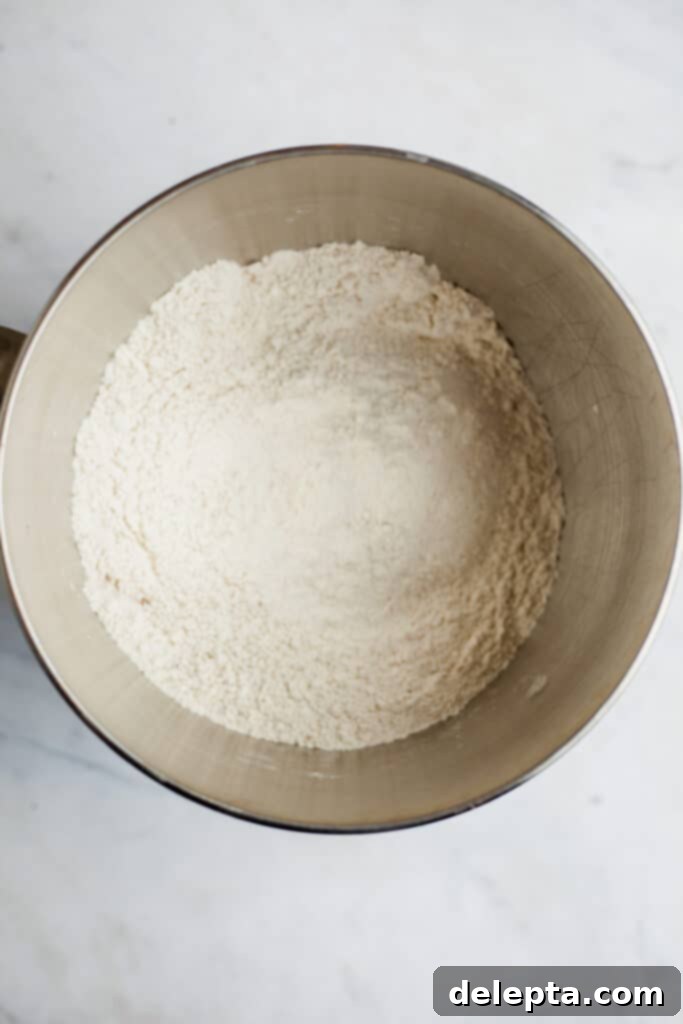
Step Two: Combining Dry Ingredients
Step One: Activate the Yeast. Begin by gently warming your whole milk until it’s lukewarm (around 105-115°F or 40-46°C). It should feel warm but not hot to the touch; too hot will kill the yeast. In a small bowl, combine this lukewarm milk with your active dry yeast. Stir thoroughly and then set it aside for approximately 10 minutes. This period allows the yeast to activate, and you should observe a foamy, bubbly layer forming on the surface, indicating the yeast is alive and ready to leaven your brioche dough. This is a crucial step for light, fluffy doughnuts.
Step Two: Prepare Dry Ingredients. While your yeast is proofing, gather your dry ingredients. In the large bowl of your stand mixer, fitted with the dough hook attachment, combine the all-purpose flour, granulated sugar, fine sea salt, and your chosen spices (nutmeg and cinnamon). Give them a quick mix on the lowest speed to ensure they are well combined before adding the wet components. This prevents pockets of unmixed ingredients in your final dough.
-

Step Three: Initial Wet Ingredient Mix -

Step Four: Incorporating Eggs
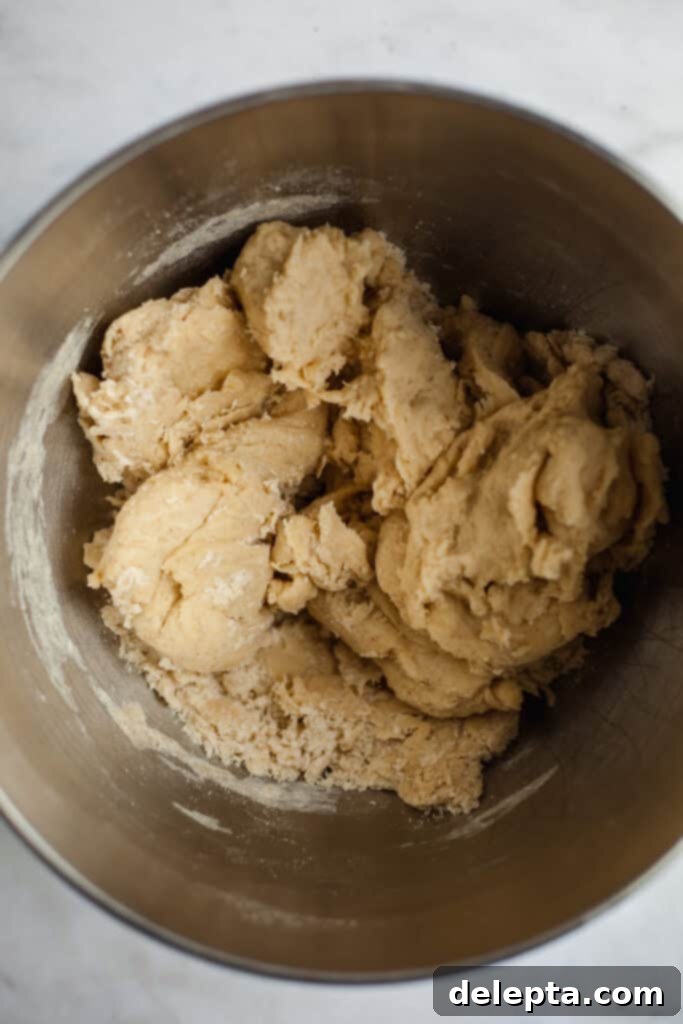
Step Three: Combine Wet and Dry. Pour the activated yeast-milk mixture and the melted, slightly cooled unsalted butter into the bowl with your dry ingredients. Mix on the lowest speed with the dough hook for about 2-3 minutes. At this stage, the dough will start to come together, looking shaggy and somewhat sticky. Don’t worry about it being perfectly smooth yet; the next step will handle that.
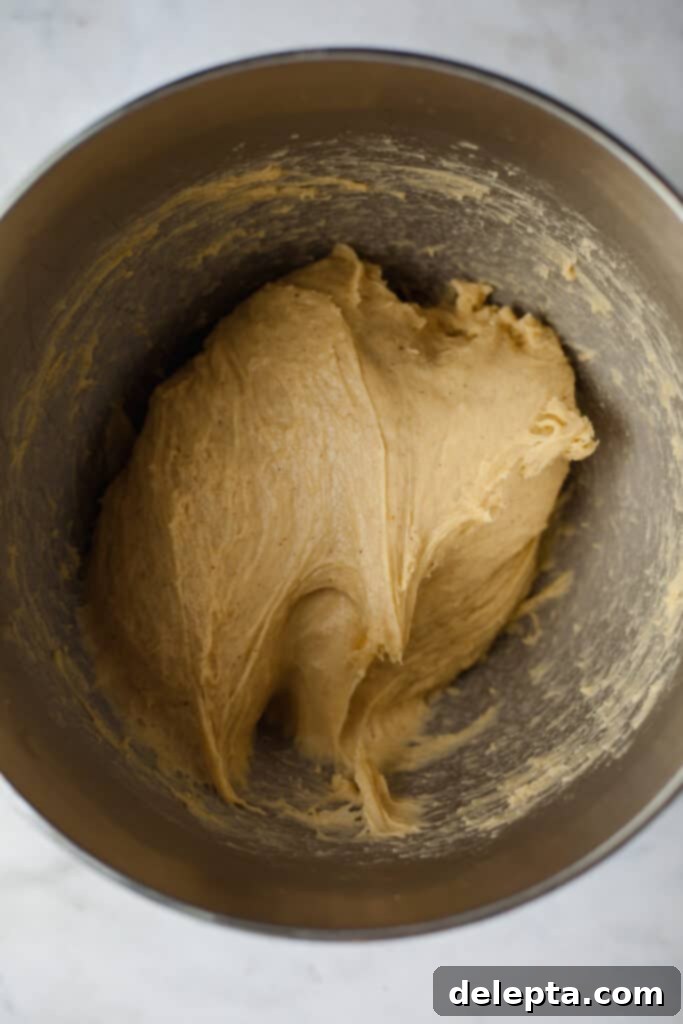
Step Four: Add the Eggs and Knead. Now, add the eggs, one at a time, ensuring each is fully incorporated before adding the next. Once all eggs are in, increase the mixer speed to medium and continue mixing for another 3-4 minutes. Brioche dough is inherently quite sticky due to its high butter and egg content. This stickiness is normal and contributes to its characteristic tenderness, so resist the urge to add more flour. Continue mixing until the dough starts to pull away from the sides of the bowl, even if it’s still clinging to the bottom.
-

Step Five: First Rise Preparation -

Step Six: Dough After Rising
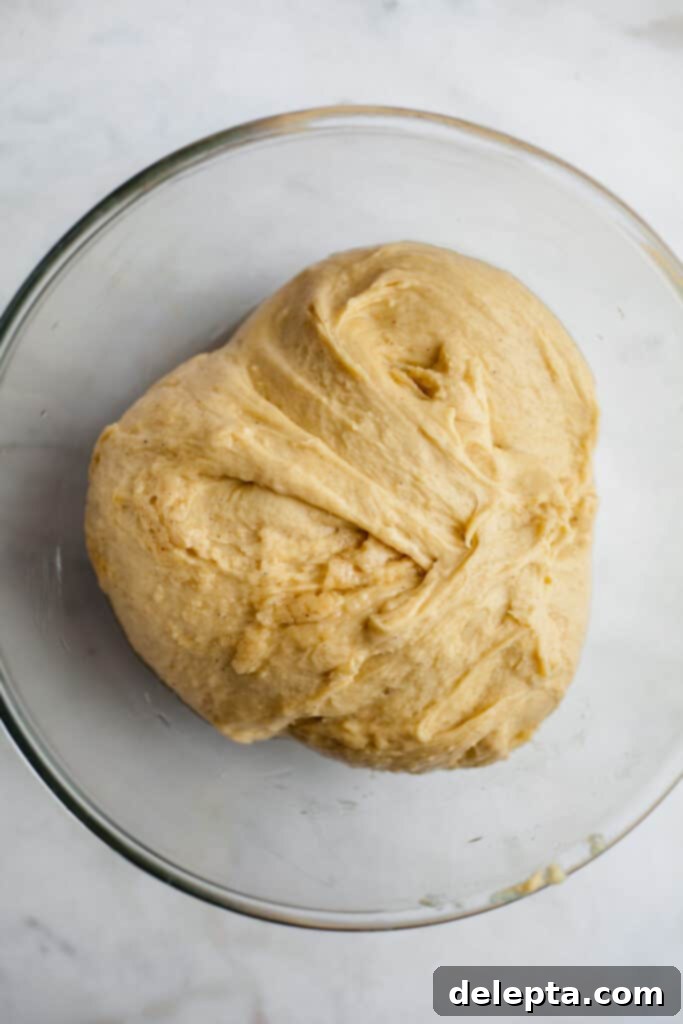
Step Five: First Rise (Bulk Fermentation). Use a dough scraper to carefully transfer the sticky brioche dough into a lightly oiled bowl. Ensure the bowl is large enough to accommodate the dough doubling in size. Cover the bowl tightly with plastic wrap to prevent a skin from forming on the dough. You have two options for the first rise: either let it rise at room temperature for approximately an hour and a half (in a warm spot), or, for enhanced flavor and easier handling, place it in the fridge overnight (8-12 hours). The cold rise slows down fermentation, developing more complex flavors.
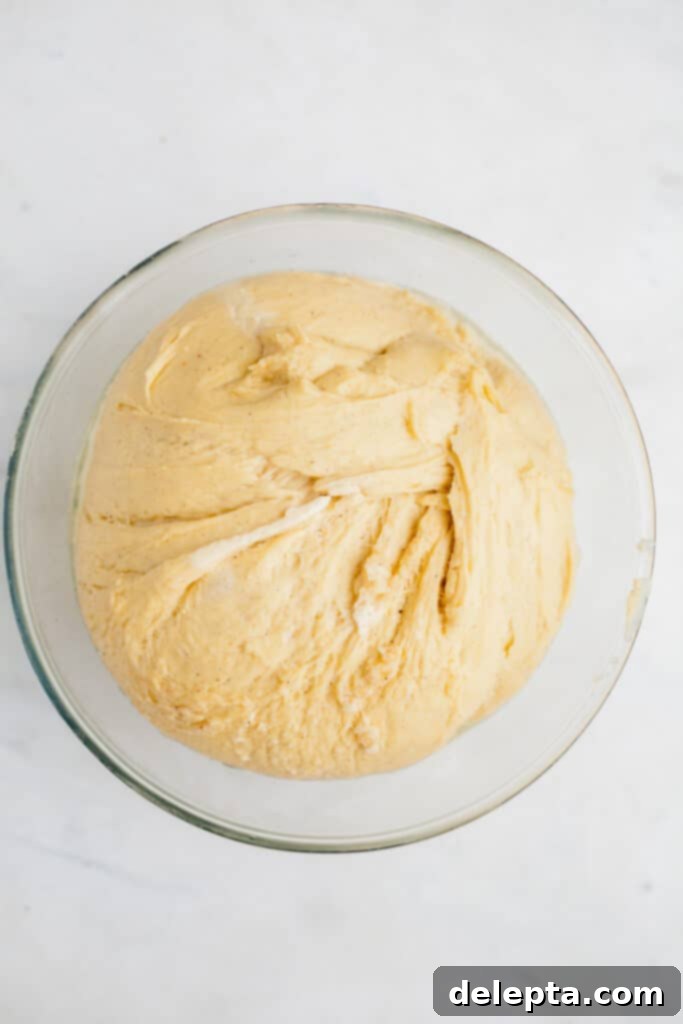
Step Six: Confirm the Rise. Whether you opted for a room temperature or overnight rise, your dough should have visibly expanded to about double its original size. If chilled overnight, allow the dough to sit at room temperature for about 20-30 minutes before proceeding; this makes it much easier to roll out.
-

Step Seven: Shaping the Doughnuts -

Step Eight: Oil Preparation
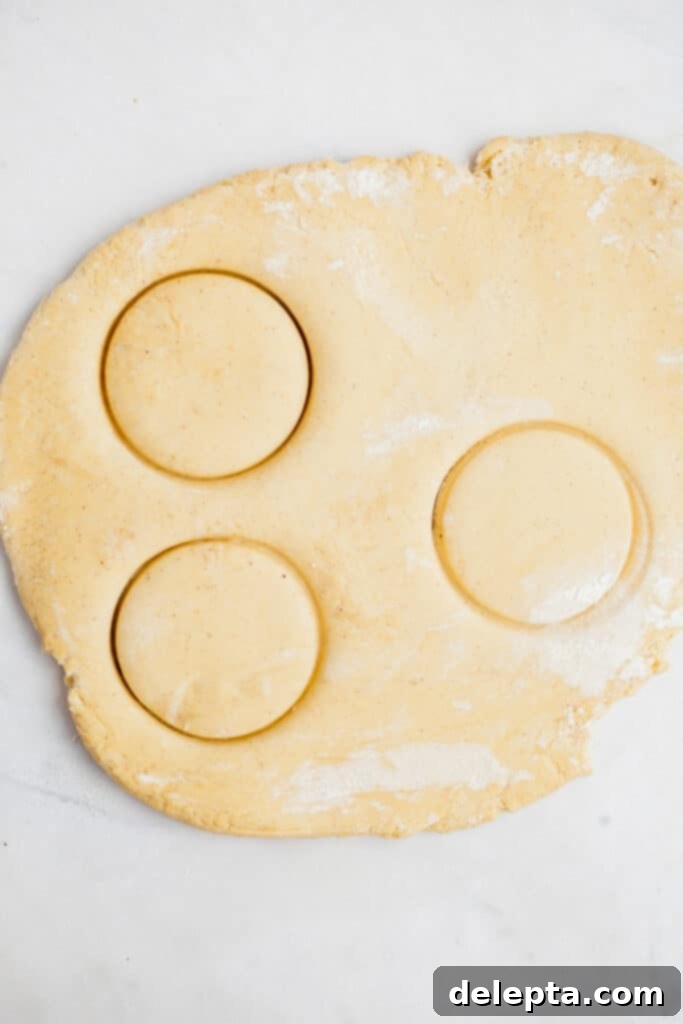
Step Seven: Roll, Cut, and Second Proof. Lightly flour your work surface and gently turn out the dough. Roll it out evenly until it reaches approximately an inch (2.5 cm) in thickness. Using a doughnut cutter or a round glass (about 3-3.5 inches in diameter), cut out about 15 individual doughnuts. Carefully place these cutouts onto a baking tray lined with parchment paper, ensuring enough space between them for expansion. Cover the tray loosely with plastic film and let them rise again for about 30-40 minutes in a warm spot. You’ll know they’re perfectly proofed when you gently poke one with your finger, and the indentation slowly springs back, leaving a slight mark. If it springs back immediately, they need more time; if it collapses, they are over-proofed.
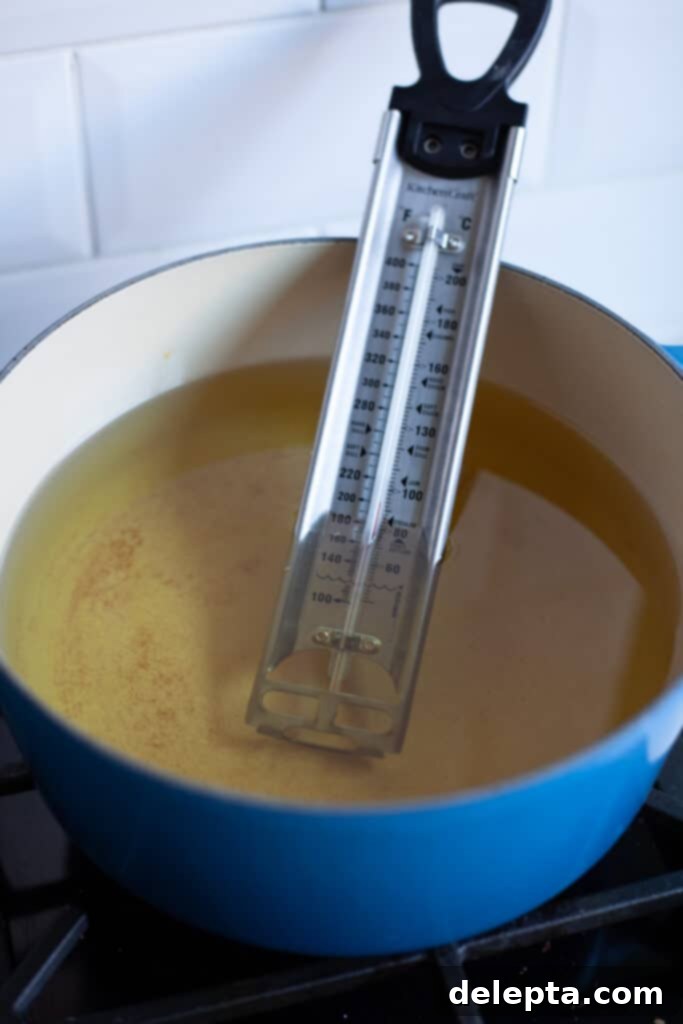
Step Eight: Prepare Frying Oil. While your doughnuts are undergoing their second rise, prepare your frying station. Pour about 4 inches of your chosen neutral oil into a heavy-bottomed pot or a deep Dutch oven. Using a heavy-bottomed pot with high sides is crucial for maintaining a stable oil temperature and for safety, preventing splashes. Heat the oil over medium heat until it reaches precisely 350°F (175°C). A thermometer is essential for accuracy here. Meanwhile, set up a cooling rack over a layer of paper towels and have a shallow bowl filled with granulated sugar ready for coating.
-

Step Nine: Frying the Doughnuts -

Step Ten: Preparing the Chocolate
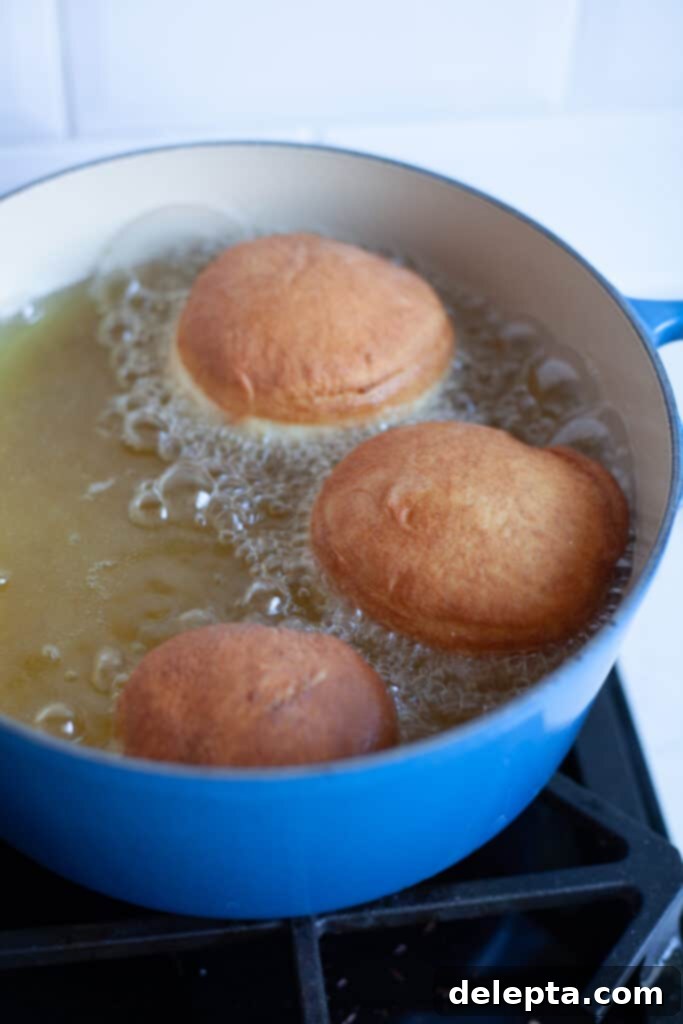
Step Nine: Fry to Golden Perfection. Carefully lower 2-3 doughnuts into the hot oil at a time, being careful not to overcrowd the pot, which can lower the oil temperature. They should quickly float to the top and begin to turn golden brown within about a minute. Fry each side for 1.5-2 minutes, flipping only once, until both sides are beautifully golden and the doughnuts are cooked through. The total frying time per doughnut should be approximately 3-4 minutes. Use a slotted spoon to remove the fried doughnuts, allowing excess oil to drip off, then place them on the prepared cooling rack. After a minute or two of cooling (while still warm, but not hot), gently roll each doughnut in the granulated sugar until coated. This ensures the sugar adheres nicely.
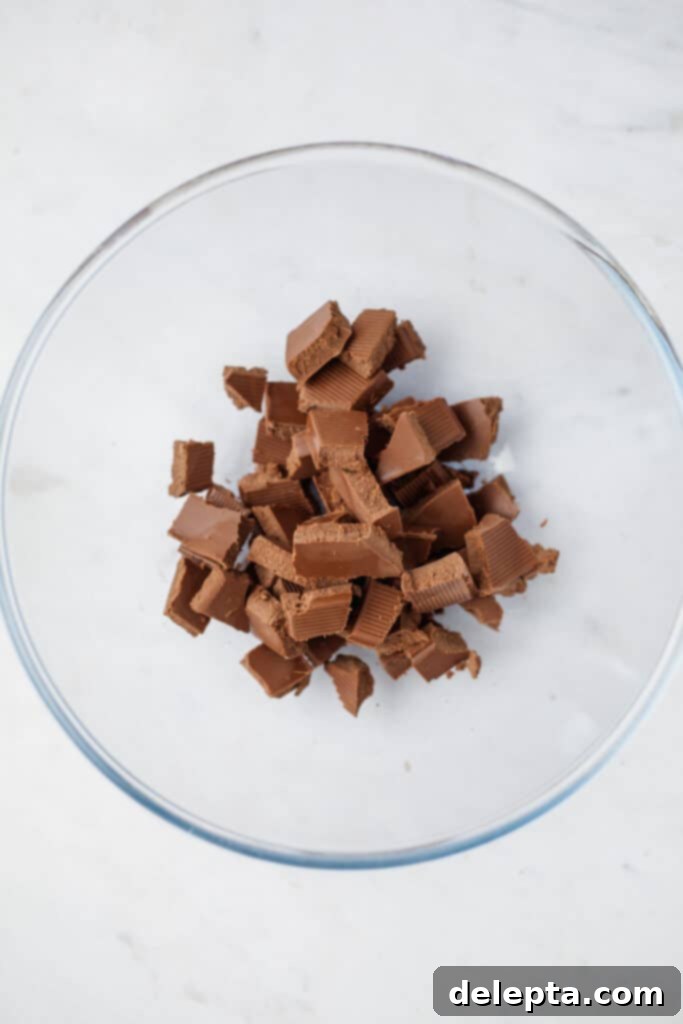
Step Ten: Chop the Chocolate. While the doughnuts cool, begin preparing your filling. Finely chop your chosen chocolate and place it into a heatproof bowl. The finer the chop, the more smoothly and quickly it will melt when hot cream is added.
-

Step Eleven: Heating the Cream -

Step Twelve: Creating the Ganache Base
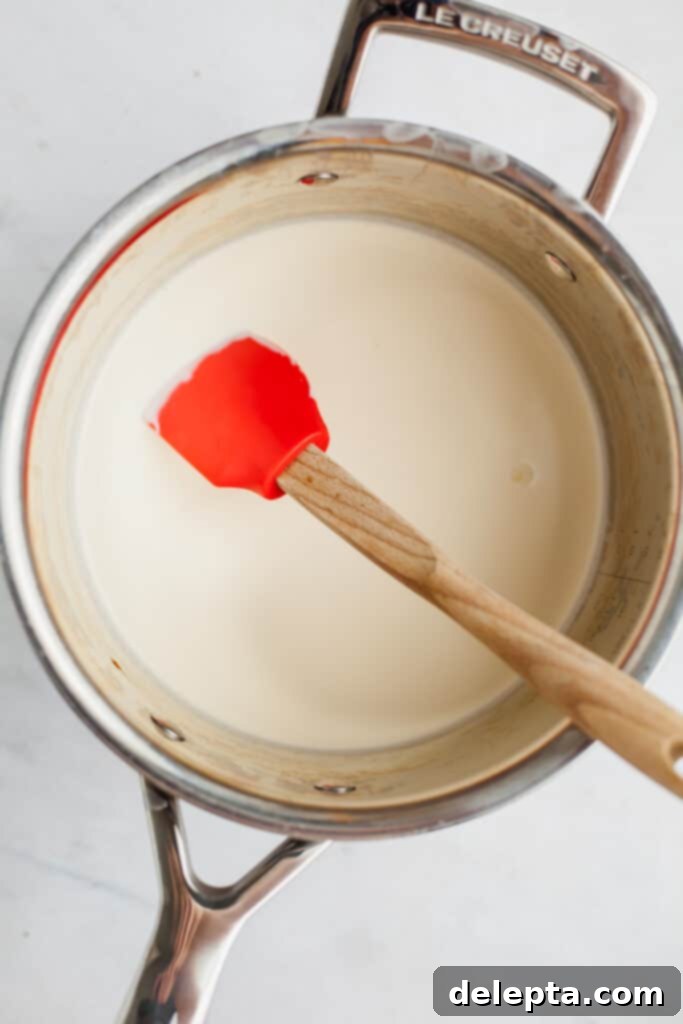
Step Eleven: Simmer the Heavy Cream. In a small saucepan, heat your heavy cream over medium-low heat. Stir occasionally to prevent scorching. Allow it to come to a gentle simmer; you’ll see small bubbles forming around the edges of the pan, but it shouldn’t be boiling vigorously. This ensures the cream is hot enough to melt the chocolate effectively.
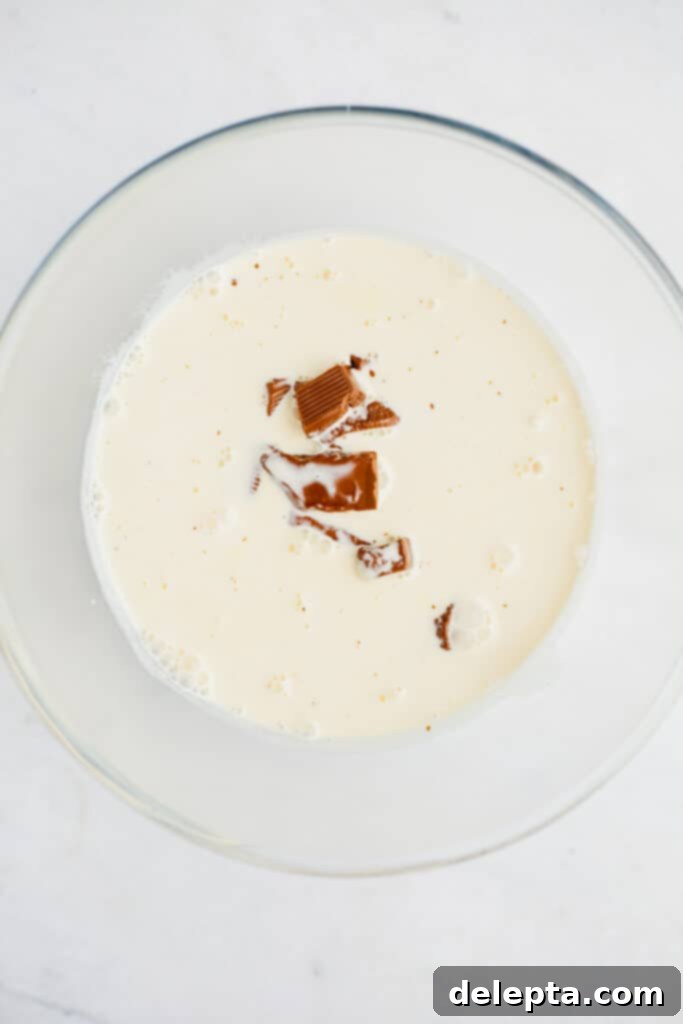
Step Twelve: Make the Ganache. Once the cream is simmering, immediately pour it over the chopped chocolate in the heatproof bowl. Do not stir yet. Let it sit undisturbed for 2-3 minutes. This allows the hot cream to thoroughly melt the chocolate, making it easier to achieve a smooth ganache. The residual heat will do most of the work.
-

Step Thirteen: Incorporate Mascarpone -

Step Fourteen: Whip to Fluffy Perfection
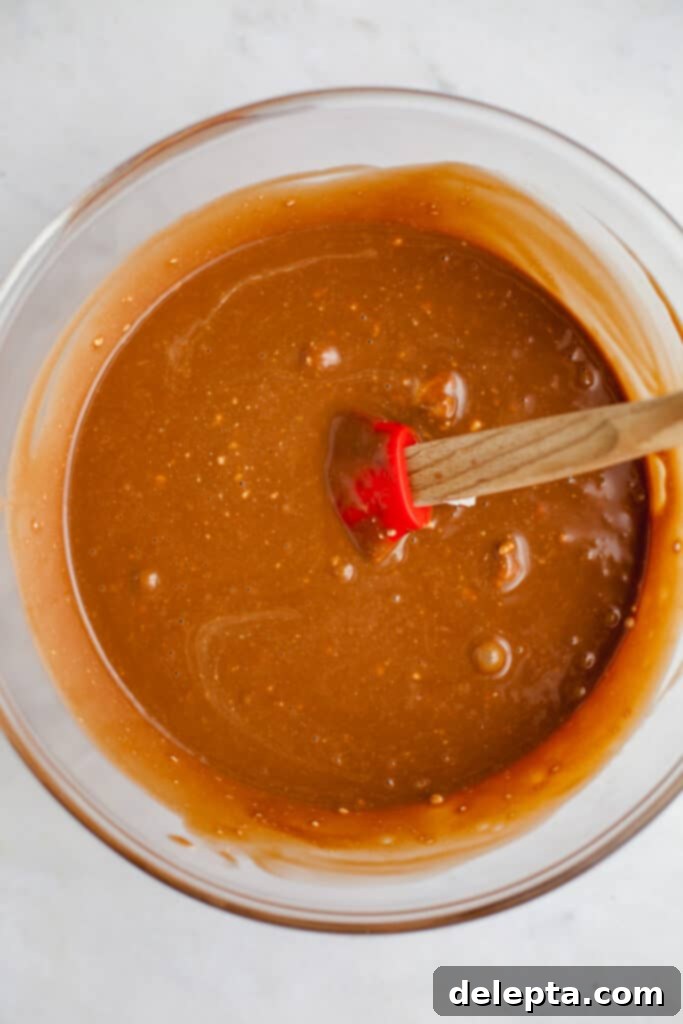
Step Thirteen: Add Mascarpone and Chill. After the chocolate has melted, use a rubber spatula to gently stir the mixture until it becomes completely smooth and glossy—this is your chocolate ganache. Now, add the cold mascarpone cheese to the ganache. Mix it in with the spatula until just combined. The mixture might not be perfectly smooth due to the mascarpone’s texture, and that’s absolutely fine; it will become smooth and creamy when whipped. Cover the bowl and chill the mixture in the refrigerator for at least one hour, or preferably overnight, until it’s firm and cold. This chilling step is essential for the filling to whip up properly.
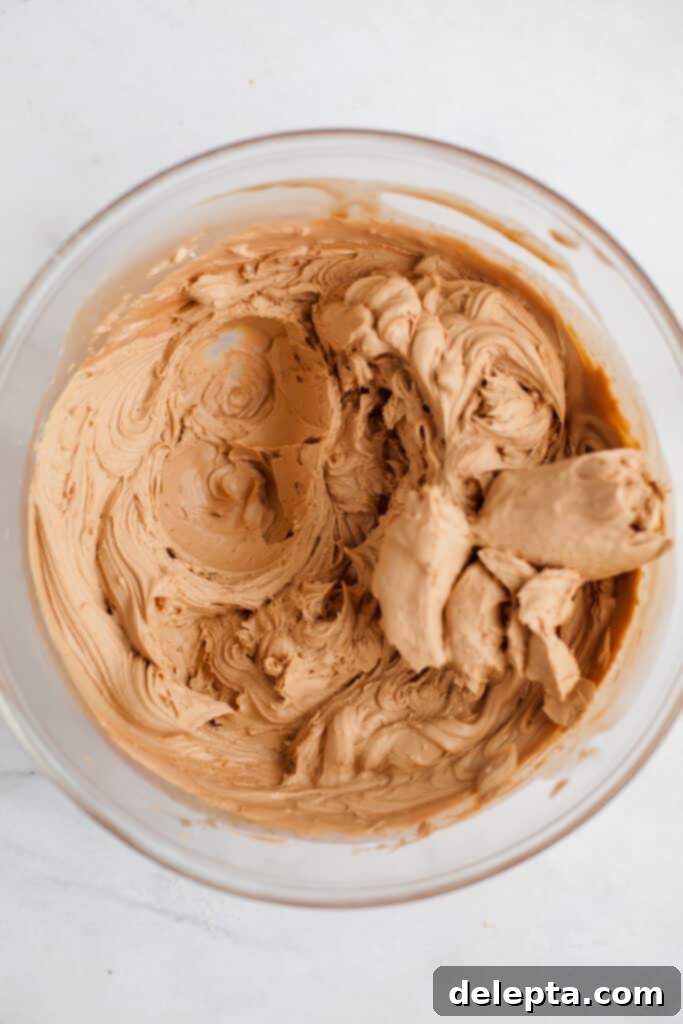
Step Fourteen: Whip the Filling. Once thoroughly chilled, remove the chocolate mascarpone mixture from the fridge. Using a hand-held electric mixer (or a stand mixer with a whisk attachment), whip the mixture on medium-high speed for about 1 minute. Watch it closely as it transforms into a pale, incredibly light, and fluffy filling. Be careful not to over-whip, as mascarpone can separate. Use the filling immediately for best results.

Step Fifteen: Fill the Doughnuts. Once your doughnuts are completely cool and the filling is whipped, it’s time to bring them together. Transfer the whipped chocolate mascarpone filling into a piping bag fitted with a small, round tip (or simply snip off the end of the bag). Using a small sharp knife, carefully make a small incision on the side of each doughnut, creating a pocket for the filling. Insert the tip of the piping bag into this hole and gently squeeze, filling the doughnut until it feels plump and slightly heavy. Repeat with all remaining doughnuts. Serve immediately and enjoy your homemade brioche masterpieces!
Expert Tips for Perfect Brioche Doughnuts
Achieving bakery-quality brioche doughnuts at home is entirely possible with a few insider tips. Pay attention to these details for the best possible outcome:
- Precision is Key: Measure by Weight. For consistent and accurate baking results, I cannot emphasize enough the importance of using a digital kitchen scale to measure your ingredients, especially flour. The metric system (grams) is far more precise than volumetric measurements (cups), which can vary significantly depending on how you scoop. This simple switch will make a huge difference in the texture and consistency of your brioche dough.
- Frying Safety First. Working with hot oil requires caution. Always use a heavy-bottomed pot with high sides to minimize oil splashes and maintain a stable temperature. Never, under any circumstances, allow water to get near or into the pot of hot oil, as this can cause dangerous splattering. I highly recommend using a long-handled slotted spoon or spider tool to safely lower and remove the doughnuts from the oil. It’s also a good idea to ensure adequate ventilation by keeping kitchen doors closed to contain the smell and windows open while frying, as the aroma can be quite strong.
- Embrace the Overnight Rise. While a room temperature rise is an option, I strongly recommend the overnight cold fermentation in the refrigerator. The chilled dough is significantly easier to handle and roll out, making the shaping process much less sticky and frustrating. More importantly, the extended rise time allows the flavors to develop more deeply, resulting in a more nuanced and delicious brioche doughnut. Plus, waking up to dough ready to be fried means fresh, warm doughnuts are just minutes away!
- Monitor Oil Temperature Closely. Consistent oil temperature is vital for evenly cooked doughnuts. If the oil is too cold, the doughnuts will absorb too much oil and become greasy. If it’s too hot, they will brown too quickly on the outside while remaining raw in the center. A reliable deep-fry thermometer is your best friend here. Aim to keep the oil consistently at 350°F (175°C). Fry in small batches to prevent the oil temperature from dropping too drastically.
- Sugar Coating Timing. For the best sugar coating, roll your fried doughnuts in granulated sugar while they are still warm, but not scorching hot. If they are too hot, the sugar will melt into the surface. If they are too cool, the sugar won’t adhere properly. A minute or two on the cooling rack after frying is usually the sweet spot.
- Proper Oil Disposal. Once you’ve finished frying, allow the oil to cool completely back to room temperature. Never pour cooking oil down your sink, as it can clog pipes. Instead, carefully pour the cooled oil back into its original container or another sealable container and dispose of it with your regular trash.
Frequently Asked Questions
Brioche doughnuts, like most freshly fried pastries, are unequivocally best enjoyed on the day they are made. Their light and airy texture is at its peak when fresh. If you happen to have any leftovers that absolutely need to be stored, keep them at room temperature and loosely covered with a clean kitchen towel. I strongly advise against placing them in an airtight container or refrigerating them, as the sugar coating will likely seep into the dough, causing them to become soggy and lose their delightful texture very quickly.
For deep-frying, selecting the right cookware is paramount for both safety and effectiveness. I highly recommend using a large, heavy-bottomed pot or a Dutch oven, such as a Le Creuset casserole pan. The key features to look for are high sides, which offer protection against oil splashes, and a very thick bottom, which helps in maintaining a consistent oil temperature throughout the frying process. This stability is crucial for achieving evenly golden-brown doughnuts.
Filling the doughnuts is the final, delightful step. First, ensure your whipped chocolate mascarpone filling is ready and transferred into a piping bag, ideally fitted with a small, round pastry tip (or simply snip off a corner of the bag). Next, take a small, sharp knife and carefully create a small hole on the side of each cooled doughnut. Gently insert the tip of your pastry bag into this opening and apply steady pressure to pipe the creamy filling into the center of the doughnut until it feels pleasantly plump. Be careful not to overfill, as it can cause the doughnut to burst.
While a thermometer provides the most accurate and recommended method for gauging oil temperature, you can use a simple trick if one isn’t available. After heating your oil for about 20 minutes over medium heat, drop a very small scrap of the brioche dough into the hot oil. If the oil is at the correct temperature (around 350°F/175°C), the dough scrap should immediately rise to the surface and start sizzling and turning golden within 30-60 seconds. If it sinks or bubbles very slowly, the oil is too cool. If it browns instantly and intensely, the oil is too hot and needs to cool down slightly.
Other Delicious Breakfast & Dessert Recipes to Try
If you’ve enjoyed making these brioche doughnuts, you might also love exploring some of my other delightful breakfast and dessert creations:
- Vanilla Baked Doughnuts: A lighter, equally delicious alternative for your doughnut cravings.
- Banana Blueberry Oatmeal Muffins: A wholesome and flavorful option for a quick breakfast.
- Oatmeal Banana Chocolate Chip Muffins: A comforting and hearty muffin, perfect with a cup of coffee.
I absolutely love seeing your culinary creations! Make sure to tag me on Instagram @alpineella and leave a review below if you’ve tried your hand at these fluffy brioche doughnuts. For even more inspiring baking ideas and delicious recipes, be sure to follow me on Pinterest!
Recipe: Brioche Doughnuts with Whipped Chocolate Mascarpone Filling

Brioche Doughnuts with Chocolate Mascarpone Filling
Ella Gilbert
Pin Recipe
Ingredients
Doughnuts
- 1 cup whole milk (lukewarm)
- 2 ¼ teaspoon active dry yeast
- 2 eggs (large, at room temperature)
- 4 ½ cups all purpose flour
- ¼ cup granulated sugar
- 1 teaspoon fine sea salt
- 6 tablespoon unsalted butter (melted and slightly cooled)
- ¼ teaspoon ground nutmeg
- ¼ teaspoon ground cinnamon
- Neutral oil (for frying, such as vegetable, canola, or sunflower oil)
- Granulated sugar (for rolling the doughnuts)
Chocolate Mascarpone Filling
- 1 cup heavy cream
- 1 cup mascarpone cheese (cold)
- 7 oz chocolate (good quality, finely chopped)
Instructions
For the Doughnuts
- Gently warm the milk until lukewarm (105-115°F/40-46°C). In a small bowl, combine the milk and active dry yeast. Stir well and let it sit for 10 minutes until a foamy layer appears on top, indicating the yeast is active.
- In the bowl of a stand mixer fitted with a dough hook, mix together the flour, sugar, cinnamon, nutmeg, and salt on the lowest speed until just combined.
- Add the milk-yeast mixture and the melted butter to the dry ingredients. Mix on low speed for 2-3 minutes until a shaggy dough forms.
- Add the eggs, one at a time, mixing until each is incorporated. Increase speed to medium and mix for 3-4 minutes. The dough will be sticky, which is normal for brioche.
- Transfer the sticky dough to a lightly oiled large bowl. Cover tightly with plastic wrap. Either let it rise at room temperature for 1.5 hours (in a warm spot) or refrigerate overnight (8-12 hours) for a richer flavor and easier handling. If chilled, let it sit at room temperature for 20 minutes before rolling.
- Line a large baking sheet with parchment paper. On a lightly floured surface, roll out the dough to about 1 inch (2.5 cm) thick. Use a 3-3.5 inch doughnut cutter or glass to cut out approximately 14-15 doughnuts. You can gently re-roll scraps to cut out a few more.
- Place the cut doughnuts on the prepared baking sheet, leaving some space between them. Cover loosely with plastic wrap and let them proof for 30-40 minutes in a warm place. They are ready when a gentle poke leaves a slight indentation that slowly springs back.
- While the doughnuts are proofing, fill a heavy-bottomed pot with tall sides with about 4 inches of neutral oil. Heat the oil over medium heat until it reaches 350°F (175°C). Set a cooling rack over paper towels and have a shallow bowl of granulated sugar ready.
- Carefully lower 2-3 doughnuts into the hot oil at a time, ensuring not to overcrowd. Fry for 1.5-2 minutes per side until golden brown and cooked through (total 3-4 minutes per doughnut). Use a slotted spoon to remove and transfer to the cooling rack.
- After cooling on the rack for 1-2 minutes (while still warm), roll each doughnut in granulated sugar until fully coated. Let them cool completely before filling.
For the Chocolate Mascarpone Filling
- Finely chop your chocolate and place it in a heatproof bowl.
- Heat the heavy cream in a small saucepan over medium-low heat until it just begins to gently simmer (small bubbles around the edges).
- Pour the hot cream over the chopped chocolate and let it sit undisturbed for 2-3 minutes to melt the chocolate.
- Using a rubber spatula, stir the mixture until it becomes smooth and glossy ganache. Add the cold mascarpone cheese and mix until just combined. The mixture may not be perfectly smooth due to the mascarpone, which is fine.
- Cover the bowl and chill the chocolate mascarpone mixture in the refrigerator for at least 1 hour, or overnight, until it is firm and cold. This is crucial for proper whipping.
- Remove the chilled mixture from the fridge. Using a hand-held electric mixer or stand mixer with a whisk attachment, whip the mixture for about 1 minute until it becomes very fluffy, pale, and light. Be careful not to over-whip.
- Transfer the whipped filling into a piping bag fitted with a small round tip. Make a small incision on the side of each cooled doughnut with a knife, then insert the tip and fill the doughnuts until plump. Serve immediately.
Notes
Oil: Always use a neutral oil with a high smoke point for frying, such as vegetable oil, rapeseed oil, or canola oil. After frying, allow the oil to cool completely before carefully pouring it back into its original container or a sealed disposal container. Never pour used cooking oil down the drain.
Storage: These homemade brioche doughnuts are truly at their best when enjoyed on the day they are made. If you have any leftovers, store them uncovered or loosely covered with a kitchen towel at room temperature. Placing them in an airtight container will cause the sugar to melt and the doughnuts to become soggy very quickly.
Nutrition
Carbohydrates: 45g
Protein: 8g
Fat: 25g
Saturated Fat: 15g
Trans Fat: 1g
Cholesterol: 77mg
Sodium: 202mg
Potassium: 148mg
Fiber: 2g
Sugar: 12g
Vitamin A: 686IU
Vitamin C: 1mg
Calcium: 68mg
Iron: 2mg
Tried this recipe?
Leave a comment below! You can also tag me on Instagram @alpineella so I can see what you made!

