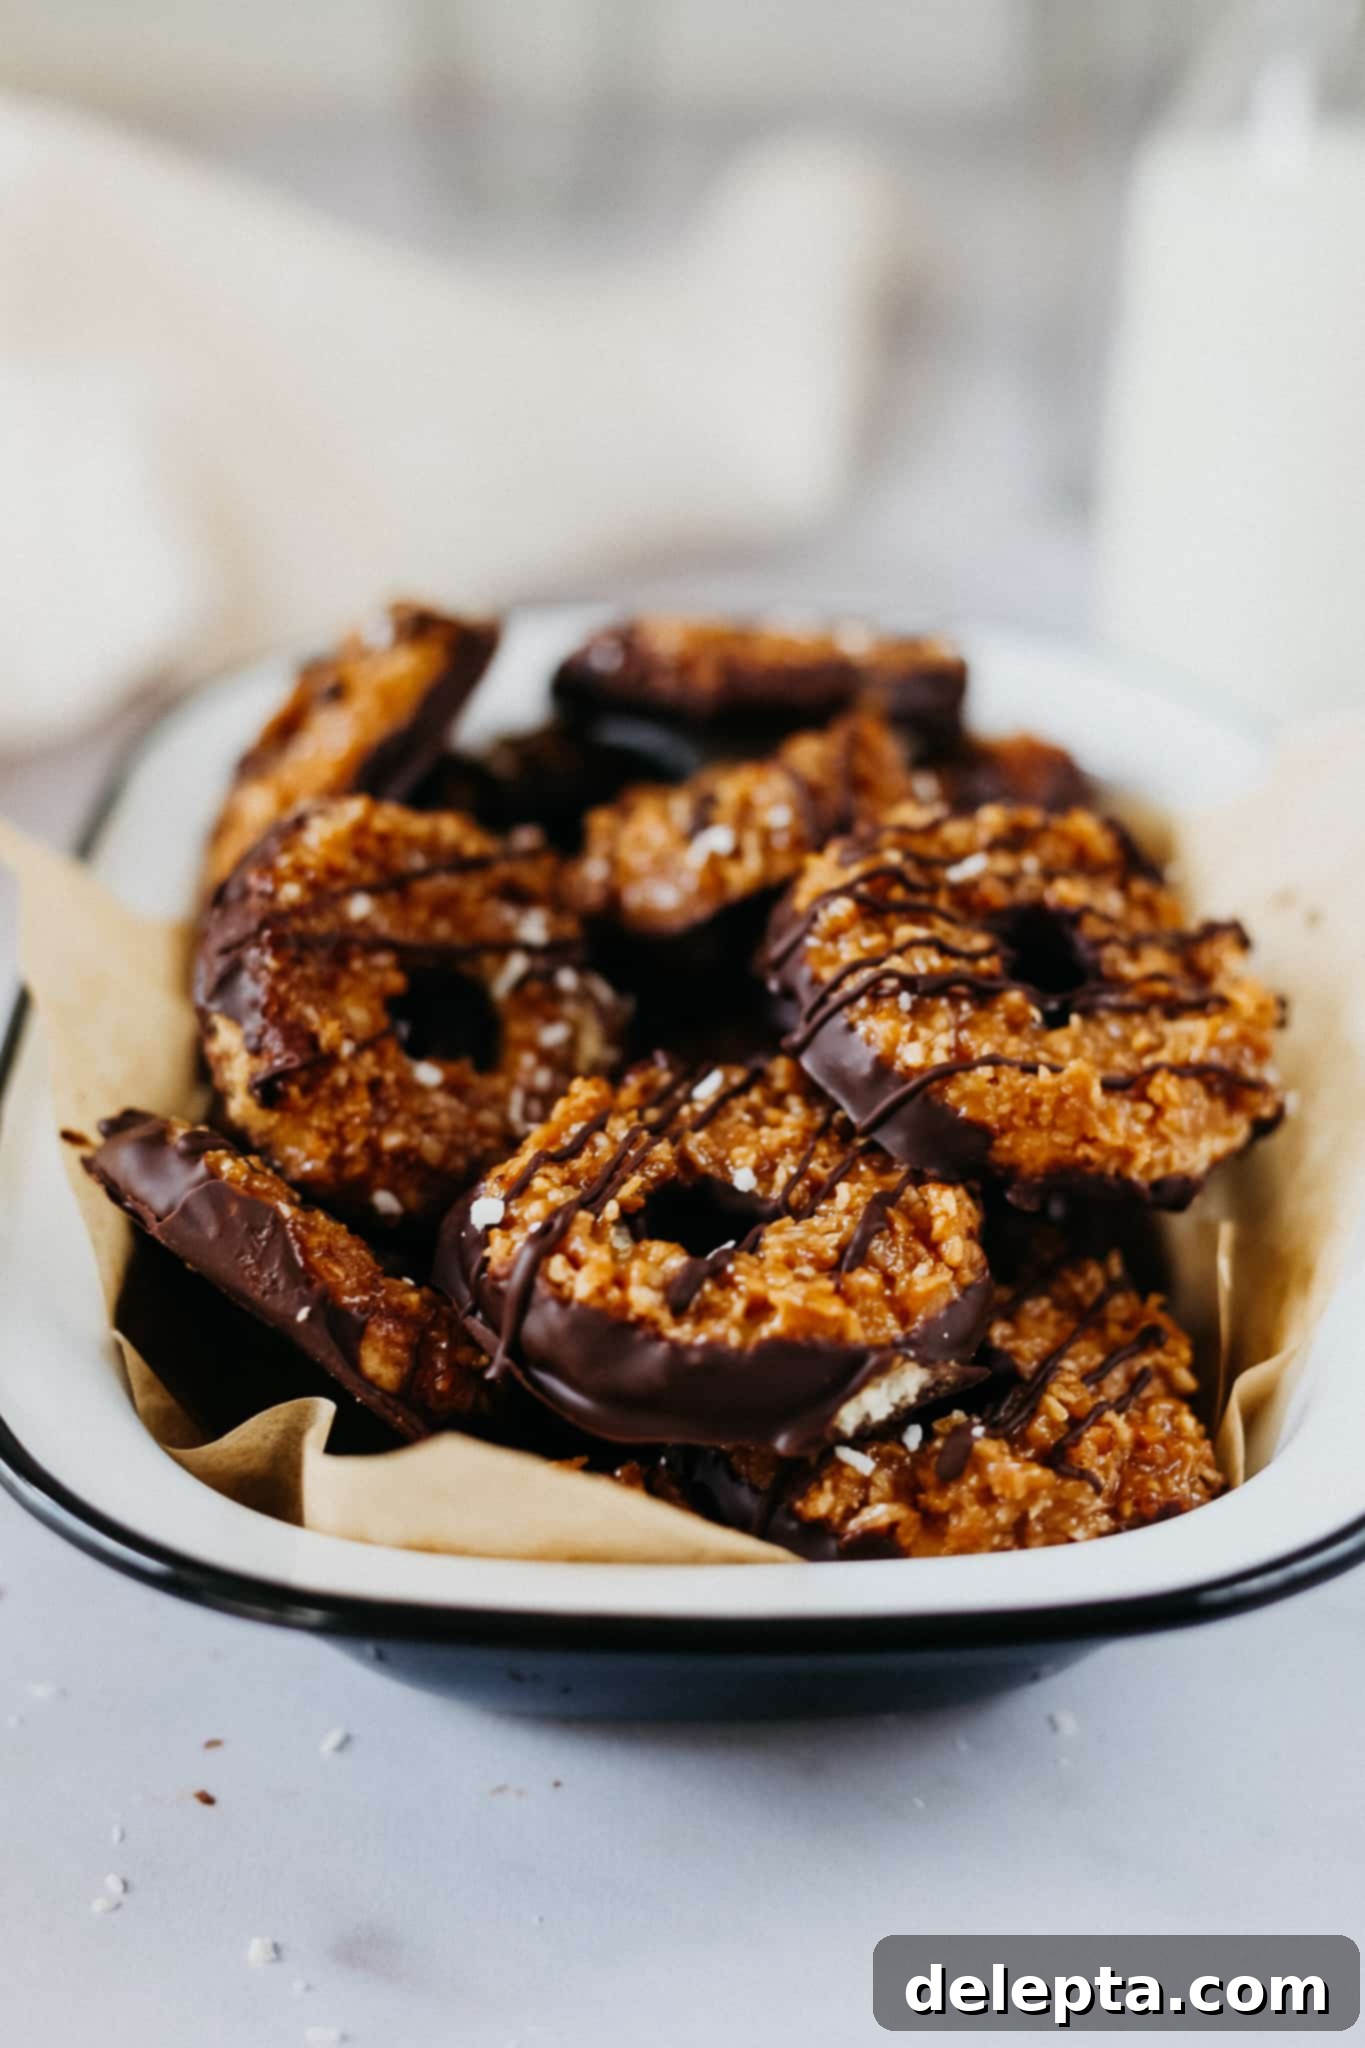
Homemade Girl Scout Samoa Cookies: Your Ultimate Guide to Caramel Coconut Perfection
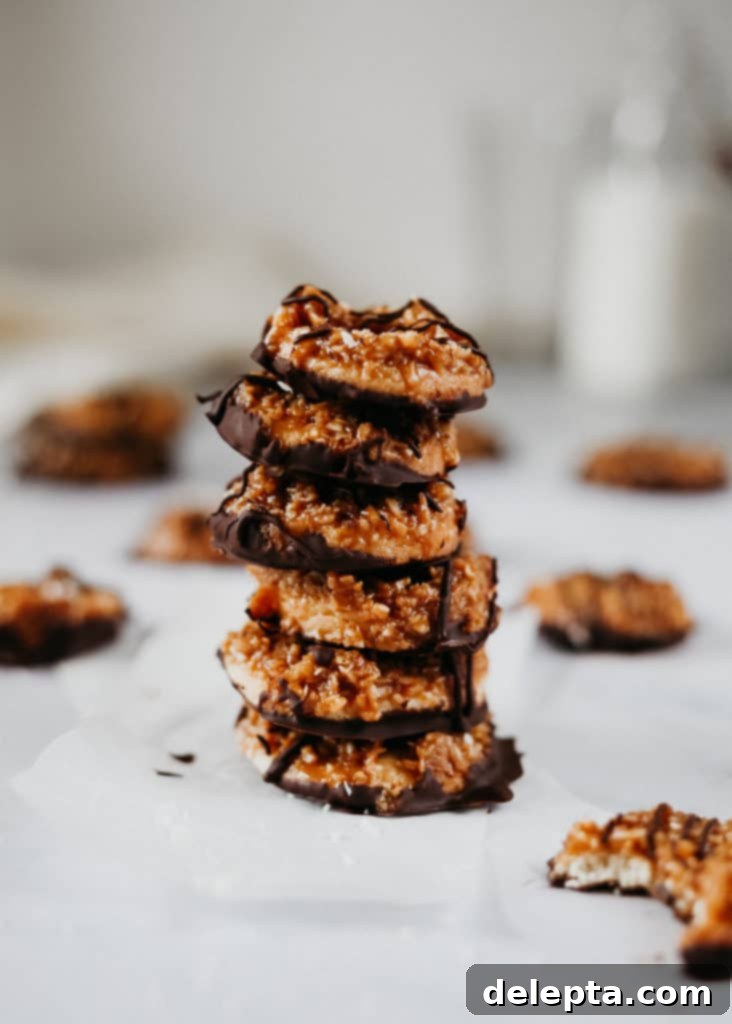
There’s something truly magical about Girl Scout cookies, and for many, the Samoa (or Caramel deLite, depending on your region) holds a special place in their hearts. Today, I’m thrilled to share a recipe for a homemade version that captures every beloved layer of this iconic cookie. Imagine a perfectly buttery, crisp shortbread base, generously topped with a rich, chewy toasted coconut caramel, and finished with elegant stripes of decadent dark chocolate. While creating three distinct components might sound like a significant undertaking, I promise you, this homemade Samoa recipe is surprisingly straightforward and unequivocally worth every moment spent in the kitchen.
These cookies aren’t just a treat; they’re a trip down memory lane, a testament to the joy of baking from scratch, and a guaranteed crowd-pleaser. Forget waiting for cookie season; now you can indulge in the ultimate caramel, coconut, and chocolate delight any time you wish, with the added satisfaction of knowing you made them yourself. The complexity of flavors – the sweet caramel, nutty toasted coconut, and a hint of dark chocolate bitterness – come together in perfect harmony, making these cookies an irresistible indulgence that will transport you back to childhood with every bite.
My Sweet Childhood Dream: A Girl Scout Cookie Obsession
Growing up in the US, the allure of being a Girl Scout was strong, particularly because of the impressive badges. However, my enthusiasm waned when I realized it involved team activities and extensive outdoor adventures. My mom’s gentle reminder that selling cookies didn’t mean I could eat them all pretty much sealed the deal. Despite my short-lived Girl Scout aspirations, the cookies themselves became an annual highlight. Our family favorites were always Tagalongs, Thin Mints, and, of course, Samoas. The Samoa cookies quickly cemented their place as my absolute, all-time favorite – a perfect blend of texture and flavor that was simply unmatched.
Years later, living in London, the craving for these nostalgic treats was real. Last year, a thoughtful colleague in my US office offered to bring back Girl Scout cookie boxes for us. It took immense self-control not to order fifty boxes of each flavor, but my heart was set on those glorious Samoas. Sharing these cookies with my partner, Will, proved to be an interesting experience. While we surprisingly disagreed on the merits of Thin Mints (leaving more for me, thankfully!), there was universal consensus on one point: Samoas reigned supreme as the undisputed best of the bunch. This shared adoration only fueled my desire to recreate them at home, to capture that elusive taste whenever the craving struck.
The Quest for the Perfect Copycat Samoa Recipe
My culinary journey to master homemade Samoas began with extensive “research” – which, for me, largely involved binge-watching YouTube videos, particularly the iconic Gourmet Makes series on Girl Scout Cookies. Claire Saffitz’s meticulous approach provided a fantastic starting point and a rough outline for tackling my favorite cookie. However, like any good baker, I couldn’t resist putting my own spin on things, veering away from a few elements they used to achieve what I believe is the ultimate homemade Samoa, perfected for the home kitchen.
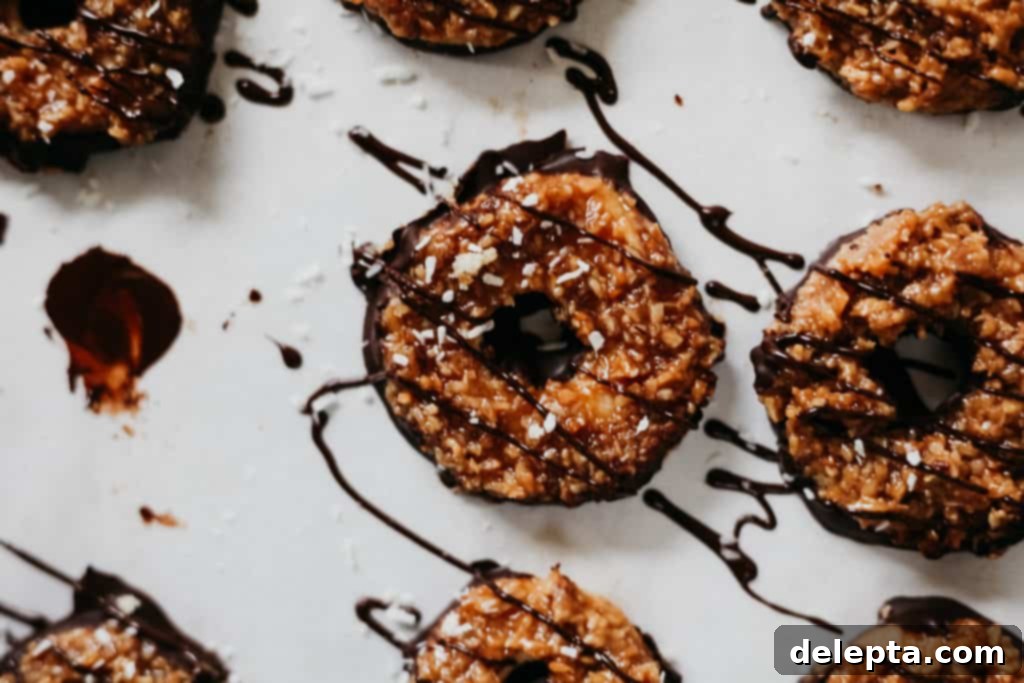
The foundation of any great cookie is its base. For my shortbread, I adapted a recipe from Brave Tart, renowned for producing an incredibly buttery cookie that boasts a satisfying snap with every bite. This sturdy yet delicate base is crucial for holding up to the rich toppings, providing the perfect counterpoint to the sweetness. Next, came the star of the show: the coconut caramel. I opted for a “wet caramel” method, which involves creating a sugar syrup with water before incorporating cream. This technique offers greater control over the caramelization process, resulting in a beautifully rich, amber-hued caramel that’s both chewy and deeply flavorful. The secret ingredient here is the toasted coconut, folded into the caramel while still warm, infusing it with an irresistible nutty depth that mimics the original. Finally, to perfectly balance the sweetness of the caramel and coconut, I chose a high-quality dark chocolate for dipping. This touch not only adds a sophisticated “grown-up” flavor but also provides a delightful bitterness that elevates the entire cookie experience, making it truly unforgettable.
Mastering the Art of Caramel: Essential Tips for Success
Making caramel can seem intimidating, but with a few key tips and a little patience, you’ll be creating silky, rich caramel like a pro. These insights are particularly helpful for the wet caramel method used in this Samoa cookie recipe, ensuring your coconut caramel topping is absolutely perfect:
- Watch the Color, Not Just the Clock: For this wet caramel, we’ll combine sugar and water in a saucepan and bring it to a boil. While a stopwatch can be a helpful guide, the most critical indicator of readiness is the color of the caramel. You’re aiming for a beautiful, rich amber hue – think the color of an old penny. Stopping the caramelization process too early will result in a pale, less flavorful caramel that lacks depth, while overcooking will lead to bitterness and a burnt taste. Keep a close eye on it, especially in the final minutes when the color changes quickly!
- Invest in a Candy Thermometer: A reliable candy thermometer is an absolute must-have for this recipe. It takes the guesswork out of reaching the precise temperature required for perfect caramel consistency. Without it, you risk a caramel that’s either too soft and runny or too hard and brittle. I highly recommend this one, or a similar digital thermometer that clips onto your saucepan. Accuracy here makes all the difference for a chewy, not rock-hard, caramel that beautifully coats your cookies.
- Fixing Hard Caramel: Don’t despair if your caramel cools and becomes too hard to spread easily onto the cookies. This is a common occurrence and easily remedied. Simply transfer the firm caramel back into a medium saucepan, add 1-2 tablespoons of water (or a touch of cream if you prefer a richer flavor), and gently heat it over medium-low heat. Stir occasionally with a heat-proof spatula until it reaches a softer, more pliable consistency that’s perfect for coating your shortbread rounds.
- Cleanliness is Key: To prevent sugar crystals from forming and ruining your caramel, ensure your saucepan is meticulously clean before you start. Avoid scraping down the sides of the pan once the sugar starts boiling, as stray crystals can trigger a chain reaction, causing the entire batch to crystallize. If you see crystals forming on the sides, you can gently brush them down with a wet pastry brush dipped in a little water.
- Safety First: Caramel gets extremely hot, reaching temperatures well over 200°F (93°C). Always be cautious when working with it. Use a heavy-bottomed saucepan for even heating, wear oven mitts, and keep a safe distance, especially when adding the cold cream, as the mixture will bubble up vigorously. Have all your ingredients measured and ready to go before you start the caramelization process.
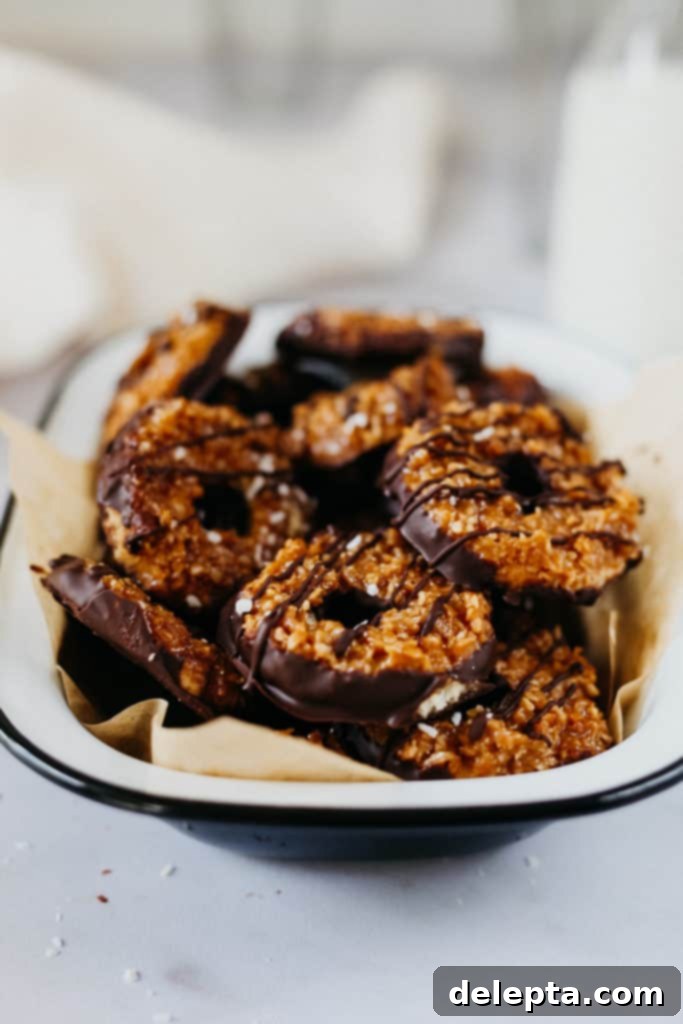
With these essential tips in hand, you’re well-equipped to tackle the caramel component of your homemade Samoa cookies with confidence. The combination of the rich shortbread, the deeply flavored coconut caramel, and the crisp dark chocolate creates an unforgettable treat that rivals any store-bought version. Get ready to impress your friends and family (or simply treat yourself!) with these incredible copycat Girl Scout Samoas that taste just like the original, if not better!
Recipe: Homemade Girl Scout Samoas
Homemade Girl Scout Samoas
Ella Gilbert
Pin Recipe
Save RecipeSaved!
Ingredients
Shortbread Base
- 300 grams all purpose flour
- 200 grams granulated sugar
- 1 teaspoon kosher salt
- 113 grams unsalted butter, softened to room temperature
- 1 large egg
- 2 teaspoons pure vanilla extract
- 108 grams refined coconut oil, melted and cooled slightly
- ¼ teaspoon baking soda
Coconut Caramel Topping
- 160 grams desiccated or shredded coconut
- 241 grams granulated sugar
- 113 grams water
- ¾ teaspoon kosher salt
- 227 grams double cream (heavy cream), cold
- 1 tablespoon coconut oil
Chocolate Coating
- 300 grams dark chocolate, chopped
Instructions
For the Shortbread Base
-
In a large mixing bowl, combine the softened butter, coconut oil, granulated sugar, vanilla extract, kosher salt, and baking soda. Beat on medium speed for about 5 minutes until the mixture is light and fluffy. This creaming process incorporates air, contributing to the cookie’s tender yet crisp texture.
-
Add the egg and mix until it’s fully incorporated, scraping down the sides of the bowl as needed to ensure everything is well combined. Then, gradually add the all-purpose flour, mixing on low speed until just combined. Be careful not to overmix, as this can develop the gluten and result in tough cookies.
-
Transfer the dough to a lightly floured surface and knead it gently for a few minutes. The dough should come together and feel soft and pliable, almost like a little cloud, but it should not be sticky. If it’s too sticky, add a tiny bit more flour, a teaspoon at a time.
-
Divide the dough in half. Shape each half into a disc, wrap tightly in clingfilm, and chill in the refrigerator for at least 30 minutes. This chilling step is crucial for making the dough easier to handle and preventing the cookies from spreading too much during baking, ensuring they keep their iconic shape.
-
Preheat your oven to 350°F (175°C). Line two baking trays with parchment paper. On a lightly floured surface, roll out one disc of chilled dough until it is approximately ¼ inch (6mm) thick. Using a 4cm/1.5-inch round cookie cutter, cut out as many cookies as possible. Then, use a small pastry tip (or a smaller round cutter, about ½ inch) to cut out the center hole of each cookie, creating the signature donut shape. Carefully transfer the cut-out cookies to the prepared baking trays. Re-roll any scraps of dough (avoiding overworking it) and continue cutting until all dough is used.
-
Bake the shortbread cookies for 12-14 minutes, or until the edges are lightly golden brown and the centers are set. The cookies should be firm and have a slight snap. Let them cool completely on the baking trays before handling, as they will be delicate when warm and prone to breaking.
For the Toasted Coconut Caramel
-
Preheat oven to 350°F (175°C). Spread the desiccated coconut evenly on a baking tray lined with parchment paper. Toast in the oven for 8-10 minutes, checking and shaking the pan every 4 minutes to ensure even browning. The coconut should be golden brown and fragrant. Remove from oven and let it cool completely; cool coconut is essential for the caramel.
-
Line a standard loaf pan (approximately 9×5 inches) with parchment paper, leaving an overhang on the sides for easy removal later. This will be used to shape and cool the caramel. Set aside.
-
In a large, heavy-bottomed saucepan, combine the granulated sugar, water, and kosher salt. Place over medium heat. Cook for about 5 minutes, stirring occasionally at the beginning to dissolve the sugar, until the sugar completely dissolves and bubbles start to form around the edges of the pan.
-
Continue to simmer the syrup without stirring. Watch carefully as the syrup will begin to change color, turning from clear to a pale gold, then deepen to a rich amber. This process typically takes an additional 8-12 minutes. Once it reaches a deep amber color (like a copper penny), swirl the pan gently and let it cook for another 1-2 minutes to achieve that desired dark, rich caramel flavor and consistency. Do not let it burn!
-
Immediately and carefully remove the pan from the heat. Pour in the cold double cream (be cautious, as the cold cream will react with the hot sugar and the mixture will bubble up vigorously). Reduce the heat to low and stir constantly with a heat-proof spatula until fully combined and smooth. Then, stir in the 1 tablespoon of coconut oil until melted. Insert your candy thermometer into the saucepan and continue cooking over low heat, stirring frequently, until the caramel reaches exactly 250°F (121°C). Remove from heat and fold in the cooled toasted coconut until evenly distributed throughout the caramel.
-
Pour the hot coconut caramel mixture into the prepared loaf pan. Spread it evenly. Let it cool slightly at room temperature until it’s just warm to the touch, then transfer to the refrigerator to chill and firm up for at least 30 minutes. The caramel needs to be firm enough to handle and scrape onto the cookies, but still pliable enough to mold.
Assembly and Finishing Touches
-
Once the coconut caramel has sufficiently cooled and firmed up (it should be manageable but still slightly tacky), gently remove it from the loaf pan using the parchment paper overhang. Cut it into small, manageable pieces if it’s too large. Take one cooled shortbread cookie. I found it easiest to first lightly dip the cookie into the softened caramel to create a sticky base for the coconut, then use a small offset spatula or a knife to scrape and spread the coconut caramel mixture evenly onto the top of the cookie, forming a slight dome. Ensure the center hole is still visible.
-
After each cookie is coated with the caramel, place it on a clean parchment-lined baking sheet. Once all cookies are topped, put the baking sheet into the refrigerator to chill for another 30 minutes. This helps set the caramel firmly and prevents the chocolate from melting it during the dipping process.
-
While the cookies are chilling, prepare your dark chocolate coating. Melt the 300 grams of chopped dark chocolate using a double boiler (a heatproof bowl set over a saucepan of simmering water, ensuring the bowl doesn’t touch the water) or in a microwave-safe bowl in 30-second intervals, stirring between each, until completely smooth and melted. Once melted, remove the bowl from the heat (or microwave) and set it aside.
-
Retrieve the chilled, caramel-topped cookies from the fridge. Carefully dip the bottom of each cookie into the melted dark chocolate, ensuring an even coating. Allow any excess chocolate to drip off by gently tapping the cookie. Place the dipped cookies back onto the parchment-lined baking sheet to dry. I experimented with forks and fondue sticks to carefully dip the cookies in, but ultimately found that carefully dipping them by hand (though a bit messier!) gave the best and most consistent result.
-
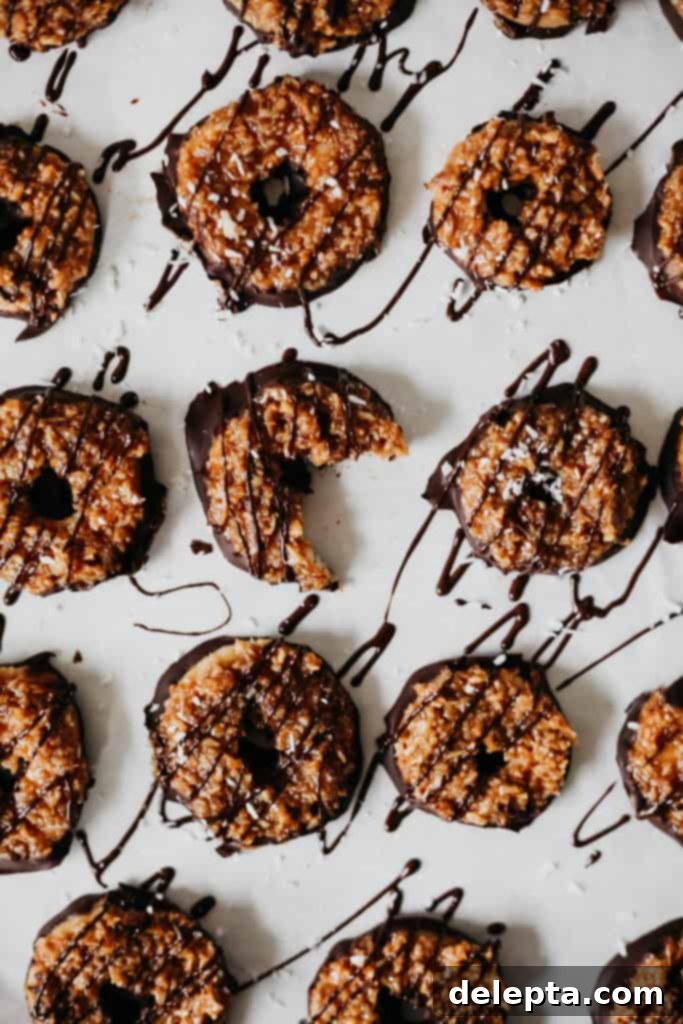
For the signature Samoa drizzle, either fill a piping bag with a very small opening (or a ziploc bag with the corner snipped) with the remaining melted chocolate and artfully drizzle it across the tops of the cookies in a zig-zag pattern. Alternatively, you can simply dip a fork into the chocolate and flick it over the cookies for a rustic, yet equally delicious, finish. Let the chocolate set completely at room temperature or in the refrigerator for quicker setting.
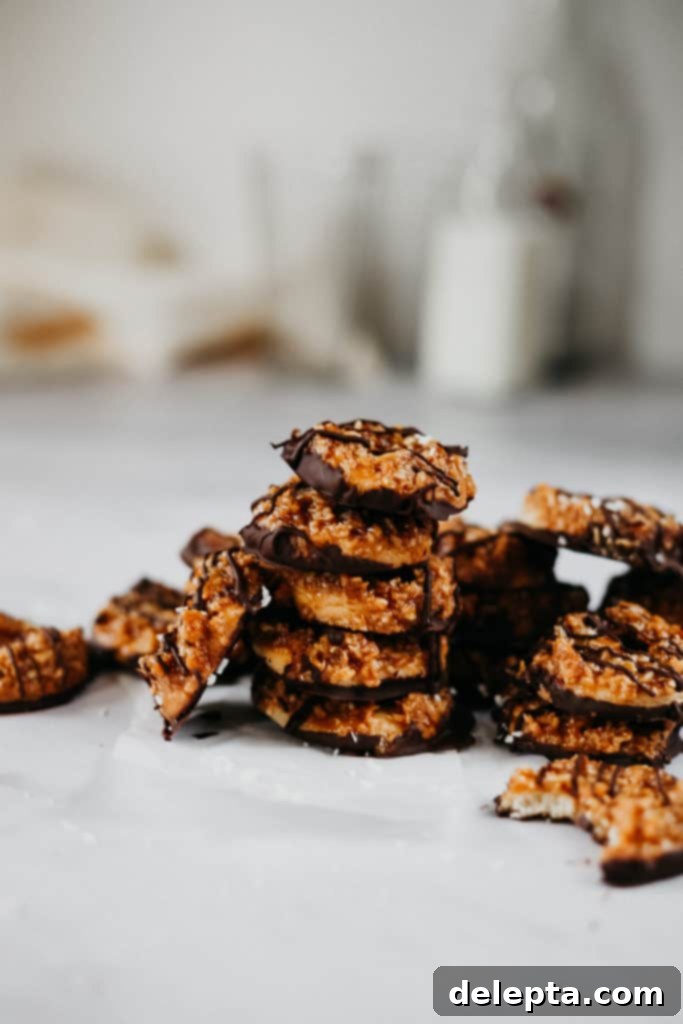
Once the chocolate has fully set, your homemade Girl Scout Samoas are ready to be devoured! Each bite delivers that incredible combination of tender shortbread, chewy, toasted coconut caramel, and rich dark chocolate. These cookies are perfect for sharing with friends and family, bringing to a potluck, or simply enjoying with a cup of coffee or tea. They also make wonderful edible gifts, beautifully packaged in a festive tin – a thoughtful gesture for any cookie lover.
Storage Tips for Your Homemade Samoas
To keep your delicious Samoa cookies fresh, store them in an airtight container at room temperature for up to a week. Placing a piece of parchment paper between layers can prevent them from sticking. If you prefer a firmer texture or live in a warm climate, you can also store them in the refrigerator, which will make the chocolate snappier. For longer storage, these cookies freeze beautifully. Simply place them in a single layer on a baking sheet to freeze solid, then transfer to a freezer-safe bag or container for up to 2-3 months. Thaw at room temperature for a quick treat whenever the craving strikes!
Variations to Try
While this recipe aims for a classic copycat, feel free to experiment with variations to suit your personal taste or dietary preferences:
- Milk Chocolate: If dark chocolate isn’t your preference, you can certainly use milk chocolate for the dipping and drizzling. It will result in a sweeter cookie, closer to the original if you find dark chocolate too intense.
- White Chocolate Drizzle: For an extra decorative touch and a different flavor profile, try drizzling the tops with melted white chocolate instead of dark chocolate. The contrast in color and sweetness is delightful.
- Add Nuts: For an extra layer of crunch and flavor, consider sprinkling finely chopped pecans or almonds onto the wet caramel before it sets. This adds another dimension to the texture.
- Spice It Up: A tiny pinch of cinnamon or a dash of almond extract in the shortbread dough can add a subtle, intriguing twist to the flavor profile, making these cookies uniquely yours.
- Gluten-Free Option: You can experiment with a gluten-free all-purpose flour blend (one that contains xanthan gum) for the shortbread base if you’re looking for a gluten-free version. Results may vary slightly in texture.
Making these homemade Girl Scout Samoas is more than just baking; it’s an act of recreating a cherished memory and sharing joy. The effort is minimal compared to the incredible reward of biting into these perfectly balanced, multi-layered treats. Each cookie is a labor of love, a delicious tribute to a classic that tastes even better when made from scratch in your own kitchen. So, roll up your sleeves, gather your ingredients, and get ready to create a batch of cookies that will make every day feel like Girl Scout cookie season!
