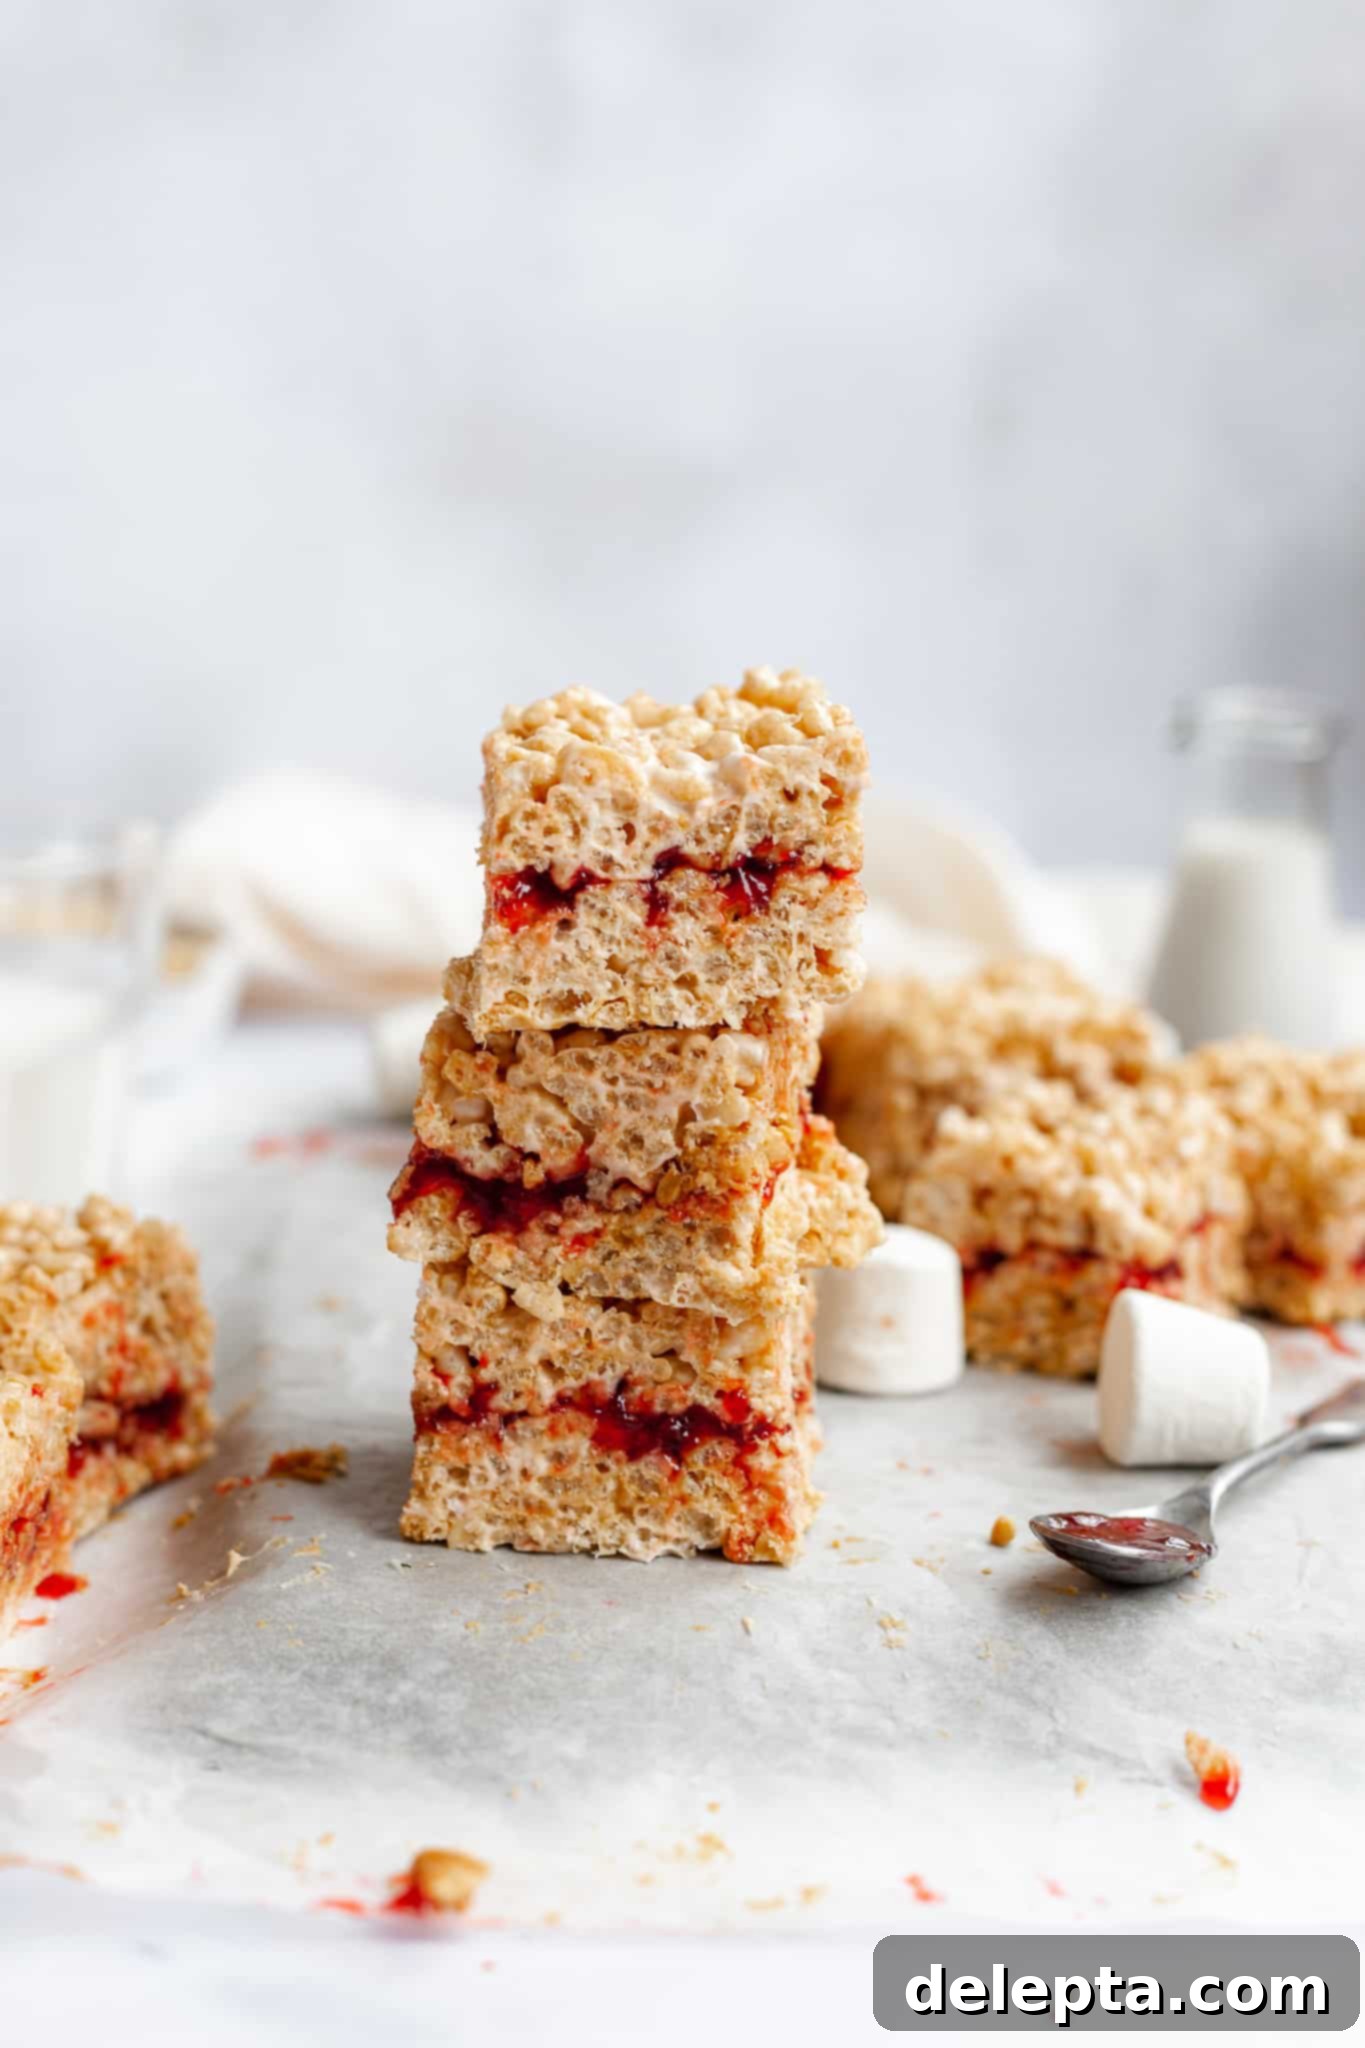
Irresistible No-Bake Peanut Butter and Jelly Rice Krispie Treats: A Nostalgic Twist on a Childhood Favorite
Get ready to rediscover your inner child with these incredible Peanut Butter and Jelly Rice Krispie Treats! Imagine your favorite classic sandwich, transformed into a gooey, chewy, and utterly satisfying no-bake dessert. These treats are not only incredibly easy to make, requiring minimal effort and time in the kitchen, but they also bring a delightful burst of nostalgic flavor that might just make them your new go-to Rice Krispie treat variation. They are perfect for sharing, parties, or simply indulging your sweet tooth with a delightful twist.
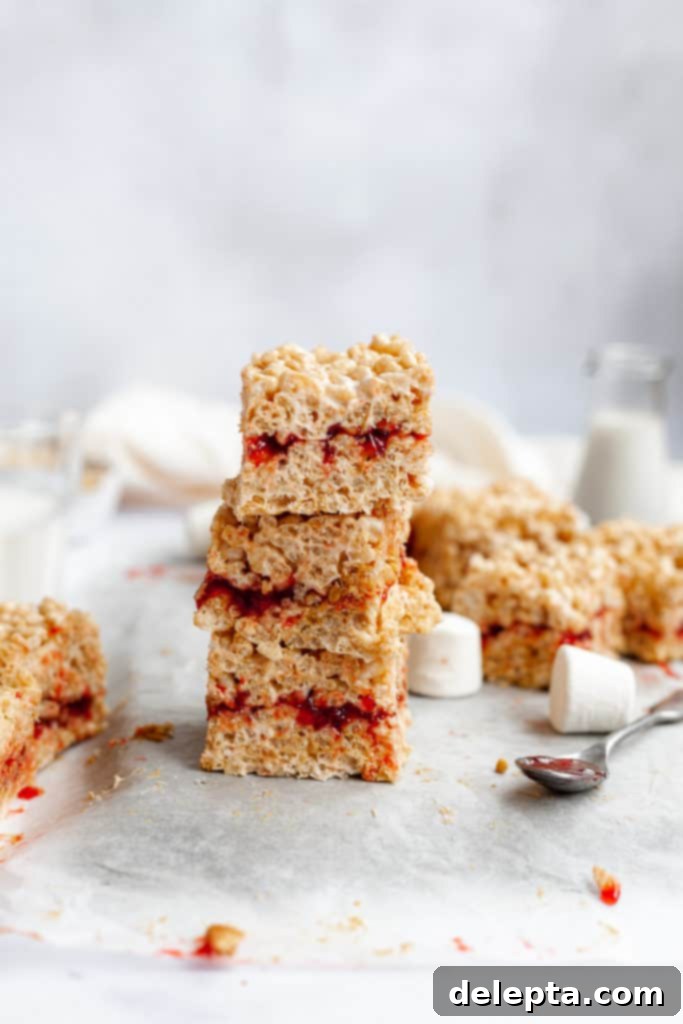
For years, I somehow managed to miss out on the pure joy of a classic peanut butter and jelly sandwich. Perhaps it was my notoriously picky eating habits as a child – a phase where cocktail sausages were a dietary staple, much to my parents’ despair! But once I finally decided to give the iconic PB&J a try, I realized the error of my ways. It was a revelation! The creamy, salty peanut butter paired with sweet, fruity jelly was a match made in culinary heaven. Major regrets instantly set in for all those lost years. I knew immediately that this flavor combination had to be incorporated into my next baking adventure. Considering my love for an already delicious peanut butter rice krispie treat, it struck me that adding the sweet fruitiness of jelly would elevate it to an entirely new level, creating a truly unique and irresistible dessert that captures the essence of the beloved sandwich without any baking required.
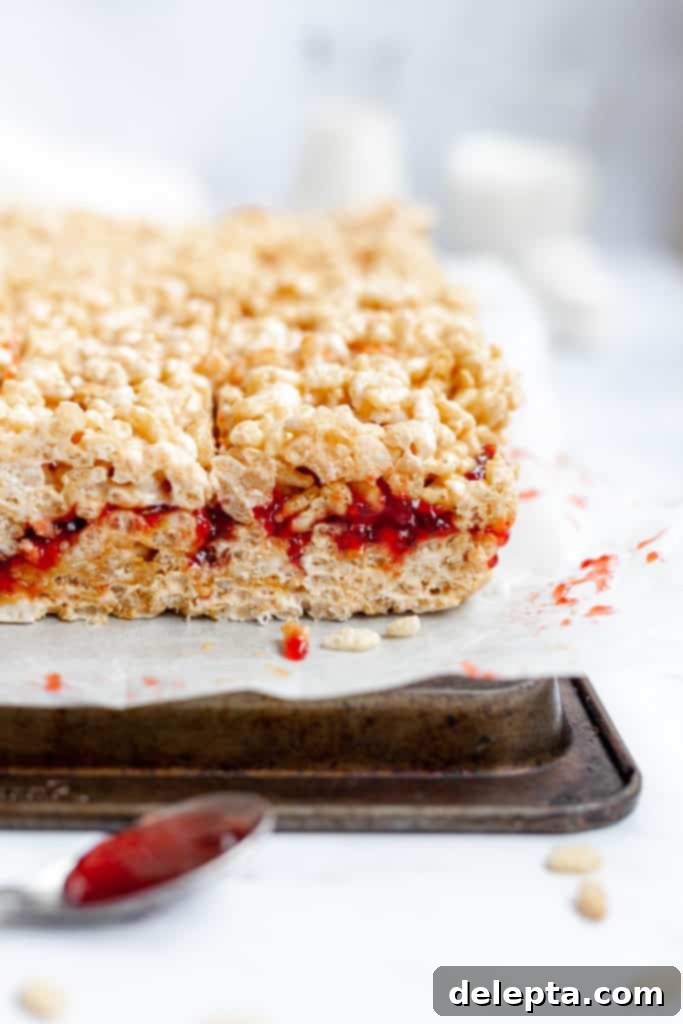
What Makes These Peanut Butter & Jelly Rice Krispie Treats So Special?
Imagine your absolute favorite gooey, chewy peanut butter rice krispie bars, but with an exciting secret: a luscious layer of sweet jam or jelly nestled right in the center! It’s like a deconstructed peanut butter and jelly sandwich, reimagined as an effortlessly decadent dessert. Unlike some recipes that fully incorporate peanut butter throughout the cereal mixture, I intentionally don’t overmix it. This thoughtful approach ensures you get beautiful swirls and ribbons of rich, creamy peanut butter running through each bar, adding both visual appeal and bursts of intense flavor with every bite. To take these treats from great to extraordinary, I also incorporate a key ingredient: brown butter. Browning the butter adds an incredible depth of nutty, toasted flavor that perfectly complements the peanut butter and marshmallow base, creating a truly gourmet twist on a classic childhood favorite. This simple yet impactful step elevates the entire flavor profile, making these treats utterly addictive.
Beyond their incredible flavor, these no-bake bars are also remarkably simple and quick to prepare, making them an ideal choice for busy schedules or last-minute dessert cravings. The actual hands-on prep time is minimal, requiring just a few basic steps. In fact, the longest part of this entire recipe is patiently waiting for the bars to set and firm up in the pan before you can slice into them and enjoy. It’s a small price to pay for such a delightful and satisfying treat!
Key Ingredients for the Best PB&J Rice Krispie Treats
Crafting the perfect Peanut Butter and Jelly Rice Krispie Treat starts with selecting the right ingredients. Each component plays a crucial role in achieving that ideal balance of flavor and texture:
- Marshmallows: While some recipes opt for marshmallow creme, I firmly believe that using regular marshmallows yields the best results for a truly chewy and gooey Rice Krispie treat. Fresh marshmallows are key here – older, stale marshmallows tend to melt differently and can result in a less desirable texture. Opt for mini marshmallows for faster melting, or regular large ones for a slower, more controlled melt.
- Butter: Unsalted butter is definitely the way to go. This gives you complete control over the salt levels in your recipe, allowing you to add kosher salt separately to taste. But here’s the game-changer: browning the butter. This simple technique infuses the treats with an irresistible nutty, toasty, and caramel-like flavor that elevates them far beyond a standard Rice Krispie treat. It adds a layer of sophistication and depth that is truly unmatched.
- Peanut Butter: This might come as a surprise, but for these specific treats, you’ll want to reach for the more processed, creamy peanut butter (think Jif or Skippy) rather than all-natural varieties. The emulsifiers and stabilizers in processed peanut butter prevent it from separating and help create a smoother, more consistent texture in the finished bars, ensuring those beautiful, distinct swirls. Natural peanut butter, while delicious, can be too oily and thin for this application.
- Jam/Jelly: This is where the “J” in PB&J truly shines! I personally love using a high-quality strawberry jam, like Bonne Maman, for its vibrant flavor and perfect consistency. However, feel free to get creative and use your absolute favorite jam or jelly. Grape jelly is a classic choice for a reason, but raspberry, apricot, or even a spicy pepper jelly could offer an exciting twist! Just ensure it’s not too watery, as that can affect the texture of your treats.
- Rice Krispie Cereal: The foundation of our treats! Ensure your cereal is fresh and crisp for the best texture. Stale cereal will result in a soft, rather than delightfully chewy, treat.
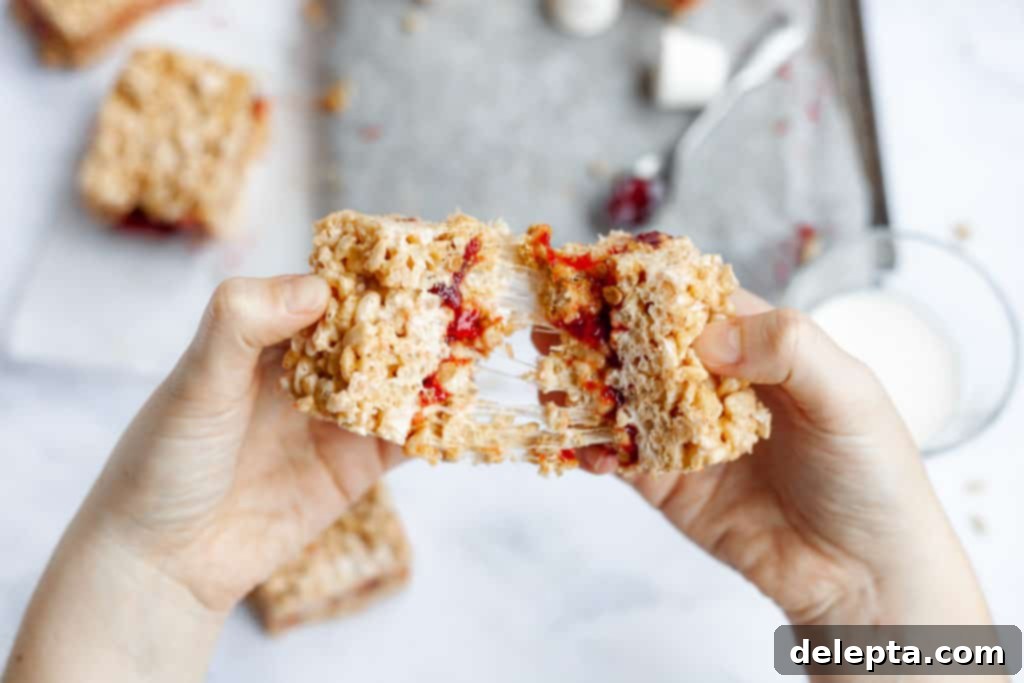
Why You’ll Fall in Love with These PB&J Rice Krispie Treats
There are countless reasons why these Peanut Butter and Jelly Rice Krispie Treats are destined to become a staple in your recipe collection:
- Unbeatable Nostalgia: They instantly transport you back to childhood, combining the comfort of a PB&J sandwich with the fun texture of Rice Krispie treats.
- Effortlessly Easy: With no baking required and simple steps, these treats are perfect for even beginner bakers or those short on time.
- Crowd-Pleasing Perfection: Whether it’s a birthday party, a potluck, or just a family gathering, these treats are always a huge hit with both kids and adults.
- Customizable Fun: Easily adapt them with different jams, nut butters, or even a sprinkle of chocolate chips to suit any preference.
- Quick to Prepare: The hands-on time is minimal, allowing you to whip up a batch in under 20 minutes.
- That Brown Butter Flavor: The nutty, rich depth from the browned butter truly sets these treats apart from any other Rice Krispie bar you’ve had.
Tips for Success: Achieving Perfect Peanut Butter & Jelly Treats
While this recipe is incredibly forgiving, a few tips can help ensure your Peanut Butter and Jelly Rice Krispie Treats turn out perfectly every time:
- Don’t Skip the Brown Butter: This step adds so much depth of flavor. Keep a close eye on it once the butter melts; it will go from foamy to perfectly browned with a nutty aroma very quickly. Small brown bits at the bottom are good!
- Use Fresh Marshmallows: Stale marshmallows can make your treats stiff and difficult to work with. Fresh ones melt more smoothly and create a chewier texture.
- Grease Everything: Before you start, generously grease your pan with butter or cooking spray, and lightly grease your hands or a spatula when pressing the mixture into the pan. This prevents sticking and makes handling much easier.
- Gentle Pressing is Key: When spreading the Rice Krispie mixture into the pan, avoid pressing down too firmly. Compacting them too much will result in hard, dense treats instead of light and airy ones. A gentle, even pat is all you need.
- Warm Jam for Easy Spreading: If your jam or jelly is very thick or cold, warm it slightly in the microwave for 10-15 seconds. This will make it much easier to spread evenly over the first layer of Rice Krispie treats.
- Even Jam Layer: Aim for an even layer of jam. Too much in one spot can make that area too moist, while too little means you miss out on the full PB&J experience.
- Cool Completely: Resist the urge to cut into them too early! Allowing the treats to set for at least an hour (or even in the fridge for 30 minutes to speed it up) will ensure clean, firm squares that hold their shape.
- Don’t Overmix the Peanut Butter: The goal is distinct swirls of peanut butter, not a completely homogenous mixture. Fold it in just enough to incorporate it, leaving visible ribbons.
Variations & Substitutions
Feeling adventurous? These PB&J Rice Krispie Treats are incredibly versatile! Here are some ideas to customize them:
- Different Jams/Jellies: Experiment with grape jelly for a classic twist, raspberry jam for a tart kick, apricot preserves, or even fig jam for something more sophisticated.
- Nut Butter Alternatives: If peanut butter isn’t your preference (or if you have allergies), try almond butter, cashew butter, or sunflower seed butter (SunButter) for a similar creamy texture and nutty flavor. Just ensure they are the “processed” style for best results.
- Add-ins: Fold in a handful of mini chocolate chips into the Rice Krispie mixture for an extra layer of sweetness. Chopped roasted peanuts or pretzels could also add a delightful crunch and salty contrast.
- Marshmallow Creme: While I prefer regular marshmallows for chewiness, you *can* substitute marshmallow creme if that’s all you have. Use about 1.5-2 jars (7-ounce size) for a similar volume.
- Spice it Up: A tiny pinch of cinnamon or nutmeg in the butter-marshmallow mixture could add a subtle warmth.
Frequently Asked Questions (FAQ)
Here are answers to some common questions about making and storing these delightful treats:
- How do I store Peanut Butter and Jelly Rice Krispie Treats? Store them in an airtight container at room temperature for up to 3-4 days.
- Can I store them in the fridge? You can, especially if you prefer a firmer treat, but they can become a bit harder and less gooey. If refrigerating, let them sit at room temperature for 10-15 minutes before serving to soften slightly.
- How long do they last? When stored properly, they are best enjoyed within 3-4 days for optimal freshness and texture.
- Can I make these ahead of time? Absolutely! They are a fantastic make-ahead dessert. Prepare them a day or two in advance and store as directed.
- Why brown the butter? Is it really necessary? While not strictly “necessary” to make the treats, browning the butter adds a significantly richer, nuttier, and more complex flavor profile that truly elevates these treats. It’s highly recommended for a superior taste!
- Why use processed peanut butter instead of natural? Processed peanut butter (like Jif or Skippy) has stabilizers that prevent oil separation and give it a thicker, more consistent texture. This helps it blend better into the marshmallow mixture and maintain those distinct swirls without becoming greasy or thin.
- Can I use crunchy peanut butter? Yes, you can! Crunchy peanut butter will add an extra layer of texture, which can be a delicious variation.
- My treats are too hard/too sticky, what happened? If they are too hard, you might have pressed them too firmly into the pan or cooked the marshmallow mixture for too long. If too sticky, it could be that the marshmallow mixture wasn’t cooked quite enough to reach the right consistency before adding the cereal.
Serving Suggestions
These Peanut Butter and Jelly Rice Krispie Treats are versatile and can be enjoyed in many ways:
- Classic Snack: Simply cut into squares and enjoy as a delightful afternoon snack or after-dinner dessert.
- Party Favorite: Arrange them on a platter for birthday parties, potlucks, or picnics. Their unique flavor always sparks conversation.
- Dessert Bar: Serve alongside other no-bake bars, cookies, or brownies for an impressive dessert spread.
- With Milk: Pair with a cold glass of milk for the ultimate nostalgic comfort food experience.
Other Recipes To Try:
If you loved these, be sure to check out some of my other popular recipes:
- Peanut Butter Pretzel Rice Krispie Treats
- Chocolate Chip Cookie Butter Blondies
- No Bake Chocolate Bars
Recipe
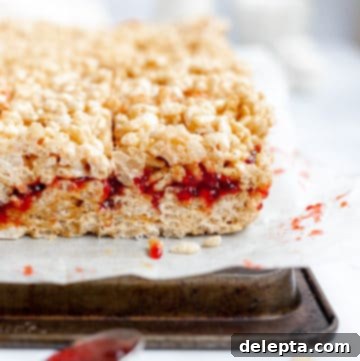
Peanut Butter & Jelly Rice Krispie Treats
Ella Gilbert
Pin Recipe
Save RecipeSaved!
Equipment
-
9×13″ baking tin
Ingredients
- 113 grams unsalted butter ½ cup, for browning
- 566 grams marshmallows 2 x 10 ounce bags, fresh for best results
- 1 teaspoon kosher salt
- 1 teaspoon vanilla extract
- 260 grams rice krispie cereal 8 cups, fresh and crisp
- 226 grams creamy peanut butter, melted ¾ cup, use processed for best texture
- 300 grams strawberry jam ¾ cup, or your favorite flavor, slightly warmed for easy spreading
Instructions
-
Prepare your pan by lining a 9×13 inch baking pan with parchment paper, leaving an overhang on the sides for easy lifting. Lightly grease the parchment paper and the sides of the pan with butter or cooking spray.
-
In a very large heat-proof bowl, pour the rice krispie cereal and set it aside. This bowl needs to be large enough to comfortably mix all ingredients.
-
In a large saucepan or Dutch oven, melt the unsalted butter over medium heat. Continue to cook, stirring occasionally, until the butter turns a golden brown and small, fragrant brown flecks appear at the bottom of the pan. This browning process enhances the flavor significantly. Remove from heat, then immediately add the marshmallows, vanilla extract, and kosher salt. Stir continuously until the marshmallows are completely melted and smooth, forming a glossy mixture, which should take about 3 minutes.
-
Pour the hot browned butter and marshmallow mixture over the reserved rice krispie cereal in the large bowl. Immediately add the melted peanut butter. Using a greased spatula, gently fold the ingredients together. Be careful not to overmix; you want to ensure there are still thick, visible swirls and ribbons of peanut butter throughout the cereal for distinct flavor pockets.
-
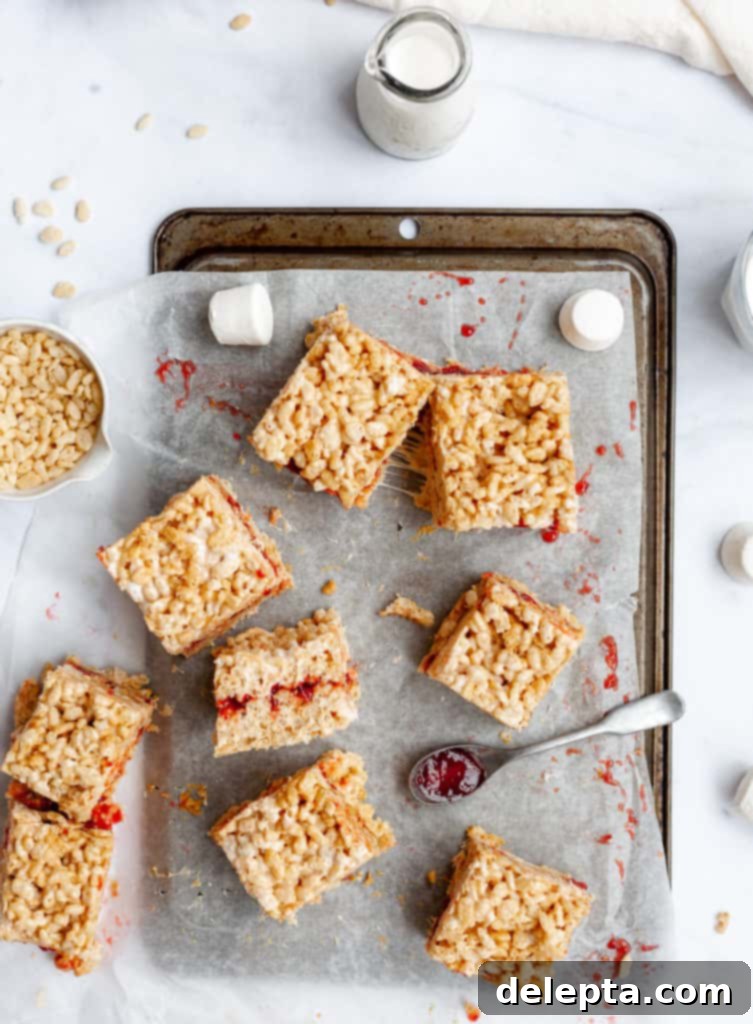
Transfer half of the peanut butter rice krispie mixture into the prepared pan. Using lightly greased hands or a spatula, gently but firmly press the mixture evenly into the bottom of the pan. Next, evenly spread your chosen jam or jelly over this base layer. Then, carefully top with the remaining rice krispie cereal mixture and gently press down to form an even second layer, ensuring the jam is fully covered. Remember not to press too hard to keep the treats soft and chewy.
-
Allow the treats to set completely at room temperature for at least 1 hour, or you can place them in the refrigerator for about 30 minutes to speed up the setting process. Once fully set, use the parchment paper overhang to lift the entire slab from the pan. Place it on a cutting board and cut into 16 even squares using a greased sharp knife. Serve and enjoy this nostalgic delight!
Nutrition
I hope you enjoy making and devouring these delightful Peanut Butter and Jelly Rice Krispie Treats as much as I do. They’re a simple yet effective way to bring a smile to anyone’s face, evoking sweet memories and creating new ones. Happy treat making!
