Irresistibly Fluffy Baked Chocolate Sprinkle Donuts: Your Easy One-Bowl Recipe!
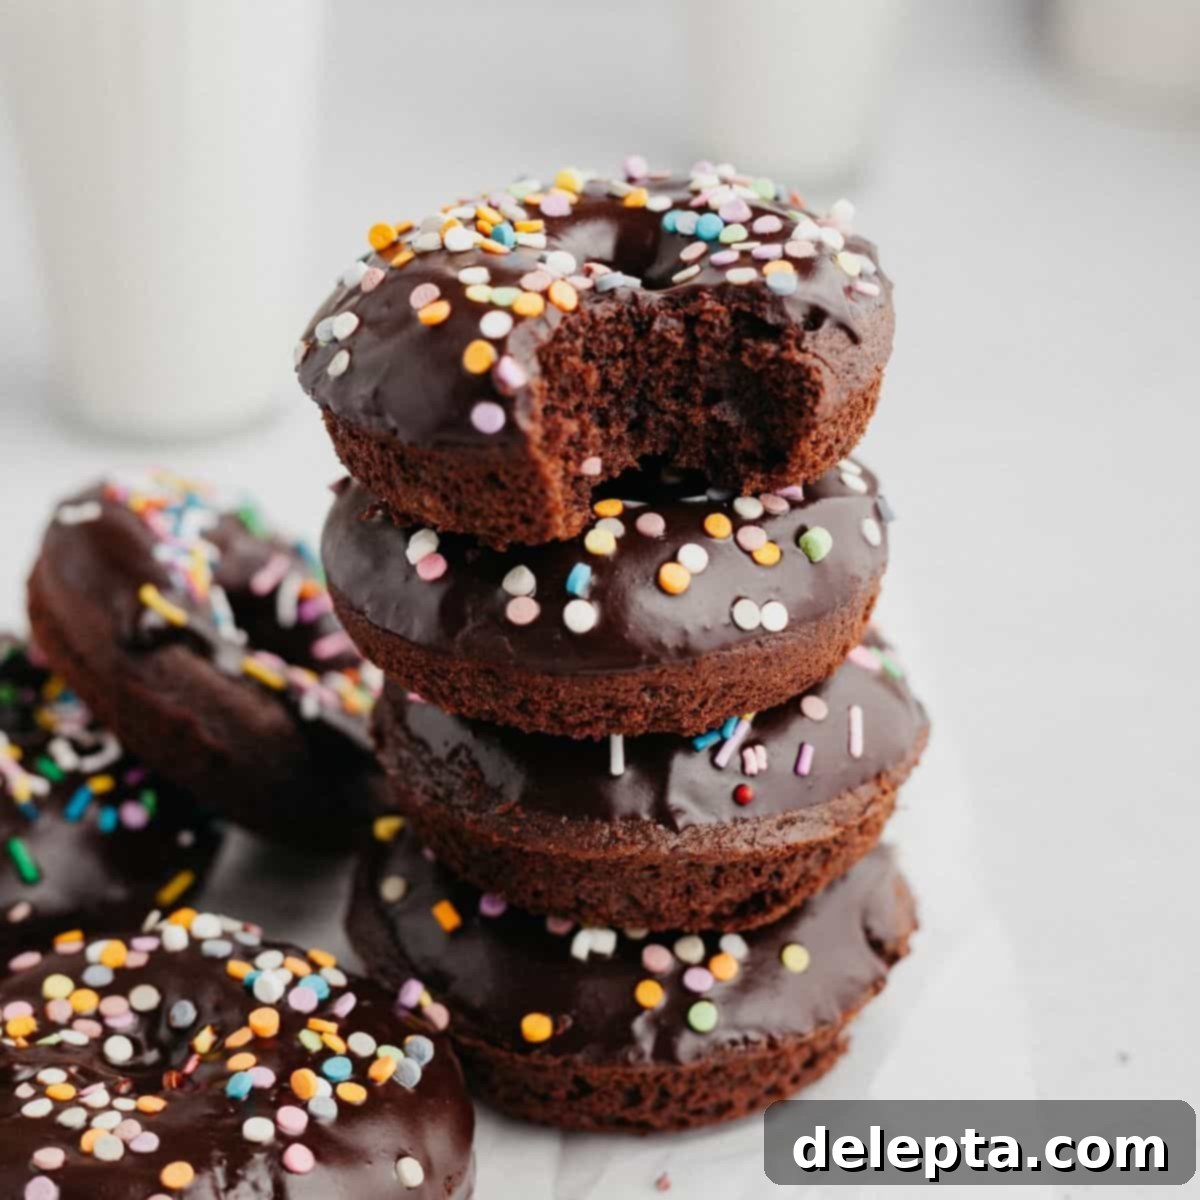
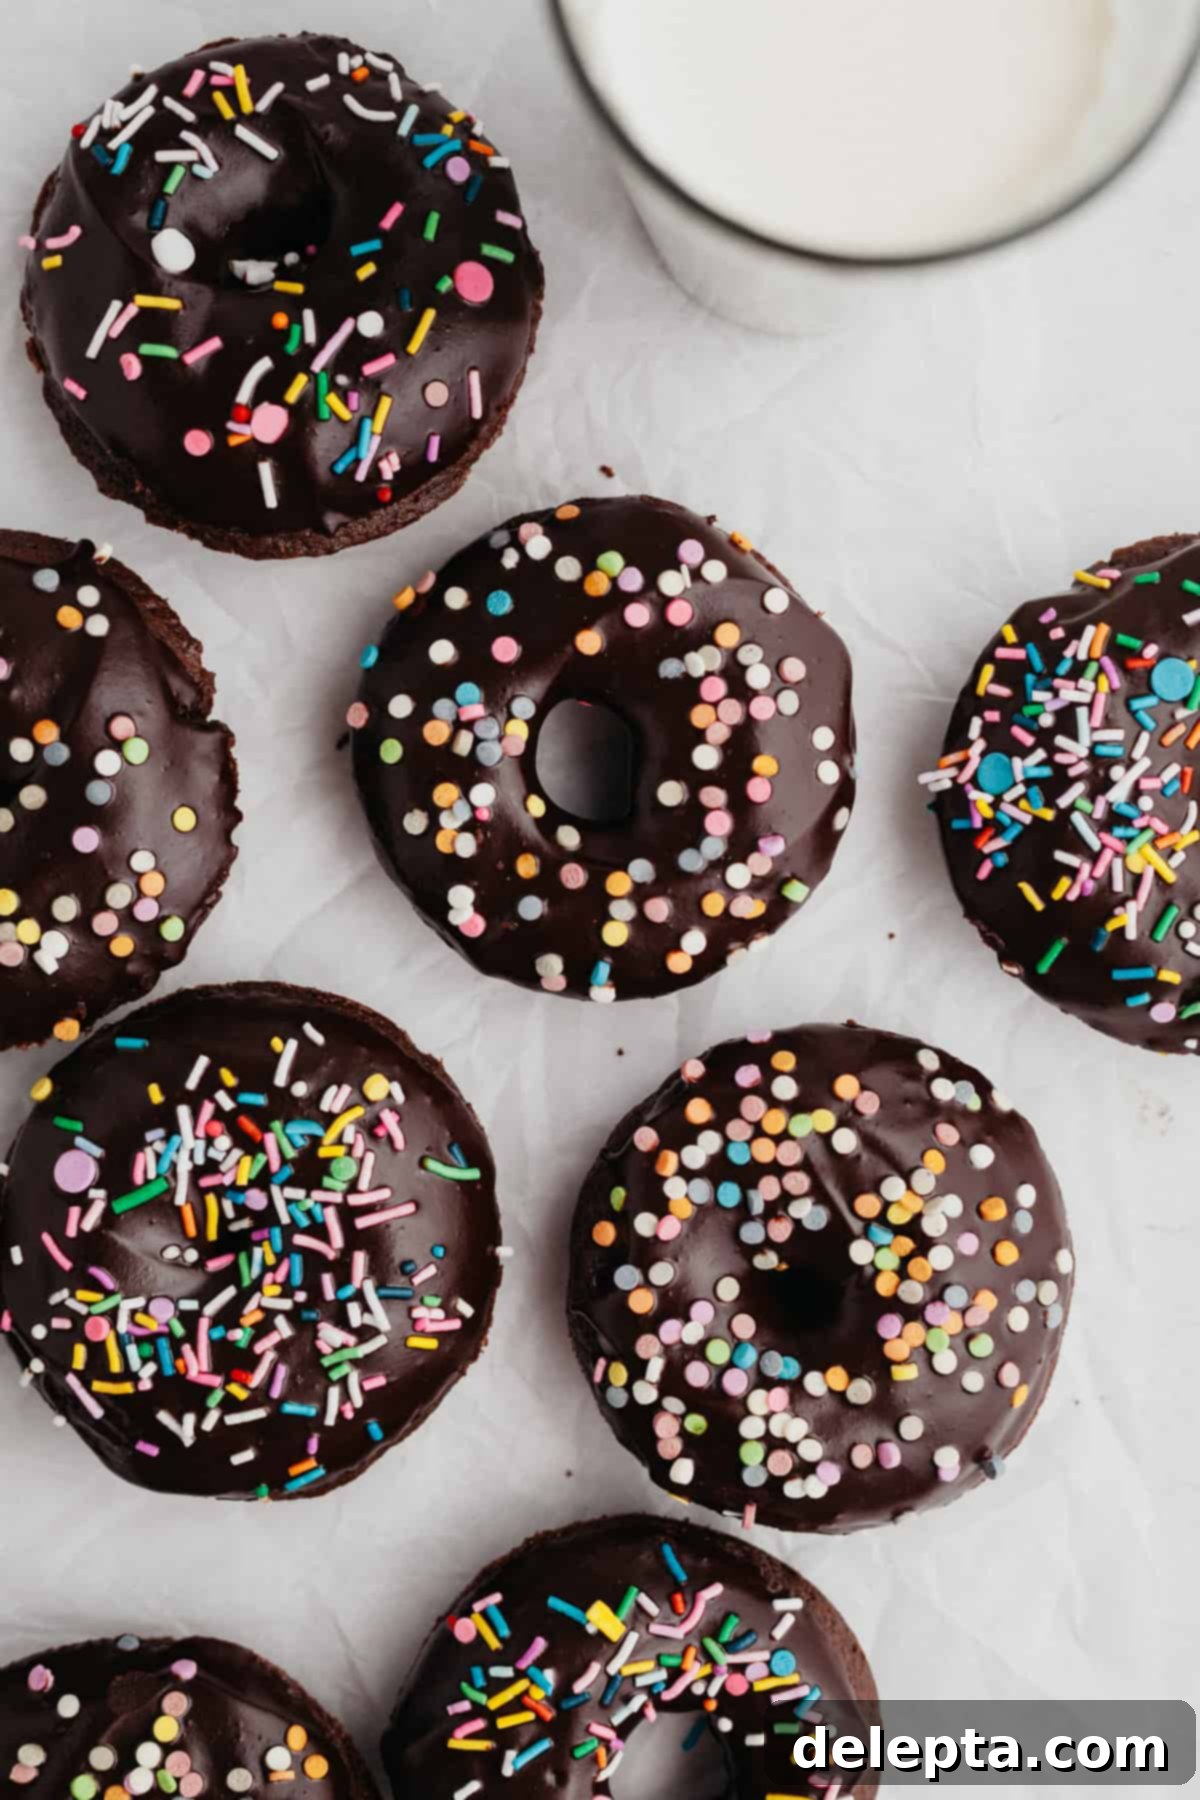
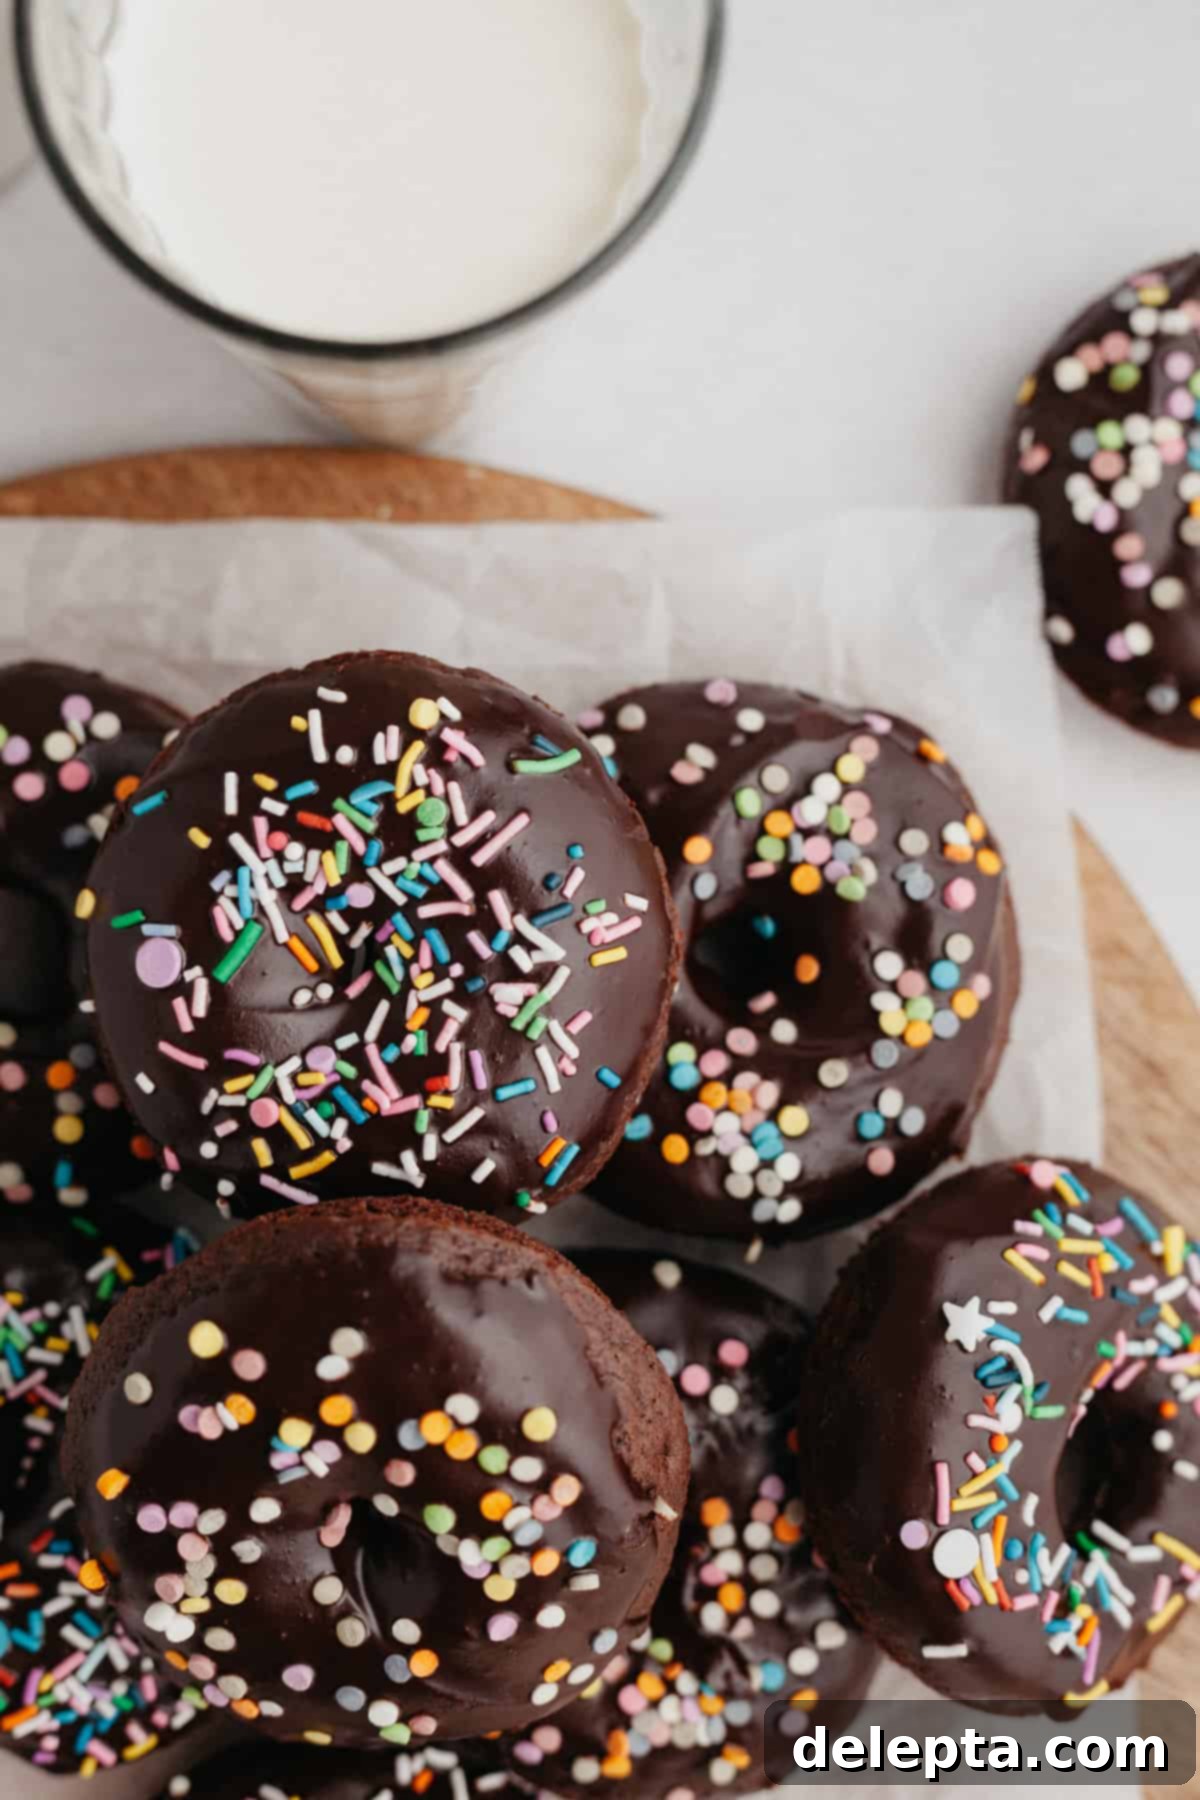
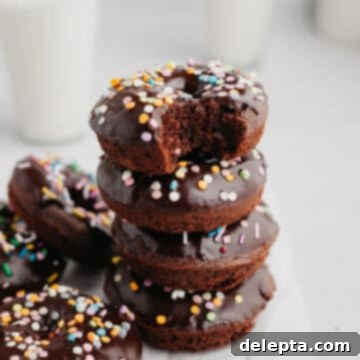
Prepare to be delighted by these incredibly fluffy baked chocolate sprinkle donuts! This recipe brings together the rich flavor of chocolate cake with the playful joy of colorful sprinkles, all in an easy-to-make package. Imagine soft, tender chocolate donuts, baked to perfection, then generously dipped in a luscious, homemade chocolate glaze and adorned with vibrant sprinkles. The best part? This delightful treat requires minimal effort, taking only 5 minutes to prepare from start to finish and made conveniently in a single bowl. Perfect for a fun breakfast, a sweet afternoon pick-me-up, or a celebratory dessert, these homemade baked donuts are sure to become a family favorite.
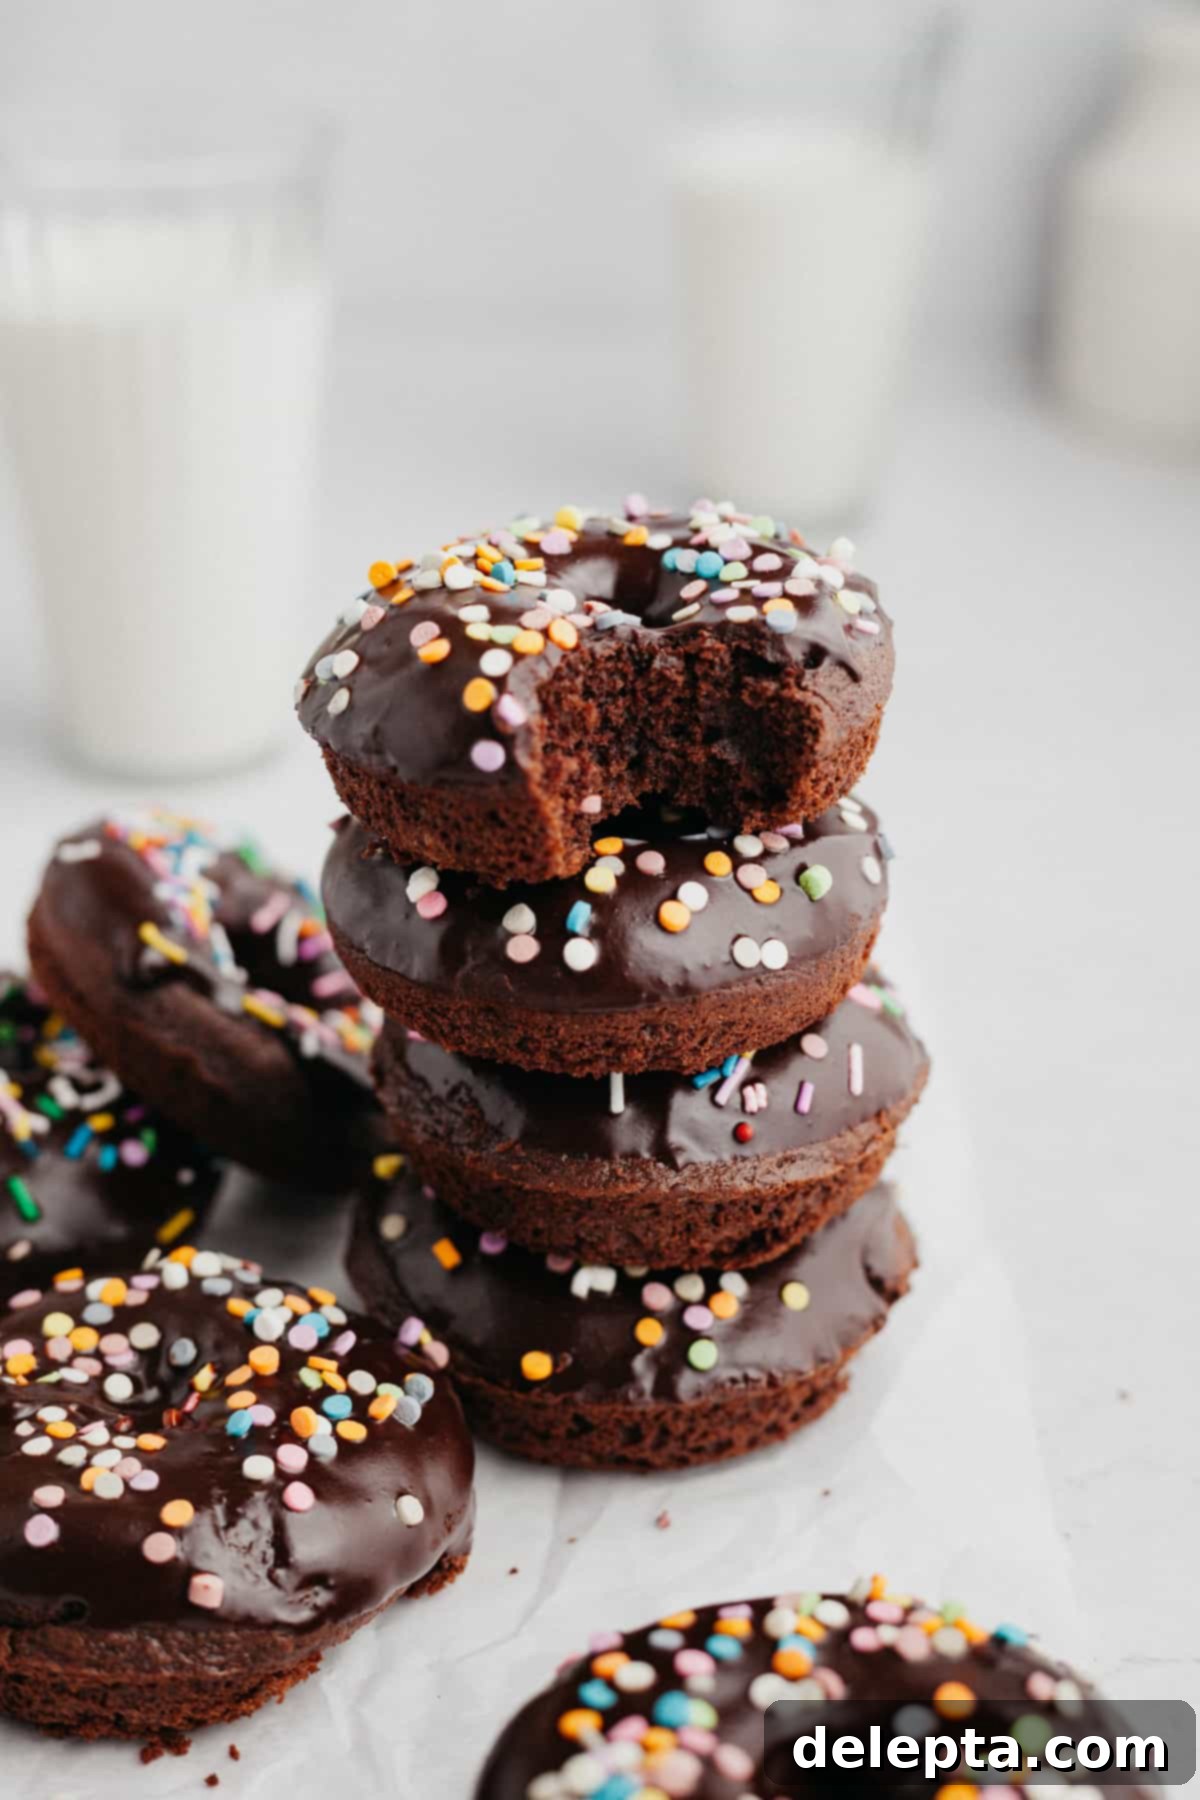
This simple yet sensational recipe is a variation of my popular chocolate cake donuts recipe, refined for even greater ease and visual appeal. Forget about complicated kitchen gadgets – you won’t even need a stand mixer for these! The batter comes together effortlessly, ensuring a smooth and enjoyable baking process. Unlike traditional fried donuts that demand hot oil and specialized equipment, these beauties are baked in a donut pan, making them a healthier and much safer alternative for home bakers. For the ultimate visual pop and a touch of whimsy, I used beautiful rainbow sprinkles from Sweetapolita, but feel free to customize with your favorites!
Recipe Video
Why You’ll Fall in Love with These Baked Chocolate Sprinkle Donuts!
These baked chocolate sprinkle donuts aren’t just a treat; they’re a revelation. Here’s why they’ll quickly become a cherished recipe in your baking repertoire:
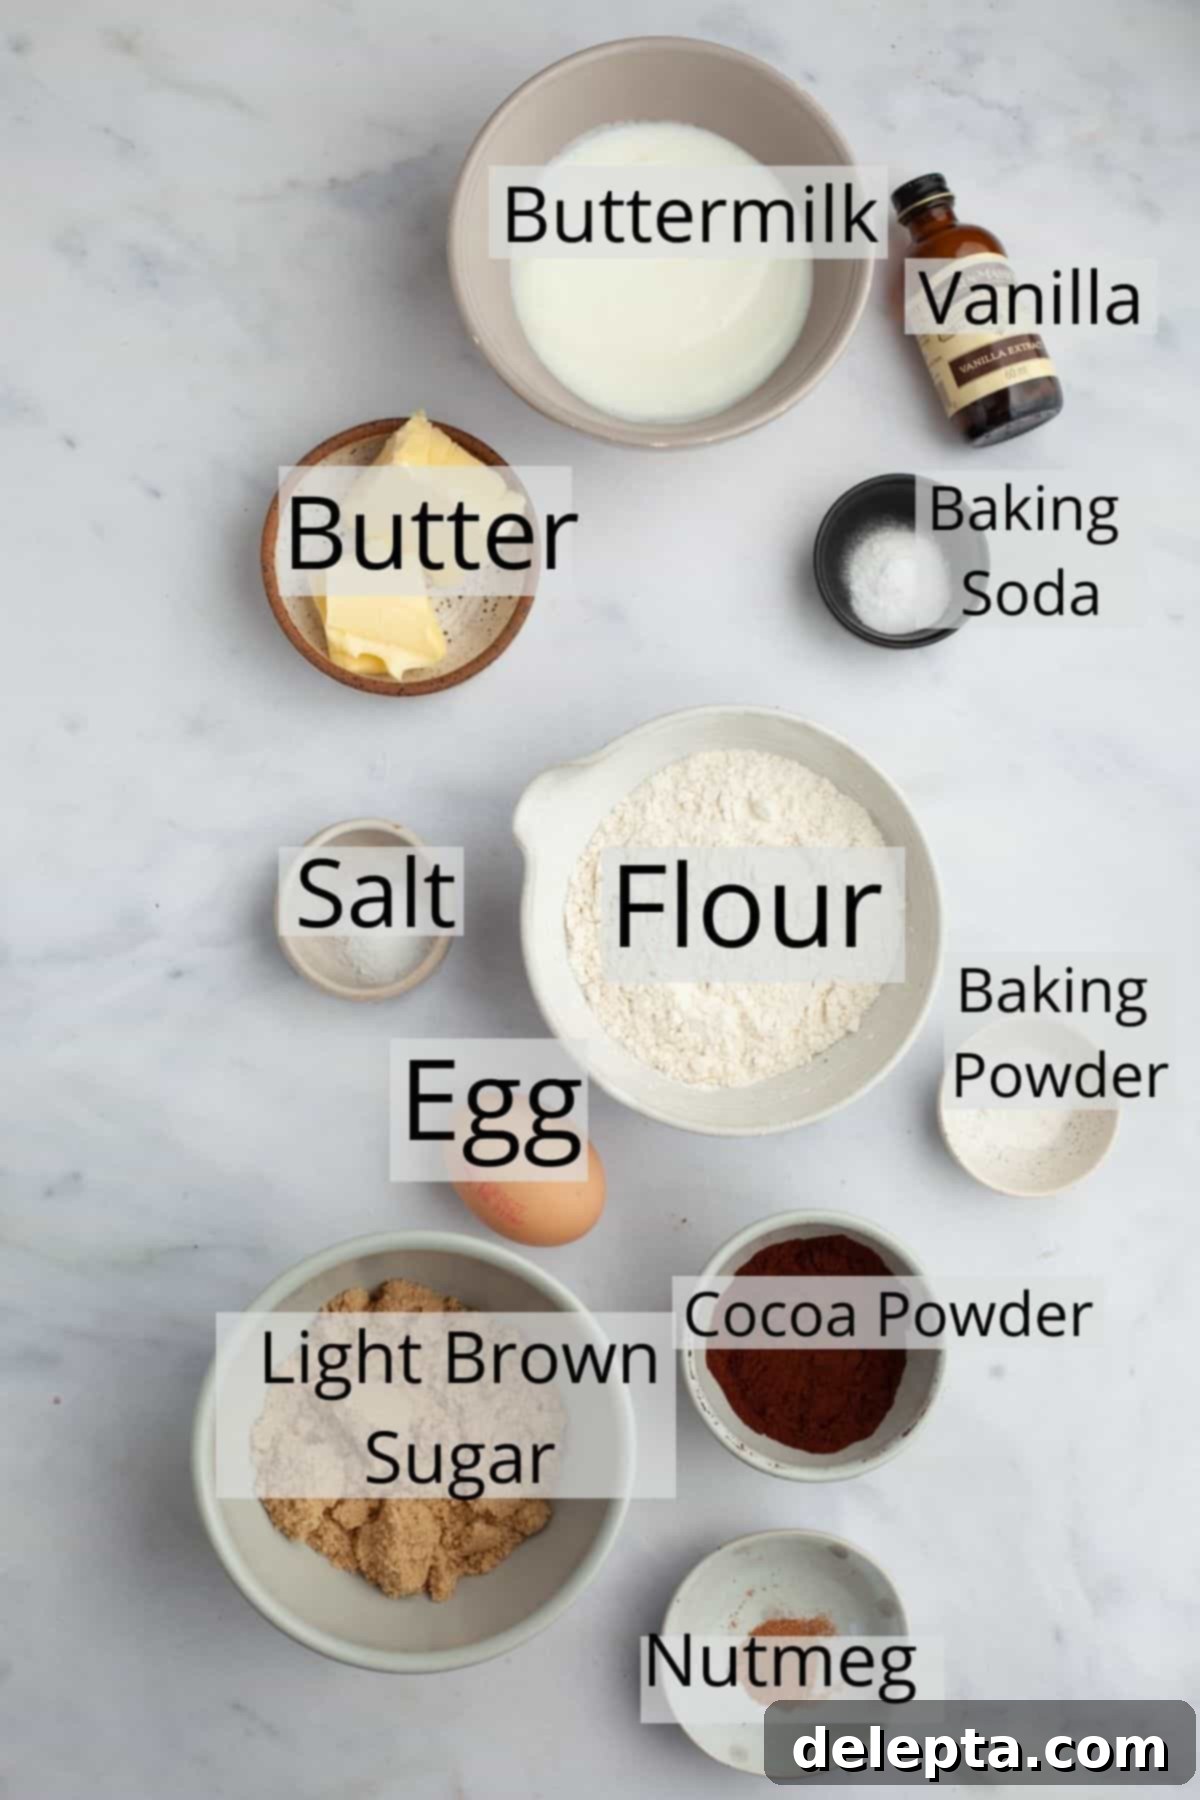
- Effortless Ingredients: You’ll be amazed at the depth of flavor achieved with everyday pantry staples like rich melted butter, tangy buttermilk, and sweet light brown sugar. These simple components combine to create a sophisticated yet comforting chocolate donut base that’s truly irresistible, proving that gourmet taste doesn’t require exotic ingredients.
- Perfect for Any Occasion: Whether you’re planning a delightful special breakfast for a lazy Saturday morning, seeking a charming sweet treat for a school bake sale, or simply craving a delightful homemade dessert, these donuts fit the bill perfectly. Their festive appearance makes them ideal for birthdays, holidays, themed parties, or any day you want to add a little cheer and a touch of homemade goodness.
- Baked, Not Fried – A Healthier, Easier Choice: Ditch the deep fryer and the messy splatters of hot oil! Baking these donuts eliminates the need for any specialized equipment and makes cleanup a breeze. This method also results in a lighter, less greasy donut that still boasts a wonderfully tender, cake-like crumb. This allows the rich chocolate flavor to truly shine through, offering a guilt-free indulgence without compromising on taste or texture.
- Just the Right Batch Size: This recipe yields a manageable batch of 9 delicious donuts, making it ideal for smaller families or a casual get-together. It’s enough to satisfy a craving without leaving you with an overwhelming abundance. However, if you’re hosting a larger crowd, celebrating a special event, or simply can’t get enough of these tasty treats, the recipe can be easily doubled or even tripled without compromising quality or requiring significant adjustments.
- One-Bowl Wonder for Minimal Cleanup: Who loves doing dishes? Nobody! This recipe is a dream come true for those who appreciate efficiency in the kitchen. The entire donut batter comes together in just one large mixing bowl, significantly cutting down on your cleanup time and allowing you to enjoy your delicious creations sooner rather than later. It’s truly a testament to simple, smart baking.
- Simple, Rich Chocolate Glaze: The chocolate glaze is remarkably easy to prepare and creates a stunning, glossy finish that beautifully complements the chocolate donuts. Made from just a few ingredients like melted chocolate and a touch of melted butter, it’s akin to a luxurious chocolate ganache. It whips up perfectly in the microwave in mere minutes, making the glazing process as simple and enjoyable as the baking itself. This smooth, decadent coating is the perfect canvas for your chosen sprinkles.
Essential Ingredient Notes for Perfect Donuts
Achieving the best results starts with understanding your ingredients. Here’s a breakdown of the key components for these delectable chocolate sprinkle donuts, along with tips for ensuring they contribute to the perfect outcome:
All-Purpose Flour: This is the essential building block for the structure of our donuts. Using standard all-purpose flour, also commonly known as plain flour in Europe, provides the ideal balance of protein to create a tender, yet sturdy, cake-like crumb. It’s widely available and incredibly versatile, making it a reliable choice for achieving perfectly textured baked goods.
Unsweetened Cocoa Powder: The quality of your cocoa powder directly impacts the depth of chocolate flavor in your donuts. Opt for a good quality unsweetened cocoa powder to ensure a rich, intense chocolate experience. This ingredient is key to giving these donuts their signature dark color and delicious taste.
Baking Powder & Baking Soda: These are the powerhouse leavening agents responsible for the wonderful lift and incredibly fluffy texture of our baked donuts. Baking powder provides an initial boost of rise in the oven, while baking soda specifically reacts with the acidic buttermilk to create additional carbon dioxide bubbles, ensuring a light, airy, and tender interior. Always ensure your leaveners are fresh for optimal results!
Unsalted Butter: I always opt for unsalted butter as it gives me complete control over the overall salt content in the recipe, allowing me to fine-tune the flavor. Personally, I favor European-style butter, such as Kerrygold, due to its higher butterfat content. This richness contributes significantly to a creamier, more decadent flavor and a wonderfully tender crumb in your finished donuts, truly elevating their overall taste and mouthfeel.
Buttermilk: This ingredient is a true secret weapon in baking, especially for creating tender, moist baked goods. Its natural acidity reacts synergistically with the baking soda to create powerful lift, and it also plays a crucial role in breaking down gluten strands, resulting in an exceptionally soft and fine crumb. If you don’t have buttermilk readily available, don’t fret! You can easily make your own substitute at home (details in the FAQ section) or, for a convenient alternative, use full-fat plain yogurt or sour cream, which offer similar acidic and moistening properties.
Light Brown Sugar: This provides moisture and a subtle caramel note to the donuts that white sugar alone cannot. Its slightly acidic nature also contributes to the tender crumb. Make sure it’s packed when measuring if using cups, but for best results, weigh it in grams.
Large Egg: The egg acts as a binder, adding structure and moisture to the donut batter. Using a room temperature egg helps it to incorporate more smoothly and evenly into the batter, leading to a more uniform texture in the final product.
Pure Vanilla Extract: A splash of high-quality vanilla extract is essential. It enhances and complements the rich chocolate flavor, adding a layer of aromatic complexity that ties all the ingredients together beautifully. Always use pure vanilla for the best taste.
Ground Nutmeg: While seemingly a small addition, a pinch of freshly ground nutmeg makes a remarkable difference in these chocolate donuts. It’s a classic bakery trick that subtly enhances the chocolate flavor, adds warmth, and contributes a nostalgic depth that makes them taste just like they came from your favorite donut shop. Don’t skip this ingredient; it’s a game-changer!
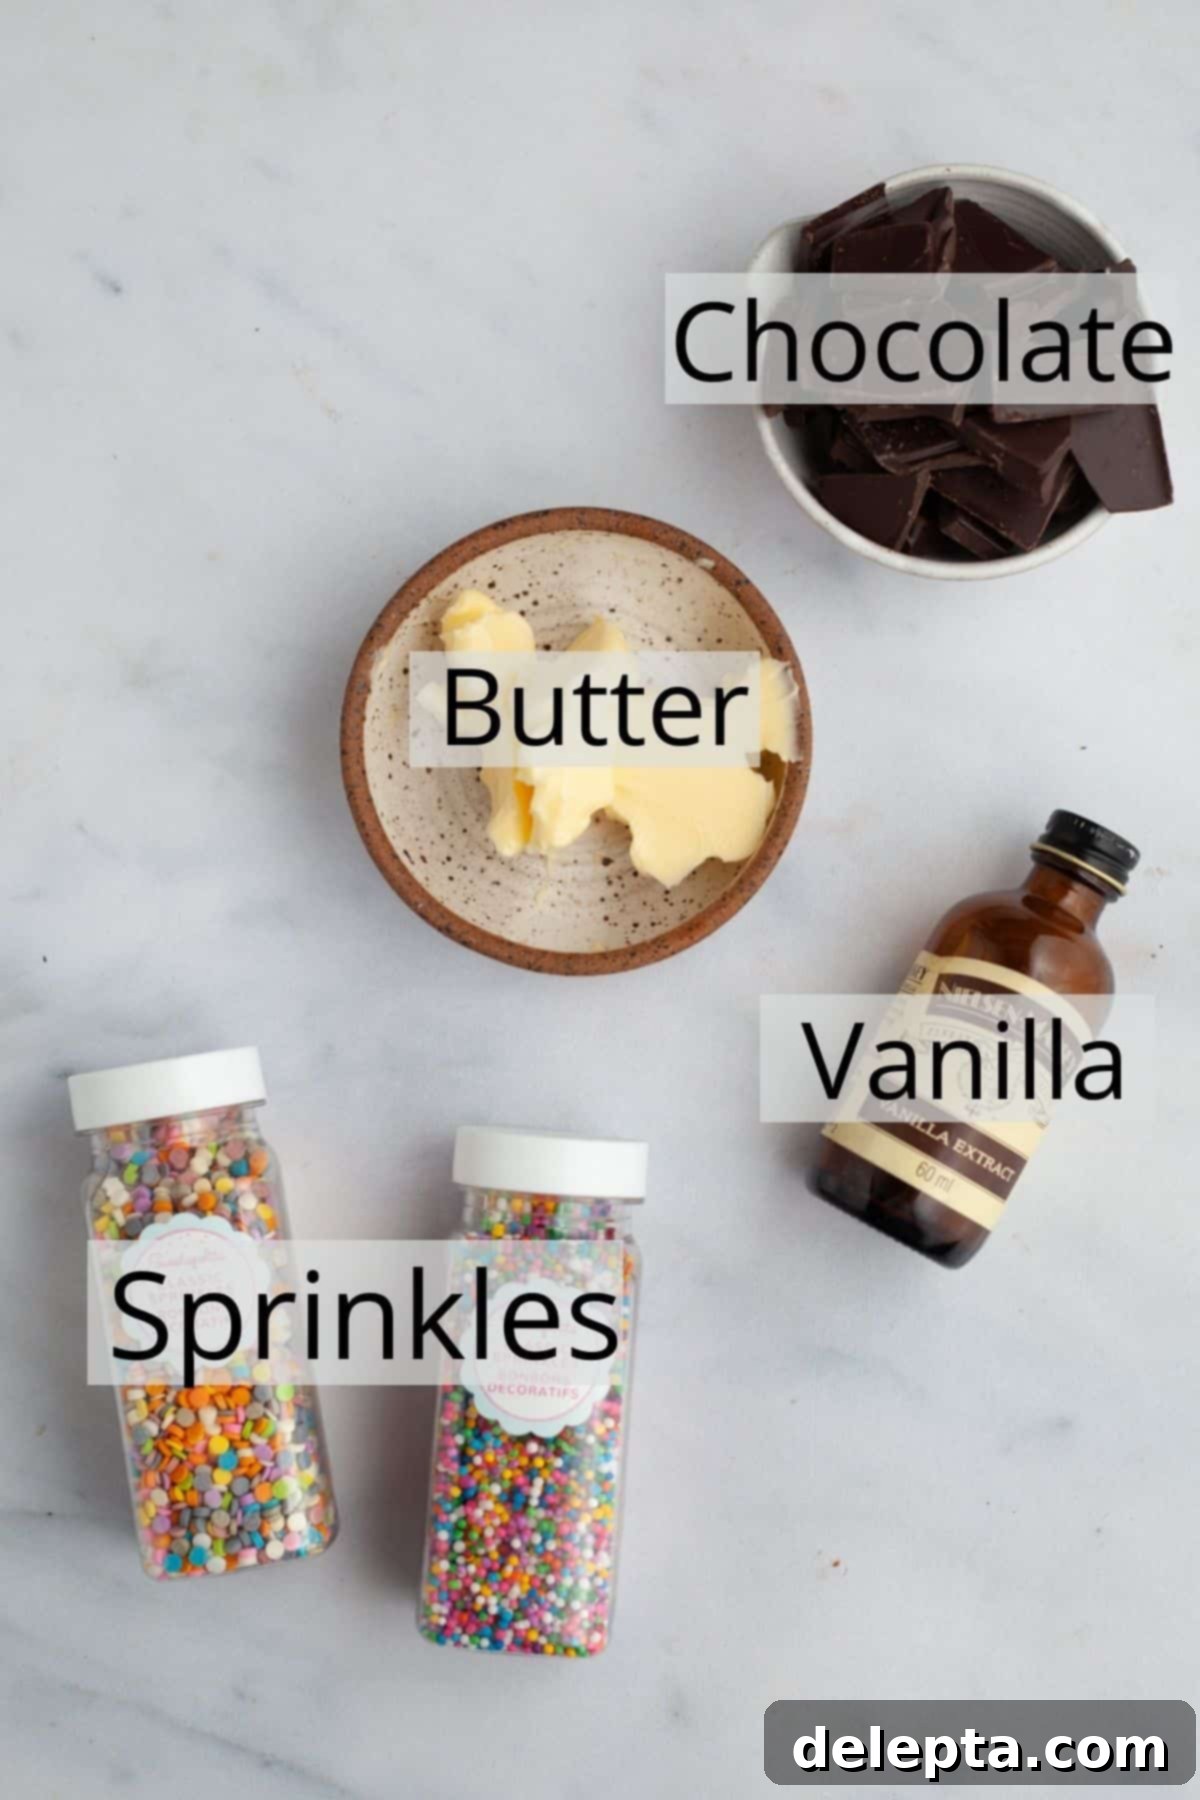
Quality Dark Chocolate for the Glaze: The glaze is a star of this recipe, so using a good quality dark chocolate (around 60-70% cacao) is crucial. High-quality chocolate melts more smoothly, creates a beautiful glossy finish, and provides a richer, more intense chocolate flavor that truly elevates the entire donut. Opt for a chocolate you enjoy eating on its own – it will make a significant difference to the final taste and luxurious texture of your glaze.
Water (for Glaze): A small amount of water helps to create the perfect consistency for the chocolate glaze, allowing it to be smooth and easily dippable without being too thick or too thin.
Sprinkles: These are where the fun factor comes in! Long-stranded sprinkles, commonly known as jimmies, provide a classic donut shop look and a satisfying crunch. Nonpareils, which are tiny round sprinkles, also work wonderfully for a different visual and textural appeal. Feel free to get creative with colors – rainbow sprinkles are always a hit, but you can choose colors to match specific seasons, holidays, or party themes. For an extra boost of chocolatey goodness, don’t hesitate to use chocolate sprinkles!
Step-by-Step Guide: How to Bake These Delicious Donuts
Creating these baked chocolate sprinkle donuts is a straightforward process, designed for maximum enjoyment and minimal stress. Follow these easy steps for perfect results every time, even if you’re a beginner baker:
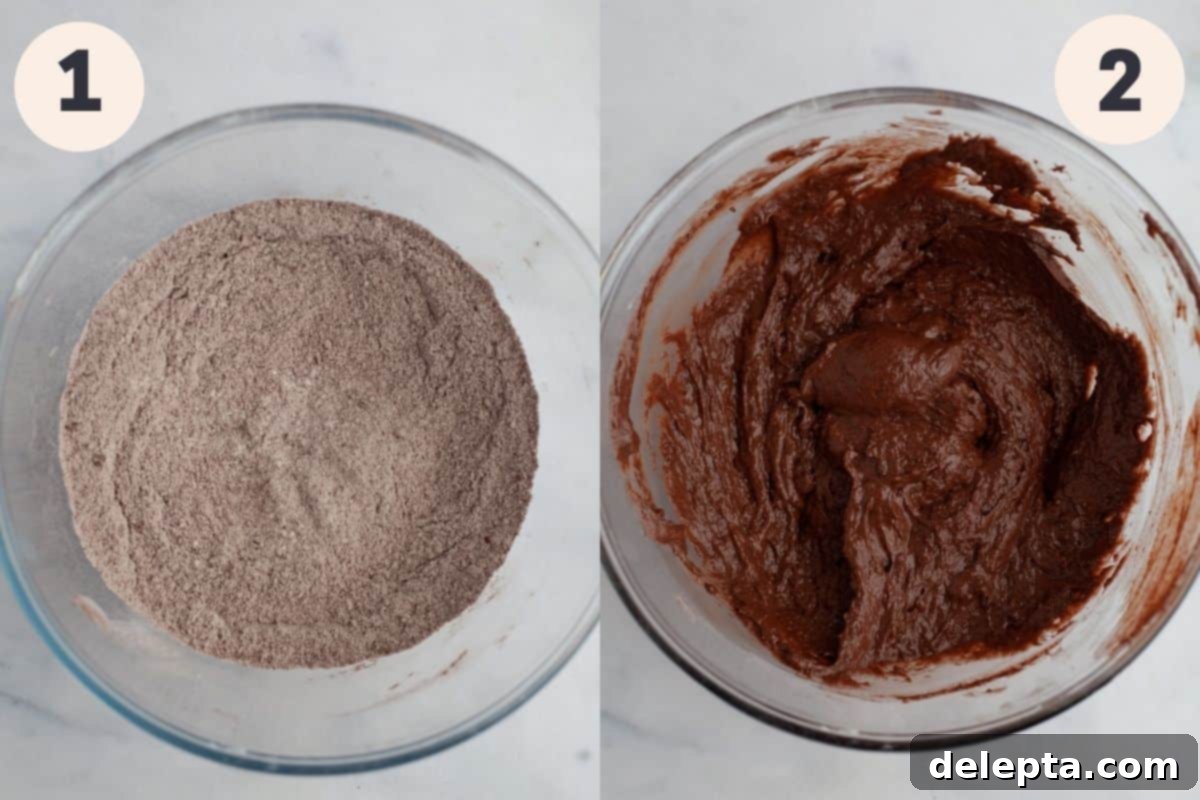
Step 1: Prepare Your Oven and Dry Ingredients. Begin by preheating your oven to 350°F (175°C). While the oven heats, take a moment to thoroughly grease your donut pan with softened unsalted butter or a non-stick baking spray, ensuring every mold and crevice is well-coated to guarantee a clean release. In a large mixing bowl, whisk together all your dry ingredients: the measured all-purpose flour, rich unsweetened cocoa powder, the leavening duo of baking soda and baking powder, kosher salt, and that essential pinch of ground nutmeg. Whisking vigorously ensures that these ingredients are perfectly combined and the leavening agents are evenly distributed throughout the mixture, leading to a consistent and beautiful rise in every donut.
Step 2: Combine Wet Ingredients and Fold into Dry. In a separate small bowl or measuring cup, gently whisk together your wet ingredients: the room temperature buttermilk (this is crucial for better emulsion), the melted butter (ensuring it’s cooled slightly so it doesn’t cook the egg), one large egg, and a dash of pure vanilla extract. Once combined, pour this wet mixture directly into the large bowl containing your dry ingredients. Using a rubber spatula, gently fold the ingredients together until they are just combined and no visible streaks of dry flour remain. It’s important not to overmix the batter at this stage, as excessive mixing can overdevelop the gluten in the flour, resulting in denser, tougher donuts. A few small lumps are perfectly fine and often indicate a properly mixed batter.
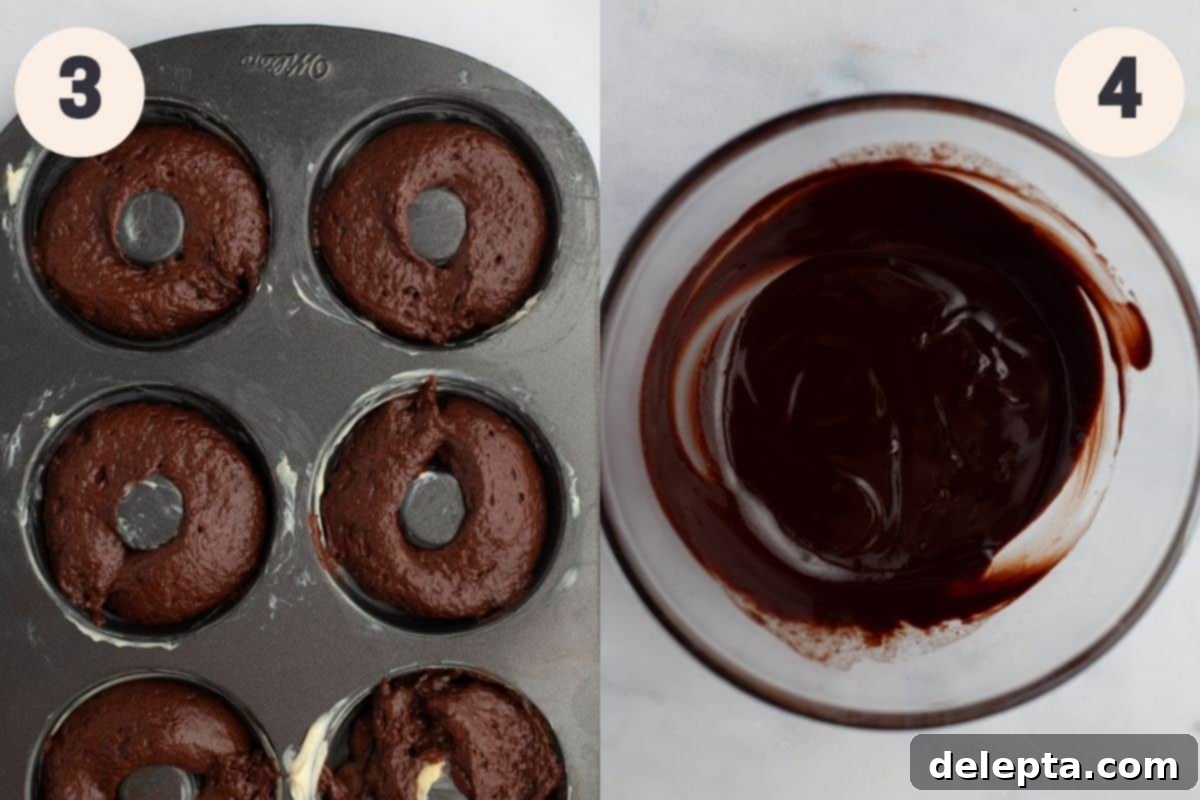
Step 3: Pipe the Batter and Bake. To fill your donut pan neatly and efficiently, transfer your prepared donut batter into a piping bag. If you don’t have a piping bag, a large resealable plastic bag (like a Ziplock bag) with one corner snipped off works just as effectively. Carefully pipe the batter into the greased donut pan cavities, ensuring each one is filled about three-quarters full. This allows sufficient room for the donuts to rise without overflowing. Bake for approximately 11-13 minutes, or until the donuts are beautifully golden brown around the edges and spring back lightly when gently touched in the center. Allow them to cool in the pan for a crucial few minutes before gently coaxing them out with a small rubber spatula. Transfer them to a wire rack to cool completely. If you are baking in multiple batches, remember to thoroughly re-grease the pan each time to prevent sticking.
Step 4: Prepare the Glaze and Finish with Sprinkles. While your delicious donuts are cooling completely on the wire rack (this step is absolutely crucial for a perfectly set glaze!), it’s time to prepare your rich chocolate glaze. In a small, microwave-safe bowl, combine all your glaze ingredients: the finely chopped dark chocolate, unsalted butter, a touch of water, and vanilla extract (keep your vibrant sprinkles separate for the final flourish). Microwave the mixture in short 25-second bursts, stirring thoroughly and gently after each interval, until the glaze is entirely smooth, glossy, and free of any lumps. Once the donuts are completely cool to the touch, dip each one into the warm, luscious glaze, allowing any excess to drip back into the bowl. Immediately after dipping, generously shower the glazed donuts with your chosen colorful rainbow or decorative sprinkles before the glaze has a chance to set. Place the finished donuts back on the wire rack, ideally with a sheet of parchment paper or paper towels underneath to catch any stray drips, and allow the glaze to set beautifully. Once set, your homemade, irresistibly fluffy chocolate sprinkle donuts are ready to be savored!
Expert Tips & Tricks for Donut Perfection
Even though this recipe is incredibly straightforward, a few expert tips and tricks can elevate your baked chocolate sprinkle donuts from simply good to absolutely amazing, ensuring professional-quality results every time:
- Embrace Metric Measurements for Accuracy: For consistently perfect baking results, I cannot stress enough the importance of using a digital kitchen scale and measuring your ingredients in grams. Baking is a precise science, and metric measurements offer unparalleled accuracy compared to volume measurements (cups), minimizing variations and ensuring your donuts turn out perfectly textured and flavored every single time. It’s a small change that makes a huge difference!
- Room Temperature Ingredients Are Your Best Friend: Plan ahead and pull out your perishable ingredients, such as buttermilk and eggs, an hour or two before you intend to start baking. Room temperature ingredients emulsify more smoothly and evenly into the batter, preventing curdling and ultimately creating a more cohesive batter and a wonderfully tender, evenly textured donut. Cold ingredients can cause the melted butter to seize and lead to a lumpy, less uniform batter.
- Thoroughly Grease Your Donut Pan: To prevent your precious donuts from sticking to the pan and ensure a clean, effortless release, take the extra minute to properly grease every single cavity of your donut pan. A pastry brush works wonders for reaching into all the nooks and crannies. Softened unsalted butter is excellent for this, or you can opt for a good quality non-stick baking spray. Don’t skip this crucial step, especially if you want beautifully shaped donuts!
- Utilize a Piping Bag for Clean and Uniform Filling: Achieving perfectly shaped donuts with minimal mess is incredibly easy when you use a piping bag. If you don’t own one, a large resealable plastic bag (like a Ziplock bag) with one corner carefully snipped off works just as effectively. This method allows for precise control when filling the donut cavities, ensuring uniform donuts that bake evenly and look professional.
- Cool Donuts Completely Before Glazing: This is a non-negotiable step for achieving a flawless, non-runny glaze! Dipping warm donuts will cause the glaze to melt and slide right off, resulting in a runny, messy finish and a less appealing appearance. Exercise patience here; ensure your donuts are entirely cool to the touch – preferably at room temperature – before proceeding with the glazing step for the best possible outcome.
- Add Corn Syrup for Extra Shine: For a truly professional-looking, super glossy chocolate glaze that catches the light beautifully, consider adding a very small amount (about ½ to 1 teaspoon) of light corn syrup to your glaze mixture. It acts as a stabilizer and helps to create a stunning, mirror-like sheen that makes your donuts even more visually appealing.
- Customize Your Toppings Beyond Sprinkles: While colorful sprinkles are a classic and fun choice, don’t limit yourself! This recipe is wonderfully versatile for personalization. Experiment with other delicious toppings like finely chopped nuts (pecans, walnuts, or almonds work well), toasted shredded coconut, mini chocolate chips, or even a contrasting drizzle of white chocolate or caramel sauce for different textures and flavor profiles. Get creative and make them uniquely yours!
Frequently Asked Questions About Baked Donuts
The primary difference between these two delightful treats lies in their leavening method and preparation technique. A regular donut is traditionally made with a yeast-leavened dough, which gives it a characteristically light, airy, and slightly chewy texture. These are almost always deep-fried, resulting in a crispy exterior. A cake donut, on the other hand, like the ones in this recipe, uses chemical leaveners such as baking soda and baking powder, much like a cake. This method results in a denser, moist, and wonderfully tender cake-like crumb. Cake donuts are typically baked in the oven, making them a simpler, less messy, and often healthier alternative to their fried counterparts, while still delivering incredible flavor.
To maintain their maximum freshness and delightful texture, it’s best to store your baked chocolate sprinkle donuts in an airtight container. They will remain fresh and delicious at room temperature for up to 2 days. If you need to keep them longer, they can be stored in the refrigerator for up to 3 days, although they are truly at their peak on the day they are made. For longer storage, you can freeze the unglazed donuts for up to 3 months. To enjoy them later, simply defrost them overnight in the refrigerator, then prepare and apply the glaze as instructed for a fresh-tasting treat.
This baked donut recipe is quite flexible and allows for several convenient substitutions! If you find yourself without buttermilk, you can easily substitute it with an equal amount of full-fat plain yogurt or sour cream; these alternatives will provide similar moisture and contribute to that desirable tender crumb. As for toppings, if sprinkles aren’t quite what you’re craving, feel free to unleash your creativity! Finely chopped nuts (such as walnuts, pecans, or almonds), toasted shredded coconut, mini chocolate chips, or even a simple elegant dusting of powdered sugar would all be delicious and visually appealing alternatives.
Making your own buttermilk substitute is incredibly easy and works perfectly in a pinch when you don’t have the real thing on hand! For every cup of milk (you can use dairy milk or even non-dairy alternatives) required in a recipe, simply remove 1 tablespoon of milk and replace it with 1 tablespoon of an acidic liquid, such as lemon juice or white vinegar. Stir it gently and then let the mixture sit undisturbed for about 5 minutes. During this time, the milk will curdle slightly, indicating that it’s ready to be used in your recipe. While this isn’t true cultured buttermilk, it will effectively provide the necessary acidity to react with the baking soda and contribute to the tenderness of your baked goods.
While the fresh-from-the-oven taste of these donuts is unbeatable, you do have some options for making them ahead. You can prepare the dry ingredients ahead of time and store them in an airtight container in your pantry. The wet ingredients (excluding the melted butter) can also be whisked together and stored in an airtight container in the fridge for up to 24 hours. When you’re ready to bake, simply bring the wet ingredients to room temperature, melt the butter, combine everything, and proceed with the baking instructions. Alternatively, you can bake the donuts completely, allow them to cool, and then freeze them *before* applying the glaze. They can be frozen for up to 3 months. Just thaw them overnight in the fridge, then make the glaze and finish as directed.
Expand Your Baking Repertoire: More Delicious Breakfast & Dessert Recipes!
If you’ve enjoyed making these scrumptious chocolate sprinkle donuts, you’re in for a treat! Here are a few more irresistible recipes from my kitchen that are perfect for breakfast, brunch, or any time you crave a sweet indulgence:
- Glazed Chocolate Cake Doughnuts
- Baked Oats for One
- Oreo Cinnamon Rolls
- Brioche Cinnamon Rolls with Heavy Cream
Have you made this delightful recipe? I would absolutely love to see your creations and hear about your experience! Make sure to tag me on Instagram @alpineellaand leave a review below if you have. Your feedback helps other bakers, and I always enjoy seeing your delicious results! If you’re looking for even more baking inspiration and ideas, don’t forget to follow me on Pinterest.
Recipe Card: Baked Chocolate Sprinkle Donuts
Chocolate Sprinkle Donuts
Ella Gilbert
Pin Recipe
Save Recipe
Saved!
Equipment
-
Doughnut Pan
Ingredients
For the Donuts
-
125 grams all purpose flour -
25 grams unsweetened cocoa powder -
½ teaspoon baking powder -
½ teaspoon baking soda -
½ teaspoon kosher salt -
¼ teaspoon ground nutmeg -
106 grams light brown sugar -
56 grams unsalted butter melted and cooled slightly -
113 ml buttermilk at room temperature -
1 large egg at room temperature -
1 teaspoon pure vanilla extract
For the Chocolate Glaze
-
85 grams dark chocolate finely chopped, good quality recommended -
42 grams unsalted butter -
2 teaspoons water -
¼ teaspoon vanilla extract -
rainbow sprinkles or your favorite decorative sprinkles
Instructions
Making the Donuts
-
Preheat your oven to 350°F (175°C). Carefully grease your donut pan molds with softened unsalted butter or a non-stick baking spray, ensuring every crevice is coated to prevent sticking.
-
In a large mixing bowl, thoroughly whisk together all the dry ingredients: all-purpose flour, light brown sugar, unsweetened cocoa powder, ground nutmeg, baking powder, baking soda, and kosher salt. In a separate small bowl, combine your wet ingredients: room temperature buttermilk, melted and slightly cooled unsalted butter, the large egg, and pure vanilla extract.
-
Pour the wet buttermilk mixture into the bowl of dry ingredients. Using a spatula, gently fold the ingredients together until they are just combined and no streaks of dry flour remain. Be cautious not to overmix the batter, as this can lead to a dense, tough donut. A few small lumps are perfectly acceptable.
-
Transfer the donut batter into a piping bag (or a large Ziplock bag with a corner snipped off). Pipe the batter evenly into the prepared donut pan cavities, filling each one about three-quarters full. Bake for 11-13 minutes, or until the donuts are golden brown around the edges and spring back gently when lightly pressed. Allow them to cool in the pan for about 5 minutes before carefully removing each donut and transferring them to a wire rack to cool completely. If baking multiple batches, remember to re-grease the pan before filling for the next round.
Preparing the Glaze and Finishing
-
While the donuts are cooling, prepare your decadent chocolate glaze. In a microwave-safe bowl, combine the finely chopped dark chocolate, unsalted butter, water, and vanilla extract (keep your sprinkles separate for now). Microwave in short 25-second increments, stirring well after each burst, until the mixture is completely smooth, glossy, and free of any lumps. Once the donuts are entirely cooled, dip each one into the warm chocolate glaze, allowing any excess to drip back into the bowl. Immediately after dipping, generously shower the glazed donuts with your rainbow or favorite decorative sprinkles. Place the finished donuts back on the wire rack, ideally with parchment paper underneath to catch any stray drips, and allow the glaze to set before serving. Enjoy your homemade, irresistibly fluffy chocolate sprinkle donuts!
Notes
My recipes have been meticulously developed and tested using metric grams for precision. I highly recommend using a digital kitchen scale to measure your ingredients the metric way, as this provides the most accurate and consistent baking results. While a conversion to US cups is provided as a convenience, please note that the recipe has not been specifically tested with volume measurements, and results may vary. For optimal success, just click on ‘Metric’ above the ingredients to see the precise gram measurements.
Butter: For the best flavor and texture, I often use European-style butter, such as Kerrygold, in my recipes. Its higher butterfat content contributes to a creamier, richer crumb and overall superior taste in your baked goods.
Salt: If kosher salt is not available, you can substitute it with fine table salt, but remember to halve the amount specified in the recipe. A general guideline is that 1 teaspoon of kosher salt is equivalent to ½ teaspoon of fine salt.
Buttermilk Substitute: No buttermilk on hand? No problem! You can easily create a substitute. Pour your desired amount of milk (e.g., ½ cup) into a jug or bowl. Remove ½ tablespoon of milk and replace it with ½ tablespoon of lemon juice or white vinegar. Stir gently and let the mixture sit for about 5 minutes until it slightly curdles. This acidified milk will work effectively in the recipe. Full-fat yogurt or sour cream can also be used as direct substitutes.
Storage: Keep these delicious donuts in an airtight container to maintain freshness. They will remain fresh at room temperature for up to 2 days, or in the fridge for up to 3 days. While they are truly at their peak on the day they are baked, proper storage helps preserve their quality. For longer storage, unglazed donuts can be frozen for up to 3 months. To enjoy, simply defrost them overnight in the refrigerator, then prepare and apply the glaze as instructed.
Nutrition
Carbohydrates: 30g
Protein: 3g
Fat: 13g
Saturated Fat: 8g
Polyunsaturated Fat: 1g
Monounsaturated Fat: 4g
Trans Fat: 1g
Cholesterol: 43mg
Sodium: 241mg
Potassium: 128mg
Fiber: 2g
Sugar: 17g
Vitamin A: 319IU
Vitamin C: 1mg
Calcium: 51mg
Iron: 1mg
Tried this recipe?
Leave a comment below! You can also tag me on Instagram @alpineella so I can see what you made!
