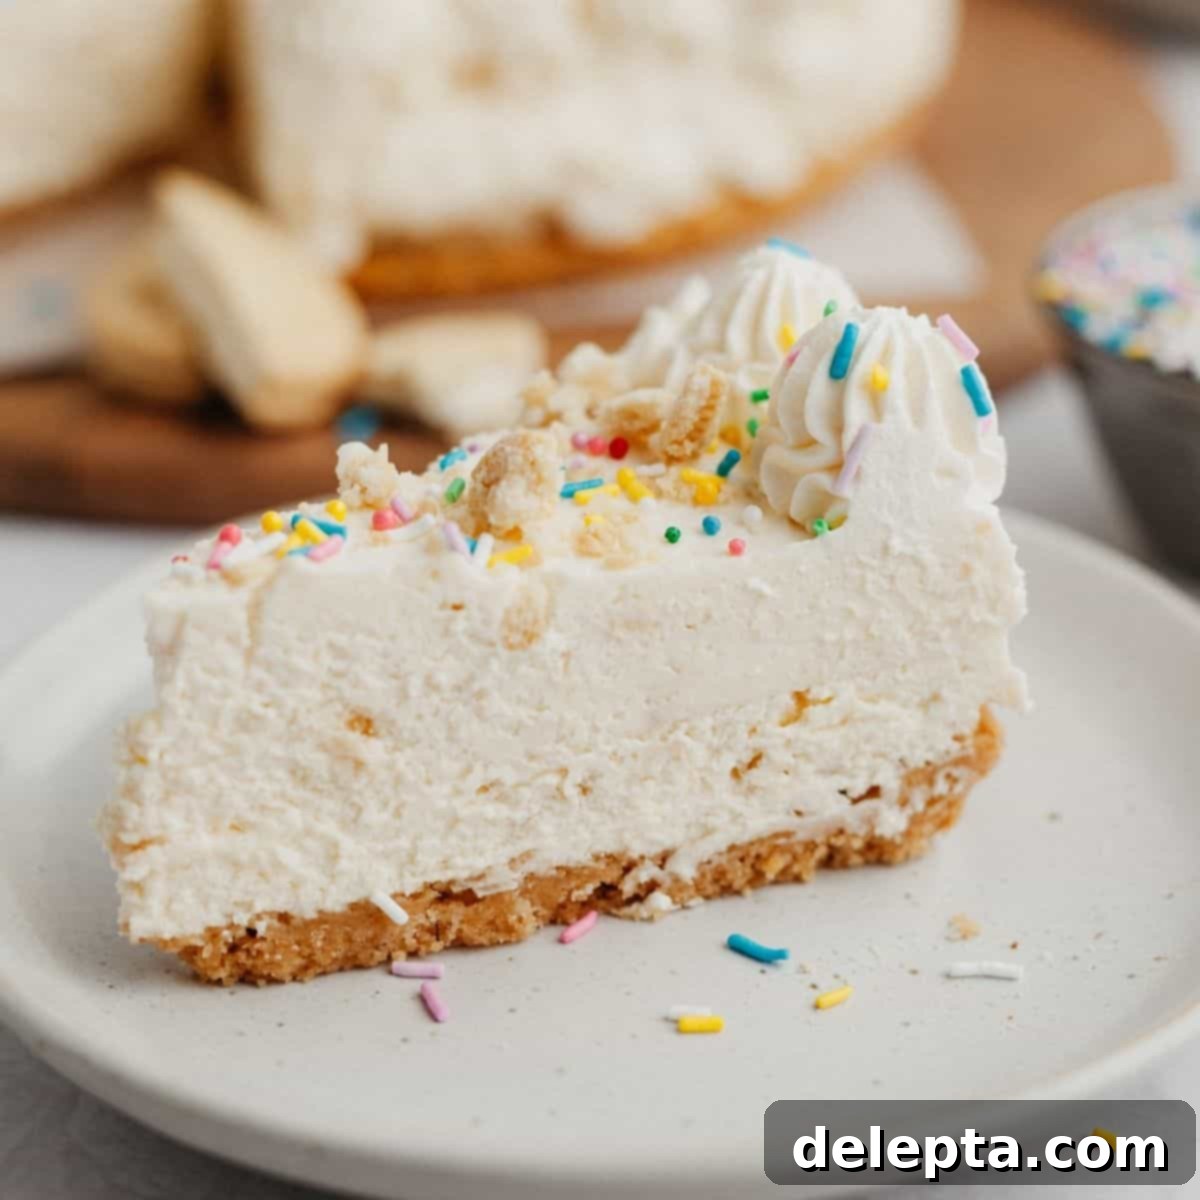
Decadent No-Bake Golden Oreo Cheesecake: Your Easiest Summer Dessert Dream
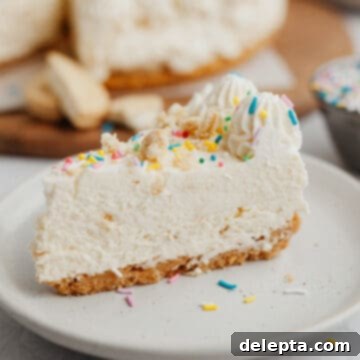
Prepare for the ultimate summer indulgence! This incredible no-bake vanilla cheesecake is generously studded with crunchy crushed Golden Oreos, all nestled within a perfectly formed Golden Oreo crust. Topped with a cloud of fluffy whipped cream and a festive scattering of rainbow sprinkles, this dessert is as visually appealing as it is delicious. Best of all, this remarkably easy no-bake cheesecake requires only about 15 minutes of active preparation time before it chills overnight to blissful perfection, making it the ideal stress-free treat for any occasion.
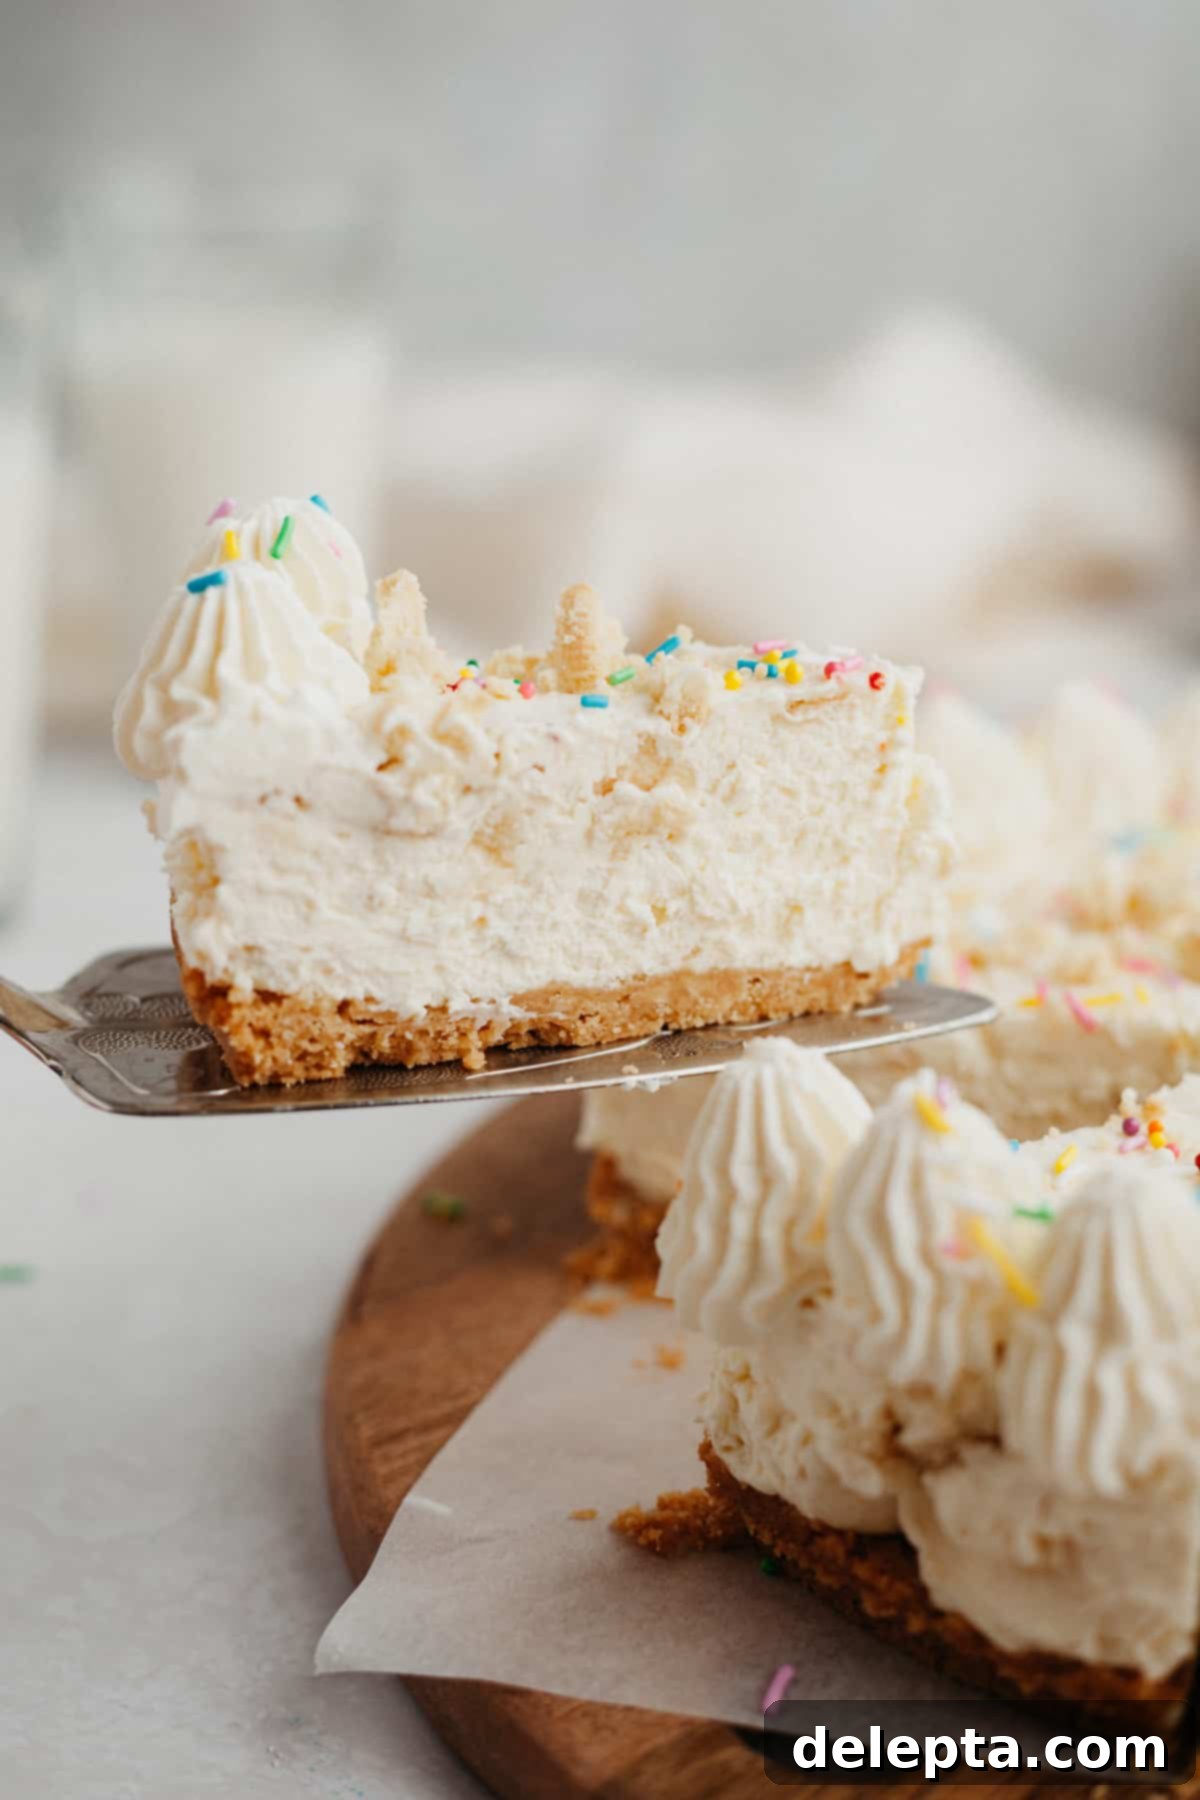
Unveiling This Irresistible No-Bake Golden Oreo Cheesecake
There’s something truly magical about a no-bake cheesecake, and this Golden Oreo version takes that enchantment to a whole new level. Imagine a dessert that’s rich and creamy, yet wonderfully light and refreshing, all without ever needing to turn on your oven for the filling. It’s the quintessential treat for warm weather, potlucks, or simply when you’re craving something sweet and satisfying with minimal effort.
- This recipe draws inspiration from my popular Strawberry Crunch Cheesecake, sharing its foundational principles for a divine no-bake experience. The filling itself is a heavenly blend of rich cream cheese, a touch of granulated sugar for sweetness, pure vanilla extract for that classic flavor, and, of course, fluffy whipped cream. What sets this version apart is the generous inclusion of crushed Golden Oreos, which are gently folded into the mixture, providing delightful bursts of vanilla cookie flavor and a pleasant textural contrast in every bite.
- For the crust, we utilize the very same sturdy and flavorful Golden Oreo base as its strawberry counterpart. This simple, two-ingredient crust is an absolute dream to prepare. While many no-bake cheesecake crusts rely solely on chilling, I’ve found that a brief bake significantly improves its structural integrity. This small step ensures your crust holds together beautifully, preventing crumbling and making for cleaner slices, which is particularly important for a dessert meant to be shared. The buttery Golden Oreo crumbs, once baked, create a firm yet tender foundation that perfectly complements the creamy filling.
- Decorating this cheesecake is part of the fun! My preferred method involves piping on extra whipped cream for an elegant touch, then showering it with a vibrant mix of rainbow sprinkles and a sprinkle of additional crushed Golden Oreos. However, the possibilities are endless! Consider a decadent drizzle of melted white chocolate for an extra layer of sweetness, or perhaps some caramel sauce. For a burst of freshness, a scattering of fresh berries like raspberries or blueberries would also be exquisite, adding both color and a tangy counterpoint. This versatility ensures you can tailor it to any occasion or preference.
Essential Ingredients for Your Golden Oreo Delight
Creating this stunning no-bake cheesecake relies on a handful of common ingredients, most of which you likely already have in your pantry or can easily find at any grocery store. The beauty of this recipe lies in its simplicity and the way these key components come together to form an unforgettable dessert. Before you begin, take a moment to gather all your ingredients, ensuring they are at the correct temperature as specified, which is crucial for achieving the perfect texture and consistency in your cheesecake.
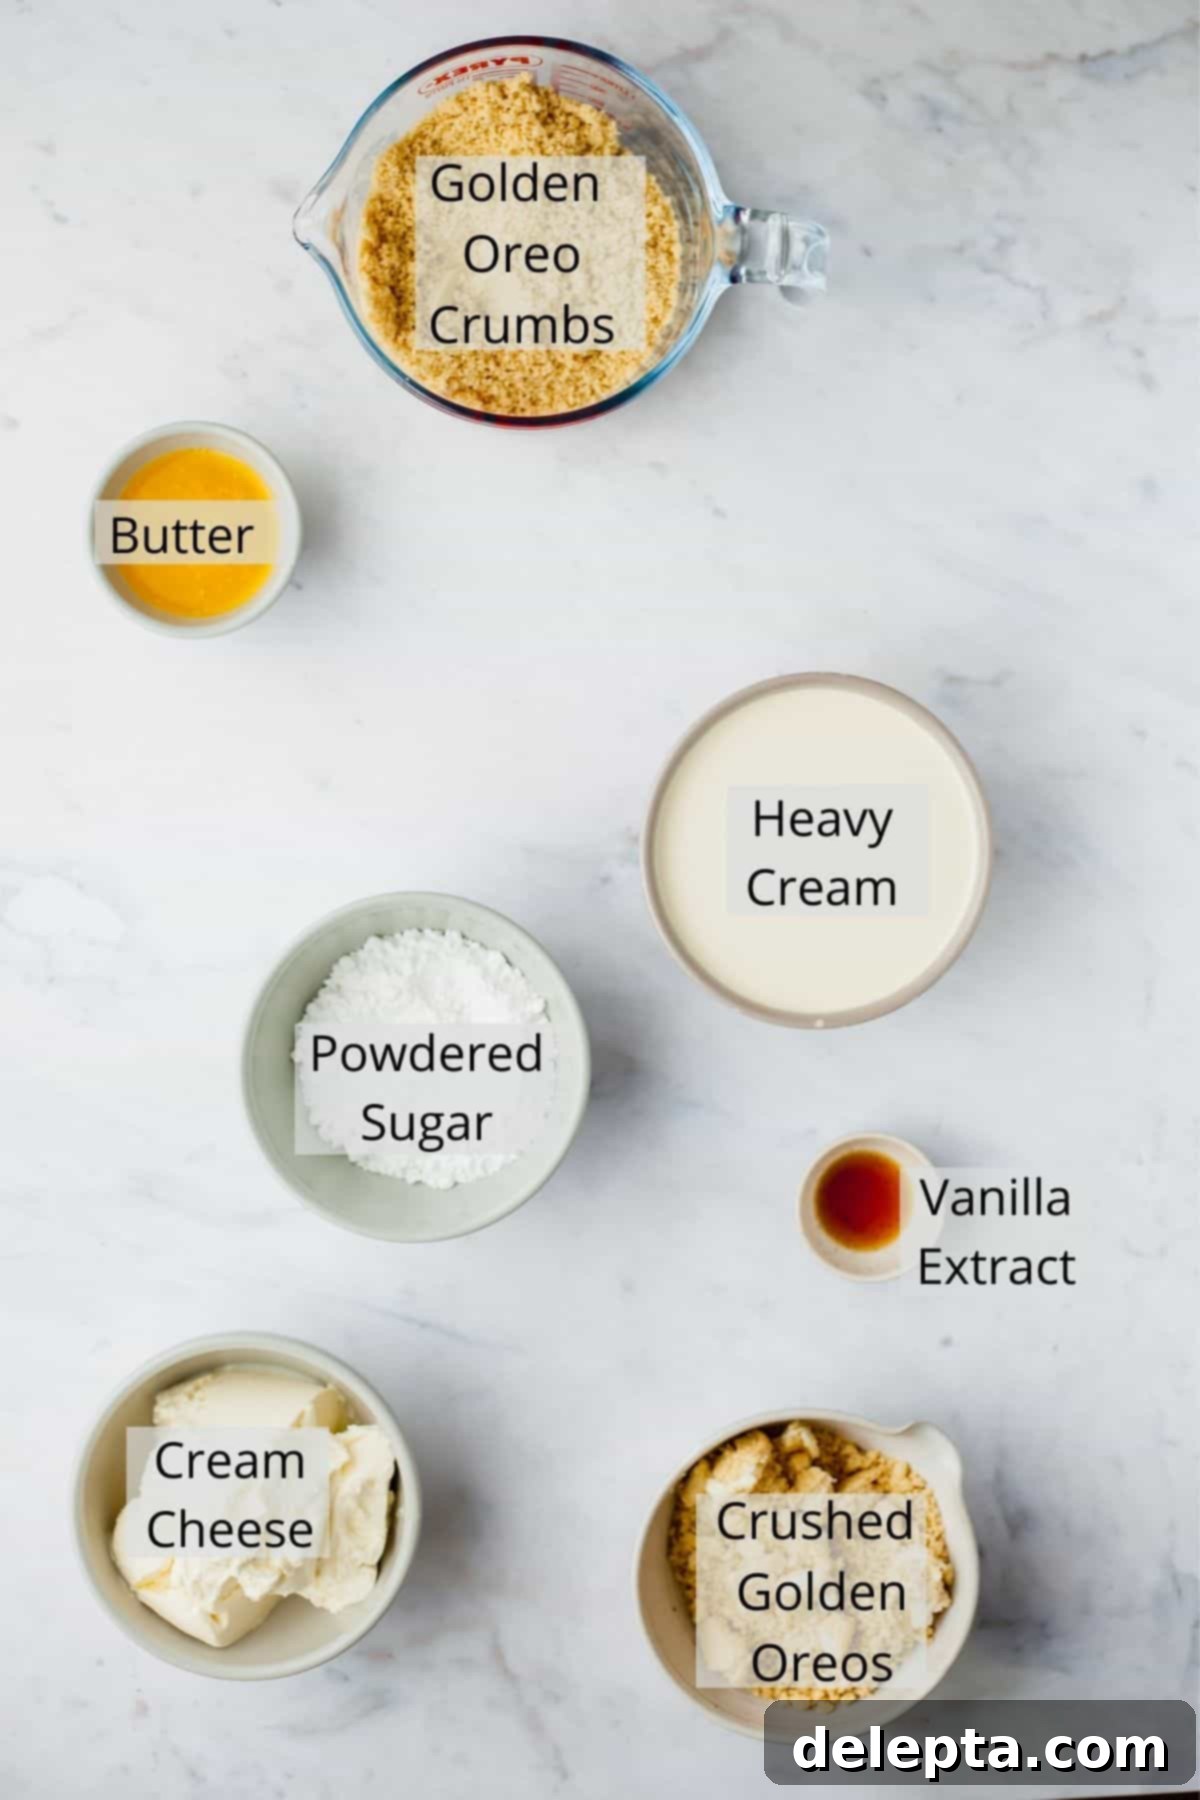
The printable recipe card with the full list of ingredients and detailed instructions can be found at the bottom of this post.
Detailed Ingredient Insights for Optimal Results
Understanding the role of each ingredient and how to properly prepare it is key to baking success, even with a no-bake recipe. Here are some critical notes to help you achieve the best possible Golden Oreo cheesecake.
- Cream cheese: The foundation of any great cheesecake! For this recipe, it’s absolutely essential to use full-fat cream cheese, such as Philadelphia. The high fat content is crucial for achieving that characteristic rich, creamy, and stable texture that cheesecake lovers adore. Low-fat alternatives simply won’t yield the same luxurious mouthfeel or set as firmly. Furthermore, ensure your cream cheese is at room temperature. This isn’t just a suggestion; it’s a non-negotiable step. Cold cream cheese will result in a lumpy mixture, no matter how long you beat it, leading to a less-than-silky filling.
If you’re located in Europe, you might notice that cream cheese often comes in tubs rather than the foil-wrapped blocks common in the US. This tubbed cream cheese typically has a higher moisture content. To counteract this and ensure your cheesecake sets properly, scoop out the cream cheese into a bowl and gently pat it down with a paper towel. This simple action will absorb any excess moisture, helping your cheesecake achieve the perfect consistency and preventing a watery texture. - Golden Oreos: These iconic vanilla cookies are the star of the show! You’ll be using them in two distinct ways to create layers of flavor and texture.
For the **cheesecake crust**, you’ll want to process your Golden Oreos into a very fine, sand-like powder. This can be easily achieved using a food processor. A fine crumb ensures the crust binds together effectively with the melted butter and creates a uniform, sturdy base. Any large chunks in the crust will make it more prone to crumbling.
For the **cheesecake filling**, however, you can keep the crushed Golden Oreos a bit chunkier. These larger pieces will provide delightful pockets of crunchy cookie goodness, offering a wonderful textural contrast to the smooth, creamy filling. You can crush these by hand in a Ziploc bag with a rolling pin or pulse them very briefly in a food processor, being careful not to over-process them into a fine powder like the crust. The goal here is to have discernible cookie pieces that contribute both flavor and crunch. - Heavy Cream: This ingredient is vital for creating the light and airy texture of the no-bake filling. Always ensure your heavy cream (or double cream, if you’re in the UK) is very cold before whipping. Cold cream whips up faster and achieves stiffer peaks, which are essential for adding volume and stability to your cheesecake mixture.
- Powdered Sugar & Vanilla Extract: Powdered sugar (also known as icing sugar) not only sweetens the cheesecake but also helps to stabilize the cream cheese mixture due to its fine texture and sometimes a small amount of cornstarch. Vanilla extract, of course, provides that warm, classic vanilla flavor that complements the Golden Oreos beautifully. Use a good quality pure vanilla extract for the best taste.
Step-by-Step Guide: Crafting Your No-Bake Golden Oreo Cheesecake
Making this Golden Oreo cheesecake is a straightforward process, broken down into simple, manageable steps. Follow these instructions carefully, paying attention to the details, and you’ll be rewarded with a spectacular dessert that tastes like it came from a gourmet bakery!
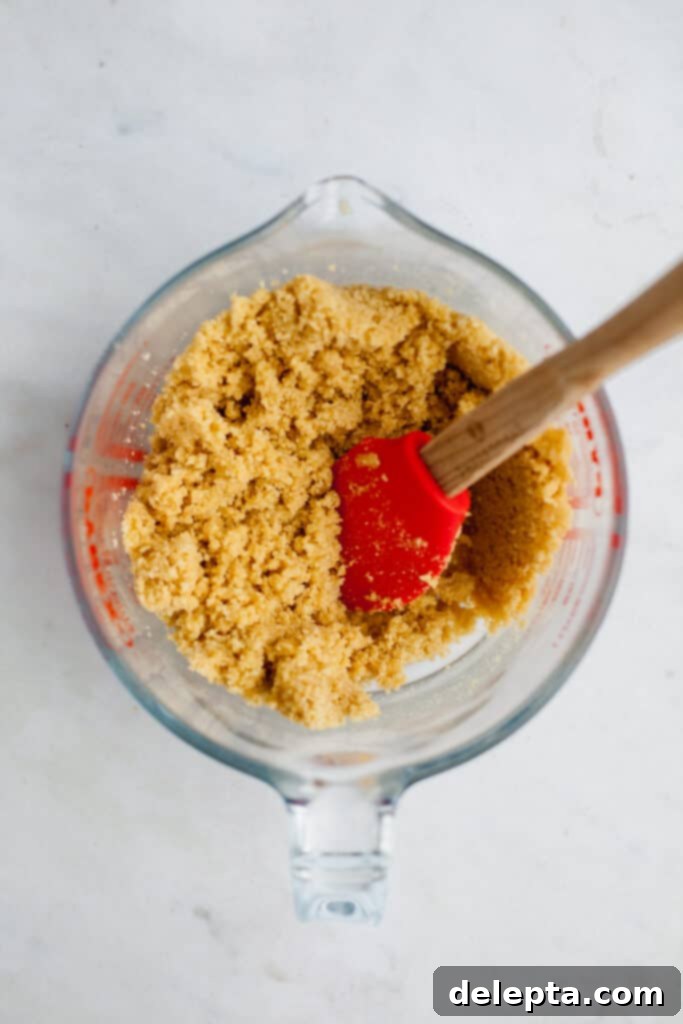
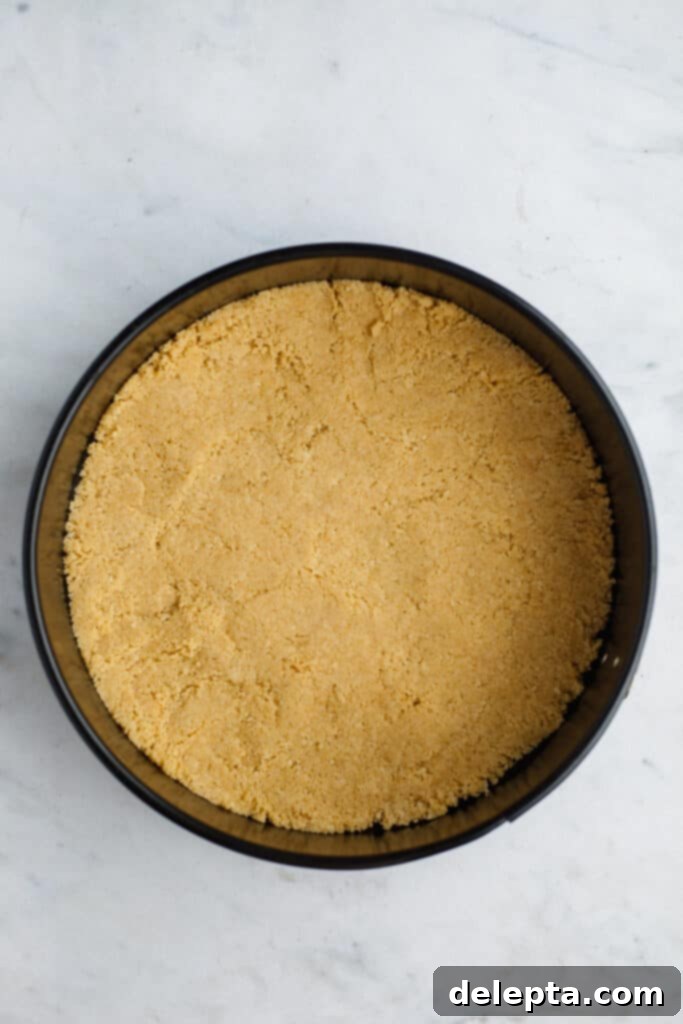
One: Begin by preheating your oven to 350 degrees Fahrenheit (175 degrees Celsius). While the oven heats, take your finely crushed Golden Oreo crumbs and combine them thoroughly with the melted butter in a medium bowl or a large measuring jug. Ensure every crumb is coated, creating a moist, uniform mixture.
Two: Carefully transfer the crumb mixture into your 9-inch springform pan. There’s no need to grease the pan; the butter in the crumbs will prevent sticking. Press the crumbs down very firmly and evenly into the bottom of the pan. A flat-bottomed measuring cup is excellent for this, ensuring a compact and level crust. Bake the crust for just 10 minutes to help it set and become extra sturdy. Once baked, remove it from the oven and allow it to cool completely on a wire rack before proceeding to the next step. A warm crust will melt your cheesecake filling.
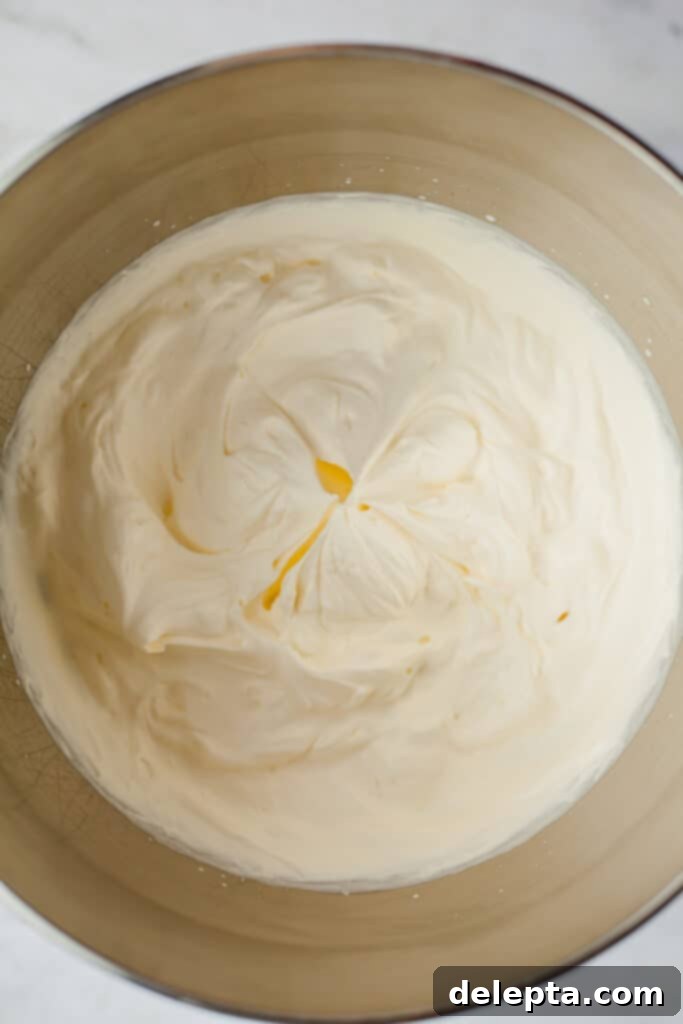
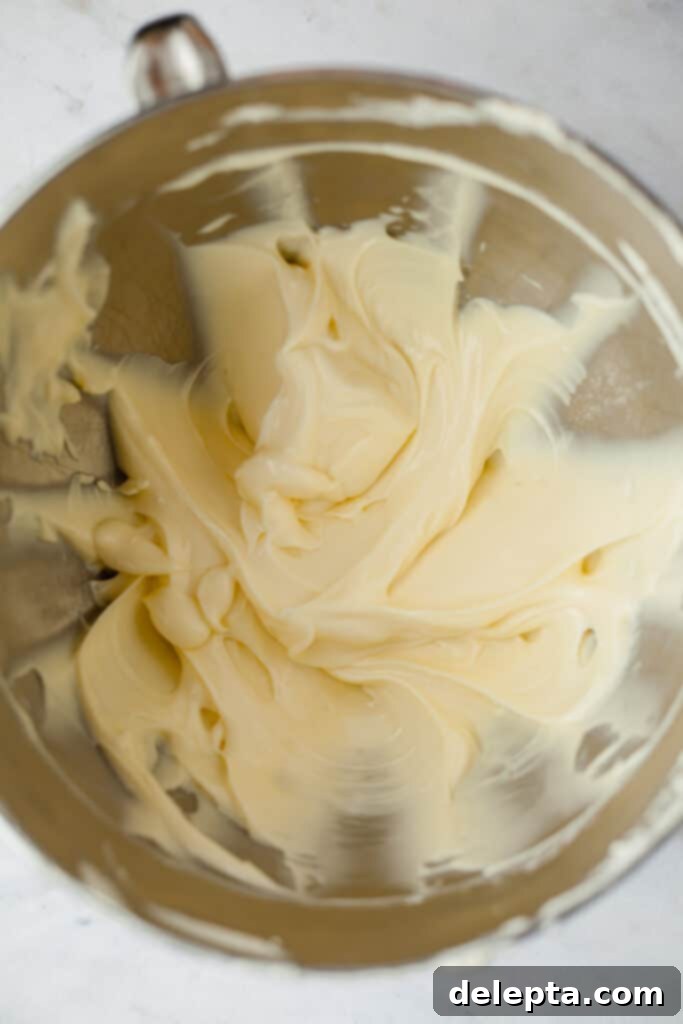
Three: In the clean bowl of a stand mixer fitted with the whisk attachment, pour in your very cold heavy cream. Whip the cream on medium-high speed until it forms stiff peaks, which should take approximately 5 minutes. The peaks should hold their shape when the whisk is lifted. Transfer the whipped cream to another bowl and set it aside in the refrigerator while you prepare the cream cheese mixture.
Four: Using the same stand mixer bowl (no need to wash if you just used it for cream) and now fitted with the paddle attachment, add your room temperature cream cheese. Beat the cream cheese on medium speed until it is completely smooth and creamy, with absolutely no lumps visible. This usually takes a few minutes; scrape down the sides of the bowl as needed to ensure everything is well combined.
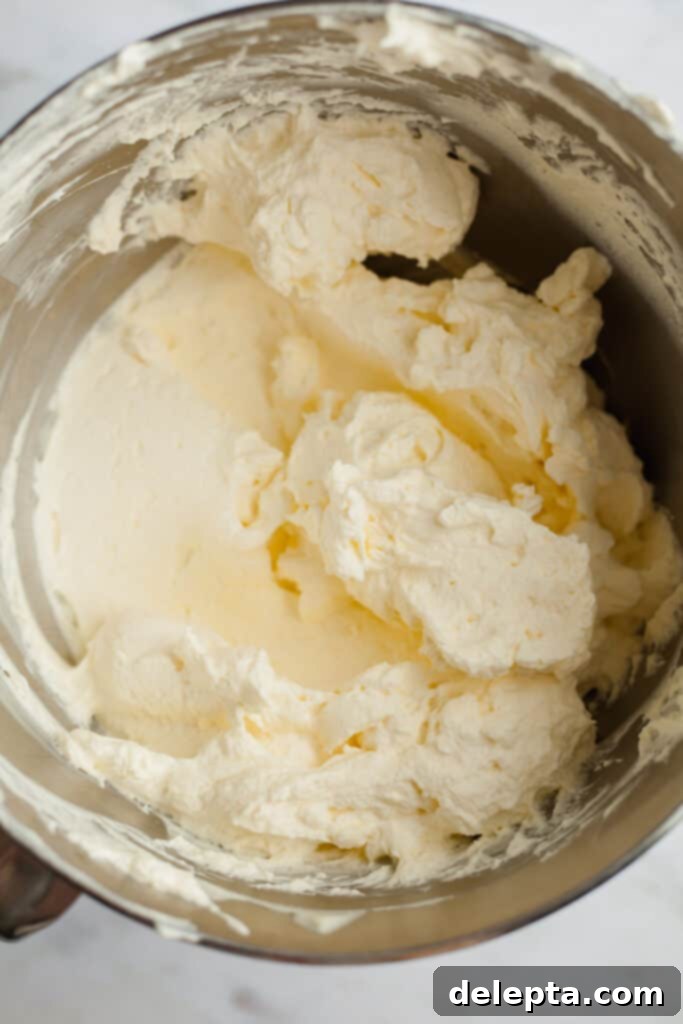
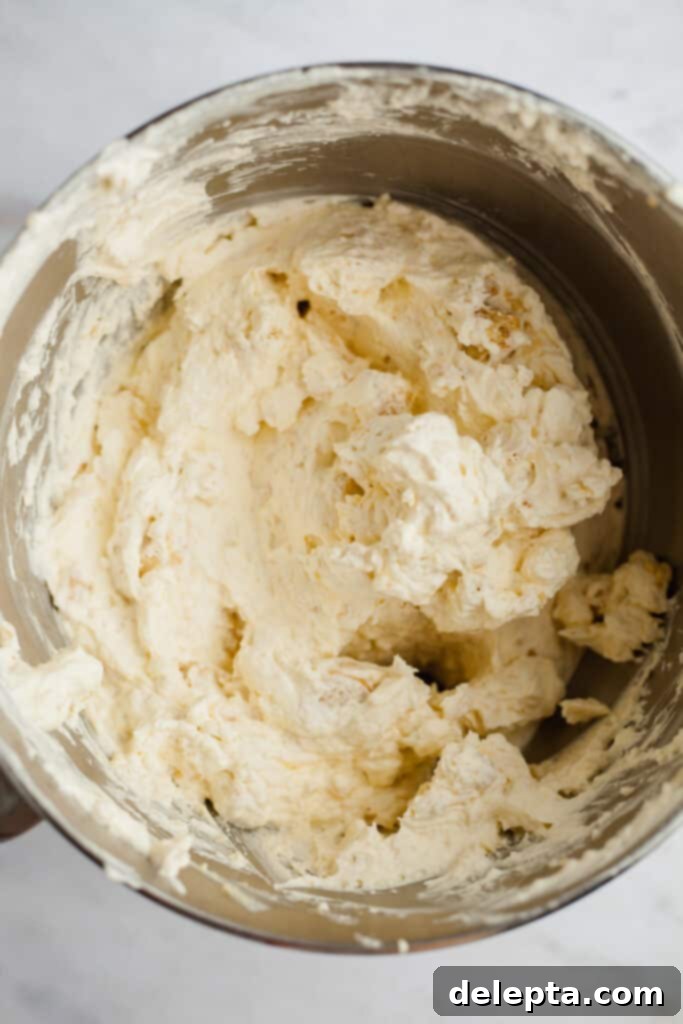
Five: To the smooth cream cheese, add the sifted powdered sugar and the vanilla extract. Beat the mixture on medium-high speed until all the ingredients are fully incorporated and the batter is light and fluffy. Make sure to scrape down the bowl one last time to ensure everything is uniformly mixed.
Six: Now for the gentle part! With a rubber spatula, carefully fold the reserved whipped cream into the cream cheese mixture until just combined. Be careful not to deflate the whipped cream, as this is what gives the cheesecake its light texture. Once the whipped cream is mostly incorporated, gently fold in your chunkier crushed Golden Oreo pieces. You want them distributed throughout the filling without overmixing.
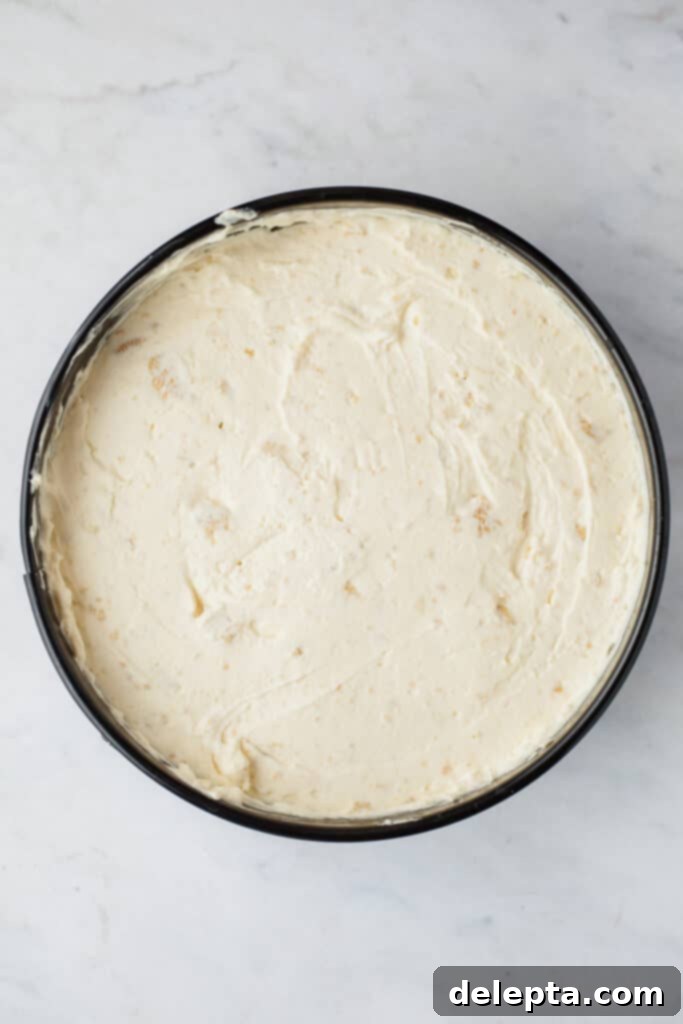
Seven: Pour the creamy cheesecake batter evenly into your completely cooled Golden Oreo crust. Use a small offset spatula or the back of a spoon to gently smooth out the top surface of the cheesecake. This creates a neat finish. Once smoothed, cover the springform pan tightly with plastic wrap, ensuring it doesn’t touch the surface of the cheesecake if possible. Transfer the cheesecake to the refrigerator and chill it overnight, or for a minimum of 12 hours. This extended chilling time is crucial for the cheesecake to firm up properly and achieve that perfect, sliceable consistency.
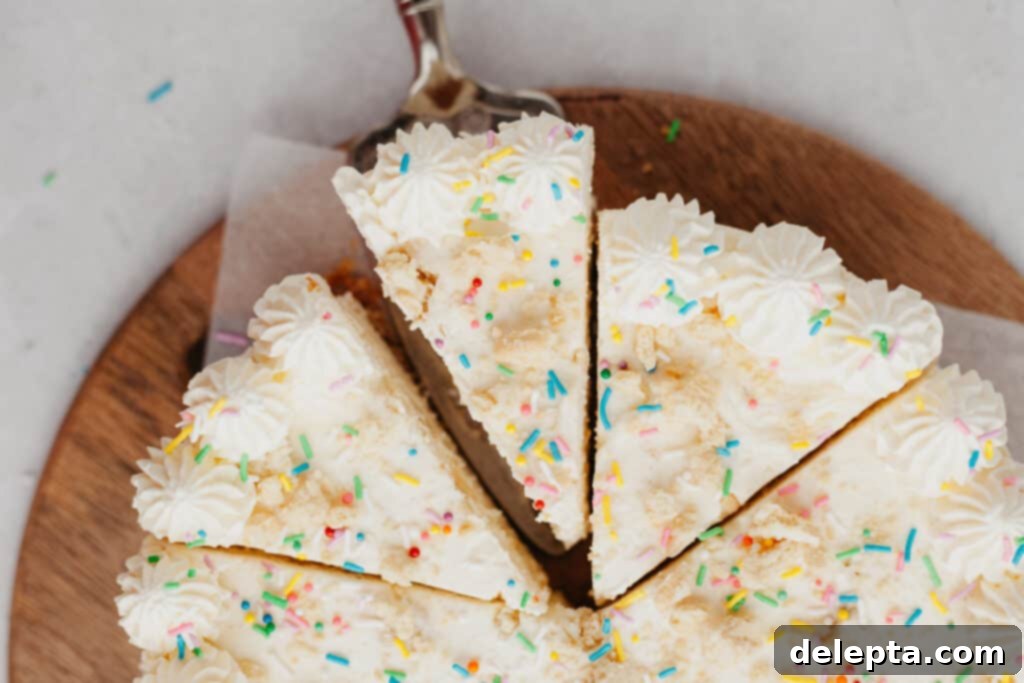
Eight: The next day, your cheesecake will be perfectly set and ready for its grand reveal! Carefully run a thin knife around the inner edge of the springform pan before releasing and removing the sides. This helps to prevent any sticking. Now, it’s time to decorate! Pipe on additional whipped cream around the edges or across the top as desired. Finish with a festive flourish of rainbow sprinkles and a final scattering of crushed Golden Oreos. Slice, serve, and enjoy this delightful summer dessert!
Expert Tips for No-Bake Cheesecake Success
Even though this is an easy no-bake recipe, a few insider tips can elevate your cheesecake from good to absolutely phenomenal. Pay attention to these details for the best possible results every time:
- I highly recommend investing in a good quality kitchen weighing scale and measuring out your ingredients using the metric system. While cup measurements are common, they can be imprecise due to variations in how ingredients are packed or leveled. Weighing ingredients, especially flour and sugar, provides consistent and accurate results, which makes a huge difference in the texture and overall success of your baking. This small change can greatly improve the consistency and reliability of all your recipes.
- As mentioned, ensure your cream cheese is at proper room temperature before you even start mixing. If it’s still cold, it won’t beat smoothly and will leave you with an unappealingly lumpy mixture. To achieve true room temperature quickly, you can remove it from the fridge about an hour or two before you plan to bake. If you’re short on time, unwrap the cream cheese and cut it into smaller cubes, spreading them out on a plate for about 15-30 minutes. This increased surface area will help it soften faster. When cream cheese is properly softened, it will be pliable and yield easily to pressure, making it much easier to beat into a silky-smooth consistency.
- When forming the crust in your springform pan, don’t just gently pat the crumbs. You need to press them down very firmly to create a dense, stable base. The bottom of a flat-edged measuring cup is your best friend here. It allows you to exert even pressure across the entire surface, ensuring the crust is uniform in thickness and compact. A firm crust is less likely to crumble when sliced and provides excellent support for the creamy filling.
- After you remove the sides of the springform pan from the chilled cheesecake, you might notice that the edges of the cheesecake aren’t perfectly smooth. This is quite common and nothing to worry about! You have a couple of easy options: you can gently smooth out any imperfections with a small offset spatula for a clean, minimalist look, or, as I often do, creatively decorate the outer edges with additional piped whipped cream or a dusting of crushed Golden Oreos and sprinkles. This not only hides any imperfections but also adds another beautiful layer of decoration to your finished dessert.
- **Chilling Time is Crucial:** While the recipe states an overnight chill, this point cannot be overstated. A minimum of 12 hours in the refrigerator allows the cheesecake to fully set, ensuring clean, firm slices. If you cut into it too soon, the slices might be softer and less defined. Patience is a virtue when it comes to no-bake cheesecakes!
Frequently Asked Questions About This Cheesecake
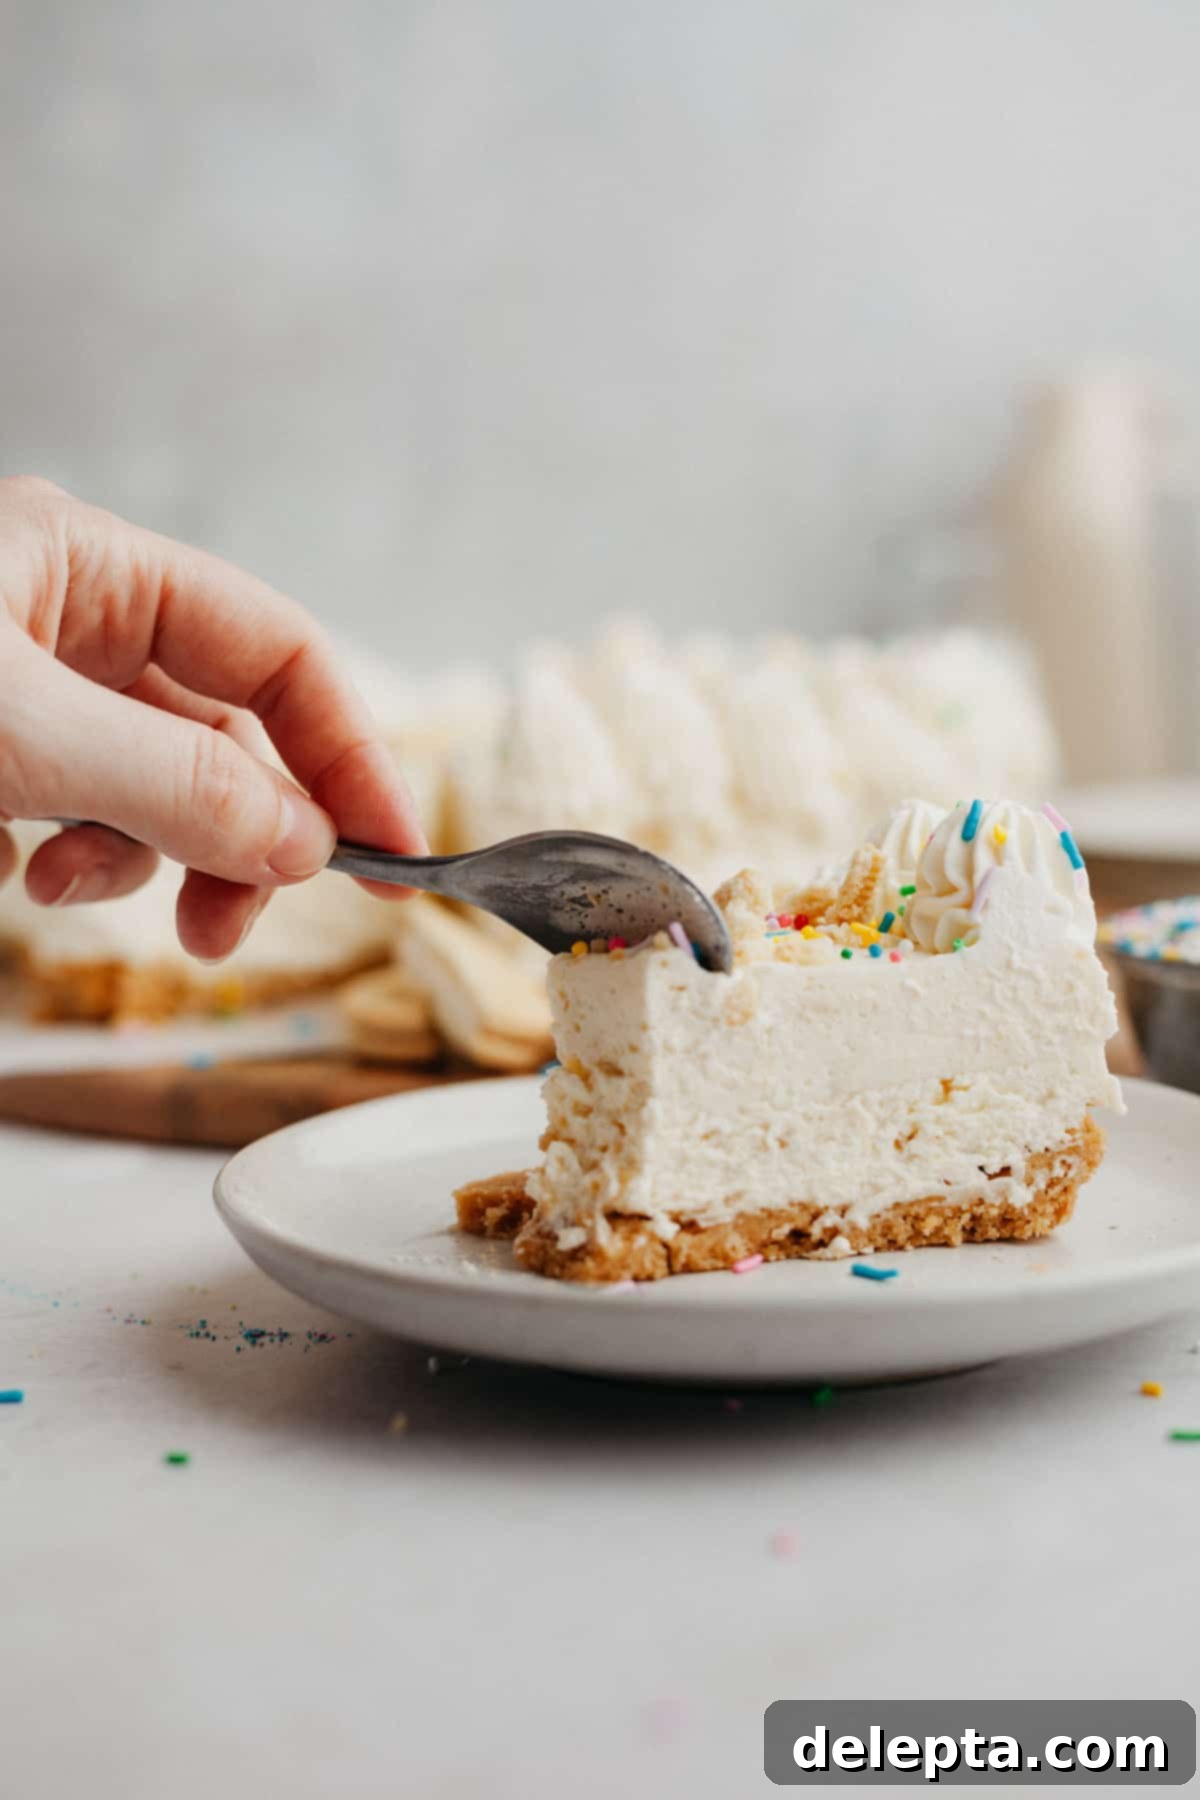
For the best possible results, I strongly recommend chilling your no-bake Golden Oreo cheesecake overnight, or for a full 12 hours. This extended period in the refrigerator allows the cream cheese and whipped cream mixture to fully firm up and stabilize. I have tested chilling it for a shorter duration, such as 6 hours, and while the flavor is still absolutely wonderful, the slices won’t be as clean and well-set. For that picture-perfect, easy-to-slice dessert, patience is key!
While a springform pan (typically 9 inches) is ideal for this recipe, allowing for easy removal and a beautiful presentation of the entire cheesecake, it’s not strictly mandatory. You could certainly use a deep-dish pie plate or a similar baking dish instead. However, if you opt for an alternative dish, please note that it means you won’t be able to remove the cheesecake from the pan intact. Instead, you’ll have to cut and serve the slices directly from the dish, which might not offer the same elegant presentation.
To keep your delicious no-bake Golden Oreo cheesecake fresh and in prime condition, store it covered in your refrigerator. It will maintain its best quality for up to 4 days. After this period, the texture might begin to degrade slightly. Ensure it’s tightly covered to prevent it from absorbing any odors from other foods in your fridge.
I do not recommend freezing this particular no-bake cheesecake. The delicate texture of the cream cheese and whipped cream filling tends to change significantly after thawing. It can become grainy or watery, losing its desirable creamy consistency. This dessert is truly best enjoyed fresh from the refrigerator within its recommended storage period.
Absolutely! While this recipe highlights the unique vanilla flavor of Golden Oreos, this no-bake cheesecake would be incredibly delicious with classic chocolate Oreos as well. The rich chocolate flavor would pair wonderfully with the creamy vanilla cheesecake filling, offering a delightful twist. Feel free to experiment with different Oreo flavors to suit your personal preference!
Yes, this cheesecake is an excellent make-ahead dessert! Because it requires at least 12 hours of chilling, it’s actually perfect for preparing a day or even two days before your event. This allows it ample time to set beautifully and frees up your time on the day of your party. Just keep it tightly covered in the refrigerator and decorate it right before serving for the freshest look.
More Irresistible No-Bake Desserts You’ll Love
If you’ve fallen in love with the ease and deliciousness of this no-bake Golden Oreo cheesecake, you’re in for a treat! There’s a whole world of delightful no-bake recipes waiting for you. These recipes are perfect for those times when you want a fantastic dessert without turning on the oven, making them ideal for summer days or when you simply prefer less fuss in the kitchen. Explore these other fantastic options:
- Strawberry Crunch Cheesecake: A vibrant and fruity variation that’s just as easy and impressive, featuring a delightful strawberry crunch topping.
- Peach Pie with Graham Cracker Crust: A classic summer pie reinvented with a simple, no-bake approach, highlighting the sweet flavors of fresh peaches.
- Chocolate Covered Rice Krispie Treats: A fun and customizable treat that’s perfect for kids and adults alike, offering a satisfying crunch and rich chocolate coating.
I genuinely hope you enjoy creating and devouring this incredible no-bake Golden Oreo cheesecake as much as I do! Its ease of preparation and crowd-pleasing flavor make it an instant favorite. Once you’ve whipped up your own masterpiece, don’t forget to share your creations! Make sure to tag me on Instagram @alpineellaand leave a thoughtful review below if you’ve made this delightful Oreo no-bake cheesecake. Your feedback and photos truly make my day! If you’re looking for even more baking ideas and delicious inspiration, you can also follow me on Pinterest, where I share a constant stream of recipes and tips. Happy baking (or rather, no-baking)!
Recipe
Golden Oreo Cheesecake
Ella Gilbert
Pin Recipe
Save RecipeSaved!
Equipment
-
9″ springform pan
-
Stand mixer with whisk and paddle attachments
-
Rubber spatula
-
Offset spatula (optional, for smoothing)
Ingredients
Cheesecake Crust
- 24 golden Oreos processed into fine crumbs
- ¼ cup unsalted butter melted
Cheesecake Filling
- 2 cups heavy cream very cold (or double cream)
- 16 oz cream cheese full-fat, at room temperature
- 1 teaspoon vanilla extract
- 1 cup powdered sugar sifted
- 14 golden oreos crushed into chunky pieces for the filling
For Topping (Optional)
- 1 cup heavy cream very cold (for whipped cream topping)
- 1 teaspoon vanilla extract (for whipped cream topping)
- Rainbow sprinkles and extra crushed Golden Oreos (for decoration)
Instructions
Crust Preparation
-
Preheat your oven to 350°F (175°C). This brief bake ensures a sturdy, stable crust.
-
To prepare the crust, finely crush 24 Golden Oreos into a sand-like powder. This can be done efficiently using a food processor. Mix these fine crumbs with the melted butter in a bowl until thoroughly combined. Then, press the mixture firmly and evenly into the bottom of an ungreased 9-inch springform pan. A flat-bottomed measuring cup is excellent for achieving an even, compact layer. Bake for 10 minutes, then remove from the oven and allow it to cool completely before proceeding to the next step. A cool crust prevents the filling from melting.
Crafting the Cheesecake Filling
-
In the bowl of a stand mixer fitted with the whisk attachment, pour the very cold heavy cream (2 cups). Whip the cream on medium-high speed for approximately 5 minutes until it forms stiff peaks. Once achieved, gently transfer the whipped cream to a separate bowl and set aside in the refrigerator.
-
Using the same stand mixer bowl (no need to clean it) with the paddle attachment, add the room temperature cream cheese (16 oz). Beat the cream cheese on medium speed until it is entirely smooth and creamy, ensuring there are absolutely no lumps remaining. Scrape down the sides of the bowl as needed to ensure even mixing.
-
Sift the powdered sugar (1 cup) into the cream cheese mixture, then add the vanilla extract (1 teaspoon). Beat on medium-high speed until all ingredients are fully incorporated and the mixture is smooth and airy.
-
With a rubber spatula, very gently fold the reserved whipped cream into the cream cheese mixture until just combined. Be careful not to deflate the air from the whipped cream. Next, carefully fold in the 14 crushed Golden Oreos, ensuring they are distributed throughout the filling.
-
Pour the cheesecake filling into your completely cooled springform pan. Use a small offset spatula or the back of a spoon to gently smooth out the top surface for a neat finish. Cover the pan tightly with plastic wrap and refrigerate overnight (or for a minimum of 12 hours). While 6 hours might seem sufficient, chilling for 12 hours ensures the cheesecake is perfectly set and will slice beautifully.
Whipped Cream Topping & Decoration
-
For the optional whipped cream topping, in a clean stand mixer bowl with the whisk attachment, whip 1 cup of cold heavy cream on medium-high speed for about 5 minutes until stiff peaks form. Add 1 teaspoon of vanilla extract and whip for another 15 seconds. Use this whipped cream immediately for decorating.
-
Once your cheesecake is fully chilled and set, carefully release and remove the sides of the springform pan. Decorate your cheesecake as desired. I recommend piping whipped cream around the edges or across the top, then sprinkling generously with rainbow sprinkles and a few more crushed Golden Oreos for an extra festive touch. Slice and serve!
Notes
Cream Cheese: It is absolutely critical that your cream cheese is at room temperature. If it’s cold, you will end up with a lumpy, unappealing filling. For those in Europe, where cream cheese often comes in tubs with higher moisture content, scoop it into a bowl and gently pat it down with paper towels to remove any excess liquid before mixing. This step ensures a firm, smooth cheesecake.
Storage: Store any leftover cheesecake, tightly covered, in the refrigerator for up to 4 days. This cheesecake does not freeze well, as the texture of the filling can become grainy and watery upon thawing. Enjoy it fresh!
Nutrition
