How to Make Brown Butter: The Ultimate Guide to Perfecting Beurre Noisette for Enhanced Flavor in Baking & Cooking
Prepare to unlock a secret weapon in your culinary arsenal: brown butter! This simple yet transformative ingredient, also known as beurre noisette, is a total game-changer, capable of elevating even the most basic recipes into something truly extraordinary. Imagine the rich, nutty, and toasted notes it can bring to your favorite dishes – from soft, chewy cookies and moist cakes to savory sauces and roasted vegetables. Once you learn how to make brown butter, you’ll find endless opportunities to incorporate its complex, alluring flavor. It’s an essential technique for any home cook or baker looking to add depth and sophistication without complicated steps.
From brown butter chocolate chip cookies to decadent brown butter banana bread and fudgy brown butter brownies, it’s astonishing how long it took me to dedicate an entire post to this incredible ingredient! This foundational skill is something every passionate baker should have in their repertoire, and I’m thrilled to finally share my comprehensive guide on how to make brown butter perfectly every time.
Incorporating brown butter into my baking recipes is a consistent go-to move for me. Beyond just adding incredible flavor and complexity, the process itself fills my kitchen with an absolutely ✨divine✨ aroma that hints at the deliciousness to come. Despite its gourmet appeal, making brown butter is surprisingly straightforward and requires only one ingredient – butter! It might sound fancy or complicated, but I assure you, it’s an incredibly easy method that yields remarkable results, making it a valuable trick to keep in your back pocket.
What Exactly is Brown Butter? 🧈
At its heart, brown butter – or beurre noisette, for those who appreciate a touch of French culinary elegance – is essentially butter that has been gently cooked over medium-low heat. The magic truly happens during this process as the water content in the butter slowly evaporates. This evaporation allows the milk solids, which are naturally present in butter, to separate and begin to caramelize and toast. This remarkable transformation is thanks to the Maillard reaction, a chemical process responsible for many of the rich, complex flavors and aromas we adore in cooked foods, from seared steaks to roasted coffee beans.
As these milk solids toast, they develop a distinct golden-brown hue and release a wonderfully nutty, fragrant aroma, often described as having hints of hazelnut, caramel, and butterscotch. Unlike regular melted butter, which is simply liquid fat, brown butter offers a much deeper, more nuanced flavor profile that can dramatically enhance both sweet and savory dishes. It’s this unique flavor that makes brown butter such a coveted ingredient among chefs and home bakers alike, adding a layer of sophistication without adding extra ingredients.
Step-by-Step Instructions for Perfect Brown Butter
Making brown butter is a quick process, usually taking only 5-10 minutes from start to finish. The key is to pay close attention and stir continuously. Let’s break down the process into easy-to-follow steps.
Step 1: Melt the Butter
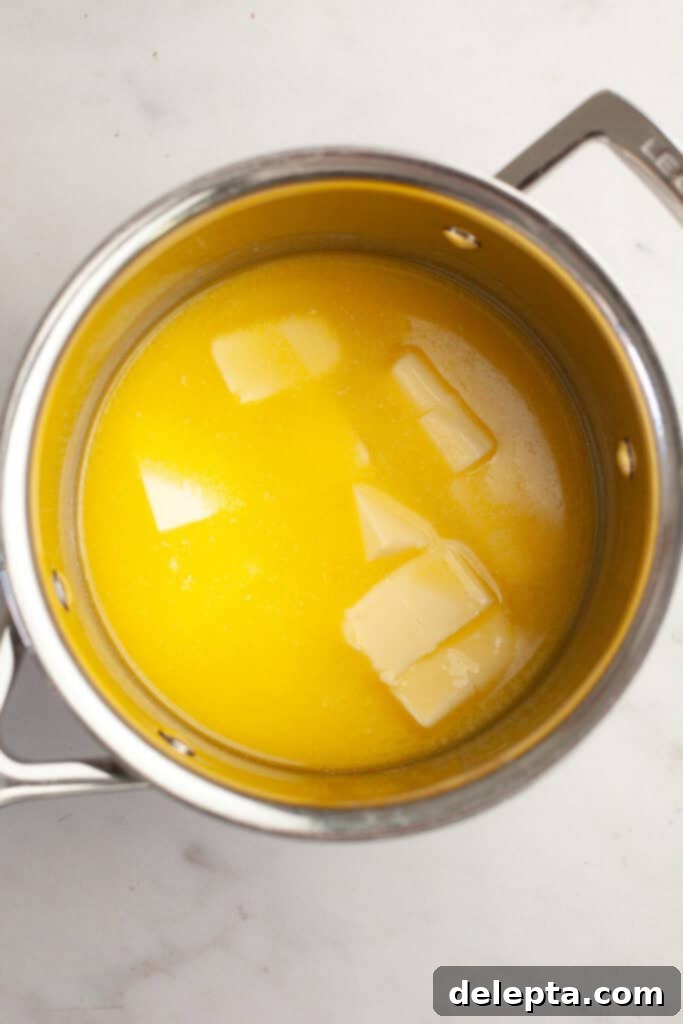
Begin by placing your desired amount of butter into a small, light-colored saucepan. A light-colored pan is crucial because it allows you to easily observe the color change of the milk solids, which is your primary indicator of doneness. Set the saucepan over medium-low heat on your stove. As the butter starts to melt, begin stirring continuously with a rubber spatula or whisk. Constant stirring helps the butter melt evenly and prevents the milk solids from sticking to the bottom of the pan and burning prematurely. Continue stirring until the butter has completely transformed into a golden liquid. This initial phase ensures uniform heating for the next stages.
Step 2: Let the Butter Foam and Transform
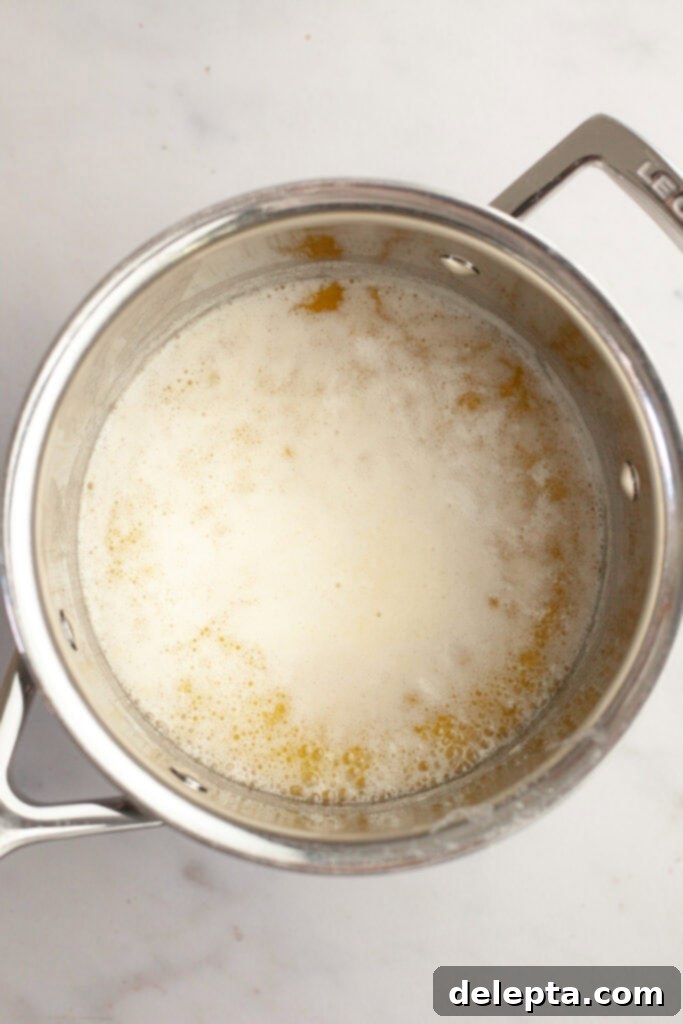
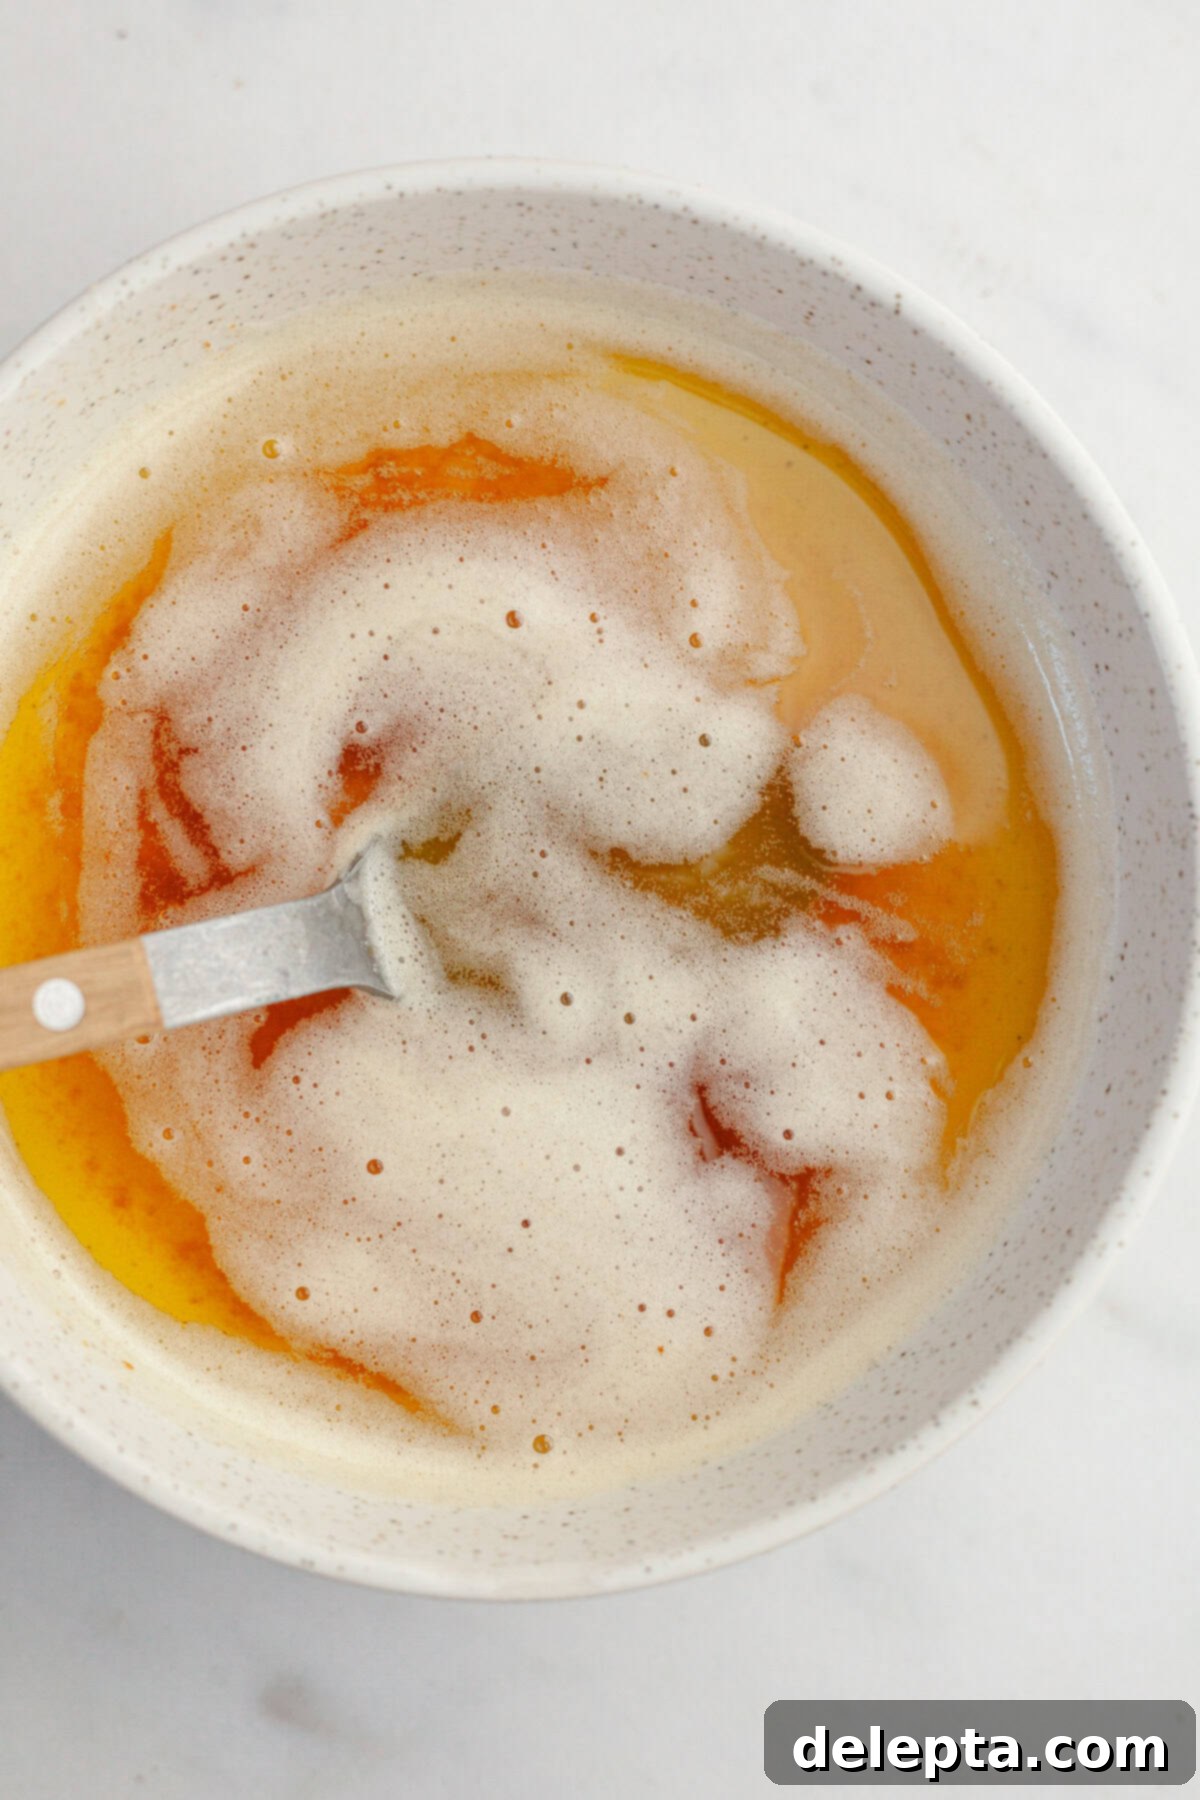
As you continue to stir the melted butter, it will soon begin to foam and sizzle vigorously. This is a sign that the water content in the butter is actively evaporating. At this point, it’s often a good idea to slightly lower the heat to ensure a controlled browning process, preventing any scorching. The foam might appear opaque at first, making it difficult to see what’s happening underneath. Keep stirring! As the water evaporates, the foam will gradually start to subside, revealing tiny white specks – these are the precious milk solids gathering at the bottom of the pan. Pay close attention: the moment these milk solids start to turn a light golden color, and you notice a wonderfully nutty, toasted aroma filling your kitchen, you’re getting close. This is the stage where the magic Maillard reaction is in full swing, developing those irresistible flavors.
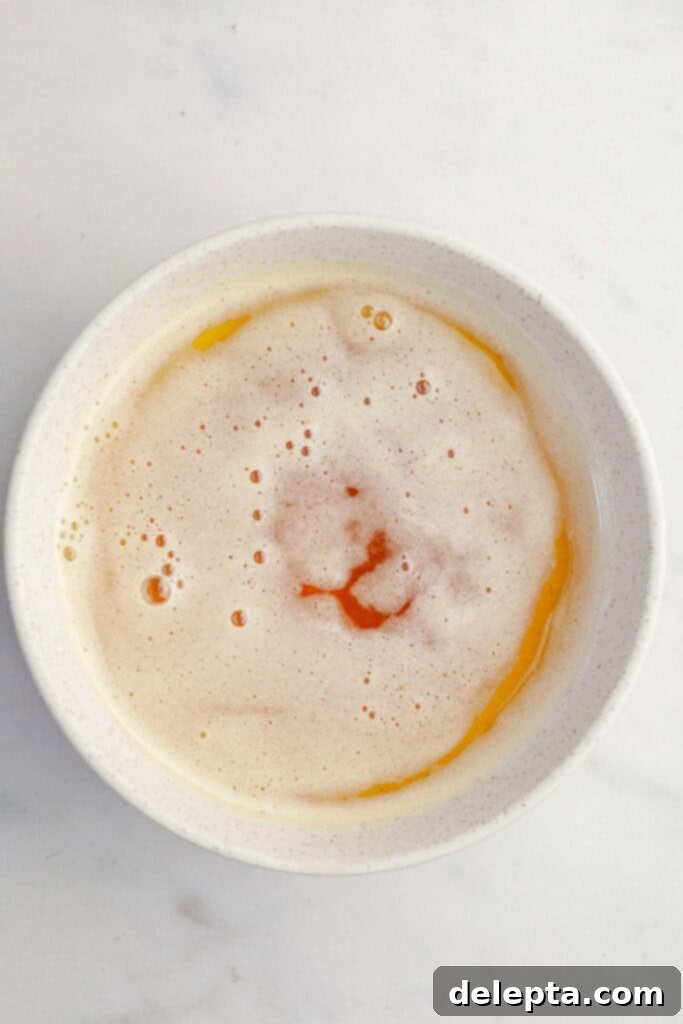
Step 3: Remove from Heat and Pour
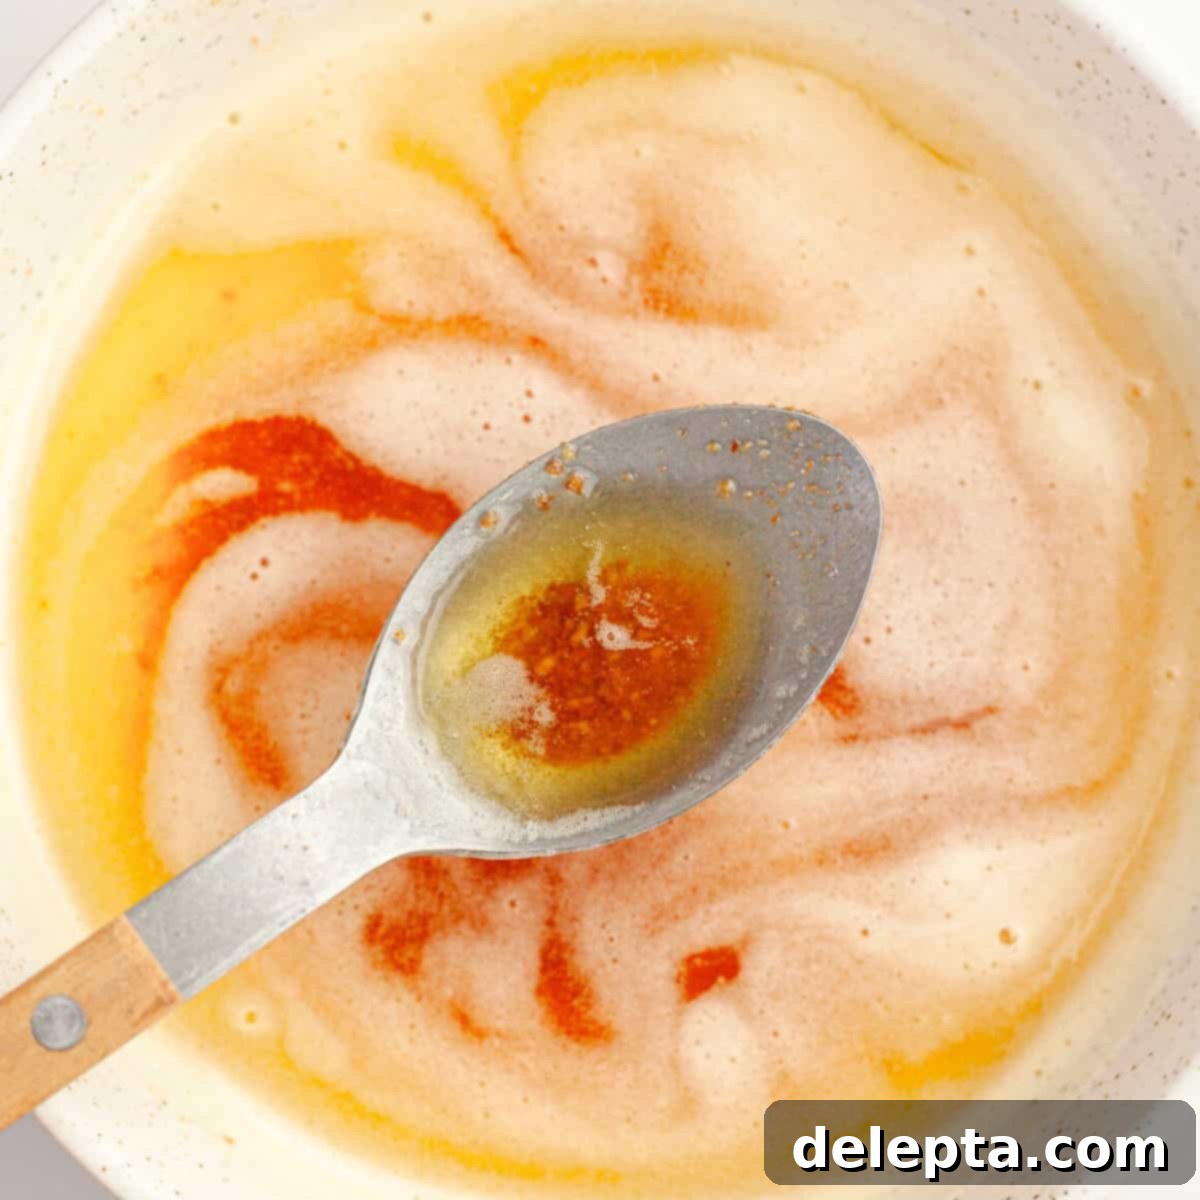
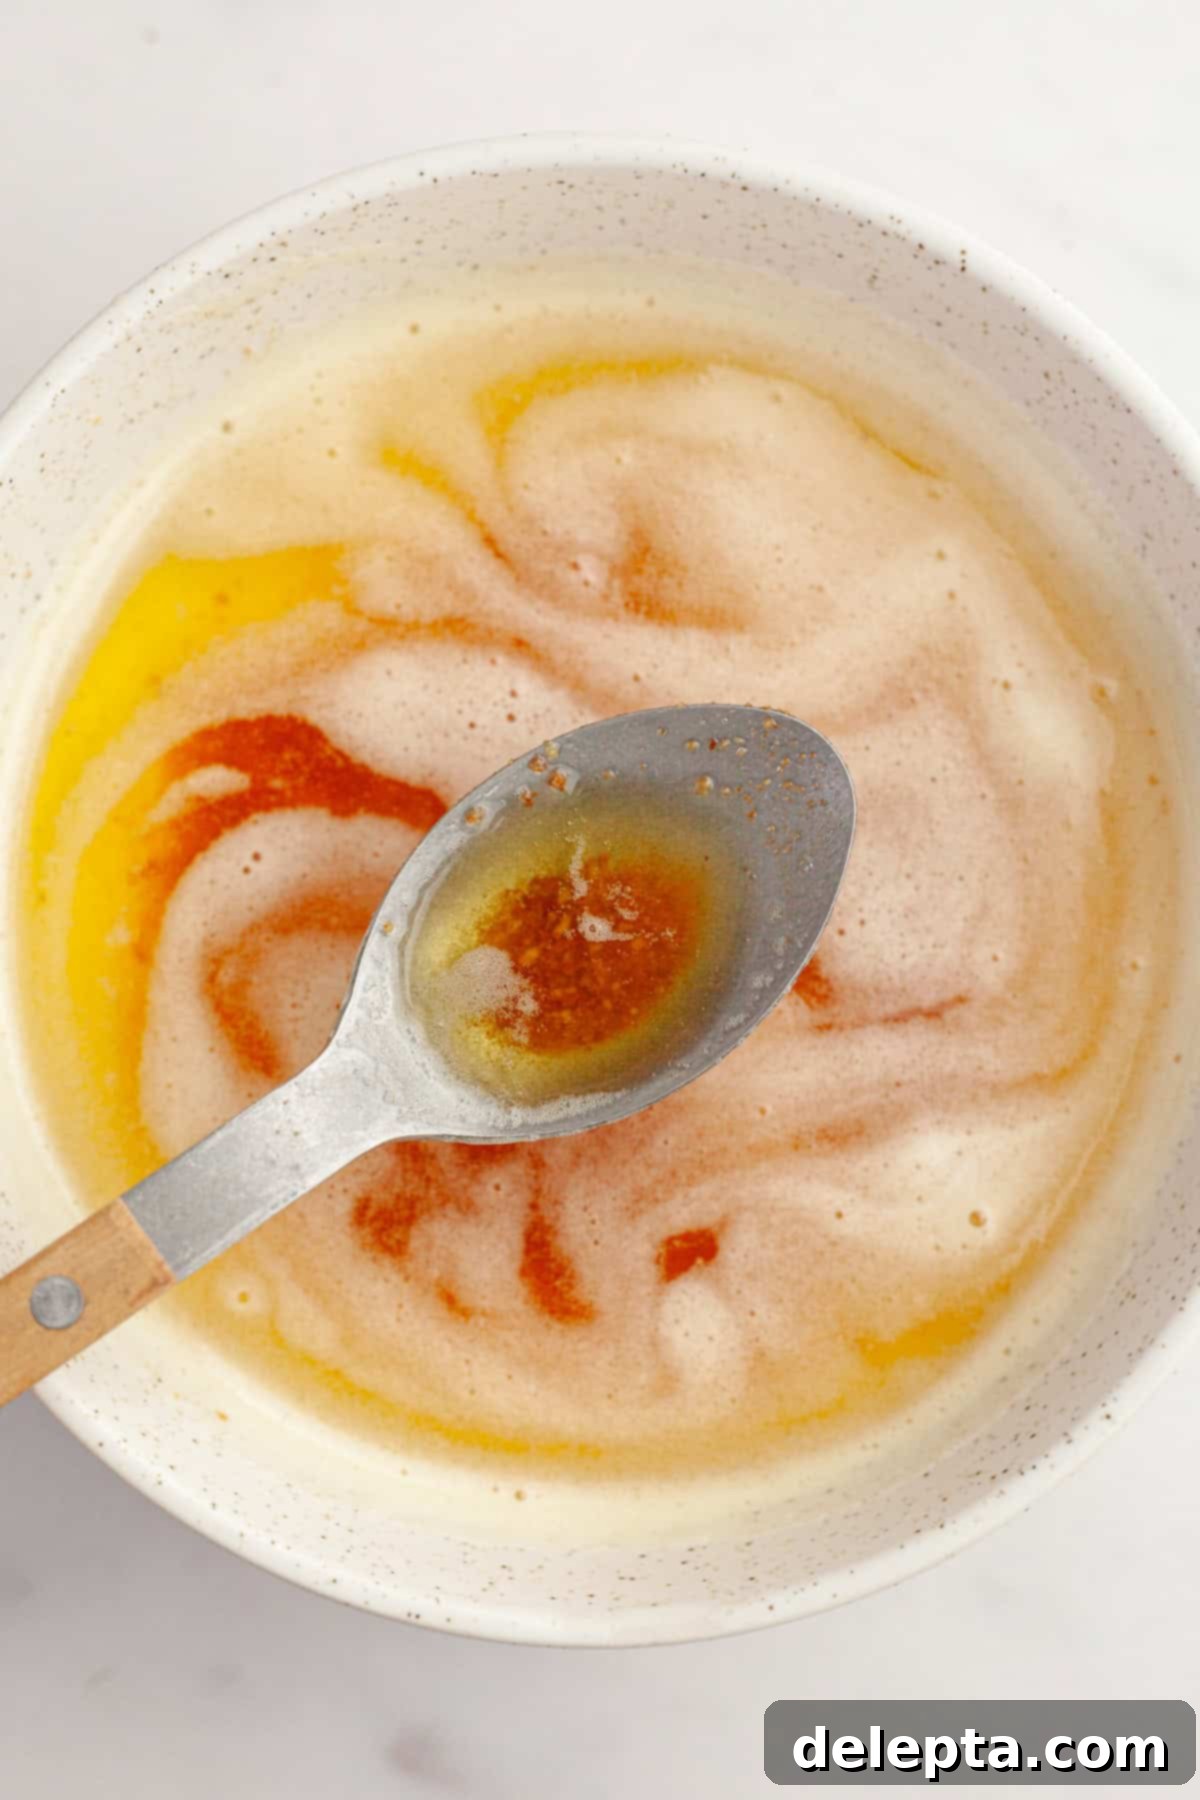
The crucial moment! Once those milk solids at the bottom of the pan have turned a rich, golden brown color (think toasted nuts or caramel) and the sizzling sounds have largely stopped, it’s time to act quickly. Immediately turn off the heat and remove the saucepan from the hot burner. It’s essential to transfer the brown butter out of the hot pan right away to prevent it from continuing to cook and potentially burning. Pour the beautiful browned butter into a separate heatproof bowl. Don’t leave any of that deliciousness behind! Use your rubber spatula to scrape out every last bit of the brown butter, especially those precious toasted milk solids that hold so much of the concentrated flavor. Allow it to cool slightly before using it in your desired recipe. The longer it cools, the more its nutty aroma will develop.
Swapping Regular Butter for Brown Butter in Recipes
Congratulations, you now know the fundamental steps for how to make brown butter! But the next logical question often arises: can you simply swap out regular butter for brown butter in any recipe on a 1:1 basis? While brown butter can enhance many dishes, it’s not always a direct, equal exchange due to a key physical change that occurs during the browning process.
During the browning, the water content in the butter evaporates, which is precisely what allows the milk solids to toast. This evaporation means that you will inevitably lose some volume and weight of the original butter. Generally, a stick of butter (about 1/2 cup or 113g) can lose anywhere from 15-20% of its weight in moisture. This moisture loss is significant, especially in baking where precise liquid-to-dry ratios are crucial for texture and structure.
When I’m developing and thoroughly testing recipes, I always make sure to measure the butter both before and after browning. This allows me to accurately account for the exact weight reduction. To compensate for this moisture loss, many experienced bakers will add a small amount of liquid back into their recipes. This could be a tablespoon or two of milk, water, or even an ice cube (which quickly melts and cools the butter, halting the browning process). This small addition helps maintain the intended moisture balance, ensuring your baked goods don’t turn out dry or crumbly. Always consider the specific requirements of your recipe before making a direct swap, as some recipes are more forgiving than others.
My Top Tips for Flawless Brown Butter
To ensure your brown butter turns out perfectly every single time, keep these expert tips in mind:
- Choose a Light-Colored Pan: This is a non-negotiable tip! Using a light-colored saucepan (stainless steel or a light-enameled pot) is absolutely crucial. A dark pan will make it incredibly difficult to accurately monitor the color of the milk solids as they brown, increasing your risk of burning the butter. You want to see that subtle shift from white to golden brown, which is much clearer against a light background.
- Scrape, Scrape, Scrape! Do not underestimate the power of those tiny brown bits at the bottom of your pan! These are the toasted milk solids, and they are packed with all the incredible nutty, caramel-like flavor that makes brown butter so special. Once you pour the butter into a heatproof bowl, make sure you use a rubber spatula to meticulously scrape every single last bit of those “liquid gold” morsels from the saucepan. Leaving them behind means leaving flavor behind!
- Maintain Constant Vigilance: Brown butter can go from perfectly golden to burnt in a matter of seconds. Seriously! The residual heat in the pan continues to cook the butter even after you turn off the burner. Therefore, it’s imperative to keep a constant eye on the pan and never, ever walk away from the stove during the browning process. If you end up with black, acrid-smelling bits, you’ve gone too far, and unfortunately, burnt butter is irreparable and needs to be discarded.
- Opt for High-Quality Butter: The quality of your final brown butter product is directly proportional to the quality of the butter you start with. Whenever possible, I recommend using a high-quality butter, such as European-style butter, which typically boasts a higher butterfat content and lower water content compared to standard American butter. This higher fat content often results in a richer, more flavorful brown butter with superior nutty notes. Better quality butter truly equals better brown butter!
- Cut Butter into Smaller Pieces: While not strictly necessary, cutting your butter into smaller, uniform pieces (e.g., 1-inch cubes) before melting can significantly speed up the melting process and ensure more even heating. This can reduce the overall time spent stirring and minimize the risk of some parts of the butter browning faster than others.
- Have a Heatproof Bowl Ready: Be prepared! Have your heatproof bowl (glass, ceramic, or metal) waiting on the counter before you even start melting the butter. This ensures you can immediately transfer the brown butter from the hot saucepan as soon as it reaches that perfect golden-brown stage, stopping the cooking process dead in its tracks.
Endless Uses for Brown Butter!
Once you’ve mastered the art of making brown butter, a world of culinary possibilities opens up. Its rich, nutty flavor is incredibly versatile, enhancing both sweet and savory applications. Here are just some of the delightful recipes where brown butter truly shines and that I’ve personally used it in to rave reviews:
- Cardamom Cake with Brown Butter Cream Cheese Frosting: The warm spices of cardamom meet the rich notes of brown butter for an unforgettable frosting.
- Brown Butter Cinnamon Rolls: A classic comfort food gets an elevated twist with deeper, more complex flavors.
- Browned Butter Pecan Cookies: The nutty flavor of pecans is perfectly complemented by the toasted notes of brown butter.
- Brown Butter Snickerdoodles: These beloved cookies get an extra layer of warmth and depth.
- The Best Brown Butter Blondies: Chewy, rich, and wonderfully satisfying, these blondies are a true testament to brown butter’s power.
- Brown Butter Miso Chocolate Chip Cookies: An incredible salty-sweet combination, where the umami of miso pairs perfectly with the nutty brown butter.
- Brown Butter Espresso Brownies: The deep notes of espresso are beautifully enhanced by the complex flavor of brown butter in these rich brownies.
- Brown Butter Oatmeal Cookies: A timeless classic made even better and more comforting.
- Chocolate Chunk Banana Bread with Brown Butter: Transform your morning bread into an extraordinary treat.
- Beyond Baking: Don’t limit yourself to sweets! Try drizzling brown butter over roasted vegetables, fish, or even pasta dishes. It’s fantastic in mashed potatoes, or as a base for pan sauces for steak or chicken.
Now that you’re equipped with the knowledge of how to make brown butter, it’s time to get cooking! This simple technique will undoubtedly become a staple in your kitchen, adding a touch of gourmet magic to everything you create. If you’ve made this incredibly flavorful brown butter using my guide, make sure to leave a ⭐️ rating and review below! I absolutely adore seeing your culinary creations, so please tag me on Instagram @alpineella so I can admire what you’ve made! You can also follow along on Pinterest, Facebook, and TikTok for more delicious recipes and baking inspiration. Happy browning!
Recipe
How to Make Brown Butter (Easy & with Video!)
Ella Gilbert
Pin Recipe
Save RecipeSaved!
Equipment
-
Small, Light-Colored Saucepan
-
Heatproof Bowl
-
Rubber Spatula or Whisk
Ingredients
- 1 stick unsalted butter (or desired amount)
Instructions
-
Place your unsalted butter in a small or medium light-colored saucepan. Set the saucepan on the stove over medium-low heat. Begin stirring consistently with a rubber spatula or whisk as the butter starts to melt. It’s crucial to stir continuously throughout this entire process to ensure even browning and prevent scorching.1 stick unsalted butter
-
The butter will soon start to foam heavily on top and sizzle actively as the water evaporates. Continue to stir without interruption. After approximately 5-7 minutes, the foam will begin to subside, and you’ll clearly see tiny white milk solids forming and collecting at the bottom of the pan. Keep stirring until these milk solids begin to turn a light golden color and your kitchen fills with a distinct nutty, toasted aroma.
-
At this critical point, the sizzling should have significantly diminished, and the milk solids at the bottom of the pan should have deepened to a rich, golden brown. The butter will smell intensely nutty, like toasted hazelnuts or caramel. This indicates perfect browning.
-
Immediately turn off the stove and remove the saucepan from the heat. Pour the freshly made brown butter into a heatproof bowl to halt the cooking process. Be sure to use your rubber spatula to scrape all the delicious brown bits (toasted milk solids) from the bottom of the pan into your bowl, as these are essential for flavor. Allow the brown butter to cool slightly before using it as desired in your recipes.
Video
Notes
Amount of Butter: The instructions here use 1 stick of butter as an example for demonstration. However, you should always use the specific amount of butter your recipe calls for. Simply scale up or down the quantity as needed, keeping a close eye on the browning process.
Storage: Once cooled, brown butter can be stored in an airtight container in the refrigerator for up to 2 weeks, or frozen for up to 3 months. This makes it a fantastic ingredient to prepare ahead of time for future culinary adventures.
Nutrition
