Irresistible Caramel Filled Vanilla Cupcakes with Luscious Salted Caramel Buttercream
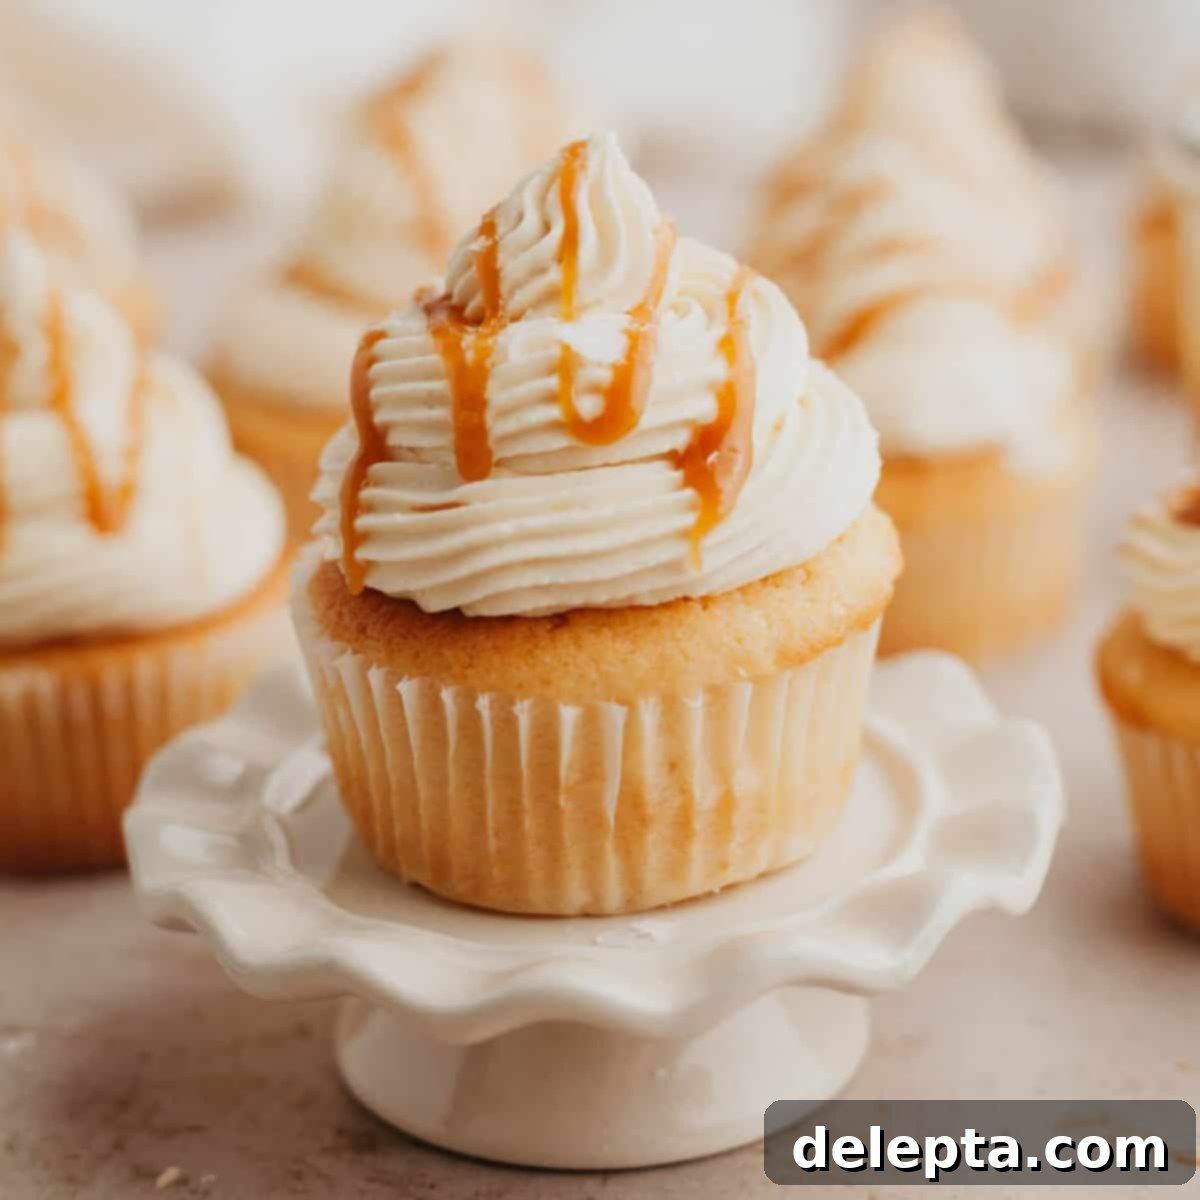
Prepare to fall in love with these utterly decadent caramel filled cupcakes, the ultimate treat for any caramel enthusiast! Each bite offers a delightful experience, starting with a tender, fluffy vanilla cupcake. This sweet base is generously stuffed with rich, homemade caramel sauce, then crowned with a swirl of creamy, dreamy salted caramel frosting. It’s a symphony of sweet and salty, guaranteed to satisfy your deepest dessert cravings.
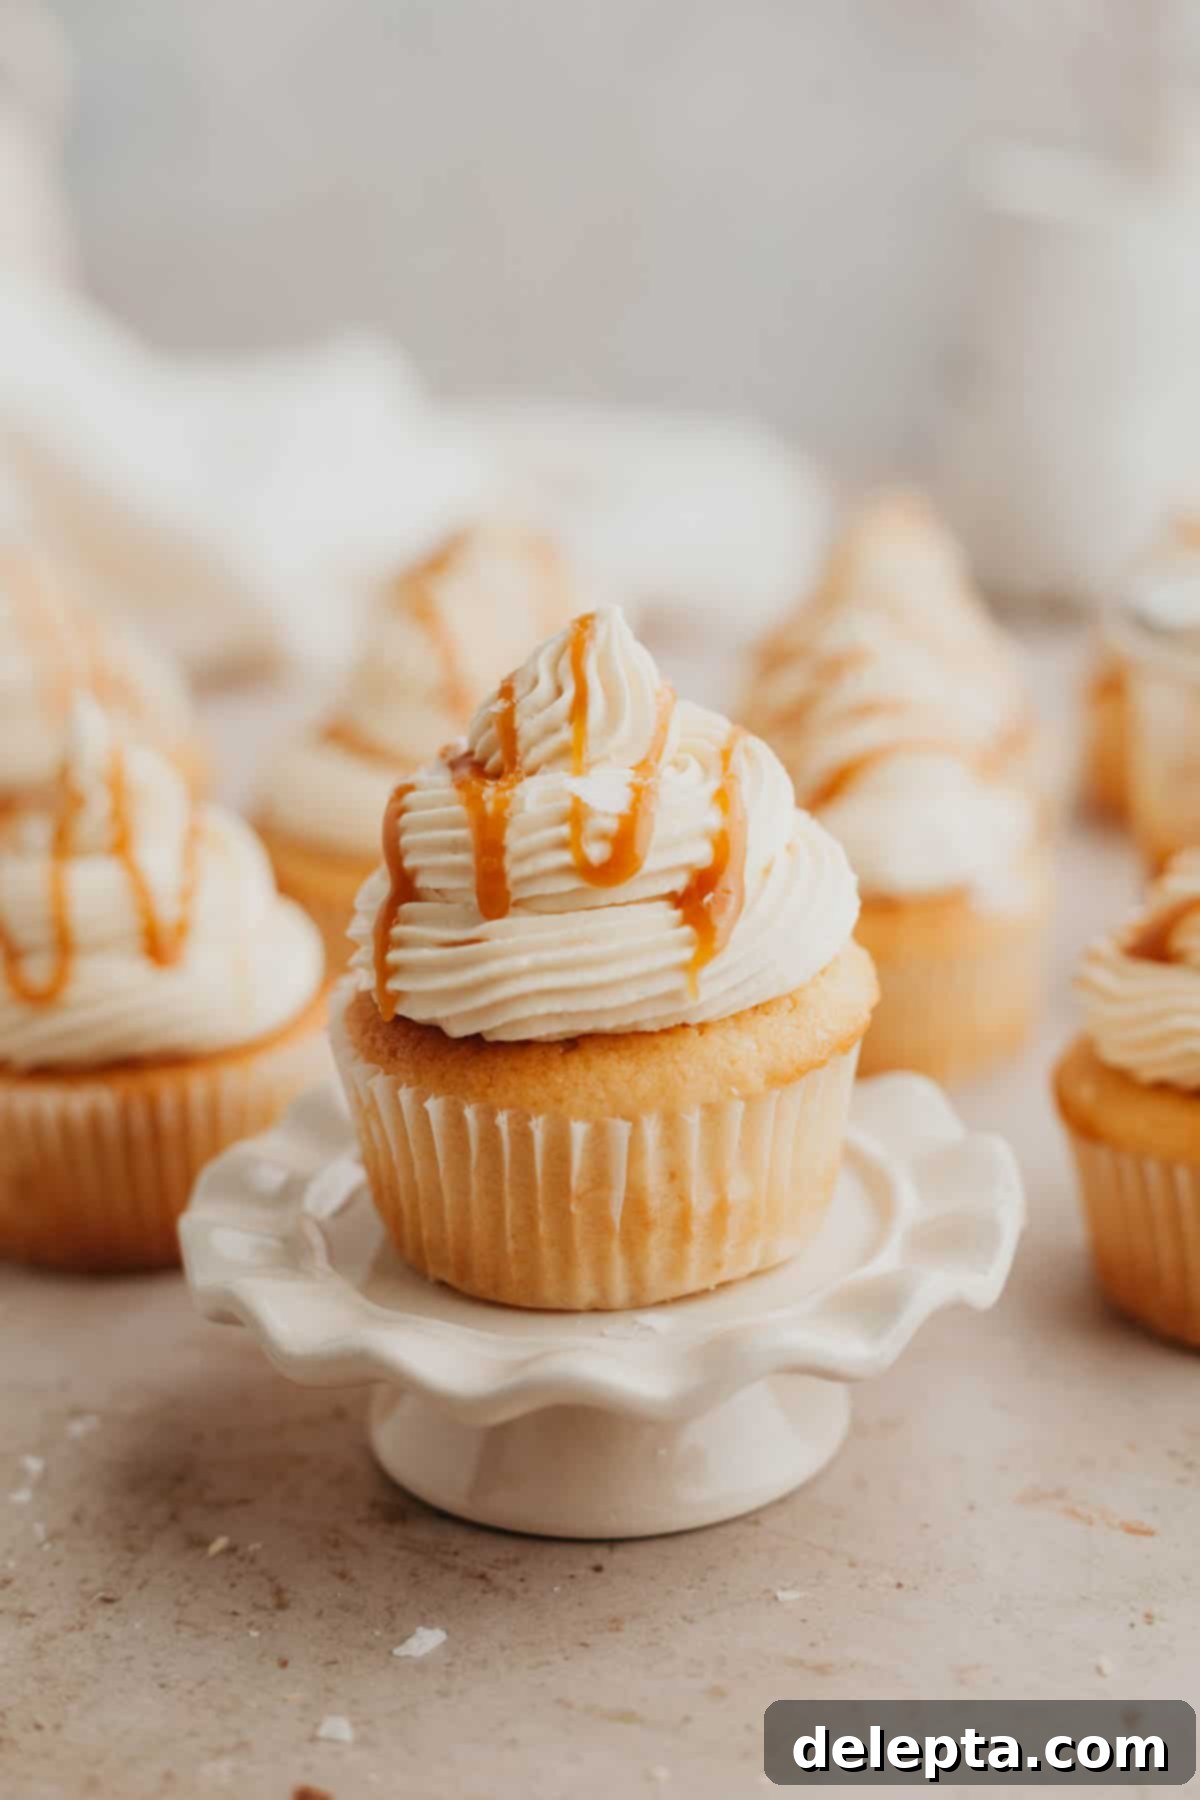
Salted caramel is more than just a flavor; it’s a culinary obsession, and for good reason! Its delightful balance of sweet and savory notes creates an addictive profile that elevates any dessert. Having successfully crafted salted caramel macarons and a sumptuous caramel covered cheesecake, I knew my next creation had to be a show-stopping caramel cupcake. This recipe builds on the simplicity of my cinnamon swirl cupcakes, offering a straightforward vanilla base that comes together remarkably quickly, leaving you more time for the star of the show: the caramel!
Many home bakers might feel intimidated by the idea of making caramel from scratch, envisioning a finicky and challenging process. However, I assure you, it is far easier than you might imagine! I distinctly remember my initial apprehension before attempting homemade caramel, but once I conquered it, I was astonished by how rapidly and effortlessly I could produce a perfectly smooth, golden caramel sauce. With a little patience and attention, you too can master this impressive skill and elevate these cupcakes to an extraordinary level.
[feast_advanced_jump_to]
Why You’ll Adore These Salted Caramel Cupcakes!
- Surprisingly Quick to Prepare – Don’t let the “homemade caramel” deter you! The cupcake batter itself takes mere minutes to whisk together, and the rich buttercream can be ready in about 10 minutes. The most time-intensive part, making the luscious homemade caramel, requires only about 15 minutes of active cooking. All in all, you’ll be enjoying these gourmet treats sooner than you think!
- Exploding with Intense Caramel Flavor – These aren’t just cupcakes with a hint of caramel; they are a true celebration of the flavor! Each cupcake features a generous core of velvety homemade caramel sauce. That same exquisite caramel is then expertly folded into the creamy buttercream, ensuring every dollop is packed with flavor. To top it all off, a final drizzle of melted caramel sauce adds an extra layer of visual appeal and taste, creating a truly immersive caramel experience.
- Perfect for Any Celebration – Whether you’re hosting a birthday bash, a holiday gathering, or simply need a delightful dessert for a casual get-together, this recipe is ideal. Yielding between 12-14 beautifully crafted cupcakes, it’s the perfect quantity to impress your guests and ensure everyone gets a taste of this sweet and salty sensation. Their elegant presentation makes them suitable for any festive occasion.
- Conveniently Made in Advance – Planning a party or short on time? This recipe offers excellent flexibility. Both the vanilla cupcakes and the homemade caramel sauce can be prepared a day ahead of time, allowing you to streamline your baking process. Simply bake the cupcakes, let them cool completely, and store them properly. The caramel can be made and stored in an airtight container, ready for assembly when you are. This convenience makes them a stress-free option for entertaining.
- Simple Yet Impressive Homemade Caramel – While store-bought caramel can be convenient, making your own elevates these cupcakes significantly. Our easy-to-follow method demystifies the process, turning what seems complex into a rewarding and straightforward task. The depth of flavor and smooth texture of homemade caramel truly sets these cupcakes apart.
Essential Ingredient Notes for Perfection
-

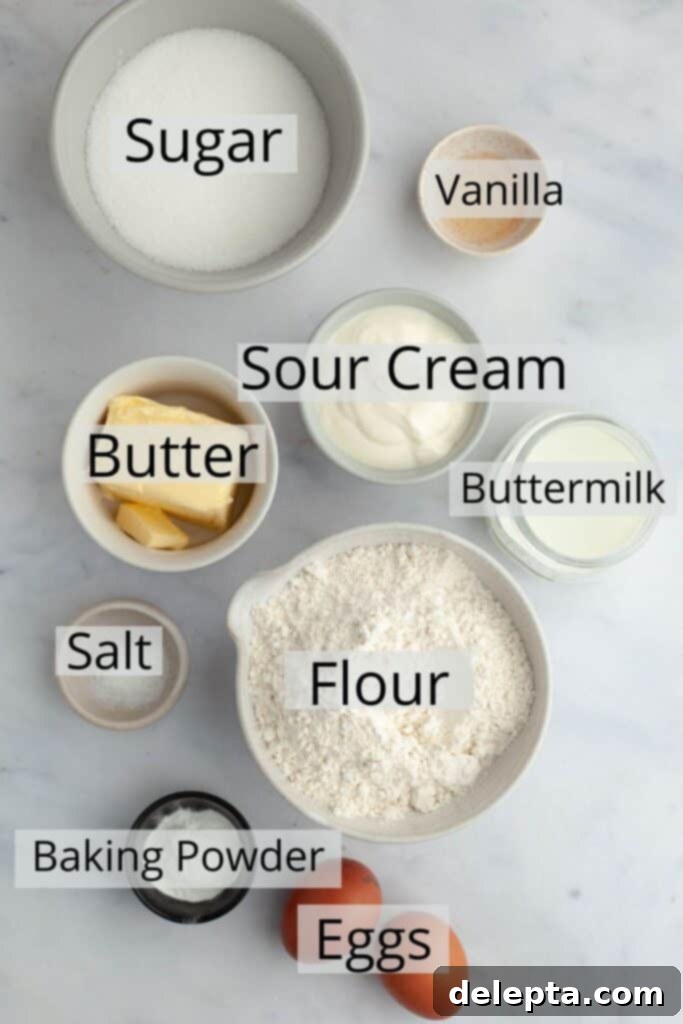
Cupcake Ingredients -

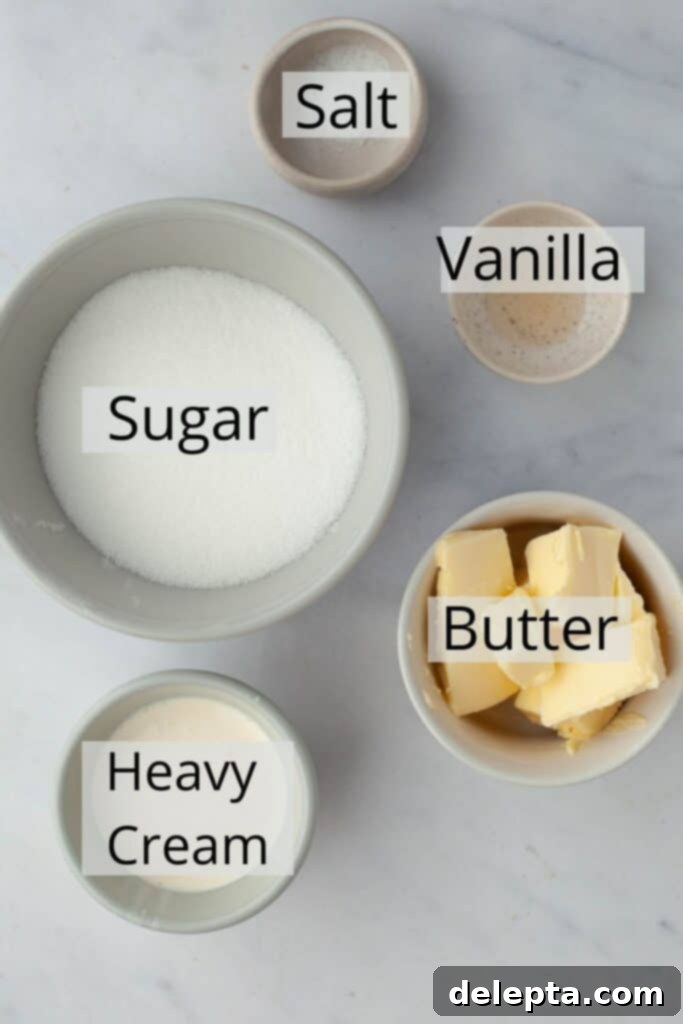
Caramel Ingredients
For the best baking results, always ensure your ingredients are at room temperature unless otherwise specified. This allows them to cream together smoothly, creating a uniform batter and a tender crumb.
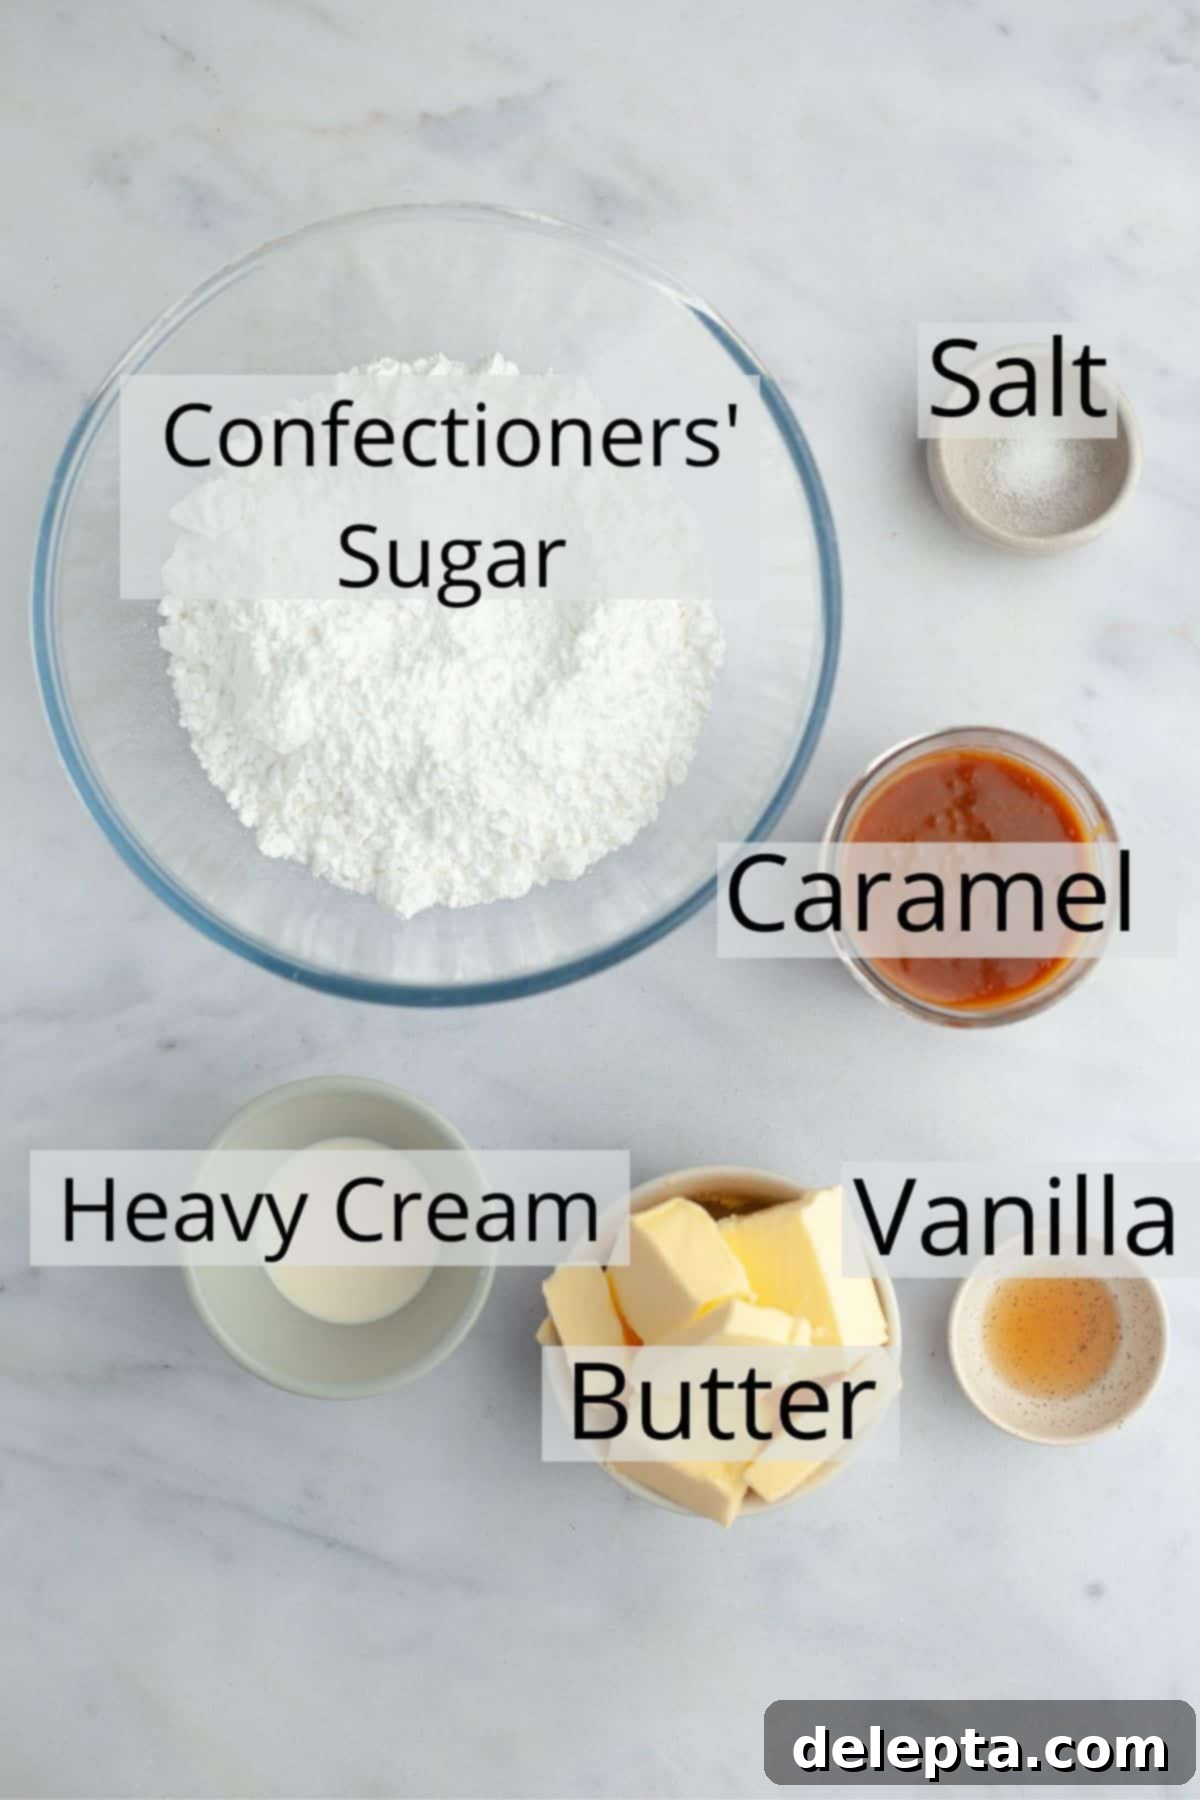
Unsalted Butter: For the cupcakes, homemade caramel, and buttercream, I exclusively use unsalted European-style butter. Its higher butterfat content (typically 81% or more) imparts a significantly richer and creamier flavor, contributing to a superior texture in all components of this recipe. Using unsalted butter also gives you complete control over the salt content.
All-Purpose Flour: This recipe has been meticulously tested using standard all-purpose flour (known as plain flour in the UK). While I haven’t experimented with gluten-free alternatives, feel free to try and share your results! Proper flour measurement is crucial; I highly recommend using a kitchen scale for accuracy, or employing the “fluff and sprinkle” method if using measuring cups to avoid a dense, dry cupcake.
White Sugar: Granulated white sugar is used in both the cupcake batter for sweetness and structure, and for creating the beautiful homemade caramel. For the caramel, it’s essential to use fine granulated sugar for even melting.
Baking Powder: This leavening agent is vital for giving the vanilla cupcakes their signature light and airy texture. Ensure your baking powder is fresh for optimal lift.
Kosher Salt: Salt is a flavor enhancer, balancing the sweetness in the cupcakes and bringing out the rich caramel notes. It’s particularly important for the “salted” aspect of our salted caramel! If using table salt, reduce the quantity by half, as it’s finer and more potent.
Sour Cream: My secret ingredient for ultra-moist and tender cupcakes! Sour cream adds richness and a delicate tang that perfectly complements the vanilla. If sour cream isn’t available, full-fat Greek yogurt or plain yogurt can be used as a direct substitute, providing similar moisture and acidity.
Buttermilk: Working in conjunction with the baking powder, buttermilk’s acidity reacts to create an incredibly tender and moist cupcake crumb. If you don’t have buttermilk on hand, you can easily make your own: simply add 1 tablespoon of white vinegar or lemon juice to a liquid measuring cup, then fill it to the ½ cup mark with regular milk. Let it sit for 5-10 minutes until it slightly curdles.
Large Eggs: Eggs provide structure, richness, and moisture to the cupcakes. I’ve developed this recipe using large eggs. Always ensure they are at room temperature; this helps them emulsify better with the butter and sugar, leading to a smoother batter.
Vanilla Extract: A crucial flavor component for both the vanilla cupcakes and the caramel sauce. Use a good quality pure vanilla extract for the best aromatic results. It enhances all the other flavors.
Confectioners’ Sugar: Also known as powdered sugar or icing sugar, this is the foundation for our light and creamy American buttercream. Sifting it before use is highly recommended to prevent lumps and achieve a silky-smooth frosting texture.
Caramel: The heart of this dessert! Our recipe walks you through making a superior homemade salted caramel from scratch. This caramel is used both as a luscious filling and is incorporated into the buttercream. While you can opt for store-bought salted caramel sauce for convenience, the homemade version truly elevates the flavor profile and texture of these cupcakes to an unparalleled level. For the homemade caramel, you’ll also need heavy cream (double cream in the UK), which adds richness and smoothness.
Detailed Step-by-Step Instructions for Perfect Cupcakes
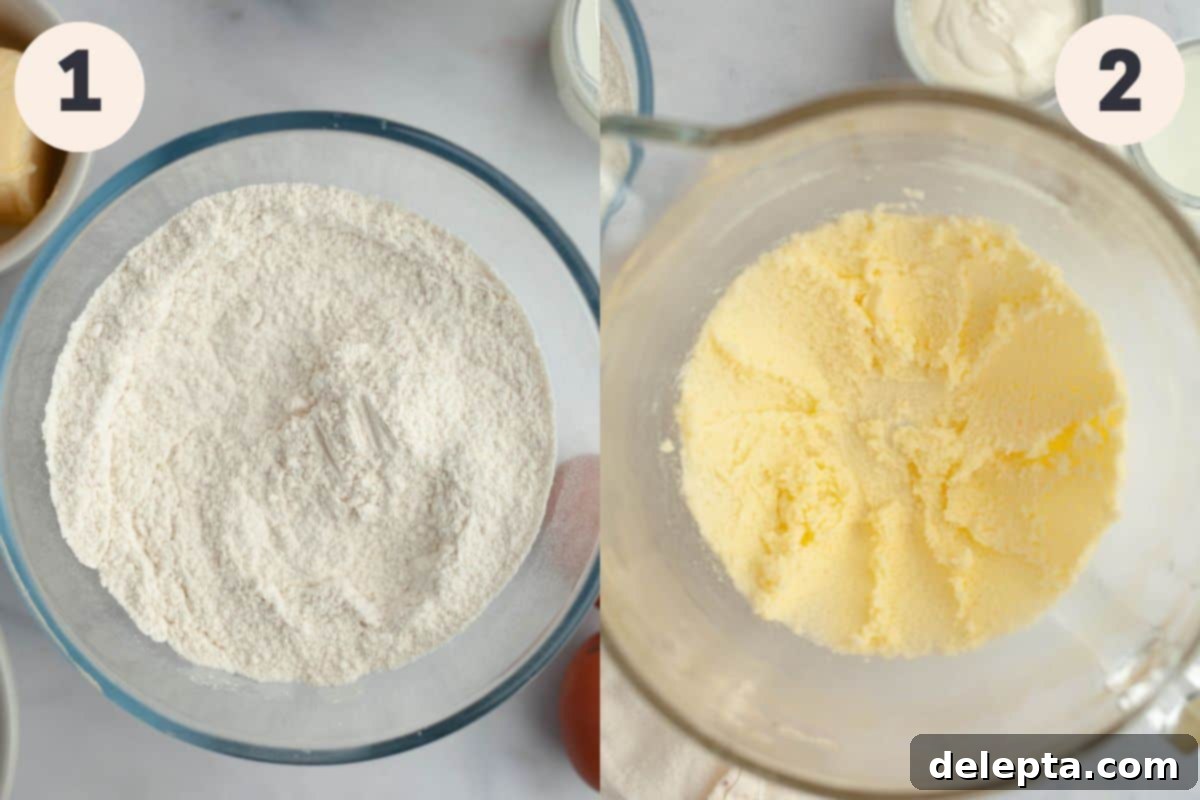
Step 1: Prepare Your Baking Station. Begin by preheating your oven to 350°F (175°C) and positioning an oven rack in the center. Line a 12-cup cupcake pan with paper liners. In a separate large mixing bowl, combine the all-purpose flour, baking powder, and kosher salt. Use a whisk to thoroughly blend these dry ingredients, ensuring an even distribution of the leavening agent and salt throughout. Set this bowl aside for later use.
Step 2: Cream Butter and Sugar. In the bowl of a stand mixer fitted with the paddle attachment, or using a large bowl with a handheld electric mixer, cream together the room temperature unsalted butter and white sugar. Beat on medium-high speed for 2 to 3 minutes until the mixture transforms into a light, pale, and fluffy consistency. This creaming process incorporates air, which is essential for a tender cupcake.
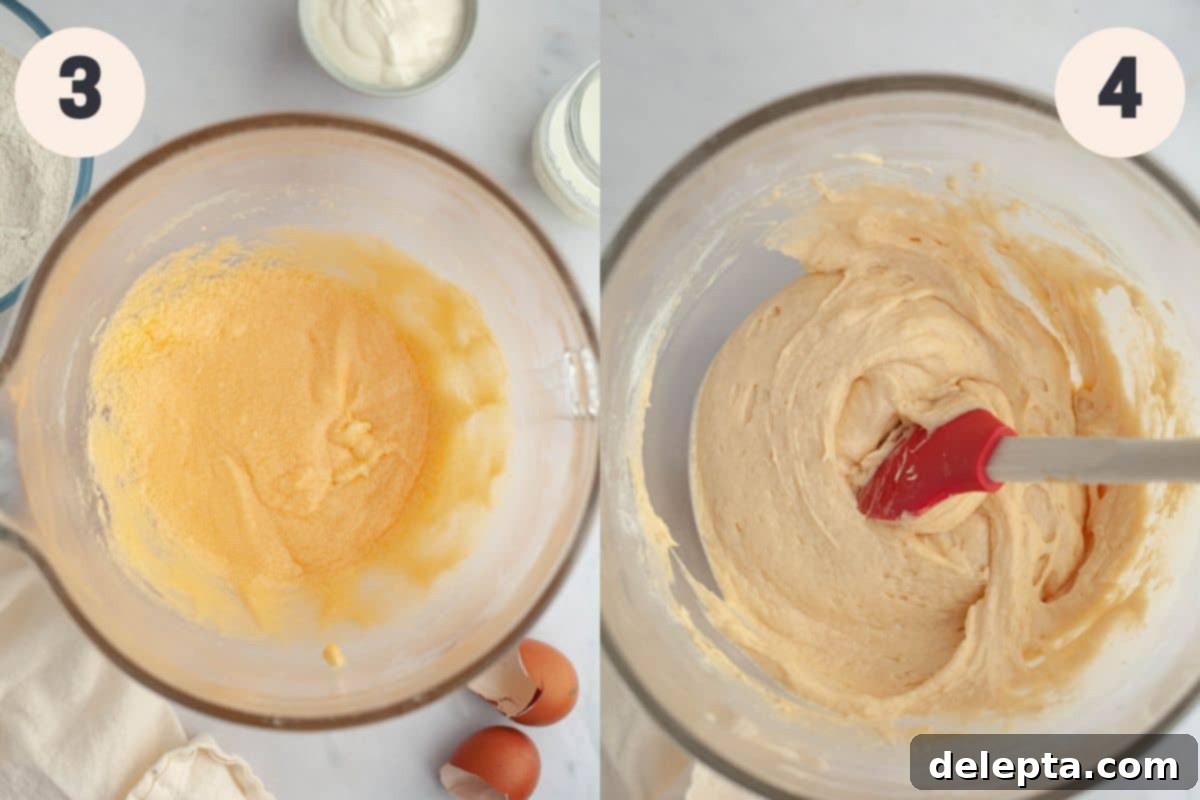
Step 3: Incorporate Wet Ingredients. Add the room temperature large eggs, one at a time, beating well after each addition until fully combined. Then, stir in the vanilla extract. Continue to beat for another minute. Once you stop the mixer, use a rubber spatula to carefully scrape down the sides and bottom of the bowl. This ensures all ingredients are thoroughly incorporated and prevents unmixed pockets of butter or sugar.
Step 4: Alternate Wet and Dry Ingredients. Pour in your room temperature sour cream and beat on medium-low speed until just combined. Be careful not to overmix. Next, add your prepared dry ingredients in three separate additions, alternating with the buttermilk. Start and end with the dry ingredients. Mix on low speed until just combined after each addition; overmixing at this stage can lead to tough cupcakes.
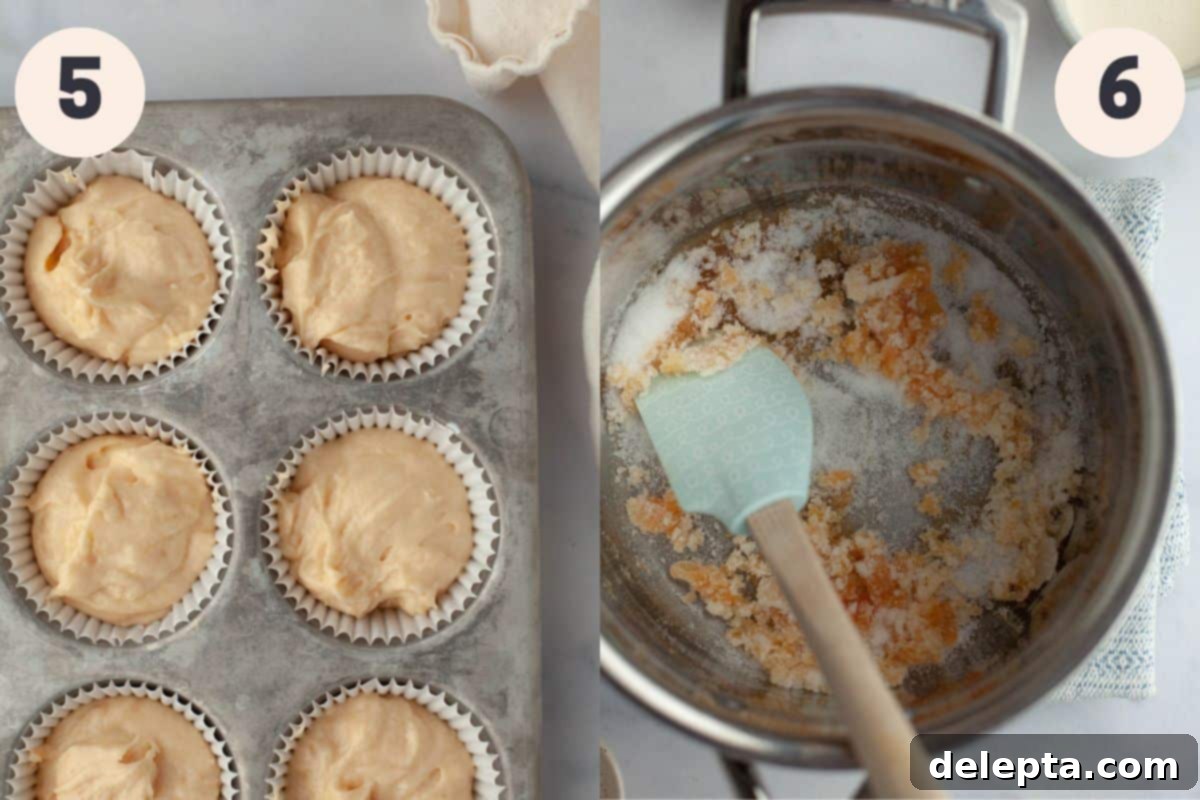
Step 5: Bake the Cupcakes. Fill the prepared cupcake liners approximately two-thirds full with the batter. This recipe yields around 14 cupcakes, so you may need to bake them in two batches depending on your pan size. Bake for 20-23 minutes, or until a wooden skewer or toothpick inserted into the center comes out clean. Allow the cupcakes to cool in the pan for about 10 minutes before transferring them to a wire rack to cool completely. This prevents them from becoming soggy.
Step 6: Begin Homemade Caramel. Now, for the star! In a small, heavy-bottomed saucepan over medium-low heat, sprinkle about ¼ cup of white sugar. Allow this portion to melt completely and turn into a light amber liquid before adding the next ¼ cup. Continue this process, adding sugar in small increments and stirring occasionally, until all of the sugar has dissolved and transformed into a beautiful, deep amber-colored liquid. Patience is key here to prevent burning and ensure a smooth caramel.
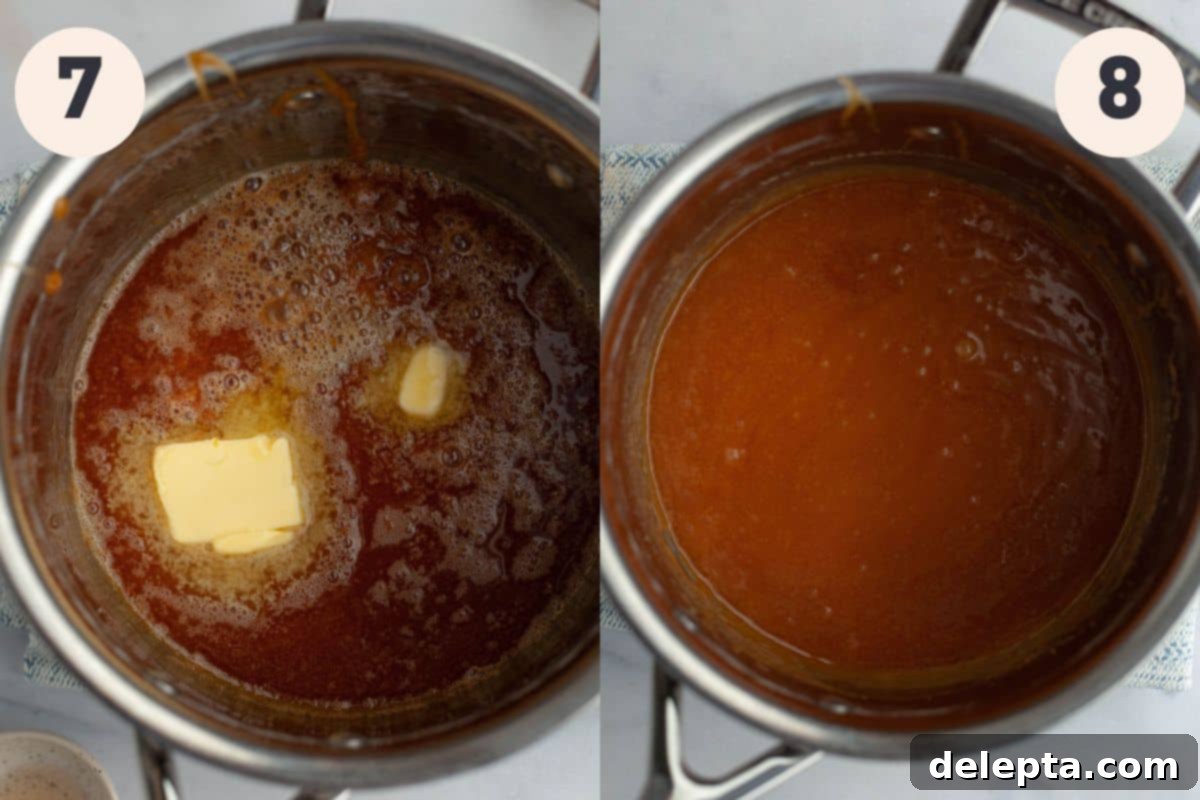
Step 7: Add Butter to Caramel. Once the caramel has achieved a rich, deep amber hue, immediately remove the saucepan from the heat. Carefully add the room temperature unsalted butter, one tablespoon at a time, whisking constantly. Be extremely cautious as the mixture will bubble and sputter vigorously; this is normal. Continue to stir until all the butter is fully melted and incorporated, creating a smooth, glossy base.
Step 8: Finish the Caramel. Now, gradually pour in the heavy cream, followed by the kosher salt and vanilla extract. Whisk continuously until the caramel is smooth, homogeneous, and has thickened slightly. The addition of cream will cool the caramel, causing it to seize initially, but keep stirring, and it will smooth out. Pour the finished caramel into a heatproof jar or bowl and let it cool completely at room temperature. It will thicken considerably as it cools, achieving that perfect pourable consistency for filling and frosting.
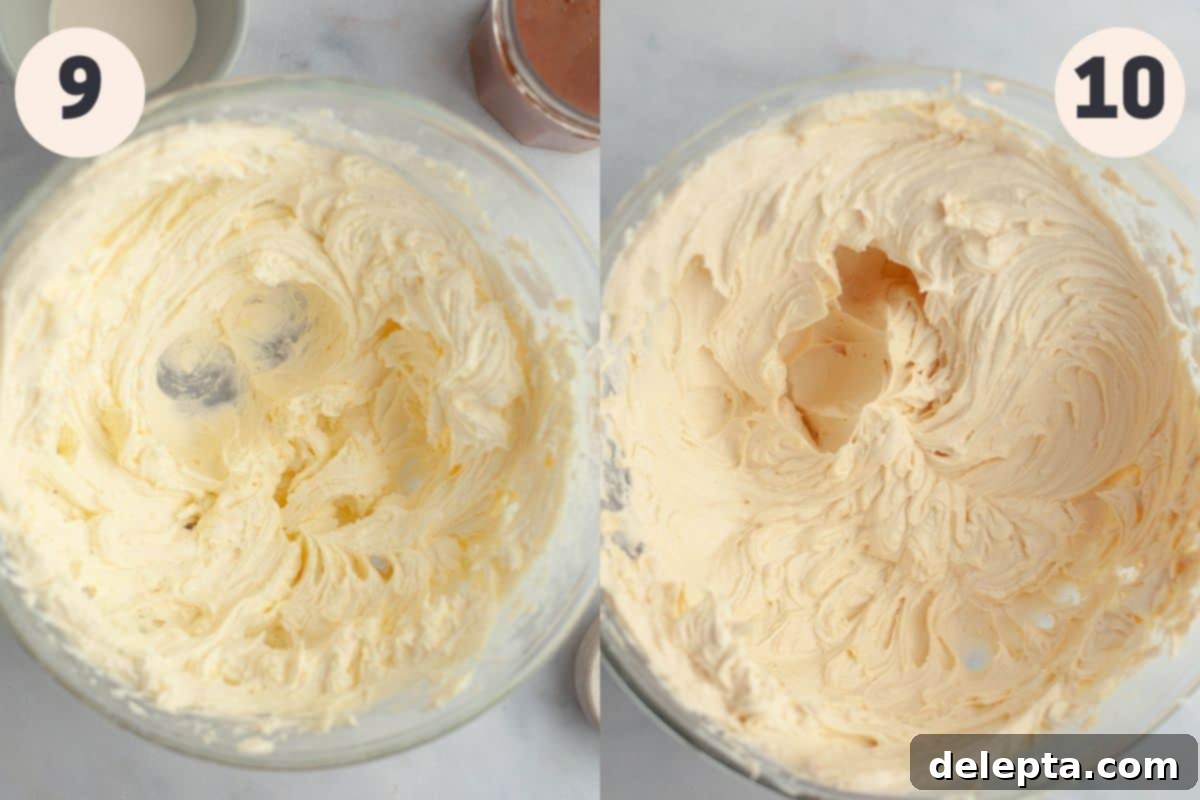
Step 9: Prepare the Buttercream Base. It’s frosting time! In a large mixing bowl, or in the bowl of a stand mixer fitted with the paddle attachment, begin by beating the room temperature unsalted butter and sifted confectioners’ sugar together on low speed. This initial low speed helps prevent a cloud of sugar from erupting. Once the sugar is mostly incorporated and the mixture starts to look creamy, increase the speed to medium and beat for an additional 2 minutes until it becomes light and fluffy.
Step 10: Flavor the Buttercream. Stop the mixer and add the kosher salt, a generous ¼ cup of your cooled homemade caramel sauce, and vanilla extract. Beat on medium speed for another 2 minutes until everything is perfectly combined and the frosting is smooth and wonderfully caramel-flavored. If you find your frosting isn’t quite as creamy or pipeable as you desire, you can add the optional tablespoon of heavy cream, a little at a time, until you reach your preferred consistency. Scrape down the bowl periodically to ensure even mixing.
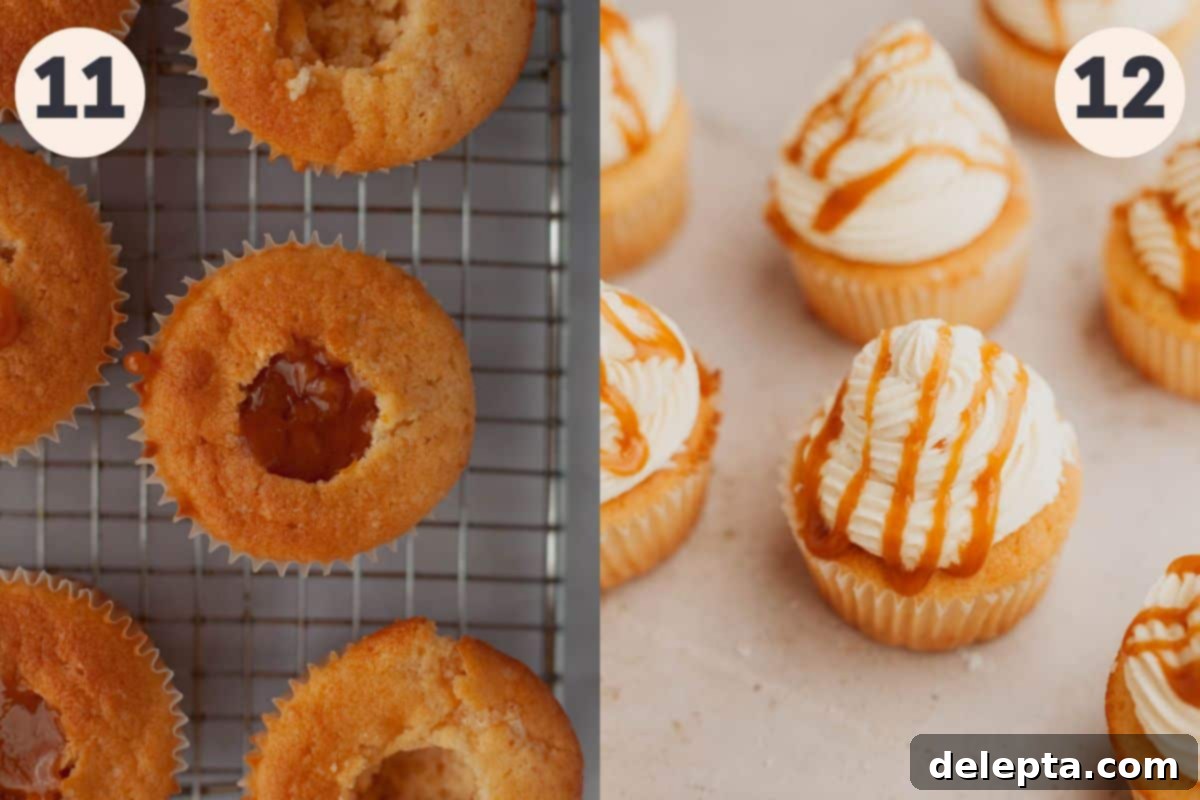
Step 11: Fill Your Cupcakes. Ensure your cupcakes are completely cool before this step. Using either a specialized cupcake corer or a large piping tip (a Wilton 1A or similar round tip works wonderfully), gently press it into the center of each cupcake, going about halfway down. Twist slightly and lift to remove the core of cake. If the core doesn’t come out cleanly, use a small butter knife or spoon to carefully excavate the cavity. Then, take a small spoon and generously fill each hollow with your delicious, cooled salted caramel sauce until it reaches the top edge of the cupcake.
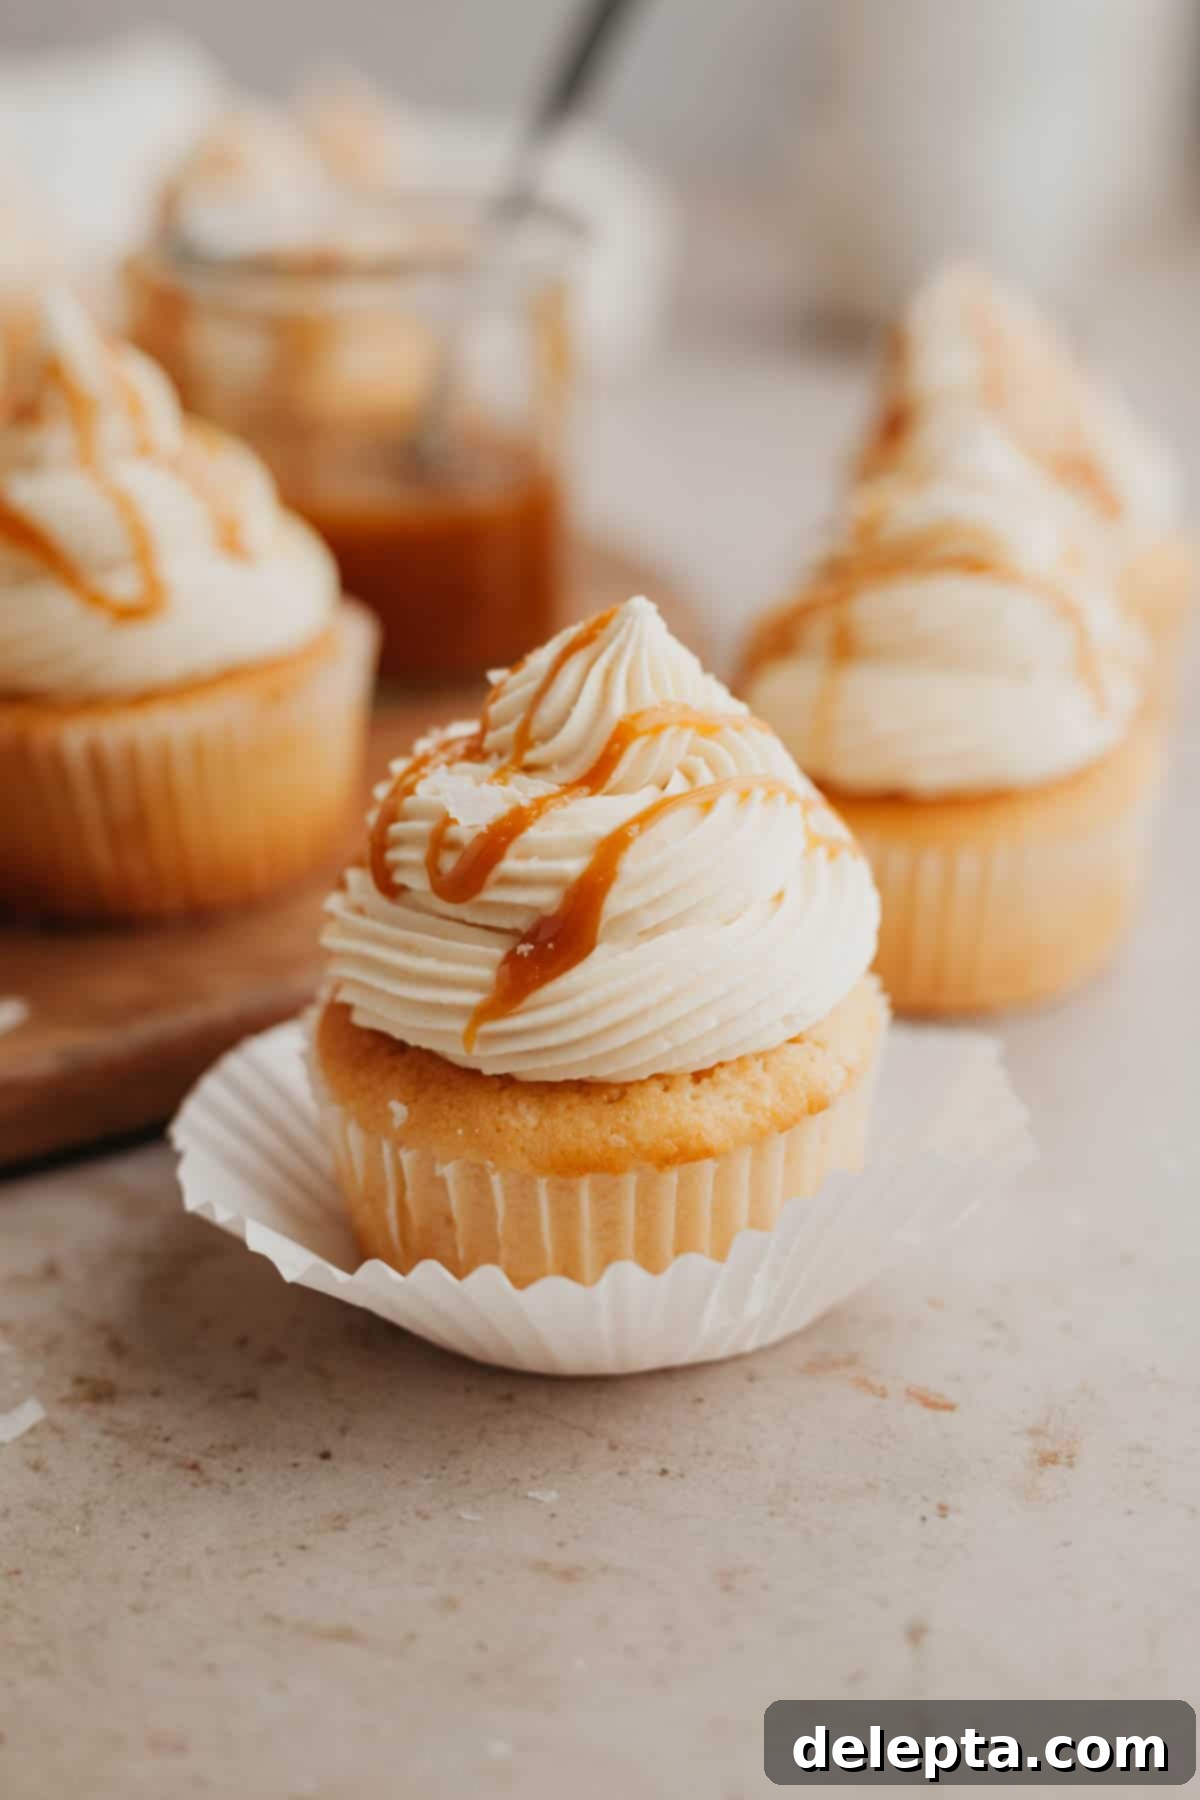
Step 12: Frost and Drizzle. Now for the artistic touch! Transfer your caramel buttercream to a piping bag fitted with your favorite tip. I achieved the beautiful swirl pictured using a Wilton 4B open star tip. Pipe a generous swirl of buttercream on top of each filled cupcake. For a final flourish, take any remaining homemade caramel (if it’s too thick, gently warm it in the microwave for 15-30 seconds until pourable) and drizzle it artfully over the frosted cupcakes. I find a plastic squeeze bottle works best for a neat drizzle. To complete these irresistible treats, sprinkle a pinch of flaky sea salt over the top of each cupcake for an extra pop of savory goodness, enhancing that perfect sweet and salty balance.
Expert Recipe Tips & Tricks for Baking Success
- Embrace the Weighing Scale! For consistent and accurate baking results, I cannot stress enough the importance of using a digital kitchen scale. Measuring ingredients, especially flour, by weight (preferably in metric grams) eliminates variables introduced by volume measuring, ensuring your cupcakes are perfectly moist every time.
- Master the “Fluff and Sprinkle” Method for Flour – If you absolutely must use measuring cups instead of a scale, make sure you measure your flour correctly to avoid a dense, dry crumb. Gently fluff the flour in its container, then spoon it lightly into your measuring cup. Level off the top with a straight edge without packing it down. For a visual guide, refer to resources like this link.
- Room Temperature is Non-Negotiable – This is a golden rule for baking! Ensure all your perishable ingredients, including butter, eggs, sour cream, and buttermilk, are at true room temperature before you start mixing. This allows them to emulsify properly, creating a smooth, lump-free batter and a superior final product.
- Customize Your Buttercream Consistency – The homemade caramel itself adds a significant amount of creaminess to the buttercream. Therefore, the additional heavy cream listed in the recipe is entirely optional. I recommend making the buttercream as directed first, then assessing its consistency. If it feels too stiff to pipe easily or you prefer an even creamier frosting, gradually add the heavy cream, one teaspoon at a time, until it reaches your desired texture.
- Effortless Caramel Drizzle – If your homemade caramel has cooled and become too thick to drizzle easily, simply pop it in the microwave for short bursts (15-30 seconds) until it becomes wonderfully pourable again. For the neatest and most professional-looking drizzle over your frosted cupcakes, transfer the warm, softened caramel into a plastic squeeze bottle. This gives you excellent control and creates beautiful, fine lines.
- Avoid Overmixing Your Batter – Once you start adding the flour, mix the batter only until the dry ingredients are just combined. Overmixing develops the gluten in the flour, leading to tough, chewy cupcakes rather than light and tender ones. A few small lumps are perfectly fine.
- Cool Cupcakes Completely – Before coring, filling, and frosting, your cupcakes must be completely cool. Attempting to fill or frost warm cupcakes will result in melted frosting and a messy situation. Patience here pays off!
Frequently Asked Questions About Caramel Cupcakes
Once you’ve cored your cooled cupcakes, filling them is quite simple. I’ve found the most efficient method is to use a small teaspoon to scoop up the luscious caramel sauce. Then, with the help of a small rubber spatula, gently scrape the caramel off the spoon and into the freshly created cupcake cavity. Repeat until each cupcake is generously filled to the top.
While a dedicated cupcake corer is an option, my preferred and surprisingly effective tool for hollowing cupcakes is a large piping tip! Choose a wide, round piping tip (like a Wilton 1A or similar). Place the base of the piping tip directly in the center of your cooled cupcake. Carefully press down with one hand while holding the cupcake firmly with the other, going about halfway through the cupcake’s depth. Twist slightly and then lift the piping tip out. It should bring a neat small cylinder of cake with it. If it doesn’t quite lift out completely, a gentle pry with a butter knife or small spoon will help remove the core, creating a perfect pocket for your caramel filling.
Absolutely, you can use ready-made caramel sauce if you’re short on time or prefer that convenience. However, I truly believe that investing a few extra minutes to make your own caramel from scratch makes a significant difference. Homemade caramel boasts a superior depth of flavor, a smoother texture, and a freshness that store-bought versions simply can’t match. It truly elevates these cupcakes from good to extraordinary!
Filling a piping bag cleanly and efficiently is easier than you think. My favorite trick is to first fit your piping bag with the desired tip. Then, place the bag tip-down into a tall, sturdy glass (a smoothie glass or a pint glass works perfectly). Fold the top edges of the piping bag down and over the rim of the glass. This creates a wide, stable opening. Now, use a rubber spatula to scoop your buttercream or frosting from the bowl directly into the piping bag. Once filled, unfold the edges, gently twist the top to close, and you’re ready to pipe without the mess!
To keep these delicious cupcakes fresh and moist, store them in an airtight container in the refrigerator. They will maintain their quality for up to 5 days. For the best flavor and texture, allow them to come to room temperature for about 30 minutes before serving.
Yes, you can! You can freeze the baked, unfrosted cupcakes by wrapping them tightly in plastic wrap and then placing them in an airtight freezer bag for up to 2 months. Defrost them at room temperature before filling and frosting. For frosted cupcakes, place them on a tray in the freezer until the frosting is firm (about 1-2 hours), then wrap each cupcake individually in plastic wrap and place them in an airtight container. Thaw overnight in the refrigerator, then let them come to room temperature before enjoying.
Caramel crystallization can happen if sugar crystals get introduced to the melting sugar. To prevent this, ensure your saucepan is perfectly clean. You can also wipe down the sides of the pan with a wet pastry brush during cooking to dissolve any sugar crystals clinging to the sides. If your caramel does crystallize, unfortunately, it’s often best to start over, as it’s difficult to reverse once it happens.
Expand Your Baking Repertoire: Try These Other Delicious Cupcake Recipes!
- Cinnamon Cupcakes with Brown Sugar Cinnamon Buttercream
- Carrot Cupcakes with Cream Cheese Frosting
- Easy Nutella Filled Cupcakes
- Maple Cupcakes
Have you made this incredibly delicious recipe? Please take a moment to rate the recipe below! Don’t forget to share your creations with me on Instagram @alpineella and Pinterest! I absolutely love seeing what you bake!
Recipe Card
Caramel Filled Cupcakes
Ella Gilbert
Pin Recipe
Save RecipeSaved!
Equipment
-
1 cupcake pan
Ingredients
Cupcakes
- 1 ¾ cups all purpose flour
- 1 ½ teaspoon baking powder
- 1 cup white sugar
- ½ teaspoon kosher salt
- 1 stick unsalted butter room temperature
- 2 large eggs room temperature
- ½ cup sour cream room temperature
- ½ cup buttermilk room temperature
- 2 teaspoons vanilla extract
Caramel
- 1 cup white sugar
- 6 tablespoons unsalted butter room temperature
- ½ cup heavy cream
- ½ teaspoon kosher salt
- ½ teaspoon vanilla extract
Buttercream
- 2 sticks unsalted butter room temperature
- 1 teaspoon vanilla extract
- ¼ teaspoon kosher salt
- 3 cups confectioners’ sugar
- ¼ cup caramel
- 1 tablespoon heavy cream optional
Instructions
Make Cupcakes
-
Preheat the oven to 350°F (175°C). Line a 12-cup pan with cupcake liners. This recipe makes 13-14 cupcakes.
-
In a medium bowl, whisk together the flour, baking powder and salt.
-
In a stand mixer with the paddle attachment, beat the butter and sugar together on medium-high speed for 2 minutes. It should become light and fluffy.
-
Add the eggs and vanilla extract, then beat again on medium speed
-
Add in the sour cream, beating on medium-low speed until well combined
-
Alternate the dry ingredients with the buttermilk, starting and ending with dry.
-
Fill in liners with batter until they’re ⅔ full. Bake for 20-23 minutes. A toothpick inserted will come out clean with no crumbs. Let cool completely. Your cupcakes might have split at the top, almost like a muffin – this is ok!
Make Caramel
-
Take a small saucepan and place it on your stove over medium heat. Add the sugar ¼ cup at a time, letting the sugar dissolve completely until you add the next ¼ cup.
-
Stir occasionally until the sugar has completely dissolved and turns a dark amber colour. Turn the heat off.
-
Add the butter in a piece at a time – be careful as it may sputter! Stir with a heatproof spatula as you add the butter. Stir in the cream, salt, and vanilla. Pour into a large jar or bowl. Let cool until it is very thick.
Make Buttercream
-
In your stand mixer with the paddle attachment, beat the butter and confectioners’ sugar on low speed until well combined. Turn the speed to high for 2-3 minutes until light and fluffy.
-
Add in the salt, vanilla extract and caramel and beat again on medium speed for 2 minutes.
-
If your frosting isn’t as creamy as you would like, add a tablespoon of heavy cream.
Assembly
-
Use a large piping tip to core out each cupcake. You may need to use a knife or small spatula to dig out some of the cake in case the dip didn’t go down far enough.
-
Use a small spoon to pour in caramel until it reaches the top of the cupcake.
-
Pipe your frosting on top, I used a Wilton 4B tip. I then poured the rest of the caramel into a plastic squeeze bottle and drizzle it on top of the frosting.
Notes
Always ensure all your ingredients are at room temperature before you begin the recipe, including butter, eggs, sour cream, and buttermilk.
Butter: I use European-style butter, like Kerry Gold, in my recipes. This will make your frosting much creamier and richer due to its higher fat content.
Salt: If you don’t have kosher salt, halve the amount of salt called for in the recipe if substituting with fine table salt. (1 teaspoon kosher salt ≈ ½ teaspoon fine salt).
Buttermilk: You can easily make your own buttermilk substitute. For every ½ cup of buttermilk required, simply add 1 tablespoon of lemon juice or white vinegar to a liquid measuring cup, then fill it the rest of the way with regular milk. Let it sit for 5 minutes until it slightly curdles.
Sour Cream: If you don’t have sour cream, an equal amount of full-fat plain yogurt makes an excellent substitute, providing similar moisture and tang.
Storage: Keep these caramel filled cupcakes in an airtight container in the fridge for up to 5 days. For the best enjoyment, allow them to come to room temperature for about 30 minutes before eating.
Making Ahead: You can prepare the cupcakes ahead of time. Once they are completely baked and cooled, wrap them tightly in plastic wrap. They can be stored in the fridge for up to 2 days or in the freezer for up to 2 months. If frozen, ensure they are fully defrosted and have come to room temperature before coring and frosting.
Nutrition
