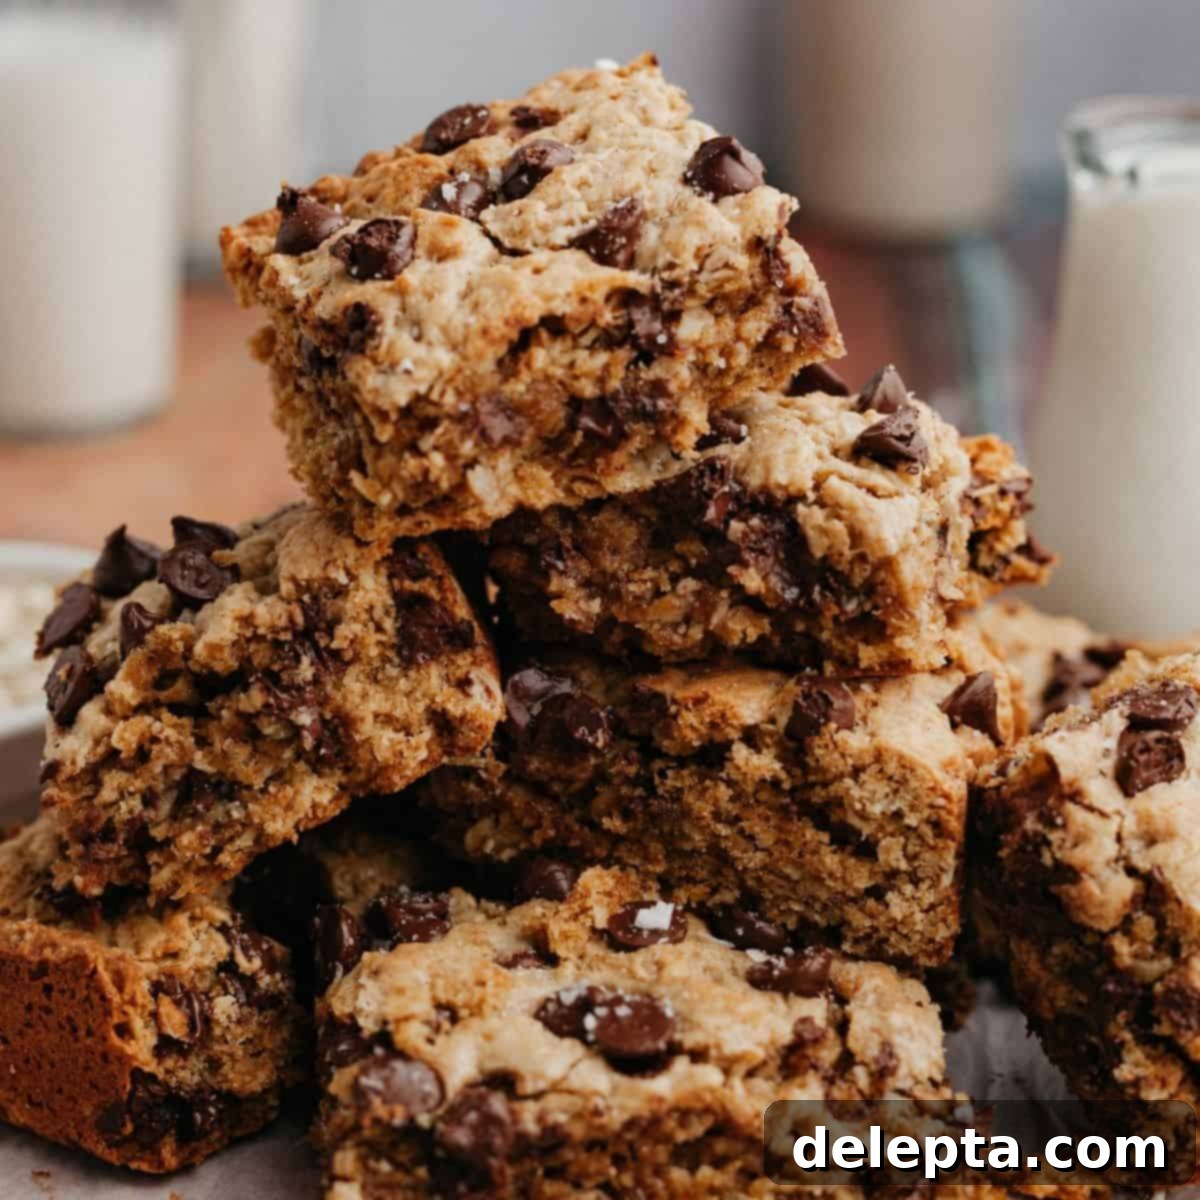
Irresistible One-Bowl Peanut Butter Chocolate Chip Oatmeal Bars: Soft, Chewy & Easy!
Get ready to fall in love with these incredibly soft, delightfully chewy, and generously chocolate-chip-stuffed peanut butter oatmeal bars! This recipe is a dream come true for any baker, requiring just one bowl and a mere 10 minutes of prep time. Imagine thick, satisfying cookie bars bursting with rich peanut butter flavor and melty chocolate – all made with minimal effort and cleanup.
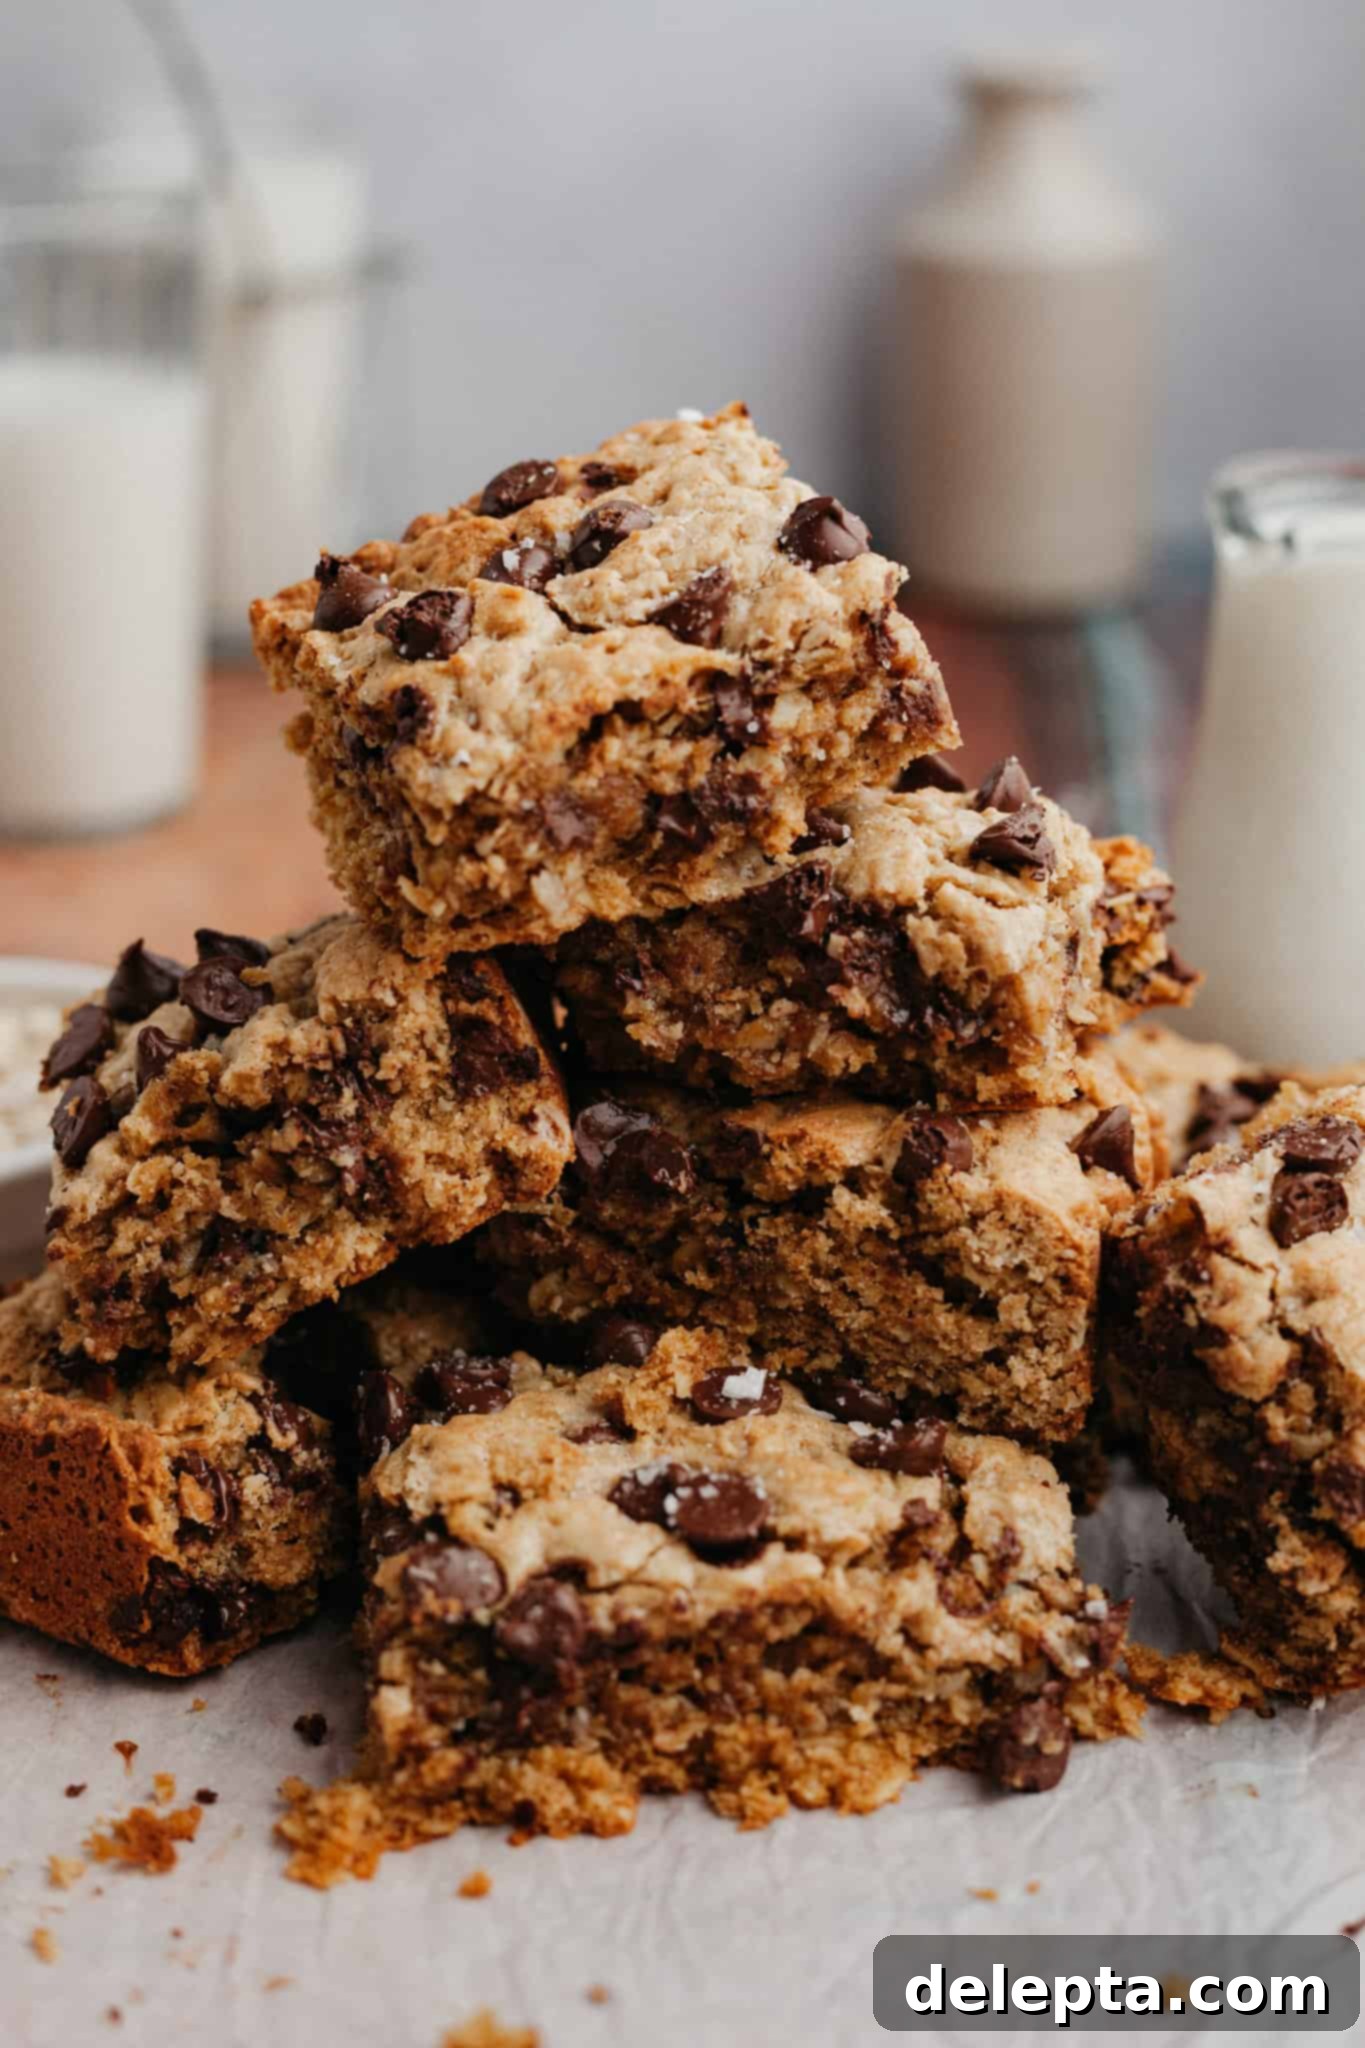
These simple yet sensational peanut butter oatmeal bars strike the perfect balance between a classic chewy blondie and your favorite oatmeal chocolate chip cookie. It’s truly the ultimate comfort food combination! If you’re a fan of rich, sweet treats with a satisfying texture, especially my cookie butter blondies or my peanut butter oatmeal cookies, then these bars are guaranteed to become a new staple in your baking repertoire. They are incredibly versatile and perfect for any occasion, whether you’re bringing a delightful dessert to family gatherings, contributing to a school bake sale, or looking for an easy-to-share treat for potlucks.
This recipe is initially designed for an 8×8 inch baking pan, yielding a perfectly sized batch of thick, delicious bars. However, if you’re expecting a crowd or simply can’t get enough of these amazing treats, you can easily double all the ingredients and bake them in a larger 9×13 inch pan. The baking time will adjust slightly, but the incredible flavor and texture remain consistent, ensuring everyone gets to enjoy a piece (or two!).
[feast_advanced_jump_to]
Why You’ll Love These Peanut Butter Oatmeal Bars
These aren’t just any ordinary dessert bars; they’re a delightful experience waiting to happen. Here’s why these peanut butter chocolate chip oatmeal bars are destined to become your new favorite:
- These bars offer the best of both worlds: they’re like a **harmonious cross between a rich blondie and a classic oatmeal chocolate chip cookie**. Each bite delivers a crisp, slightly caramelized top layer that gives way to a wonderfully soft and incredibly chewy middle. The textural contrast is simply divine, making them utterly irresistible.
- The entire recipe **comes together effortlessly in just one bowl**, which means significantly less washing up after your baking adventure. This minimalist approach to prep and cleanup makes it a true weeknight-friendly dessert or a stress-free option for impromptu baking sessions.
- While loaded with classic chocolate chips, this recipe is incredibly adaptable. You can easily **swap out the chocolate chips for other delicious mix-ins** like creamy butterscotch chips, extra peanut butter chips for a double peanut butter punch, or even white chocolate chips for a different sweet note. Get creative and customize them to your liking!
- The oatmeal cookie batter is beautifully **swirled with creamy peanut butter** just before baking. This isn’t just a mix-in; the swirling creates pockets of intense peanut butter flavor throughout the bar, elevating every bite and ensuring a rich, nutty depth that complements the oats and chocolate perfectly.
- This is a truly **easy and approachable recipe**, even for novice bakers. There’s no need for any fancy equipment – you won’t even need to cream the butter, and a stand mixer is completely optional. A simple whisk and a bowl are all you require to create these magnificent bars. It’s perfect for when you want a homemade treat without all the fuss.
Ingredient Notes: Achieving Perfection with Every Bite
Crafting the perfect peanut butter oatmeal bar starts with understanding the role each ingredient plays. Here’s a closer look at what you’ll need and why specific choices make a difference:
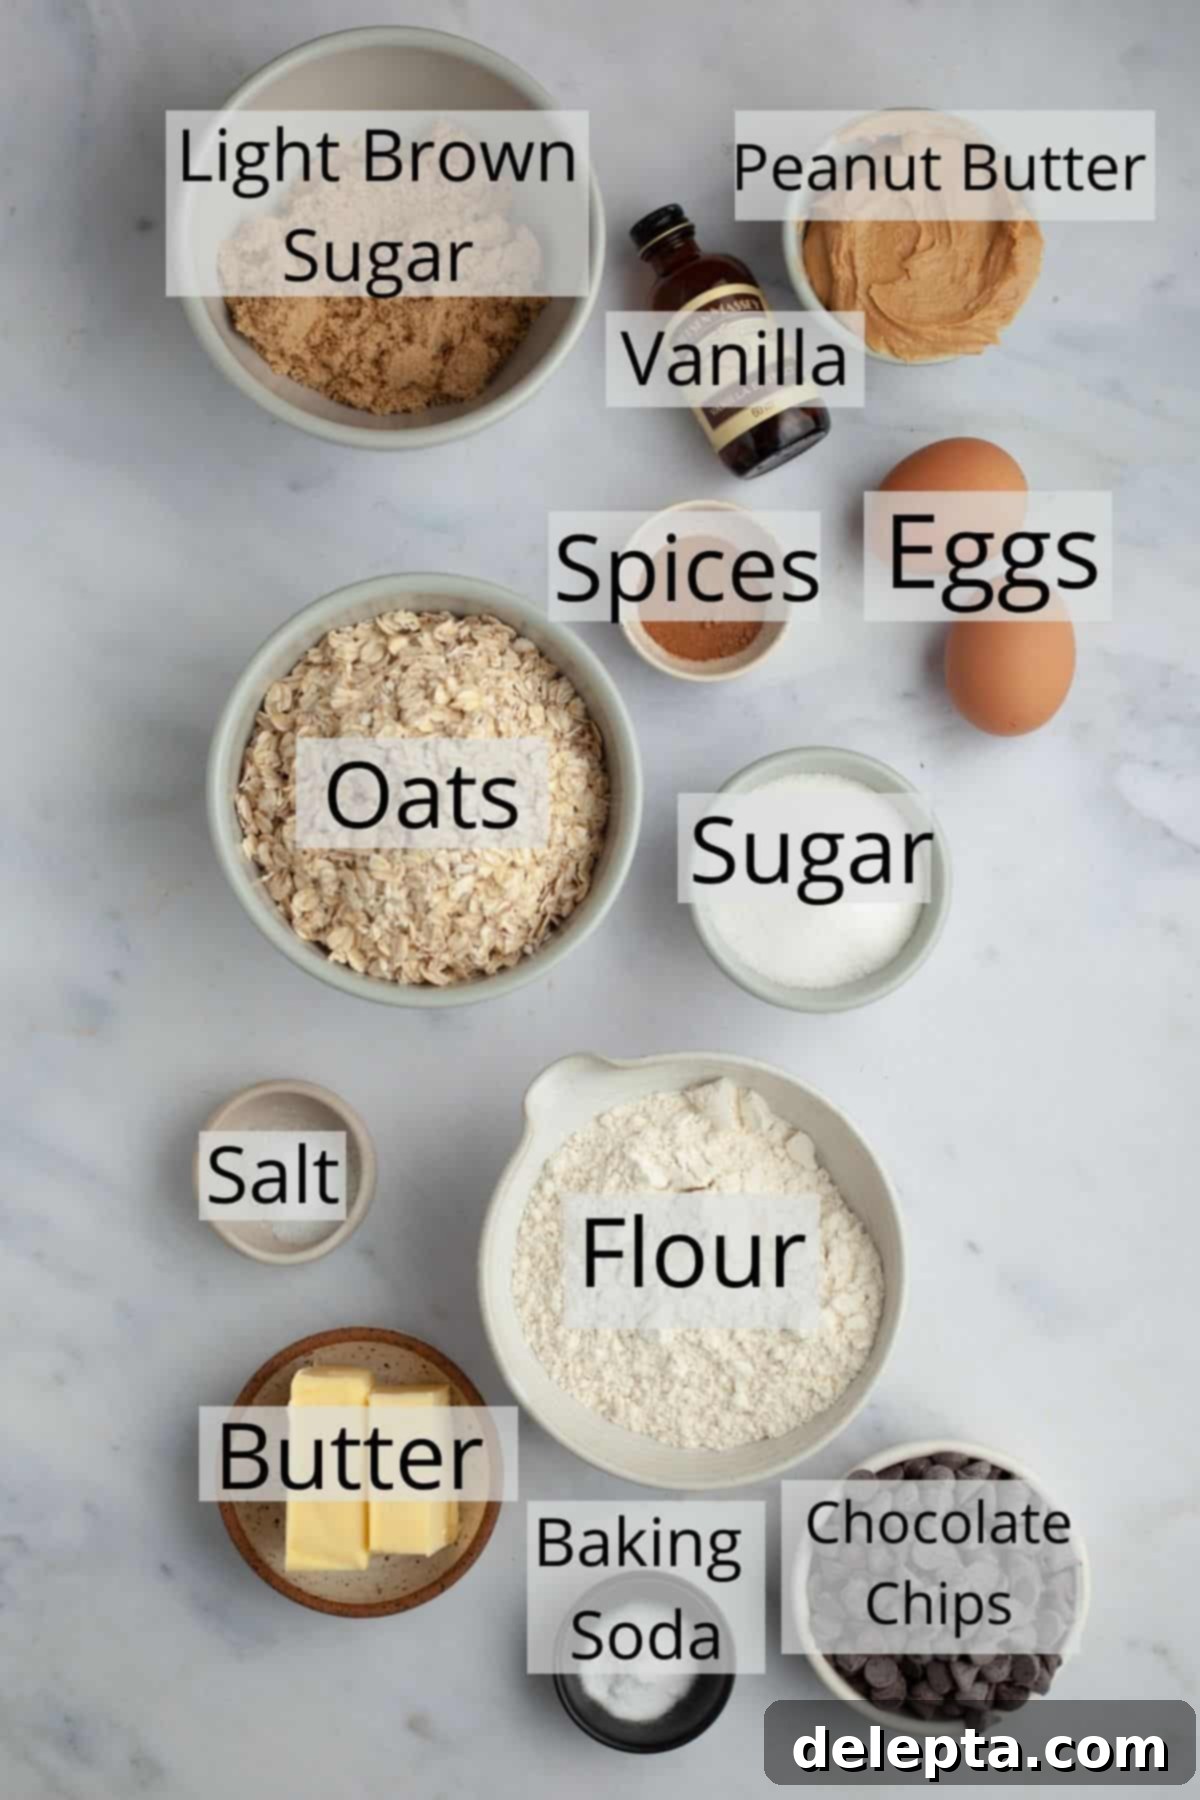
- All-Purpose Flour: This recipe relies on standard all-purpose flour for its structure. For best results, measure your flour accurately, preferably by weight (see my tips below!). While sifting isn’t strictly necessary for this recipe, it can help create an even lighter texture if desired.
- Butter: I highly recommend using European-style butter, such as Kerrygold, in all my baking recipes. Its higher fat content compared to traditional American butter contributes to a richer flavor and a more tender, superior texture in your baked goods, resulting in truly decadent bars. Ensure it’s melted as per instructions, but not scorching hot.
- Oats: The key to that perfect chewy texture is using **old-fashioned rolled oats**. These larger, flatter oats retain their shape and provide a satisfying chew. I strongly advise against using quick oats, as they tend to become mushy and alter the desired texture of the cookie bars. Steel-cut oats are also not suitable for this recipe.
- Peanut Butter: For the creamiest, most consistent results, I recommend using a creamy, **stabilized peanut butter** (the kind that doesn’t separate with oil on top, like Jif or Skippy). Natural peanut butter with separated oil can lead to a greasier or drier consistency. If you have dietary restrictions or preferences, you can easily substitute this with another creamy nut butter like almond butter or cashew butter, or even a seed butter like sunbutter for a nut-free option.
- Spices: A comforting blend of **cinnamon and nutmeg** infuses these bars with warm, inviting flavors. However, feel free to get creative! You can adjust the amounts to your taste or even incorporate other autumnal spices like a pinch of allspice or ground ginger for an extra layer of warmth.
- Sugar: This recipe cleverly uses a combination of **white granulated sugar and light brown sugar**. The white sugar contributes to the crispness of the edges and a delicate crackle on top, while the light brown sugar adds moisture, depth of flavor (with its subtle molasses notes), and that signature soft, chewy texture. This duo ensures a perfectly balanced sweetness and texture.
- Eggs: Ensure your eggs are at **room temperature**. Room temperature eggs emulsify better with the melted butter and sugars, creating a smoother, more uniform batter and contributing to the overall texture of the bars.
- Vanilla Extract: Don’t skimp on good quality vanilla extract! It enhances all the other flavors, adding a fragrant warmth that makes these bars truly special.
- Baking Soda: This leavening agent is crucial for helping the bars rise slightly and achieve their soft, airy yet chewy texture. Ensure your baking soda is fresh for optimal results.
- Kosher Salt: A pinch of kosher salt (or half the amount of fine salt) balances the sweetness and enhances all the flavors in the bars. It’s a small addition that makes a big difference.
- Chocolate Chips: Use your favorite kind! Semi-sweet chocolate chips are classic, but milk chocolate for a sweeter bar or dark chocolate for a richer, less sweet profile would also be delicious. Mini chocolate chips distribute more evenly throughout the bar, while larger chunks provide delightful melty pockets.
How to Make These Irresistible Peanut Butter Oatmeal Bars
Follow these straightforward steps to create a batch of perfectly soft and chewy peanut butter chocolate chip oatmeal bars that everyone will adore. Remember, simplicity is key with this one-bowl wonder!
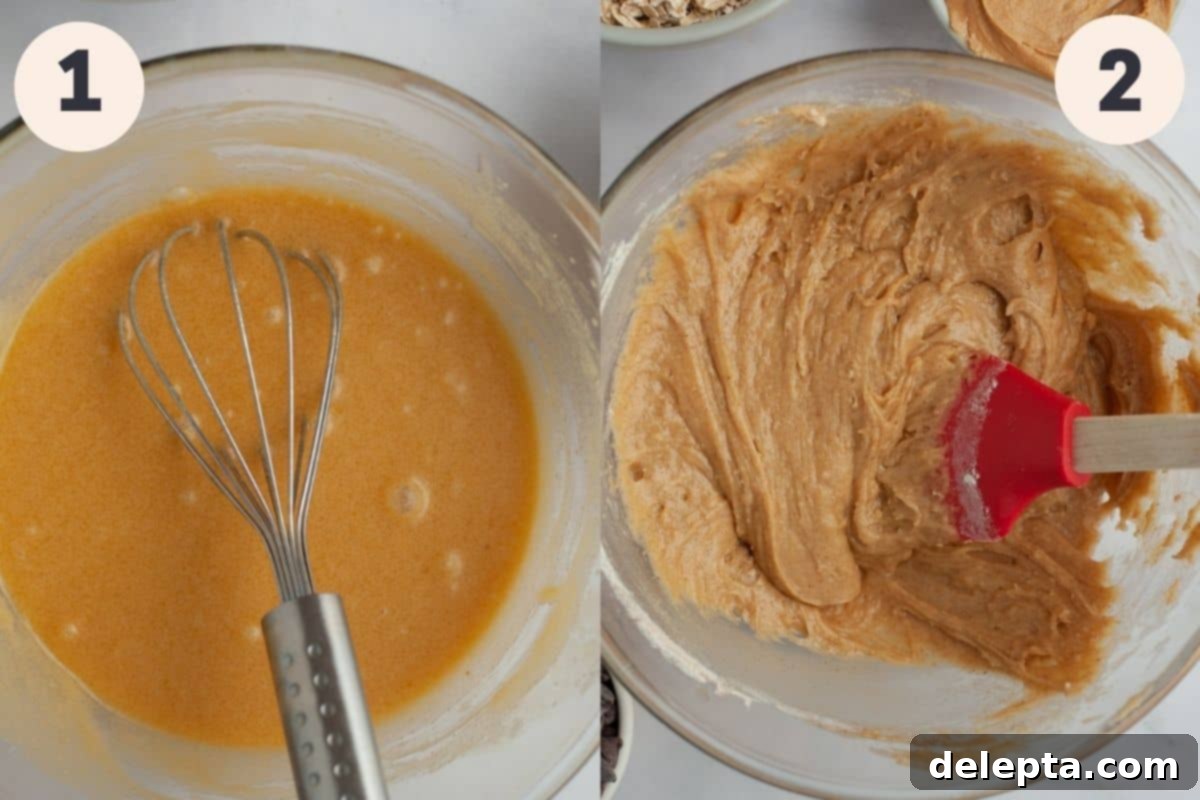
Step 1: Prepare Your Wet Ingredients and Pan
Begin by preheating your oven to 350°F (175°C). Then, prepare your 8×8 inch baking pan by greasing it thoroughly and lining it with parchment paper. Make sure the parchment paper overhangs on two sides; this will create convenient “handles” later, making it incredibly easy to lift the cooled bars out of the pan. Next, melt your butter. You can do this quickly in the microwave (in 20-30 second intervals until fully melted) or in a small saucepan over medium-low heat. Once melted, pour the butter into a large mixing bowl and allow it to cool for a minute or two. This prevents the eggs from scrambling when added. To the slightly cooled butter, whisk in both your light brown sugar and granulated white sugar, along with the room temperature eggs, kosher salt, and vanilla extract. Continue whisking vigorously until the sugars are completely dissolved and the mixture is smooth and well combined. This ensures a uniform texture in your final bars.
Step 2: Incorporate Dry Ingredients
To the wet mixture, add your baking soda, ground cinnamon, ground nutmeg, and all-purpose flour. Using a spatula, gently fold everything together. Mix just until no dry pockets of flour remain and the batter is smooth. Be careful not to overmix, as this can lead to tough bars.
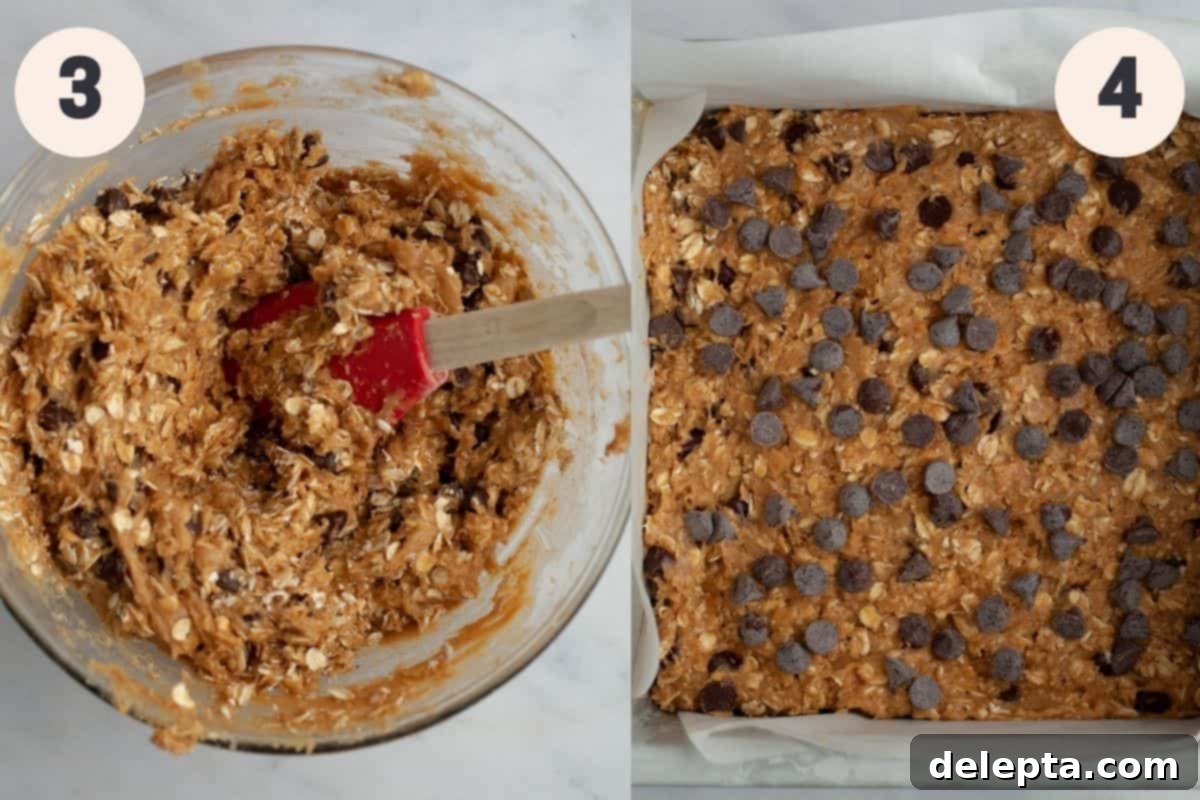
Step 3: Add the Stars of the Show
Now, it’s time to incorporate the signature flavors. Add your creamy peanut butter to the batter and fold it in until it’s evenly distributed, creating a beautiful swirl throughout the mixture. Finally, gently fold in your old-fashioned rolled oats and chocolate chips. Ensure all ingredients are evenly distributed throughout the batter. You can reserve a small handful of chocolate chips to sprinkle on top just before baking for an extra visual appeal.
Step 4: Bake to Golden Perfection
Scoop the entire mixture into your prepared 8×8 inch baking pan. Use a small offset spatula or the back of a spoon to spread the batter evenly into all corners of the pan. If you reserved some, sprinkle the extra chocolate chips over the top for a decadent finish. Bake in your preheated oven at 350°F (175°C) for 24-27 minutes. The bars are ready when the edges are beautifully golden brown and set, but the center still appears slightly soft and gooey. Don’t worry, they will continue to set as they cool. Remove them from the oven and, here’s the crucial part: allow them to cool completely in the pan on a wire rack before attempting to remove or slice them. This ensures they firm up properly and maintain their perfect chewy texture.
Recipe Tips & Tricks for Perfect Bars
Achieving bakery-quality bars at home is easier than you think with these expert tips:
- I highly recommend using a digital kitchen scale for weighing your ingredients, especially flour. Measuring by weight (the metric way) is the most accurate method in baking and makes a significant difference in the consistency and success of your recipes. While cup measurements are provided, weighing ensures precision.
- Ensure all of your ingredients are at room temperature before you begin mixing. This includes eggs, and if you haven’t melted your butter, it should also be softened. Room temperature ingredients emulsify more easily, creating a smooth, uniform batter that bakes evenly and results in a superior texture. Pull out all your ingredients about 1-2 hours before you plan to start baking.
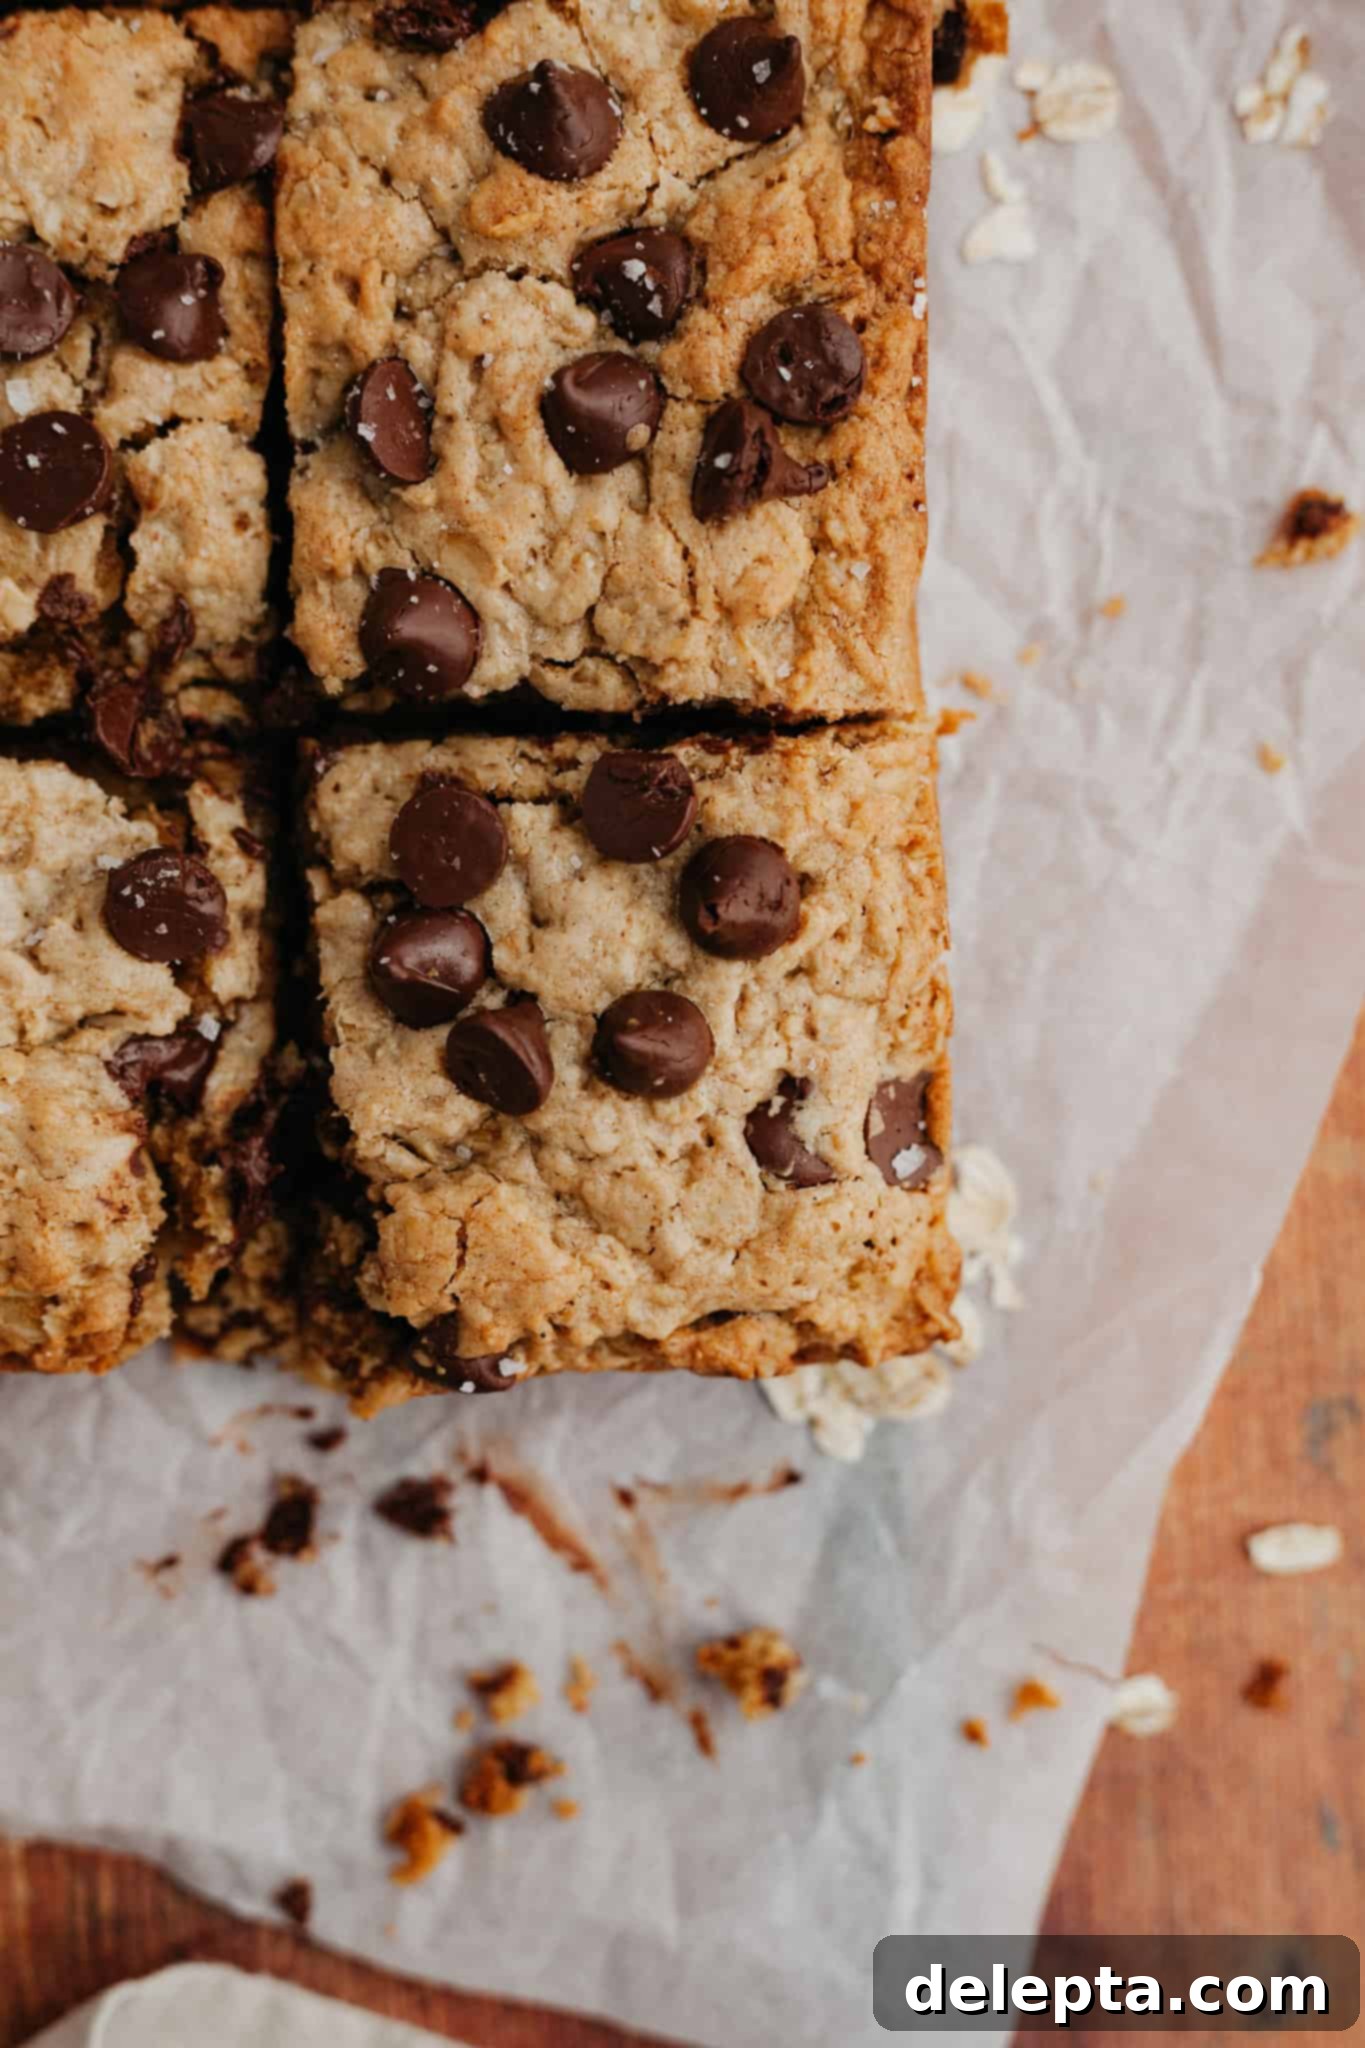
- Patience is key: let the oatmeal bars cool completely in the pan on a wire rack before attempting to lift them out or cut them. If you try to remove them while they’re still hot or even warm, they will likely be too fragile and collapse or crumble. Cooling allows the structure to set and the flavors to fully develop, ensuring beautifully firm and perfectly chewy bars.
- For clean, sharp slices, once the bars are completely cooled, you can **chill them in the refrigerator for 20-30 minutes** before cutting. Use a large, sharp knife and wipe it clean between each cut for the neatest results.
- If you’re baking for a larger group, remember you can easily **double up the ingredients and bake in a 9×13 inch pan**. Just be sure to extend the baking time slightly (by about 5-10 minutes) and keep an eye on them. The edges should be golden, and a toothpick inserted into the center should come out with moist crumbs, not wet batter.
- **Don’t overbake!** These bars are meant to be soft and chewy. Overbaking will result in dry, crumbly bars. When the edges are set and golden, and the center looks just slightly underdone, it’s time to take them out. They will continue to cook slightly from residual heat.
- The parchment paper overhang in your baking pan is a lifesaver. Once completely cooled, use those “handles” to easily **lift the entire slab of bars** out of the pan onto a cutting board, making slicing a breeze.
Frequently Asked Questions
Absolutely! If you’re avoiding nuts or just want to try something different, you can substitute the peanut butter with your favorite creamy nut butter, such as almond or cashew butter. For a nut-free option, sunflower seed butter (SunButter) works wonderfully and provides a similar texture and richness. Just ensure it’s the stabilized, creamy variety for best results.
I strongly recommend sticking to old-fashioned rolled oats for this recipe. Quick oats are processed more finely and will break down excessively during baking, resulting in a mushier, less chewy texture that won’t give you the desired bar consistency. Rolled oats provide that essential chewiness and structural integrity.
You can use any type of chocolate chips you prefer! Semi-sweet chocolate chips are a classic choice and offer a balanced sweetness. Milk chocolate chips will make the bars sweeter and creamier, while dark chocolate chips will add a richer, more intense chocolate flavor. You can also experiment with white chocolate chips, butterscotch chips, or even a mix of different types for added complexity.
The most common culprit for dry bars is overbaking. Keep a close eye on your oven and remove the bars when the edges are set and lightly golden, but the center still looks slightly soft. They will continue to cook and set as they cool. Using a kitchen scale for precise ingredient measurements, especially flour, and ensuring your butter and sugars are well combined also helps maintain moisture.
Storage
These delightful peanut butter oatmeal bars are perfect for making ahead and storing for future enjoyment. Keep the sliced bars in an airtight container at room temperature on your counter for up to 5 days. For a fresh-from-the-oven experience, you can pop a bar into the microwave for 10-15 seconds; this will warm the chocolate chips and make the bar wonderfully soft and chewy again. For longer storage, you can freeze the bars in a single layer on a baking sheet until firm, then transfer them to a freezer-safe airtight container or bag for up to 3 months. Thaw at room temperature or microwave briefly before serving.
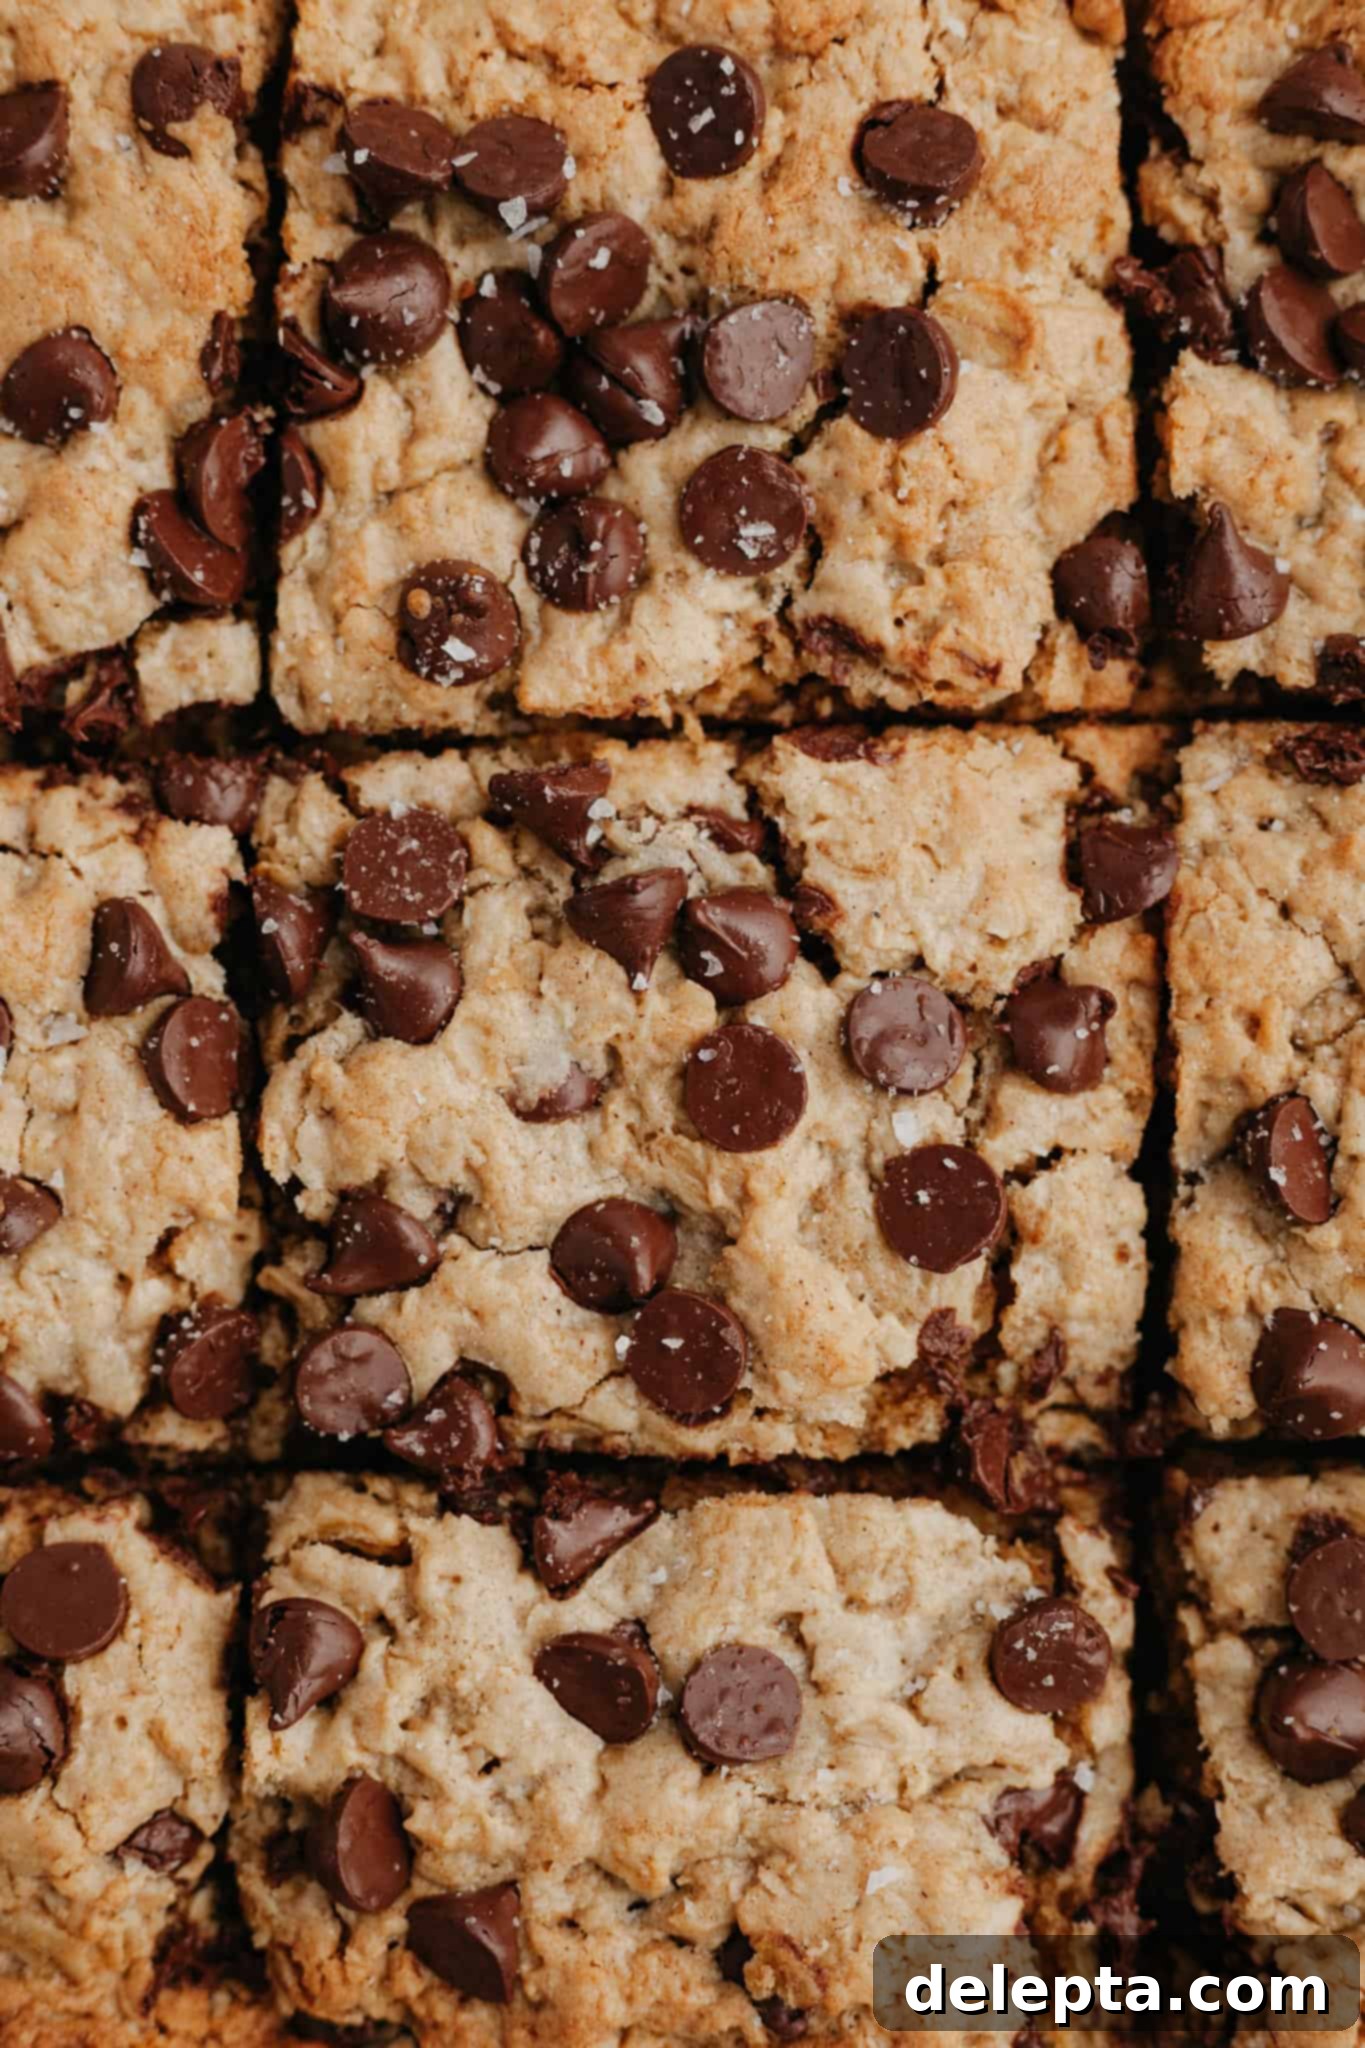
Try These Other Irresistible Recipes Next!
If you’ve enjoyed these sensational peanut butter oatmeal bars, you’re in for a treat! Here are a few more beloved recipes that you might just fall in love with:
- Creamy Lemon Bars with Graham Cracker Crust
- Strawberry Cheesecake Brownies from Scratch
- Triple Chocolate Cherry Brownies
- One Bowl Brown Butter Biscoff Blondies
Have you made this recipe? Make sure to tag me on Instagram @alpineella and leave a review below if you have! Your feedback means the world to me. If you’re looking for even more delectable baking ideas, you can follow me on Pinterest for endless inspiration and new recipes.
Recipe Card
Chocolate Chip Peanut Butter Oatmeal Bars
Ella Gilbert
Pin Recipe
Save RecipeSaved!
Equipment
-
1 8×8 baking pan
Ingredients
- ½ cup butter
- ½ cup light brown sugar packed
- ½ cup sugar
- 2 eggs room temperature
- 2 teaspoons vanilla extract
- ½ teaspoon kosher salt
- 1 ½ teaspoons ground cinnamon
- ¼ teaspoon ground nutmeg
- 1 ¼ cup all purpose flour
- ½ cup peanut butter
- 2 cups old fashioned oats
- 1 cup chocolate chips
- ¾ teaspoon baking soda
Instructions
-
Preheat your oven to 350°F (175°C) and prepare an 8×8 inch baking pan. Grease the pan thoroughly and line it with parchment paper, ensuring the paper overhangs on two opposite sides. This creates “handles” for easy removal later.
-
Melt your butter. You can do this in the microwave in short bursts or in a small saucepan over medium heat until fully liquid. Once melted, pour it into a large mixing bowl and let it cool for about a minute.
-
To the cooled melted butter, whisk in both the light brown sugar and granulated white sugar, followed by the room temperature eggs, kosher salt, and vanilla extract. Whisk diligently until the sugars are completely dissolved and the mixture is smooth and cohesive.
-
Add your baking soda, ground cinnamon, ground nutmeg, and all-purpose flour to the wet ingredients. Gently fold everything together with a spatula until there are no visible pockets of dry flour, being careful not to overmix the batter.
-
Pour in your creamy peanut butter and mix it into the batter until fully incorporated and smooth. This step ensures an even distribution of the rich peanut butter flavor throughout the bars.
-
Finally, fold in your old-fashioned rolled oats and chocolate chips (set aside a small handful of chocolate chips to sprinkle on top just before baking for extra visual appeal!). Once everything is evenly distributed, scoop the mixture into your prepared 8×8 inch pan and spread it out evenly using a small offset spatula or the back of a spoon. Sprinkle your reserved chocolate chips over the top. Bake for 24-27 minutes, or until the edges are golden brown and set, but the center still appears slightly soft. The bars will continue to firm up as they cool.
-
Once baked, remove the pan from the oven and allow the bars to cool completely on a wire rack before attempting to lift them out of the pan or slice them. This step is crucial for ensuring the bars set properly and maintain their perfect chewy texture. Once cooled, cut into 12 small bars or 9 larger, more generous bars. Enjoy!
Notes
**Room Temperature Ingredients:** For optimal emulsification and a smooth batter, it’s essential that all your perishable ingredients, especially the eggs, are at room temperature before you begin the recipe. Plan ahead by pulling out your ingredients approximately 1-2 hours before you intend to start baking. This seemingly small step significantly impacts the final texture of your bars.
**Butter Choice:** For the richest flavor and creamiest texture, I always opt for European-style butter, such as Kerrygold. This type of butter typically has a higher fat content, which contributes to a more decadent and tender baked good.
**Salt Conversion:** If kosher salt isn’t available, you can substitute it with fine table salt. Remember to halve the amount called for in the recipe when using fine salt, as it is denser and saltier by volume (e.g., 1 teaspoon kosher salt = ½ teaspoon fine salt).
**Storage Best Practices:** To maintain their irresistible softness and chewiness, store the sliced peanut butter oatmeal bars in an airtight container at room temperature on your kitchen counter for up to 5 days. For a warm, gooey treat, microwave individual bars for 10-15 seconds. These bars also freeze beautifully! Once completely cooled, place them in a single layer on a baking sheet to flash freeze. Once solid, transfer them to a freezer-safe bag or container and store for up to 3 months. Thaw at room temperature or reheat gently in the microwave when ready to enjoy.
Nutrition
