The Ultimate Decadent Chocolate Brownie Layer Cake with Edible Cookie Dough Filling and Rich Fudge Frosting
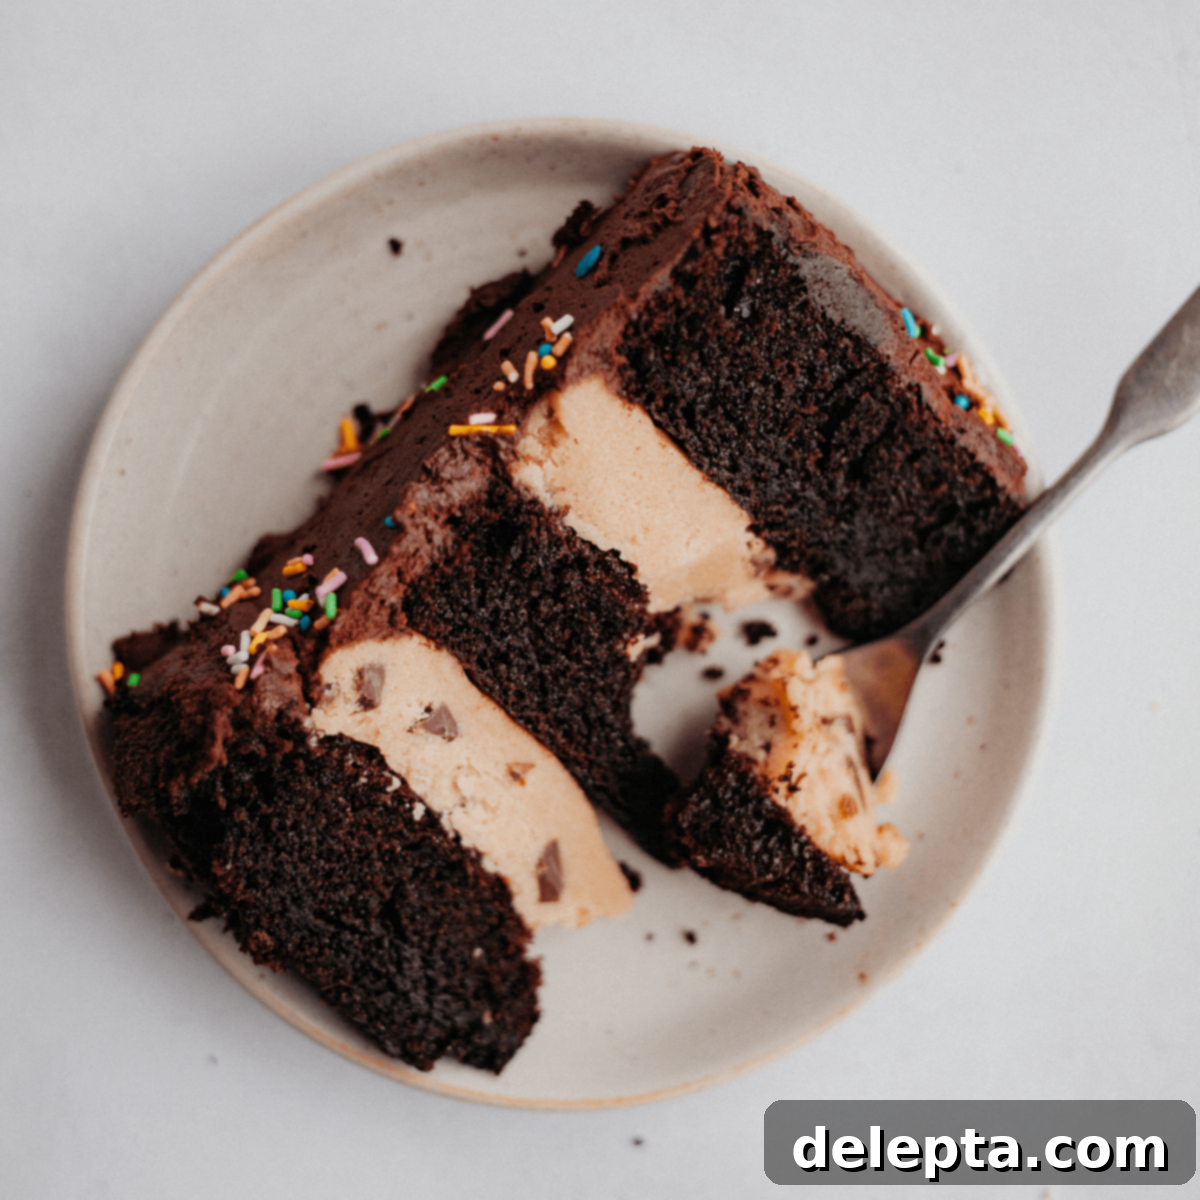
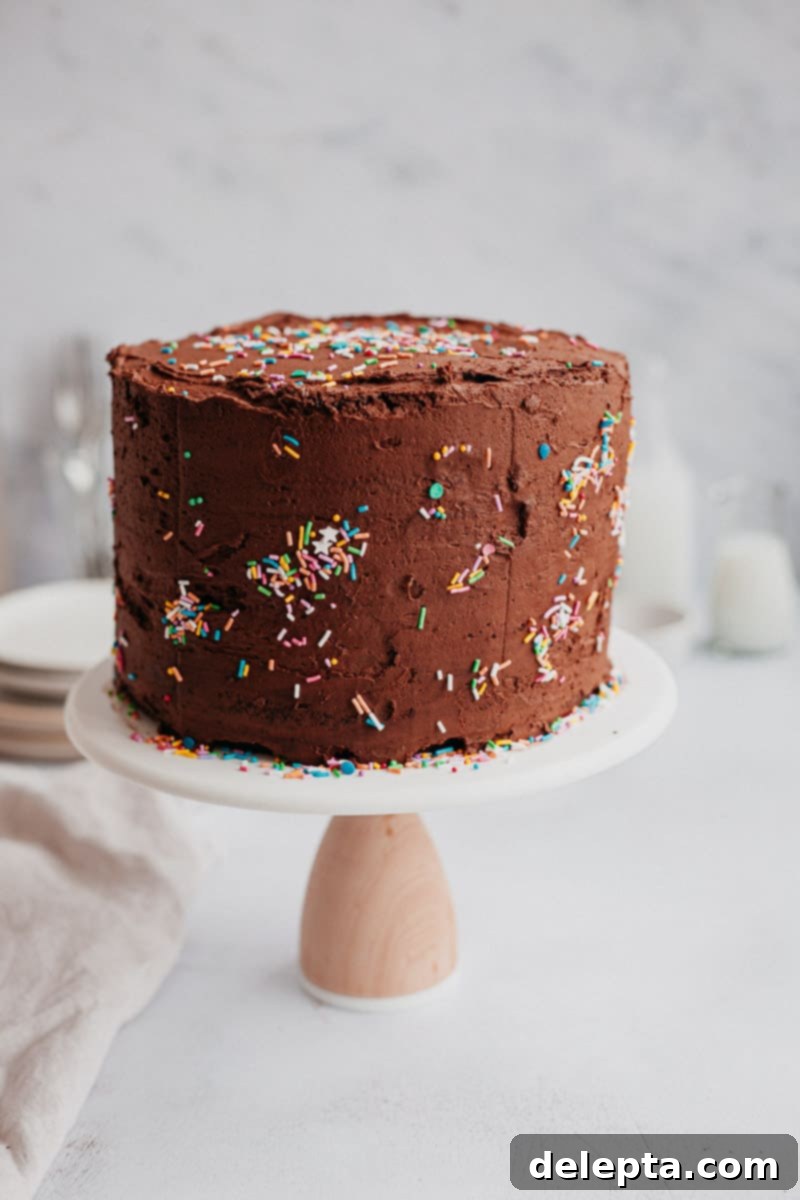
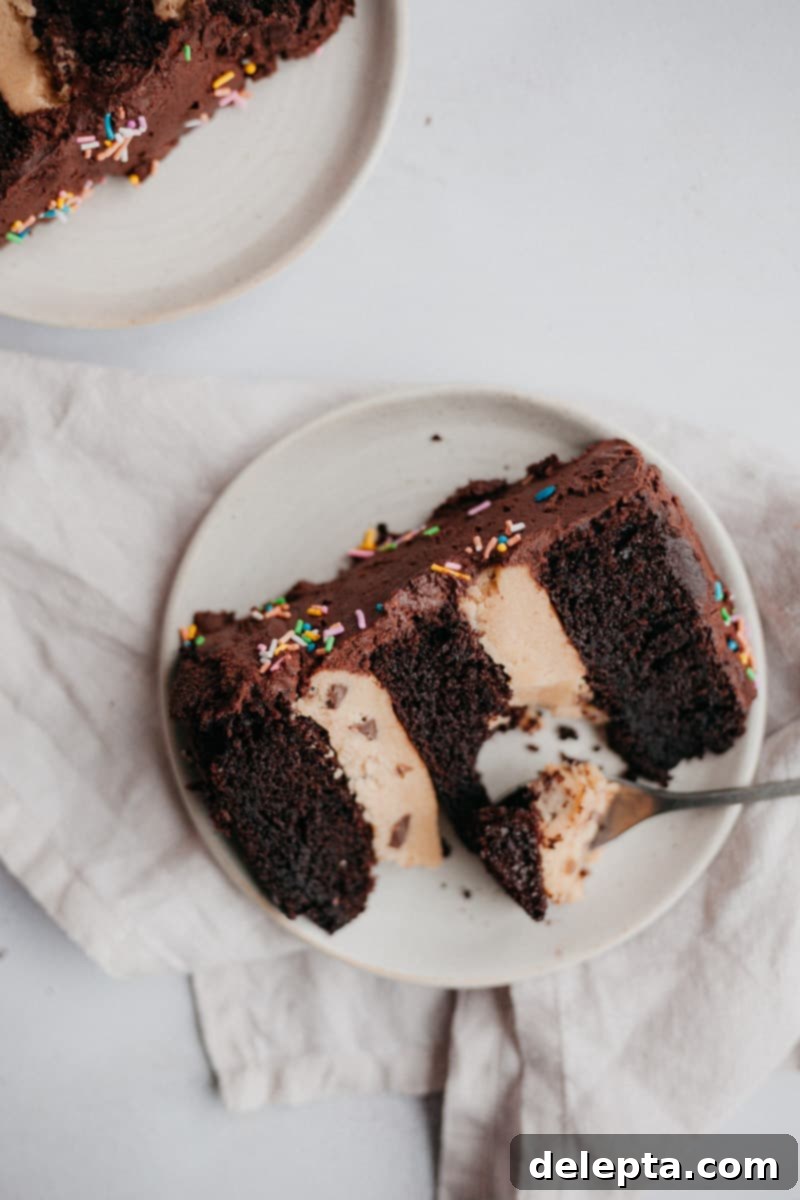
Prepare to embark on a truly unforgettable baking adventure with this showstopping **Chocolate Brownie Layer Cake**. Imagine intensely fudgy chocolate cake layers, generously filled with a luscious, **safe-to-eat edible cookie dough**, and elegantly crowned with a rich, **fudgy chocolate buttercream**. This isn’t just any dessert; it’s a magnificent celebration cake, designed to impress at any special occasion or simply to treat yourself to an extraordinary indulgence. Many might find a cake of this caliber intimidating, but I promise you, creating this masterpiece is more approachable than you think. Our fudgy chocolate cake layers come together effortlessly, requiring **no electric mixer**, and the silky smooth, decadent **fudge frosting** can be whipped up in under 10 minutes. We’ll also dive into the simple yet crucial steps for making the perfect **edible cookie dough** that tastes exactly like classic raw cookie dough, without any of the raw flour or raw egg concerns. Get ready to bake one of the best cakes you’ve ever made and delight everyone who takes a bite!
Unveiling the Three Spectacular Components of this Showstopping Cake
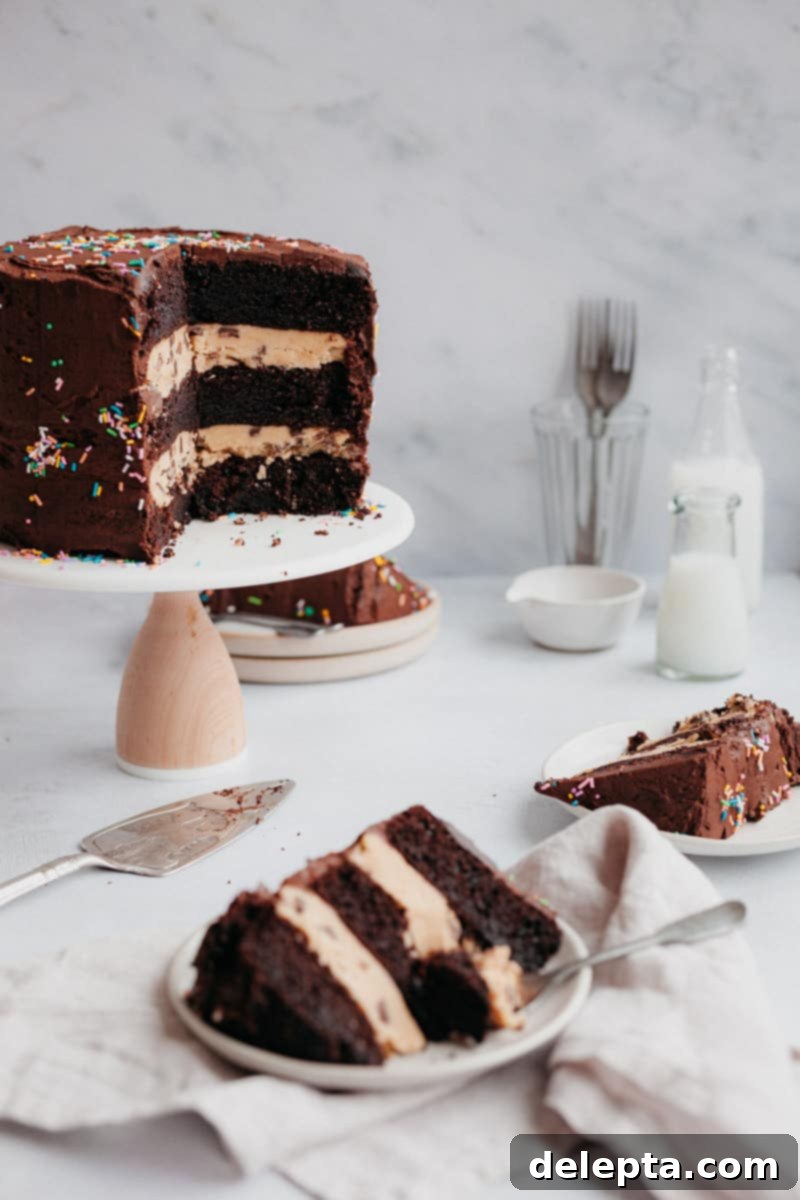
This magnificent **chocolate brownie layer cake** is a symphony of textures and flavors, thoughtfully constructed from three equally delightful parts. Each component plays a crucial role in creating a dessert that is truly unforgettable, offering a perfect balance of richness, sweetness, and satisfying indulgence. Let’s explore what makes each layer so special:
- The Ultra-Fudgy Chocolate Cake Layers: At the heart of this creation are the tender, moist, and incredibly **fudgy chocolate cake** layers. This recipe is an adaptation of my beloved peanut butter chocolate cake, specifically modified to enhance its brownie-like density and deep chocolate flavor. The secret to its remarkably dark color and rich taste lies in the strategic use of boiling water, which blooms the cocoa powder, intensifying its chocolatey essence. We’ve also carefully adjusted the sugar content to ensure the cake isn’t overly sweet, providing a perfect foundation for the other components. These layers are a dream to bake, requiring no special equipment like a stand mixer, making them accessible for all skill levels.
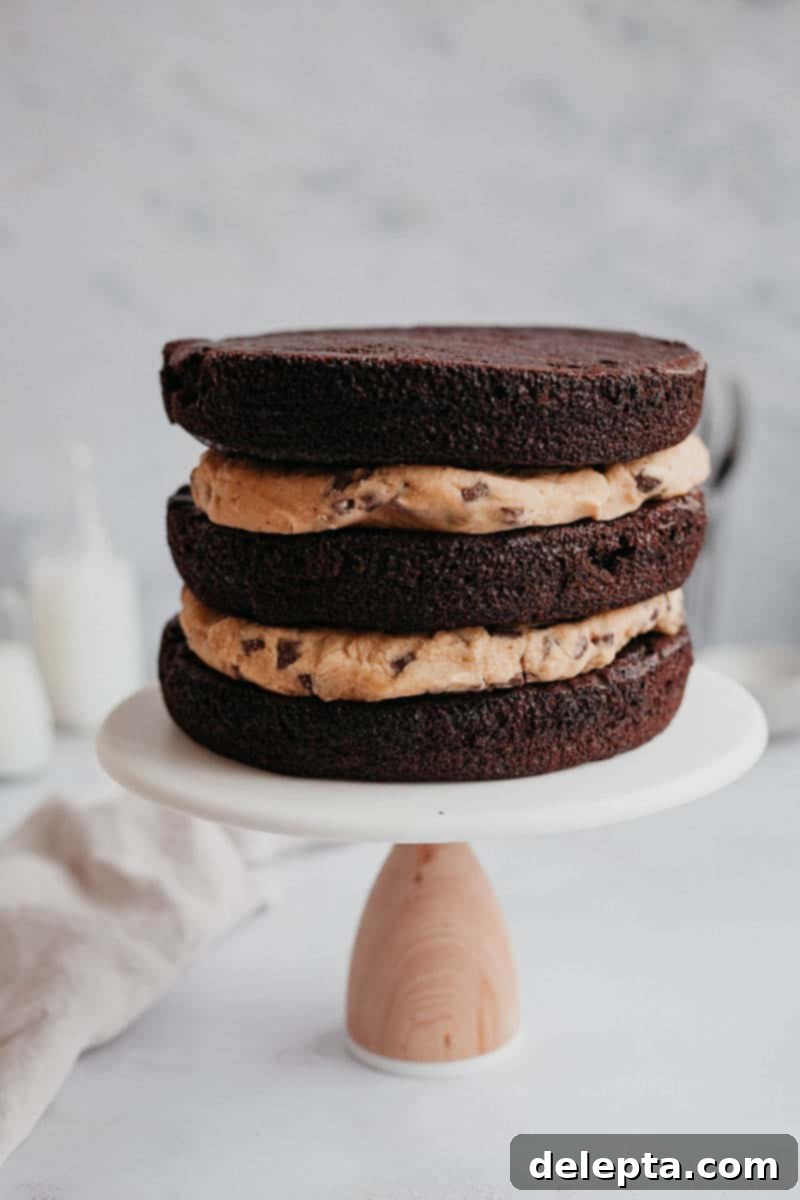
- The Irresistible Edible Cookie Dough Filling: Nestled between the fudgy cake layers are generous ribbons of **safe-to-eat cookie dough**. This isn’t just a gimmick; it’s a truly authentic cookie dough experience. We’ll show you exactly how to prepare flour safely through a simple heat-treating process, eliminating any concerns about raw ingredients. The resulting cookie dough is rich, sweet, and studded with chocolate chips, tasting exactly like the unbaked dough you’ve always craved. This creamy, dreamy filling adds an exciting texture and an extra layer of sweetness that perfectly complements the dark chocolate cake.
- The Silky Smooth Fudge Frosting: Capping off this masterpiece is a luxurious, **super fudgy chocolate frosting**. This isn’t your average buttercream; it’s designed to be deeply chocolatey and less intensely sweet than traditional American buttercreams, providing a sophisticated balance to the entire dessert. Its smooth, spreadable consistency makes frosting the cake a joy, allowing for a beautifully polished finish. This frosting truly ties all the elements together, enveloping the cake and cookie dough in a rich, chocolatey embrace.
Each of these elements works in harmony to create a truly spectacular dessert that’s perfect for birthdays, holidays, or any time you want to make a statement with your baking. Now, let’s dive into the details of crafting each delicious part!
Crafting the Perfect Fudgy Chocolate Cake Layers
The foundation of this incredible dessert is its incredibly moist and **fudgy chocolate cake**. What makes this recipe truly special is its simplicity – you won’t even need an electric mixer, just a whisk and a couple of bowls! This ensures a tender crumb and a rich flavor that tastes like it came straight from a gourmet bakery. Here’s a detailed guide to baking these exquisite layers:
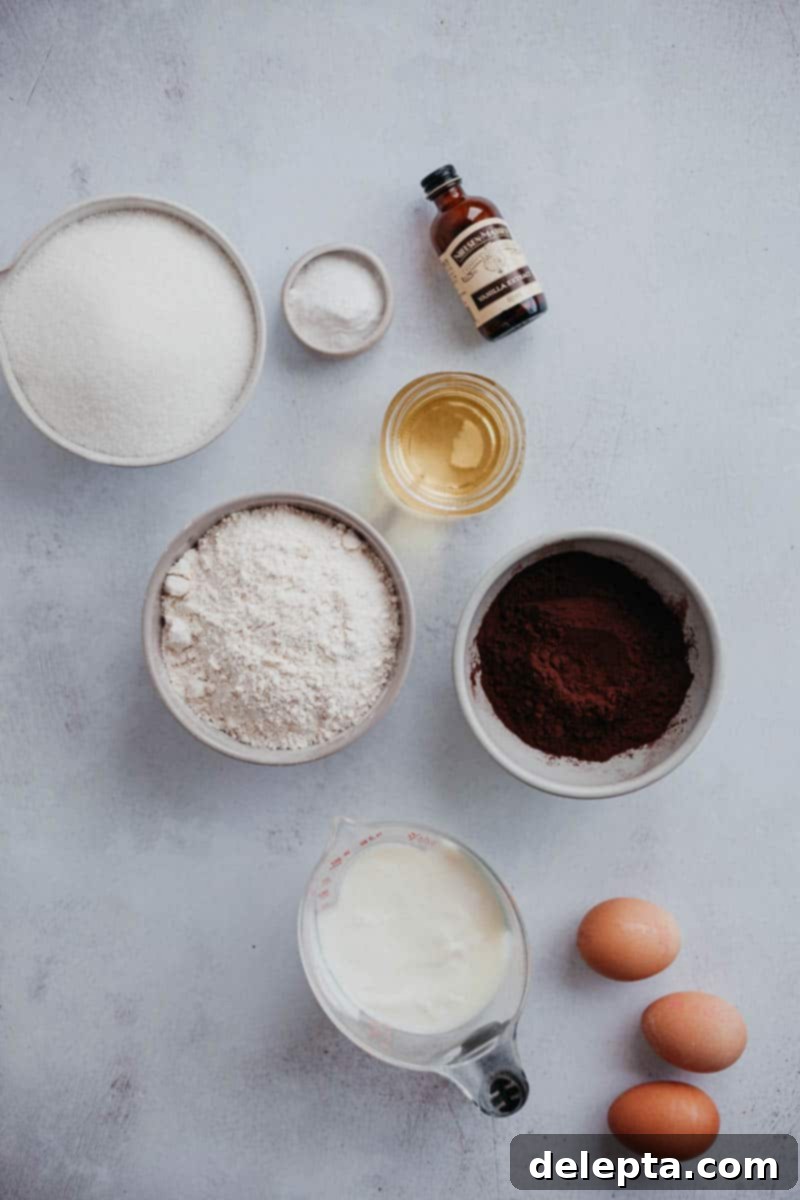
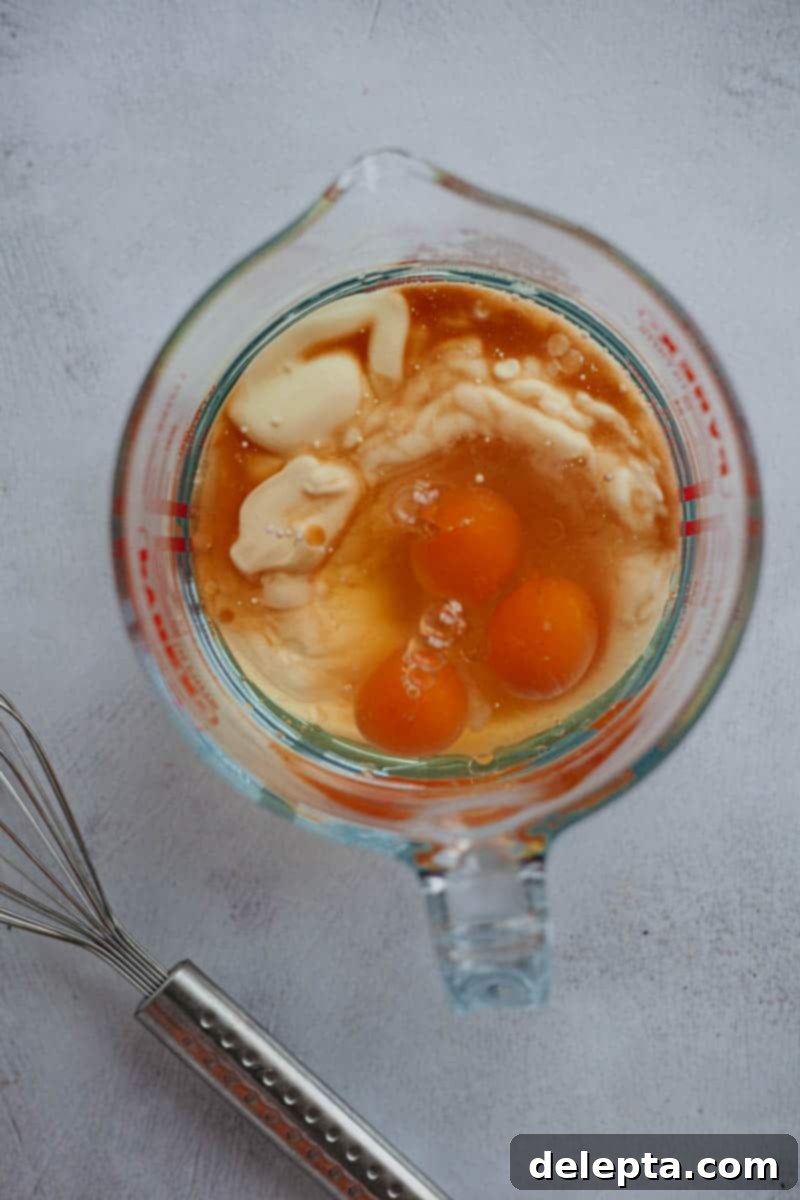
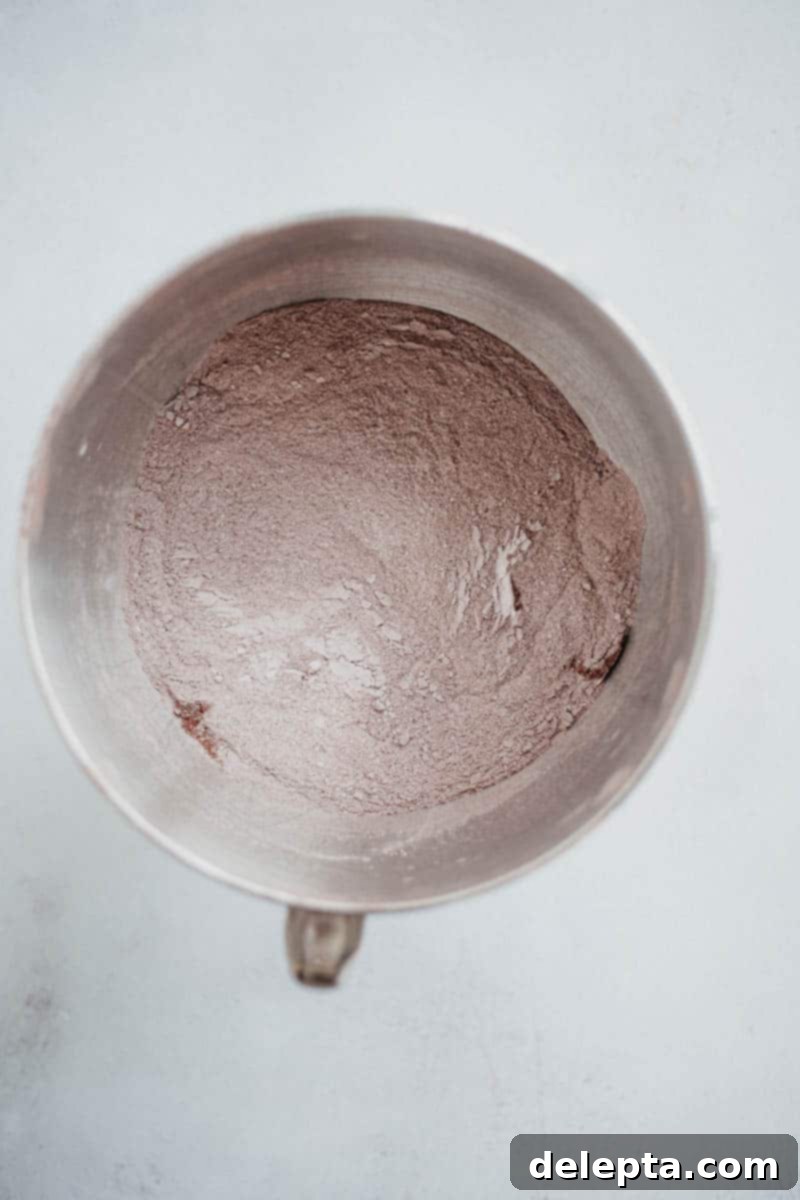
To begin, gather your wet ingredients: oil, eggs, buttermilk, and vanilla extract. Whisk these together thoroughly in a large jug or bowl until well combined. The buttermilk is key here; its acidity reacts with the baking soda to create a light, tender crumb, while also contributing significant moisture to the cake. In a separate, even larger bowl, combine all your dry ingredients: flour, cocoa powder, sugar, baking powder, baking soda, and salt. Whisk them vigorously to ensure they are fully aerated and evenly distributed. This step prevents pockets of leavening agents or dense flour in the final cake.
Next, gradually pour the wet buttermilk mixture into the dry ingredients. Whisk this combination (either by hand for an arm workout, or with an electric mixer on low speed) until the batter is smooth and lump-free. Be careful not to overmix, as this can develop the gluten too much, leading to a tougher cake. The final, magical step is to slowly incorporate the boiling water. This seemingly unusual ingredient is a game-changer! It “blooms” the cocoa powder, releasing its full, deep chocolate flavor and giving the cake its characteristic dark, rich color. It also contributes to the cake’s incredible moisture and tender texture.
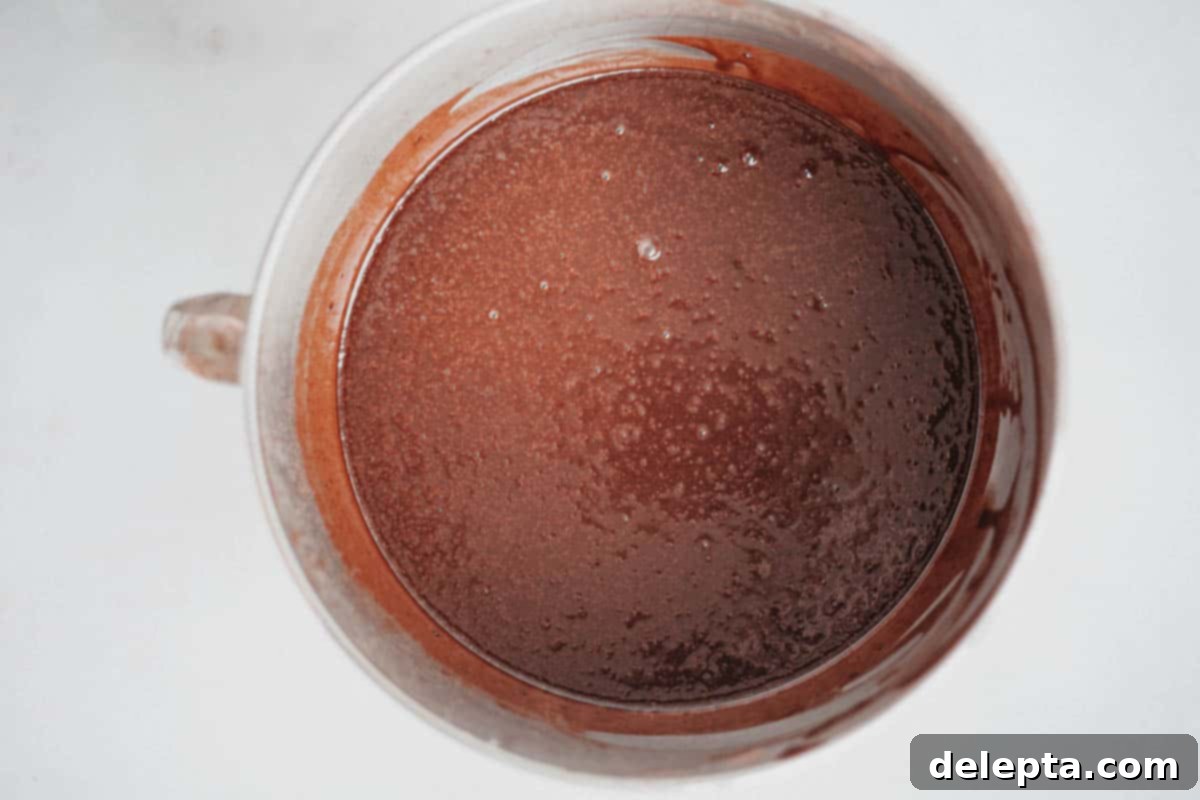
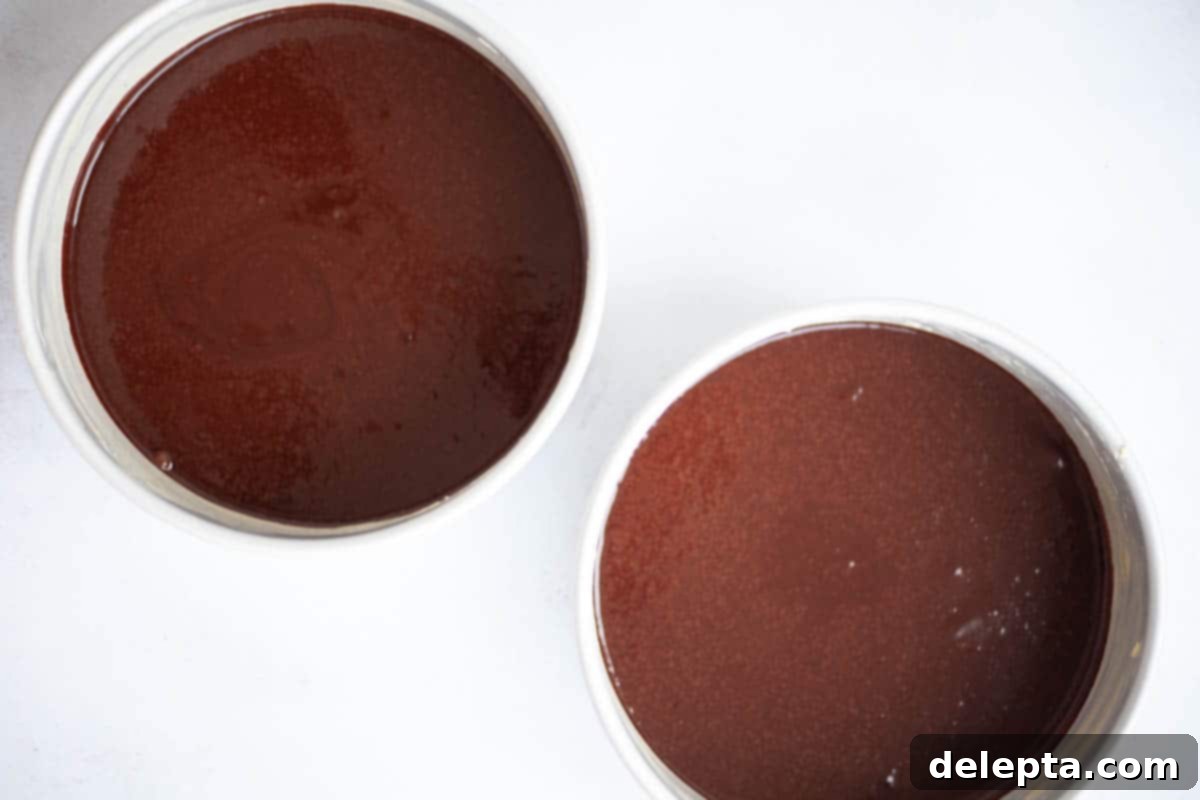
Don’t be alarmed by the consistency of the batter; it will be quite thin, almost watery, after the boiling water is added. This is perfectly normal and contributes to the cake’s signature fudgy texture. Once mixed, divide your batter evenly among three prepared 8-inch cake tins. For best results and uniform layers, aim for about 22 ounces (approximately 600 grams) of batter per tin. Bake until a toothpick inserted into the center comes out clean. After baking, allow the cake layers to cool completely in their tins for about 10-15 minutes before inverting them onto a wire rack to finish cooling. It is absolutely essential that the cakes are *completely* cool before you attempt to fill and frost them; otherwise, your cookie dough and frosting will melt, leading to a messy disaster.
Mastering the Art of Edible Cookie Dough for Your Layer Cake
The star filling of this sensational cake is undeniably the **edible cookie dough**. It brings a delightful chewiness and a burst of classic cookie flavor that perfectly complements the rich chocolate cake. The best part? You can enjoy it worry-free! Here’s how to create perfectly safe and utterly delicious edible cookie dough:
One of the primary concerns with eating raw cookie dough is the uncooked egg, but a lesser-known fact is that raw flour can also harbor harmful bacteria. To ensure your cookie dough is completely **safe to eat**, we must heat-treat the flour. This is a remarkably simple, yet vital, step: spread your flour evenly on a baking tray and bake it in a preheated oven at 350°F (175°C) for just 5-10 minutes. This short burst of heat neutralizes any potential pathogens without toasting the flour. Once baked, allow the flour to cool completely before incorporating it into your dough. This prevents it from melting your butter or cooking other ingredients.
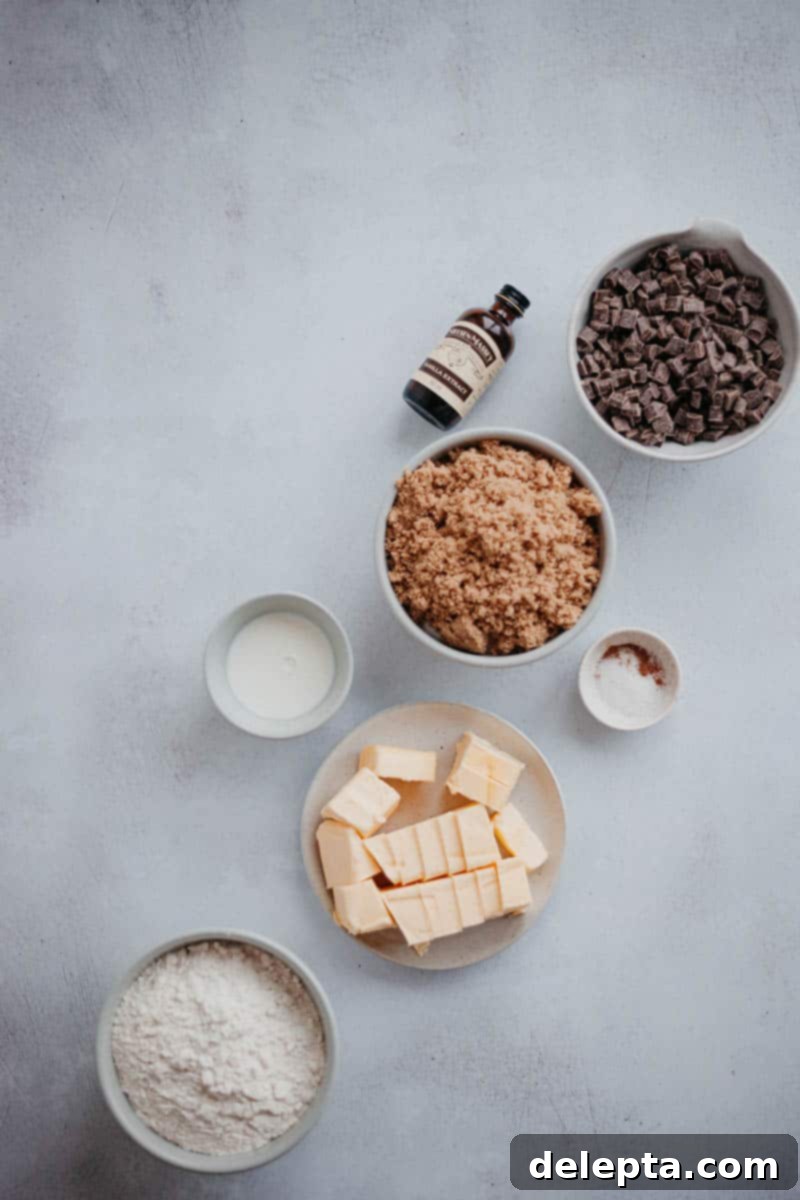
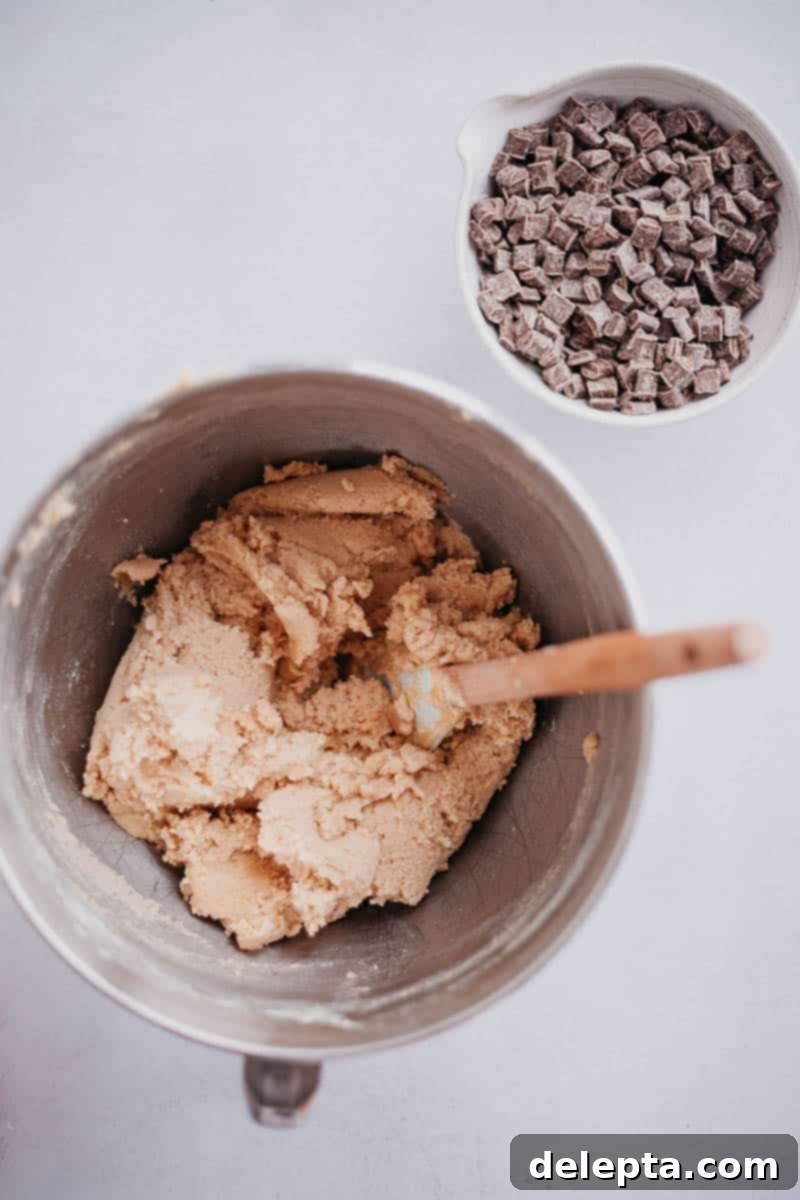
With the flour safely prepped, you can proceed with making the dough. In a large mixing bowl, cream together softened butter with both light brown sugar and granulated sugar until the mixture is light, fluffy, and pale in color. This process incorporates air, giving the dough a wonderful texture. Beat in the vanilla extract for that signature cookie flavor, along with a pinch of nutmeg and salt to enhance the overall taste. Next, gradually add your heat-treated flour to the butter-sugar mixture, mixing until just combined. The key here is to avoid overmixing, which can make the dough tough. Finally, add milk or heavy cream one tablespoon at a time until the dough reaches your desired consistency – pliable but not sticky. Different flours and environmental factors can affect absorption, so adjust the liquid as needed. Fold in your favorite chocolate chips (or other mix-ins like sprinkles or nuts) until they are evenly distributed. Divide the finished dough into two equal portions, shape them into flat discs roughly the size of your cake layers (8 inches), wrap them tightly in clingfilm, and refrigerate until firm. This chilling process makes the dough much easier to handle and ensures it holds its shape beautifully when layered into the cake.
Whipping Up the Velvety Fudge Frosting
The final touch that elevates this **chocolate brownie layer cake** to a true masterpiece is its rich and **fudgy chocolate frosting**. This frosting is designed to be deeply chocolatey and balanced, offering a less saccharine sweetness than traditional American buttercreams, allowing the flavors of the cake and cookie dough to truly shine. It’s incredibly easy to make and comes together in mere minutes, adding a luxurious finish to your creation.
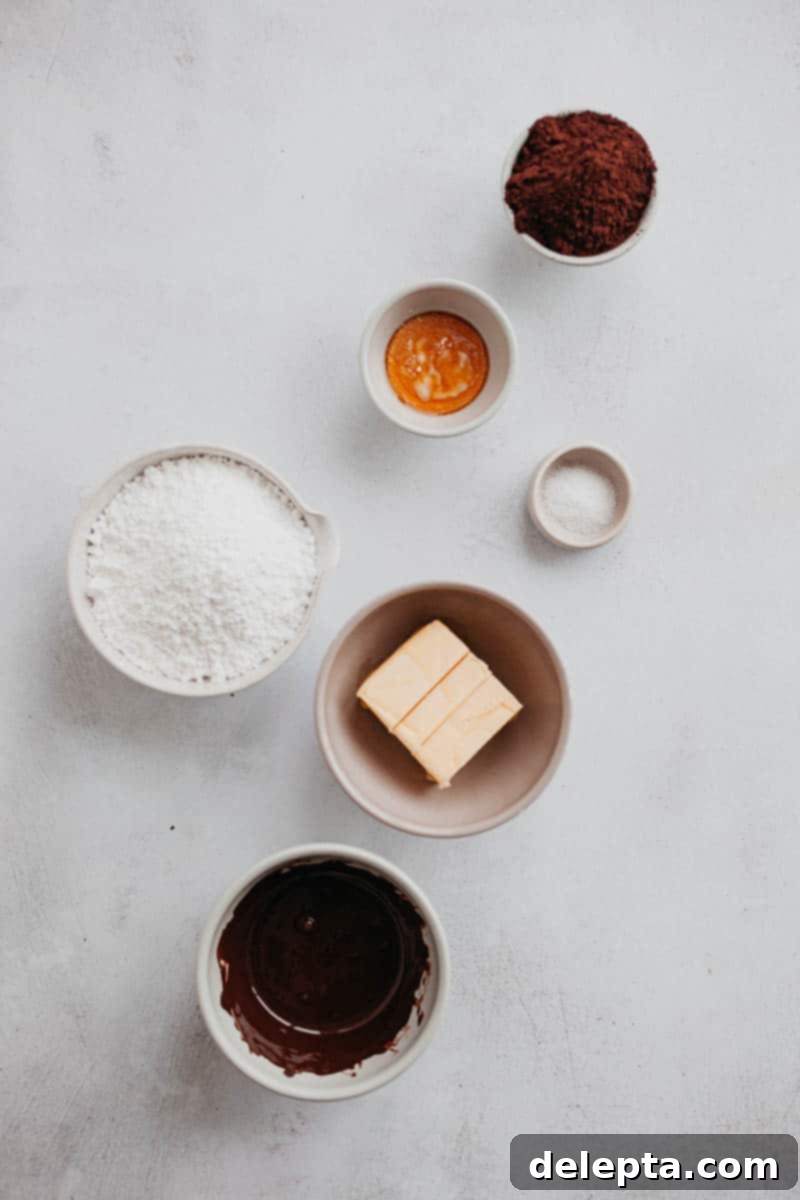
To start, in the bowl of a stand mixer (or using a hand mixer), combine your softened butter, powdered sugar, cocoa powder, and salt. Begin beating on low speed to prevent the dry ingredients from clouding your kitchen, then gradually increase the speed. At first, the mixture will appear quite sandy and crumbly, but don’t worry – with continued beating, it will transform into a light and fluffy consistency. Scrape down the sides of the bowl frequently with a silicone spatula to ensure everything is evenly incorporated.
Once the butter mixture is light and aerated, pour in the melted chocolate, heavy cream, and vanilla extract. Continue to beat for another minute or two until the frosting is smooth, glossy, and beautifully spreadable. The melted chocolate provides a deep, authentic chocolate flavor and contributes to the fudgy texture, while the heavy cream helps achieve that luxurious, pipeable consistency. If your frosting feels too thick or stiff for easy spreading, add an additional tablespoon of heavy cream at a time, beating after each addition, until it reaches your desired silky smoothness. Conversely, if it seems too thin, you can add a small amount of extra powdered sugar (about a tablespoon) until it thickens slightly. This frosting is best used immediately after making it for optimal texture and ease of application.
FAQ and Expert Tips for Your Chocolate Brownie Cookie Dough Cake
Baking a showstopping cake like this can come with questions, especially when tackling multiple components. Here are some frequently asked questions and expert tips to ensure your **Chocolate Brownie Layer Cake** with **Edible Cookie Dough** and **Fudge Frosting** turns out perfectly every time.
No problem at all! You can easily adapt. Bake your first two cake layers as directed. Once they’re done, let them cool in their tins for about 10-15 minutes on a wire rack before carefully inverting them and removing them from the pans. While those are cooling, quickly clean and re-grease one of the empty cake tins, lining the bottom with fresh parchment paper. Then, pour the remaining batter into this prepared tin and bake the third layer. This ensures all your layers are baked evenly, even if it takes a little extra time.
Absolutely! This cake is perfect for making ahead, which can help break down the baking process.
- Cake Layers: The baked chocolate cake layers can be made up to 2 days in advance. Once completely cooled, wrap each layer tightly in several layers of clingfilm (plastic wrap) to prevent them from drying out. Store them in the refrigerator. They can even be frozen for up to 2-3 weeks; simply thaw them overnight in the fridge before assembling.
- Cookie Dough: The edible cookie dough filling can also be prepared 2 days ahead of time. After shaping it into discs, wrap it tightly in clingfilm and store it in the refrigerator. The dough will firm up considerably, which is ideal for layering.
- Fudge Frosting: The frosting is best made on the day you plan to assemble and decorate the cake. While it can be stored in an airtight container in the fridge for a day or two, it will firm up significantly. If you do make it ahead, you’ll need to bring it back to room temperature and re-beat it with a mixer for a few minutes until it regains its fluffy, spreadable consistency. You might need to add an extra tablespoon of heavy cream if it’s too stiff.
Achieving pristine, clean slices can be tricky with layer cakes, especially those with fillings. The trick is heat! Take a large, sharp knife (a serrated knife often works best for cakes). Run the blade under very hot or boiling water for about 15-20 seconds. Quickly wipe the blade completely dry with a paper towel. Make one smooth, decisive slice through the cake. After each cut, repeat the process: rinse the knife under hot water, wipe it dry, and then make your next slice. This warmth helps the knife glide cleanly through the frosting, cake, and cookie dough, preventing sticking and smearing.
This is a common issue and easily fixed! The consistency of your frosting can be affected by the temperature of your ingredients or even the type of cocoa powder used. If your frosting is too stiff or crumbly, slowly add heavy cream, one tablespoon at a time, while beating on low speed. Continue to beat until it reaches a smooth, spreadable consistency. Remember to periodically scrape the sides and bottom of the bowl with a silicone spatula, as cream can sometimes settle there, leading to uneven mixing.
The sprinkle splatter effect adds a fun, festive touch! First, place your frosted cake on a large tray or baking sheet to catch any stray sprinkles – this makes cleanup much easier. While your frosting is still fresh and slightly tacky (sprinkles won’t stick to firm, crusted frosting), take small handfuls of your desired sprinkles. Gently but confidently toss or flick the sprinkles at the sides of the cake. Don’t be afraid to experiment with the angle and force for different effects. Once the sprinkles are on, lightly press them into the frosting with the palm of your hand to ensure they adhere well.
Due to the cookie dough filling and cream-based frosting, this cake is best stored in the refrigerator. Cover it loosely with clingfilm or place it in an airtight cake carrier to prevent it from drying out or absorbing fridge odors. When you’re ready to enjoy a slice, allow the cake to sit at room temperature for at least 30-60 minutes before cutting and serving. This allows the cake layers to soften and the cookie dough filling, which firms up considerably in the cold, to become more yielding and enjoyable.
No buttermilk? No problem! You can easily make a homemade substitute that works just as well. For every cup of milk you need, simply add 1 tablespoon of white vinegar or lemon juice. Whisk it together and let it sit for about 5-10 minutes. The milk will curdle slightly and thicken, mimicking the acidity and texture of real buttermilk. It’s then ready to be used in your recipe.
Want more delicious cake recipes to impress your friends and family? Check these out!
- Tiramisu Layer Cake
- Chocolate Raspberry Drip Cake
- Chocolate and Peanut Butter Layer Cake
If you’ve made this incredible chocolate brownie cookie dough cake, I’d absolutely love to see your creations! Make sure to tag me on Instagram @alpineella and leave a review below to let me know what you thought. For even more baking ideas and inspiration, you can also follow me on Pinterest!
Recipe
Chocolate Brownie Cake with Cookie Dough Filling with Fudge Frosting
Ella Gilbert
Pin Recipe
Save RecipeSaved!
Equipment
-
3 x 8 inch cake tins
Ingredients
Chocolate Cake
- 112 grams cocoa powder 1 ¼ cup
- 330 grams flour 2 ¾ cups
- 360 ml boiling water 1 ½ cup
- 180 ml vegetable oil 1 cup
- 3 eggs
- 2 teaspoon vanilla extract
- 500 grams sugar 2 ½ cups
- 1 ½ teaspoon baking powder
- 1 teaspoon kosher salt
- 3 teaspoon baking soda
- 360 ml buttermilk 1 ½ cups
Cooke Dough Filling
- 330 grams butter, room temperature 1 ½ cups
- 225 grams light brown sugar 1 cup + 1 tbsp
- 225 grams sugar 1 cup + 1 tbsp
- 1 ½ teaspoon salt
- 2 teaspoon vanilla extract
- 292 grams flour, heat treated 2 ¼ cups
- 262 grams chocolate chips 1 ½ cups
- 3 tablespoon milk or heavy cream
- pinch nutmeg
Fudge Frosting
- 270 grams powdered sugar 2 ⅕ cups
- 170 grams butter, room temperature 1 ½ sticks
- 4-5 tablespoon heavy cream
- 2 teaspoon kosher salt
- 30 grams cocoa powder ¼ cup
- 82 grams melted chocolate 3 ounces
- 2 teaspoon vanilla extract
Instructions
Make Cake
-
Preheat oven to 350°F/175°C. Grease 3 8-inch cake pans with butter, then line the bottoms with parchment paper.
-
Combine the flour, cocoa powder, sugar, baking powder, baking soda, and salt in the bowl of a stand mixer, using the paddle attachment. Set aside. In a large jug, combine the buttermilk, oil, eggs and vanilla.
-
While the mixer is on low speed, slowly pour in the wet ingredients. While mixer is till running, slowly add the boiling water and mix. Your batter will be very thin.
-
Pour the batter into the prepared pans (about 22 ounces/600 grams per pan). Bake for 35-40 minutes, until a toothpick comes out clean when inserted.
-
Allow the cakes to cool completely
Make Cookie Dough
-
In a stand mixer with the whisk attachment, add butter and sugars, beat until fluffy and pale, about 2-3 minutes. Add the vanilla and mix again.
-
Reduce the speed and slowly add in the flour, nutmeg and salt. Mix until just combined. Add in the milk/heavy cream a tablespoon at a time until you have your desired consistency. Fold in your chocolate chips.
-
Divide the dough in two and shape into 8 inch circles. Wrap in clingfilm and keep in the fridge until ready to use.
Make Fudge Frosting
-
In a stand mixer with the whisk attachment, beat the butter, powdered sugar, cocoa powder and salt together. Start on low and then increase the speed to stop the dry ingredients from flying out. Beat until fluffy, it will start off looking sandy but will come together. Pour in the melted chocolate, heavy cream and vanilla and beat for another minute.
-
If the frosting isn’t as spreadable as you would like, add more heavy cream a tablespoon at a time.
Notes
- Heat treat your flour: preheat your oven to 350 F/ 175 C and spread the flour for the cookie dough evenly on a baking sheet. Bake for 5-10 minutes. Cool completely.
- It’s best to use the frosting immediately rather than storing in the fridge before assembling the cake.
Nutrition
