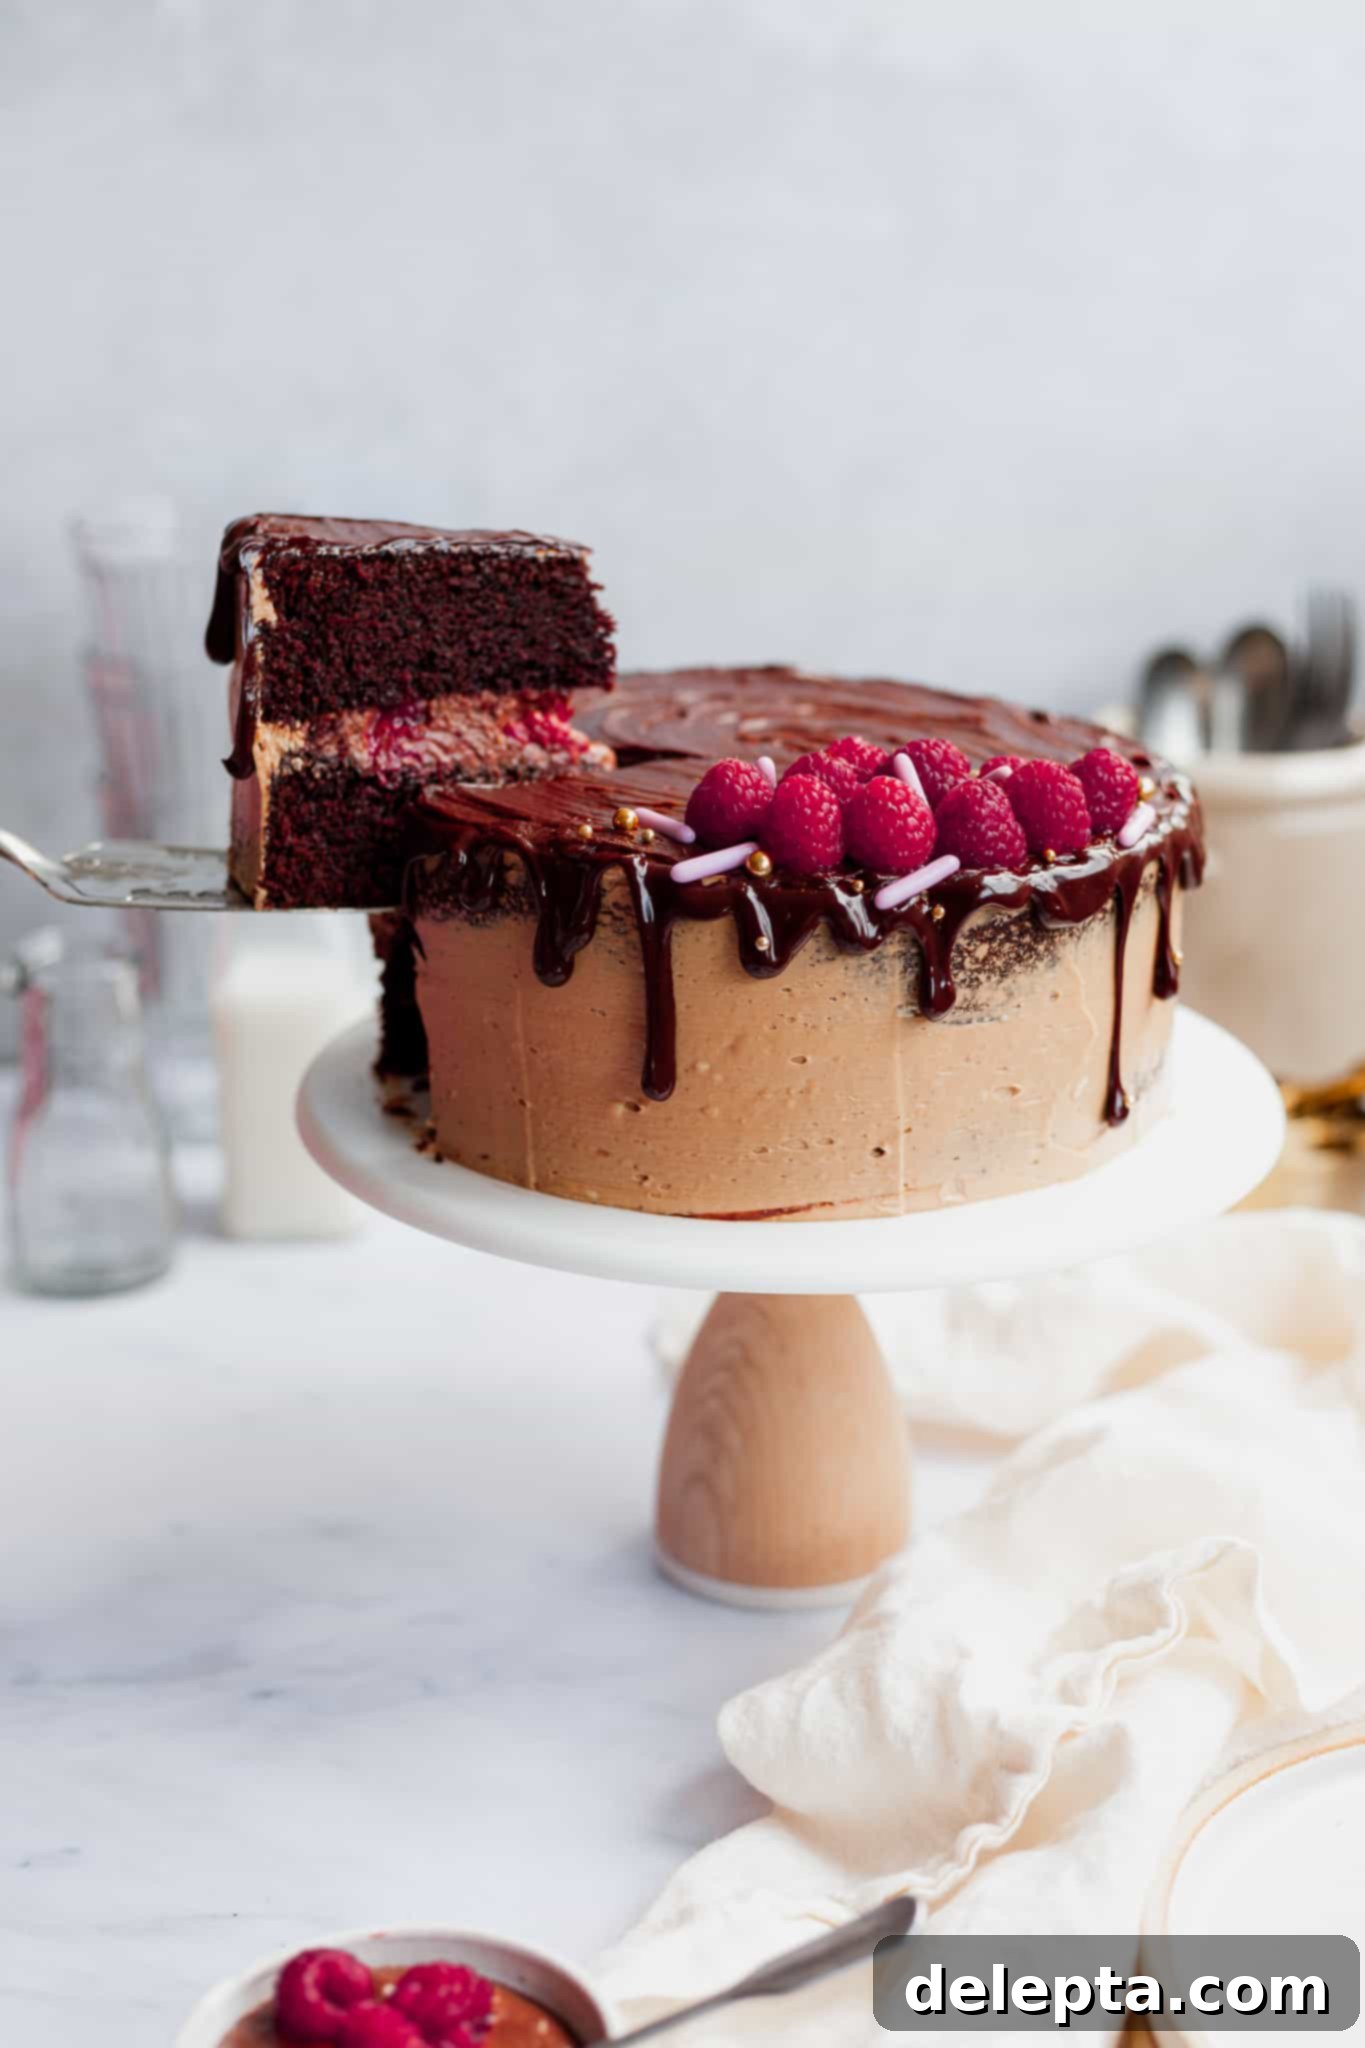
Decadent Chocolate Raspberry Drip Cake: Your Guide to a Showstopping Berry & Chocolate Masterpiece
Prepare to fall head over heels for this exquisite chocolate and raspberry cake, a creation that balances indulgence with a delightful hint of tartness. This isn’t just any chocolate cake; it’s an effortless masterpiece that doesn’t even require a stand mixer, making it accessible for bakers of all skill levels. At its heart lies a truly remarkable raspberry ganache filling, a vibrant burst of flavor that elevates every single bite. And to top it all off, a flawlessly executed, yet surprisingly simple, chocolate ganache drip adds a touch of elegant drama, transforming this dessert into a true showstopper for any occasion. Get ready to bake a cake that looks as impressive as it tastes, leaving everyone asking for the recipe.
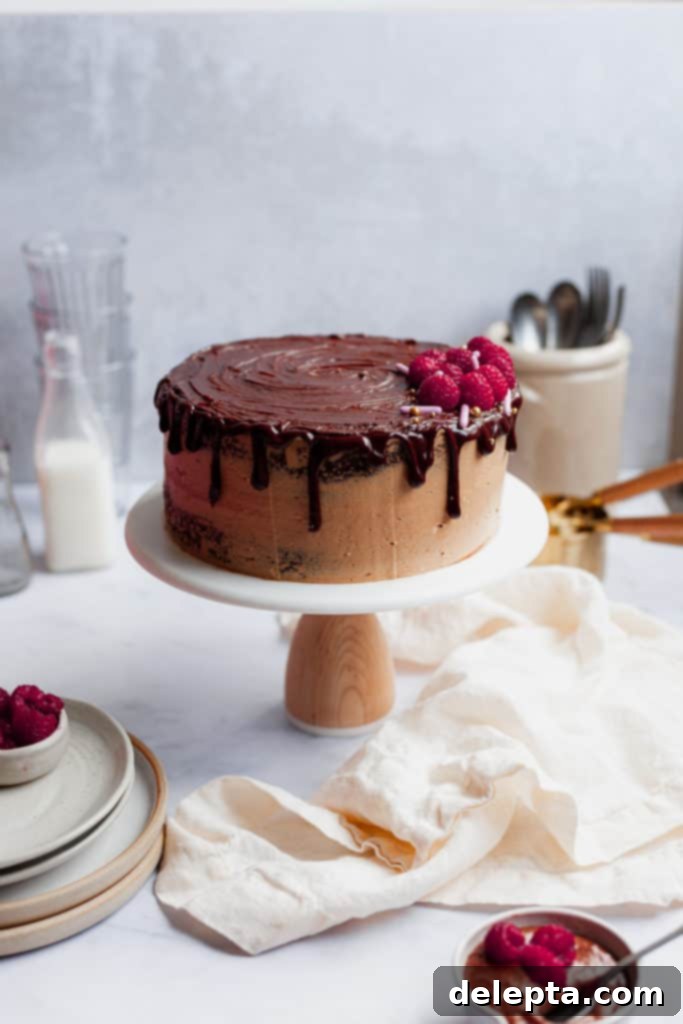
Confession time: I’ve always been a bit of a purist when it comes to chocolate desserts. My usual philosophy is ‘no fruits allowed!’ – believing that chocolate should stand proudly on its own, unadorned by fruity companions. So, when a dear friend approached me for her birthday cake, specifically requesting a raspberry chocolate creation, I admit I was initially skeptical. However, her enthusiasm was contagious, and I decided to embrace the challenge, pushing my culinary boundaries. And oh, am I glad I did! What started as a commissioned request quickly blossomed into an obsession, proving that sometimes, stepping outside your comfort zone leads to the most delightful discoveries. This cake is an absolute revelation, a perfect symphony of rich cocoa and bright, tangy raspberries.
The journey to perfecting this chocolate raspberry drip cake was an exciting exploration of textures and flavors. I wanted to create a dessert that celebrated both key ingredients, ensuring neither overpowered the other. The goal was a harmonious blend where the deep intensity of chocolate met the refreshing tartness of raspberries, creating an unforgettable sensory experience. Every element, from the moist cake layers to the luscious fillings and elegant drip, was meticulously chosen and crafted to achieve this delicate balance, resulting in a cake that truly captivates from the first glance to the last crumb.
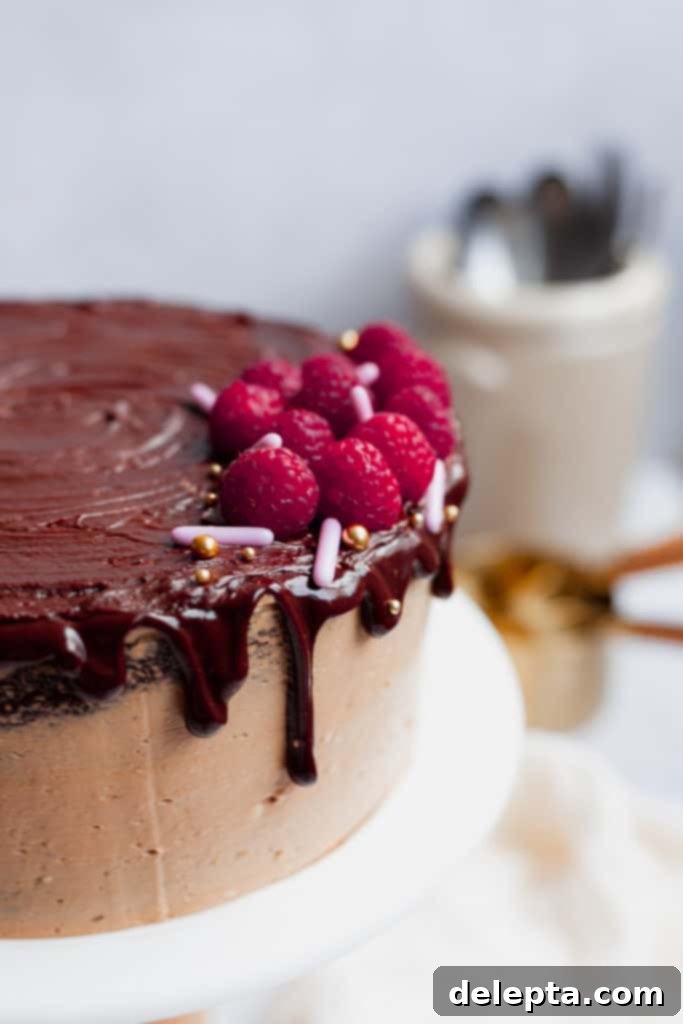
Crafting Your Perfect Chocolate & Raspberry Cake
When embarking on the creation of this specific chocolate raspberry cake, my usual preference for a dense, fudgy, and intensely dark chocolate cake (much like my beloved Chocolate and Peanut Butter Layer Cake) had to be re-evaluated. The delicate and bright flavor of raspberries demanded a different approach to ensure it wouldn’t be overshadowed. The goal was to achieve a harmonious balance, allowing the vibrant fruit notes to truly shine through without being weighed down by an overly heavy cake or frosting. This cake truly highlights the beautiful synergy between rich cocoa and fresh, zesty berries, proving that some culinary rules are made to be deliciously broken.
For the cake itself, I opted for a much lighter, yet incredibly moist, chocolate crumb. This particular recipe draws inspiration from the masterful Dominique Ansel’s “Everyone Can Bake”. His approach yields a tender, airy cake that provides the perfect chocolate foundation without being overly rich, creating an ideal canvas for the tangy raspberry elements. This lighter texture ensures that each forkful offers a delightful interplay of flavors, rather than a single dominant note, allowing the freshness of the raspberries to complement the deep cocoa rather than compete with it.
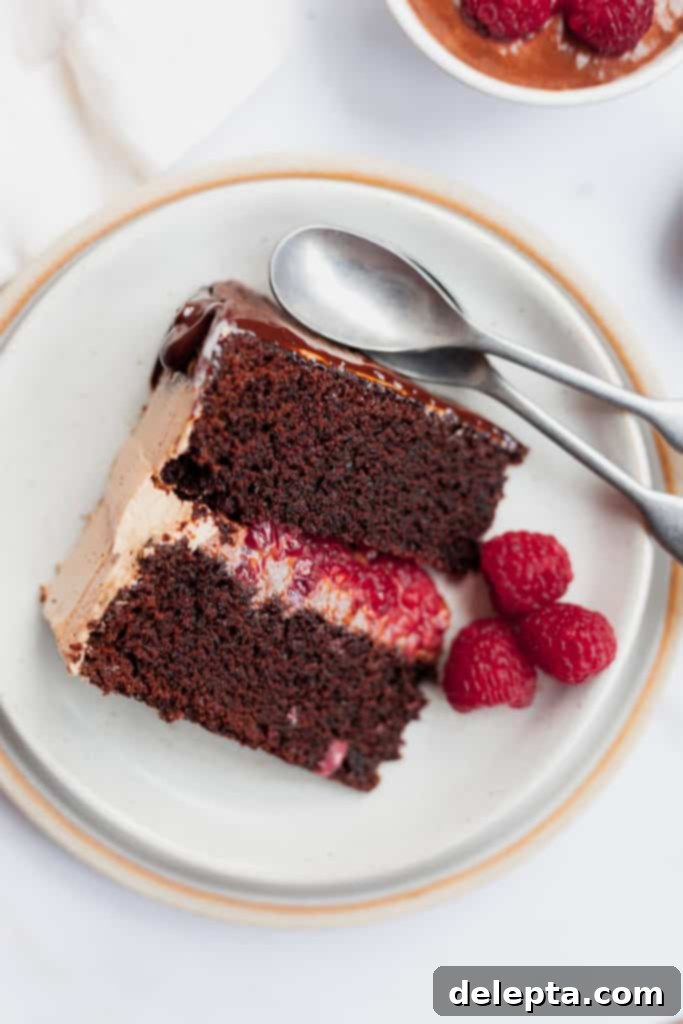
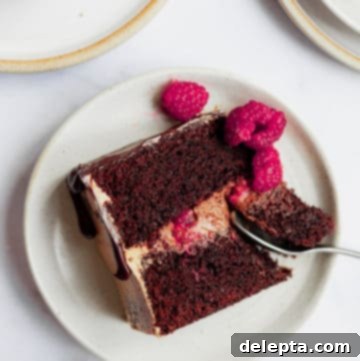
The true star of the filling, however, is the innovative raspberry ganache. Dominique Ansel’s book introduced me to a brilliant technique: pureeing fresh fruit, straining it to remove seeds, and then incorporating this vibrant fruit essence into a traditional chocolate ganache. This method was a game-changer and the primary reason I felt compelled to share this cake on the blog. The resulting ganache is wonderfully tart and sharp, offering a beautiful counterpoint to the chocolate, all while maintaining a rich, deep chocolate base. To further enhance this effect, after piping the luscious raspberry ganache onto the cake layers, I generously scatter fresh raspberries on top. This not only provides a stunning burst of color when the cake is sliced but also delivers an extra layer of that irresistible, juicy tartness with every bite, creating a delightful textural contrast and an explosion of berry flavor that truly sets this cake apart.
Moving on to the frosting, I typically lean towards a silky Swiss meringue buttercream, known for its light texture and less sweet profile. However, inspired by mentions in both Ansel’s book and Claire Saffitz’s phenomenal “Dessert Person”, I decided to explore the world of French buttercream. Unlike Swiss meringue, which relies on egg whites for its base, French buttercream uniquely utilizes egg yolks. This difference results in a remarkably rich, custard-like texture that feels incredibly decadent and luxurious on the palate. Its opulent consistency and slightly golden hue made it the ideal choice for a “naked-ish” cake design, where the beauty of the cake layers and the vibrant raspberry ganache peeks through. This combination ensures a sophisticated presentation and an incredibly satisfying mouthfeel, adding another layer of depth to this already complex dessert.
The assembly of this cake is where all these thoughtfully chosen elements come together to create a cohesive and visually stunning dessert. From the moment you slice into it, the layers of moist chocolate cake, the vibrant, seedless raspberry ganache, and the smooth, rich French buttercream create an experience that is both visually appealing and deliciously complex. Each component plays its part in building a symphony of taste and texture that will impress any discerning palate. The final touch of the glossy chocolate drip adds an undeniable flair, making this cake not just a dessert, but a true centerpiece for any celebration, embodying both elegance and irresistible flavor.
Expert Tips & FAQs for Drip Cake Perfection
Achieving a professional-looking drip cake is simpler than you might think, especially with a few insider tips and tricks. Here’s how to ensure your chocolate raspberry masterpiece is both delicious and visually stunning, along with answers to common questions that will guide you to baking success.
The type of chocolate you choose significantly impacts the consistency and appearance of your ganache drip. For this particular recipe, I recommend using an equal parts ratio of double cream to chocolate by weight. My go-to is a chocolate with around 51% cocoa solids, as it provides a good balance of flavor and a reliable texture for dripping. If you prefer to use a darker chocolate, say one with 70-80% cocoa, you’ll need to adjust the cream ratio slightly. Darker chocolates contain less cocoa butter and more cocoa solids, making them naturally thicker when melted. To achieve the ideal drip consistency, you would typically add an extra tablespoon or two of double cream to compensate. This adjustment ensures your ganache remains fluid enough to create beautiful, controlled drips without becoming too thick and refusing to flow down the cake sides. Always opt for high-quality baking chocolate or chocolate chips for the best results in both flavor and texture – a good quality chocolate truly makes a difference.
Preparing the ganache for the drip is a crucial step that determines its aesthetic success. Begin by combining your chopped chocolate and double cream in a microwave-safe bowl. Heat in short, 15-second bursts, stirring thoroughly after each interval, until the chocolate is fully melted and smooth. Be patient and avoid overheating, as this can cause the chocolate to seize or become grainy. Once melted, remove the ganache from the heat and allow it to cool slightly at room temperature. This is where patience is key. The ganache needs to cool down and thicken to the ideal “drip” consistency. If applied immediately while too warm and thin, it will run straight down the sides of your cake, pooling at the bottom and looking messy. To help the process along, stir the ganache occasionally as it cools, checking its texture. You’re looking for a consistency similar to thick, pourable syrup – thin enough to flow gracefully, but thick enough to hold its shape as it drips. While waiting for your ganache to reach this perfect stage, make sure your assembled cake is chilling in the fridge. A cool cake provides a firmer surface for the ganache to adhere to and set quickly, preventing it from running too far. You can test the ganache by spooning a small amount onto the side of the bowl; observe how far it drips down. Once ready, you can either transfer the ganache to a piping bag with a small round tip for precise drips around the edges or simply use a spoon for a more rustic, freehand look. Apply the drips all along the perimeter of the cake, letting them fall naturally, then pour any remaining ganache onto the top and gently spread it with an offset spatula for a smooth, even finish. The cooler cake will help the drips set beautifully as you work, creating that iconic cascading effect.
Absolutely! Many components of this chocolate raspberry drip cake can be made ahead of time to streamline your baking process, making it much more manageable for busy schedules or special occasions. The chocolate cake layers can be baked up to two days in advance; once completely cooled, tightly wrap them in several layers of plastic wrap to prevent drying out, and store them at room temperature. For longer storage, they can even be frozen for up to a month. The raspberry ganache can also be prepared a day or two ahead and stored in an airtight container in the refrigerator. When you’re ready to assemble, gently warm it in the microwave in short bursts, stirring frequently, until it returns to a smooth, pipeable consistency. The French buttercream, being quite stable due to its high fat content, can also be made a day in advance and stored in the fridge. Before using, allow it to come to room temperature for about an hour, then re-whip it on medium-high speed until it’s wonderfully light, fluffy, and smooth again.
Once assembled, this beautiful cake is best stored in an airtight cake dome or container in the refrigerator. This is essential to maintain its freshness, especially given the inclusion of fresh raspberries, and the dairy-based ganache and buttercream. Stored properly, the cake will stay fresh and absolutely delicious for 3-4 days. For optimal flavor and texture, it’s highly recommended to allow the cake to come closer to room temperature for about 30-60 minutes before serving. This brief wait softens the buttercream and cake layers, enhancing the overall eating experience and allowing the flavors to truly bloom. If you anticipate having leftover slices, wrap them individually in plastic wrap before storing them in the fridge to prevent them from drying out and to lock in that delightful moisture.
While raspberries offer a unique tartness and vibrant color that beautifully complements the rich chocolate, you can certainly experiment with other berries or fruits if desired, or if raspberries are not in season. Blackberries or cherries would make excellent substitutes for the ganache puree, offering a similar tang and a rich, deep color that would still look stunning. If using cherries, ensure they are pitted before pureeing. For the fresh fruit decoration on top, strawberries or blueberries could also work well, though they might alter the flavor profile slightly towards a sweeter note. Just ensure that any fruit you use for the ganache is properly pureed and strained to remove any seeds, ensuring that silky smooth, luxurious texture that makes the ganache so special. Feel free to get creative and tailor the cake to your favorite fruit combinations!
Love layer cakes? Try these recipes!
If you’ve enjoyed the process of crafting this magnificent chocolate raspberry layer cake and have a passion for creating stunning multi-layered desserts, you’re in for a treat! Explore some of my other favorite layer cake recipes that are sure to delight:
- Tiramisu Layer Cake
- Chocolate & Peanut Butter Layer Cake
Recipe
Chocolate & Raspberry Layer Cake
Ella Gilbert
Pin Recipe
Save RecipeSaved!
Equipment
-
2 x 8-inch cake pans
Ingredients
Chocolate Cake
- 440 grams all-purpose flour
- 600 grams granulated sugar
- 90 grams unsweetened cocoa powder
- 1 teaspoon baking powder
- 1 ½ teaspoon baking soda
- ½ teaspoon kosher salt
- 1 tablespoon vanilla extract
- 4 large eggs
- 230 ml vegetable oil
- 450 grams whole milk
Raspberry Ganache
- 100 grams raspberries, fresh or frozen
- 23 grams milk
- 110 grams double cream (heavy cream)
- 110 grams dark chocolate, finely chopped (50-60% cocoa)
- 23 grams unsalted butter, room temperature
- 200 grams fresh raspberries for decoration
Chocolate Buttercream
- 65 grams granulated sugar
- 22 grams water
- 50 grams egg yolks (from approx. 3 large eggs)
- 225 grams unsalted butter, room temperature, cubed
- 25 grams melted dark chocolate
- 1 teaspoon vanilla extract
Drip
- 60 grams dark chocolate, chopped (50-60% cocoa)
- 60 grams double cream (heavy cream)
Instructions
Make the Chocolate Cake Layers
-
Preheat your oven to 350°F (180°C). Prepare two 8-inch round cake pans by greasing and lining the bottoms with parchment paper. This ensures easy release of your cake layers.
-
In a large bowl, whisk together the dry ingredients: flour, granulated sugar, cocoa powder, baking powder, baking soda, and kosher salt. Ensure there are no lumps and the ingredients are well combined.
-
In a separate large jug or bowl, whisk together the wet ingredients: eggs, vegetable oil, vanilla extract, and whole milk until thoroughly combined.
-
Gradually add the wet ingredients to the dry ingredients in three stages, mixing well with a whisk or spatula after each addition until just combined. Be careful not to overmix, as this can lead to a tough cake.
-
Divide the batter evenly between the two prepared cake pans. Bake for 45-50 minutes, or until a wooden skewer or toothpick inserted into the center of the cakes comes out clean.
-
Once baked, allow the cake layers to cool in their tins on a wire rack for about 15-20 minutes before carefully inverting them onto the rack to cool completely.
Prepare the Raspberry Ganache Filling
-
Take 100 grams of fresh or frozen raspberries and puree them in a blender or food processor until smooth. Pass the puree through a fine-mesh sieve, pressing firmly with a spoon or spatula, to remove all the seeds. Set aside the smooth raspberry puree.
-
In a small saucepan, combine the double cream and milk. Heat over medium heat until the mixture just comes to a boil. Immediately remove from the heat.
-
Place the finely chopped dark chocolate and the strained raspberry puree in a large heatproof bowl. Pour the hot cream mixture over the chocolate and puree. Let it sit for 2-3 minutes to allow the chocolate to melt, then whisk gently from the center outwards until the mixture is completely smooth and emulsified.
-
Add the room temperature butter to the ganache and whisk until it’s fully incorporated and the ganache is glossy and smooth. Set aside to cool completely at room temperature until it reaches a thick, spreadable consistency. Do not refrigerate or it will become too firm.
Make the Chocolate French Buttercream
-
Combine the water and granulated sugar in a small saucepan. Place it over medium heat and bring to a simmer, whisking constantly until the sugar completely dissolves. Using a candy thermometer, continue heating the syrup without stirring until it reaches 250°F (120°C).
-
While the syrup is heating, place the egg yolks in the bowl of a stand mixer fitted with the whisk attachment. Whisk the egg yolks on high speed until they are light yellow and slightly thickened. Once the sugar syrup reaches 250°F, slowly and carefully pour the hot syrup in a thin stream down the side of the bowl into the whisking egg yolks. Continue whisking on high speed until the mixture is pale, fluffy, and has significantly increased in volume, usually about 5-7 minutes. The bowl should feel cool to the touch by this point.
-
Reduce the mixer speed to low. Add the cubed room temperature unsalted butter, one piece at a time, until it is fully incorporated and the buttercream becomes smooth and creamy. If it looks curdled, keep mixing; it will come together. Finally, pour in the melted dark chocolate and vanilla extract, mixing on low speed until everything is combined and the buttercream is uniformly chocolatey and silky.
Make the Chocolate Drip
-
Place the chopped chocolate and double cream in a microwave-safe bowl. Microwave in 15-second bursts, stirring well after each burst, until the chocolate is fully melted and the ganache is smooth. Let it cool at room temperature, stirring occasionally, until it reaches the desired drip consistency – it should be pourable but thick enough not to run off the cake too quickly. Test it by dripping a small amount down the side of the bowl to gauge its flow.
Assemble the Cake
-
Using a serrated knife, level the tops of your cooled cake layers by carefully slicing off any domed portions. Place one leveled cake layer onto your serving plate or cake stand. Pipe a generous layer of the cooled raspberry ganache on top, spreading it evenly. Arrange a layer of fresh raspberries over the ganache. Carefully place the second cake layer on top and gently press down to secure.
-
Apply a generous amount of the chocolate French buttercream to the top of the cake, spreading it outwards with an offset spatula. Use the remaining buttercream to lightly coat the sides of the cake, creating a “naked” or “semi-naked” effect where some cake layers are visible. Use a bench scraper to smooth the sides of the cake, achieving a clean and elegant finish. Transfer the cake to the refrigerator for 15-20 minutes to chill and firm up the buttercream – a cooler cake makes for a better drip.
-
Once the cake is chilled, take your prepared chocolate drip ganache. Using a spoon or a piping bag with a small hole, carefully create drips around the perimeter of the cake, allowing the ganache to cascade down the sides. Then, pour any remaining ganache onto the center of the cake top and gently smooth it out with an offset spatula. Finish by arranging the remaining fresh raspberries beautifully on top of the cake for a final flourish. Slice and serve this decadent masterpiece!
Notes
Nutrition
