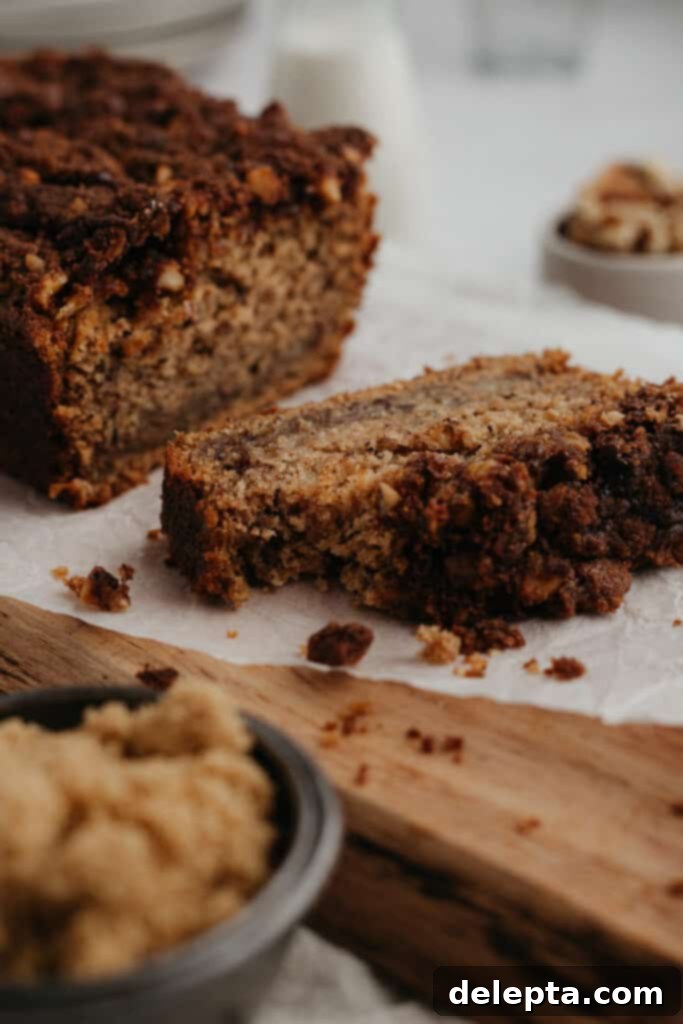
The Ultimate Moist Cinnamon Crunch Banana Bread Recipe
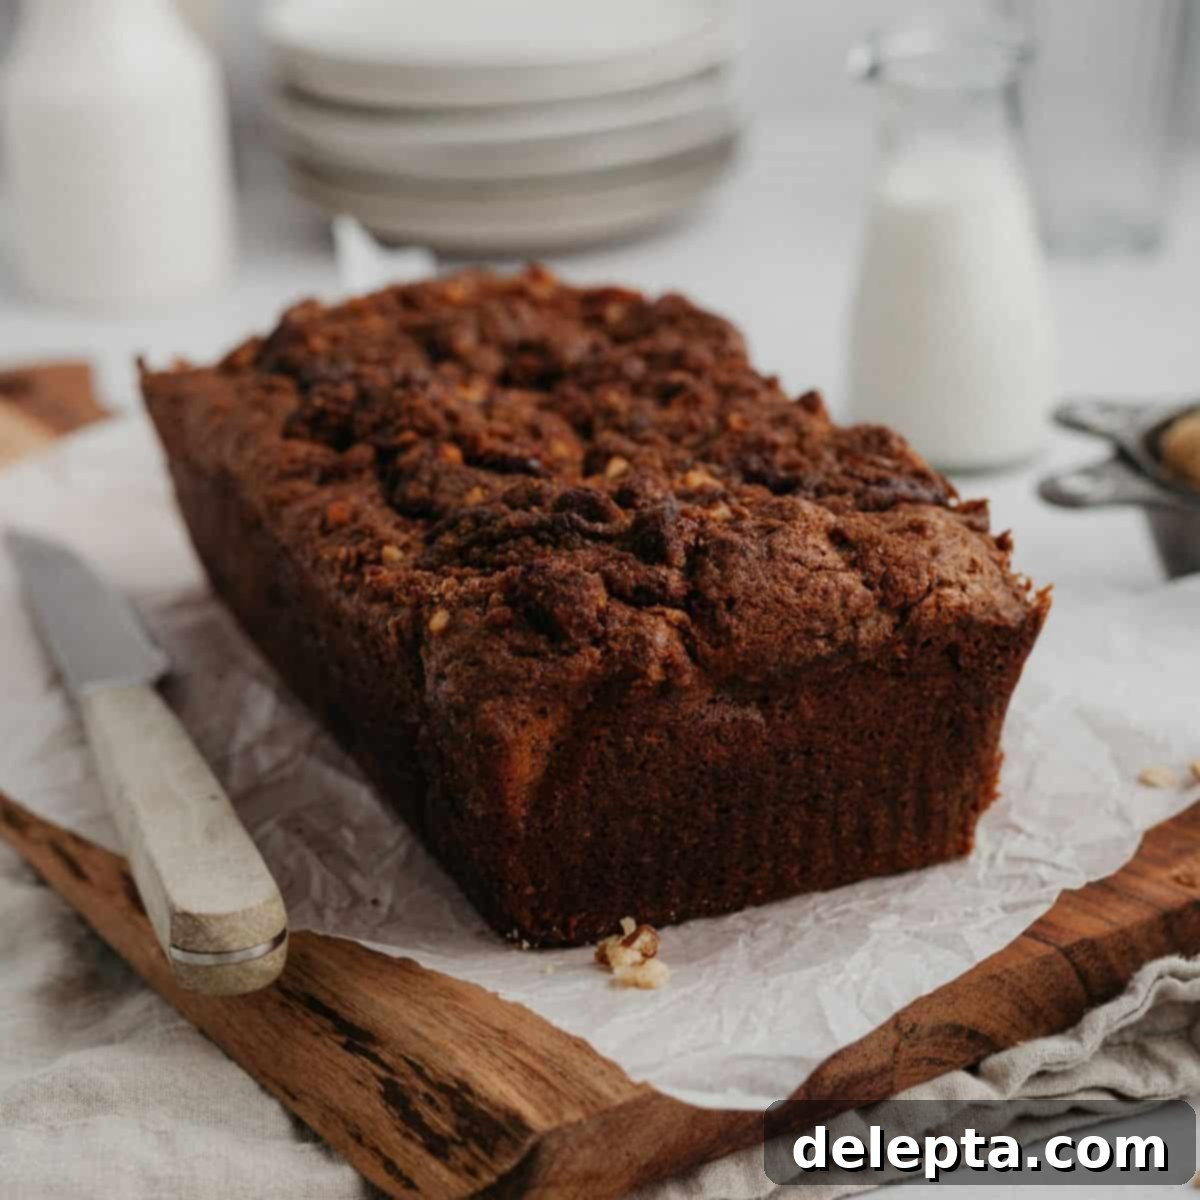
This isn’t just *any* banana bread; it’s the ultimate Cinnamon Crunch Banana Bread – a recipe that transforms humble overripe bananas into an extraordinarily soft, moist, and utterly delicious loaf. Topped with an irresistible, crunchy cinnamon streusel, it’s a perfect treat for breakfast, an afternoon snack, or even a comforting dessert. With just 15 minutes of hands-on prep time and ingredients you likely already have in your pantry, whipping up this bakery-worthy banana bread is surprisingly simple. Get ready to experience a symphony of textures and flavors that will make this your new go-to recipe for utilizing those perfectly ripe, spotty bananas. The inviting aroma alone will draw everyone to the kitchen, promising a delightful baking experience and an even more delightful tasting one!
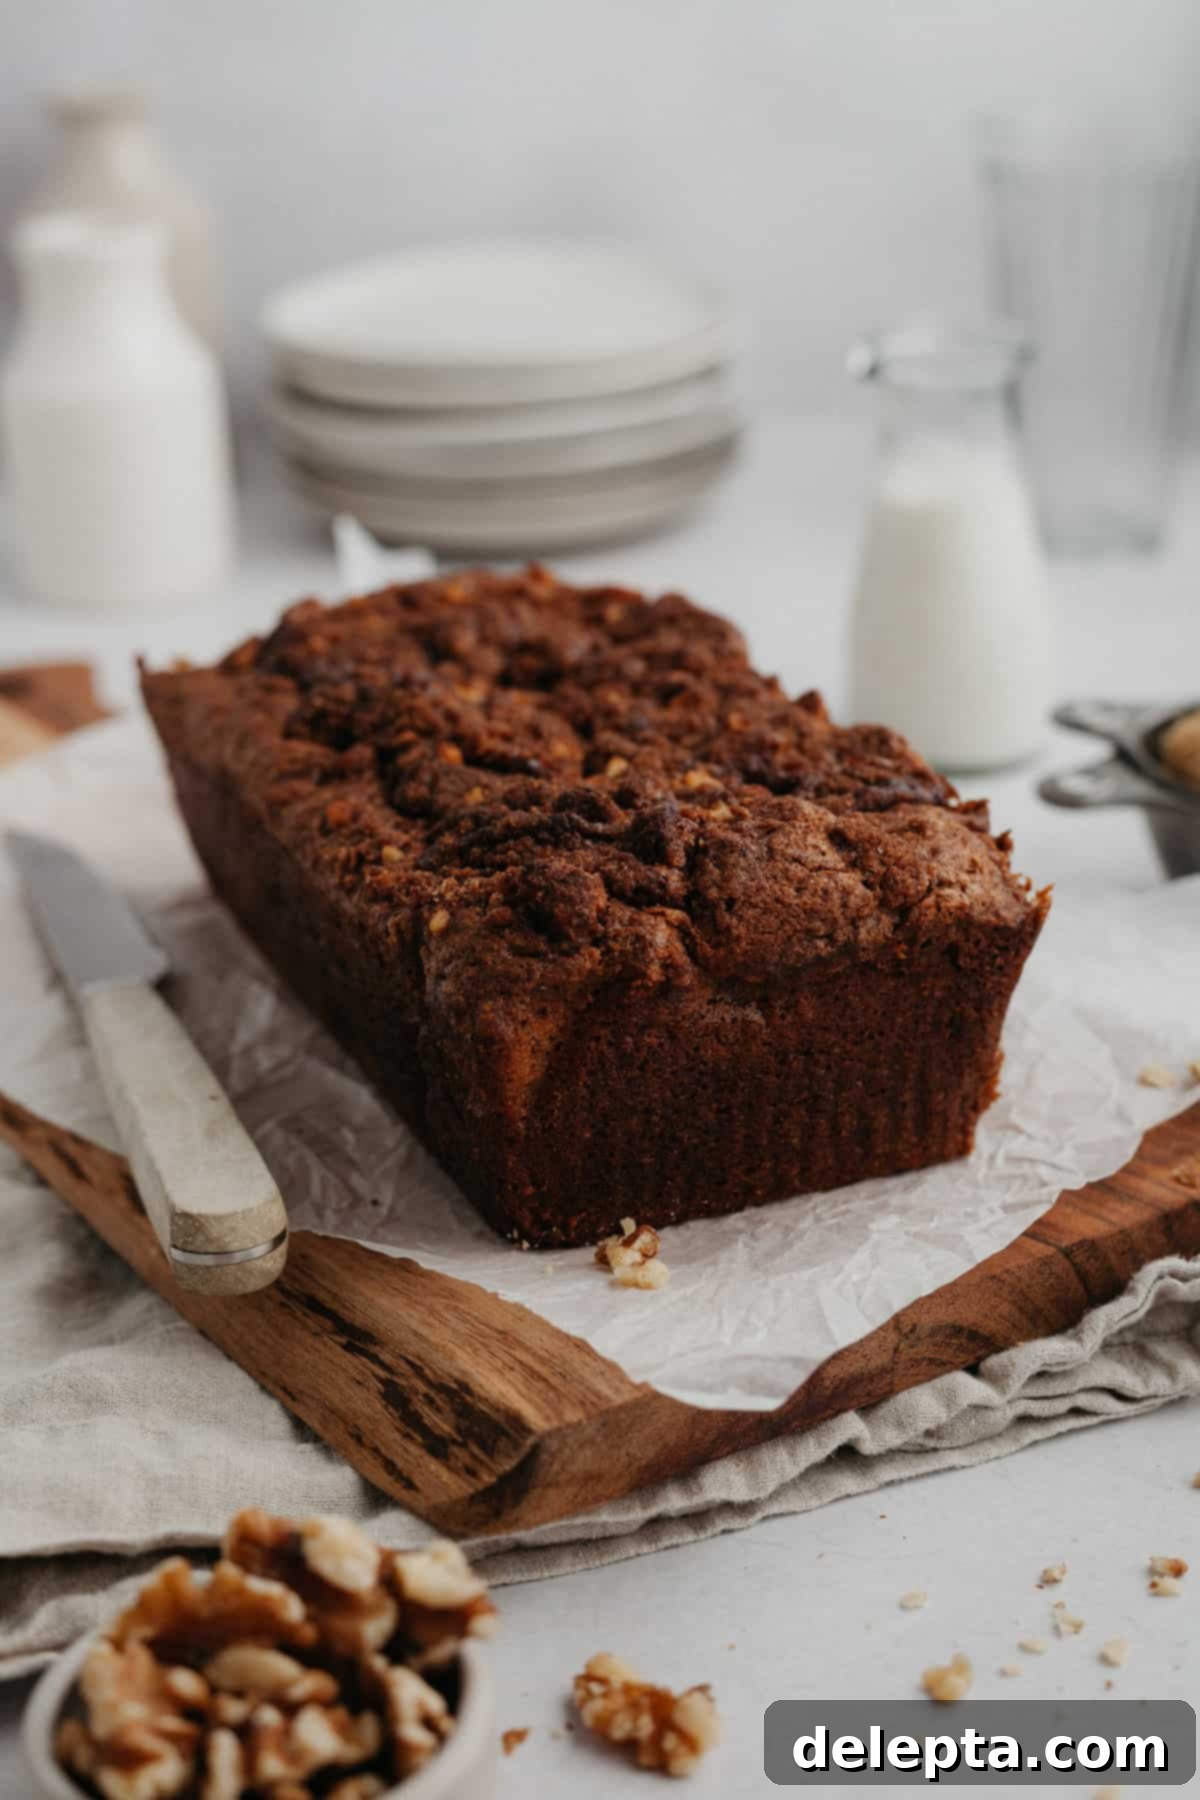
Discover the Magic Behind This Perfect Cinnamon Banana Bread
Let’s dive into what makes this Cinnamon Crunch Banana Bread truly special and why it consistently delivers outstanding results. We’ve meticulously crafted this recipe to ensure maximum flavor and an unparalleled moist texture.
- The Creaming Method for Superior Texture: Unlike many quick bread recipes that rely on the simpler “muffin method” (mixing wet and dry ingredients separately), this loaf cake employs the classic creaming method. This involves beating softened butter and sugar together until the mixture is light and airy. This crucial step incorporates tiny pockets of air, which expand during baking, creating a finer, more tender crumb and a luxurious, fluffy texture that stands out from dense, gummy banana breads. This careful process ensures a beautifully risen and consistently soft loaf that melts in your mouth.
- The Secret to Unrivaled Moisture: Sour Cream: One of the star ingredients in this recipe is full-fat sour cream. It plays a pivotal role in delivering an incredibly moist banana bread that stays fresh for days. The fat and acidity present in sour cream work wonders by tenderizing the crumb of the bread, preventing it from becoming dry and ensuring every bite is rich and succulent. Furthermore, it adds a subtle tang that perfectly balances the sweetness of the mashed bananas and sugars, elevating the overall flavor profile. If you don’t have sour cream on hand, don’t fret; full-fat Greek yogurt or plain yogurt can be an excellent 1:1 substitute, providing similar moisture and a delightful tangy note.
- The Irresistible Cinnamon Crunch Topping: What truly sets this banana bread apart and gives it its signature appeal is its luscious topping. A buttery, sugary, and warmly spiced streusel made with chopped walnuts and a generous amount of cinnamon creates an amazing “crunch” layer. This topping adds a fantastic textural contrast to the soft, pillowy interior of the bread and infuses every bite with an extra burst of aromatic cinnamon and earthy nutty flavor. While this crunchy topping is highly recommended for that signature “crunch” and enhanced taste, the recipe is versatile enough that you can certainly bake the loaf plain if you prefer a simpler banana bread, or even customize the nuts to your liking.
Essential Ingredients for Your Cinnamon Crunch Banana Bread
Crafting the perfect Cinnamon Crunch Banana Bread starts with selecting the right, high-quality ingredients. Below, we break down the key components you’ll need for both the incredibly moist banana bread itself and its irresistible, buttery cinnamon streusel topping. Each ingredient plays a vital role in achieving the optimal flavor and texture that makes this recipe a favorite.
-

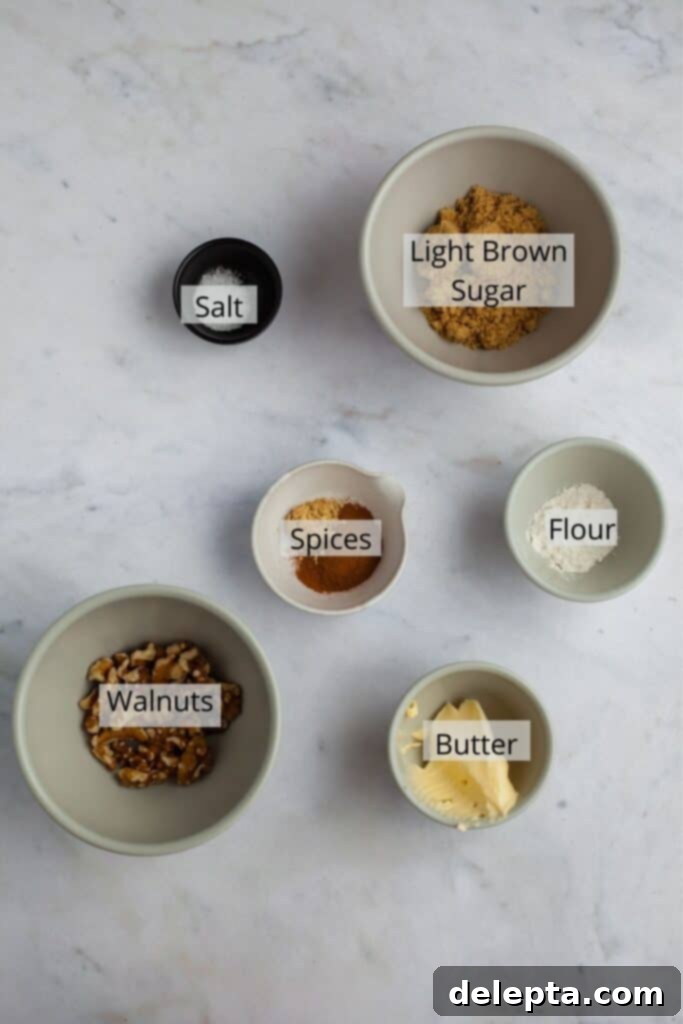
Cinnamon Crunch Topping Ingredients -

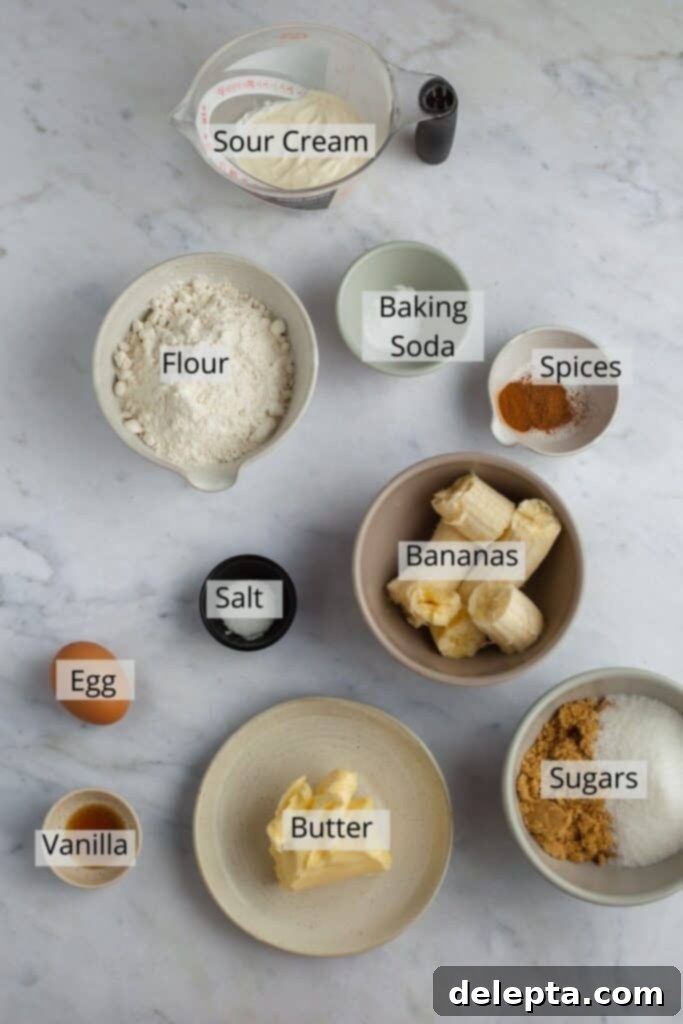
Banana Bread Ingredients
The printable recipe card with the full list of ingredients, precise measurements, and step-by-step instructions can be found at the very bottom of this post.
Deep Dive into Ingredient Notes for Your Moist Banana Bread
Understanding the role of each ingredient and knowing potential substitutions can make you a more confident and adaptable baker. Here’s a closer look at some key components of this delicious Cinnamon Crunch Banana Bread recipe:
- Ripe Bananas: The Star of the Show: The success of any banana bread, especially one as moist and flavorful as this, absolutely hinges on the ripeness of your bananas. For this recipe, you’ll want bananas that are heavily speckled with brown, or even completely brown and soft to the touch. These bananas have naturally converted most of their starch into sugar, resulting in a significantly sweeter flavor and a much more intense banana aroma that permeates the entire loaf. Their softer texture also makes them incredibly easy to mash and incorporate smoothly into the batter, ensuring an evenly flavored and consistently moist bread. Using underripe bananas will yield a less flavorful and potentially drier loaf, so patience is key for optimal results.
- Walnuts: A Nutty Crunch (or Your Favorite Alternative): The signature crunchy topping features finely chopped walnuts, which add a wonderful earthy flavor, a pleasant bitterness that balances the sweetness, and a satisfying textural contrast. However, this element is highly customizable to suit your preferences or what you have on hand. Pecans are a fantastic alternative, offering a slightly different but equally delicious buttery crunch. If you prefer your banana bread completely nut-free, simply omit the walnuts from the topping recipe – the streusel will still be incredibly flavorful with just the cinnamon, sugar, and butter. For a different twist, you could experiment with chopped almonds, hazelnuts, or even toasted pumpkin seeds for an added layer of complexity.
- Spices: A Warm and Welcoming Embrace: Both the banana bread loaf and the streusel topping are generously infused with warming spices, creating a comforting aroma and taste. The banana bread batter itself is subtly spiced with ground cinnamon and a hint of ground nutmeg, which beautifully complement the natural sweetness of the banana without overpowering it. The topping, on the other hand, boasts a more robust and zesty blend of ground cinnamon and a touch of ground ginger, creating a delightful warmth and gentle kick that truly shines through the crunchy streusel. Feel free to adjust the spices to your taste! You can increase the amount of cinnamon for an extra spicy kick, or experiment with other warming spices like allspice, cardamom, or even a tiny pinch of cloves for a unique flavor profile. The goal is a balanced flavor that enhances, not masks, the delicious combination of banana and butter.
- Sour Cream: The Ultimate Moisture Provider: As previously highlighted, sour cream is a game-changer for the incredible moisture in this cinnamon banana bread. Its high-fat content works in conjunction with its acidity to tenderize the gluten in the flour, actively preventing a tough or dry crumb. The result is an exceptionally soft and tender loaf. If sour cream isn’t readily available, full-fat plain yogurt or Greek yogurt can be used as a direct 1:1 substitute. Just ensure that whichever dairy product you choose, it is brought to room temperature before being incorporated into the batter, as cold dairy can cause the butter to seize and impact the texture.
- Butter: Temperature Matters for Texture: Both the banana bread batter and the cinnamon crunch topping call for unsalted butter at room temperature. For the banana bread, room temperature butter is essential for the creaming method; it creams beautifully with sugar, incorporating the necessary air to create that airy, tender structure. For the streusel topping, soft, room temperature butter helps bring all the dry streusel ingredients together into a perfectly crumbly mixture. Using cold butter will make it difficult to cream properly and will result in a dense batter, while melted butter won’t incorporate enough air. European-style butter, often with a higher fat content, can sometimes lead to an even richer, more tender crumb and a superior flavor.
- Sugars: A Sweet Balance of Flavor and Moisture: This recipe expertly uses a combination of granulated sugar and light brown sugar. Granulated sugar provides a straightforward sweetness and contributes to the crispness of the crust, offering a pleasant textural contrast. Light brown sugar, with its molasses content, adds a deeper, more caramel-like flavor and is hygroscopic, meaning it attracts and retains moisture. This dual action keeps the banana bread wonderfully soft and moist. The brown sugar in the topping also contributes significantly to its delightful caramel-like taste and rich golden color.
- Leavening Agents: For That Perfect Rise: Baking soda is the primary leavening agent in this recipe. It reacts with the acidic components in the batter, primarily the sour cream and bananas, to produce carbon dioxide gas, which helps the banana bread rise. Ensure your baking soda is fresh for optimal leavening power.
- Salt: The Flavor Enhancer: A good quality kosher salt is used in both the bread and the topping. Salt is vital in baking as it enhances all the other flavors, making the sweetness and spices truly pop. It also plays a role in controlling the rise and texture of the bread.
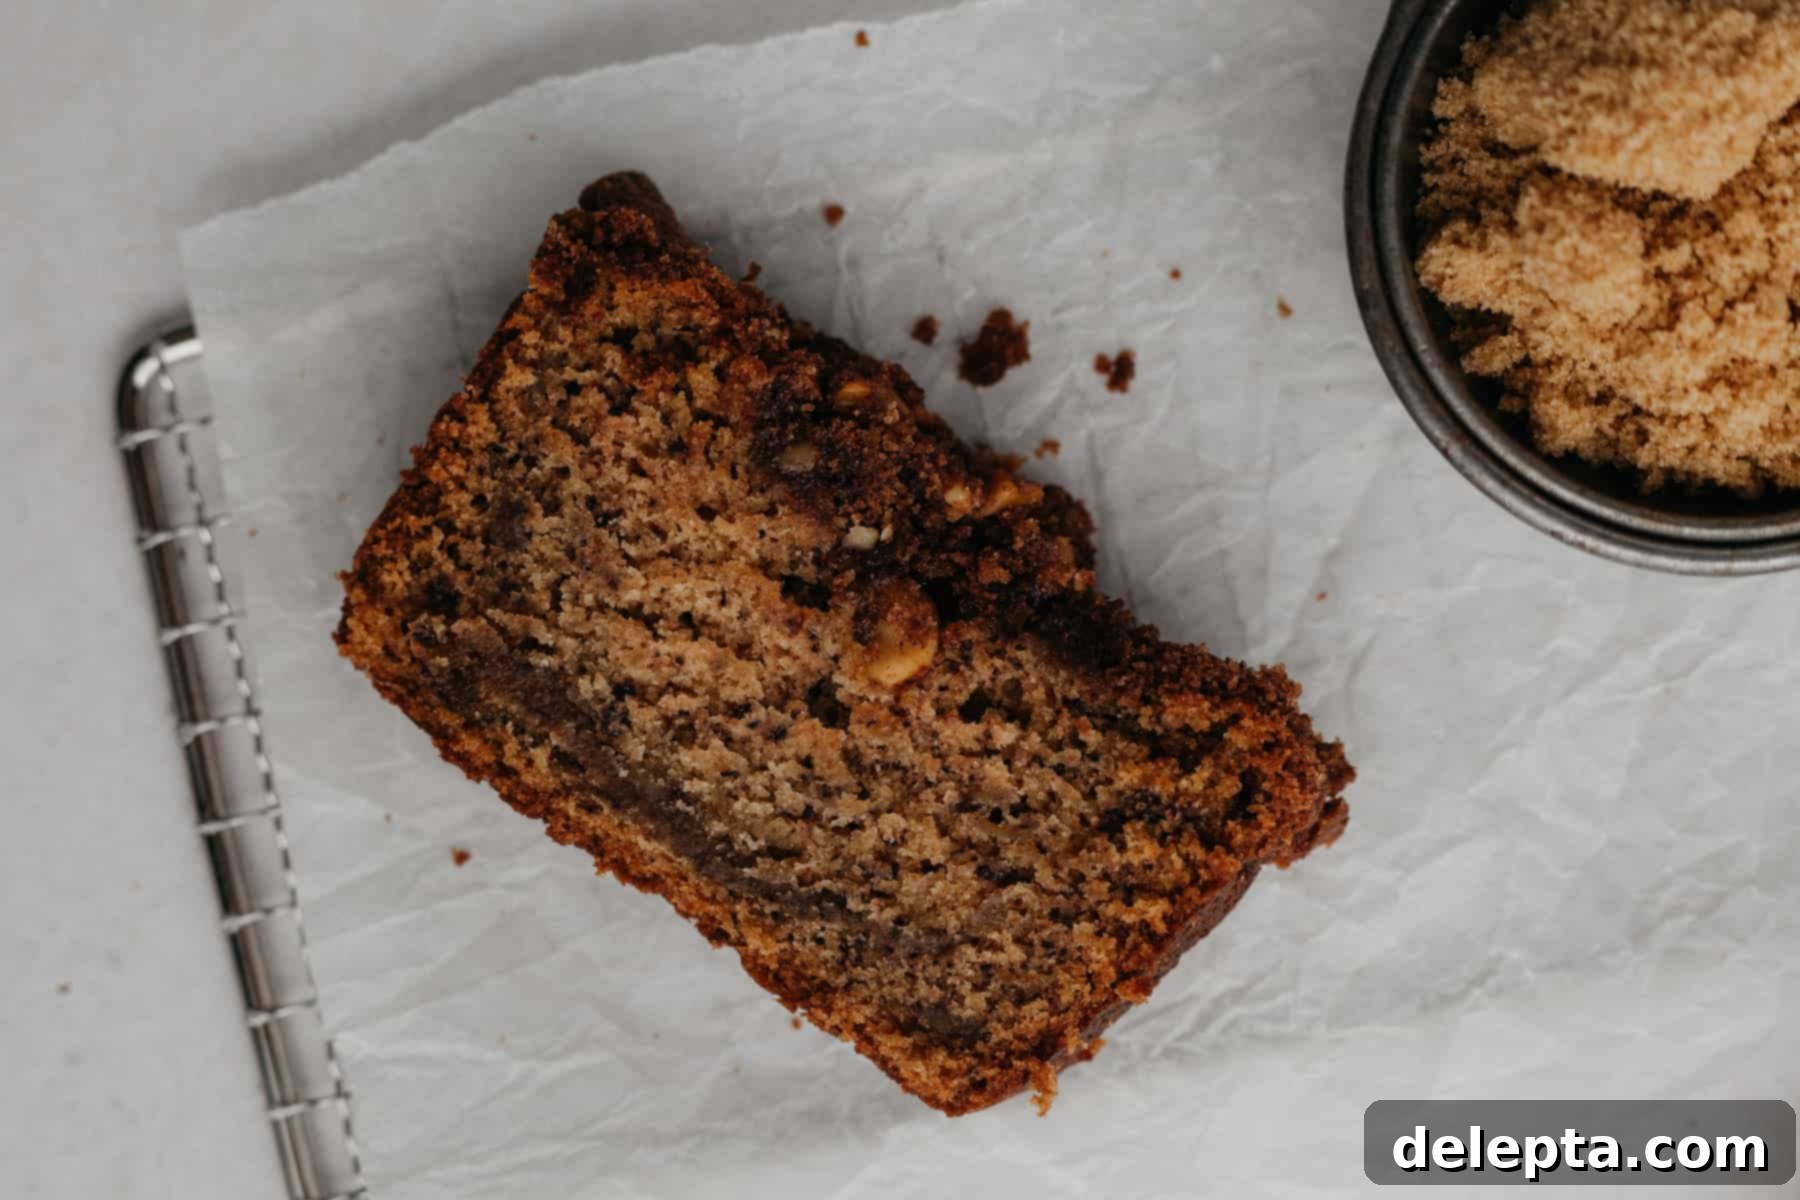
Step-by-Step Guide: How to Make This Delicious Cinnamon Crunch Banana Bread
Creating this delightful Cinnamon Crunch Banana Bread is a straightforward and incredibly rewarding process. Follow these detailed steps to ensure a perfect bake every time. We’ve broken down the instructions into easy-to-follow stages, complete with visual cues to guide you through each part of the preparation.
-

Step One: Topping Prep -

Step Two: Dry Ingredients
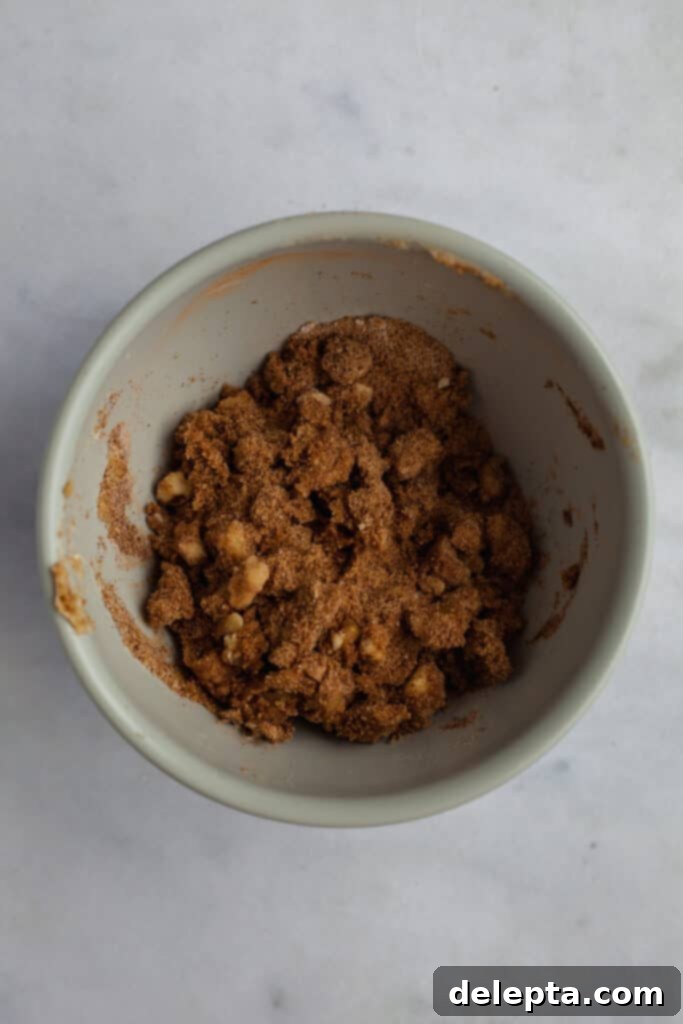
Step One: Prepare Your Irresistible Cinnamon Streusel Topping. In a small mixing bowl, combine all the ingredients listed for the streusel topping: light brown sugar, ground cinnamon, ground ginger, kosher salt, all-purpose flour, room temperature unsalted butter, and chopped walnuts. Use your fingertips or a fork to work the softened butter into the dry ingredients until coarse crumbs form. The mixture should be crumbly, resembling wet sand, but still have distinct pieces of butter. This texture is key for creating pockets of moisture and ensuring that signature crunch during baking. Once mixed, place the bowl in the refrigerator while you prepare the banana bread batter. Chilling the streusel helps it maintain its shape and texture during baking, preventing it from melting too quickly into the loaf.
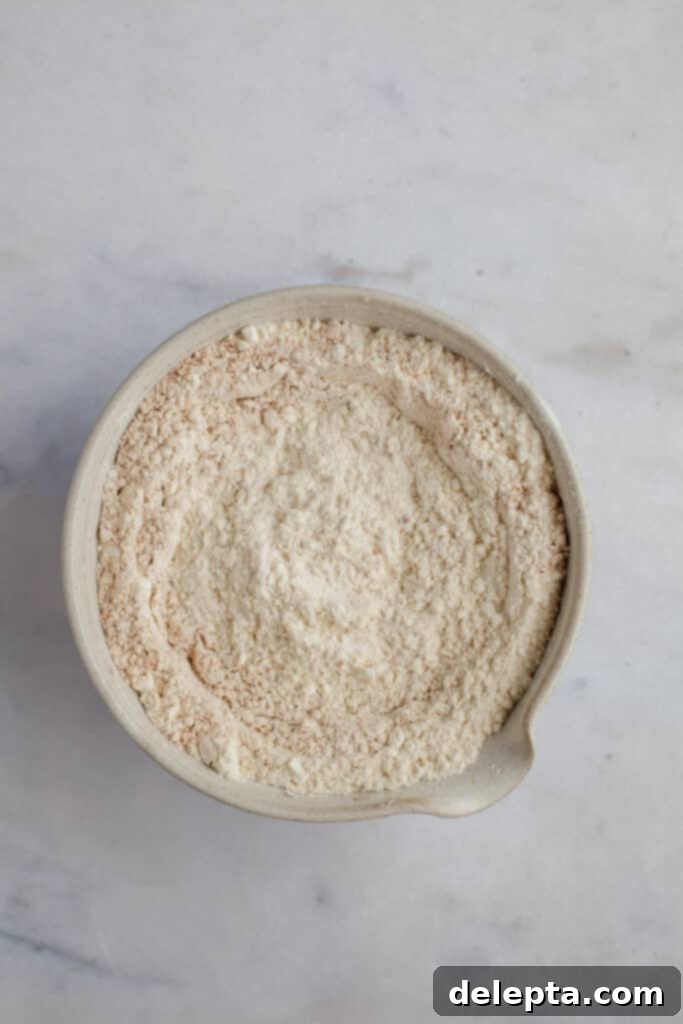
Step Two: Whisk Together Your Dry Ingredients. In a separate medium-sized bowl, whisk together the all-purpose flour, baking soda, ground cinnamon, ground nutmeg, and kosher salt. Whisking ensures that the leavening agents and spices are thoroughly and evenly distributed throughout the flour. This is a crucial step for achieving a consistent rise and a perfectly flavored **moist banana bread**. Set this bowl aside for later use once combined.
-

Step Three: Creamed Butter -

Step Four: Butter & Sugar
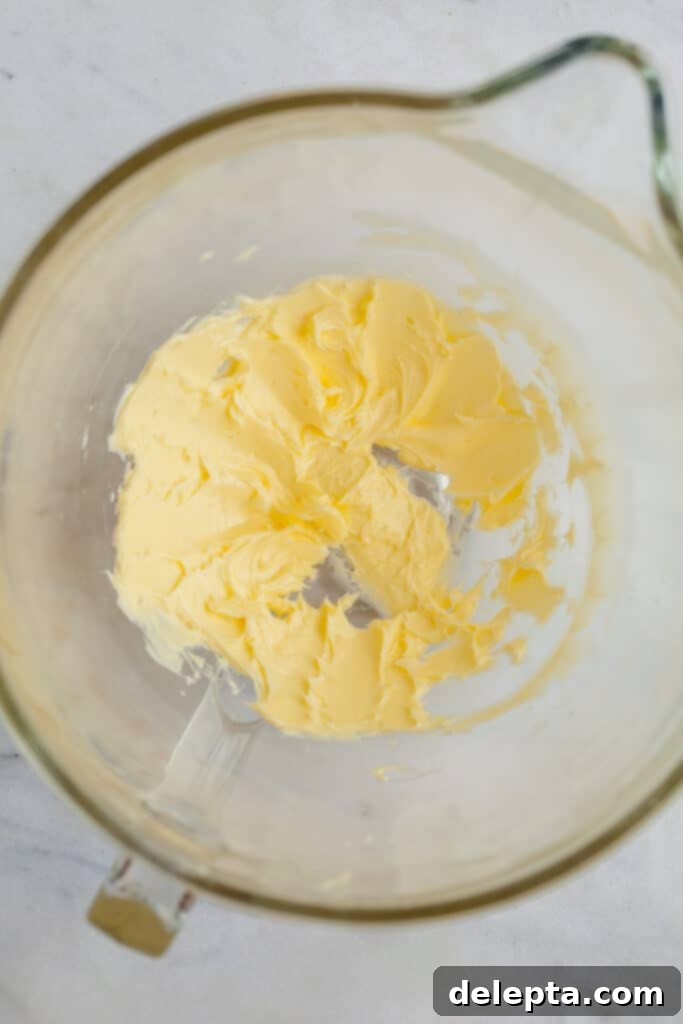
Step Three: Begin the Creaming Process. In the bowl of a stand mixer fitted with the paddle attachment (or using a large bowl and a hand mixer), start by beating the room temperature unsalted butter on medium speed until it is smooth and creamy. This typically takes about 1-2 minutes. The butter should lighten in color and have a uniform, spreadable consistency, indicating it’s ready to incorporate air effectively with the sugars.
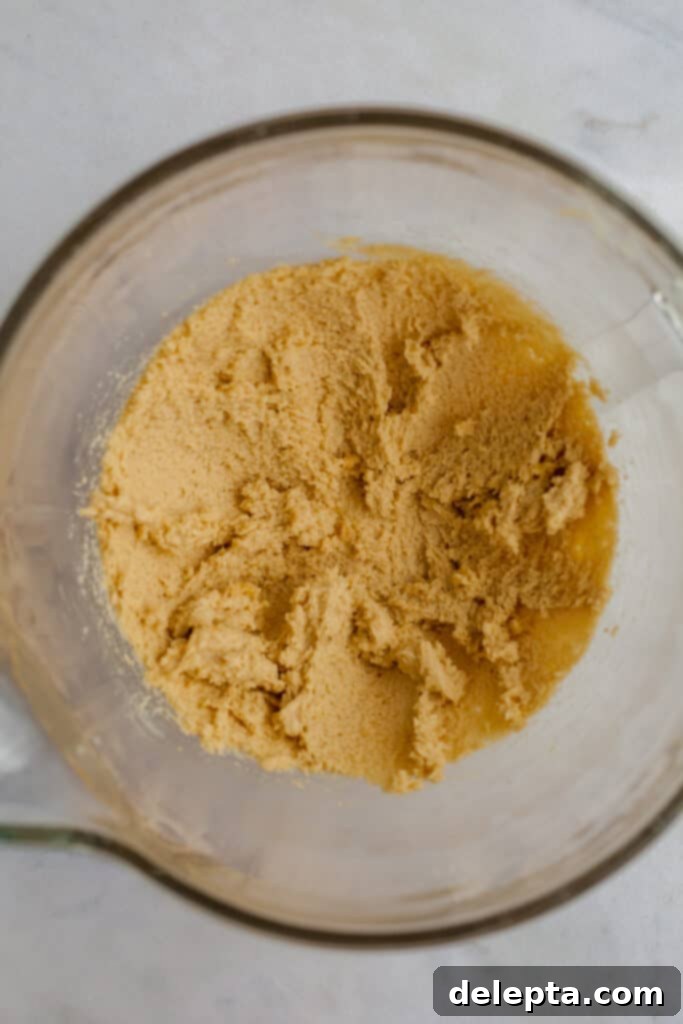
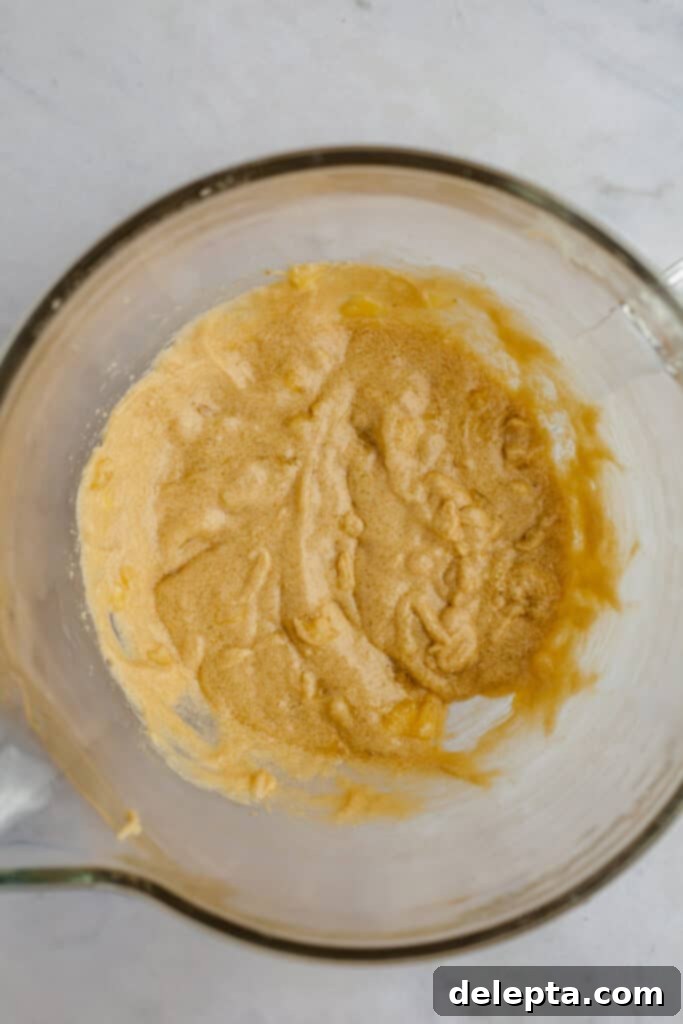
Step Four: Cream Butter and Sugars. Add both the light brown sugar and granulated sugar to the creamed butter in the mixer bowl. Continue to beat on medium speed for a full 3 minutes. During this extended beating, the mixture will become noticeably lighter in color, incredibly fluffy, and significantly increased in volume. This “creaming” action is vital as it incorporates air into the butter and sugar, which contributes significantly to the banana bread’s light and tender crumb. Remember to scrape down the sides and bottom of the bowl once or twice during this process to ensure all ingredients are thoroughly combined and no pockets of unmixed sugar remain.
-

Step Five: Egg & Vanilla -

Step Six: Mashed Bananas
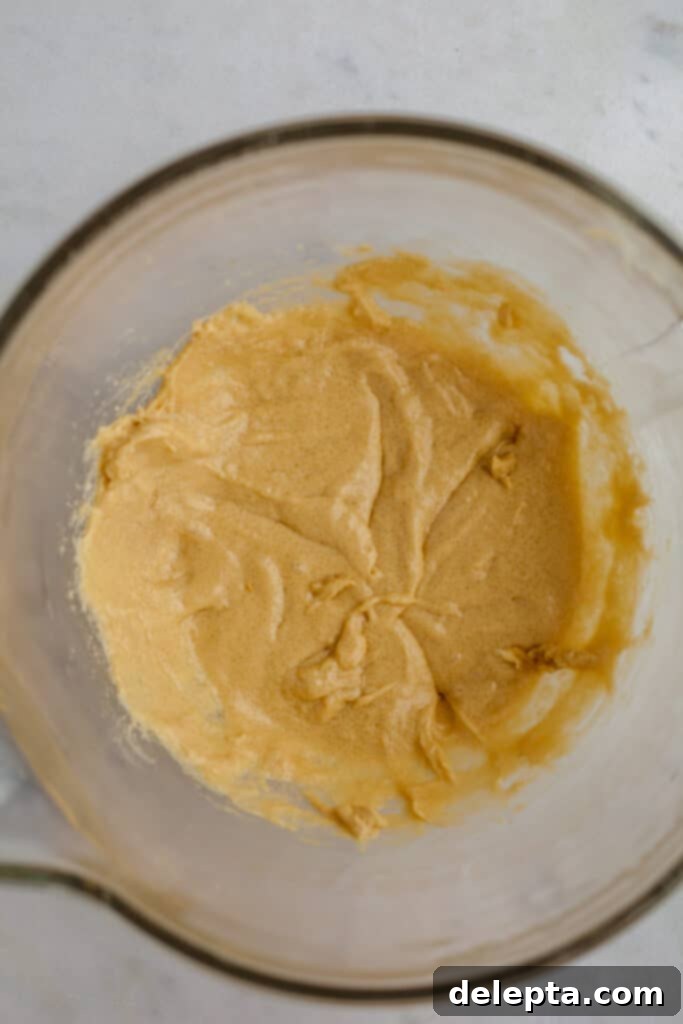
Step Five: Incorporate Egg and Vanilla. With the mixer still running on medium speed, crack in your single room temperature egg and add the vanilla extract. Beat the mixture for another 1 minute, ensuring the egg is fully incorporated into the butter and sugar mixture. At this stage, the batter might initially appear slightly curdled or separated, but it will come back together as you continue to beat it, becoming smooth and homogenous. The vanilla extract will infuse the batter with a warm, inviting aroma.
Step Six: Gently Fold in Mashed Bananas. Reduce the mixer speed to low. Add your mashed, ripe bananas to the batter. Mix just until they are barely combined. It’s perfectly normal, and indeed desirable, for the batter to appear a bit lumpy at this stage; this is due to the mashed banana and will not negatively affect the final texture of your bread. The key here is to avoid overmixing, as excessive agitation can develop the gluten in the flour too much, leading to a tough and rubbery loaf.
-

Step Seven: Alternating Additions -

Step Eight: Pan & Batter
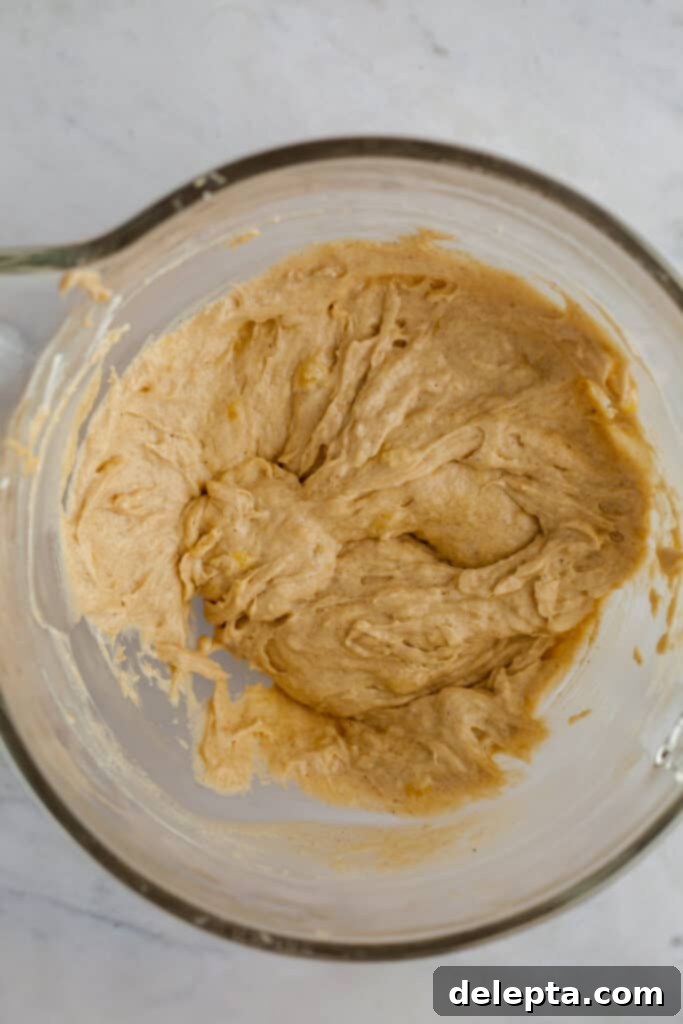
Step Seven: Alternate Dry Ingredients and Sour Cream. This step requires a bit of care to maintain the airy texture developed during the creaming process. With the mixer on its lowest speed, add the dry ingredients (from Step Two) in three additions, alternating with the room temperature sour cream. Begin by adding one-third of the dry ingredients, mixing just until barely combined. Then add half of the sour cream, mixing gently until just incorporated. Repeat with another third of the dry ingredients, followed by the remaining sour cream, and finally, the last third of the dry ingredients. It is crucial to start and end with the dry ingredients. After each addition, use a rubber spatula to scrape down the sides and bottom of the bowl, ensuring everything is thoroughly mixed without overdeveloping the gluten. Overmixing at this stage can lead to a dense, tough loaf.
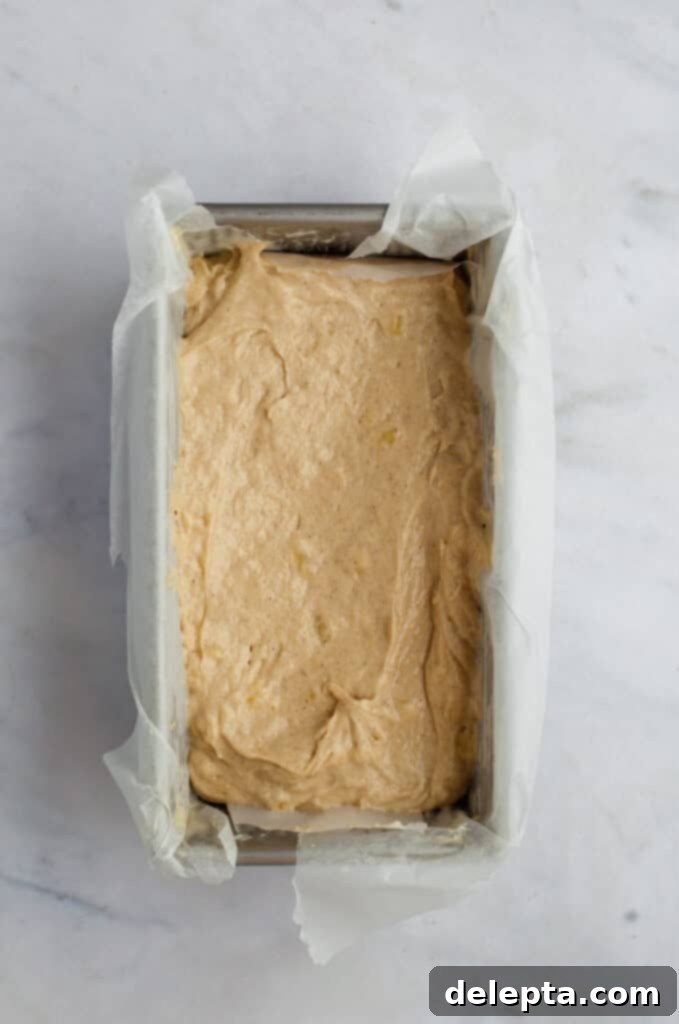
Step Eight: Prepare for Baking. Preheat your oven to 350°F (175°C). Prepare an 8.5×4.5 inch loaf pan by greasing it thoroughly and then lining it with parchment paper. Ensure the parchment paper hangs over the longer sides of the pan; this overhang will serve as convenient handles to easily lift the finished loaf out of the pan once baked. Carefully pour the prepared banana bread batter into the lined loaf pan. Gently tap the pan on your counter a few times to release any trapped air bubbles and ensure the batter settles evenly, promoting an even bake.
-

Step Nine: Topping & Bake -

Step Ten: Cool & Enjoy
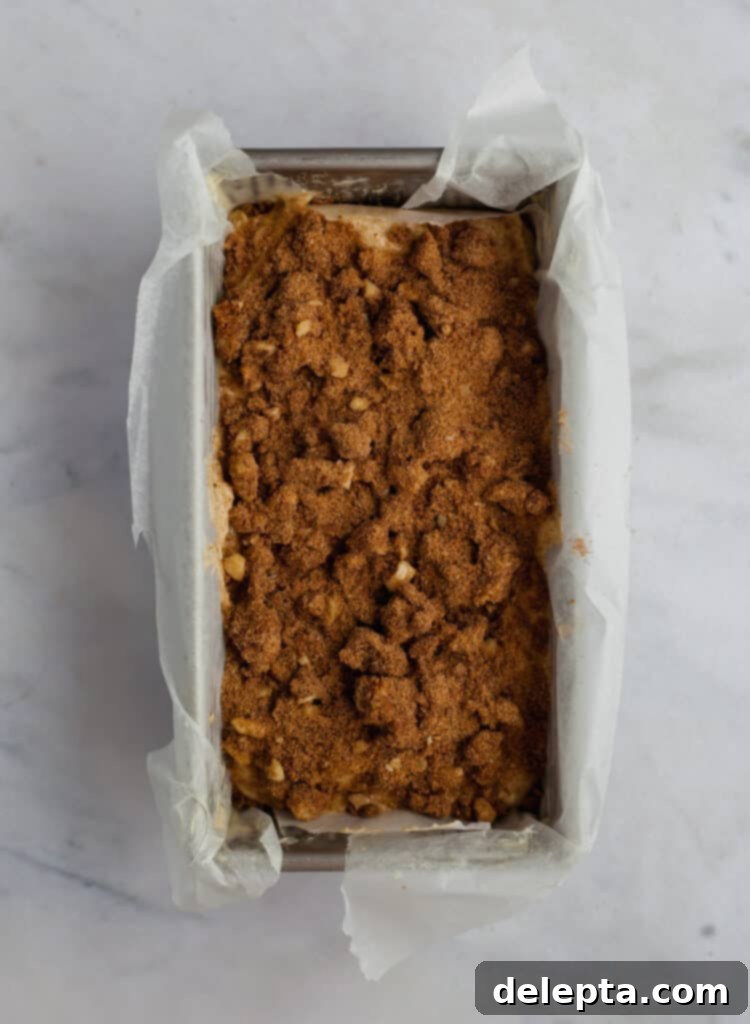
Step Nine: Add Topping and Bake to Golden Perfection. Retrieve your chilled cinnamon crunch topping from the refrigerator. Evenly sprinkle the entire topping mixture over the top of the banana bread batter in the loaf pan. Ensure a generous and consistent layer across the surface. Place the loaf pan into the preheated oven and bake for 50-60 minutes. Baking times can vary depending on your specific oven, so it’s always wise to keep an eye on it after the 45-minute mark. To check for doneness, insert a wooden toothpick or a thin skewer into the very center of the loaf. It should come out with a few moist crumbs attached, but no wet batter. If the top of your banana bread starts browning too quickly before the inside is fully cooked, you can loosely tent it with aluminum foil to prevent further browning while allowing the inside to finish baking.
Step Ten: Cool and Enjoy! Once baked, carefully remove the banana bread from the oven and allow it to cool in the loaf pan for about 20 minutes, resting on a wire rack. This initial cooling period is crucial as it allows the internal structure of the bread to set properly and prevents it from crumbling or sticking when removed. After 20 minutes, use the parchment paper overhang to carefully lift the loaf out of the pan and transfer it directly onto the wire rack to cool completely. While slicing the bread when it’s still warm is incredibly tempting, allowing it to cool fully ensures a much cleaner slice and the best possible texture. Once cooled, slice and enjoy this wonderfully moist and crunchy treat, perhaps with a cup of coffee or tea!
Expert Recipe Tips for Baking the Best Cinnamon Crunch Banana Bread
Achieving baking perfection is often about paying attention to the little details. Here are some invaluable tips to ensure your Cinnamon Crunch Banana Bread turns out absolutely phenomenal every single time, from its moist interior to its perfect crunchy topping:
- Embrace the Kitchen Scale – Measure by Weight! This is perhaps the most crucial tip for consistent and professional baking results. I cannot stress enough the importance of using a digital kitchen scale and measuring your ingredients, especially flour, the metric way (in grams). Volume measurements (cups) can be incredibly inaccurate due to variations in how ingredients are packed, leading to inconsistent outcomes. Weighing ingredients provides precision, ensuring the correct ingredient ratios for the perfect texture, rise, and moisture level. It truly makes a significant difference in the success and consistency of all your bakes!
- Room Temperature Ingredients are Non-Negotiable: For a beautifully emulsified and smooth batter, it’s absolutely essential that all your cold ingredients – including butter, eggs, and sour cream – are at room temperature. Take them out of the refrigerator at least 30-60 minutes (or even longer, up to 2 hours, depending on kitchen temperature) before you plan to start baking. Room temperature butter creams more effectively with sugar, incorporating more air for a lighter crumb. Room temperature eggs emulsify better into the batter, preventing curdling and resulting in a more cohesive, uniform mixture. Cold ingredients can cause the batter to seize up and result in a dense, uneven texture in your final product.
- Choose the Right Baking Pan for Even Browning: The type of loaf pan you use can significantly impact the final bake and crust development. For this recipe, I highly recommend using a light-colored metal baking pan. Dark metal pans tend to absorb more heat, which can lead to the sides and bottom of your banana bread scorching or becoming overly dark and tough before the center is fully cooked. A light metal pan promotes more even heat distribution throughout the loaf, resulting in a beautifully golden-brown crust all around and a perfectly cooked interior.
- Don’t Fear the Overripe Banana – The Browner, The Better! The secret to the deepest, sweetest banana flavor in your bread lies in using truly overripe bananas. The browner and spottier your bananas are, the better! At this stage, their starches have converted into natural sugars, intensifying their flavor and making them softer and easier to mash. If your bananas aren’t quite ripe enough yet, refer to the Frequently Asked Questions section for tips on how to ripen them faster.
- Mash Bananas to Your Preference: Whether you prefer a perfectly smooth banana bread or one with delightful small chunks of banana for added texture, how you mash your fruit is entirely up to your personal preference. A simple fork or a sturdy potato masher works perfectly for mashing them to your desired consistency. For a super smooth texture, you can even use a pastry blender or briefly pulse them in a food processor, but be careful not to over-process them into a watery liquid.
- Avoid Overmixing the Batter: Once you add the flour mixture to the wet ingredients, mix the batter only until the dry ingredients are just combined and no streaks of flour remain. Overmixing develops the gluten in the flour excessively, which can lead to a tough, chewy, and less tender banana bread. A few small lumps of flour are far better than an overmixed, smooth batter – those tiny lumps will usually bake out!
- Proper Cooling is Absolutely Key: While it’s incredibly tempting to slice into a warm loaf straight out of the oven, allowing the banana bread to cool completely on a wire rack is a crucial step that should not be skipped. This extended cooling period allows the internal structure of the bread to set properly, preventing the loaf from becoming gummy, crumbly, or dense when sliced. It also helps the flavors fully develop. Patience truly pays off for the best texture and taste!
Frequently Asked Questions About Cinnamon Crunch Banana Bread
Here are answers to some common questions you might have about making, storing, and customizing this delightful Cinnamon Crunch Banana Bread.
Perfectly ripe bananas are the secret to the best banana bread, but sometimes you don’t want to wait for nature to take its course! While this cake is truly worth the wait, if you’re in a pinch, you can try to speed up the ripening process. The most effective natural method is to place your bananas in a warm area, ideally in a paper bag. The paper bag traps the ethylene gas that bananas naturally release, which significantly helps to accelerate ripening. Leaving them in a warm spot like on top of the refrigerator or in a sunny window can further aid this process. This method will typically ripen bananas within a day or two. There are also “hacks” involving baking bananas in their peels or microwaving them; however, be aware that these methods will soften the bananas for mashing but won’t develop the same deep, sweet flavor profile as naturally ripened bananas. For the absolute best flavor, natural ripening is always preferred!
This Cinnamon Crunch Banana Bread recipe is wonderfully adaptable to different preferences and available ingredients! If you don’t have sour cream, you can easily swap it out for an equal amount of full-fat plain yogurt or Greek yogurt – these will provide similar moisture and a delightful tangy note that enhances the banana flavor. For the crunchy topping, while walnuts are delicious, feel free to use chopped pecans, almonds, or even hazelnuts for a slightly different nutty flavor. If you prefer a completely nut-free option, simply omit the nuts from the streusel entirely; the spiced crumb will still be incredibly flavorful. The spices are also flexible; you can increase the amount of cinnamon for an extra spicy kick, add a touch of allspice or cardamom for additional warmth, or even slightly reduce or omit some spices if you prefer a simpler banana flavor. Just ensure you maintain the core structural ingredients like flour, baking soda, and eggs as specified for optimal rise and texture.
To maintain the exceptional freshness and moisture of your homemade Cinnamon Crunch Banana Bread, proper storage is absolutely key. Once the loaf has completely cooled to room temperature, wrap the entire loaf tightly in plastic wrap or aluminum foil. You can store it at room temperature for up to 2 days; keeping it on the counter in an airtight container will also work well. For extended freshness, especially in warmer climates or if you want to enjoy it for longer, you can store it in an airtight container in the refrigerator for up to 5 days. If you’d like to prepare it in advance or save some for later, banana bread freezes beautifully. Wrap individual slices (or the whole loaf) tightly in plastic wrap, then add an additional layer of aluminum foil to prevent freezer burn. Freeze for up to 3 months. When ready to enjoy, simply defrost slices overnight in the refrigerator or warm briefly in a microwave for a quick treat.
For this particular moist banana bread recipe, I specifically recommend using an 8.5 x 4.5-inch loaf pan. This size is ideal for achieving a beautifully risen loaf with a nice, domed top, and it ensures the bread cooks thoroughly and evenly. While a 9×5-inch pan might not seem like a significant difference in dimensions, it actually has a larger volume and a greater surface area. Using a 9×5-inch pan will typically result in a flatter loaf that will likely require less baking time, so you’ll need to adjust your baking duration accordingly and monitor it closely for doneness. If you do opt for a larger pan, start checking for doneness around the 40-45 minute mark. Always ensure your pan is properly greased and lined with parchment paper for easy removal, regardless of its size.
Absolutely! This Cinnamon Crunch Banana Bread serves as a fantastic and versatile base for a wide variety of additional mix-ins, allowing you to customize it to your heart’s content. Chocolate chips (milk, semi-sweet, or dark), extra chopped nuts (beyond the walnuts already in the topping), shredded coconut, dried cranberries, or even a swirl of cream cheese can be delightful additions. If you choose to add mix-ins, I highly recommend tossing them with a tablespoon or two of the all-purpose flour from the recipe before gently folding them into the batter in the final steps. This simple trick helps prevent them from sinking to the bottom of the loaf during baking, ensuring they are evenly distributed throughout. Aim for about 1/2 to 1 cup of total mix-ins to keep the loaf’s structure intact and prevent it from becoming too heavy.
Knowing when your banana bread is done is crucial for achieving a moist interior and a beautiful, golden crust. The most reliable method is the classic toothpick test. Insert a wooden toothpick or a thin skewer into the very center of the loaf. If it comes out with moist crumbs attached, it’s perfectly baked – this indicates it’s cooked through but still wonderfully tender. If it comes out with wet batter, it clearly needs more time in the oven. If it comes out completely clean, it might be slightly overbaked and potentially a bit drier, though still delicious. Additionally, the top of the loaf should be golden brown, and the sides of the bread should begin to pull away slightly from the edges of the pan. For those with a kitchen thermometer, the internal temperature of a perfectly baked banana bread should register around 200-205°F (93-96°C).
More Delicious Loaf Recipes to Explore
If you loved baking and enjoying this exceptional Cinnamon Crunch Banana Bread, you’re in for a treat! We have a curated collection of other incredible loaf cakes and quick breads that are perfect for any occasion, from cozy breakfasts and comforting afternoon snacks to delightful desserts. These recipes are designed to be just as easy to make and offer a wonderful variety of flavors and textures to satisfy every craving. Explore new favorites and expand your baking repertoire!
- Pumpkin Carrot Banana Bread (No Mixer)
- Easy & Moist White Chocolate Raspberry Loaf Cake
- Marble Loaf Cake
- Chocolate Sour Cream Pound Cake
We hope you enjoy baking and sharing this exceptional Cinnamon Crunch Banana Bread as much as we do! Its moist interior, rich banana flavor, and irresistible crunchy topping truly make it a crowd-pleaser for any occasion. Don’t forget to tag me on Instagram @alpineella and leave a review below to let us know how your bread turned out. Your feedback is always appreciated and helps us create more delicious recipes! For even more inspiring baking ideas and delightful recipes, be sure to follow us on Pinterest. Happy baking!
Recipe
Cinnamon Crunch Banana Bread
Ella Gilbert
Pin Recipe
Save RecipeSaved!
Equipment
-
8.5×4.5 inch loaf pan
Ingredients
Cinnamon Crunch Topping
- 55 grams light brown sugar
- 1 ½ teaspoon ground cinnamon
- ½ teaspoon ground ginger
- ¼ teaspoon kosher salt
- 2 teaspoon all purpose flour
- 30 grams unsalted butter room temperature
- 33 grams walnuts chopped
Banana Bread
- 192 grams bananas
- 180 grams all purpose flour
- 1 teaspoon baking soda
- ½ teaspoon ground cinnamon
- ¼ teaspoon ground nutmeg
- ½ teaspoon kosher salt
- 113 grams unsalted butter room temperature
- 99 grams sugar
- 106 grams light brown sugar
- 1 egg room temperature
- 1 teaspoon vanilla extract
- 113 grams sour cream room temperature
Instructions
-
Whisk all of the topping ingredients together in a small bowl until they resemble coarse crumbs. Keep in the fridge until ready to use.
-
Preheat the oven to 350°F/175°C. Grease and line an 8.5×4.5 inch loaf pan, leaving an overhang on the sides for easy removal.
-
Mash your ripe bananas until smooth or to your desired consistency using a fork or potato masher, then set aside.
-
In a separate medium bowl, whisk the flour, baking soda, salt, ground cinnamon, and ground nutmeg together until thoroughly combined. Set aside.
-
In your stand mixer fitted with the paddle attachment, beat the room temperature unsalted butter until creamy. Add both sugars and beat on medium speed for 2-3 minutes, until the mixture is pale and fluffy. Scrape down the sides of the bowl as needed.
-
Add the vanilla extract and the room temperature egg to the creamed mixture, then beat well for 1 minute until fully incorporated and smooth.
-
Turn the mixer speed to low and add your mashed bananas. Mix gently just until combined. It’s okay if the mixture appears a bit lumpy at this stage; this is normal and will not affect the final loaf.
-
With the mixer still on low speed, add the dry ingredients in three additions, alternating with the room temperature sour cream. Begin and end with the dry ingredients, mixing just until each addition is barely combined. Scrape down the side of the bowl after each addition to ensure thorough mixing without overworking the batter.
-
Pour the prepared batter into your greased and lined loaf pan. Gently tap the pan on the counter a few times to settle the batter and remove any trapped air bubbles.
-
Evenly sprinkle your chilled cinnamon crunch topping mixture over the top of the batter in the loaf pan.
-
Bake for 50-60 minutes. To check for doneness, insert a toothpick into the center of the loaf; it should come out with a few moist crumbs attached, but no wet batter. If the top begins to brown too quickly, loosely tent the loaf with aluminum foil to prevent burning.
-
Once baked, remove the loaf from the oven and let it cool in the pan on a wire rack for 20 minutes. After 20 minutes, use the parchment paper overhang to carefully lift the loaf out of the pan and transfer it directly to the wire rack to cool completely before slicing and serving for best texture.
Notes
Butter: For the best flavor and texture, I often use European-style butter, such as Kerrygold, in my recipes. These butters typically have a higher fat content, which can contribute to an even creamier, richer, and more tender finished bake.
Salt: If you do not have kosher salt, which has a larger flake size and less intense saltiness per teaspoon compared to fine table salt, please halve the amount of salt called for in the recipe. A general conversion is: 1 teaspoon kosher salt = ½ teaspoon fine salt. Using too much fine salt can make your bread overly salty.
Sour Cream: If sour cream is unavailable, you can substitute it with an equal amount of full-fat plain yogurt or full-fat Greek yogurt. Ensure any substitute is at room temperature before incorporating it into the batter for optimal results.
Storage: To keep your banana bread fresh, once it has completely cooled, wrap the entire loaf tightly in plastic wrap or aluminum foil. Store it at room temperature for up to 2 days. For longer storage, keep it in an airtight container in the fridge for up to 5 days. You can also freeze individual slices or the whole loaf for up to 3 months; simply wrap them well in plastic wrap and then foil. Defrost overnight in the fridge or gently warm slices in the microwave.
Nutrition
