Irresistible Cookies and Cream Macarons: Your Guide to Elegant Oreo Delights
Prepare to elevate your dessert game with these exquisite cookies and cream macarons! This recipe guides you through creating delicate French macaron shells, expertly infused with Oreo cookie crumbs, and then generously filled with a luscious vanilla Oreo buttercream. While the art of making macarons might seem daunting at first glance, fear not! This comprehensive guide provides all the essential tips and detailed instructions to help you achieve perfect results, transforming your favorite classic cookie into an elegant, sophisticated treat.
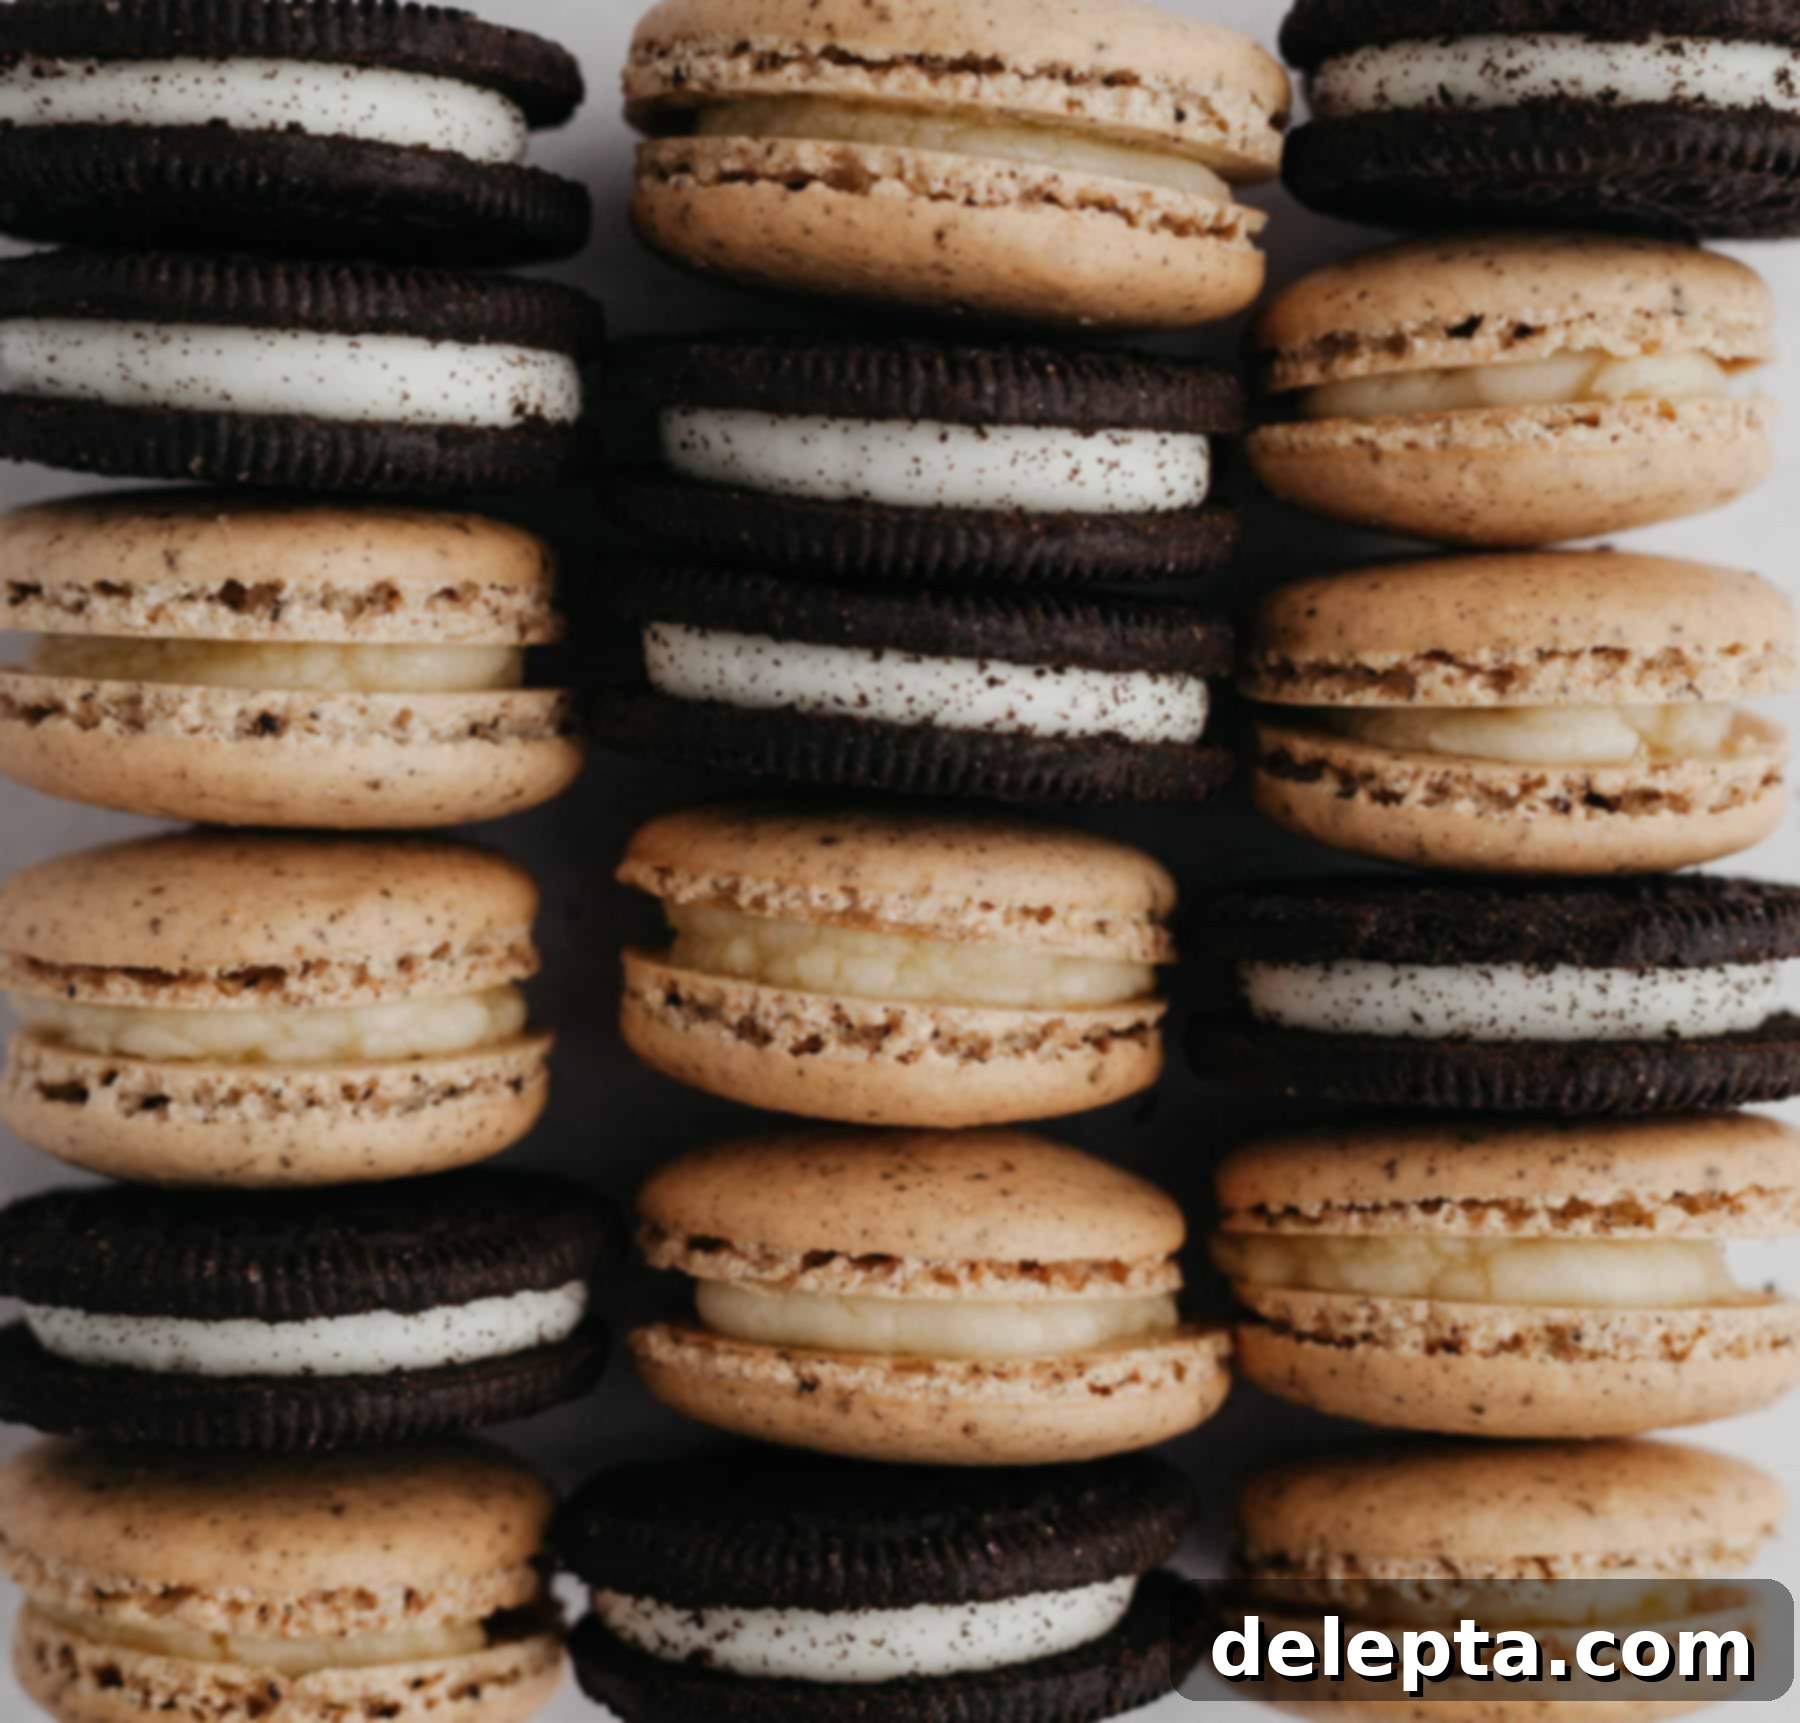
Unveiling the Magic of These Cookies and Cream Macarons
These aren’t just any ordinary cookies; they are a delightful transformation of the beloved Oreo into a truly fancy confection. Each bite offers a harmonious blend of textures and flavors that will tantalize your taste buds.
- A Gourmet Twist on a Classic: These macarons capture the nostalgic taste of your favorite Oreo cookie but with an undeniable touch of elegance. The macaron shells themselves are crafted not only with finely ground almond flour but also with crushed Oreo cookies, lending a distinctive dark hue and subtle chocolatey depth. This creates a more authentic “cookies and cream” experience in every delicate shell. The luscious filling, a rich vanilla buttercream, complements the shells perfectly, providing a creamy contrast that is simply irresistible.
- A Symphony of Textures: What truly sets macarons apart is their unique textural profile, and these Oreo macarons are no exception. You’ll experience the delightful crunch of the thin outer shell, followed by a tender, slightly chewy interior, often referred to as the “chewy foot.” This gives way to the super-soft, smooth, and decadent vanilla buttercream filling, creating an unparalleled mouthfeel that makes macarons such a sought-after dessert. The filling, renowned for its creamy consistency, is thoughtfully adapted from the acclaimed BraveTart recipes, ensuring a professional-grade finish.
- Patience is Key to Macaron Perfection: Macaron baking is often considered an art, requiring a degree of patience and precision. While not overly complicated, it does demand dedicated time, primarily due to the crucial “resting” period for the macaron shells. This step allows the piped shells to form a protective skin before baking, which is vital for developing their signature “feet” and preventing cracks. Don’t rush this stage; it’s a small investment of time that yields incredibly rewarding results!
Essential Ingredients for Your Cookies and Cream Macarons
Crafting perfect macarons starts with understanding your ingredients. Below is a visual representation of what you’ll need, and detailed notes follow to ensure you select and prepare them correctly.
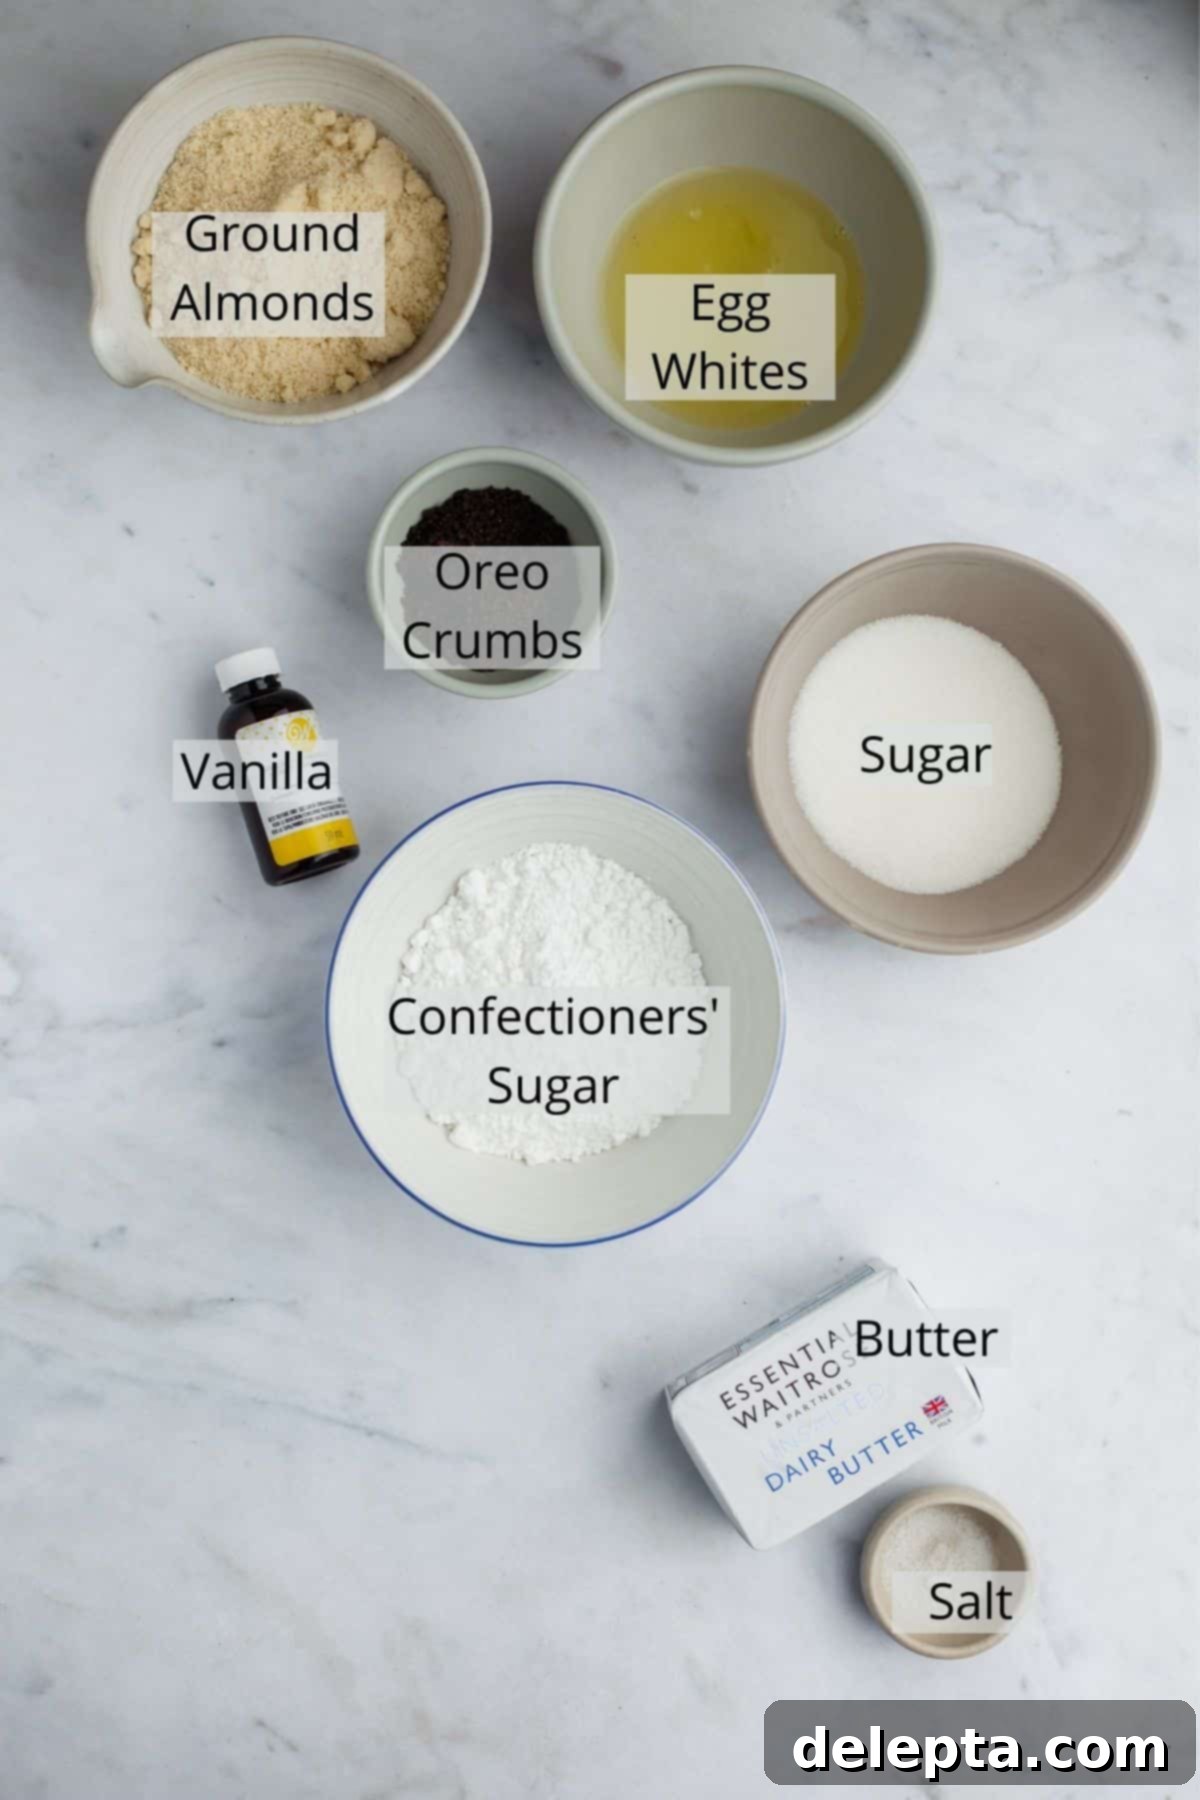
For the complete list of ingredients with precise measurements and comprehensive instructions, please refer to the printable recipe card located at the very bottom of this post.
Detailed Ingredient Insights:
Each ingredient plays a critical role in the success of your macarons. Paying attention to these notes will significantly impact the final texture and appearance of your delicate treats.
- Almond Flour: The quality of your almond flour is paramount. It’s crucial to use *blanched, finely ground almond flour*, not almond meal, which can be coarser and contain skins. Not all brands offer the same consistency; some may have thicker ground almonds, which can lead to lumpy shells. This is precisely why I emphasize sifting your almond flour (and other dry ingredients) not once, but twice. This rigorous sifting process ensures an ultra-fine powder, removing any larger almond pieces that could compromise the smooth surface of your macaron shells. If you find your almond flour still has larger bits after sifting, you can briefly pulse it in a food processor with the confectioners’ sugar, but be extremely careful. Process only for a few seconds at a time to avoid releasing the natural oils from the almonds, which can turn the mixture into a paste and ruin the macaron batter.
- Confectioners’ Sugar (Powdered Sugar / Icing Sugar): This provides sweetness and structure to the macaron shells. Like almond flour, it’s essential to sift it thoroughly to remove any clumps, which can create undesirable bumps on your shells.
- Oreo Cookies (Crushed): For the iconic cookies and cream flavor, use genuine Oreo cookies. The key is to crush them into a very fine powder. Any larger chunks will create an uneven texture and could hinder the formation of the smooth macaron shells. If you don’t have a food processor, a heavy-duty ziplock bag and a rolling pin can work, but aim for the finest crumb possible.
- Butter: For the filling, using high-quality butter makes a noticeable difference. I highly recommend European-style butter, such as Kerrygold, due to its higher butterfat content (typically 82-84% compared to 80% in American butter). This higher fat percentage contributes to a creamier, richer, and more luxurious buttercream filling, enhancing the overall indulgence of these macarons. Ensure your butter for the filling is at room temperature to achieve a perfectly smooth and airy consistency when beaten.
- Egg Whites: The success of your meringue, and thus your macarons, heavily relies on your egg whites. They *must* be at room temperature. Cold egg whites will not whip up to their full volume and stability, which is essential for a robust meringue. More importantly, ensure there is absolutely no trace of egg yolk present. Even a tiny speck of yolk, which contains fat, will prevent the egg whites from whipping properly into the stiff, glossy meringue required for perfect macaron shells. Using aged egg whites (separated 24 hours prior and stored in the fridge) can sometimes improve stability, but fresh, room-temperature egg whites work perfectly well with careful preparation.
- Granulated Sugar: This is used to create the meringue. It stabilizes the egg whites and contributes to the crispness of the macaron shells. Fine granulated sugar dissolves more easily.
- Vanilla Extract: Pure vanilla extract is crucial for both the shells and the filling, adding a depth of flavor that complements the Oreo and almond notes beautifully.
Step-by-Step Guide: Crafting Your Cookies and Cream Macarons
Follow these detailed steps carefully for the best macaron-making experience. Precision is your best friend in this process!
-

Step One: Sifting Dry Ingredients -

Step Two: Preparing the Meringue Base
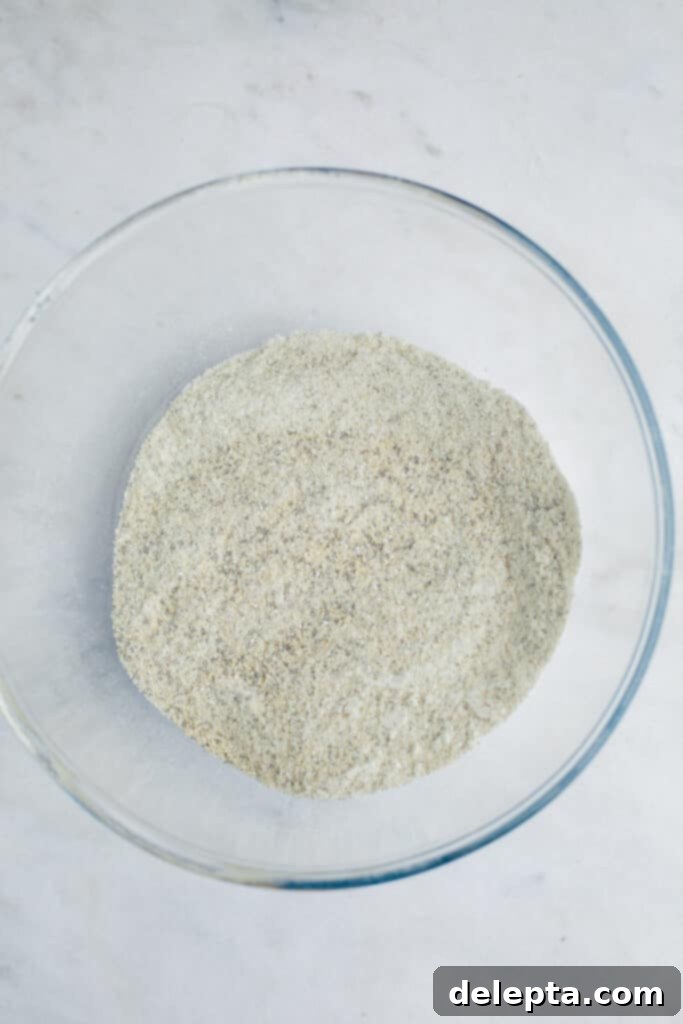
Step One: Prepare Your Dry Ingredients. In a medium-sized mixing bowl, combine your finely crushed Oreo crumbs, confectioners’ sugar, and ground almond flour. It is absolutely crucial to sift this mixture not once, but twice, to ensure a super-fine, lump-free powder. This step is vital for achieving the smooth, unblemished surface that is characteristic of perfect macaron shells. Set this perfectly sifted mixture aside.
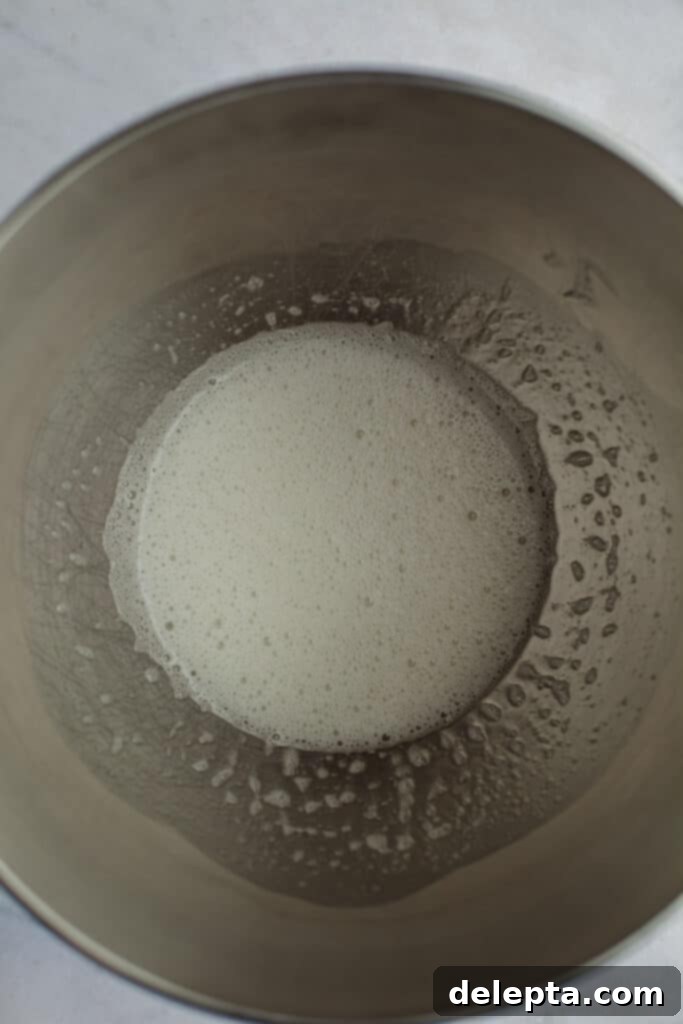
Step Two: Begin the Italian Meringue (Swiss Method). In the bowl of your stand mixer (or a heat-proof bowl), whisk together your room-temperature egg whites and granulated sugar. Set this bowl over a small saucepan containing about an inch of simmering water, creating a makeshift double boiler. Ensure the bottom of the mixer bowl does not touch the water. Continuously whisk the egg white and sugar mixture over this gentle heat until the granulated sugar has completely dissolved. You can test this by rubbing a small amount of the mixture between your fingers; it should feel perfectly smooth, with no grittiness from the sugar. This process gently heats the egg whites, making them more stable for the meringue.
-

Step Three: Whipping the Meringue to Stiff Peaks -

Step Four: Gently Incorporating Dry Ingredients
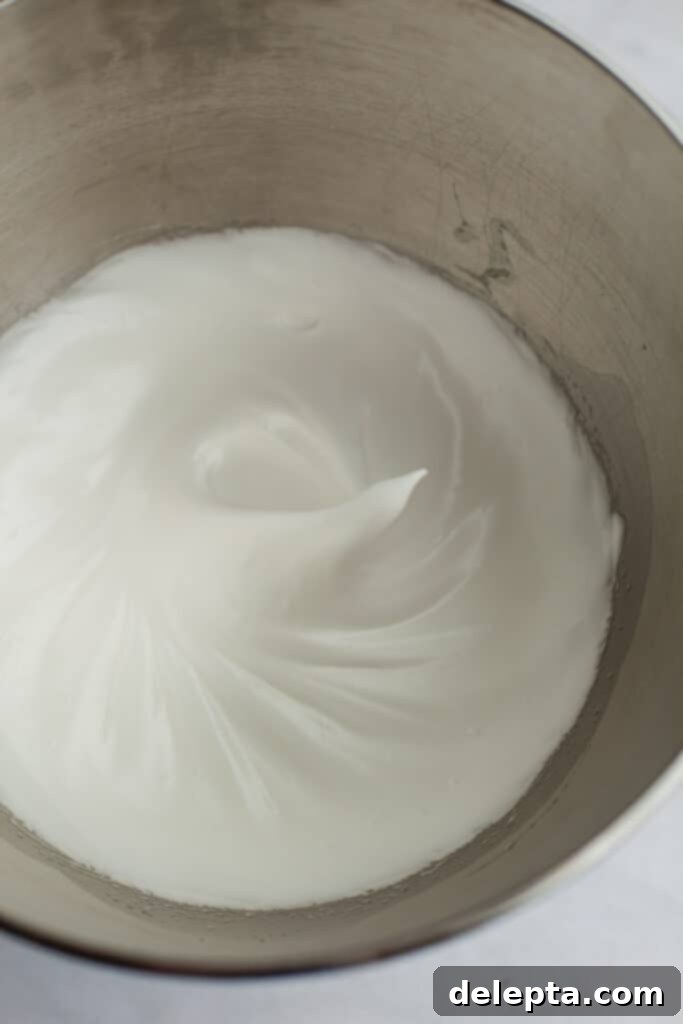
Step Three: Whip the Meringue. Once the sugar is dissolved, immediately transfer the bowl to your stand mixer fitted with the whisk attachment. Begin whisking on the lowest speed for about 30 seconds until the mixture starts to foam slightly. Gradually increase the speed to medium-high. Continue whisking until the meringue becomes thick, glossy, and forms stiff peaks. You’ll know it’s ready when you lift the whisk, and the peak stands firm, perhaps with a slight, elegant curl at the very tip (a “bird’s beak”). This stage is crucial for the structure of your macarons.
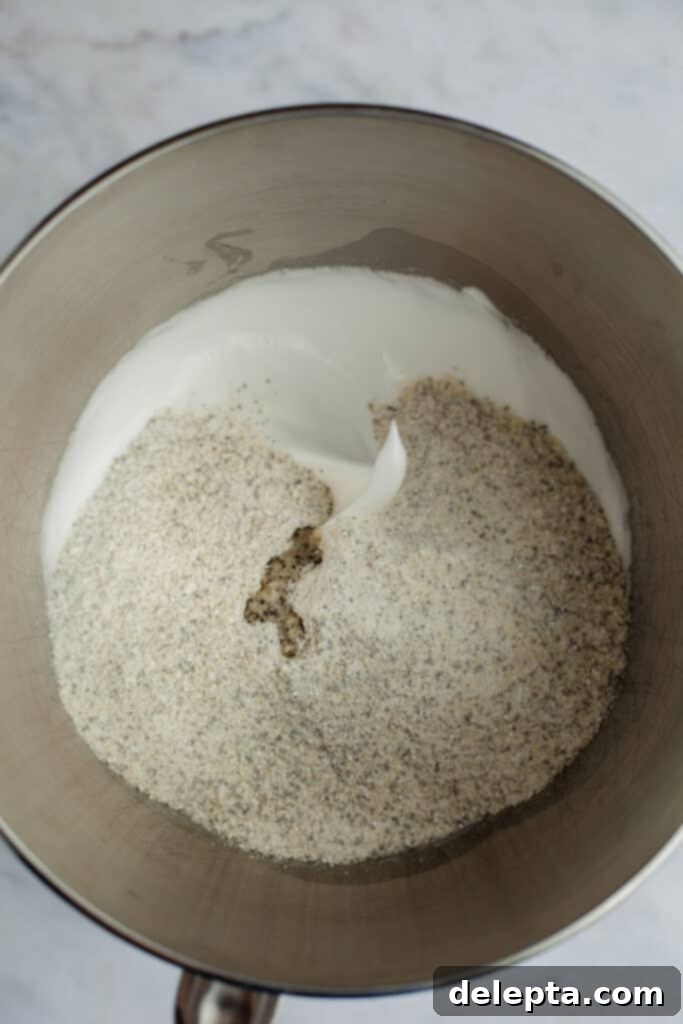
Step Four: Begin the Macaronage. Carefully pour your reserved, sifted dry ingredients (ground almonds, confectioners’ sugar, and Oreo crumbs) directly over the stiff meringue. Add your vanilla extract. Using a rubber spatula, gently begin the folding process. This initial stage is about lightly combining the dry ingredients with the meringue. Do not overmix here; you are just starting the process that will lead to the perfect macaron batter consistency.
-

Step Five: Achieving Perfect Macaronage -

Step Six: Piping and Resting the Shells
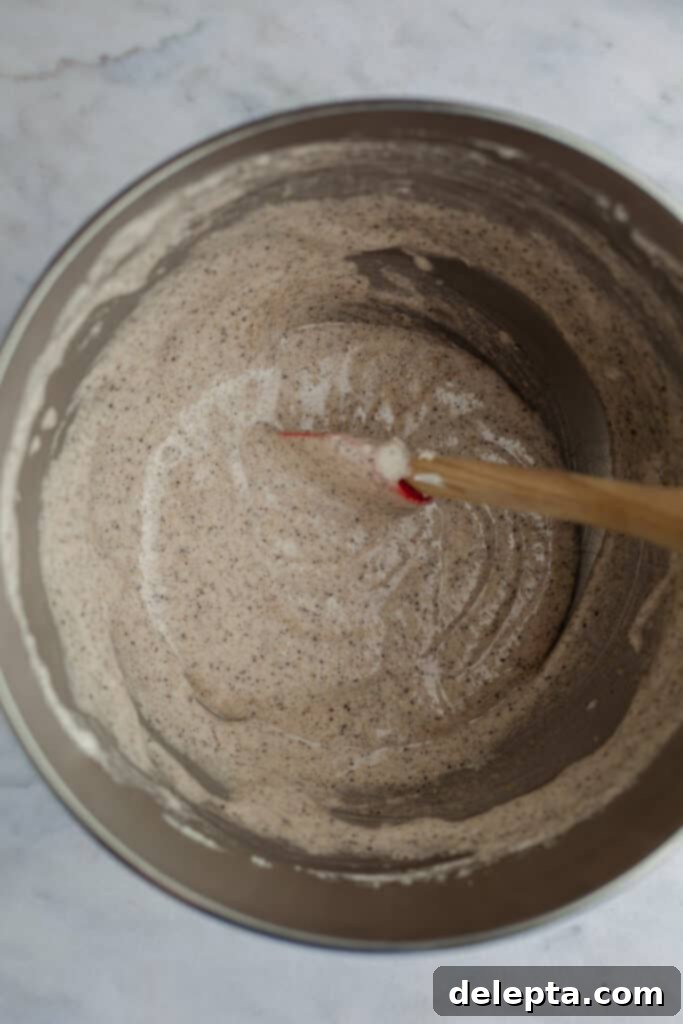
Step Five: The Art of Macaronage. This is perhaps the most critical stage, known as “macaronage,” where you develop the correct consistency of your macaron batter. The goal is a smooth, shiny, and flowing batter that retains some body. With your rubber spatula, gently but firmly scrape and press the batter against the sides of the bowl. This action helps to deflate a small amount of the air from the meringue, achieving the right texture. Continue this folding and pressing motion, bringing the batter from the bottom up and over. If you undermix, your macarons might be hollow. If you overmix, they could spread too much and bake without their characteristic “feet.” To test for readiness, lift your spatula and let the batter fall back into the bowl. If you can form a continuous figure-8 pattern with the falling batter without it breaking, your batter is perfectly macaronaged and ready to pipe. It should flow like “lava.”
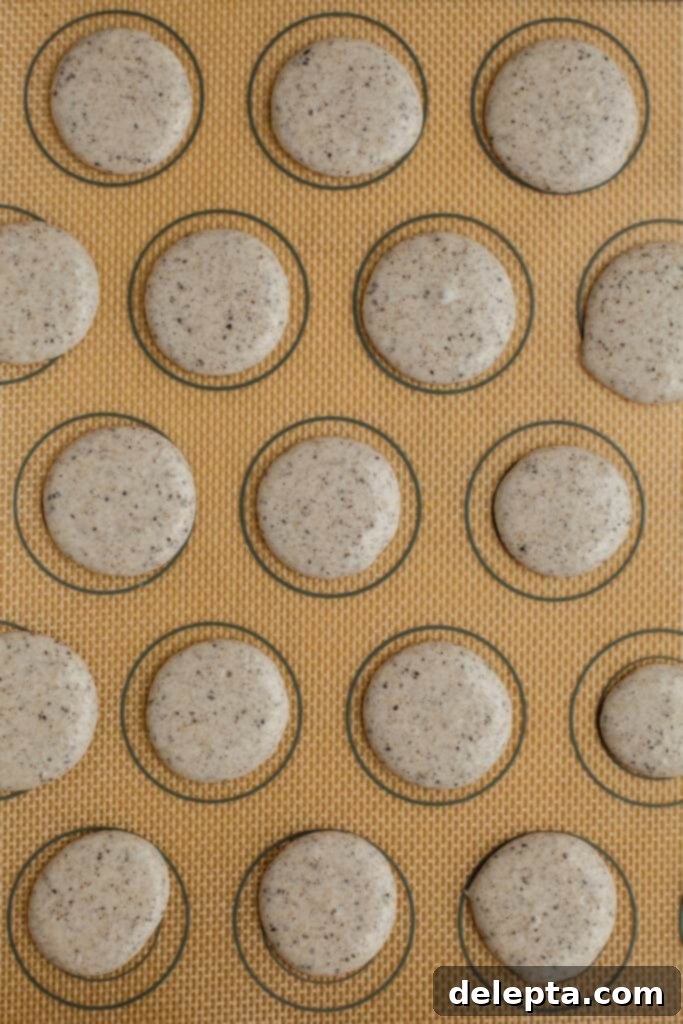
Step Six: Pipe and Rest Your Macaron Shells. Transfer your perfectly mixed batter into a piping bag fitted with a round tip (about ½ inch or 1.25 cm). Line several baking sheets with parchment paper or silicone mats. If you’re new to piping, you can place a macaron template underneath your parchment paper for uniform sizing. Pipe out consistent, small rounds onto your prepared baking sheets, leaving a little space between each. Once piped, firmly tap each tray on your counter 2-3 times. This helps to release any trapped air bubbles, which can cause cracks during baking. Use a toothpick to pop any remaining visible air bubbles on the surface. Now, let your piped macaron shells rest at room temperature. This “skinning” process typically takes about 30 minutes, but in humid conditions, it can take up to an hour or even longer. The shells are ready when you can gently touch the surface, and it feels dry and non-sticky. This skin is essential for the formation of the characteristic “feet” during baking. Preheat your oven to 325°F (160°C) as the shells are nearly ready. Bake the macaron shells for approximately 15 minutes, one tray at a time, rotating halfway through if your oven has hot spots.
-

Step Seven: Combining Filling Ingredients -

Step Eight: Whipping the Creamy Oreo Filling
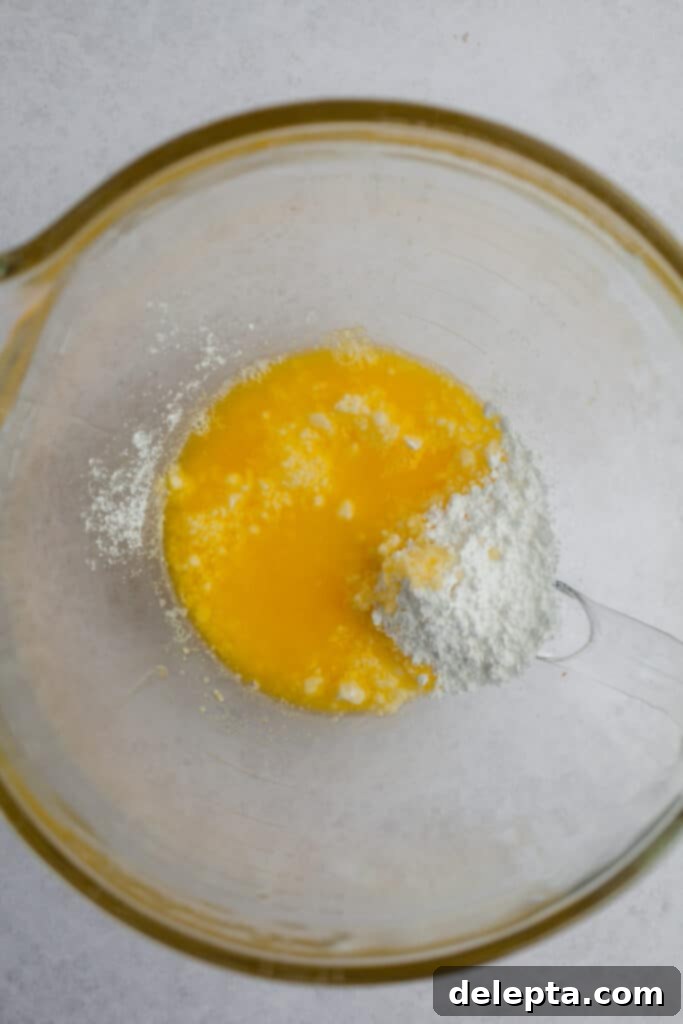
Step Seven: Prepare the Oreo Cream Filling. In a small saucepan, gently melt your unsalted butter over medium-low heat. Be careful not to brown the butter, as this will change the flavor profile. Once melted, pour the butter into a mixing bowl. Add your vanilla extract, a pinch of kosher salt, and the confectioners’ sugar. The salt is crucial for balancing the sweetness and enhancing the overall flavor of the filling.
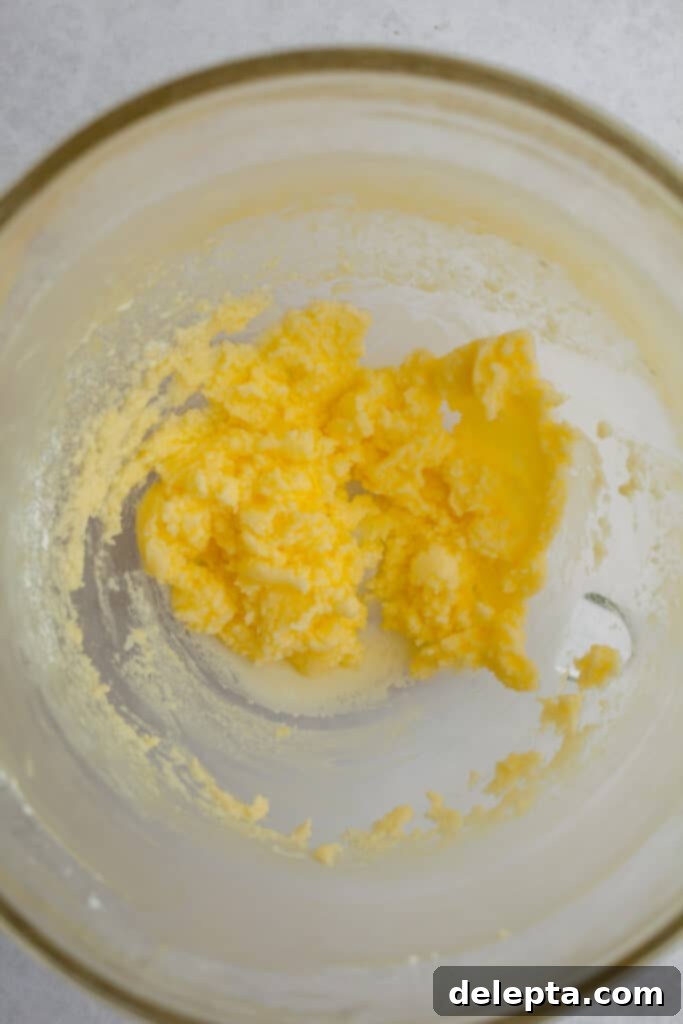
Step Eight: Whip the Filling to Perfection. Begin mixing the filling ingredients on low speed, just until all the dry ingredients are moistened and incorporated with the butter. This prevents a cloud of powdered sugar from erupting! Once combined, increase the speed to medium and beat the mixture for 2-3 minutes. You are looking for a light, fluffy, and creamy consistency. This rich vanilla buttercream firms up quite quickly, so it’s best to use it immediately after preparation. Transfer the filling to a piping bag fitted with your desired tip, and get ready to assemble your stunning cookies and cream macarons!
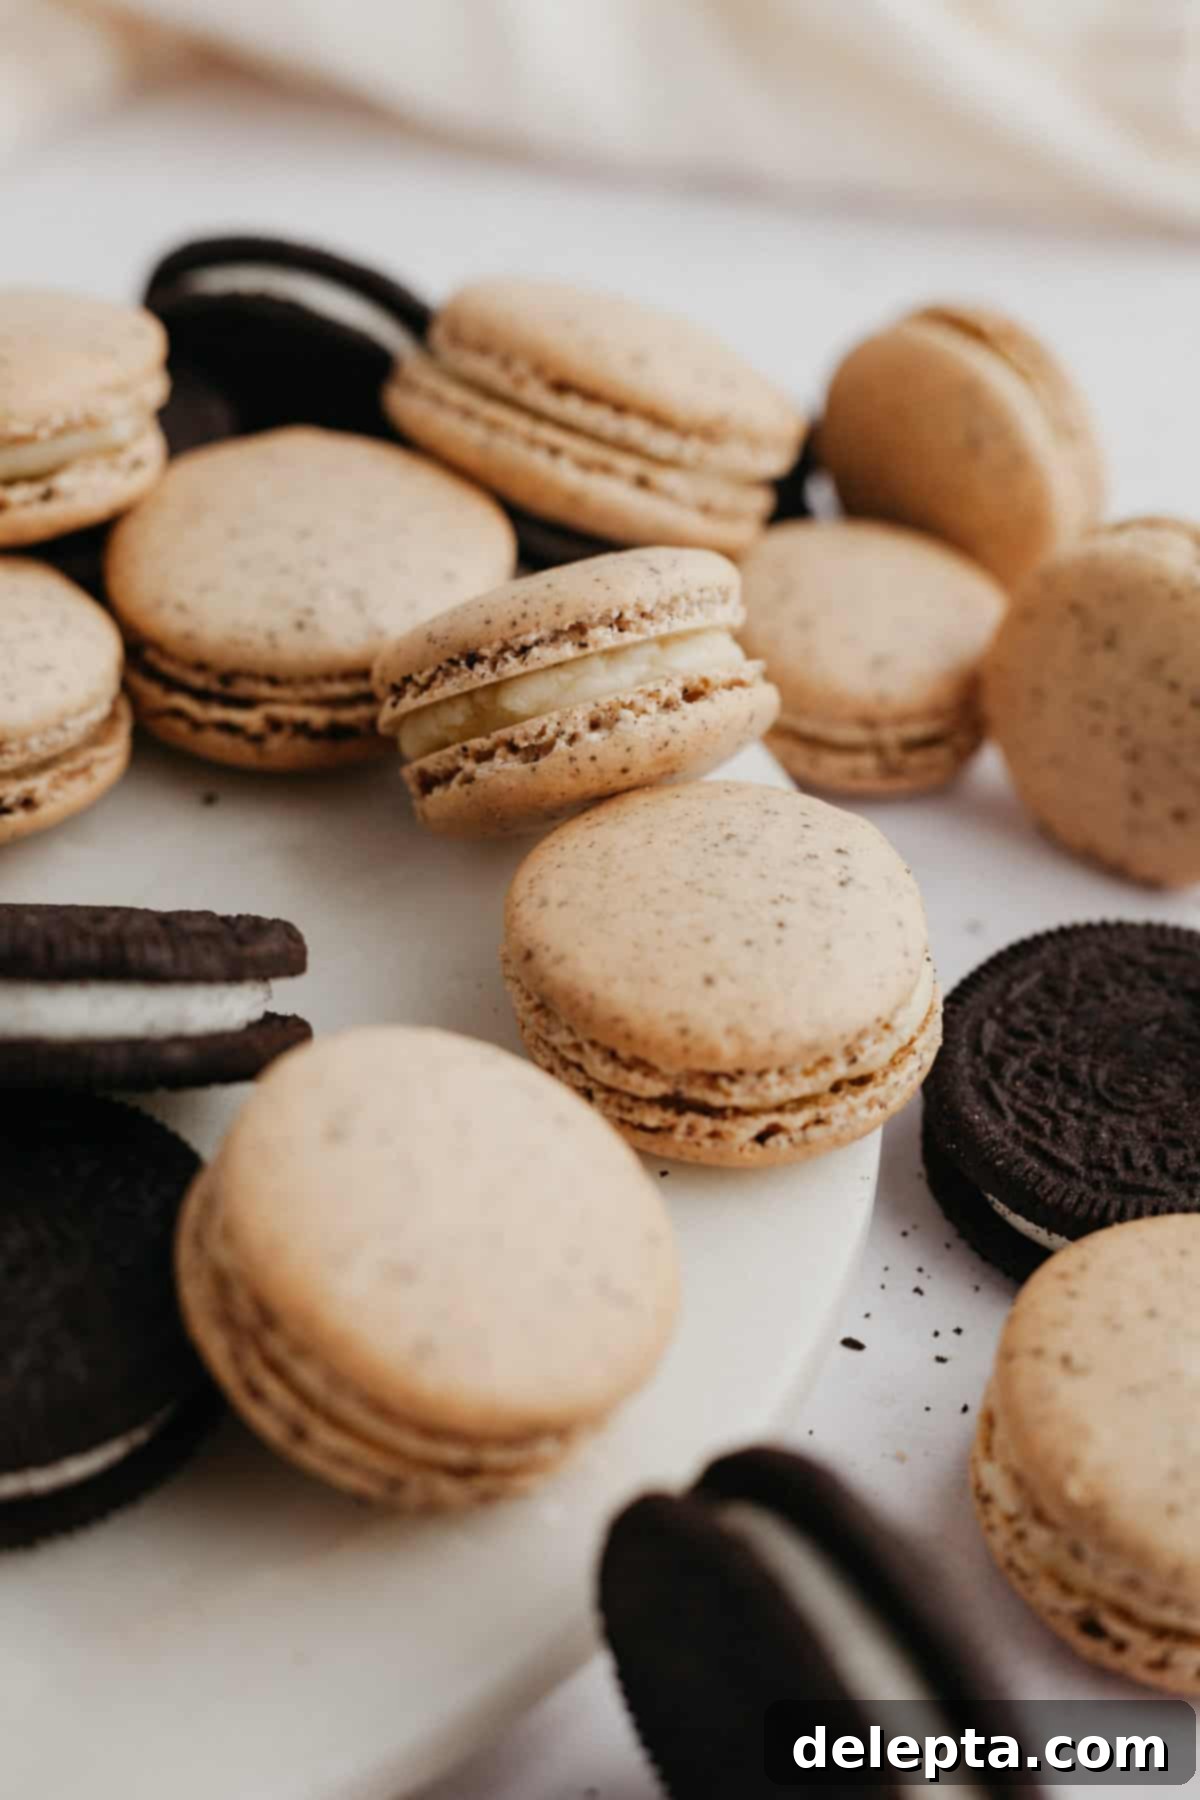
Expert Tips for Macaron Success
Mastering macarons comes with practice, but these professional tips will set you on the right path to consistently beautiful and delicious results.
- Precision with Metric Measurements: While many recipes offer both metric and US customary weights, for macarons, absolute precision is non-negotiable. This recipe exclusively provides metric measurements because of the delicate balance required in macaron chemistry. Even slight variations in ingredient amounts can dramatically affect the outcome. Investing in a digital kitchen scale that measures in grams will be your best friend, ensuring accurate proportions and a higher success rate for these notoriously tricky cookies.
- Flawless Egg Whites are a Must: As mentioned in the ingredient notes, the presence of even a tiny speck of egg yolk (or any fat) in your egg whites will prevent them from whipping up into a stable meringue. Always separate your eggs carefully, ideally cracking each into a small separate bowl before adding it to your main meringue bowl. This way, if a yolk breaks, it won’t contaminate your entire batch of whites. Room temperature egg whites are also easier to whip to full volume, contributing to a more stable meringue.
- Finely Processed Oreo Crumbs: For that signature cookies and cream look and flavor, your Oreo crumbs need to be as fine as powdered sugar. Coarse crumbs will create bumps on your macaron shells and can interfere with the smooth texture. If you have a food processor, pulse the Oreos (including the cream filling for extra flavor!) until they resemble a fine powder. If you don’t have one, place the cookies in a sturdy ziplock bag, remove excess air, and crush them thoroughly with a rolling pin until they are very fine. The finer the crumbs, the smoother your shells will be.
- Practice Piping for Uniformity: Consistent piping is key to uniform macaron sizes, which ensures even baking. If using parchment paper, draw circles on the underside as a guide. Hold your piping bag vertically and apply even pressure. Don’t worry if your first few aren’t perfect; practice makes progress!
- Understand Your Oven: Ovens can vary significantly. It’s highly recommended to use an oven thermometer to verify your oven’s true temperature. Macarons are sensitive to heat fluctuations. You might need to adjust baking times slightly or rotate your trays for even baking.
Frequently Asked Questions for Macaron Makers
Many aspiring macaron bakers encounter similar questions. Here are answers to some common queries to help you along your journey to macaron mastery.
Absolutely, when I emphasize ‘sift the almonds and icing sugar twice,’ I mean it! This step is not merely a suggestion; it’s a critical component for achieving those coveted smooth, unblemished macaron shells. Sifting thoroughly removes any lingering lumps from the confectioners’ sugar and ensures that the almond flour is as finely ground as possible. Any larger particles or clumps will inevitably lead to uneven, bumpy, or even cracked macaron surfaces. Think of it as laying the smoothest possible foundation for your delicate pastries.
Ah, macaronage – this is truly the heart of macaron making and often the trickiest part to master! Once you’ve added your sifted almond mixture and vanilla to the meringue, you’ll need to carefully fold it using a sturdy silicone spatula. The technique involves a circular motion, bringing the batter from the bottom of the bowl up and over, then gently pressing it against the sides of the bowl. This action helps to subtly deflate the meringue, releasing just enough air to achieve the perfect flow. Continue this process until your batter reaches a consistency often described as “lava-like” or “ribbon consistency.” You’ll know it’s ready when you can lift your spatula and draw a continuous figure-8 pattern with the falling batter without it breaking. This indicates the ideal balance of air and consistency for beautiful, well-footed macarons.
Piping perfect macarons requires a steady hand and a bit of practice, but it’s very achievable! Before you begin piping, I highly recommend using a macaron template. You can easily find and print these online, then slide them under your parchment paper or silicone mat. Use a piping bag fitted with a round tip. Hold the bag vertically, about half an inch above the baking sheet, and apply even, consistent pressure to pipe out uniform circles. Stop squeezing before lifting to avoid tails. Once piped, take each baking pan and firmly tap it twice on your counter (don’t be shy, but don’t smash it!). This crucial step helps to release any trapped air bubbles within the batter and encourages the tops to flatten out beautifully. After tapping, let them sit out at room temperature for 20-30 minutes, or potentially longer depending on your kitchen’s humidity. They are ready to bake when you can gently touch the surface of a shell, and it feels dry and forms a slight, non-sticky film or “skin.”
This is a subtle but important detail often overlooked! During the critical resting period when your macaron shells are forming a skin, it’s essential to ensure there are no drafts or open windows in your kitchen. Sudden air currents or fluctuating temperatures can negatively impact the skin formation, leading to an uneven drying process. This unevenness can sometimes cause the macarons to bake irregularly, resulting in odd shapes, like ovals instead of perfectly round shells, or even cracking. A stable, still environment is ideal for proper skin development.
To ensure optimal and consistent baking, it is strongly recommended to bake your macarons one sheet at a time in the oven. I’ve experimented with baking two sheets simultaneously, and almost invariably, one batch ends up overbaked, underbaked, or unevenly risen due to varied air circulation and heat distribution. For perfect results every time, stick to baking one sheet in the middle of your oven. As an extra safeguard against overbrowning the delicate shells, especially in ovens with stronger top heat, I also suggest placing an empty baking sheet on the rack above your macarons. This acts as a shield, diffusing the heat and allowing for a more gentle bake.
Don’t panic! The drying time for macaron shells to form a proper “skin” can vary significantly based on environmental factors like weather and, most importantly, humidity levels in your kitchen. On a dry day, they might be ready in as little as 30 minutes. However, on a particularly humid or rainy day, you might need to extend the resting period considerably. I’ve experienced waiting anywhere from 30 minutes to an hour and a half, or even longer, for the skin to fully form. The key is patience. Do not bake your macarons until you can gently touch the surface of a shell without any batter sticking to your finger. Baking without a proper skin will almost certainly result in cracked shells or a lack of “feet.” Trust the process, and wait until they’re truly ready.
Expand Your Macaron Repertoire: More Delicious Recipes!
If you’ve fallen in love with the delicate art of macaron baking, there’s a whole world of flavors to explore. Once you’ve mastered these delightful Cookies and Cream Macarons, challenge yourself with these equally delicious recipes:
- Salted Caramel Macarons: A divine combination of sweet and salty, these macarons feature a rich caramel filling that’s absolutely addictive.
- Birthday Cake Macarons: Celebrate any day like it’s your birthday with these fun, sprinkle-filled shells and a creamy, celebratory buttercream.
I absolutely love seeing your baking creations! Make sure to tag me on Instagram @alpineella when you share your homemade macarons. Your feedback is incredibly valuable, so please leave a review below if you’ve tried this recipe. For even more exciting baking ideas and sweet inspiration, you can always follow me on Pinterest. Happy baking!
Recipe

Cookies & Cream Macarons
By Ella Gilbert
Pin Recipe
Save Recipe
Saved!
Ingredients
Macaron Shells
-
100 grams ground almonds
-
105 grams confectioners’ sugar
-
28 grams Oreo cookies crushed into fine crumbs
-
100 grams egg whites at room temperature
-
100 grams granulated sugar
-
½ teaspoon vanilla extract
Filling
-
170 grams unsalted butter, at room temperature
-
1 teaspoon vanilla extract
-
¼ teaspoon kosher salt
-
240 grams icing sugar
Instructions
Make Macaron Shells
-
Prepare your baking sheets by lining 3 of them with parchment paper or silicone baking mats. For perfectly uniform macarons, you may wish to use a pencil to trace out evenly spaced circles (approximately 1.5 inches or 3.8 cm in diameter) on the underside of your parchment paper.
-
In a medium bowl, meticulously sift together the ground almond flour, fine Oreo powder (ensure it’s truly powdered), and confectioners’ sugar. Repeat this sifting process twice to eliminate any clumps and ensure a smooth, uniform mixture. Set this dry ingredient blend aside.
-
In the bowl of a stand mixer fitted with the whisk attachment (or a heat-proof bowl over simmering water for the Swiss method), whip the room-temperature egg whites on medium speed until they become foamy. Gradually increase the mixer speed to high, and slowly stream in the granulated sugar. Continue whipping the meringue until it forms medium to stiff, glossy peaks. This typically takes about 5-7 minutes. The meringue should be firm enough to hold its shape, with a slight curl at the tip when the whisk is lifted.
-
Gently, using a rubber spatula, fold in half of your sifted almond and Oreo mixture along with the vanilla extract. Once just combined, add the remaining dry mixture. Continue the folding process, known as macaronage, by bringing the batter from the bottom of the bowl up and over, then pressing it against the sides to gently deflate it. This crucial step develops the batter’s characteristic “lava-like” consistency. Stop when the batter flows slowly and continuously from your spatula, forming a figure-8 without breaking.
-
Transfer the prepared macaron batter into a pastry bag fitted with a round tip (about ½ inch). Pipe out uniform circles onto your prepared baking sheets, following your traced templates if using. Once piped, firmly tap each baking pan twice on your counter (exercise caution, but ensure a good tap!) to release any trapped air bubbles. Use a toothpick to pop any remaining visible bubbles on the surface for smoother shells.
-
Allow the piped macarons to rest at room temperature. This vital “skinning” process usually takes 20-30 minutes, but can extend much longer (up to 1.5 hours or more) depending on the humidity in your kitchen. They are ready to bake when the surface of the shells is completely dry and non-sticky to the touch, forming a delicate film. Do not rush this step, as it’s essential for achieving the characteristic “feet” and preventing cracks.
-
Preheat your oven to 300°F (150°C). Bake the macaron shells one sheet at a time, positioned in the middle rack of the oven, for 15-17 minutes. For even baking, consider rotating the tray halfway through. They are done when they have developed visible “feet” and the shells do not wobble when gently nudged. Allow them to cool completely on the baking sheet before attempting to remove them.
Make Filling
-
In a small saucepan, gently melt the unsalted butter over medium-low heat. The goal is to melt it, not to brown it. Allow the butter to simmer gently until it stops sputtering; this indicates the water content has evaporated. Once the butter is quiet, carefully pour it into the bowl of a stand mixer fitted with a paddle attachment.
-
To the melted butter, add the vanilla extract, kosher salt, and the icing sugar. Begin mixing on low speed, just until all the ingredients are moistened and incorporated to prevent a cloud of sugar. Increase the speed to medium and beat the mixture until it becomes light, soft, and fluffy, which should take about 5 minutes. This creamy vanilla buttercream filling is best used immediately as it firms up fairly quickly. Transfer the filling to a piping bag and pipe it onto one macaron shell, then gently sandwich it with another shell. Repeat until all your beautiful cookies and cream macarons are assembled!
Notes
US Cups: For this recipe, I do not include cup measurements. Macarons are a delicate and precise bake where exact ingredient weights (in grams) are essential for consistent success. A digital kitchen scale is highly recommended for accurate results.
Aged Egg Whites: While not strictly required, aging your egg whites can sometimes contribute to a more stable meringue. To do this, separate your egg whites 24 hours before baking, place them in a small bowl, cover loosely (e.g., with plastic wrap with a few holes, or a paper towel), and refrigerate. Before making your macarons, remove them from the fridge about 2 hours in advance to allow them to come to room temperature.
Storage: To maintain their freshness and delicate texture, store your assembled cookies and cream macarons in an airtight container in the refrigerator for up to one week. For best flavor and texture, allow them to come to room temperature for about 15-20 minutes before serving. Macarons also freeze beautifully for up to one month!
Nutrition
Tried this recipe?
Leave a comment below! You can also tag me on Instagram @alpineella so I can see what you made!

