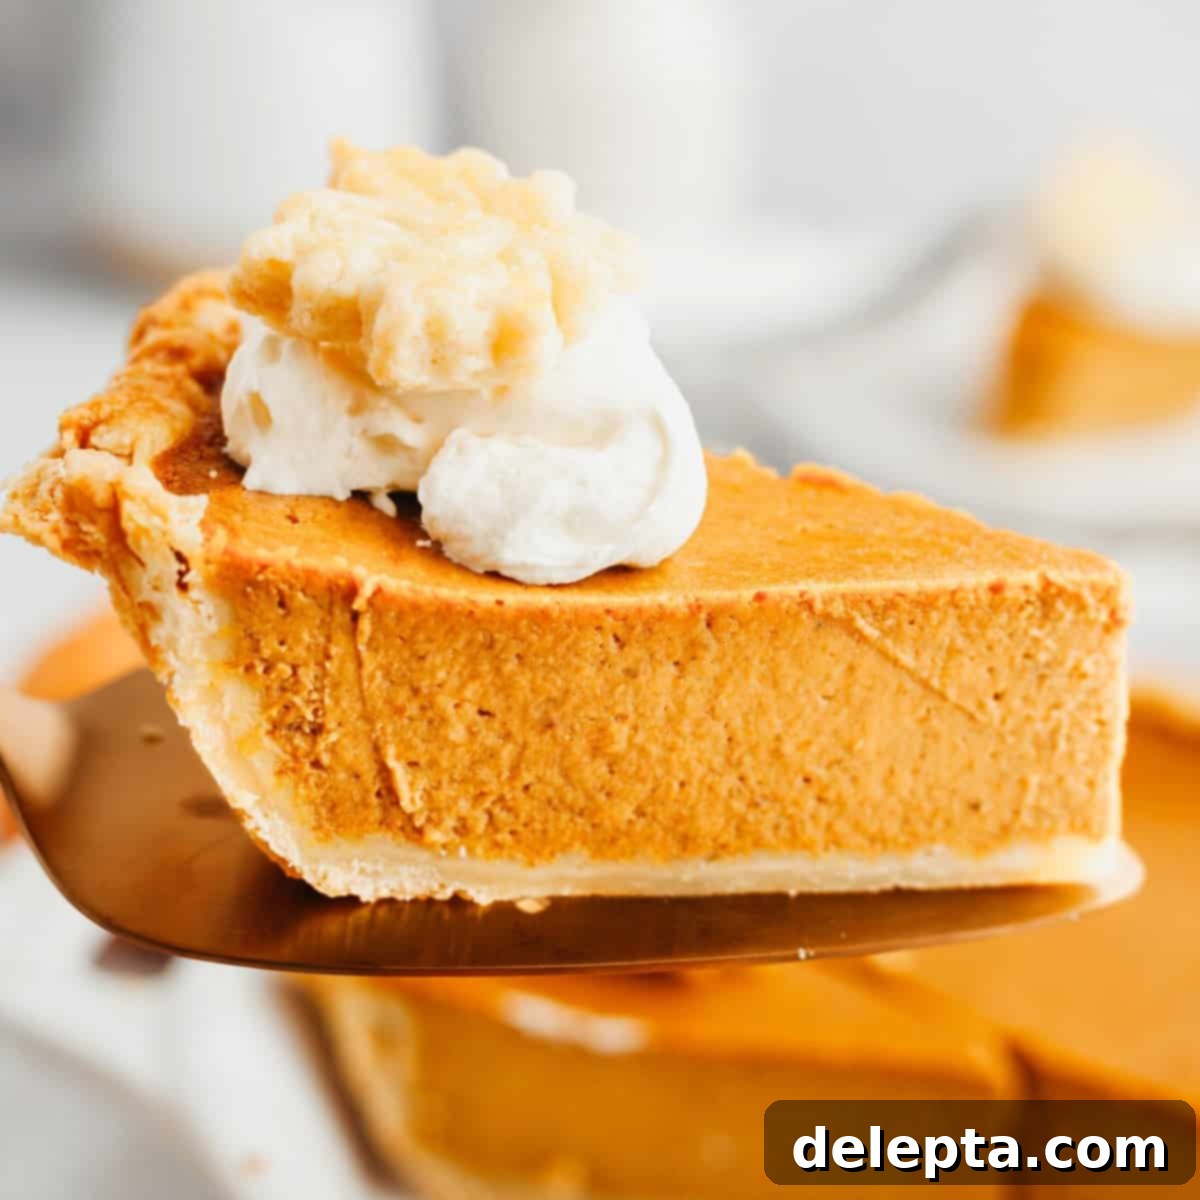
The Ultimate Creamy Pumpkin Custard Pie: Your Essential Thanksgiving Dessert Recipe
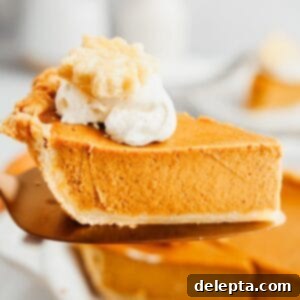
Prepare to fall in love with this **exceptionally rich and luxuriously creamy pumpkin custard pie**, the ultimate centerpiece for your Thanksgiving feast or any fall gathering. Beyond its irresistible flavor and silky texture, what truly sets this dessert apart is its remarkable simplicity—it’s effortlessly **made in just one bowl**! Serve it elegantly with a generous dollop of homemade whipped cream and, for an extra touch of charm, delicate pie crust cookies. This recipe promises not only a delicious outcome but also an enjoyable baking experience, even for beginners.
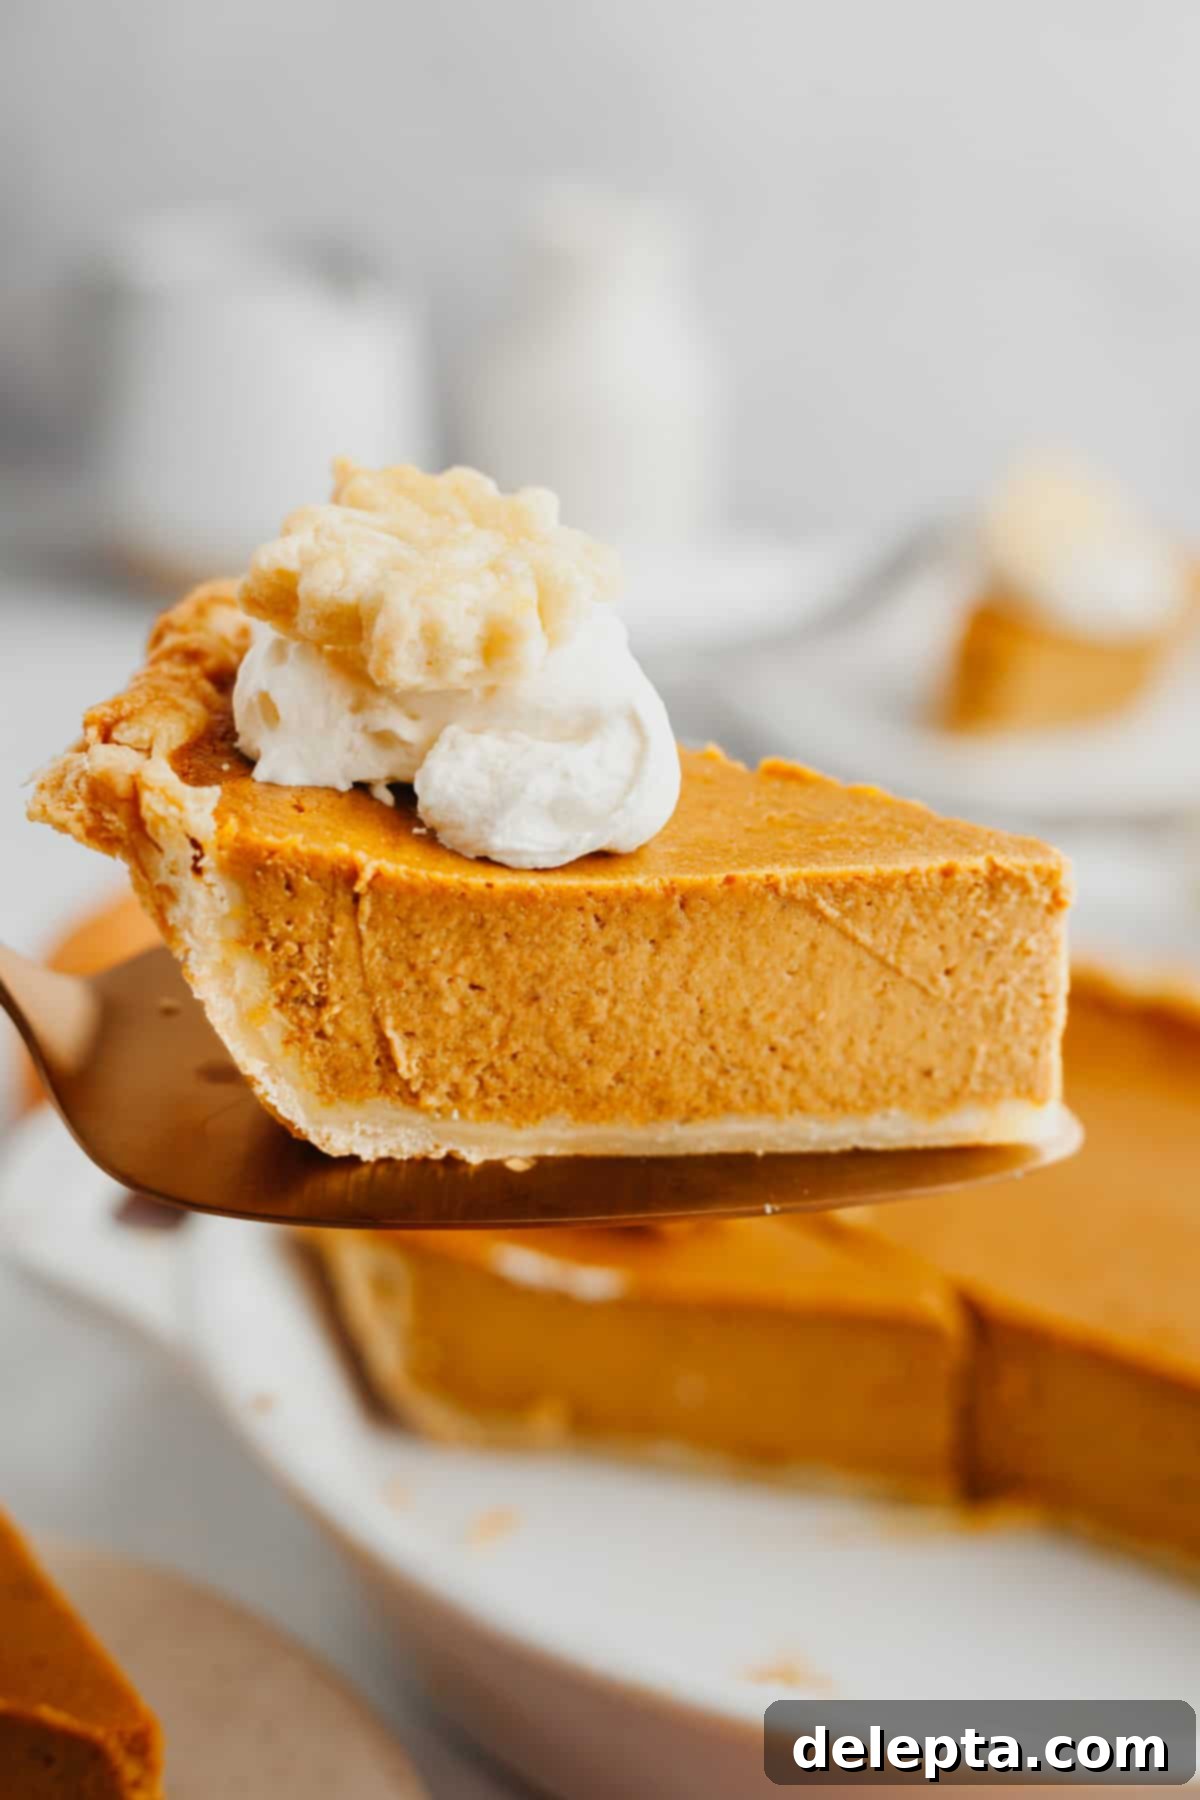
The autumn season truly ushers in the most wonderful time of the year. It’s a time for cozy gatherings, Friendsgiving celebrations, and of course, a dazzling array of pumpkin-inspired desserts. This easy pumpkin pie recipe is destined to become a staple at your next get-together. Consider pairing it with my classic apple crumble pie for an unforgettable Thanksgiving dessert spread that caters to every taste bud. Forget complex techniques; this recipe focuses on pure, unadulterated flavor and a velvety smooth texture that will have everyone asking for seconds.
You might be wondering, “What’s the key difference between a traditional pumpkin pie and a pumpkin custard pie?” While many people use the terms interchangeably, I specifically refer to this as a pumpkin custard pie because its filling is built upon a decadent custard base. But rest assured, despite the subtle distinction in terminology, this is still the beloved, classic, and traditional pumpkin pie flavor you know and adore. The custard base simply elevates the texture, making it even smoother and more luxurious.
Unlike many pumpkin pie recipes that rely on evaporated or sweetened condensed milk for their richness, my recipe employs a unique and delightful combination of heavy cream, sour cream, and fresh eggs. This choice of ingredients results in a pie that tastes remarkably lighter, yet incredibly rich and deeply flavorful. The sour cream introduces a subtle tang that beautifully balances the sweetness of the pumpkin and spices, creating a harmonious and utterly delicious experience that distinguishes it from other pies.
If your heart beats for all things pumpkin, then this recipe is an absolute must-try. After mastering this classic, be sure to explore some of my other favorite pumpkin dessert creations. You’ll love my pumpkin pie with a graham cracker crust for a crunchy twist, the moist and fragrant pumpkin walnut bread, the delightful pumpkin sour cream muffins perfect for breakfast or a snack, and the addictively chewy pumpkin white chocolate chip cookies. Each offers a unique way to savor the flavors of the season!
What Makes This Pumpkin Custard Pie Irresistible?
This isn’t just another pumpkin pie; it’s a culinary masterpiece crafted with thoughtful details that ensure every bite is a delightful experience. Here’s why this pumpkin custard pie will become your go-to recipe:
- Flaky, All-Butter Pie Dough: We believe that the foundation of any great pie is its crust. Our recipe calls for a homemade, all-butter pie dough, creating a crust that is unbelievably flaky, tender, and rich with buttery flavor. While a store-bought crust can be a time-saver, nothing truly compares to the artisanal quality and texture of a handmade crust. We’ll guide you through making my tried and tested all-butter pie crust for a truly exceptional result. This crust not only holds up perfectly to the creamy filling but also adds an incredible depth of flavor.
- Warm, Perfectly Spiced Filling: The heart of this pie is its aromatic filling, a harmonious blend of classic fall spices. We infuse our pumpkin purée with generous amounts of warm cinnamon, pungent ginger, fragrant nutmeg, and a hint of cloves. But here’s our secret ingredient for an “X factor” taste: a tiny pinch of black pepper. This unexpected addition doesn’t make the pie spicy but instead amplifies the natural warmth and complexity of the other spices, adding an intriguing depth that will leave your guests guessing (and craving more!).
- Velvety Smooth and Creamy Custard Base: What truly elevates this pumpkin pie is its luscious, egg-based custard filling. Unlike pies made with evaporated milk, our combination of rich heavy cream and tangy sour cream yields an incredibly smooth, melt-in-your-mouth texture that is both decadent and surprisingly light. The sour cream provides a beautiful counterpoint to the sweetness, ensuring the pie is perfectly balanced and never cloyingly sweet. This custard base is the secret to a pie that sets beautifully and slices cleanly, while remaining moist and tender.
Essential Ingredients for Your Perfect Pumpkin Custard Pie
Crafting this incredible pumpkin custard pie begins with selecting the right ingredients. Here’s a detailed look at what you’ll need and why each component is crucial for the perfect flavor and texture:
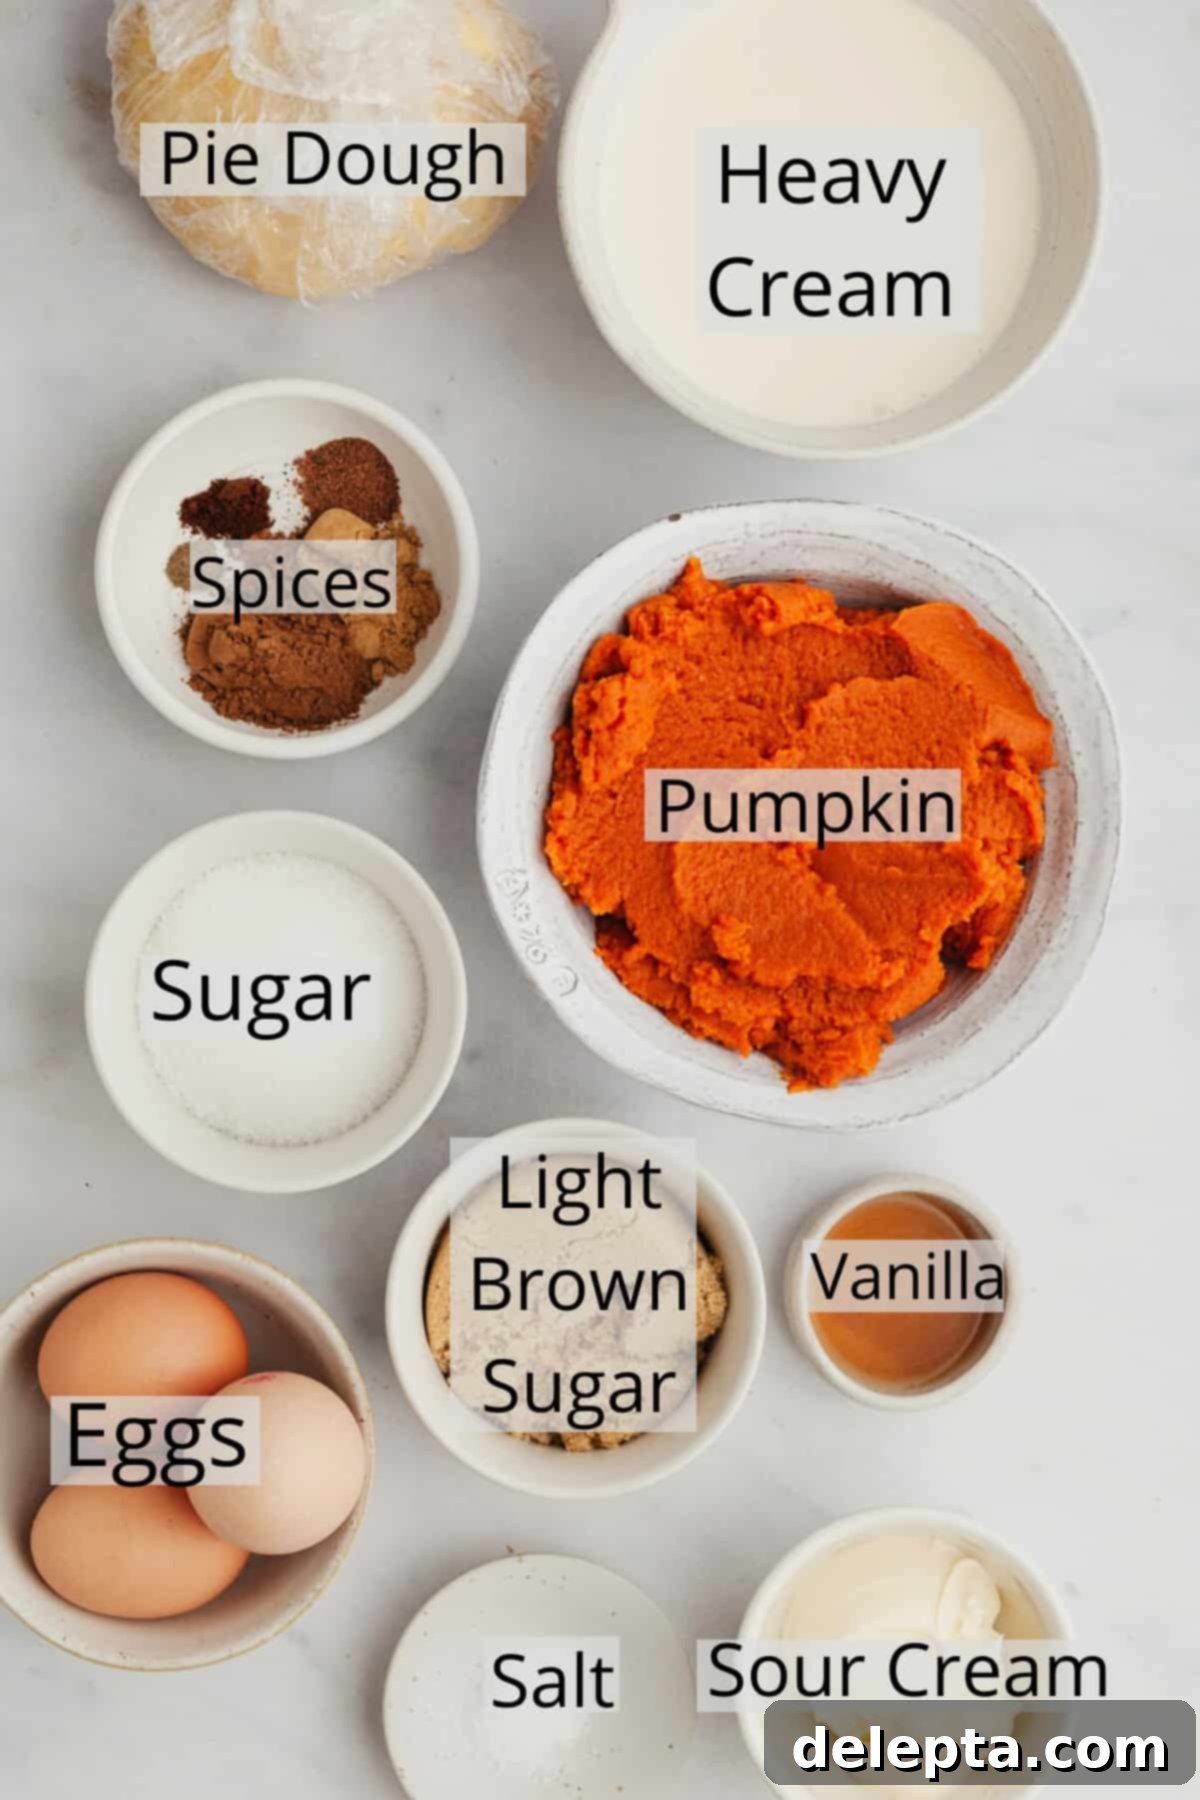
Pumpkin: This is the star of our show! It’s absolutely crucial to use 100% pure canned pumpkin puree, not pumpkin pie filling. Pumpkin pie filling already contains added sugars and spices, which will throw off the carefully balanced flavors in this recipe. Pure pumpkin puree allows you to control the sweetness and spice profile precisely.
Eggs: You’ll need 3 large eggs to form the rich and sturdy custard base of this pie. Eggs are essential for binding the filling, giving it its smooth texture, and helping it set beautifully as it bakes. Ensure your eggs are at room temperature for better incorporation into the other ingredients, leading to a smoother, more homogenous filling.
Sour Cream: This ingredient is a game-changer! Sour cream is key to achieving that extra rich, creamy, and slightly tangy flavor profile that makes our pumpkin pie so special. It adds a luxurious mouthfeel and a subtle tartness that beautifully cuts through the sweetness of the pumpkin and spices, creating a perfectly balanced dessert. Don’t skip it!
Spices: Our signature spice blend creates a warm and inviting aroma and taste. We use a combination of classic pumpkin pie spices: fragrant cinnamon, warm ginger, sweet nutmeg, and a subtle hint of cloves. For that secret “X factor” that truly elevates the pie, we include a tiny pinch of ground black pepper. While it might sound unusual, black pepper doesn’t make the pie spicy; instead, it enhances the other spices, adding a layer of complexity and depth that makes the flavor truly pop.
Pie Crust: For the ultimate flaky and buttery base, I highly recommend using my tried-and-true all-butter pie crust recipe. I’ve tested this recipe countless times to ensure perfect flakiness and flavor. However, if you’re short on time, a good quality store-bought pie crust will also work beautifully.
Clever Substitutions and Variations
While this recipe is perfect as written, sometimes you need to adapt based on what you have on hand or simply want to try something new. Here are some smart substitutions and delightful variations to customize your pumpkin custard pie:
- Sour Cream Alternatives: If you don’t have sour cream, fear not! I’ve successfully tested this recipe using crème fraîche as a direct substitute. It works exceptionally well, providing a similar rich and tangy profile. Simply use the same amount of crème fraîche as you would sour cream. Greek yogurt (full-fat) could also work in a pinch, though it might yield a slightly tangier result.
- Spice Blends: For convenience, you can easily swap out the individual spices. Instead of measuring out cinnamon, ginger, nutmeg, and cloves, you can use 2 teaspoons of a pre-made pumpkin pie spice blend combined with an additional 2 teaspoons of ground cinnamon for extra warmth. Feeling adventurous? Try swapping the pumpkin pie spice for a chai spice blend to introduce a fragrant, exotic twist to your pie.
- Pie Dish Options: This recipe is perfectly suited for a standard 9-inch pie dish. My personal favorite is this durable Staub pie dish, which bakes beautifully. If you prefer or only have a deep-dish pie plate, you can absolutely use it. Just be aware that the filling might not reach all the way to the very top edge, resulting in a slightly shallower pie, but the flavor will be just as magnificent.
- Effortless Pie Crust: While I highly recommend making your own for the best flavor and texture, there’s no shame in using a store-bought pie crust, especially when time is of the essence. Opt for a good quality brand, and make sure to follow the blind-baking instructions as detailed in the recipe to prevent a soggy bottom.
Step-by-Step Guide to Baking Your Pumpkin Custard Pie
Follow these detailed instructions to create a flawless, delicious pumpkin custard pie that will impress everyone.
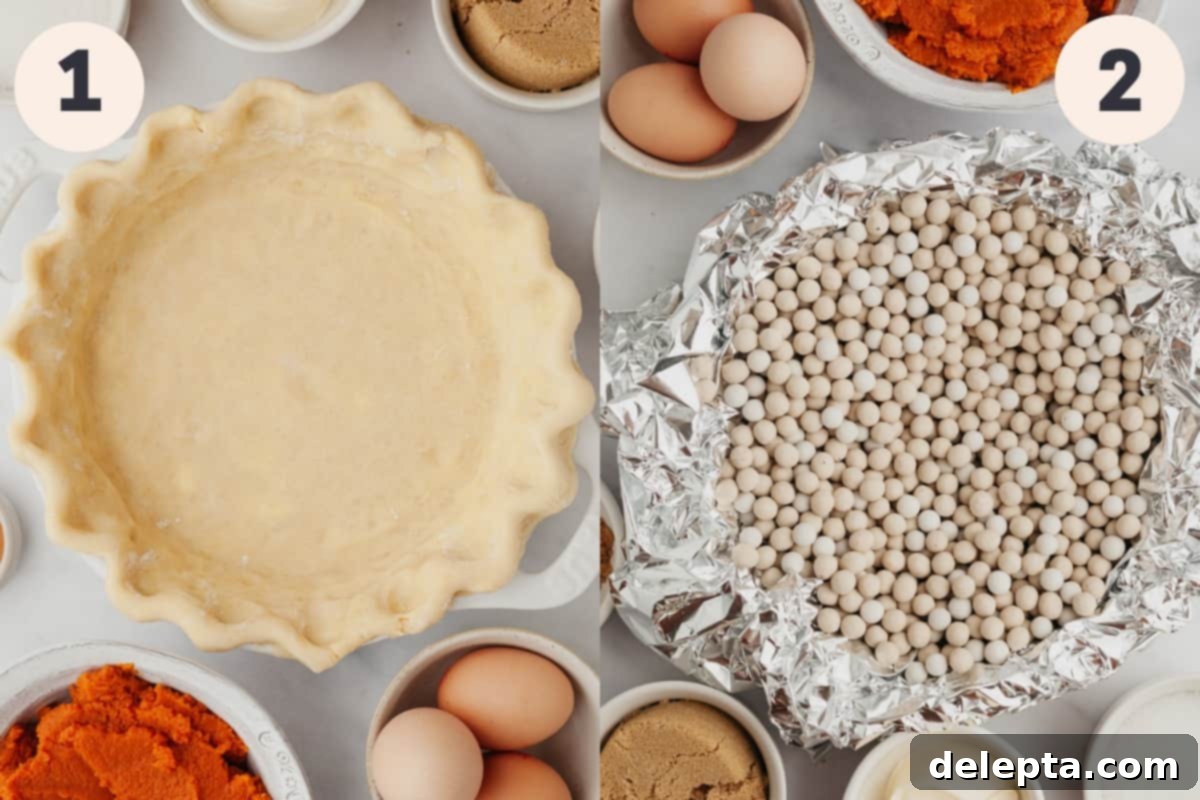
Step 1: Prepare Your Perfect Pie Crust. If you’re using my homemade pie crust recipe, follow the instructions up to step six, where the dough needs to chill for at least 2 hours. Once chilled, gently roll out the dough on a lightly floured surface into a circle about an inch wider than your pie dish. Carefully transfer the rolled-out dough into your 9-inch pie dish. Gently press the dough firmly into the bottom and sides of the dish, especially where the bottom meets the sides, to prevent shrinking. Tuck any overhanging edges underneath to create a thicker crust, then crimp them decoratively as desired. Finally, prick the bottom of the pie dough several times with a fork. This crucial step prevents the crust from puffing up excessively during blind baking.
Step 2: Blind Bake for a No-Soggy-Bottom Crust. To ensure a perfectly crisp, non-soggy crust, we’ll blind bake it. Take two large pieces of aluminum foil, crumple them slightly, and arrange them in an “X” shape inside the pie dish, making sure the foil overhangs the edges sufficiently to cover the crimped crust and protect it from browning too quickly. Fill the foil-lined crust with pie weights, dried beans, or even granulated sugar, distributing them evenly to weigh down the bottom and sides. Preheat your oven to 425°F (220°C). Bake the weighted crust for 15-20 minutes. After this initial bake, carefully remove the foil and pie weights. Reduce the oven temperature to 350°F (175°C) and return the pie crust to the oven. Bake for an additional 10-15 minutes, or until the crust is a light golden brown and appears set. While the crust is still warm, lightly brush the bottom with a whisked egg wash (one large egg mixed with a tablespoon of water) – this creates an extra seal, further safeguarding against a soggy bottom. Allow the crust to cool completely before proceeding.
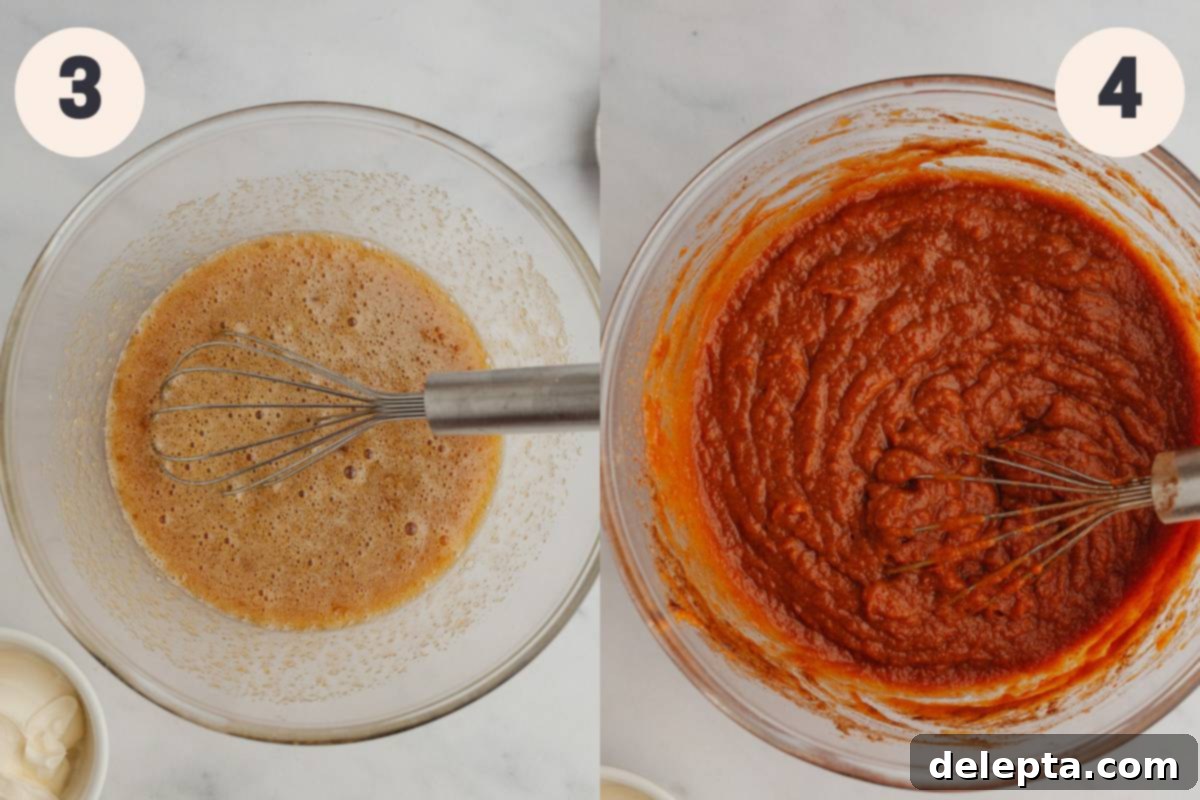
Step 3: Begin Crafting the Custard Base. While your crust cools, preheat your oven to 375°F (190°C). In a large mixing bowl (remember, this is a one-bowl wonder!), whisk together the room temperature eggs, both light brown sugar and white sugar, and vanilla extract until the mixture is completely smooth, pale, and well combined. This ensures the sugars are dissolved and the eggs are fully integrated, which is key to a smooth custard.
Step 4: Incorporate the Pumpkin and Spices. To the egg and sugar mixture, add the entire can of 100% pure pumpkin puree, along with all the carefully measured spices: ground cinnamon, ginger, nutmeg, cloves, and that pinch of black pepper, plus the kosher salt. Whisk everything thoroughly again until the mixture is uniform in color and smooth, ensuring all the flavors are evenly distributed. Make sure there are no lumps of pumpkin or streaks of spice.
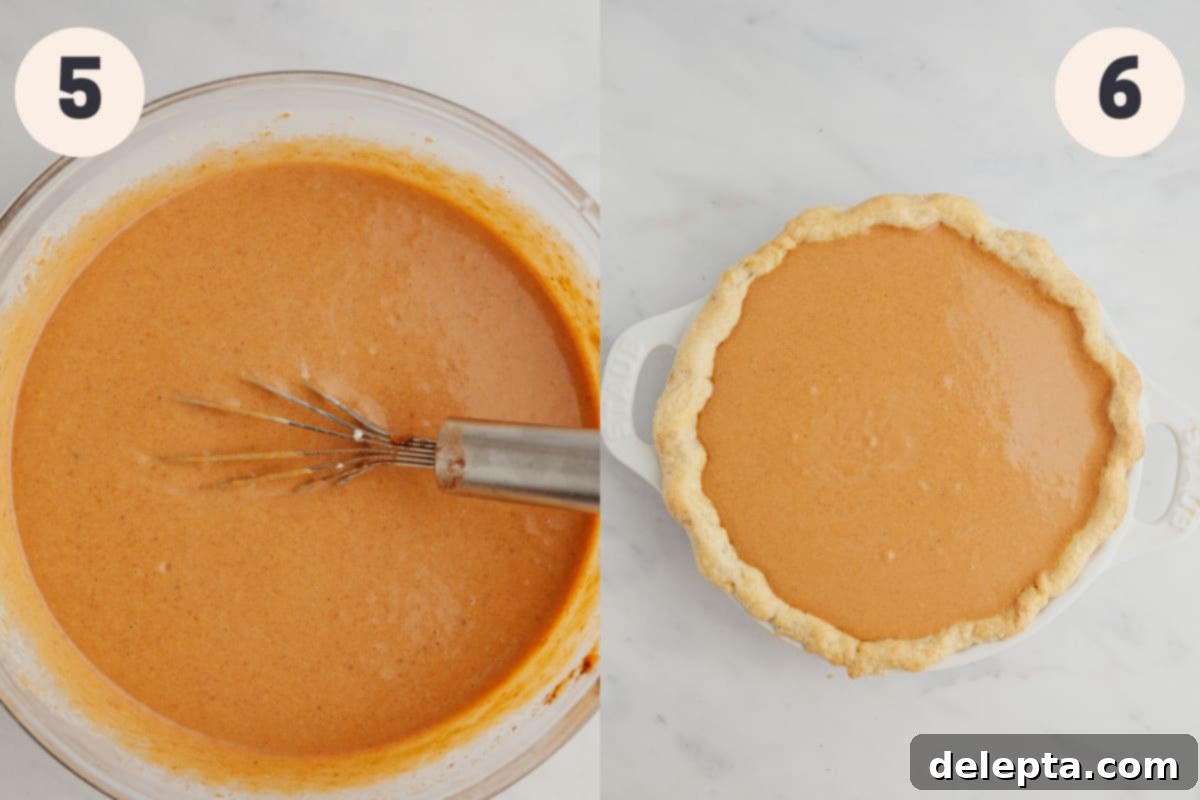
Step 5: Add the Cream for Ultimate Richness. Finally, pour in the heavy cream and the sour cream into the pumpkin mixture. Whisk gently but thoroughly one last time until everything is fully incorporated and the filling is beautifully smooth and consistent. Be careful not to over-whisk at this stage, as too much air can cause cracking during baking.
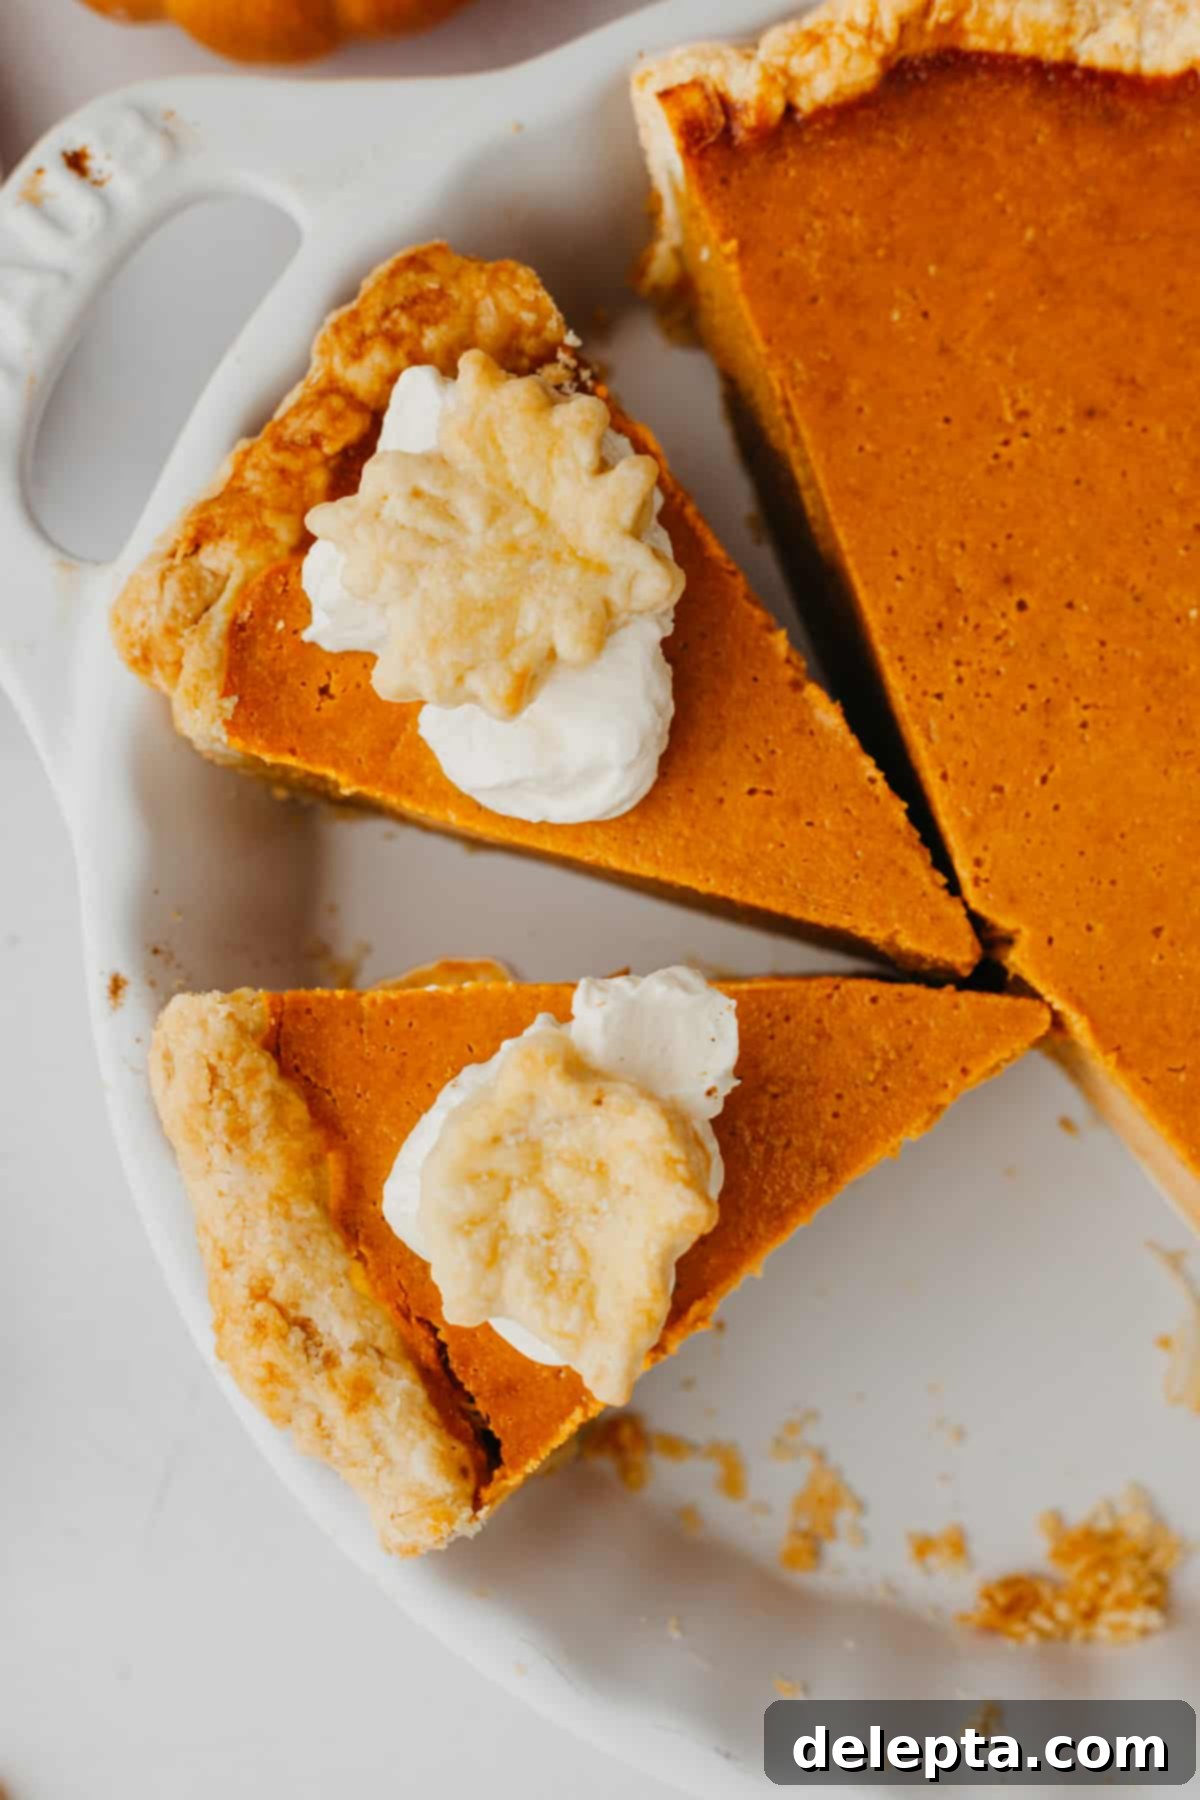
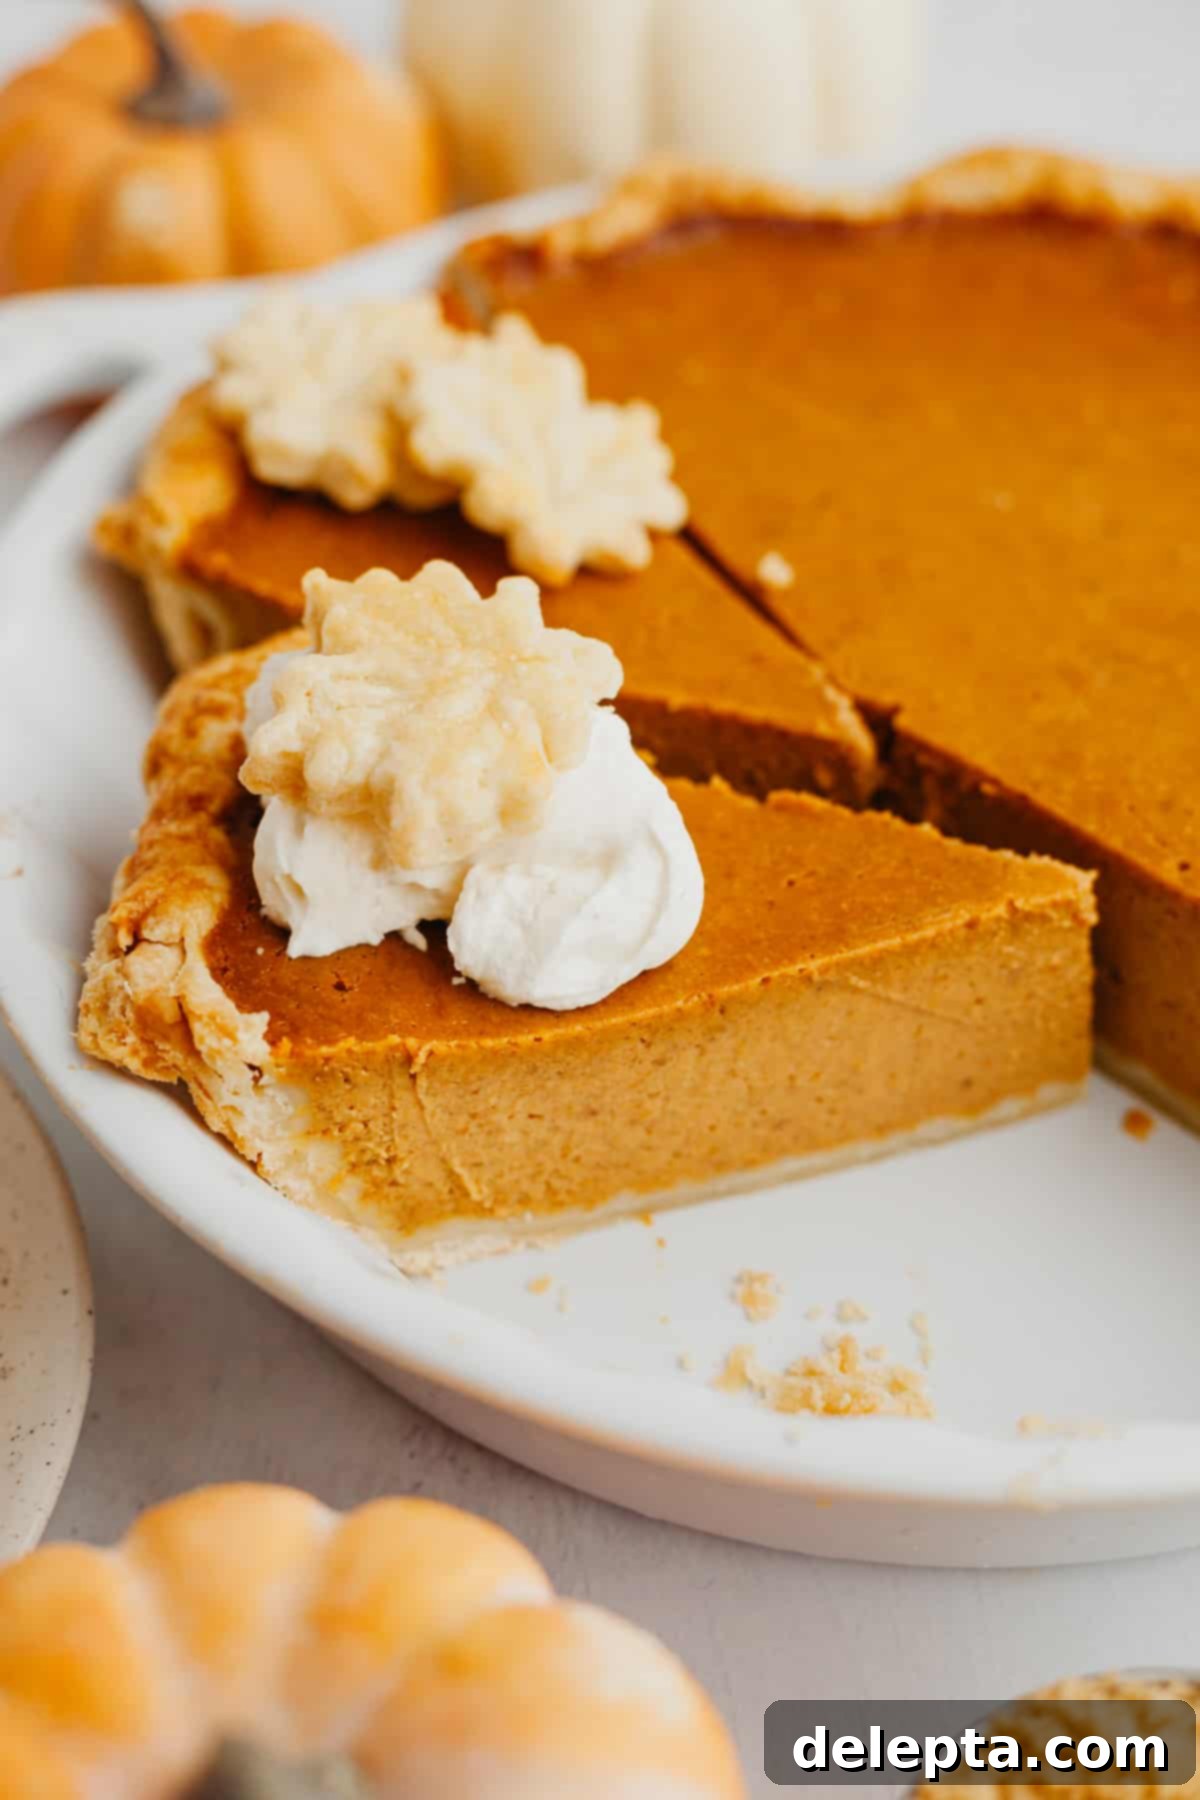
Step 6: Bake to Perfection and Chill. Carefully pour the prepared pumpkin pie filling into your completely cooled, par-baked pie crust. Gently tap the pie dish on the counter a few times to release any trapped air bubbles, which helps prevent cracks. Bake the pie in the preheated 375°F (190°C) oven for 45-50 minutes. The pie is done when the edges are set and slightly puffed, but the very center still has a slight jiggle when gently shaken. Overbaking can lead to cracks, so watch it closely. Once baked, remove the pie from the oven and let it cool completely to room temperature on a wire rack. This slow cooling is essential for the custard to properly set. After it reaches room temperature, transfer it to the refrigerator and chill for at least 2 hours, or preferably overnight, before slicing and serving. This chilling time allows the flavors to meld and the custard to firm up to its perfect sliceable consistency. Dollop with freshly made homemade vanilla whipped cream and garnish with those charming pie crust cookies for a truly impressive presentation!
Expert Recipe Tips & Tricks for a Flawless Pie
Achieving pumpkin pie perfection is easier than you think with these professional tips and tricks:
- Precision Measuring is Key: For consistent and accurate baking results, I cannot stress enough the importance of using a digital kitchen weighing scale, especially for dry ingredients like flour. Measuring ingredients the metric way (grams) makes a huge difference in the outcome of your baking, ensuring the most accurate ratios and preventing common baking mishaps.
- Mastering Cold Butter & Pie Dough: The secret to a flaky, tender pie crust that holds its shape beautifully lies in keeping your butter and dough exceptionally cold. One of the primary reasons pie dough becomes brittle, tough, or slumps in the oven is insufficient coldness. Before you even begin, ensure your unsalted butter is very cold, preferably cut into cubes and returned to the fridge or freezer for a few minutes. After preparing the dough, a minimum chilling time of 2 hours (or up to overnight) in the refrigerator is absolutely critical for the butter to firm up and the gluten to relax. This ensures a tender, flaky texture and prevents the crust from shrinking excessively during baking.
- Don’t Waste Scraps – Make Pie Crust Cookies!: When trimming and crimping your pie crust, you’ll inevitably have leftover dough scraps. Don’t throw them away! Gather the scraps, gently re-roll them, and use fun cookie cutters or specialized pie crust cutters to create decorative shapes like leaves or pumpkins. Bake these adorable little cookies at the same time you are parbaking your main pie crust. Brush them lightly with the leftover egg wash from your crust sealing step for a beautiful golden sheen, and bake for the first 15 minutes. They make a fantastic edible garnish for your pie or a delicious little snack!
- Protect Your Crust: Prevent Over-Browning: While a golden-brown crust is desirable, the edges can sometimes brown too quickly, especially during the longer bake time required for the filling. To prevent this, I highly recommend using a pie crust shield. I love the adjustable variety, as it fits all my pie dishes perfectly. Simply place it over the crimped edges of your pie about halfway through the baking process, or once you notice the edges are adequately golden, to shield them from direct heat and ensure even baking.
- Avoiding Cracks & Air Bubbles: Two common pitfalls in pumpkin pie baking are cracks in the filling and unsightly air bubbles. To minimize air bubbles, gently tap the unbaked pie dish on the counter a few times after pouring in the filling. To prevent cracks, the most important step is to avoid overbaking. A perfectly baked pumpkin pie will still have a slight “jiggle” in the very center (about a 1-2 inch circle) when gently shaken; the edges should be set. It will continue to set as it cools. If, despite your best efforts, a few minor cracks appear, don’t despair! They can be easily concealed with a generous dollop of whipped cream and those charming pie crust cut-outs you made earlier!
Your Pie Questions Answered! 🥧
Absolutely, yes! If you’re short on time or prefer not to make your own pie dough from scratch, a good quality store-bought pie crust is a perfectly acceptable alternative. Just ensure you follow the blind-baking steps outlined in the recipe to prevent a soggy bottom, as even store-bought crusts benefit from this preparation.
Yes, due to its egg and dairy-based custard filling, pumpkin pie is considered a perishable dessert and must be refrigerated. Once the pie has cooled completely to room temperature, I strongly recommend covering it loosely with plastic wrap or foil and storing it in the fridge. It will keep beautifully for up to 3 days, allowing you to enjoy it over several days.
This recipe is carefully formulated to fill a standard 9-inch pie dish right to the top, ensuring a generous and satisfying pie. However, depending on the specific dimensions and depth of your pie dish, you might find yourself with a tablespoon or two of pumpkin pie filling leftover. Don’t waste it! You can bake this small amount in a ramekin or a cupcake liner for a mini crustless pumpkin custard treat.
Parbaking, also known as blind baking, is a crucial step that prevents the dreaded “soggy bottom.” Because the pumpkin custard filling is liquid-based and relatively wet, baking it directly in an unbaked crust can make the bottom crust soft and unappetizing. By partially baking the crust first, you create a barrier that helps it stay crisp. Make sure to use plenty of pie weights to support the crust’s sides and prevent them from slumping. Additionally, brushing the par-baked bottom with a light egg wash after removing the weights helps to seal the crust further, acting as an extra layer of protection against moisture.
Storage & Freezing Instructions
Proper storage is essential to keep your pumpkin custard pie fresh and delicious for as long as possible:
Refrigeration: Once your pumpkin pie has cooled completely to room temperature, store it loosely covered with plastic wrap in the refrigerator. It will remain fresh and delightful for up to 3 days. Ensure it’s fully cooled before covering to prevent condensation, which can make the crust soggy.
Freezing: For longer storage, this pumpkin custard pie freezes beautifully! You can freeze the entire pie or individual slices. To do so, first wrap the pie or slices tightly in plastic wrap, then an additional layer of aluminum foil. Place the well-wrapped slices in an airtight freezer bag or container to protect against freezer burn. It can be frozen for up to 3 months. When you’re ready to enjoy it, thaw the pie completely in the refrigerator overnight before serving. While the texture remains excellent, the crust might lose a tiny bit of its original crispness, but the filling will be just as wonderful.
More Thanksgiving and Fall Recipes to Try Next!
Looking for more delicious recipes to complete your holiday menu or simply celebrate the flavors of fall? Explore these fantastic options:
- Brioche Dinner Rolls
- Apple Crisp Cheesecake
- Cornbread (without buttermilk)
- Pumpkin Bread with Cream Cheese Frosting
Have you made this incredible Pumpkin Custard Pie recipe? Please rate the recipe below and share your experience! Don’t forget to follow me on Instagram @alpineella and Pinterest to see more delicious recipes and baking tips!
Recipe
Pumpkin Custard Pie
Ella Gilbert
Pin Recipe
Save RecipeSaved!
Equipment
-
1 9″ pie plate
Ingredients
Pie Dough
- 3 cups all purpose flour
- 1 teaspoon kosher salt
- 2 tablespoons sugar
- 2 ½ sticks unsalted butter very cold, cubed
- 1 large egg whisked with 1 tbsp water for eggwash
Pumpkin Pie Filling
- 3 large eggs at room temperature
- ½ cup light brown sugar packed
- ½ cup granulated sugar
- 15 oz 100% pure pumpkin puree (not pumpkin pie filling)
- 2 teaspoons vanilla extract
- 2 teaspoons ground cinnamon
- 1 teaspoon ground ginger
- ¼ teaspoon ground nutmeg
- ⅛ teaspoon ground cloves
- pinch ground black pepper
- 1 teaspoon kosher salt
- 1 cup heavy cream full-fat
- ⅓ cup sour cream full-fat, room temperature
Whipped Cream
- 1 cup heavy cream cold, for topping
Instructions
Prepare Pie Dough
-
If making my flaky pie crust, prepare the dough following that recipe until step 6, where it requires chilling.
-
Position an oven rack in the middle of your oven and preheat to 425°F (220°C).
-
Remove the chilled pie dough from the fridge and let it sit at room temperature for 5-10 minutes to soften slightly. On a lightly floured surface, roll out the dough into a circle approximately 12-13 inches in diameter (about an inch wider than your 9-inch pie plate). Gently lift the dough and carefully place it into your pie dish. Alternatively, you can loosely roll the dough around your rolling pin and unroll it over the pie plate.
-
Allow the dough to gently slump into the plate, then firmly press it onto the bottom and especially into the crease where the side and bottom of the pie plate meet. This is crucial to prevent the crust from slumping during baking.
-
Trim any excess dough, leaving about a 1-inch overhang. Tuck this overhanging dough underneath itself to create a thicker edge. Use your fingers or a fork to firmly press and crimp the edges as desired. Firmly crimping into the pie plate helps the crust hold its shape and prevents excessive shrinking.
-
Place the prepared pie crust (in its dish) into the freezer for 10 minutes. While it chills, gather any leftover dough scraps (or your second crust if you made a double recipe). Roll out these scraps and use small cookie cutters or pie crust cutters to create decorative shapes. Brush these cutouts with the whisked egg (from the ingredients list, prepared for an egg wash) – don’t discard any remaining egg wash, as you’ll need it later for the pie! Place the pie crust cutouts on a small baking sheet.1 large egg (for egg wash)
-
Remove the pie crust from the freezer and use a fork to prick the bottom of the dough several times. This creates small vents, preventing the bottom crust from puffing up excessively during baking.
-
Line the inside of the chilled pie dough with two large pieces of aluminum foil, forming an “X” shape. Ensure the foil extends over the crimped edges of the crust. This helps to protect the edges from over-browning and makes it easier to lift out the weights later.
-
Fill the foil-lined pie plate generously with pie weights, dried beans, or granulated sugar. Bake on the middle rack of your preheated 425°F (220°C) oven for 15-20 minutes, or until the edges begin to turn a light golden color. If you are baking pie crust cookies, place their baking sheet on the rack just below the pie. Carefully remove the pie from the oven, lift out the foil and pie weights, and remove the pie crust cookies to cool. Reduce the oven temperature to 350°F (175°C) and return the pie crust (without weights or foil) to the oven. Bake for an additional 10 minutes until it achieves a light golden brown color. Remove the par-baked crust from the oven and, while it’s still warm, brush the bottom with any remaining egg wash to create a seal against moisture. Let the crust cool completely on a wire rack before filling.
Prepare Pumpkin Pie Filling
-
Adjust your oven rack to the center position and preheat the oven to 375°F (190°C).
-
In a large mixing bowl, whisk together the room temperature eggs, light brown sugar, granulated sugar, and vanilla extract until smooth. Add the 100% pure pumpkin puree, ground cinnamon, ginger, nutmeg, cloves, a pinch of black pepper, and kosher salt. Whisk vigorously until the mixture is fully combined and completely smooth. Finally, whisk in the heavy cream and sour cream until just incorporated. Avoid over-whisking once the dairy is added.3 large eggs, ½ cup light brown sugar, ½ cup granulated sugar, 15 oz pumpkin puree, 2 teaspoons vanilla extract, 2 teaspoons ground cinnamon, 1 teaspoon ground ginger, ¼ teaspoon ground nutmeg, ⅛ teaspoon ground cloves, pinch ground black pepper, 1 teaspoon kosher salt, 1 cup heavy cream, ⅓ cup sour cream
-
Carefully pour the creamy pumpkin filling into the cooled, par-baked pie crust. Gently tap the pie dish on the counter a few times to encourage any air bubbles to rise and release, helping to prevent cracks in the finished pie.
-
Bake for 45-50 minutes. The pie is done when the edges are set and slightly puffed, but the very center (about a 1-2 inch circle) still has a slight jiggle when gently shaken. Depending on your oven, you might need an additional 5 or 10 minutes, so keep a close eye on it to avoid overbaking, which can lead to cracks.
-
Once baked, remove the pie from the oven and let it cool completely on a wire rack to room temperature. This slow cooling process is vital for the custard to set properly. After it’s cooled, transfer the pie to the refrigerator and chill for at least 2 hours, or preferably overnight, before slicing and serving. This ensures a perfectly firm, sliceable custard.
Whipped Cream Topping
-
In the bowl of a stand mixer fitted with the whisk attachment, or using a large bowl and a hand mixer, whisk the cold heavy cream until stiff peaks form. For extra flavor, you can add a teaspoon of vanilla extract and a tablespoon of powdered sugar (optional). Generously dollop the whipped cream on top of the chilled pie, or add a dollop to each individual slice just before serving. Garnish with those charming pie crust cookies for a beautiful presentation!1 cup heavy cream
Video
Notes
Salt Conversion: If you don’t have kosher salt on hand, you can substitute it with fine table salt. Remember to halve the amount of salt called for in the recipe when using fine salt, as it’s saltier by volume. (e.g., 1 teaspoon kosher salt = ½ teaspoon fine salt).
Pie Dough Yield: The homemade pie crust recipe I link to makes enough dough for two pie crusts. For this pumpkin custard pie, you will only need one crust. You can either halve the pie dough recipe or save the second crust (well-wrapped in plastic and foil, then frozen) for another delicious pie or tart later on! If you make just one pie crust, you should have enough scraps leftover to create adorable pie crust cookies.
Pie Dish Size: This recipe is specifically designed for a regular 9-inch pie dish. However, if a deep-dish pie plate is all you have available, feel free to use it. Just note that the filling may not completely fill a deep-dish plate to the very brim, but it will still bake beautifully.
Leftover Storage: To keep your delicious pumpkin custard pie fresh, cover any leftovers tightly with plastic wrap or aluminum foil and store them in the refrigerator. It will stay wonderfully fresh for up to 5 days, making it a perfect make-ahead dessert!
Nutrition
