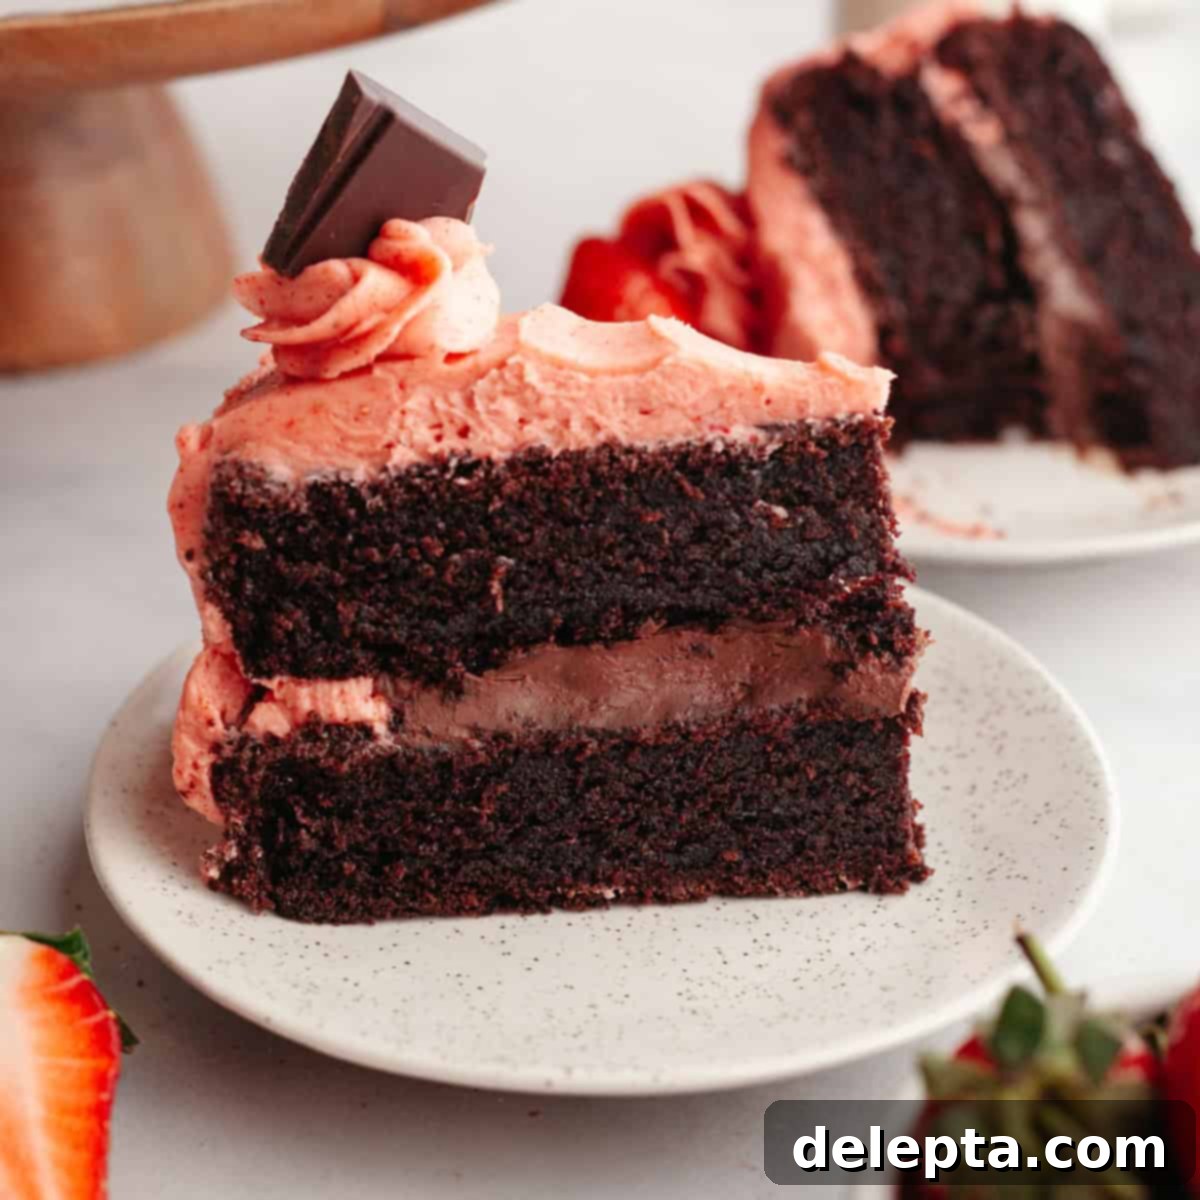
The Ultimate Chocolate Covered Strawberry Cake: A Decadent Homemade Delight
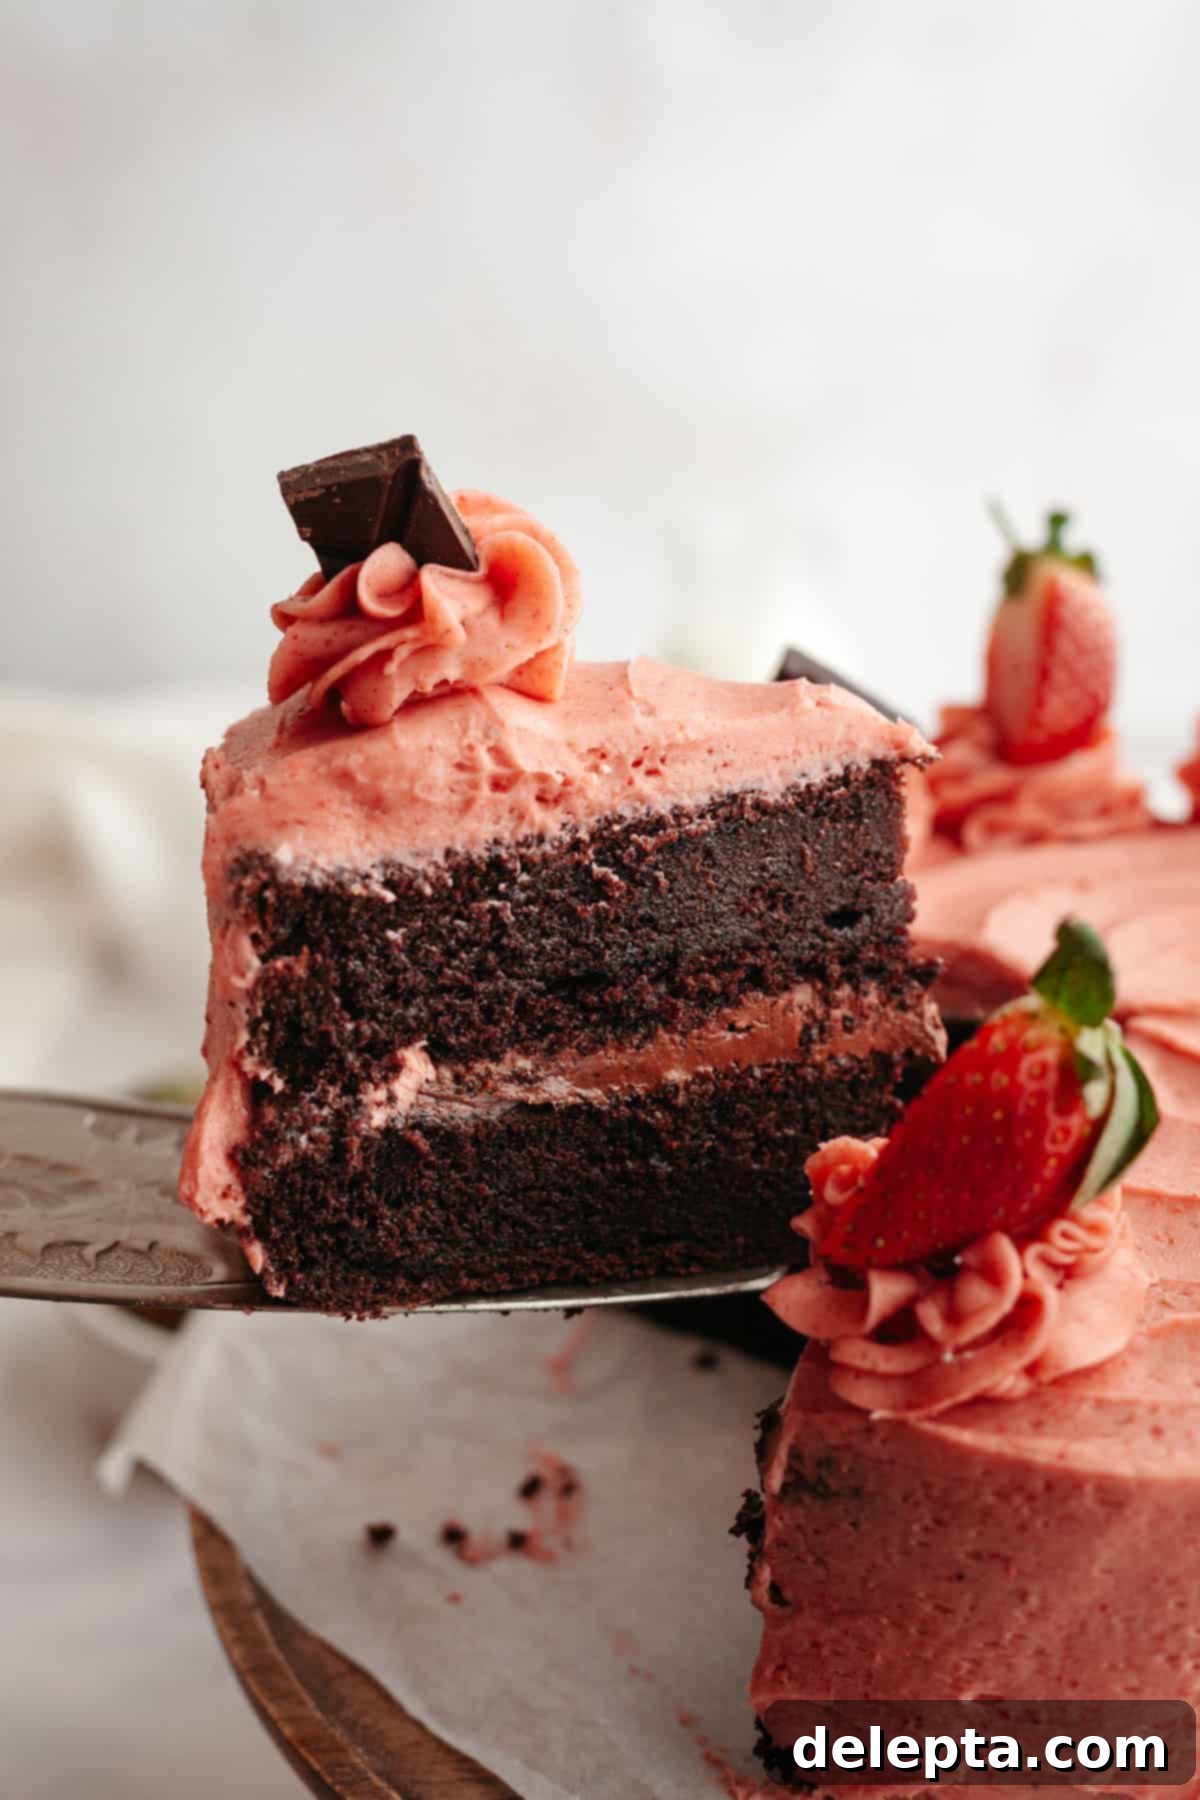
Welcome to the world of exquisite desserts, where classic flavors unite in a symphony of taste and texture! If you’ve ever dreamt of a luscious chocolate-covered strawberry in cake form, your dream has just come true. This isn’t just any cake; it’s the Ultimate Chocolate Covered Strawberry Cake, a true celebration of two beloved sweet treats. Imagine sinking your fork into incredibly moist, rich chocolate cake layers, generously slathered with a vibrant, naturally pink strawberry buttercream, and discovering a hidden treasure: a silky, rich chocolate strawberry ganache filling. This decadent dessert is a masterpiece designed for every chocolate and strawberry enthusiast, promising an unforgettable experience with every single bite. And the best part? Despite its show-stopping appearance, this recipe is surprisingly straightforward. You won’t even need a stand mixer for the cake layers themselves, and all components can be prepared in advance, making it perfect for both seasoned bakers and ambitious beginners.
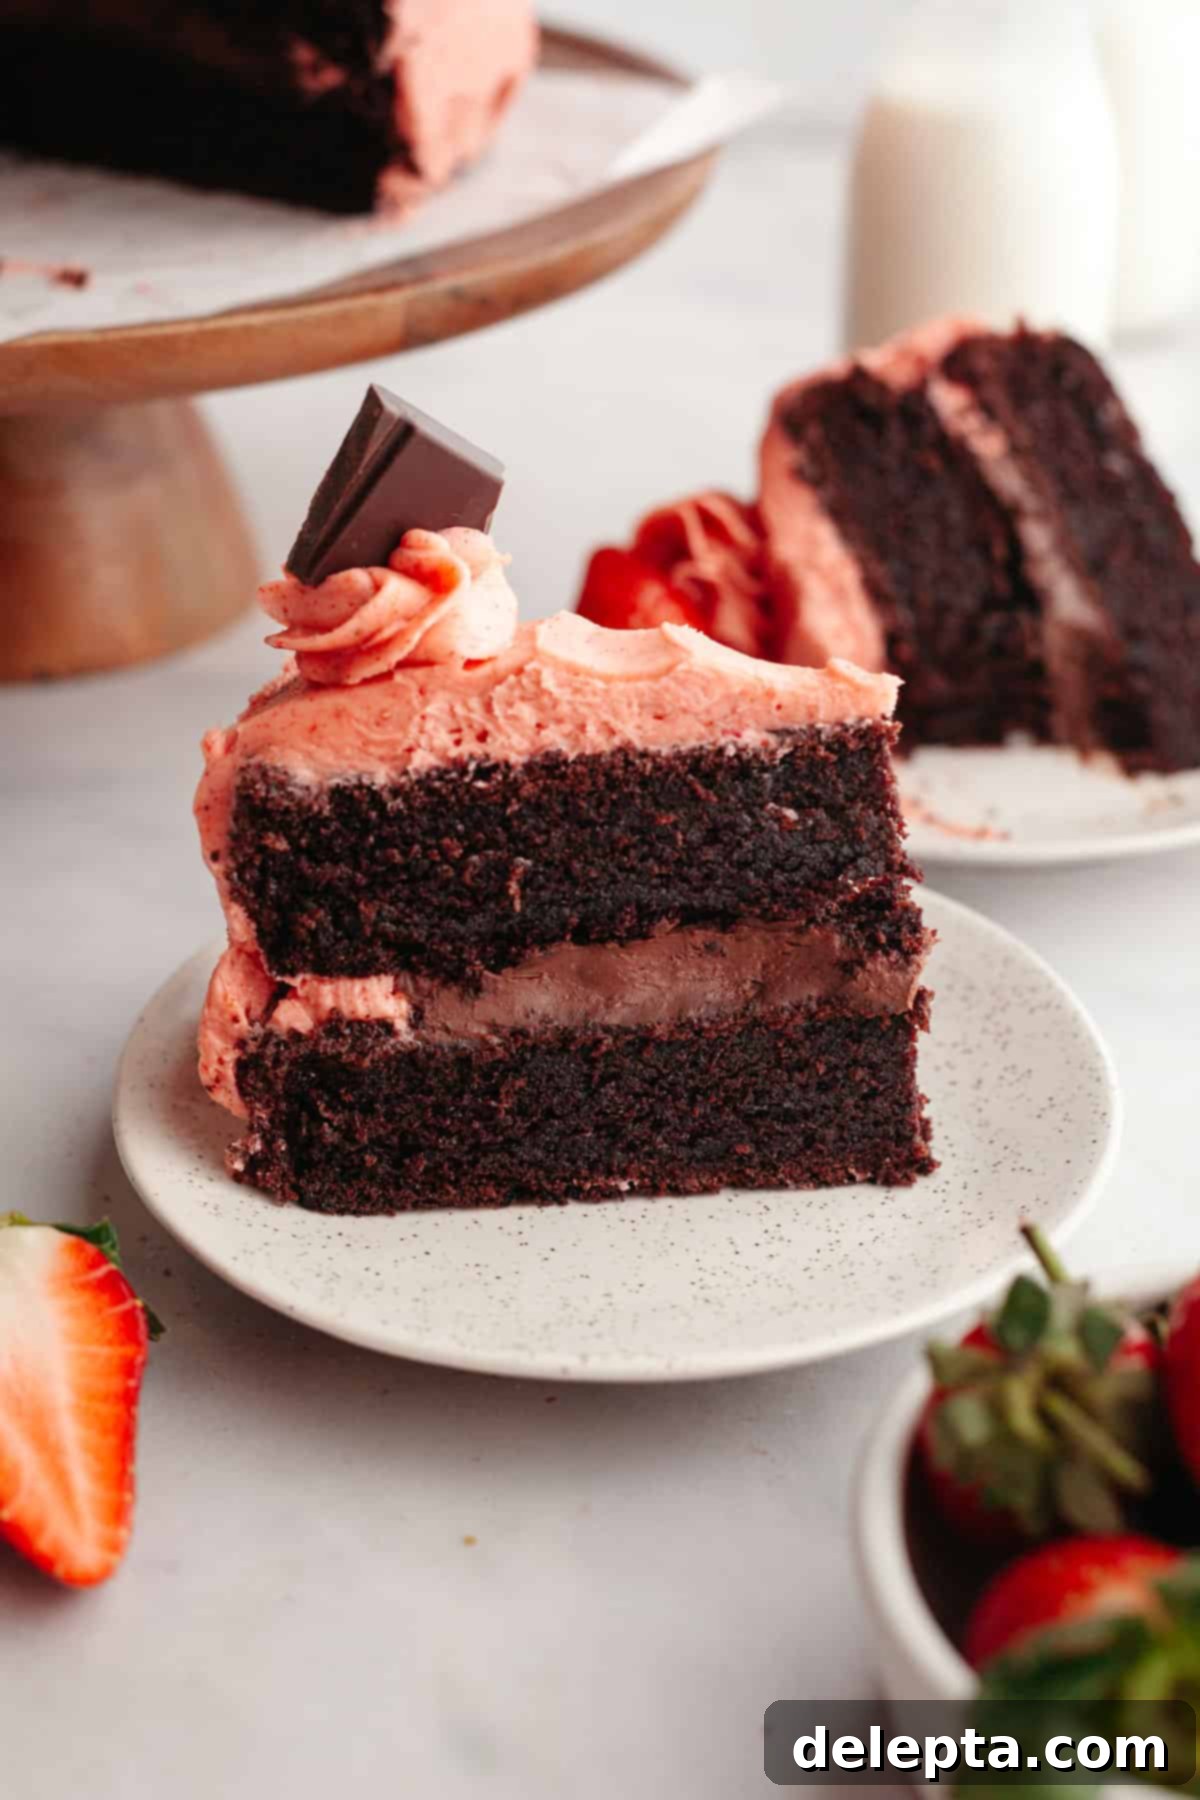
This extraordinary chocolate covered strawberry cake is a delightful fusion, much like if my popular chocolate cake with strawberry filling and my delightful vanilla cake with strawberry frosting met, fell in love, and created something truly magical. It combines the best elements of both worlds, resulting in a dessert that’s greater than the sum of its parts.
At its heart are my signature extra moist, dark chocolate cake layers, crafted using a tried-and-true recipe that guarantees a perfect crumb every time. These rich layers are then enveloped in a luxurious American buttercream, which not only boasts a luscious texture but also achieves its gorgeous, natural pink hue and intense strawberry flavor from the clever addition of freeze-dried strawberries.
But the real surprise lies within: a velvety strawberry chocolate ganache. This innovative filling is created with pureed fresh strawberries, a technique thoughtfully adapted from Dominique Ansel’s acclaimed book, ‘Everyone Can Bake’. It’s a method I previously explored and adored in my raspberry chocolate cake, and it works absolute wonders here, adding an incredible depth of fruity chocolate flavor.
If you’re looking to expand your repertoire of sophisticated chocolate layer cakes, don’t miss out on my equally impressive chocolate cake with chocolate ganache for pure chocolate bliss, or my elegant chocolate cake with vanilla frosting for a classic combination. Each recipe offers a unique take on everyone’s favorite ingredient!
Why I Can’t Get Enough of This Amazing Cake Recipe!
- Irresistible Flavor Fusion: This cake captures the very essence of a chocolate-covered strawberry in an elevated, cake-form experience. It’s the harmonious dance between deep, dark chocolate and bright, sweet strawberry that makes this combination a timeless favorite. Each element of this cake is crafted to maximize this iconic flavor profile. The chocolate cake layers are intensely cocoa-rich, providing a robust base. The strawberry buttercream, infused with natural freeze-dried strawberries, delivers a fresh, fruity sweetness. But the real game-changer is the strawberry chocolate ganache — a velvety filling that combines the best of both worlds, creating a truly luxurious and surprising burst of flavor in the center. It’s a multisensory delight, a treat for both the eyes and the palate that keeps you coming back for more.
- Remarkably Easy & Flexible: Don’t let the elegant appearance of this layer cake fool you; it’s designed with ease in mind. While layer cakes can sometimes seem daunting, I’ve perfected this recipe to be approachable for bakers of all skill levels. The chocolate cake itself is a simple “whisk-together” affair, requiring no fancy equipment beyond basic kitchen tools. What truly sets this recipe apart is its make-ahead potential. You can prepare the cake layers, the rich ganache, and even the vibrant buttercream several days in advance, allowing you to spread out the baking process and minimize stress on assembly day. This flexibility makes it an ideal dessert for special occasions, ensuring you can enjoy the process as much as the final stunning result.
Gather Your Essential Ingredients!
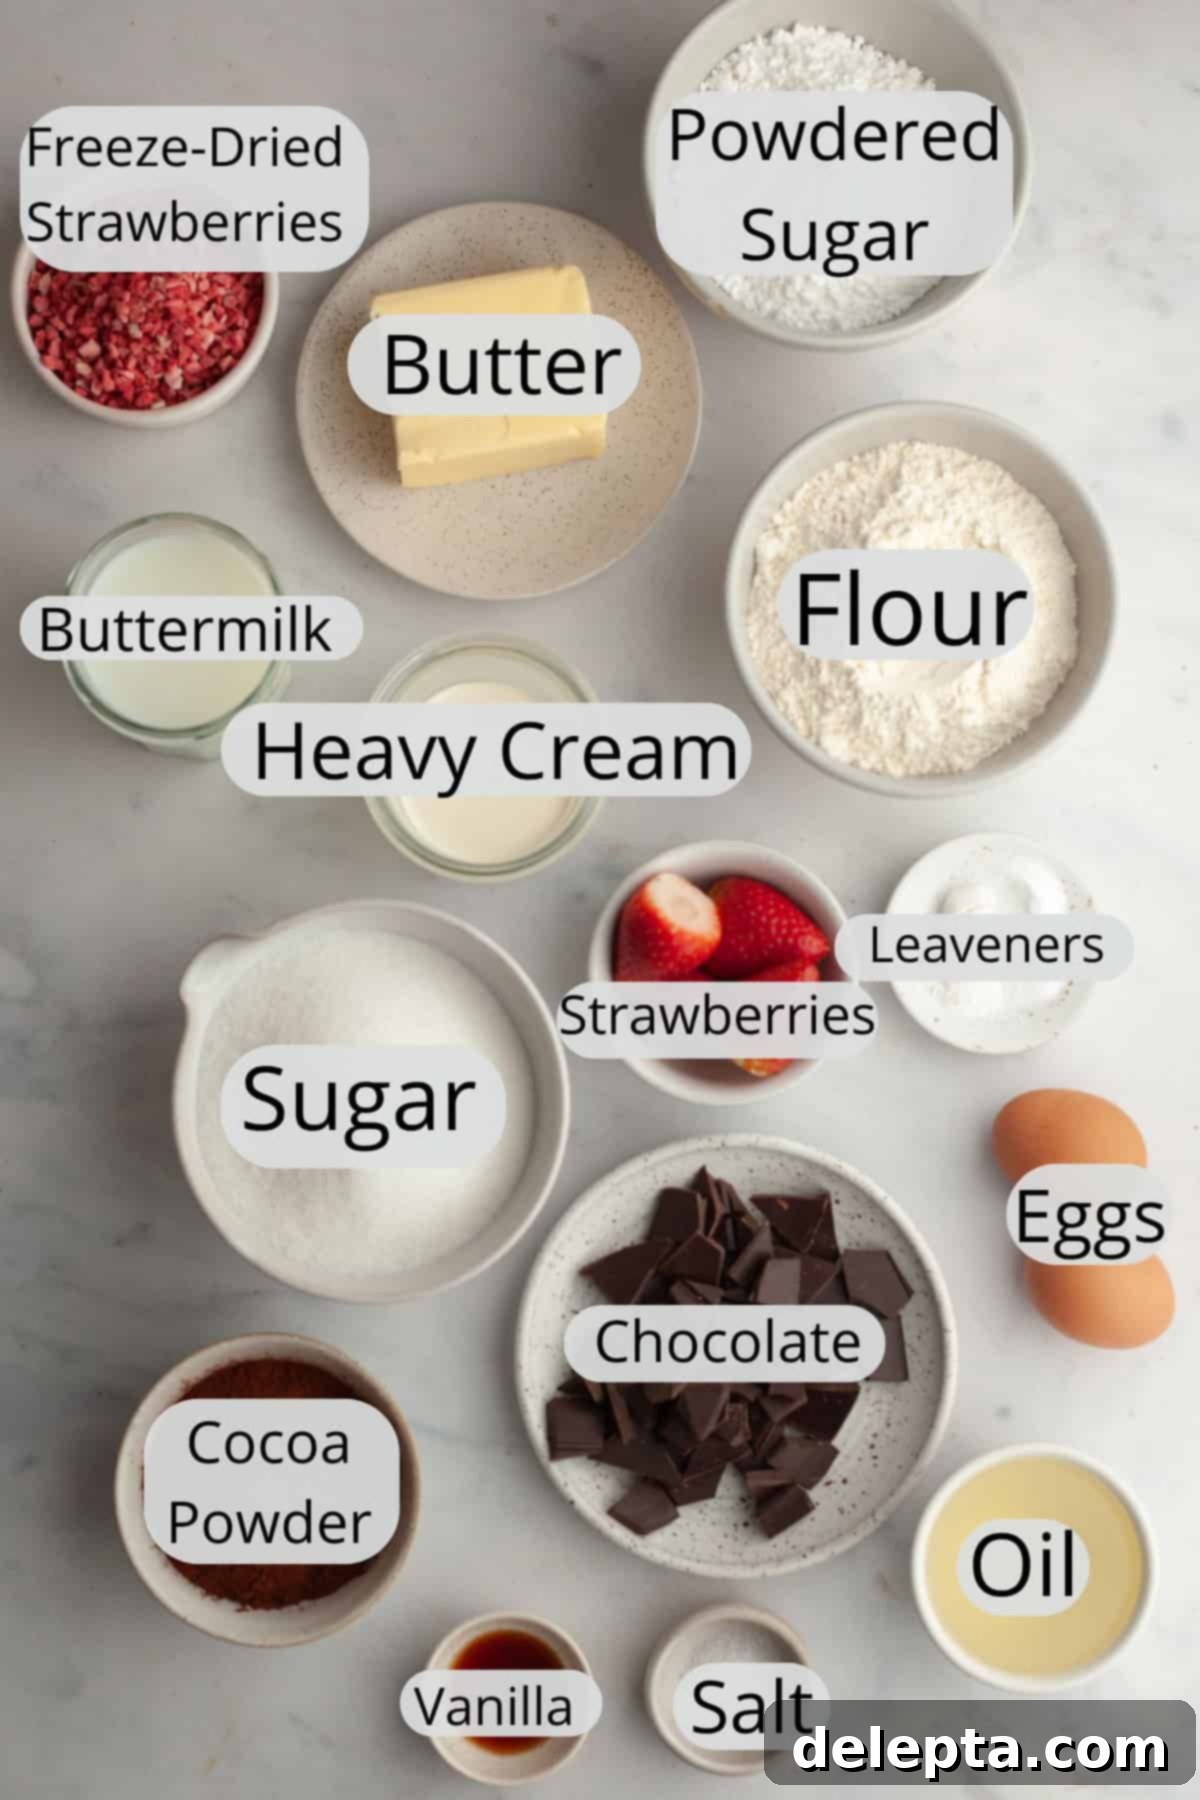
- Cocoa Powder: For this particular chocolate cake, I strongly recommend using Dutch-processed cocoa powder. There’s a significant difference between Dutch-processed and natural cocoa powder, primarily in their acidity. Natural cocoa is acidic and reacts with baking soda to create lift, while Dutch-processed cocoa has been treated with an alkali to neutralize its acidity. This treatment results in a darker color, a smoother, less bitter flavor, and it reacts primarily with baking powder (or with baking soda when an additional acid, like buttermilk, is present, as in this recipe). Using Dutch-processed cocoa here contributes to the cake’s deep, rich chocolate flavor and its beautiful dark hue. If you’re unsure which type you have, simply check the ingredient label – if you see “processed with alkali” or “acidity regulators,” you’ve got Dutch-processed!
- Neutral Oil: The secret to achieving an incredibly moist and tender cake lies in using oil. Unlike butter, which is a solid fat, oil remains liquid at room temperature, contributing to a consistently soft crumb. It’s crucial to select a neutral-flavored oil, such as sunflower oil, vegetable oil, or canola oil, to ensure it doesn’t impart any unwanted strong tastes that would detract from the delicate chocolate and strawberry flavors.
- Buttermilk: Another cherished secret ingredient in my recipe development is buttermilk! Its inherent acidity plays a dual role: it reacts with the baking soda to create a beautifully soft and fluffy cake texture, and it also contributes a subtle tangy flavor that perfectly balances the sweetness of the chocolate and strawberry. If you don’t have buttermilk on hand, don’t worry, a simple homemade substitute works just as well (see our substitutions section below).
- Unsalted Butter: Butter is indispensable for both the luxurious strawberry buttercream and a touch in the strawberry ganache. In the buttercream, it provides richness and structure. In the ganache, a small amount of room temperature butter helps to create an incredibly smooth, glossy finish and adds extra stability, ensuring your filling holds its shape beautifully. Using unsalted butter gives you complete control over the overall saltiness of your dessert.
- Heavy Cream: This rich dairy product is the foundation of any good ganache. When combined with chocolate in equal parts, heated heavy cream melts the chocolate and creates a stable, emulsified base. For both the strawberry chocolate ganache and the buttercream, heavy cream adds a creamy texture and richness, ensuring a truly decadent result.
- Good Quality Baking Chocolate: Please, for the love of delicious cake, avoid chocolate chips! While convenient for cookies, chocolate chips contain emulsifiers designed to help them maintain their shape when baked, which means they don’t melt as smoothly or evenly as true baking chocolate. For the best ganache texture and flavor, opt for a high-quality baking chocolate bar, preferably one with a cocoa percentage between 65-72%. This will give you a rich, deep chocolate flavor that perfectly complements the strawberries.
- Freeze-Dried Strawberries: This ingredient is a total game-changer for the buttercream! Using freeze-dried strawberries allows us to achieve two fantastic results: a gorgeous, natural pink color without any artificial dyes, and an intense, concentrated strawberry flavor that fresh or frozen strawberries simply can’t match in a frosting. Freeze-dried fruits have had all their moisture removed, making them ideal for incorporating into frostings without altering the consistency. Remember, frozen strawberries are not a substitute here!
Need a Substitute? Clever Swaps for Your Cake!
Life happens, and sometimes you don’t have every ingredient on hand, or you just want to tweak the recipe. Here are some excellent substitution ideas to help you create your perfect chocolate covered strawberry cake:
- Chocolate Filling Alternatives: If you’re short on time, don’t have the ingredients for ganache, or simply prefer a different filling, there are several delicious options. You could opt to fill the cake layers with more of the delightful strawberry buttercream for an extra creamy treat. Alternatively, a good quality strawberry jam or my homemade strawberry cake filling would provide a lovely fruity contrast. Each option offers a unique texture and flavor experience!
- Buttermilk Substitute: No buttermilk? No problem! You can easily swap out the buttermilk for an equal amount of full-fat sour cream or plain yogurt for a similar tangy effect and tender crumb. Another quick hack is to make your own “soured milk”: simply add 1 tablespoon of lemon juice or white vinegar to 1 cup of regular milk and let it sit for about 5 minutes until it slightly curdles.
- Other Freeze-Dried Fruits: Feel free to experiment with different flavor profiles! If strawberries aren’t your favorite, or you just want to try something new, you can easily swap out the freeze-dried strawberries for other freeze-dried fruits. Freeze-dried raspberries, blueberries, or even cherries would create a beautiful color and a wonderfully intense fruity flavor in the buttercream.
How to Make This Decadent Chocolate Covered Strawberry Cake
Creating this stunning layer cake is a rewarding process, and I’ll walk you through each step with helpful tips to ensure your success. Remember, accurate measurements and proper technique are key to achieving perfect results.
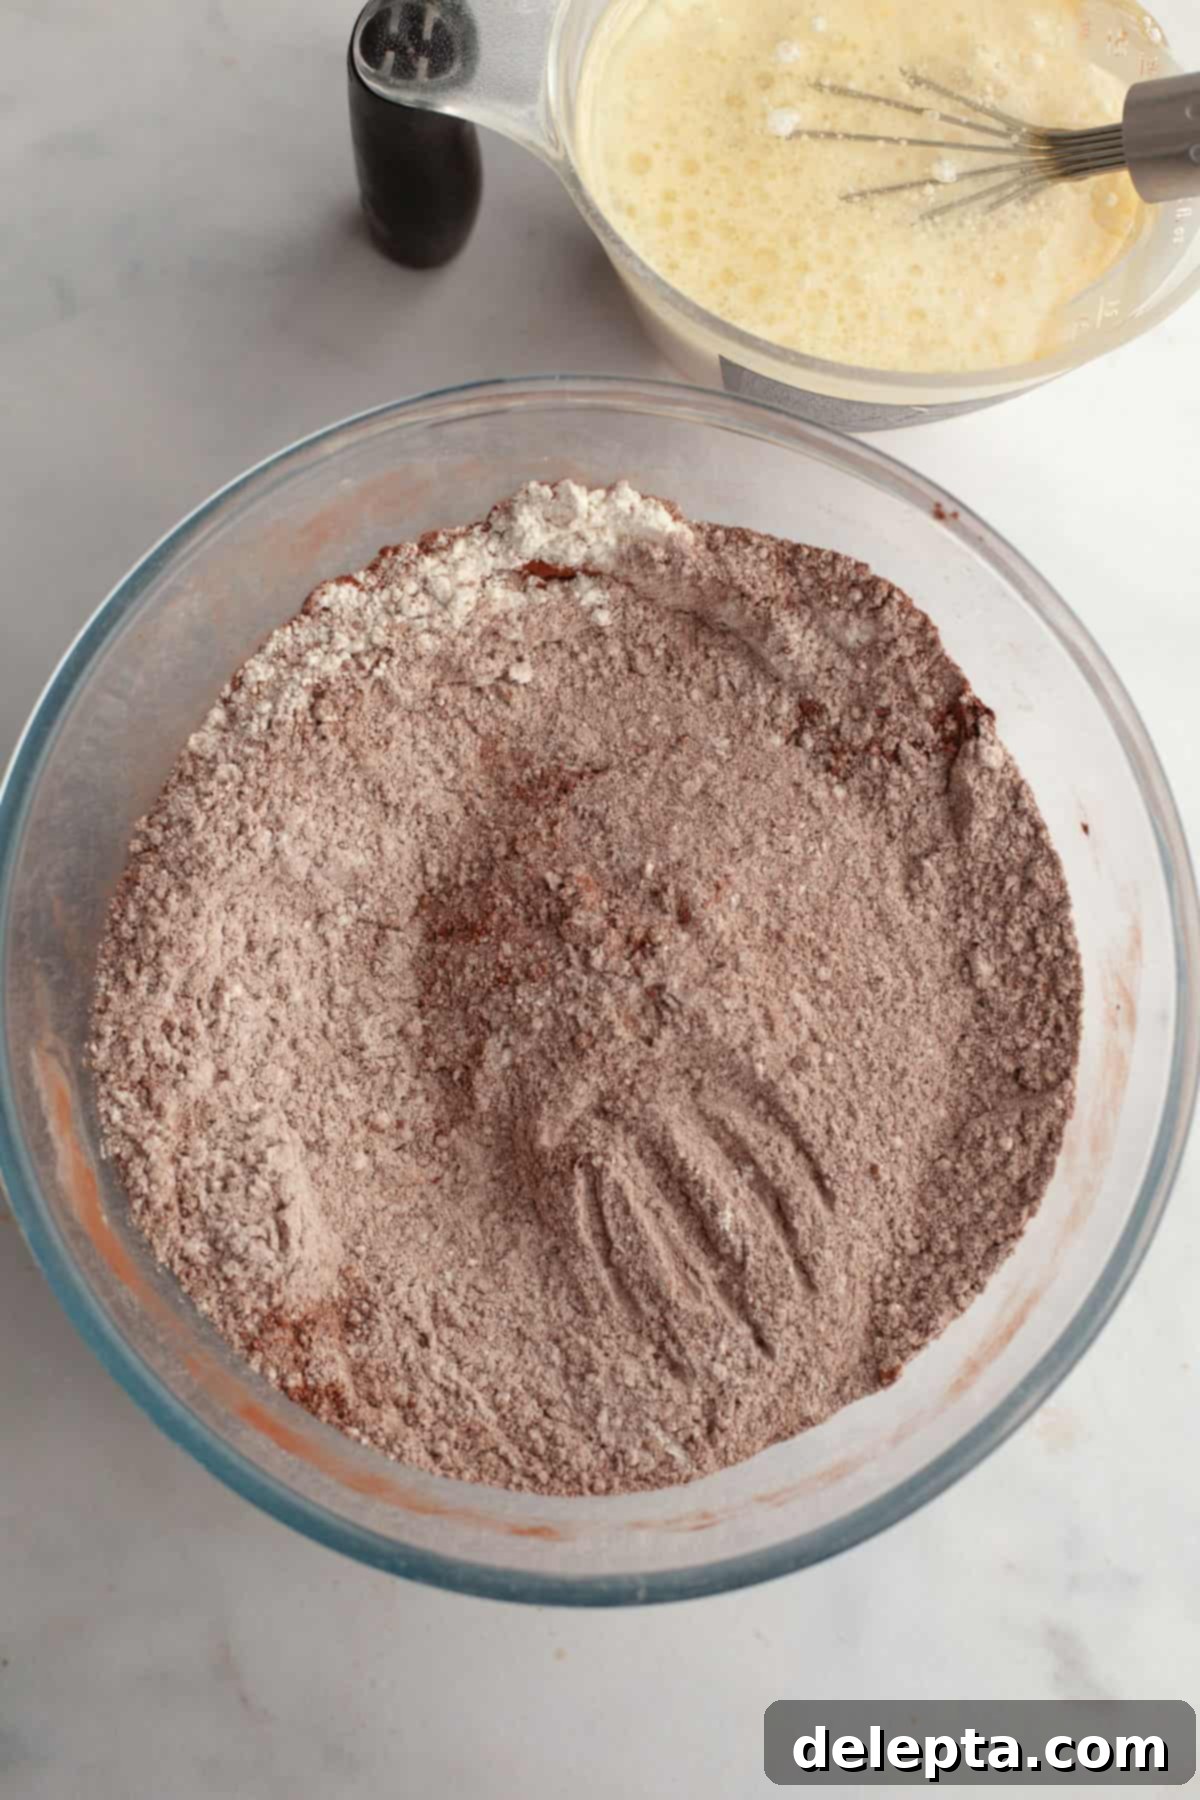
- Step 1: Prepare Dry Ingredients. Begin by preheating your oven to 350ºF (175ºC) and preparing two 8-inch baking pans. Grease them thoroughly and line the bottoms with parchment paper to prevent sticking – this ensures your beautiful cake layers release easily. In a large mixing bowl, meticulously whisk together your dry ingredients: all-purpose flour, cocoa powder, granulated sugar, kosher salt, baking soda, and baking powder. Whisking thoroughly ensures all the leavening agents and flavorings are evenly distributed, preventing any lumps or pockets of unmixed ingredients.
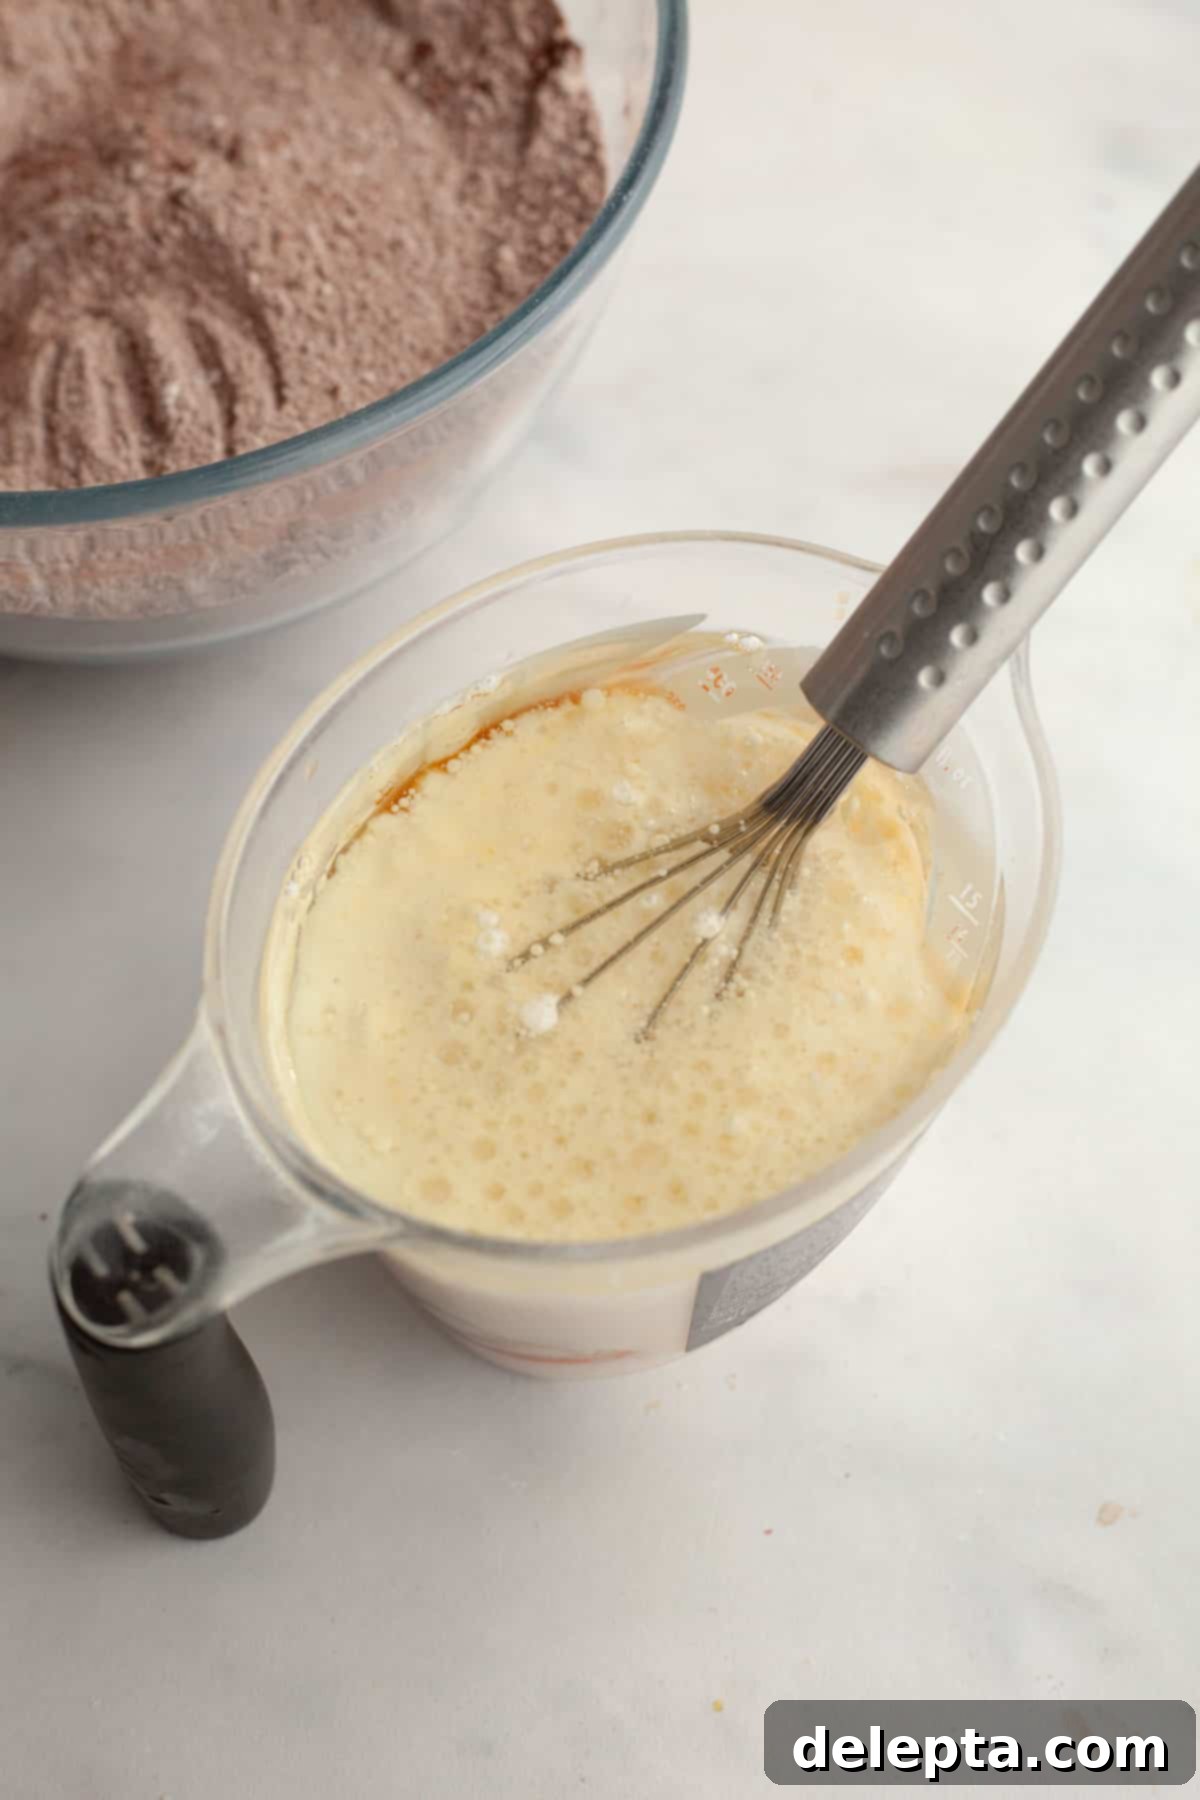
- Step 2: Combine Wet Ingredients. In a separate medium bowl or a large jug, combine all your wet ingredients: the room-temperature eggs, buttermilk, neutral oil, and vanilla extract. Whisk these together until the mixture is smooth and well-incorporated. Ensure your eggs and buttermilk are at room temperature, as this helps them emulsify better with the oil and mix more evenly into the dry ingredients, leading to a smoother batter and a more tender cake.
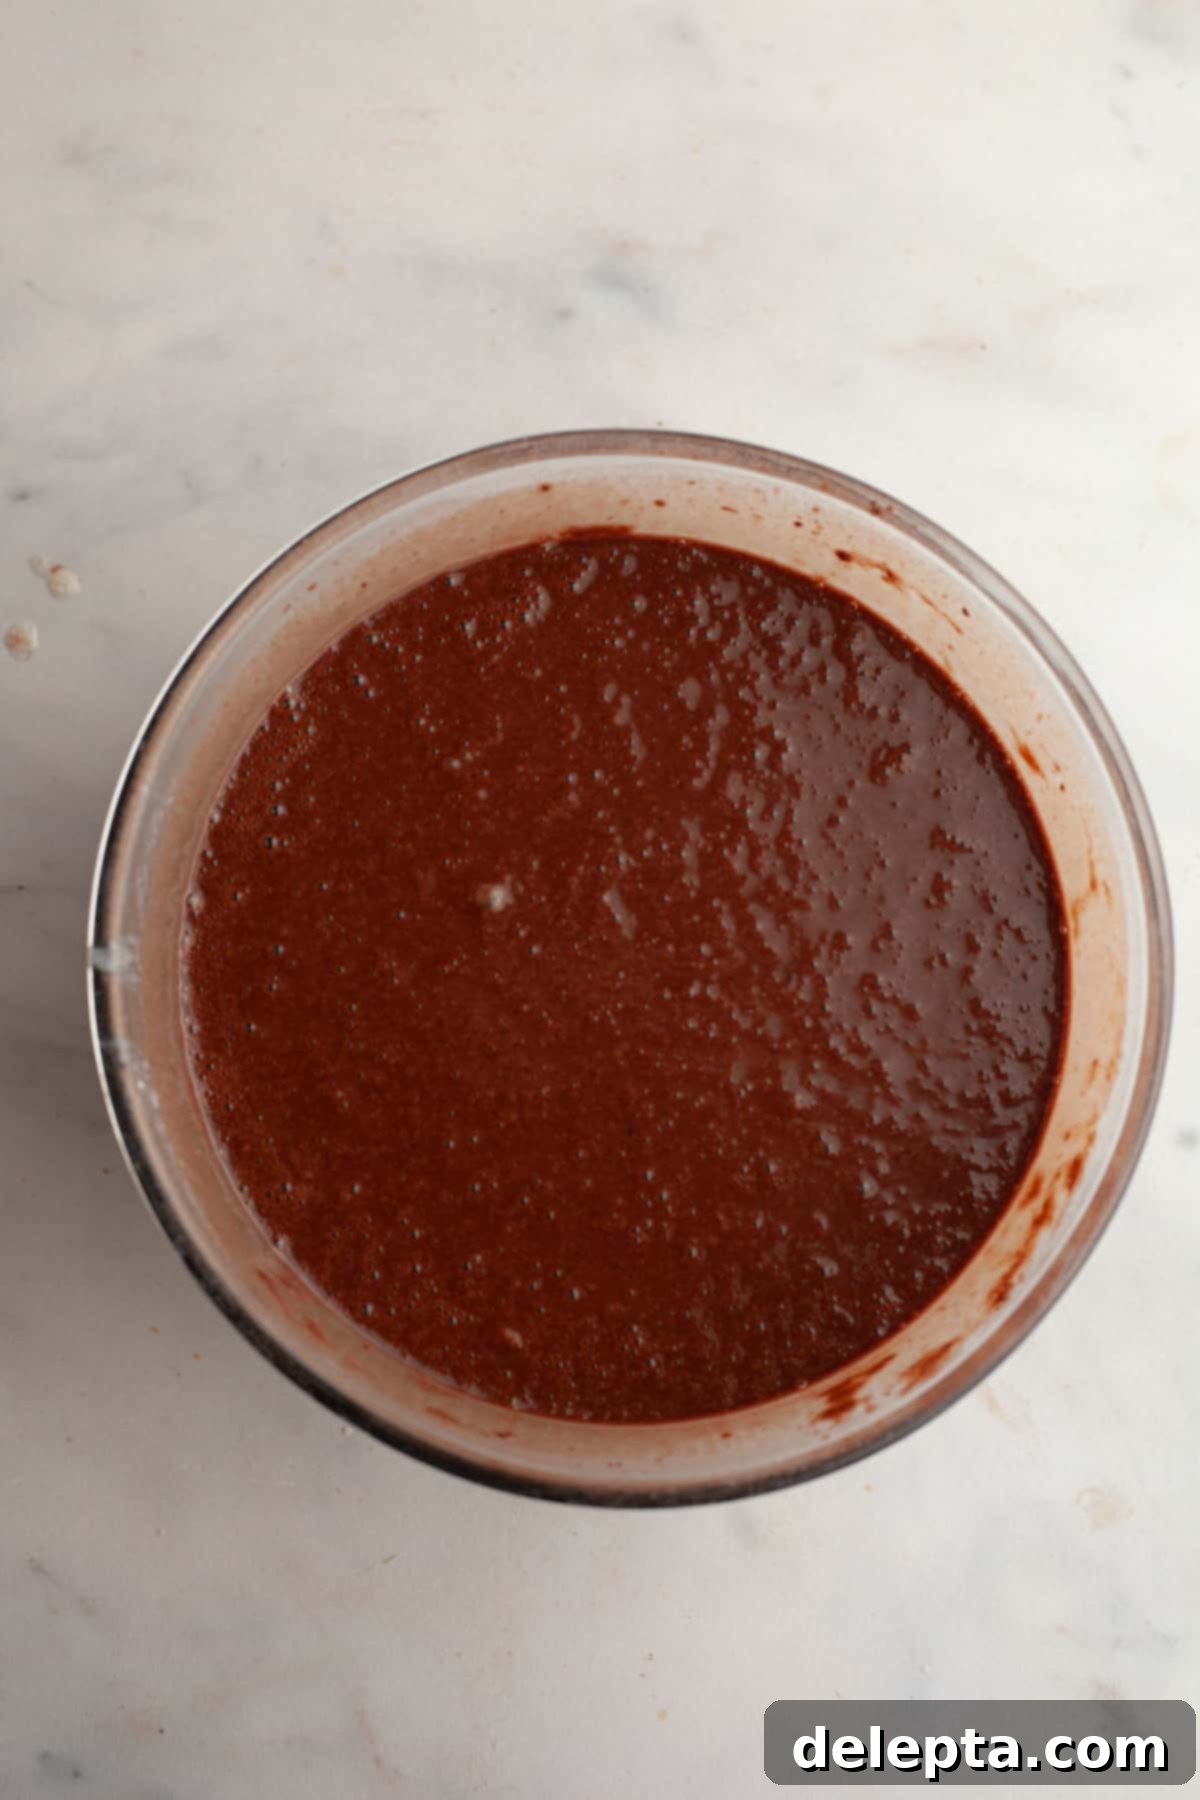
- Step 3: Mix Batter. Pour the combined wet ingredients into the bowl with your whisked dry ingredients. Mix gently until *just* combined. It’s crucial not to overmix here, as overmixing can develop gluten, leading to a tough and dry cake. Continue by carefully pouring in the hot water. Mix until the batter is smooth; it will be quite thin, which is perfectly normal for this recipe, and you’ll have a generous amount of delicious chocolate batter!
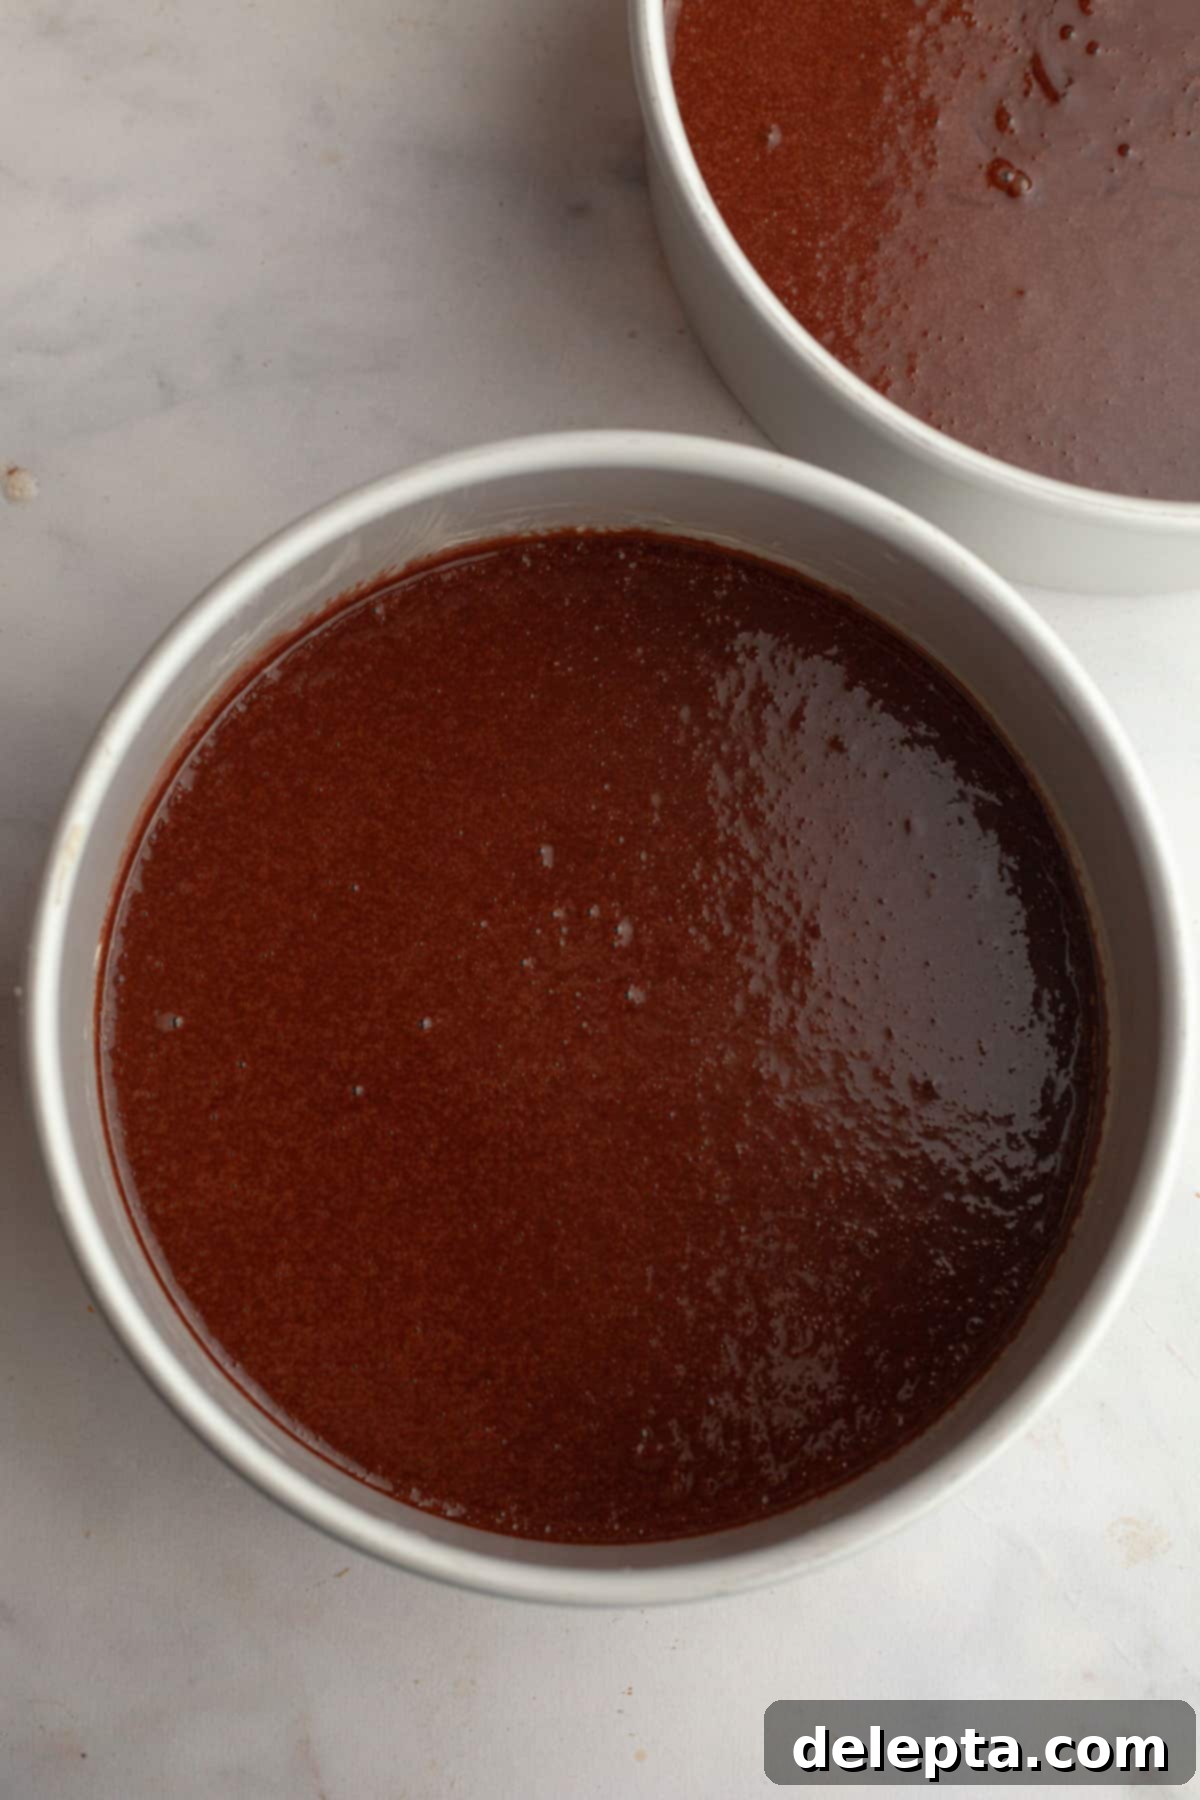
- Step 4: Bake & Cool. Divide the cake batter evenly between your two prepared 8-inch cake pans. Bake in your preheated oven for approximately 35-40 minutes. You’ll know the cakes are ready when a toothpick inserted into the center comes out clean or with just a few moist crumbs attached. Once baked, allow the cakes to cool in their pans for about 10 minutes before carefully inverting them onto a wire cooling rack. It’s absolutely vital to let the cake layers cool completely before attempting to frost or assemble them, as even a slightly warm cake will melt your beautiful buttercream.
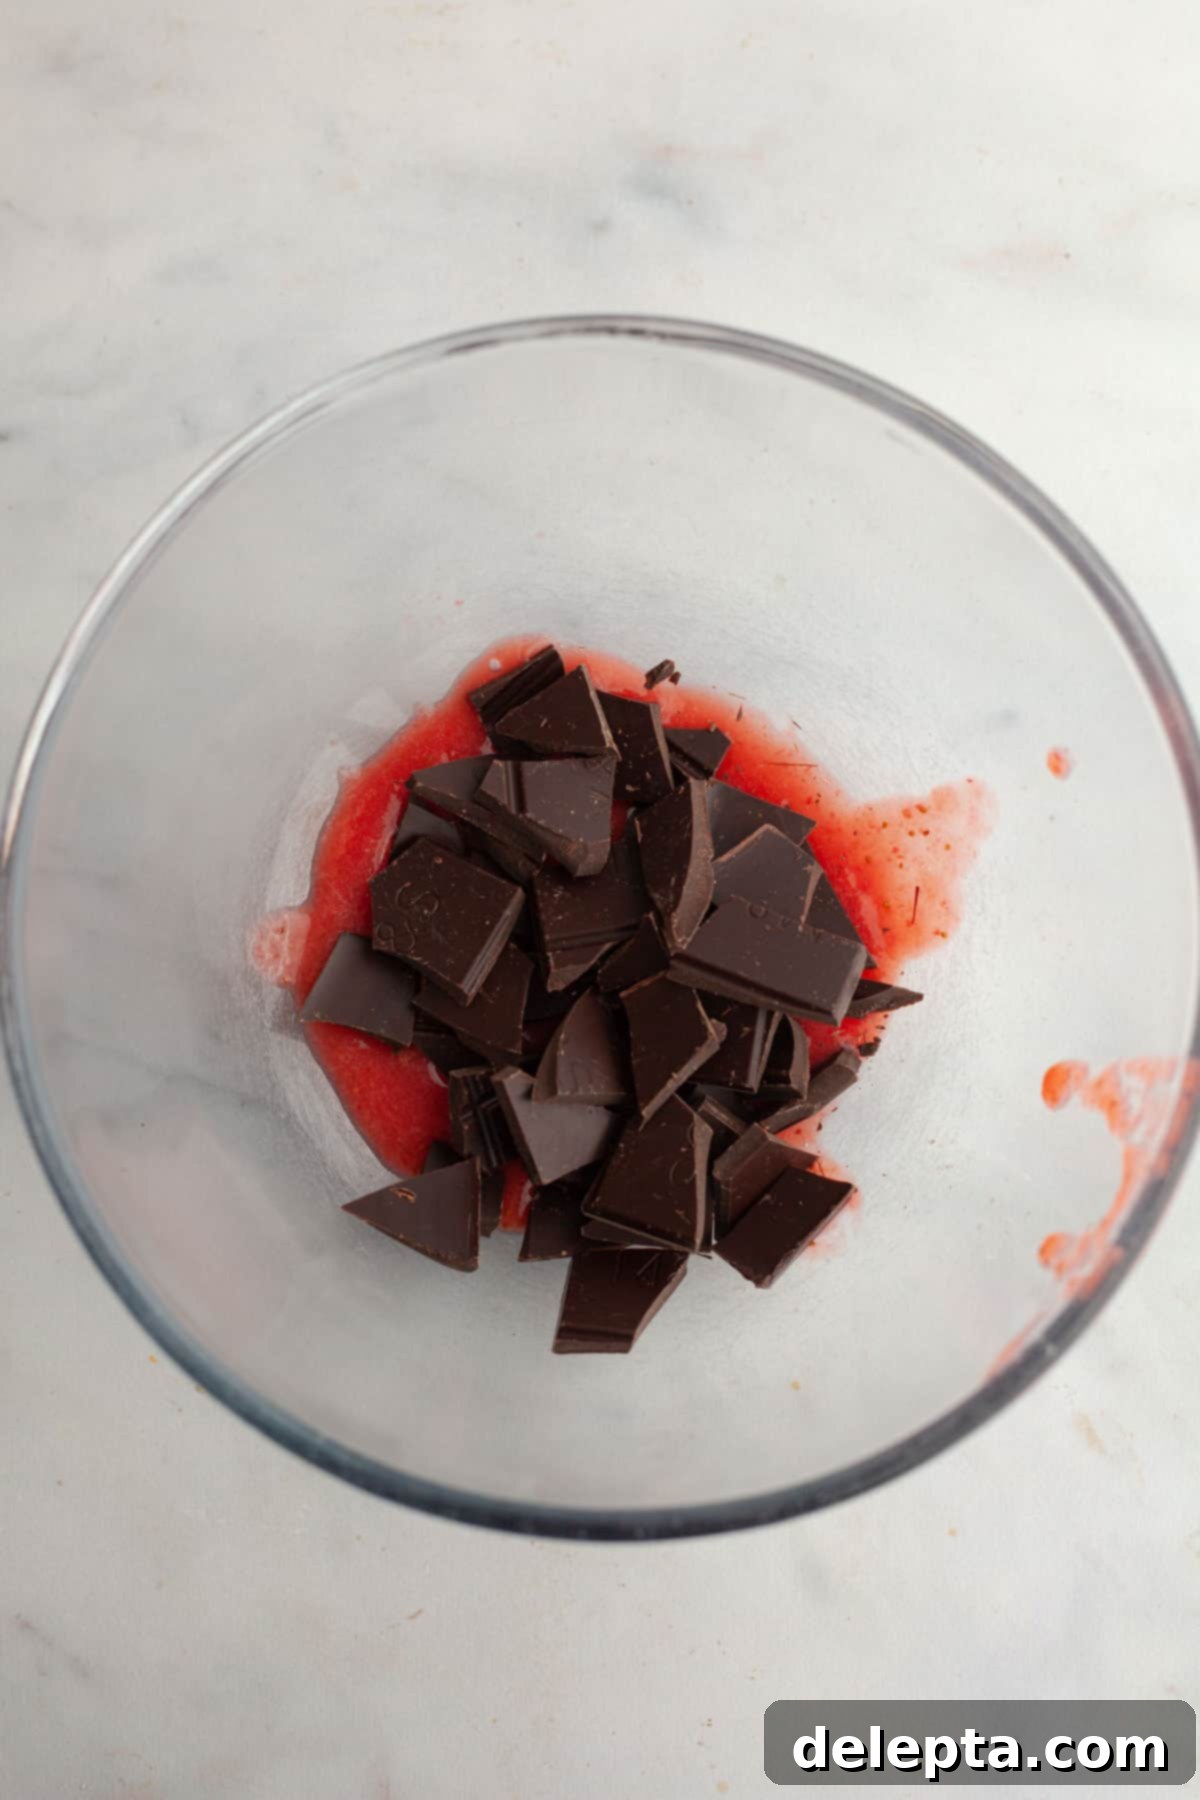
- Step 5: Prepare Strawberry Puree and Chocolate. While your cake layers are cooling, get started on the luscious strawberry ganache. Begin by pureeing fresh strawberries in a blender or food processor until they are completely smooth. For a truly silky ganache, strain this strawberry puree through a fine-mesh strainer into a large bowl to remove any tiny seeds. This step is optional but highly recommended for a superior texture. Add your finely chopped good quality baking chocolate to the bowl with the strained strawberry puree.
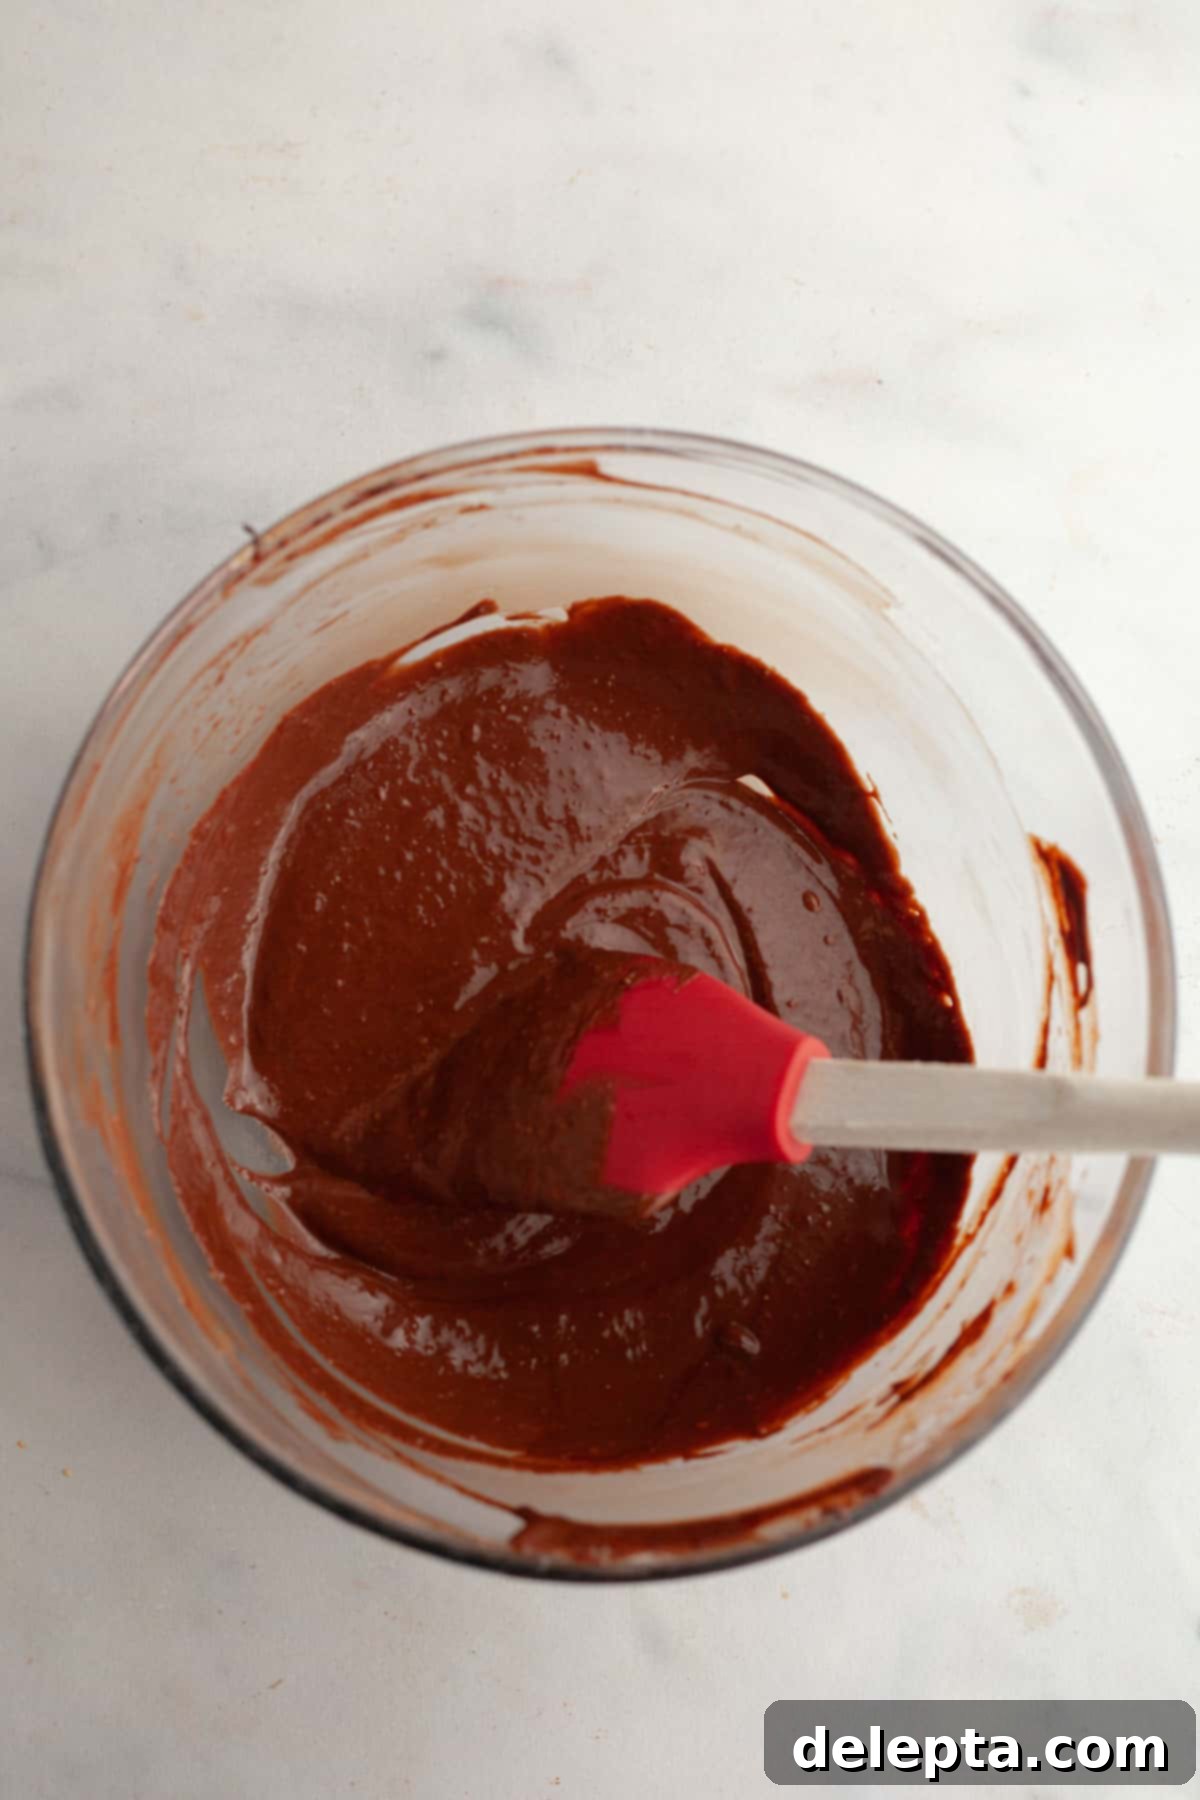
- Step 6: Make the Ganache. In a small saucepan set over medium-low heat on the stove, gently bring the heavy cream to a simmer. Be careful not to let it boil, as this can scorch the cream. Once simmering, immediately pour the hot cream over the chopped chocolate and strawberry puree mixture in the bowl. Let it sit undisturbed for a few minutes – this allows the heat from the cream to melt the chocolate evenly. Then, gently whisk the mixture until it becomes completely smooth and glossy. Finally, add the room-temperature butter and whisk once more until fully incorporated. Allow the ganache to sit at room temperature until it firms up to a spreadable consistency, which may take some time depending on your kitchen’s temperature.
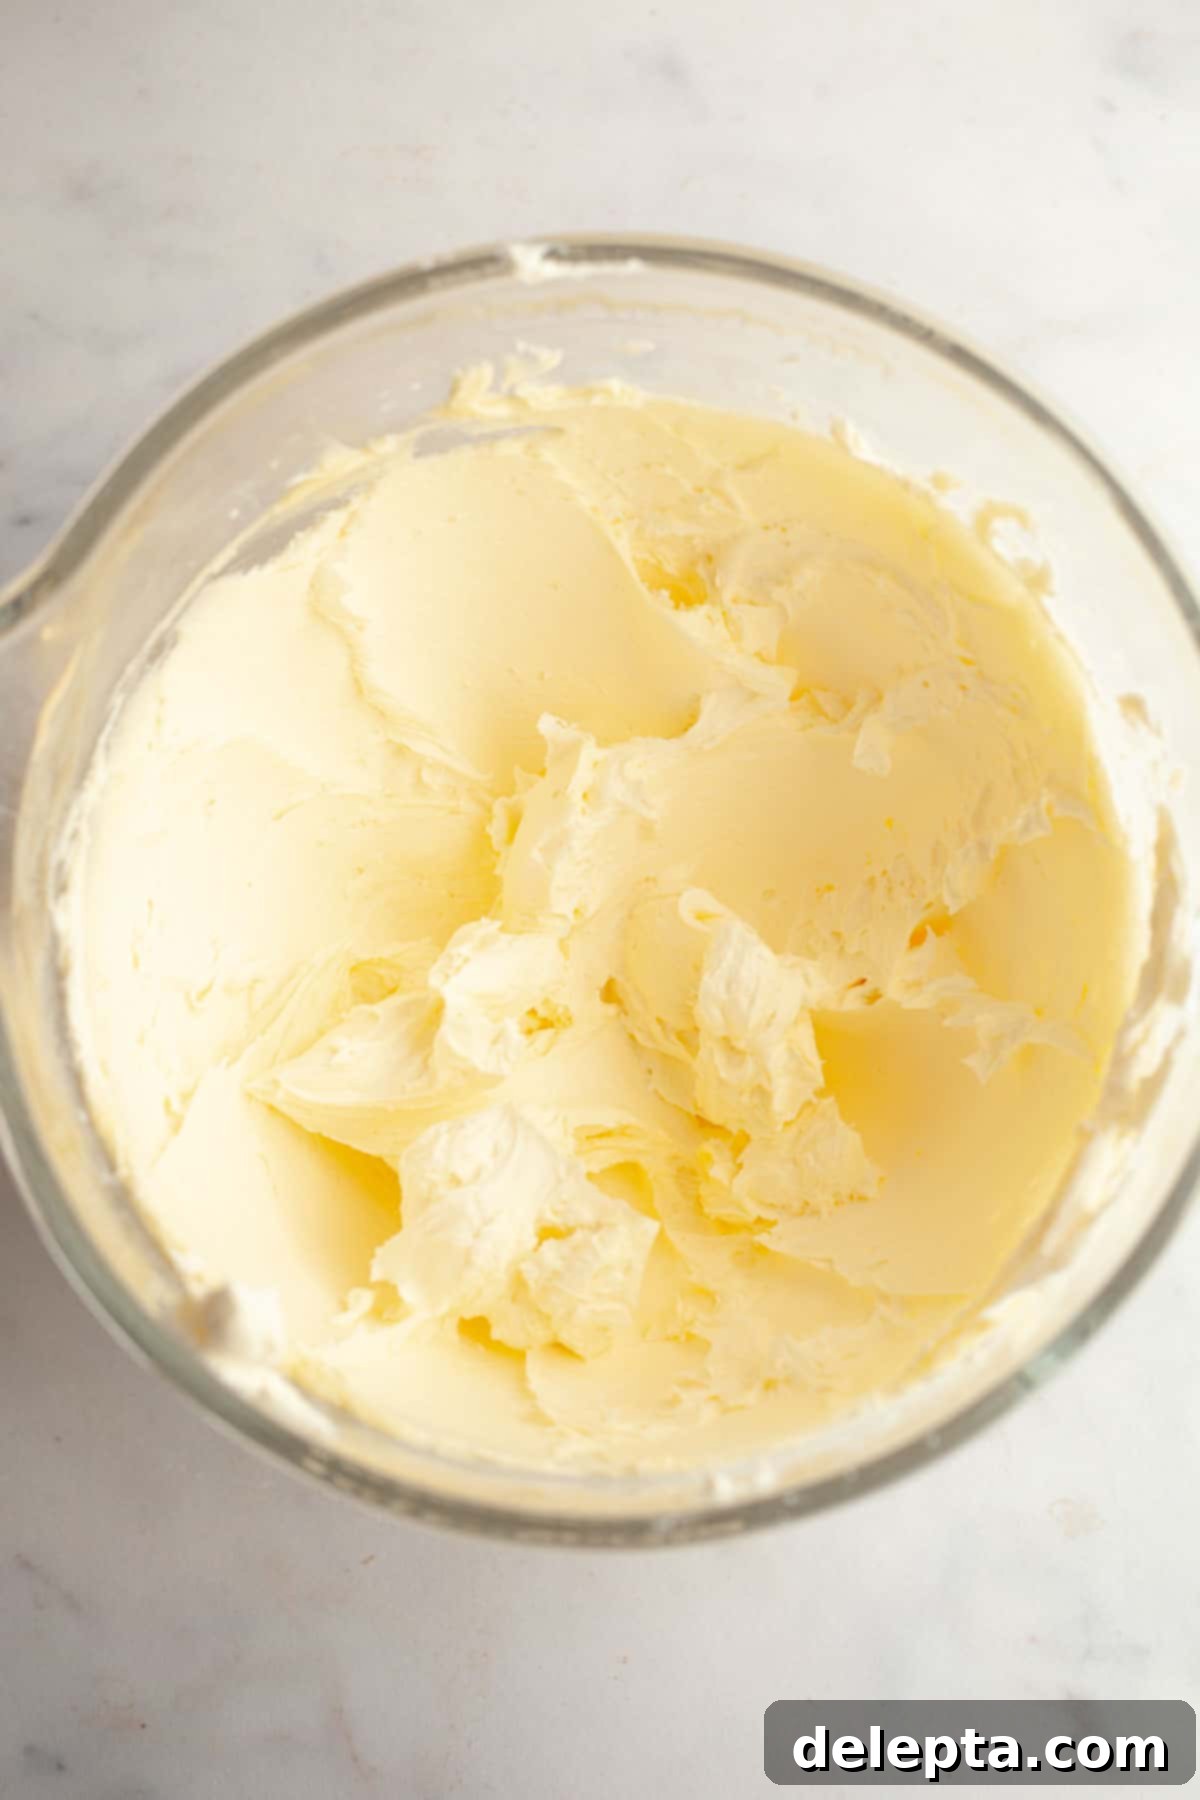
- Step 7: Start the Buttercream. Once your cake layers are fully cooled and your ganache is setting, it’s time to whip up the delightful strawberry buttercream! In the bowl of a stand mixer fitted with the paddle attachment (or using a large bowl and a handheld electric mixer), begin by beating the room-temperature unsalted butter with the confectioner’s sugar on low speed. This initial low speed is important to gradually incorporate the sugar and prevent a “sugar cloud” from forming in your kitchen. Once the sugar is mostly incorporated, increase the speed to medium-high and beat until the mixture is visibly light, fluffy, and significantly increased in volume. This aeration creates a wonderfully soft and creamy buttercream.
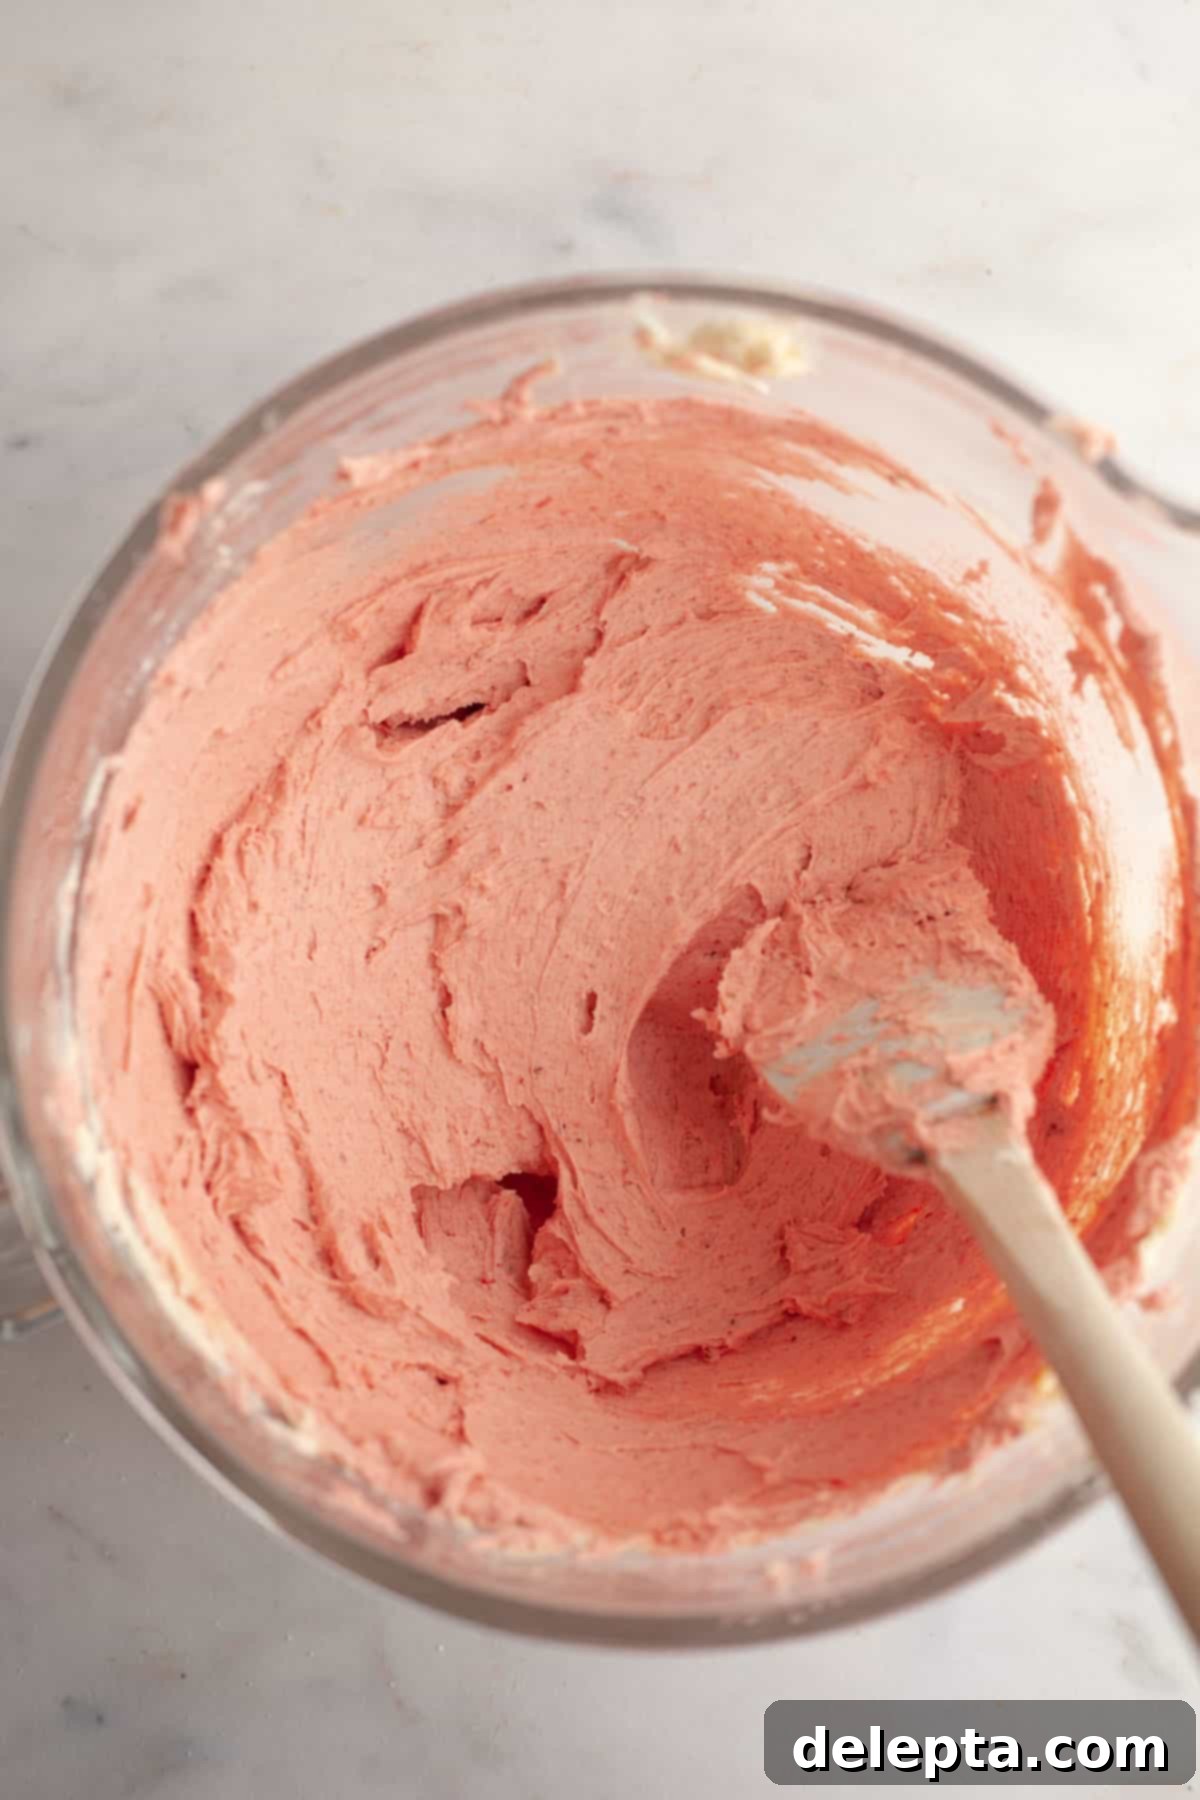
- Step 8: Finish the Strawberry Buttercream. Stop your mixer. Now, add the vanilla extract, kosher salt, and most importantly, the finely powdered freeze-dried strawberry powder. This is where the buttercream gets its vibrant color and intense flavor! Beat on high speed until all ingredients are thoroughly combined and the frosting is light and perfectly fluffy. Finally, reduce the mixer speed to low and slowly pour in the heavy cream, adding just enough until the frosting reaches a beautifully creamy and spreadable consistency. Be careful not to add too much; you might not need all the cream.
Assembling Your Masterpiece: The Chocolate Covered Strawberry Cake
Once your cake layers are perfectly cooled and your ganache and buttercream have reached ideal consistencies, it’s time for the exciting part: assembly! Begin by placing your first luscious chocolate cake layer squarely on your chosen cake stand or serving plate. This is the foundation of your masterpiece.
Now, using a piping bag fitted with a round tip (or simply snipping the corner off a sturdy Ziploc bag), pipe a sturdy border of your beautiful strawberry buttercream frosting around the very edge of this first cake layer. This creates a crucial “dam” that will prevent your rich ganache filling from seeping out the sides – a little trick for a professional-looking finish.
Next, generously spoon the decadent strawberry chocolate ganache into the center of the piped buttercream border. With a small offset spatula, gently spread the ganache evenly across the cake layer, ensuring it reaches the buttercream dam. Once spread, carefully place the second chocolate cake layer directly on top, aligning it as best as possible.
Now, it’s time to lavish your cake with the remaining strawberry buttercream. Start by applying a thin “crumb coat” all over the top and sides of the cake. This traps any loose crumbs, ensuring a smooth and pristine final frosting layer. Chill the cake for about 15-20 minutes in the fridge to set the crumb coat. Then, apply a thicker, final layer of buttercream, using your offset spatula or a bench scraper to achieve a beautifully smooth or artfully textured finish.
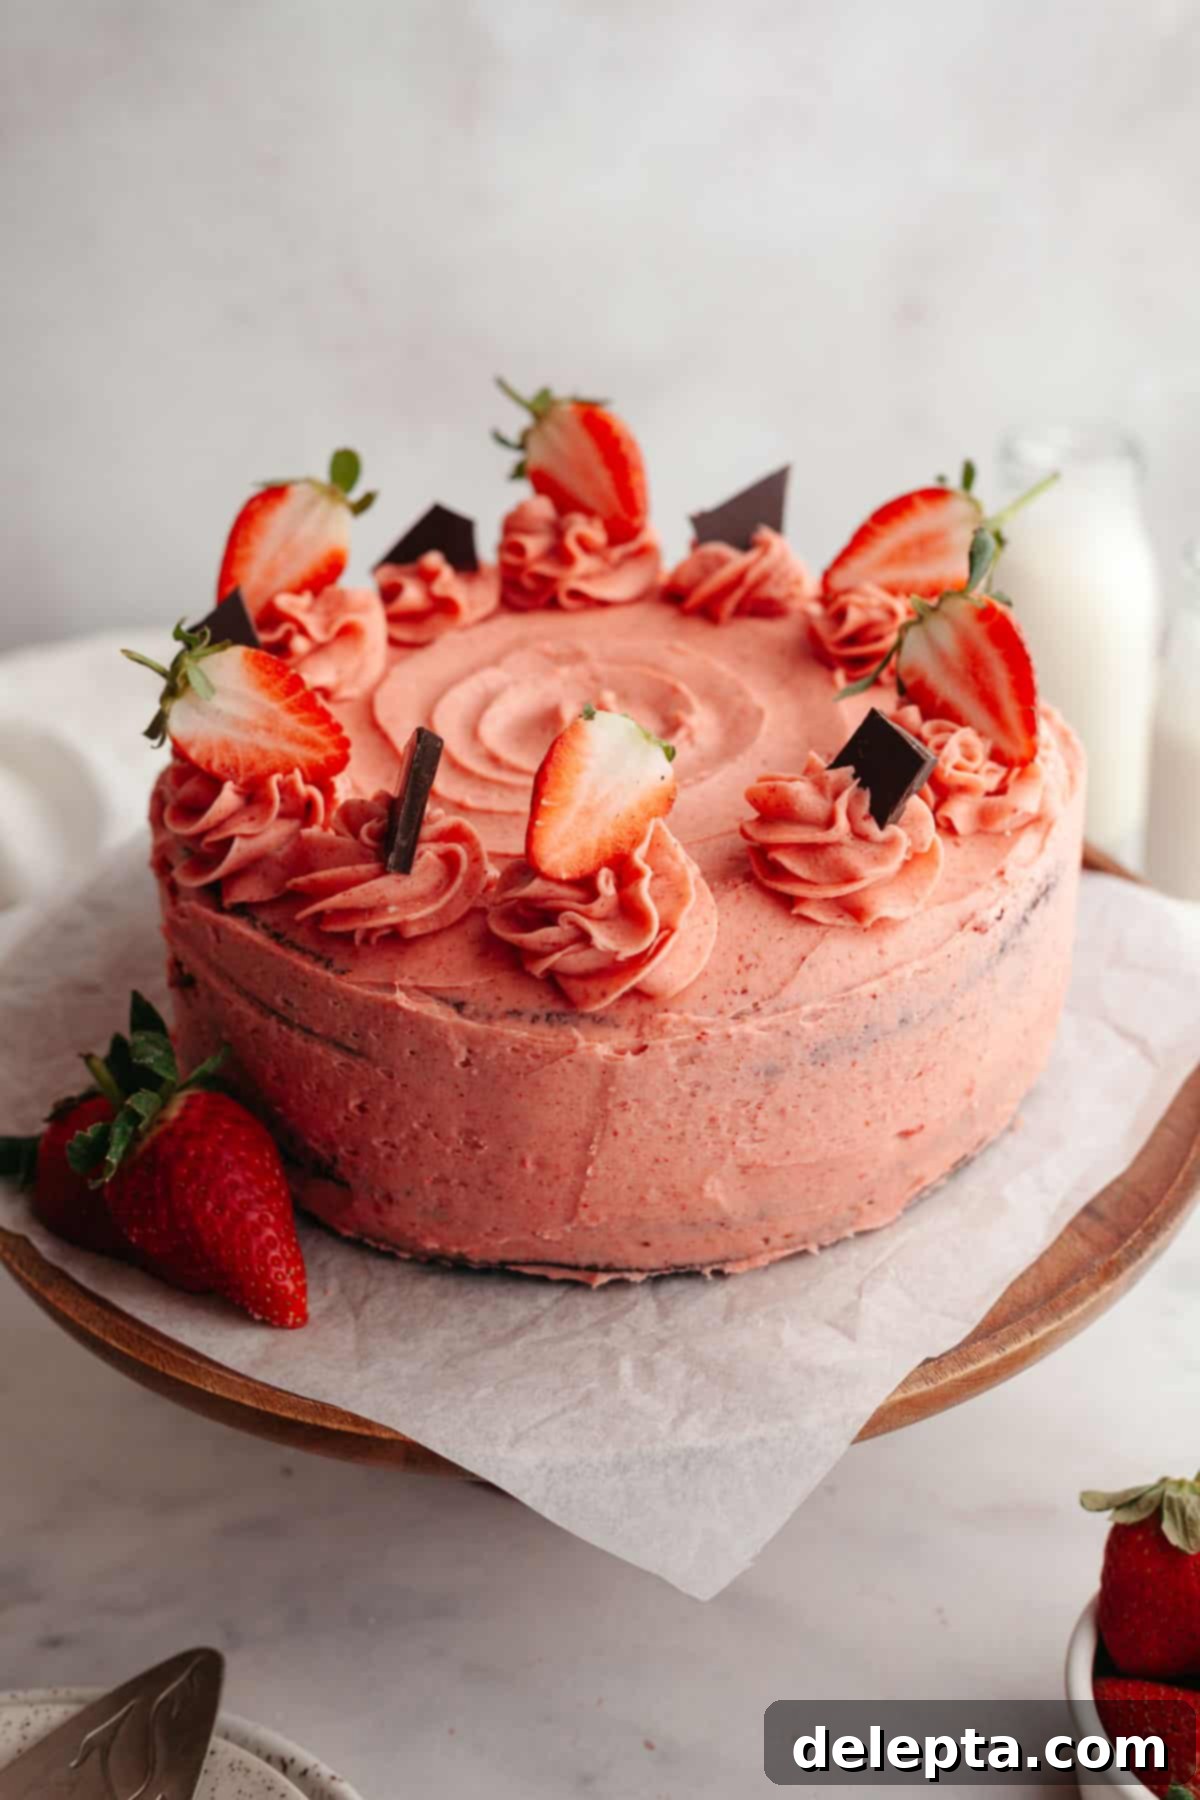
Finally, let your creativity shine with decorations! Garnish the top with elegant chocolate-covered strawberries, fresh whole strawberries, delicate chocolate shavings, or even homemade chocolate strawberry truffles for an extra touch of gourmet sophistication. Each bite promises a harmonious blend of chocolate and strawberry, a true delight for the senses.
My Top Baking Tips for a Flawless Cake!
- Patience is Key: Let the Cake Cool Completely: I know, I know – you’re excited to dive into this deliciousness! But seriously, this is one of the most critical steps. If you attempt to frost a cake that is even slightly warm, your beautiful buttercream will melt, slide off, and you’ll end up with a messy disappointment. Plan ahead and ensure your cake layers are completely, utterly cold to the touch before you even think about assembling or frosting. This might mean making them the day before.
- Timing Your Ganache: Make it ASAP: The strawberry chocolate ganache needs time to set to the perfect spreadable consistency. Depending on the ambient temperature of your kitchen (it will take longer in warmer climates), this could take a while. I highly recommend making the ganache as soon as your cake layers go into the oven, or even preparing it ahead of the cake baking. This way, it will have ample time to cool and firm up, ready when you are. You’re looking for a consistency similar to thick peanut butter for easy spreading without being too runny.
- Going for a Triple Layer Cake? Adjust Accordingly: If you’re aiming for an even more dramatic and impressive presentation, you can absolutely transform this into a triple-layer cake! Simply divide the chocolate cake batter evenly between three 8-inch cake pans instead of two. Keep in mind that thinner layers will bake faster, so start checking for doneness a bit earlier (around 25-30 minutes). You might also find that you need to increase the quantities of both the strawberry buttercream and the strawberry chocolate ganache by about 50% to adequately fill and frost three layers.
- Bonus Treat: Chocolate Strawberry Truffles! Here’s a delightful secret: any leftover strawberry chocolate ganache can be transformed into elegant, homemade truffles perfect for decorating your cake or serving as an extra treat! Simply place any remaining ganache in the fridge until it’s very firm. Once firm, scoop out small portions, roll them between your palms to form neat balls, and then roll these truffles in a dusting of cocoa powder for a sophisticated finish. What a fancy way to make the most of your ingredients!
Elevate Your Cake: Make it Extra Fancy!
- Dramatic Chocolate Ganache Drip: For an extra touch of gourmet elegance and visual appeal, add a beautiful chocolate drip around the top edge of your cake! A well-executed drip creates a stunning effect that will truly impress your guests. You can use a dedicated drip recipe, such as the one from my popular Oreo drip cake, or simply thin down some additional chocolate ganache with a touch more heavy cream until it reaches a pourable, yet still thick, consistency. Apply it carefully with a spoon or a squeeze bottle, letting it cascade down the sides for that professional bakery look.
- Garnish with Flair: Beyond chocolate-covered strawberries, consider edible gold leaf for a touch of luxury, a sprinkle of fresh mint leaves for color and aroma, or finely shaved chocolate curls for texture.
Planning Ahead: Preparing Your Cake in Advance
One of the best features of this chocolate covered strawberry cake is that almost all its components can be made ahead of time, significantly reducing stress on the day you plan to serve it. This flexibility allows you to enjoy the baking process and present a spectacular dessert without a last-minute rush.
For the Cake Layers: Once your chocolate cake layers have cooled completely to room temperature, wrap them very tightly in several layers of plastic wrap. You can store these well-wrapped layers at room temperature for up to 3-4 days. For longer storage, place the plastic-wrapped cake layers inside a large, airtight freezer-safe bag and freeze them for up to 2 months. When you’re ready to use them, let them thaw in the refrigerator overnight, then bring them to room temperature before assembling your cake.
For the Strawberry Buttercream: Prepare the buttercream as instructed. Transfer it to an airtight container and store it in the refrigerator for up to 3-4 days, or in the freezer for up to 2 months. Before using, allow frozen buttercream to thaw in the fridge, then bring it to room temperature. It’s highly recommended to re-whip the thawed buttercream in a stand mixer or with a handheld electric mixer for a few minutes. This will restore its light, fluffy texture and make it perfectly smooth and spreadable again.
For the Strawberry Chocolate Ganache: Once made, transfer the strawberry chocolate ganache to an airtight container and keep it in the refrigerator for up to a week. When you’re ready to fill your cake, remove the ganache from the fridge and let it come to room temperature. If it’s too stiff, you can gently warm it in 10-second intervals in the microwave, stirring well after each interval, until it reaches a spreadable consistency.
Storage & Freezing Tips for Your Finished Cake
To keep your delicious chocolate covered strawberry cake fresh and flavorful, store it covered in the fridge for up to 4-5 days. For the absolute best flavor and texture, I highly recommend allowing slices of the cake to come to room temperature for at least 30 minutes before serving. Cold cake, while still tasty, simply doesn’t allow the nuanced flavors and moist textures to shine through as beautifully as a room-temperature slice. If you’ve cut into your cake and don’t have a large enough airtight container to store the whole thing (a common baking dilemma!), a helpful trick is to press a piece of parchment paper or plastic wrap directly against any exposed sliced edges. This simple step creates a barrier that prevents the cake from drying out, keeping it perfectly moist.
To freeze the assembled cake, first ensure it is well chilled in the refrigerator so the frosting is firm. Then, wrap the entire cake (or individual slices) tightly in several layers of plastic wrap, followed by a layer of aluminum foil to prevent freezer burn. Place it in an airtight freezer-safe container or bag. The cake can be frozen for up to 2 months. When you’re ready to enjoy it, thaw the cake in the refrigerator overnight, then bring it to room temperature for the best eating experience.
Craving More Chocolate Desserts?
If this chocolate covered strawberry cake has ignited your passion for decadent chocolate treats, you’re in luck! My kitchen is a haven for cocoa creations. Explore these other fantastic recipes:
- Chocolate Cupcakes with Chocolate Cream Cheese Frosting
- Moist & Easy Chocolate Cake with Chocolate Ganache
- Chocolate Cinnamon Rolls with Chocolate Cream Cheese Icing
- Chocolate Brownies with Cream Cheese Frosting
If you’ve made this incredibly delicious recipe, please make sure to leave a ⭐️ rating and review below! Your feedback is invaluable and I absolutely love seeing your creations. Don’t forget to tag me on Instagram @alpineella so I can admire your beautiful bakes! You can also follow along on Pinterest, Facebook, and TikTok for more baking inspiration and delicious recipes!
Recipe
Chocolate Covered Strawberry Cake
Ella Gilbert
Pin Recipe
Save RecipeSaved!
Equipment
-
2 8-inch round cake pans
-
Bowls
-
Whisk
-
Kitchen Scale
-
Measuring Spoons
-
Small Saucepan
-
Stand Mixer
Ingredients
Chocolate Cake
- ¾ cup Cocoa Powder Dutch-Processed
- 1 ¾ cups Granulated Sugar
- ¾ teaspoon Vanilla Extract
- ¾ teaspoon Kosher Salt
- 2 Eggs room temperature
- 2 cups All Purpose Flour
- 2 teaspoon Baking Soda
- 1 teaspoon Baking Powder
- 1 cup Buttermilk room temperature
- ½ cup Vegetable Oil
- 1 cups Very Hot Water
Strawberry Ganache
- ½ cup Fresh Strawberries
- ½ cup Heavy Cream
- 4 oz Dark Chocolate
- 1 ½ tablespoons Butter room temperature
Strawberry Buttercream
- 1 ½ cups Unsalted Butter room temperature
- 4 ¼ cups Confectioner’s Sugar
- 1 ½ teaspoons Vanilla Extract
- ¼ teaspoon Kosher Salt
- ¼ cup Heavy Cream
- 1 ½ cups Freeze Dried Strawberries blended
Instructions
Chocolate Cake
-
Preheat your oven to 350°F/175°C. Butter or grease two 8-inch cake pans and line it with parchment paper.
-
Combine the flour, cocoa powder, sugar, baking powder, baking soda, and salt in a large bowl with a whisk.¾ cup Cocoa Powder, 1 ¾ cups Granulated Sugar, ¾ teaspoon Kosher Salt, 2 cups All Purpose Flour, 2 teaspoon Baking Soda, 1 teaspoon Baking Powder
-
In a large jug, whisk together the buttermilk, oil, eggs, and vanilla extract.¾ teaspoon Vanilla Extract, 2 Eggs, 1 cup Buttermilk, ½ cup Vegetable Oil
-
Slowly pour in the ingredients from the large jug and mix until just combined.
-
Slowly add the hot water and mix. Your batter will be very thin and it makes a lot of cake batter!1 cups Very Hot Water
-
Pour the batter into the prepared pans. Bake for 35-40 minutes, until a toothpick comes out clean when inserted
-
Allow the cakes to cool for 10 minutes before removing from the pans. Let them cool completely on a cooling rack.
Strawberry Chocolate Ganache
-
Blend fruit in a blender until completely smooth. Strain it through a sieve into a bowl so you remove all the seeds (or leave them if you aren’t that bothered by seeds!)½ cup Fresh Strawberries
-
Place the chopped chocolate and pureed fruit into a large bowl.4 oz Dark Chocolate
-
Put the cream in a saucepan on the stove and bring to a simmer. Remove from heat.½ cup Heavy Cream
-
Pour over the chocolate. Whisk until smooth, then add the butter and whisk again. Let cool completely, this took about 30 minutes for me but it might take longer in the summer!1 ½ tablespoons Butter
Strawberry Buttercream
-
Blend the freeze dried strawberry pieces with a food processor or blender until you have a fine powder. Set aside.1 ½ cups Freeze Dried Strawberries
-
In a stand mixer fitted with the paddle attachment, or in a large bowl with a handheld mixer, beat the butter and confectioners’ sugar on low speed.1 ½ cups Unsalted Butter, 4 ¼ cups Confectioner’s Sugar
-
Once combined, turn the speed to medium-high and beat until it becomes very thick.
-
Stop the mixer and add the vanilla extract, salt and strawberry powder. Beat on medium-high speed until light and fluffy.1 ½ teaspoons Vanilla Extract, ¼ teaspoon Kosher Salt
-
Turn the mixer on your lowest speed and slowly pour in the cream until the frosting becomes creamy and spreadable – you might not need all the cream!¼ cup Heavy Cream
Assemble
-
Place one cake layer down on your cake stand or plate. Place some of the frosting in a piping bag fitted with a round tip. Pipe frosting around the edge of the cake.
-
Scoop out the strawberry ganache and use a small offset spatula to spread it around, inside the border.
-
Place the second layer on top.
-
Frost the sides and top of the cake with the remaining frosting. I also piped some swirls using a 1M Wilton baking tip, then you can decorate with fresh strawberries, chopped chocolate, or chocolate covered strawberries!
Notes
I make sure that all of my ingredients are at room temperature before I start the recipe, so pull out all of the ingredients before you start baking.
Salt: If you don’t have kosher salt, halve the amount of salt called for in the recipe. 1 teaspoon kosher salt = ½ teaspoon fine salt. I’m using Diamond Crystal kosher salt, Morton Salt is much saltier!
Buttermilk: If you don’t have buttermilk, replace it with an equal amount of sour cream or full fat yogurt. You can also make your buttermilk, for every cup of buttermilk add 1 tablespoon of lemon juice to 1 cup of milk and let sit for 5 minutes.
Chocolate: I recommend using dark chocolate (around 60-70% cocoa) or semisweet chocolate. Milk chocolate and white chocolate won’t work with the amounts listed because the ratios will be off. I don’t recommend using chocolate chips because those contain emulsifiers.
Vegetable Oil: Use an unflavoured oil like canola oil or sunflower oil if you don’t have vegetable oil.
Storage: Keep tightly wrapped in the fridge for up to 5 days. Let it come to room temperature before eating.
Making Ahead: You can make the cake layers ahead of time. Bake them and then once completely cooled, wrap them in plastic wrap tightly. Store in the fridge for up to 2 days or in the freezer for up to 2 months. If frozen, allow to defrost and come to room temperature before frosting the cake.
