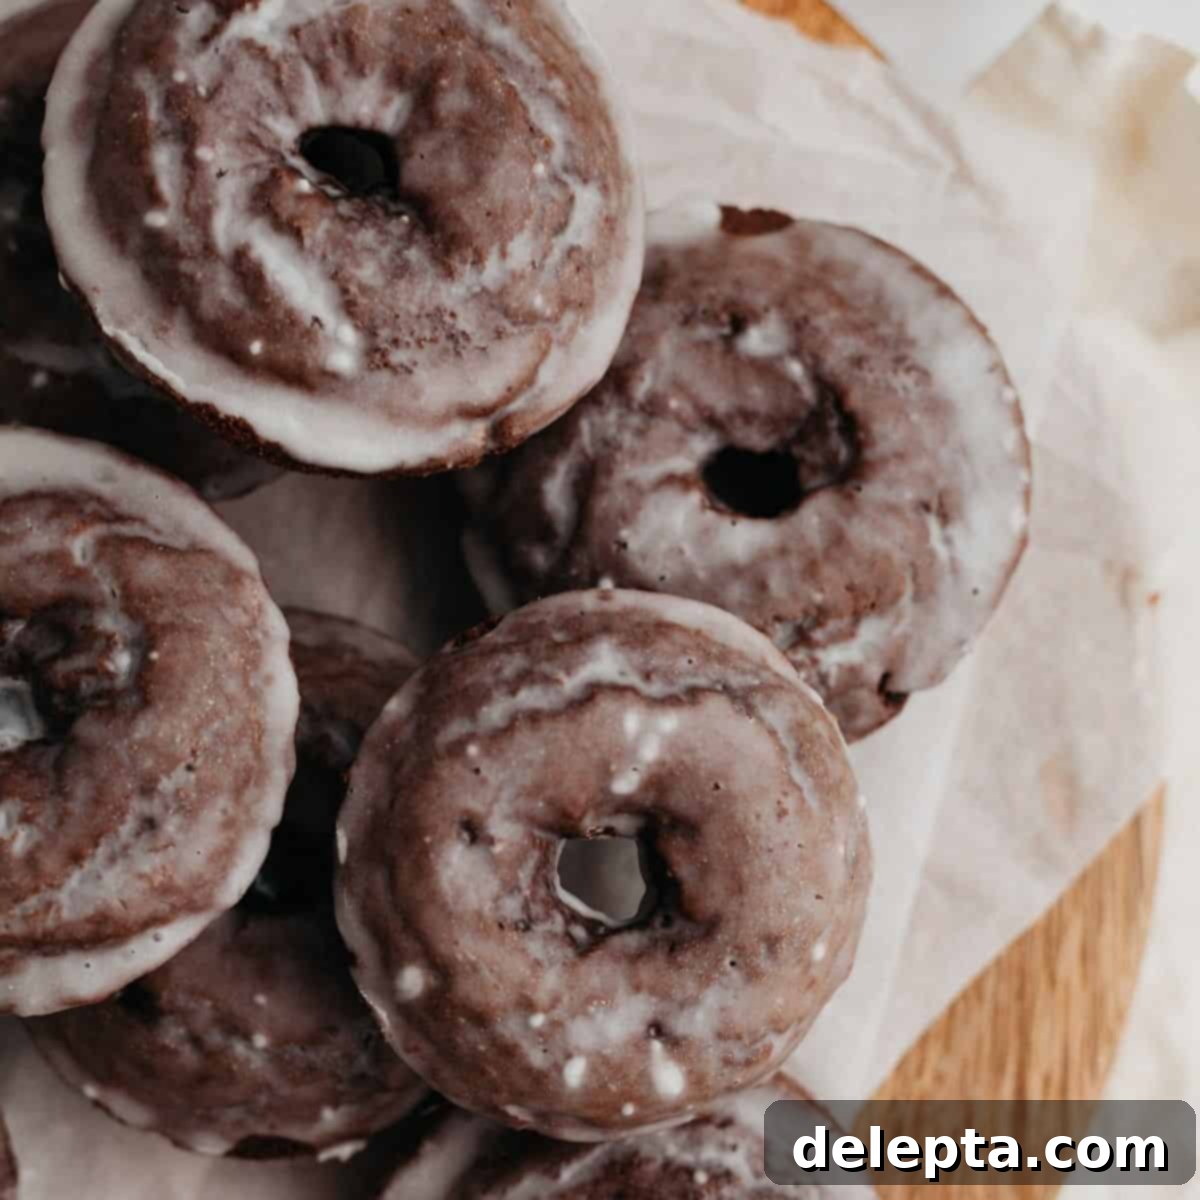
Irresistibly Fluffy & Moist Baked Chocolate Cake Doughnuts with Vanilla Glaze (Easy, No Yeast Recipe!)
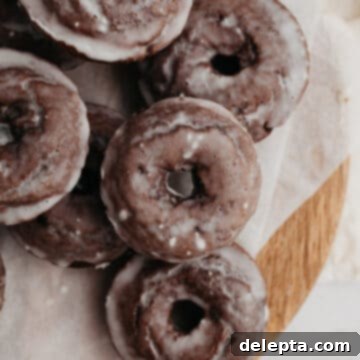
Prepare to fall in love with these incredibly light, fluffy, and super moist baked chocolate cake doughnuts! Each delightful ring is generously dipped in a luscious, homemade vanilla glaze, creating a perfect balance of rich chocolate and sweet vanilla. What makes this recipe truly special is how unbelievably easy it is to make – no yeast required, meaning no waiting for dough to rise! Plus, you’ll be amazed that these decadent treats come together with only about 5 minutes of active preparation time, and you don’t even need a stand mixer. Get ready to enjoy homemade doughnuts that taste like they came from your favorite bakery, right from your own kitchen.
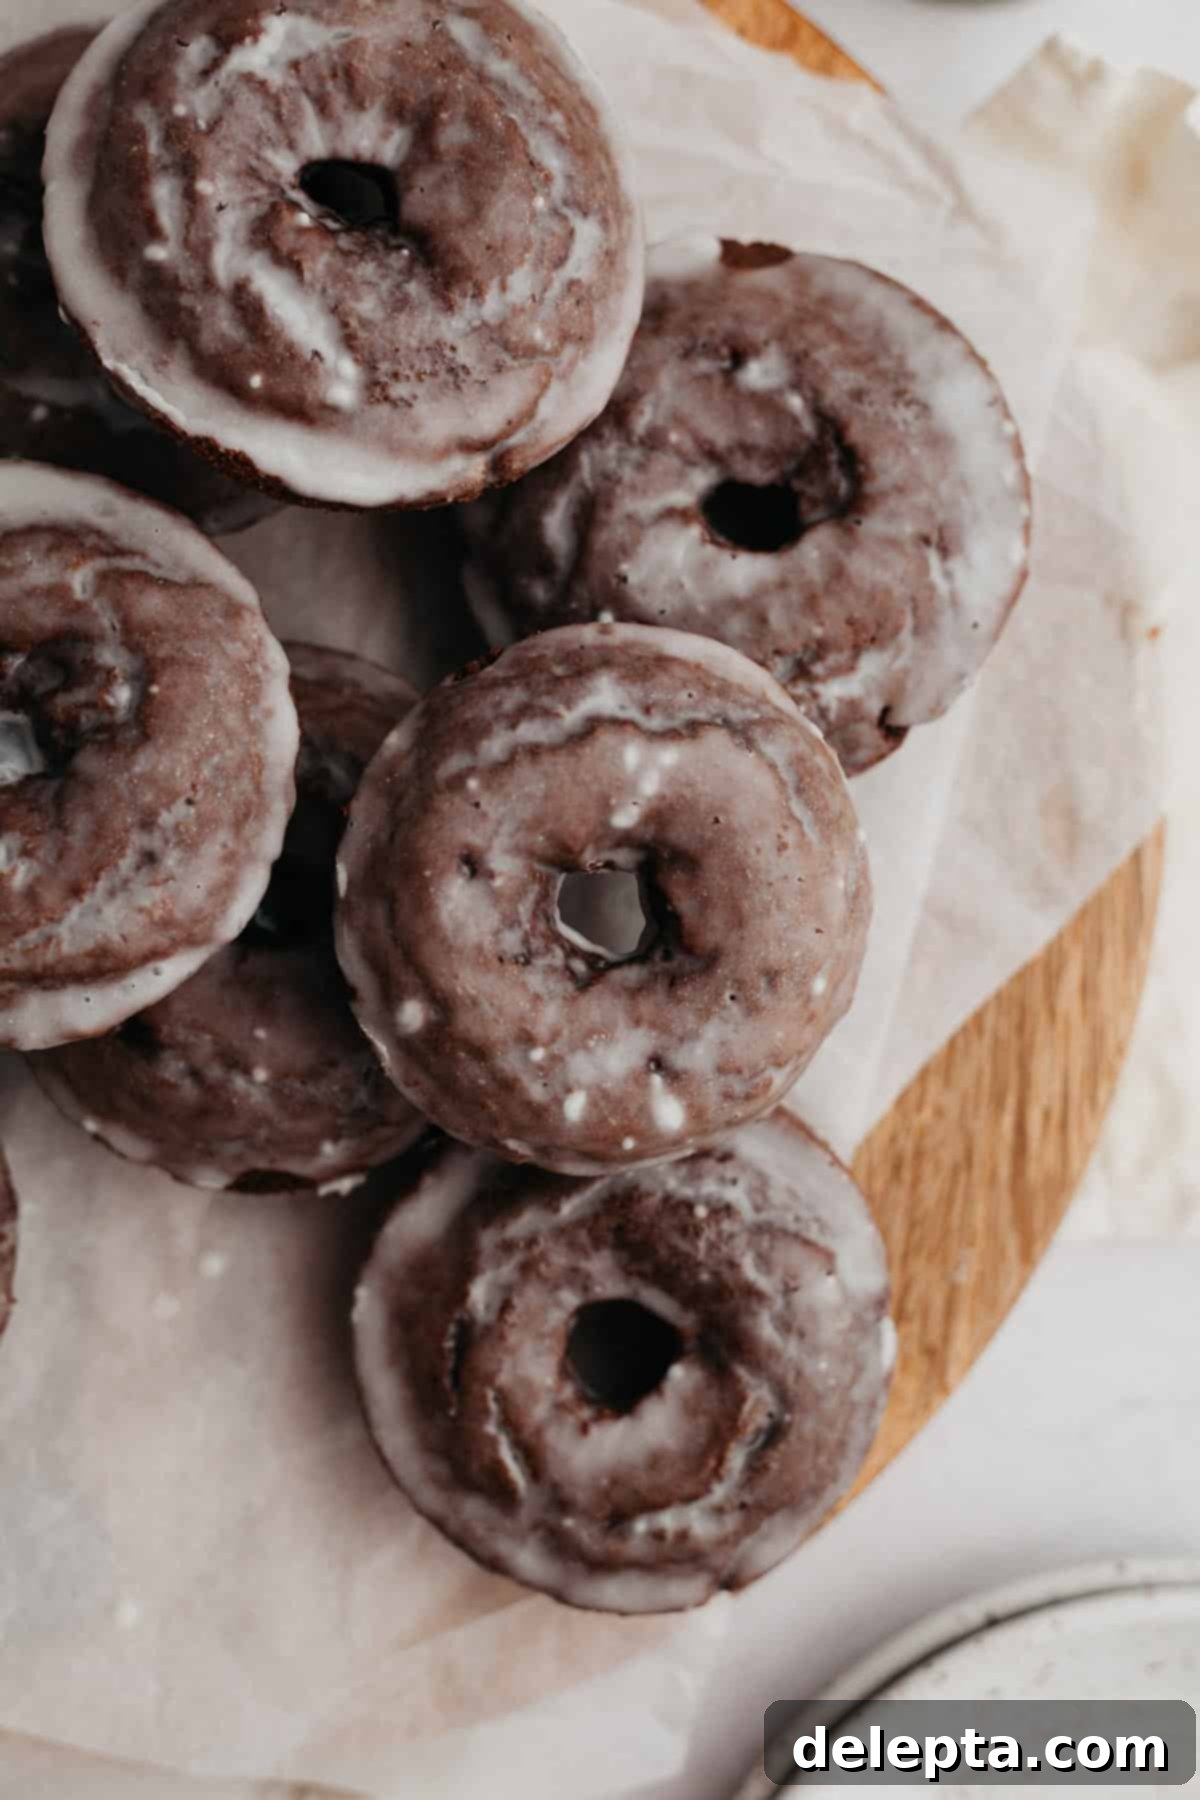
While the undeniable charm of a classic fried doughnut (like our indulgent brioche doughnuts with a rich chocolate filling) holds a special place in many hearts, there’s truly nothing quite like the convenience and satisfying texture of a baked doughnut. Baked doughnuts offer a simpler, less messy alternative to their fried counterparts, eliminating the need for large quantities of hot oil and the associated cleanup. This makes them an absolute dream for home bakers and the perfect homemade treat to whip up for breakfast, a delightful snack, or a quick dessert. They deliver all the flavor and tenderness you crave in a doughnut, with a fraction of the fuss.
Everything You Need to Know About This Easy Baked Doughnut Recipe
This recipe is designed for simplicity and maximum flavor, ensuring you get perfect chocolate cake doughnuts every time. Here’s a closer look at what makes it so fantastic:
- Inspired by a Fan Favorite: These delectable chocolate cake doughnuts are a chocolatey twist on our beloved maple doughnuts. They inherit the same core qualities that make them incredibly moist and flavorful: a base made with rich melted butter, tangy buttermilk, and sweet light brown sugar. This combination ensures a tender crumb and a depth of flavor that sets them apart.
- Perfectly Portioned Batch: This recipe yields exactly 9 doughnuts, which we believe is the ideal quantity for a small family gathering, a weekend treat, or simply to satisfy a craving without having too many leftovers. It’s enough to share, but not so much that you feel overwhelmed. If you’re planning a party or feeding a larger crowd, the ingredients can easily be doubled to make a bigger batch of these crowd-pleasing treats.
- Irresistible Homemade Vanilla Glaze: Each doughnut is generously dipped into a smooth, homemade vanilla glaze. This isn’t just any glaze; it’s perfectly balanced to provide a sweet, aromatic coating that complements the rich chocolate flavor of the doughnuts beautifully. The glaze sets nicely, creating that classic doughnut finish that’s both appealing to the eye and the palate.
Essential Ingredients for Your Baked Chocolate Cake Doughnuts
Creating these heavenly baked chocolate cake doughnuts requires a few key ingredients, each playing an important role in achieving that perfect texture and flavor. Most of these are likely staples in your pantry, making this recipe incredibly accessible. You’ll find the complete list of ingredients with precise measurements in the printable recipe card at the very bottom of this post.
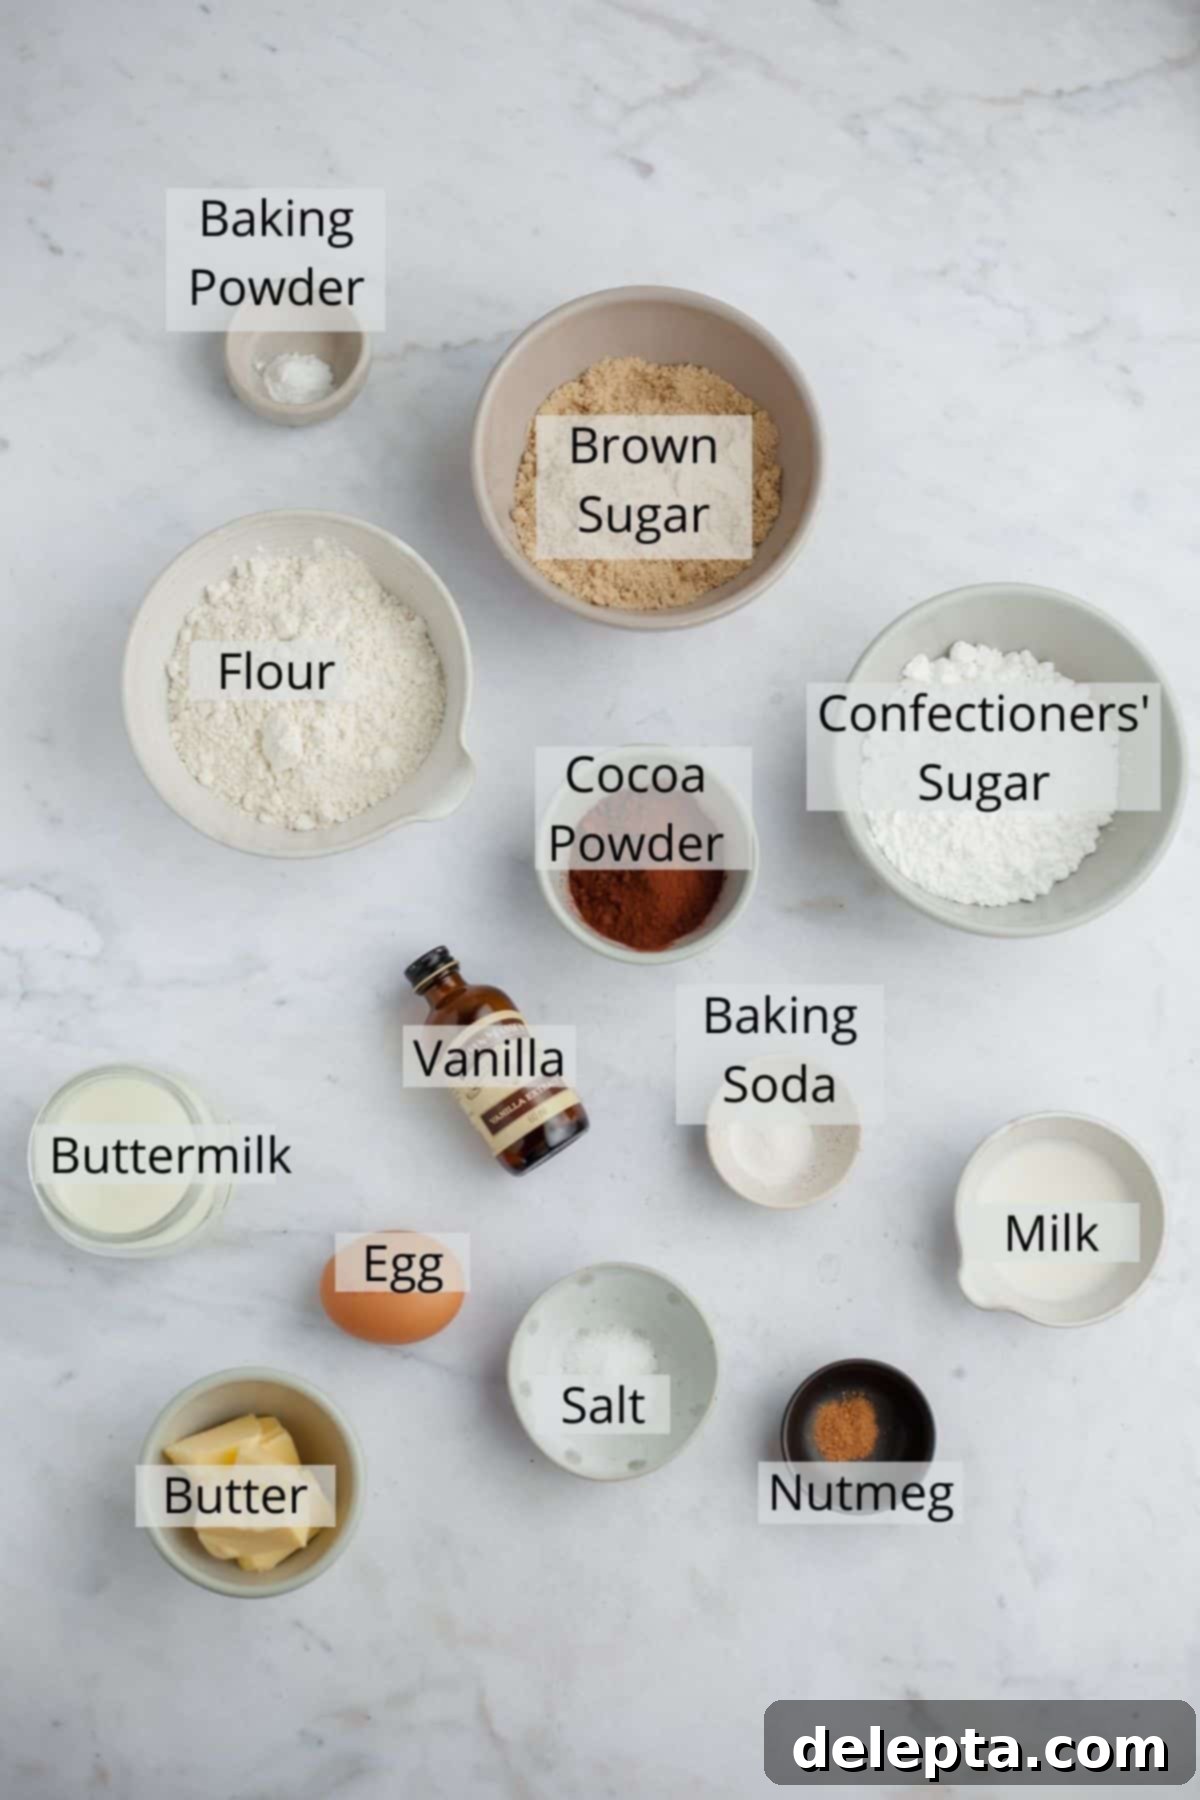
For the full, detailed list of ingredients and step-by-step instructions, please refer to the printable recipe card located at the bottom of this page.
- All-Purpose Flour: The foundation of our cake-like doughnuts. All-purpose flour provides the necessary structure and tender crumb that defines a great baked good. Using the correct amount is crucial for achieving the desired light and airy texture.
- Unsweetened Cocoa Powder: This is where the rich chocolate flavor comes from! High-quality unsweetened cocoa powder ensures a deep, authentic chocolate taste without adding extra sweetness, allowing the glaze to provide that.
- Baking Powder & Baking Soda: These are our chemical leaveners, crucial for giving the doughnuts their fluffy, cake-like rise. Baking soda reacts with the acidity in the buttermilk, while baking powder provides an additional lift, ensuring a light and airy texture.
- Kosher Salt: A pinch of salt is essential in all baking. It doesn’t just add saltiness; it balances the sweetness, enhances the chocolate flavor, and brings out the best in all the other ingredients.
- Ground Nutmeg: This might seem like an unexpected addition to chocolate doughnuts, but a small amount of ground nutmeg is a secret ingredient that lends an authentic “bakery style” doughnut taste. Its warm, subtle spice beautifully complements the chocolate, adding a layer of complex aroma and flavor that elevates these homemade treats beyond the ordinary. Don’t skip it!
- Unsalted Butter (Melted): Butter provides richness and moisture, contributing to the melt-in-your-mouth texture of these doughnuts. Melting it ensures it incorporates smoothly into the batter without the need for creaming.
- Light Brown Sugar: Brown sugar not only adds sweetness but also contributes to the moistness and tender crumb of the doughnuts due to its molasses content. It also imparts a subtle caramel-like note that pairs wonderfully with chocolate.
- Buttermilk (Room Temperature): Buttermilk is a superstar ingredient for baked goods, especially for these doughnuts. Its acidity reacts with the baking soda to create a wonderfully moist and tender crumb. Using it at room temperature ensures it emulsifies better with the other wet ingredients, leading to a smoother, more uniform batter. If you don’t have buttermilk on hand, you can easily make a substitute by adding 1 tablespoon of white vinegar or lemon juice to a liquid measuring cup, then filling the rest with milk until it reaches 113ml (½ cup). Let it sit for 5-10 minutes until it slightly curdles before using. Alternatively, you can replace it with sour cream for similar results in terms of moisture.
- Eggs (Room Temperature): Eggs bind the ingredients together, add moisture, and contribute to the overall structure and richness of the doughnuts. Using room temperature eggs helps them incorporate more evenly into the batter.
- Vanilla Extract: A classic flavor enhancer, vanilla extract beautifully complements both the chocolate doughnuts and the vanilla glaze, adding a warm, sweet aroma and depth of flavor.
Step-by-Step Guide to Baking Your Own Chocolate Cake Doughnuts
Making these baked chocolate cake doughnuts is incredibly straightforward and rewarding. Follow these steps for perfect results every time, ensuring light, fluffy, and delicious doughnuts:
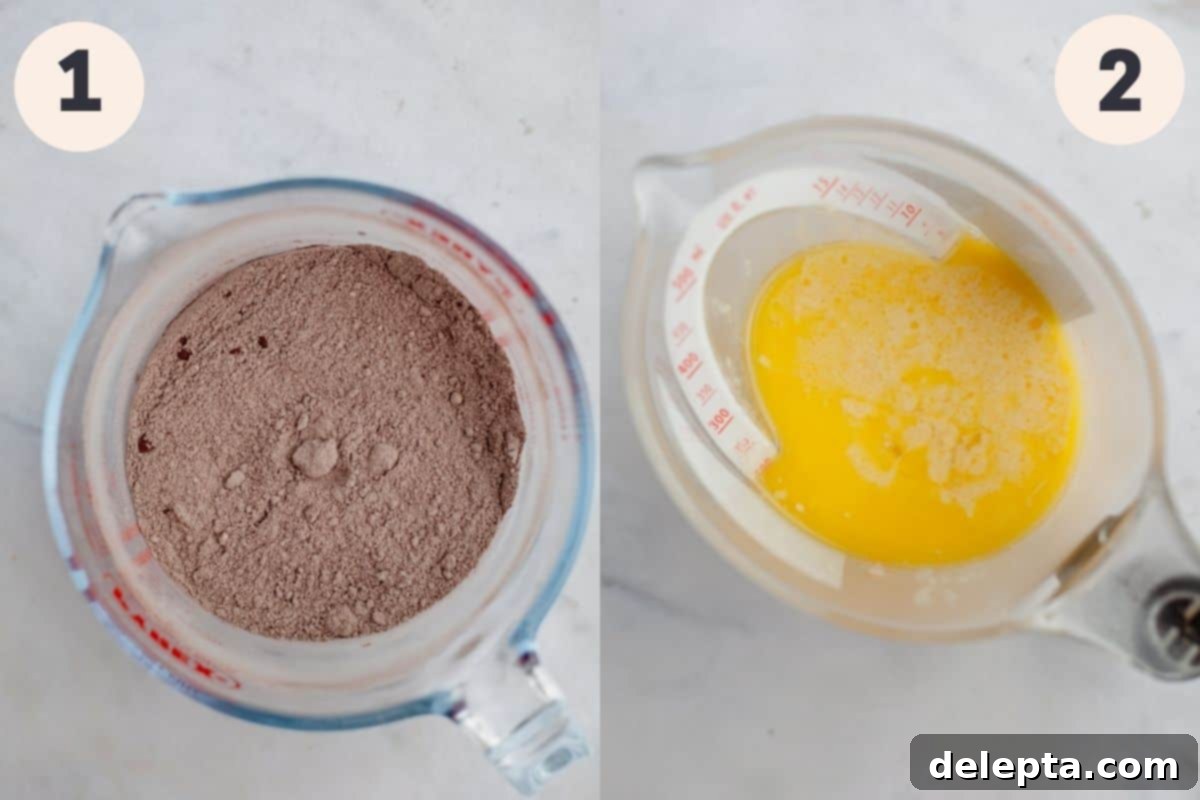
Step 1: Prepare Your Oven and Dry Ingredients. Begin by preheating your oven to 350°F (175°C). This ensures your oven is at the correct temperature when the doughnuts are ready to bake, which is crucial for their rise and texture. While the oven preheats, gather a medium-sized bowl or jug. In it, thoroughly whisk together all of your dry ingredients: the all-purpose flour, cocoa powder, baking powder, baking soda, kosher salt, and ground nutmeg. Whisking ensures these ingredients are well combined and evenly distributed throughout the batter, preventing pockets of leavener or salt.
Step 2: Combine the Wet Ingredients. In a separate, smaller jug or bowl, whisk together your wet ingredients. This includes the room temperature buttermilk, vanilla extract, room temperature egg, and melted unsalted butter. Whisk until the mixture is smooth and well combined. Having all wet ingredients at room temperature helps them emulsify properly, leading to a consistent batter.
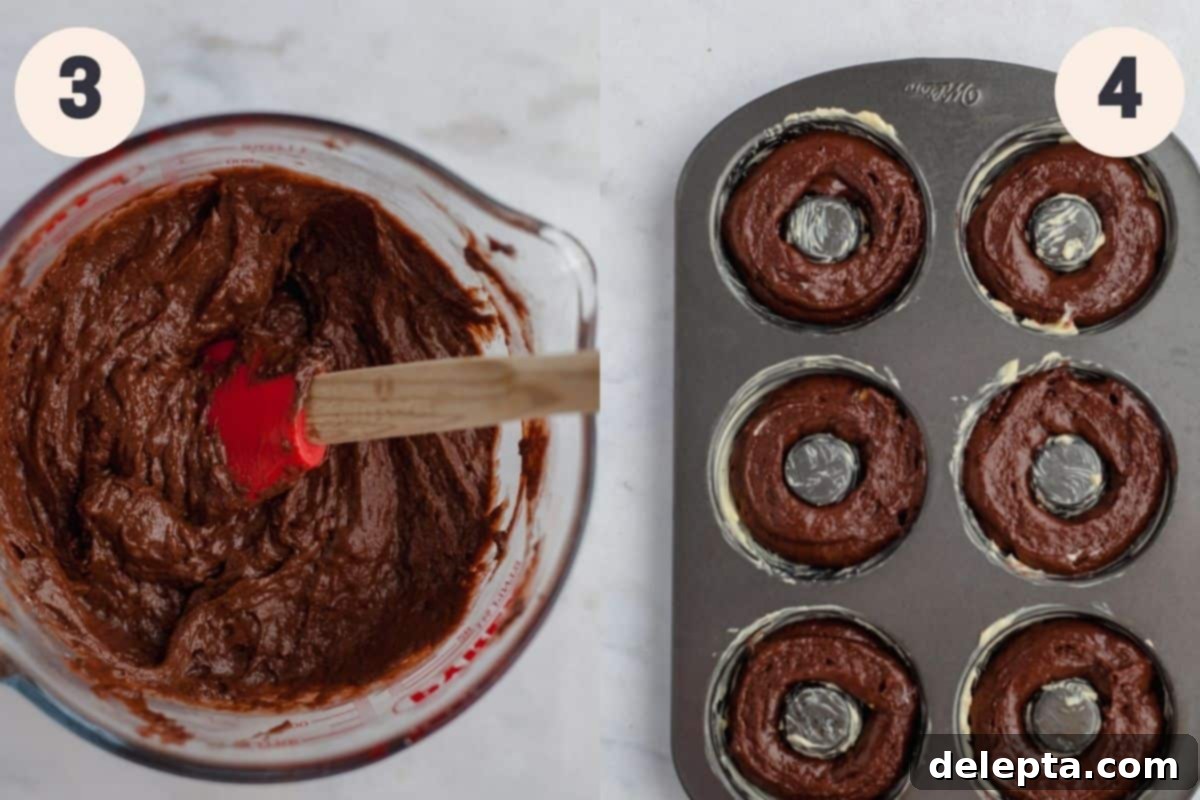
Step 3: Gently Combine Wet and Dry Mixtures. Pour the combined wet ingredients into the bowl with your dry ingredients. Using a spatula or wooden spoon, gently fold the mixture until just combined. The key here is to avoid overmixing, which can develop the gluten in the flour and result in tough doughnuts. Fold until there are no visible pockets of dry flour and the batter is smooth. You’ll notice that this batter is quite thick – this is normal and contributes to the cake-like texture of the finished doughnuts.
Step 4: Fill the Doughnut Pan and Bake. Generously grease your doughnut pan with butter or baking spray. Ensuring every cavity is well-greased prevents sticking and helps the doughnuts release easily after baking. For the neatest and easiest way to fill the doughnut pan, we highly recommend using a piping bag fitted with a large circular tip (or simply snip off one corner of a sturdy ziplock bag). Pipe the thick batter into each cavity, filling it approximately three-quarters of the way full. You can use a small spoon or an offset spatula to gently smooth the top of the batter in each cavity for an even finish. Bake for 11-13 minutes. The doughnuts are done when they are golden brown around the edges and springy to the touch when lightly pressed. Allow them to cool in the pan for about 5 minutes before carefully removing each doughnut and transferring it to a wire cooling rack to cool completely. Since most doughnut pans only have six cavities and this recipe makes nine, you will need to regrease the remaining three cavities and pipe in the rest of the batter, baking them in a second batch. Always allow them to cool completely before glazing.
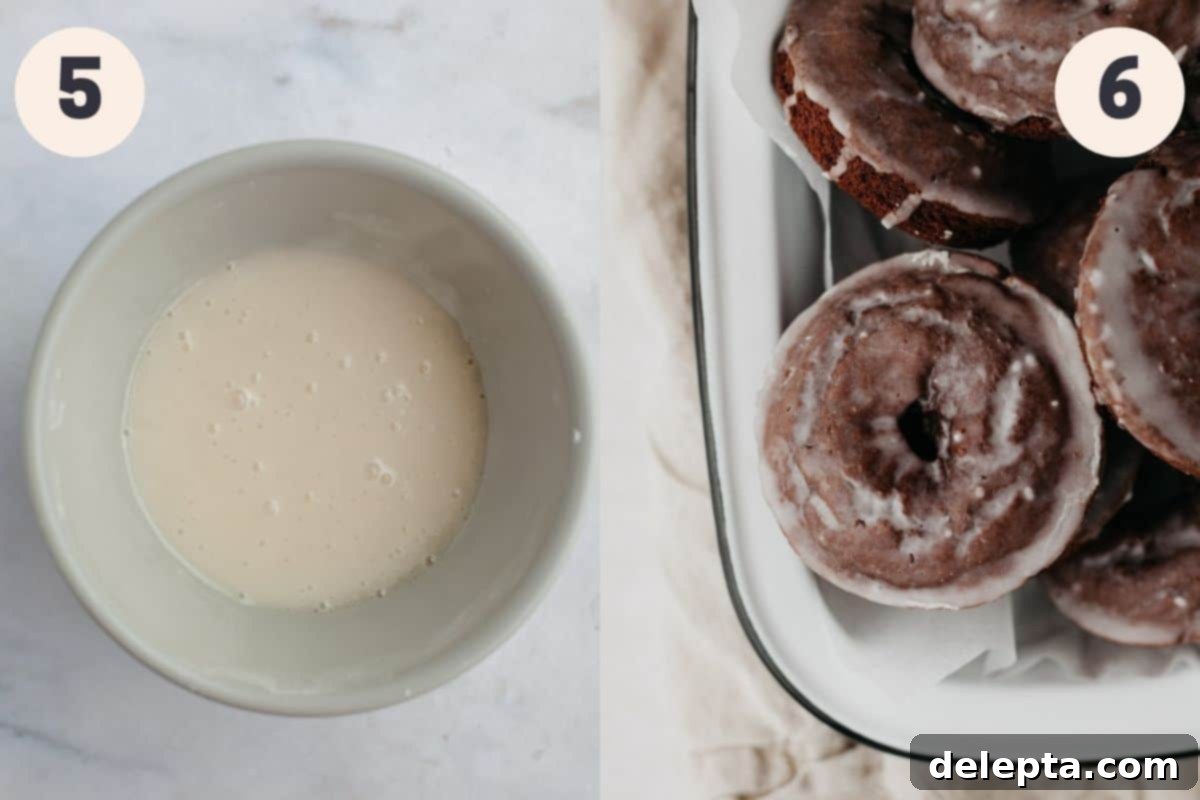
Step 5: Prepare the Vanilla Glaze. While your baked doughnuts are cooling on the wire rack (they must be completely cool before glazing!), it’s time to prepare the luscious vanilla glaze. In a medium bowl, whisk together all of your glaze ingredients: confectioners’ sugar, milk, vanilla extract, and a pinch of salt. Whisk until the mixture is completely smooth and free of lumps. The consistency of the glaze is key – it should be thick enough to coat the doughnuts without being gloopy, but thin enough to drip smoothly. If your glaze seems too thick, add a tiny bit more milk, a quarter teaspoon at a time, until you reach the desired consistency. If it’s too thin, gradually add more sifted confectioners’ sugar until it thickens up.
Step 6: Glaze the Doughnuts. Once the doughnuts are entirely cool and your glaze is ready, it’s time for the finishing touch! Dip the top of each cooled doughnut into the vanilla glaze, letting any excess drip off before carefully placing it back onto the cooling rack. For best results, place the cooling rack over a sheet of parchment paper or paper towels; this will catch any drips and make cleanup a breeze. Allow the glazed doughnuts to sit for a while until the glaze sets, which typically takes about 10-15 minutes, depending on the humidity. Once the glaze has set, your delicious homemade chocolate cake doughnuts are ready to be enjoyed!
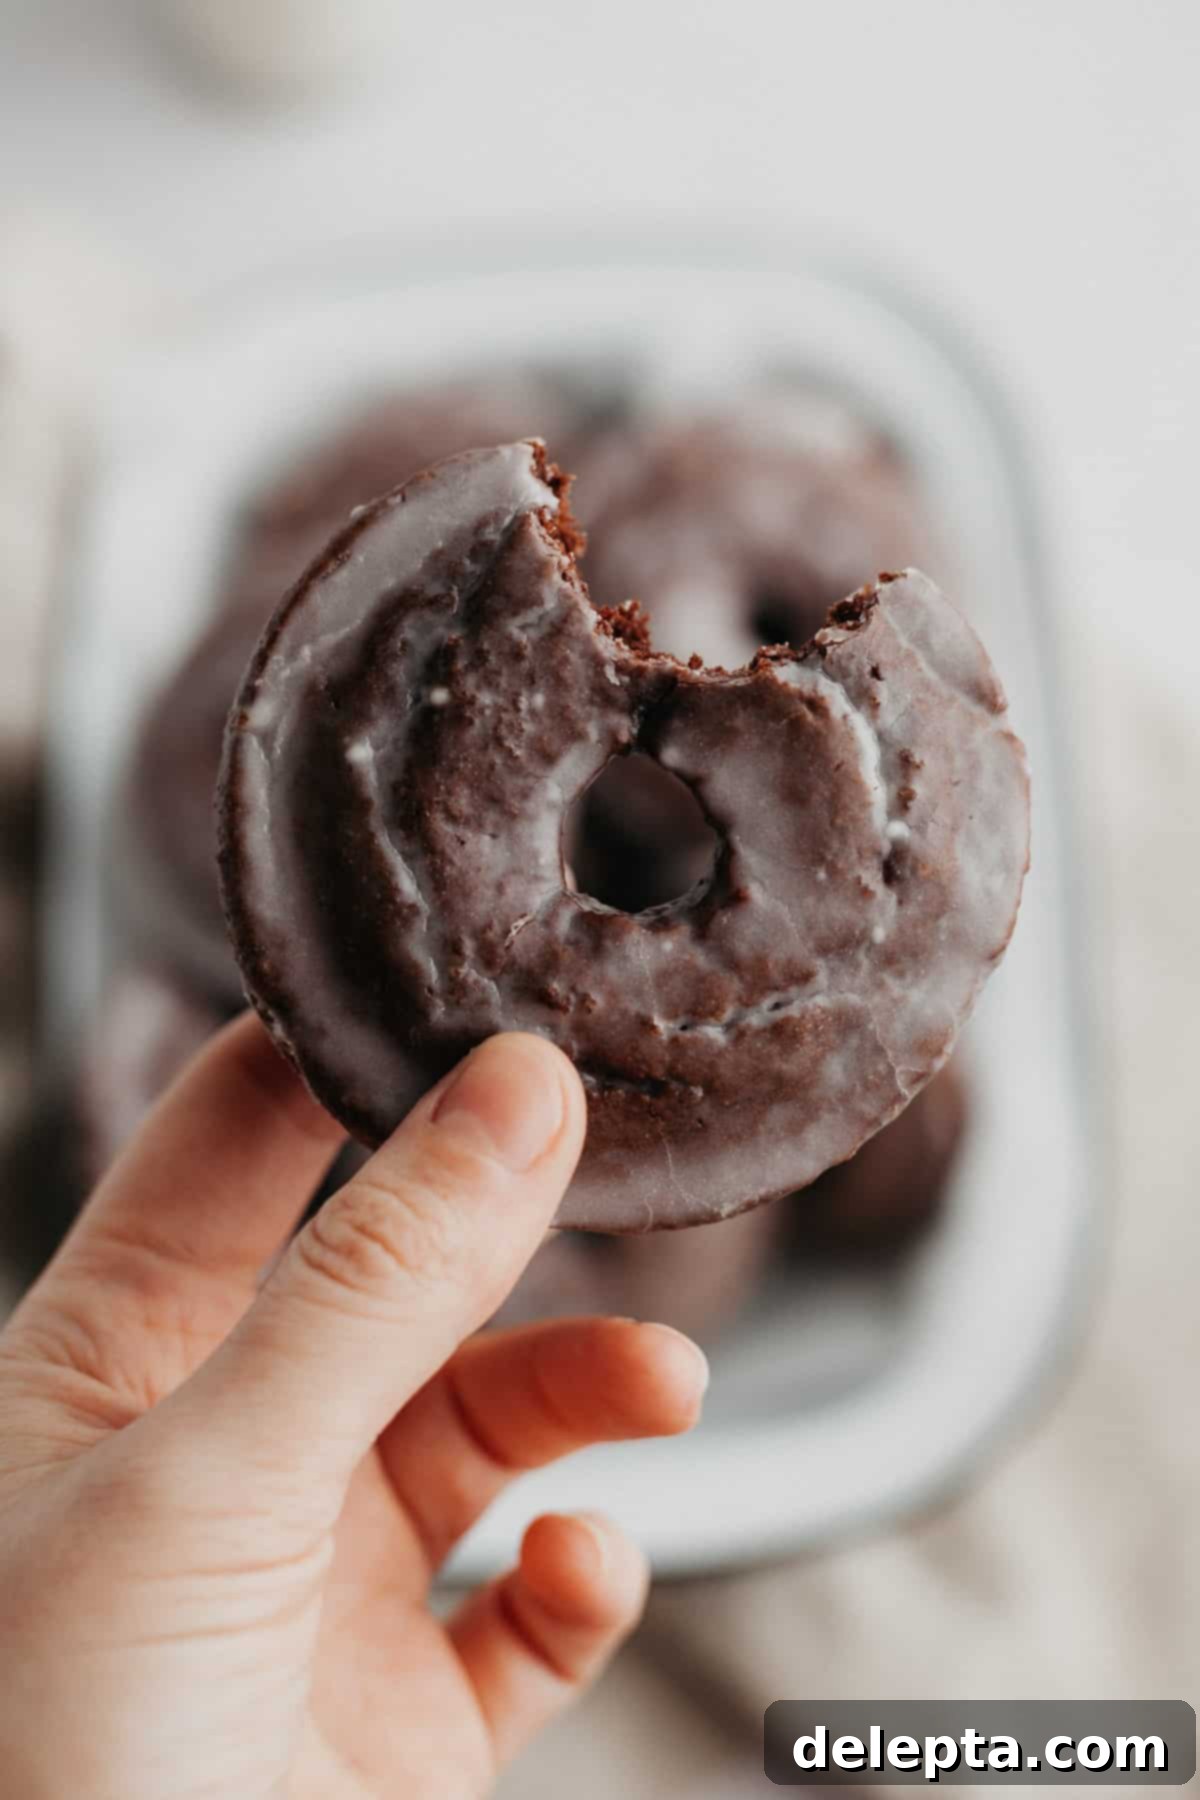
Top Tips for Perfect Baked Doughnuts Every Time
Achieving bakery-quality baked doughnuts at home is easier than you think, especially with a few expert tips. These small adjustments can make a big difference in the final taste and texture of your chocolate cake doughnuts:
- Precision is Key: Measure Ingredients by Weight (Metric): For consistent and accurate baking results, we cannot stress enough the importance of using a kitchen scale to measure your ingredients, especially flour and sugar, in metric grams. Baking is a science, and volumetric measurements (cups) can vary greatly. Weighing ingredients ensures you’re using the exact amounts specified in the recipe, leading to a much better outcome. While we provide US customary conversions, our recipes are developed and tested with metric measurements for ultimate precision.
- Room Temperature Ingredients for Superior Mixing: Always ensure all your cold ingredients, such as buttermilk and eggs, are at room temperature before you begin mixing. This seemingly minor detail is actually very important. Room temperature ingredients emulsify more effectively, creating a smoother, more homogeneous batter. This leads to a better texture in your finished doughnuts and a more consistent bake. Plan ahead and pull out these ingredients from the fridge an hour or two before you start baking.
- Thoroughly Grease Your Doughnut Pan: To prevent your delicious doughnuts from sticking and to ensure they release beautifully from the pan, it’s crucial to grease every single doughnut cavity thoroughly. A pastry brush is an excellent tool for this, allowing you to reach every nook and cranny. You can use softened butter for a rich flavor or a good quality baking spray. Don’t forget to re-grease the cavities for subsequent batches if your pan doesn’t hold all the batter at once.
- Piping Bag for Easy and Neat Filling: While you can use a spoon to fill your doughnut pan, a piping bag (or even a sturdy ziplock bag with one corner snipped off) offers a much cleaner and more efficient way to distribute the batter. This method helps to avoid messy spills and ensures each cavity is filled evenly, leading to uniformly shaped doughnuts.
- Do Not Overmix the Batter: Once you’ve added the wet ingredients to the dry, mix only until just combined. Overmixing develops the gluten in the flour, which can lead to tough, rubbery doughnuts instead of the light and fluffy texture we’re aiming for. A few small lumps in the batter are perfectly fine.
- Cool Completely Before Glazing: It’s tempting to glaze warm doughnuts, but patience is a virtue here! Glazing warm doughnuts will cause the glaze to melt and run off, resulting in a soggy doughnut and a thin, uneven coating. Allow your doughnuts to cool completely on a wire rack before dipping them into the vanilla glaze for the best adherence and a beautiful finish.
Frequently Asked Questions About Baked Chocolate Cake Doughnuts
Here are some common questions about baking chocolate cake doughnuts, along with detailed answers to help you master this delightful recipe:
For this recipe, we recommend using a standard 6-cavity doughnut pan. A popular and reliable choice is the Wilton 6-doughnut pan, which consistently yields great results. Since this recipe makes 9 doughnuts, you will need to bake them in two batches. After the first batch is done, allow the pan to cool slightly, then carefully remove the doughnuts and set them on a cooling rack. Regrease the empty cavities before piping in the remaining batter for your second batch. This ensures all your doughnuts bake perfectly without sticking.
The primary distinction lies in their leavening agent and cooking method. A traditional, “regular” doughnut is made from a yeasted dough, which requires time to proof and rise before being deep-fried in oil. This process results in a chewy texture with a characteristic yeast flavor. In contrast, a cake doughnut, like the ones in this recipe, uses chemical leaveners such as baking powder and baking soda, much like a cake. Cake doughnuts are typically baked in the oven, offering a softer, denser, and more cake-like crumb compared to their yeasted counterparts. They are quicker to make since there’s no waiting time for the yeast to activate.
While baked cake doughnuts are not a health food, they are generally considered a slightly healthier alternative to traditional fried doughnuts because they are not submerged in hot oil. This significantly reduces their fat content and overall calorie count compared to deep-fried versions. However, it’s important to remember that these cake doughnuts still contain butter and sugar, contributing to their delicious, indulgent nature. They are certainly a delightful treat, but moderation is always key!
To maintain their freshness and moist texture, store any leftover doughnuts in an airtight container. They will keep well in the refrigerator for up to 3 days. If you’ve made a larger batch or want to enjoy them later, these doughnuts freeze beautifully. Simply place them in a freezer-safe bag or airtight container and freeze for up to 3 months. When you’re ready to enjoy them again, transfer the frozen doughnuts to the refrigerator to defrost overnight. You can also briefly warm them in the microwave for a few seconds if you prefer a slightly warm, soft doughnut.
While this recipe was developed using all-purpose flour, many readers have had success substituting it with a 1:1 gluten-free baking flour blend that contains xanthan gum. Keep in mind that results may vary slightly in texture and rise, but it’s generally a viable option for those with gluten sensitivities. Always ensure all other ingredients are also certified gluten-free if strict dietary requirements are necessary.
Absolutely! While our classic vanilla glaze is a perfect pairing, feel free to get creative. You could experiment with a chocolate glaze by adding cocoa powder to the vanilla base, a peanut butter glaze, or even a simple powdered sugar dusting. For toppings, consider sprinkles, mini chocolate chips, shredded coconut, or chopped nuts (like pecans or walnuts) for added texture and flavor. The possibilities are endless to customize these delicious baked chocolate cake doughnuts to your liking!
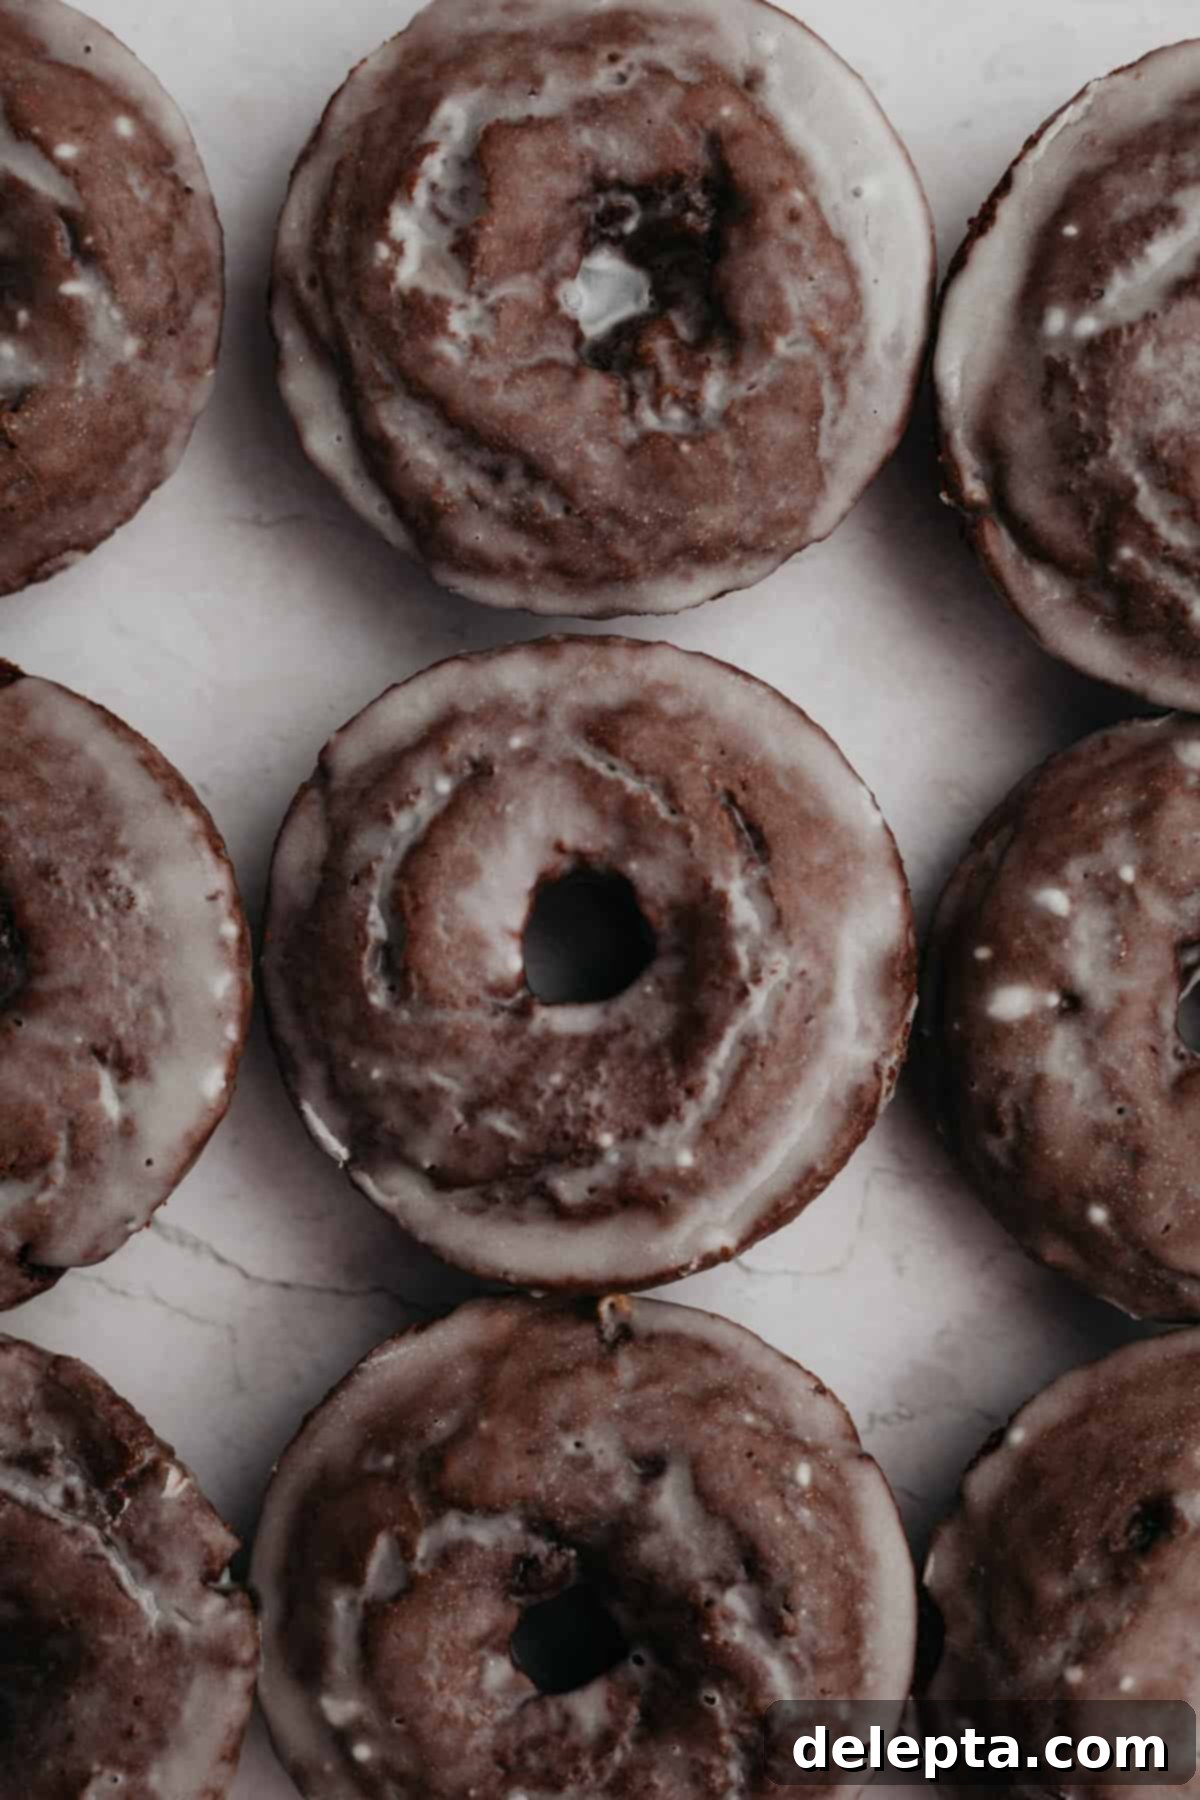
Expand Your Doughnut Horizons with These Delicious Recipes!
If you loved making these baked chocolate cake doughnuts, you’re in for a treat! We have a collection of other fantastic doughnut recipes that are equally delightful and perfect for any occasion. Explore new flavors and baking adventures with these next:
- Baked Maple Glazed Donuts
- Brioche Doughnuts with Chocolate Filling
- Baked Vanilla Doughnuts with a Raspberry Glaze
Have you tried this irresistible recipe for baked chocolate cake doughnuts? We’d absolutely love to hear about your experience! Make sure to tag us on Instagram @alpineellaso we can see your beautiful creations and share in your baking joy. Don’t forget to leave a review below to let us know how much you loved them! If you’re looking for even more inspiring baking ideas and delicious recipes, you can always follow us on Pinterest for daily doses of sweet inspiration.
Recipe
Baked Chocolate Cake Doughnuts
Ella Gilbert
Pin Recipe
Save RecipeSaved!
Equipment
-
Doughnut Pan
Ingredients
Donuts
- 125 grams all purpose flour
- 25 grams cocoa powder
- ½ teaspoon baking powder
- ½ teaspoon baking soda
- ½ teaspoon kosher salt
- 56 grams unsalted butter melted
- 106 grams light brown sugar
- 113 ml buttermilk room temperature
- 1 eggs room temperature
- 1 teaspoon vanilla extract
- ¼ teaspoon nutmeg
Vanilla Glaze
- 125 grams confectioners’ sugar
- 2 tablespoon milk
- 1 teaspoon vanilla extract
- pinch salt
Instructions
Donuts
-
Preheat oven to 350°F/175°C. Grease a donut pan with butter or baking spray.
-
Whisk together the flour, sugar, cocoa powder, nutmeg, baking powder, baking soda, and salt in a large bowl. Combine buttermilk, eggs, melted butter and vanilla extract.
-
Pour buttermilk mixture into dry mixture and fold in until all incorporated. Make sure there are no flour pockets.
-
Pipe the batter into the cavities, filling each ¾ of the way. Bake for 11-13 minutes, until golden brown and springy to the touch. After 5 minutes take out each donut and let cool on a wire rack, before pouring the next batch in. I like the re-grease the pan before I refill it.
Vanilla Glaze
-
Combine all ingredients together in a medium bowl until completely smooth. Dip each cooled doughnut in and let dry on a cooling rack above a paper towel.
Notes
Butter: I use European style butter, like Kerry Gold, in my recipes. This type of butter, with its higher fat content, contributes to a creamier texture and richer flavor in your finished baked goods.
Salt: If you don’t have kosher salt, you can substitute it with fine table salt, but remember to halve the amount called for in the recipe. As a general rule, 1 teaspoon of kosher salt is equivalent to ½ teaspoon of fine salt to avoid over-salting.
Buttermilk: No buttermilk on hand? No problem! You can easily substitute it with an equal amount of sour cream, or create a homemade buttermilk substitute by adding 1 tablespoon of white vinegar or lemon juice to a measuring cup, then filling it with regular milk to the desired volume and letting it sit for 5-10 minutes until it curdles slightly.
Storage: Keep the baked chocolate cake doughnuts in an airtight container to maintain their freshness and prevent them from drying out. They will last for up to 3 days in the fridge. For longer storage, you can freeze the doughnuts for up to 3 months. Simply place them in a freezer-safe bag or container. When ready to enjoy, allow them to defrost overnight in the fridge before serving.
Nutrition
