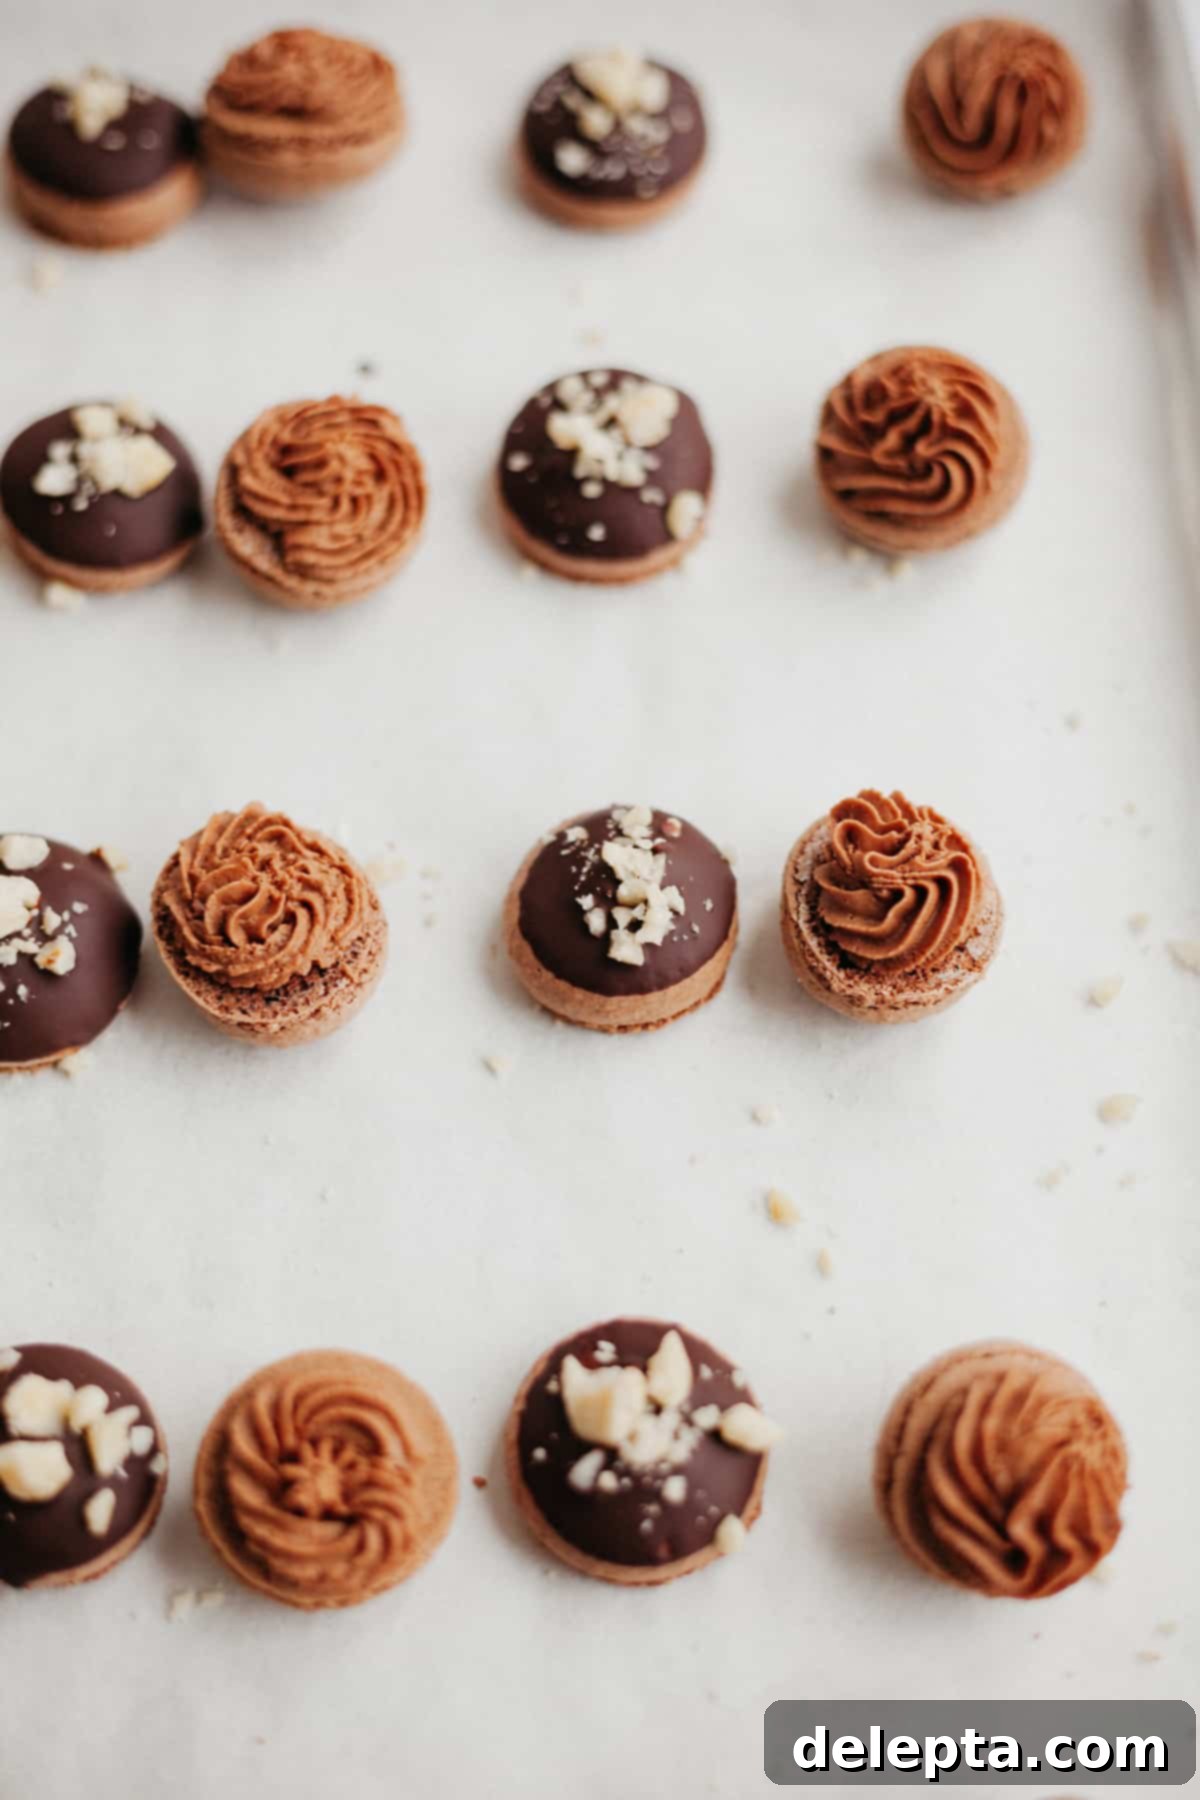
Decadent Chocolate Nutella Macarons: Your Guide to Perfect Swiss Meringue Shells & Creamy Hazelnut Filling
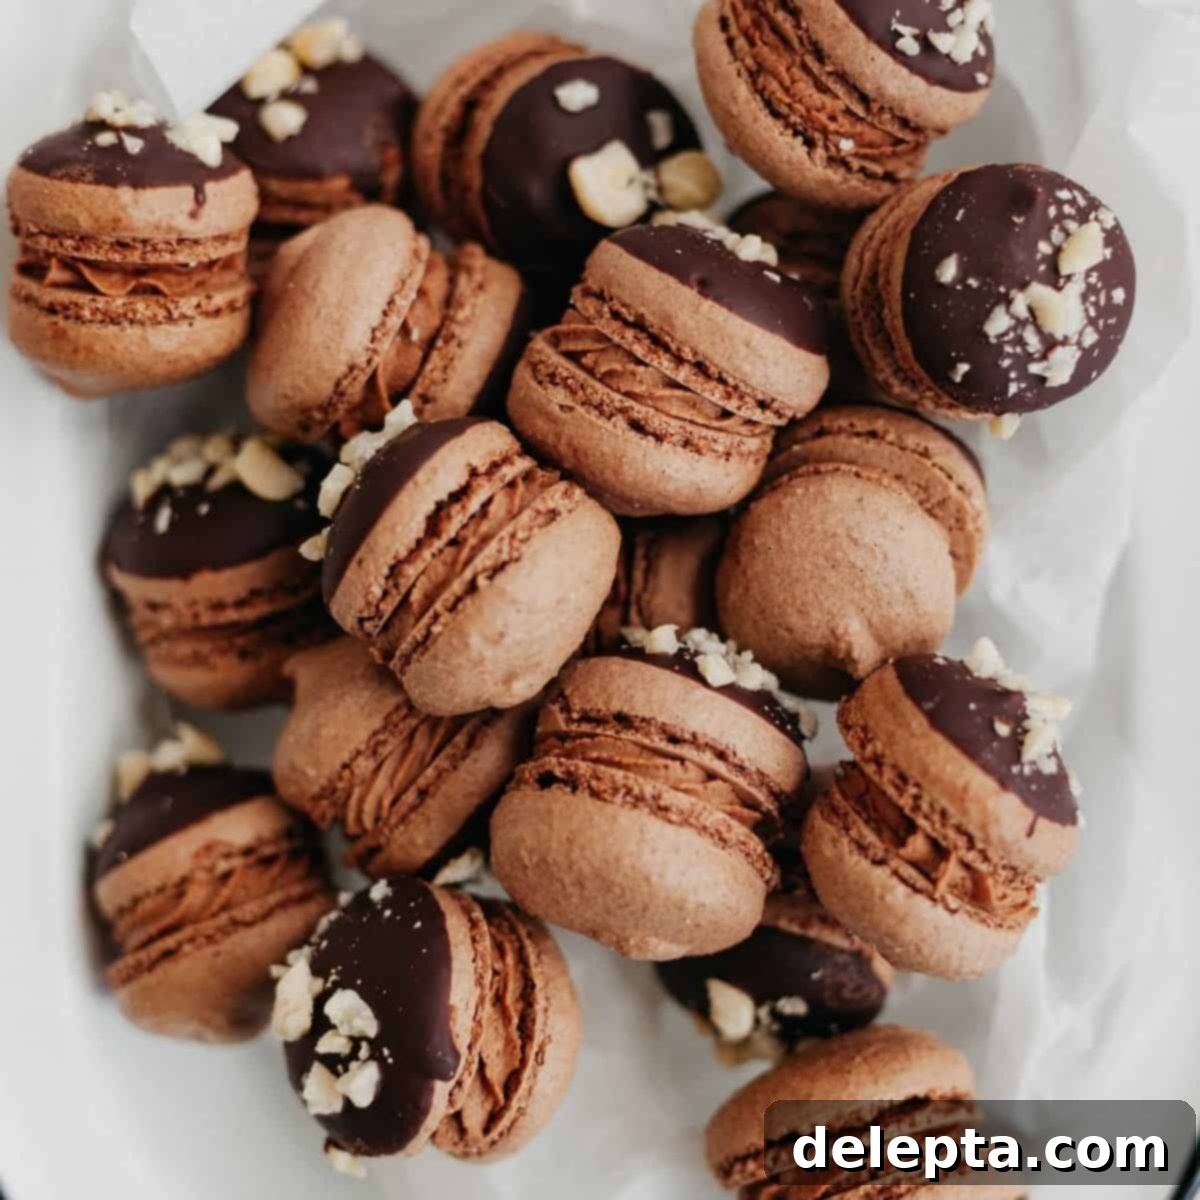
Prepare to fall in love with these irresistible chocolate macaron shells, generously filled with a luscious Nutella buttercream. This exquisite recipe utilizes the highly reliable Swiss meringue method, ensuring stable and beautiful shells every time. To elevate their elegance, half of these delightful treats are dipped in rich dark chocolate and then adorned with a sprinkling of crunchy crushed hazelnuts, adding both visual appeal and an extra layer of texture. These chocolate and hazelnut macarons are more than just a dessert; they are a sophisticated indulgence that promises to impress.
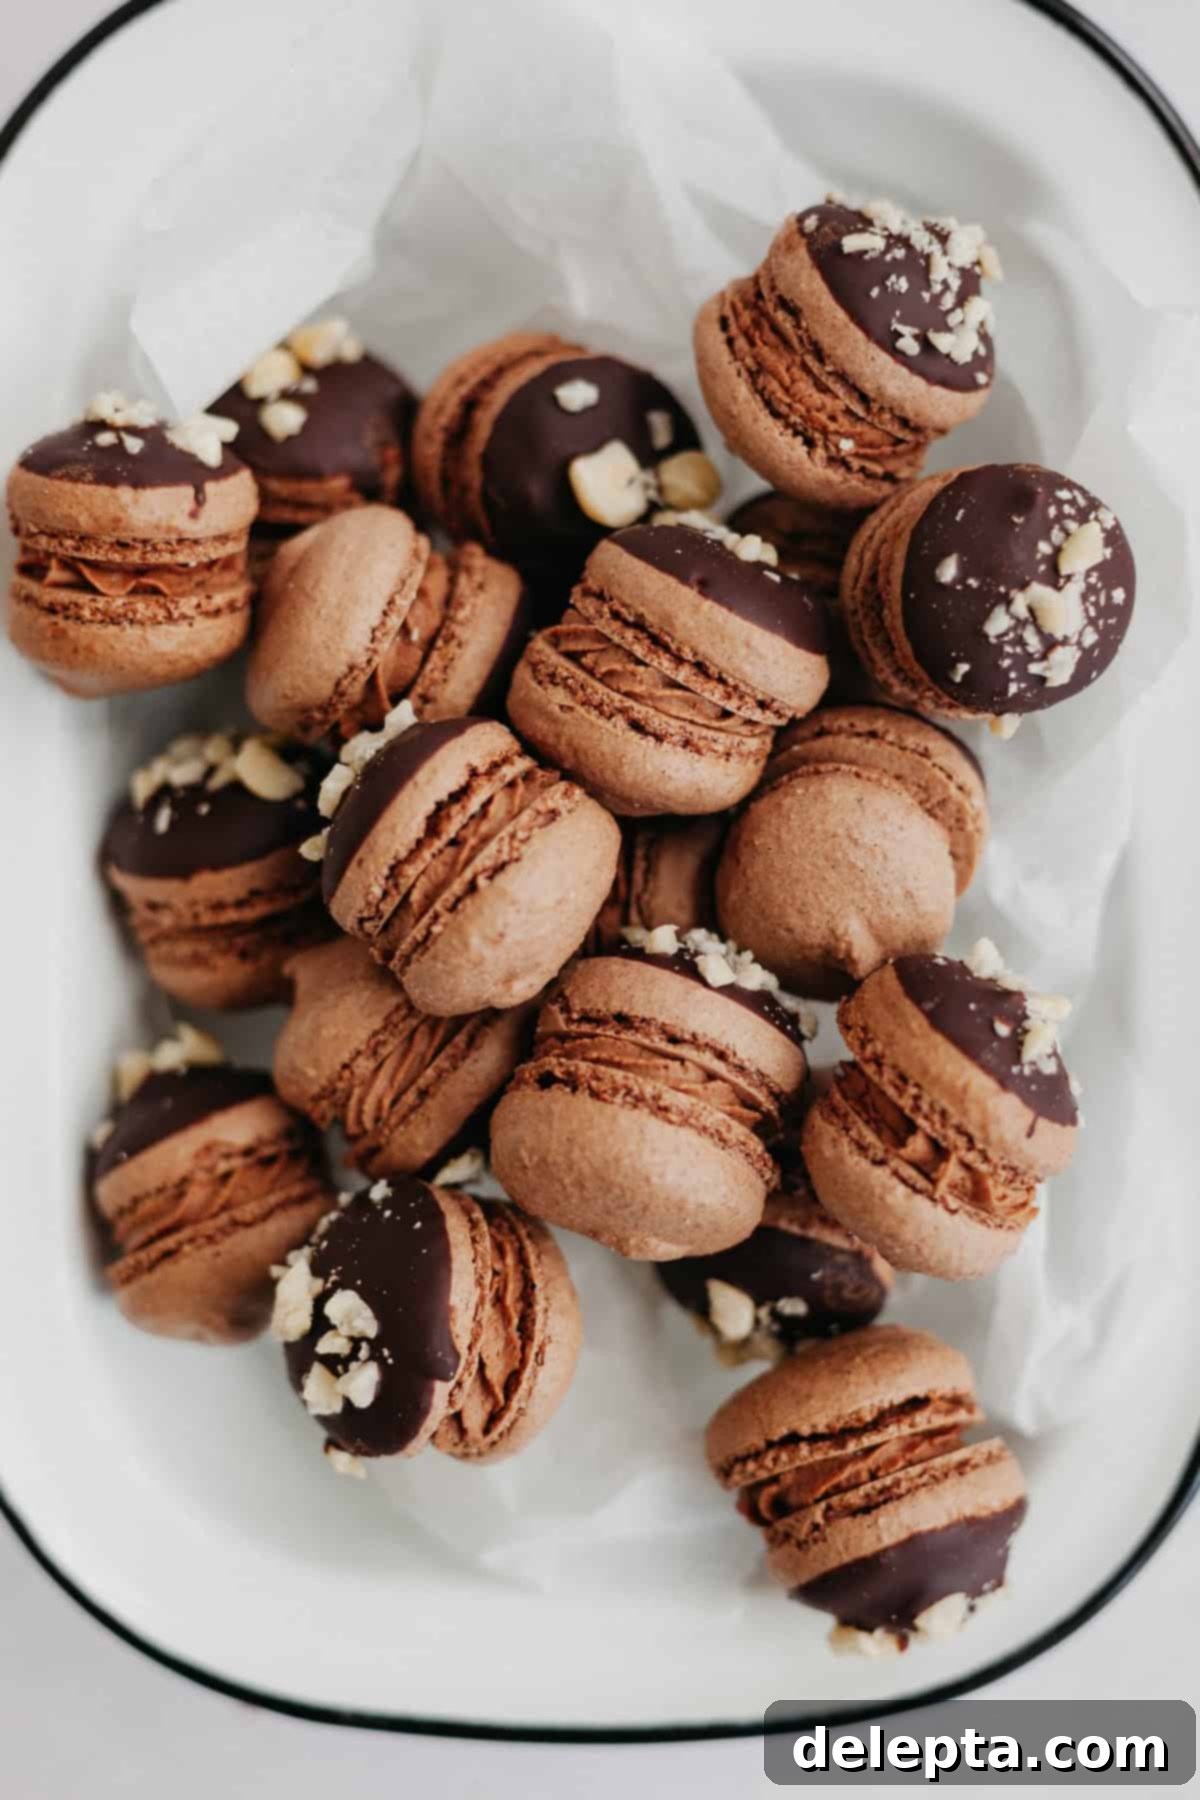

Why These Nutella Macarons Are a Must-Try!
Embark on a culinary adventure with these delightful Nutella macarons that perfectly balance complexity and deliciousness. Here’s what makes them truly special:
- Flavor Profile: Each bite delivers a harmonious blend of rich cocoa from the chocolate macaron shells, coupled with the creamy, nutty sweetness of the Nutella buttercream filling. For an added layer of decadence, some shells are dipped in melted dark chocolate and sprinkled with finely crushed hazelnuts, creating a multi-faceted flavor experience that is both familiar and exciting. The combination of chocolate and hazelnut is a classic for a reason, and these macarons showcase it beautifully.
- Texture Sensation: Experience the iconic macaron crunch followed by a delightfully chewy interior. This contrasts beautifully with the extra creamy, smooth Nutella frosting, which melts in your mouth. The crushed hazelnuts on top introduce a pleasant, subtle “pizazz” and textural contrast, making each macaron a journey through various delightful sensations – crispy, chewy, smooth, and crunchy all in one elegant bite.
- Achievable Elegance: While macarons have a reputation for being challenging, this recipe, which employs the Swiss meringue method, is designed to be as foolproof as possible. It offers a more stable meringue, leading to fewer frustrations. As long as you meticulously follow the detailed instructions and, crucially, use a kitchen scale for precise measurements, you will be well on your way to baking perfect macarons. The Swiss meringue approach, though it adds a few extra minutes to the prep, provides invaluable stability, ensuring better results for bakers of all skill levels.
- Time Commitment: The hands-on preparation for these beautiful macarons takes approximately 30 minutes. However, it’s important to account for the necessary resting time for the macaron shells to form a skin, as well as waiting for the chocolate topping to fully dry and set before you can assemble your delectable cookie sandwiches. This patient approach is key to achieving structurally sound and visually perfect macarons.
- A Resounding ‘Yes!’ to Remaking: Without a doubt, these Nutella macarons are a recipe you’ll want to revisit again and again. They strike a perfect balance between being incredibly fun to make and delivering a truly fancy, impressive result. They are ideal for special occasions, gifting, or simply indulging your sweet tooth with a touch of gourmet flair. Their stunning appearance and exquisite taste make them a showstopper.
Mastering Macarons with the Swiss Meringue Method
The Swiss meringue method is a fantastic choice for macaron making, especially for those who might be intimidated by the more temperamental Italian or French methods. It provides a incredibly stable meringue to work with, significantly reducing common macaron problems like hollow shells or cracking. This stability translates to more consistent results and a more enjoyable baking process.
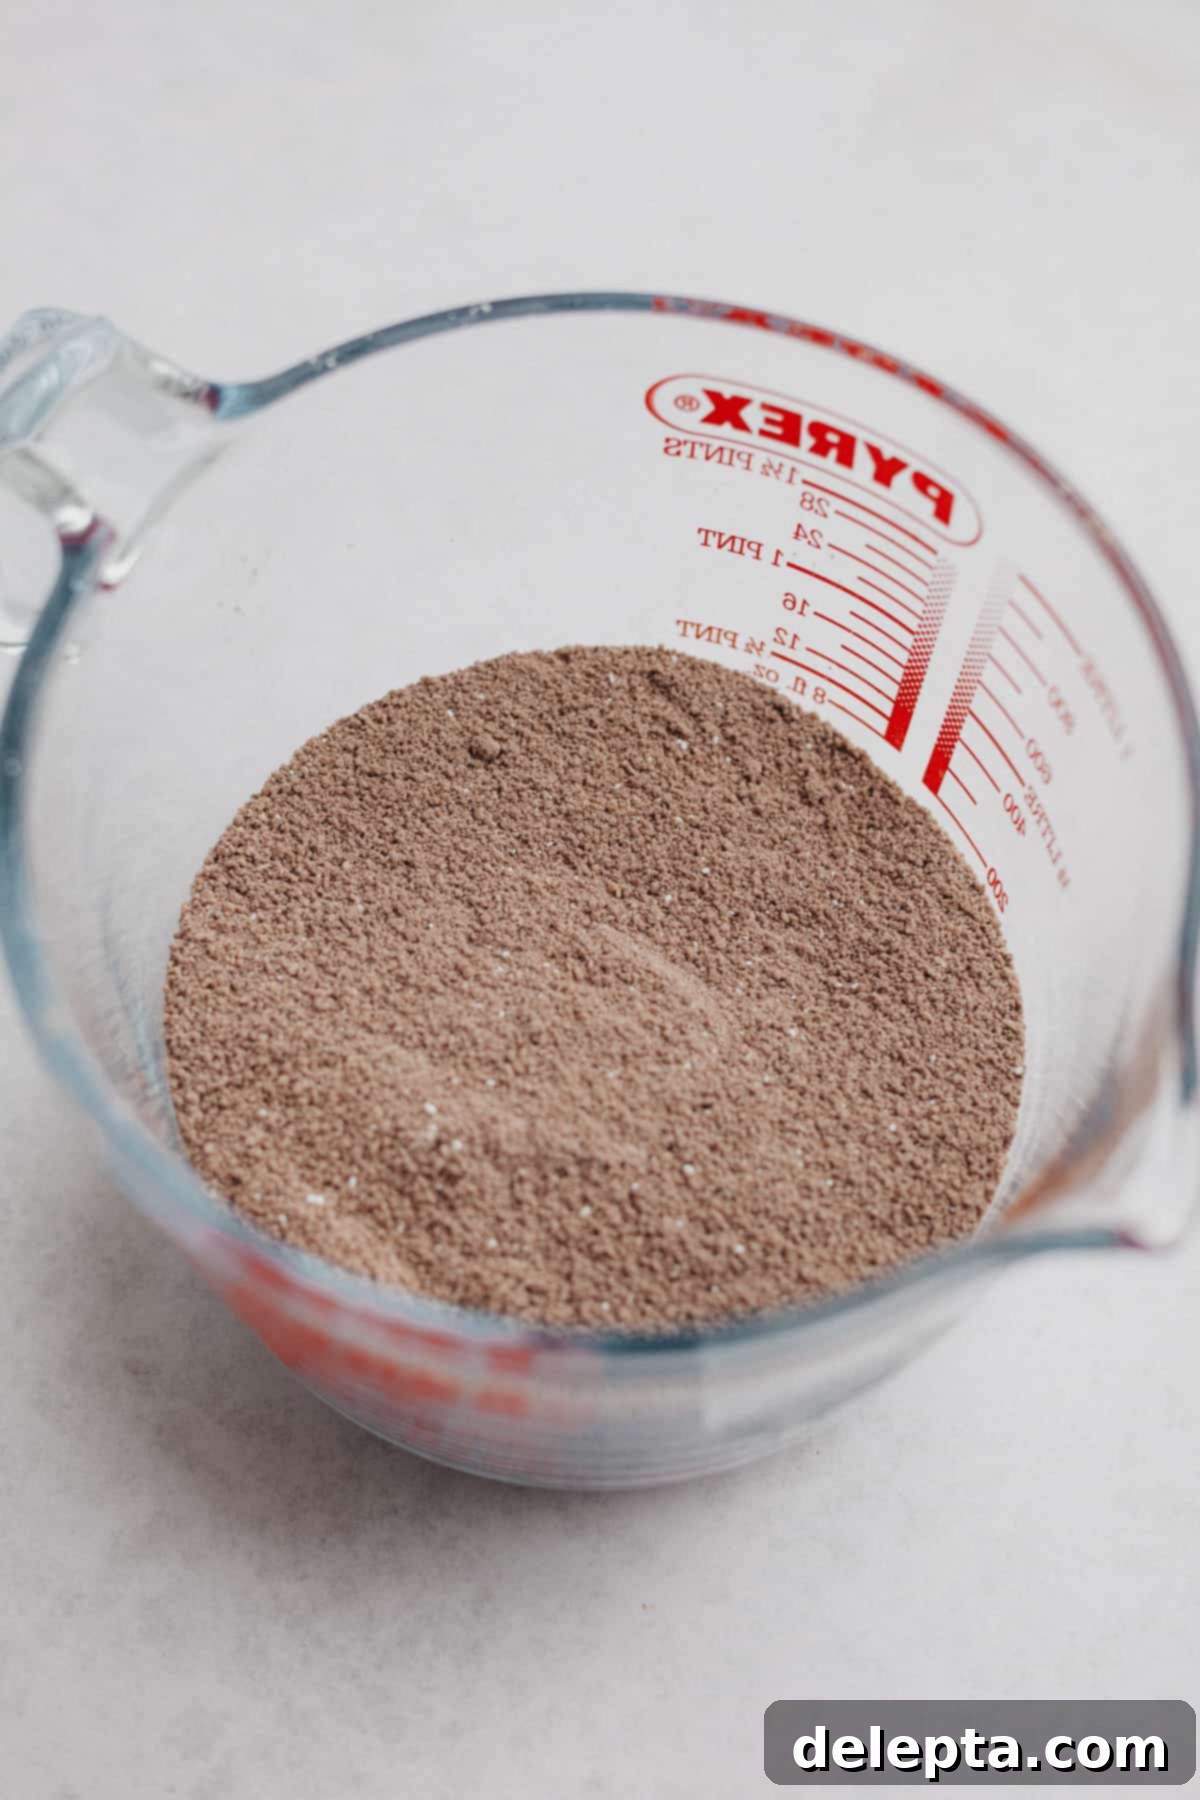
To start, meticulous preparation of your dry ingredients is paramount. Ensure you **sift your powdered sugar, cocoa powder, and almond flour not just once, but twice**. This crucial step addresses a common issue: many almond flours, even those labeled “finely ground,” can contain larger bits that will affect the smoothness of your macaron shells. Double sifting guarantees the ultra-fine texture needed for those perfectly smooth tops. When separating your egg whites, be extremely careful to avoid any traces of egg yolk. Even a tiny amount of yolk, which contains fat, can prevent your egg whites from whipping up properly into a stable meringue.
Next, set up your double boiler. Place a heatproof bowl over a small saucepan containing about an inch of simmering water. It’s vital that the bottom of the bowl does not touch the water directly, as this could inadvertently scramble your egg whites. **Combine the egg whites and granulated sugar in the bowl and begin whisking constantly**. This heating process takes only a few minutes, gently warming the egg whites while dissolving the sugar. You’ll know the mixture is ready when you lift your whisk and rub a small amount of the mixture between your fingers; there should be absolutely no sugar granules remaining. This ensures a smooth, stable meringue base.
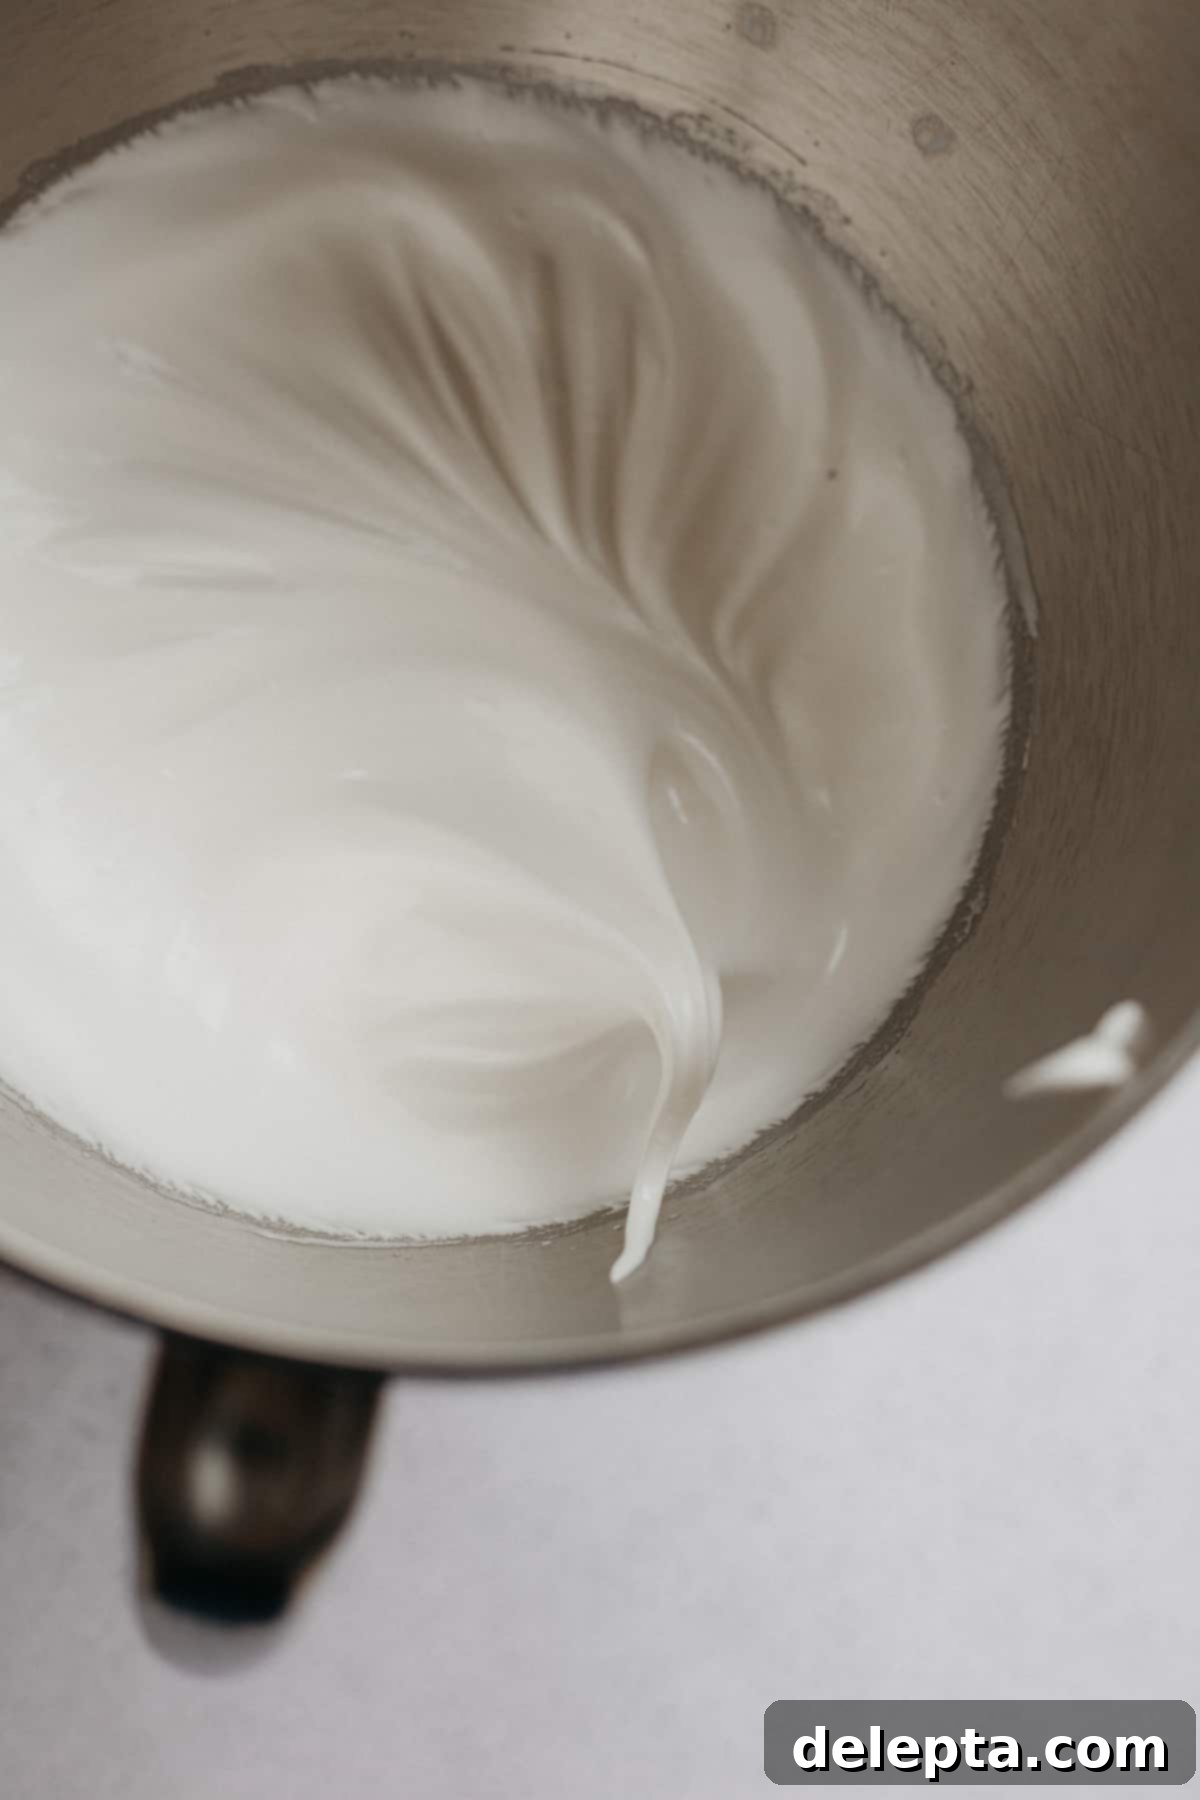
Once the sugar is dissolved, transfer the warm mixture into the bowl of a stand mixer fitted with a whisk attachment. Begin whisking on low speed until it becomes foamy, then gradually increase the speed to medium-high. **Continue to whisk until the meringue becomes thick, glossy, and forms a stiff peak** that holds its shape but bends ever so slightly at the tip when you lift the whisk. This “soft peak” stage is critical; it’s always safer to stop and check frequently rather than risk over-mixing, which can deflate your meringue and lead to flat, hollow macarons.
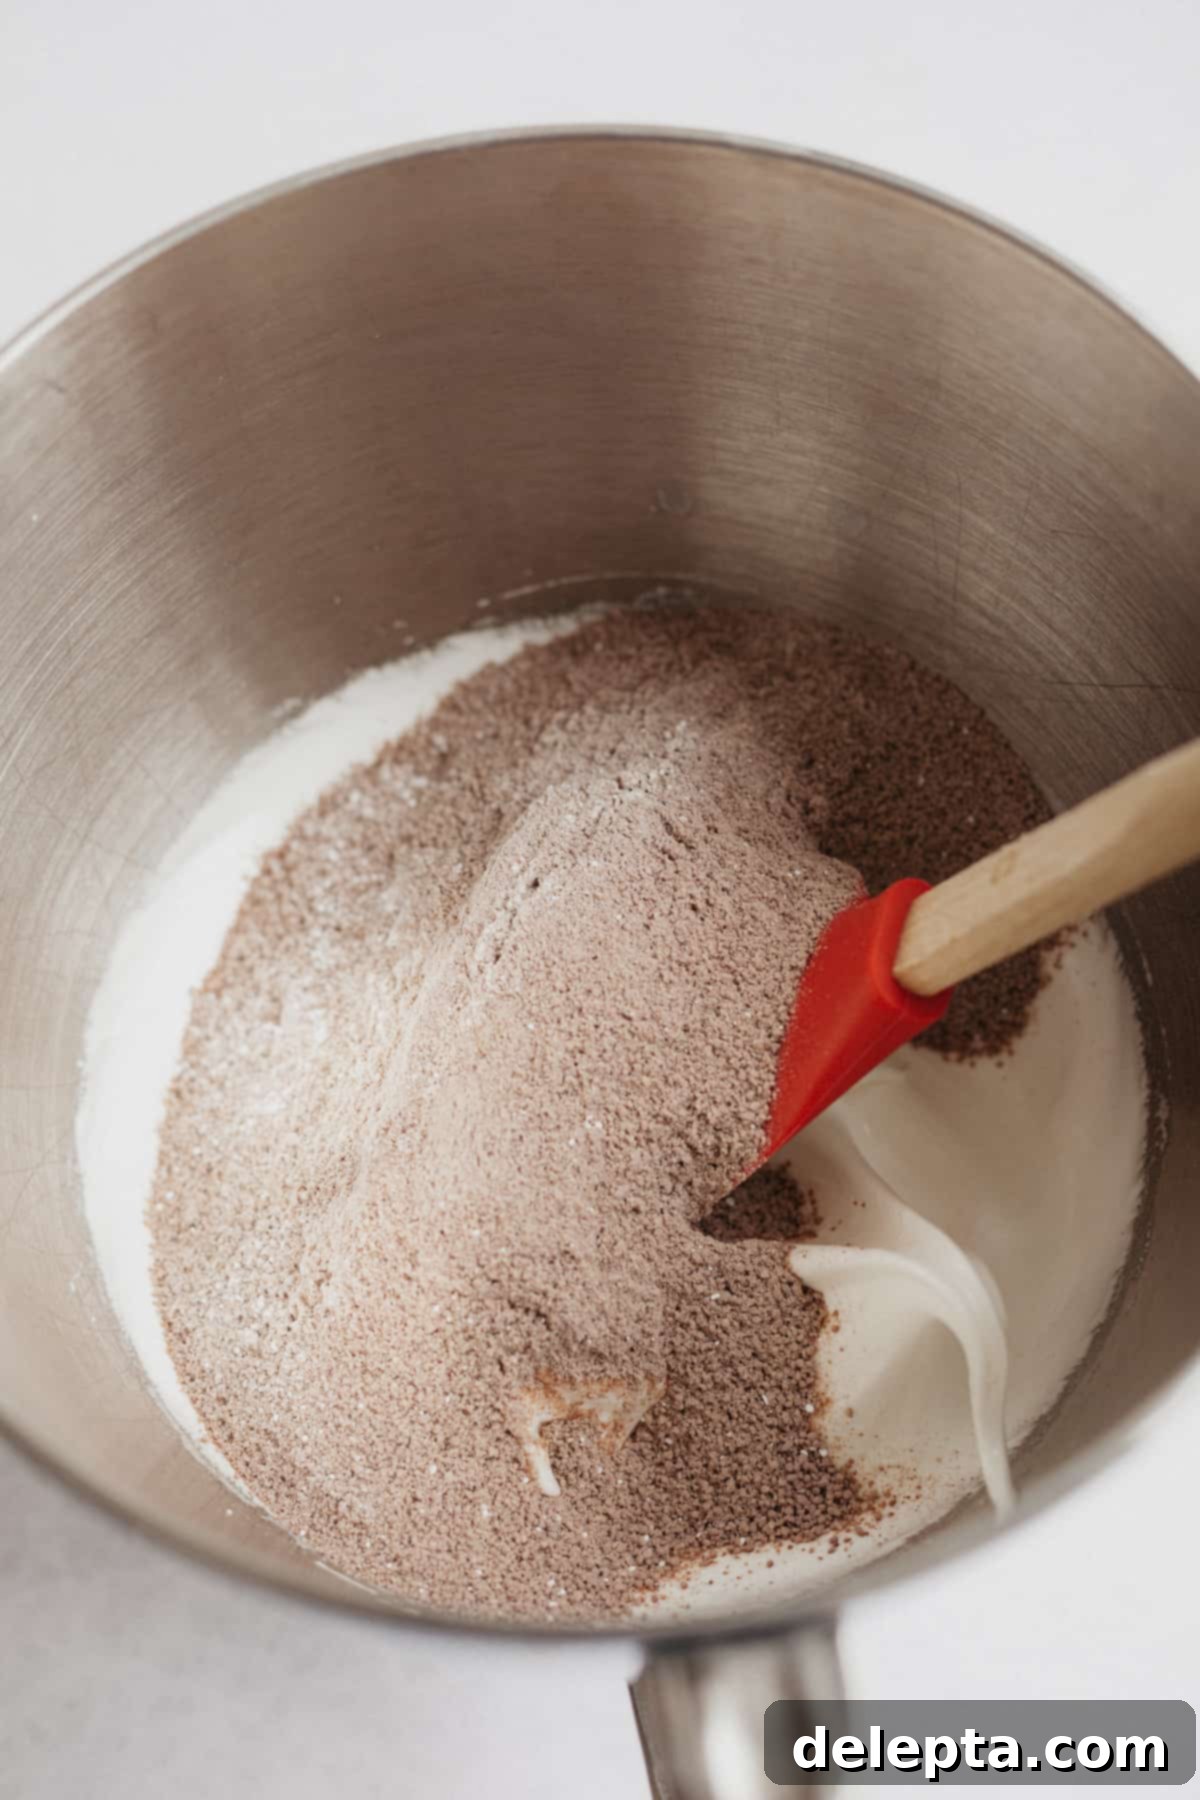
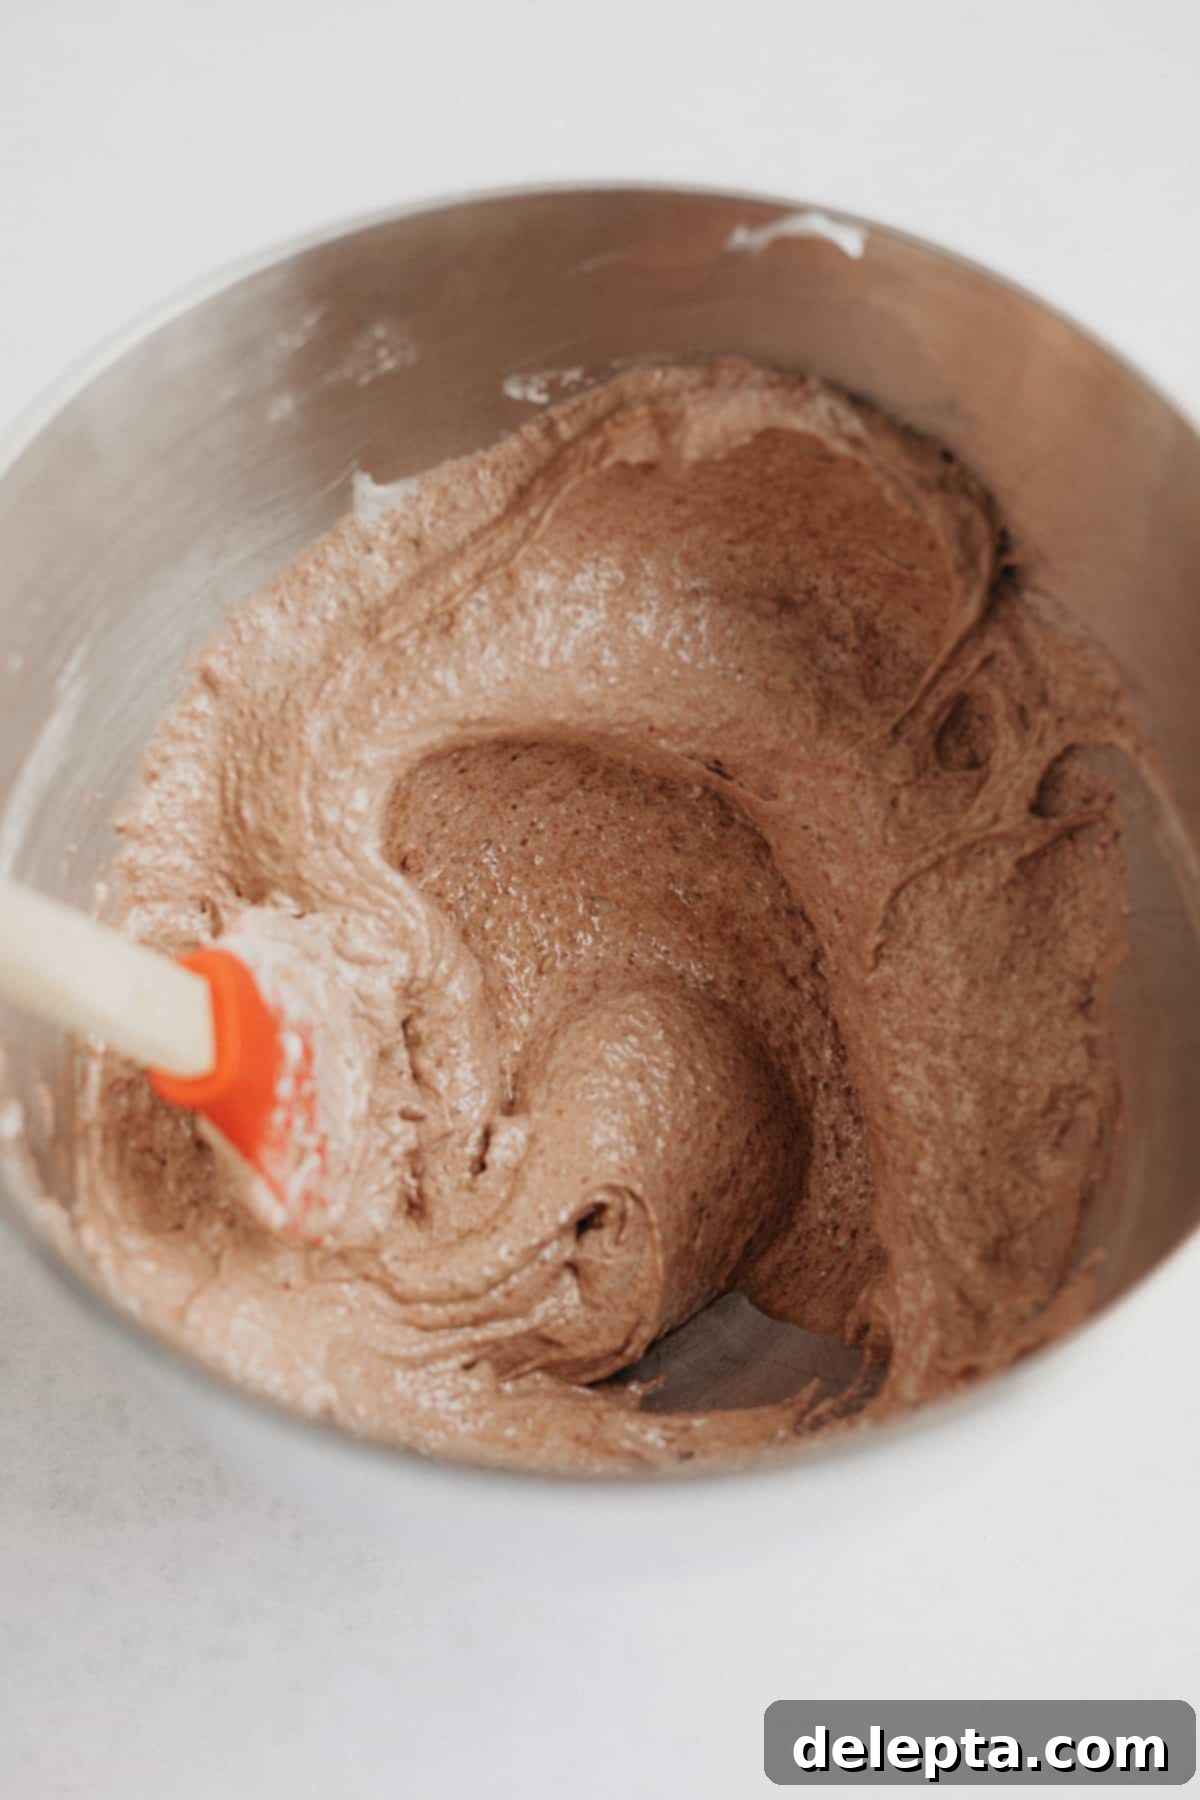
Now comes the pivotal step: **macaronage**. Gently add your sifted dry mixture (almond flour, powdered sugar, cocoa powder) to the meringue. Using a rubber spatula, begin to fold and press the batter against the sides of the bowl. The goal is to deflate some of the air from the meringue while thoroughly incorporating the dry ingredients. You are looking for a specific consistency: the batter should flow off your spatula like slow-moving lava, not too runny and not too thick. The ultimate test is being able to lift your spatula and **draw a figure-8 with the batter without it breaking** for at least 10-15 seconds. This indicates the perfect macaronage consistency, ensuring smooth shells and classic “feet.”
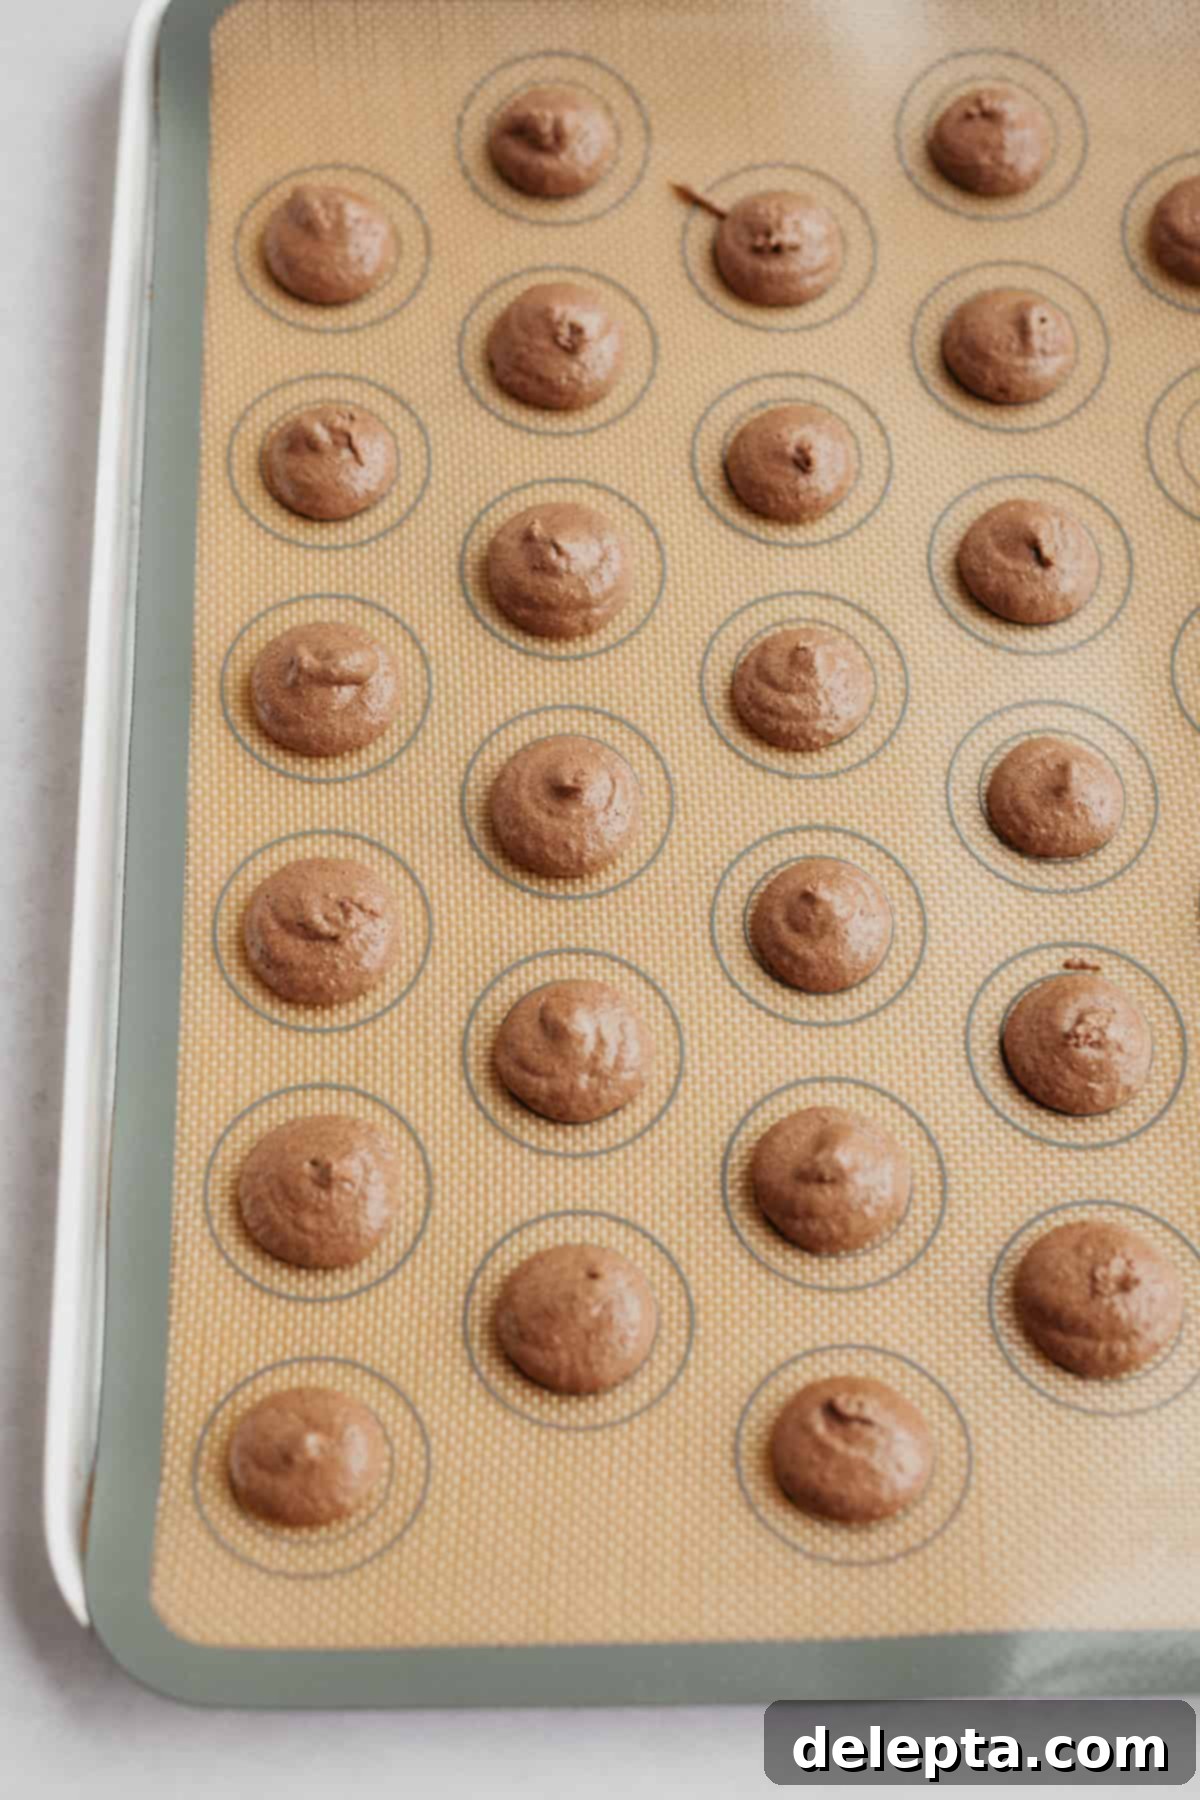
Once your batter is perfectly macaronaged, transfer it into a piping bag fitted with a round tip. Pipe uniform circles onto baking sheets lined with either parchment paper or silicone mats. Both options work well; while some bakers claim parchment can cause slight wrinkling on the underside, many find little difference in the final product. After piping, **firmly tap your baking pans twice on your counter**. This vital step helps to release any trapped air bubbles within the macaron shells. If these air bubbles are not removed, they can expand during baking, causing your macaron shells to crack or break. Use a toothpick to gently pop any stubborn surface bubbles you might see.
Finally, **allow your piped macarons to rest at room temperature for about 20-30 minutes, or until they develop a dry “skin.”** This skin is crucial for preventing cracks and encouraging the formation of those characteristic ruffled “feet” during baking. When baking, always **bake one tray at a time**. Baking multiple trays simultaneously can lead to uneven heat distribution and inconsistent results. Once baked, let them cool completely on the baking sheet before attempting to remove them; this prevents breakage and ensures they hold their shape.
Velvety Nutella Buttercream and Elegant Decoration
Once your exquisite macaron shells are baked and cooled, the fun of filling and decorating begins! This part of the process is wonderfully straightforward. Just like with the shells, preparation is key: ensure you **sift your powdered sugar for the buttercream**. This simple step guarantees a luxuriously smooth, lump-free frosting, which is essential for a professional finish and a delightful mouthfeel.
To create the decadent Nutella buttercream, start by beating the room-temperature unsalted butter until it’s light, fluffy, and perfectly smooth. This usually takes a couple of minutes in a stand mixer. Next, add in the rich Nutella and a pinch of kosher salt, beating until all ingredients are thoroughly combined and the mixture is uniform. With the mixer running on a low speed, gradually and slowly pour in the sifted powdered sugar. This prevents a cloud of sugar from engulfing your kitchen! Finally, incorporate the heavy cream. The amount of heavy cream can be adjusted to achieve your desired buttercream consistency – add a little more if you prefer a softer, more spreadable frosting.
For the elegant decoration, gently melt your dark chocolate. You can do this either in a microwave, using short bursts and stirring frequently, or over a double boiler for a more controlled melt. Dip exactly half of your cooled macaron shells into the melted chocolate, allowing any excess to drip off. Carefully place these dipped shells on a piece of parchment paper to dry. Here’s a pro tip: **wait approximately 30 seconds after dipping before sprinkling over your crushed hazelnuts.** I’ve found that this slight pause allows the chocolate to set just enough so that the hazelnuts adhere evenly and stay in place, rather than sliding down the sides of the shells if sprinkled immediately. This technique ensures a beautifully uniform coating.
Once dipped and sprinkled, place the baking tray of decorated macaron shells into your fridge for about 5-10 minutes. This quick chill will help the chocolate topping to set completely, ensuring it’s firm and mess-free. While the decorated shells are chilling, transfer your Nutella buttercream into a piping bag fitted with a medium circular tip. Once the chocolate is set, remove the shells from the fridge, pipe a generous dollop of buttercream onto the plain halves of the macaron shells, and gently sandwich them together with their chocolate-dipped counterparts. And just like that, your stunning and delicious Nutella macarons are complete!
Frequently Asked Questions About Macarons
The macaronage stage is crucial, and it’s always better to err on the side of under-mixing than over-mixing, as over-mixed batter cannot be easily corrected. You’ll know your batter has reached the perfect consistency when it flows smoothly off your rubber spatula, resembling molten lava. A reliable test is to lift your spatula and try to draw a figure-8 with the flowing batter in the air without it breaking for at least 10-15 seconds. If it breaks too soon, continue folding a few more times. If it flows too quickly, you might have over-mixed.
Ruffly or spread-out feet can be caused by a few factors, but they are common issues in macaron baking. This often happens if you’ve over-mixed your meringue batter (resulting in a weaker structure), over-mixed during the macaronage stage (too much air removed), or if your oven temperature was too high, causing the shells to bake too quickly before the feet properly form. Don’t worry, even if they aren’t perfectly uniform, they will still be incredibly delicious!
For consistent results, I highly recommend using a Silpat mat. These reusable silicone mats are excellent for baking macarons as they provide an even heat distribution and prevent sticking, reducing the need for parchment paper. You can even purchase Silpat mats that come with pre-traced macaron circles, which makes piping perfectly sized shells much easier. While some bakers suggest parchment paper can lead to slight wrinkling on the underside of the macaron, I haven’t personally found a significant difference in results between a good quality parchment paper and silicone mats.
Crushing hazelnuts for your macaron topping is quite simple. Place your roasted hazelnuts in a clean, sturdy dish towel. Gather the corners of the towel to create a bundle, then take a rolling pin and gently but firmly hit the hazelnuts until they are crushed to your desired consistency. Be careful not to pulverize them into a fine powder; you want a nice mix of textures for that delightful crunch.
Yes, absolutely! Macarons are notoriously delicate and highly sensitive to precise ingredient ratios. Using a kitchen scale for all measurements (especially for egg whites, almond flour, and sugars) is non-negotiable for consistent success. Volumetric measurements (cups and spoons) can vary wildly, leading to unpredictable results. A scale will make all the difference in achieving those perfect macaron shells.
To maintain their freshness and delicate texture, store your completed Nutella macarons in an airtight container in the refrigerator. They will remain delicious for up to 3 days. For best flavor and texture, allow them to come to room temperature for about 15-20 minutes before serving. Macarons also freeze beautifully; place them in a single layer in an airtight container, and they can be frozen for up to 2-3 weeks. Thaw them in the refrigerator overnight before bringing them to room temperature.
Hollow macarons are a common issue that many bakers face. It usually indicates that the meringue was either under-whipped or over-whipped, or the oven temperature was not ideal. Under-whipping results in a weak meringue that collapses, while over-whipping introduces too much air, creating a large void. Additionally, if the oven temperature is too high, the shells can set too quickly, trapping steam and creating a hollow center. Ensuring precise meringue consistency and accurate oven temperature is key to achieving full, perfectly chewy shells.
Love Macarons? Explore More Delicious Recipes!
- Birthday Cake Macarons: Celebrate with Sprinkles and Fun!
- Cookies & Cream Macarons: A Beloved Classic in Macaron Form
If you’ve whipped up a batch of these glorious Nutella macarons, I would absolutely love to see your creations! Make sure to tag me on Instagram @alpineella and share your masterpiece. Your feedback is invaluable, so please consider leaving a review below to help other aspiring bakers. For even more delectable baking ideas and inspiration, be sure to follow me on Pinterest. Happy baking!
Recipe

Nutella Macarons
Ella Gilbert
Pin Recipe
Save RecipeSaved!
Ingredients
Macaron Shells
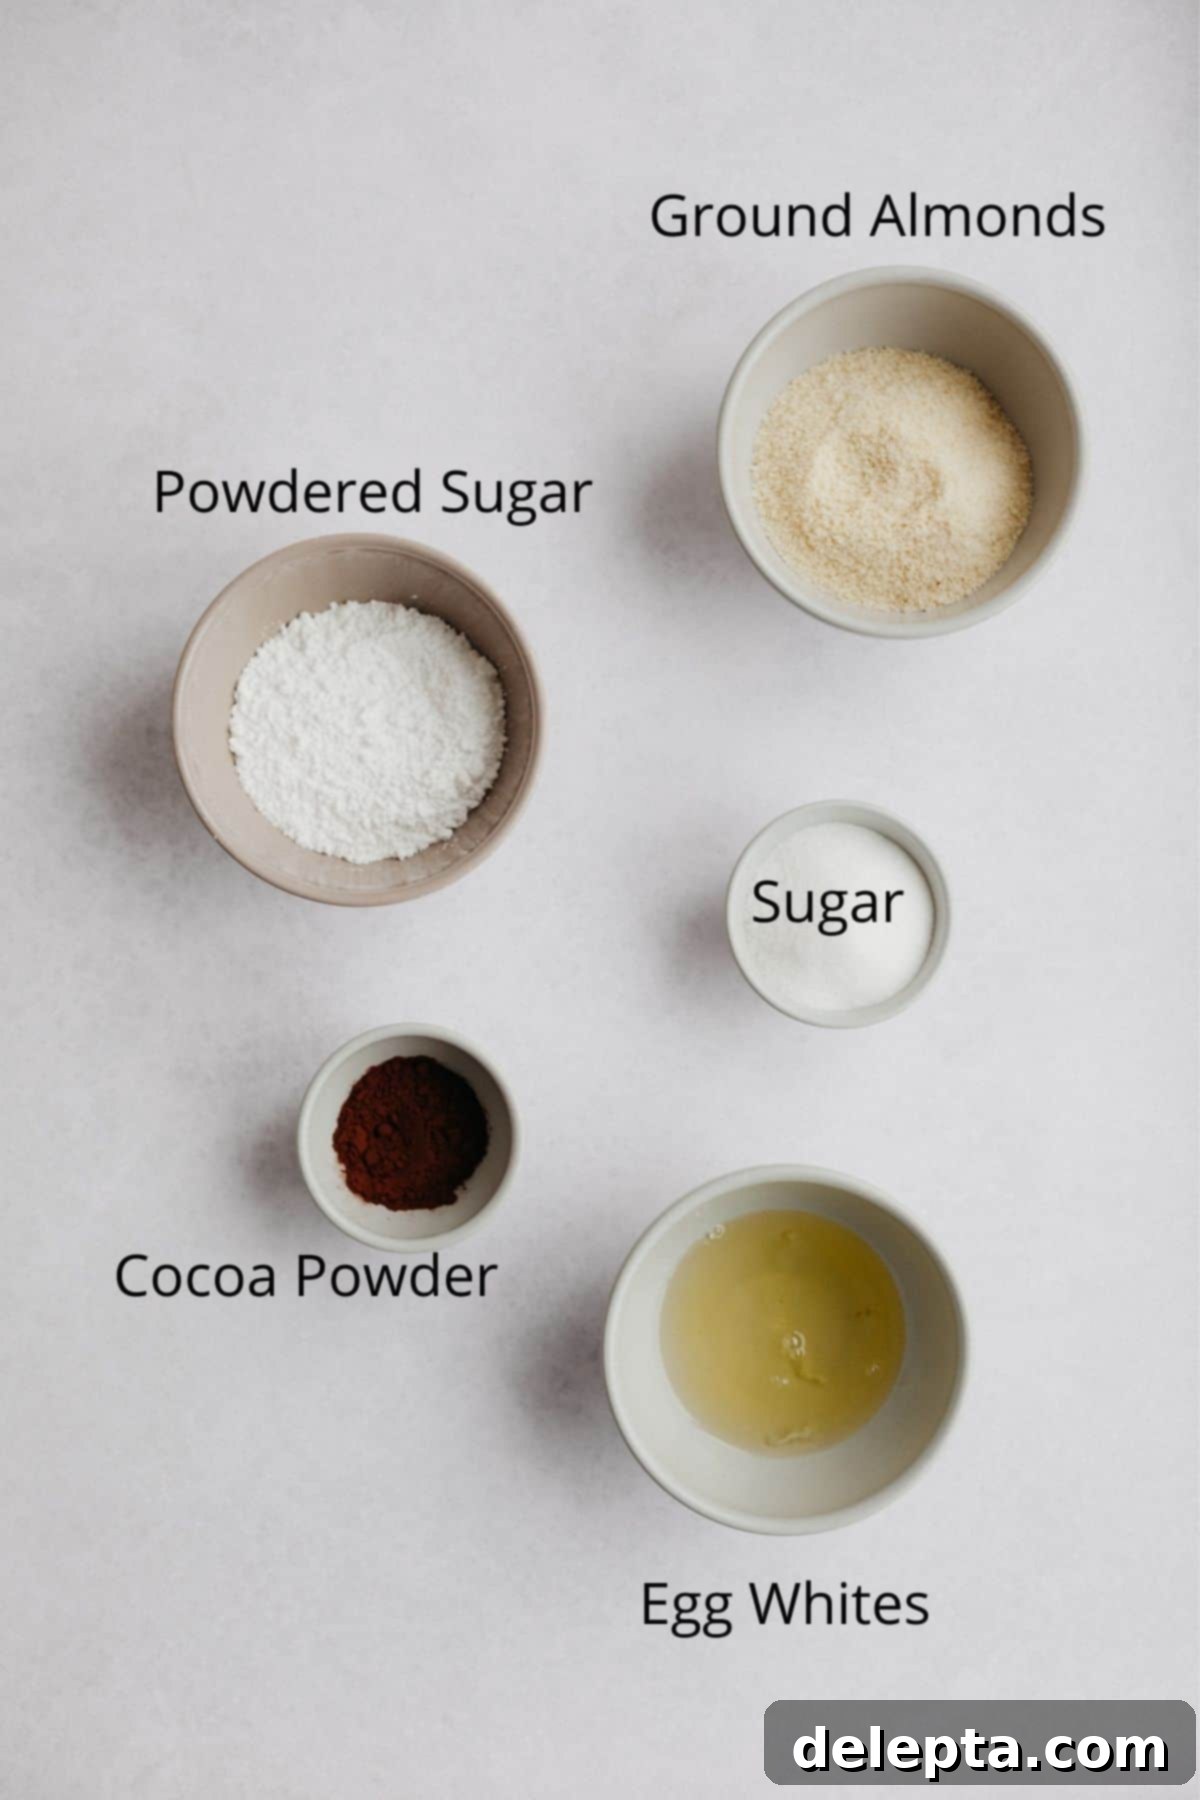
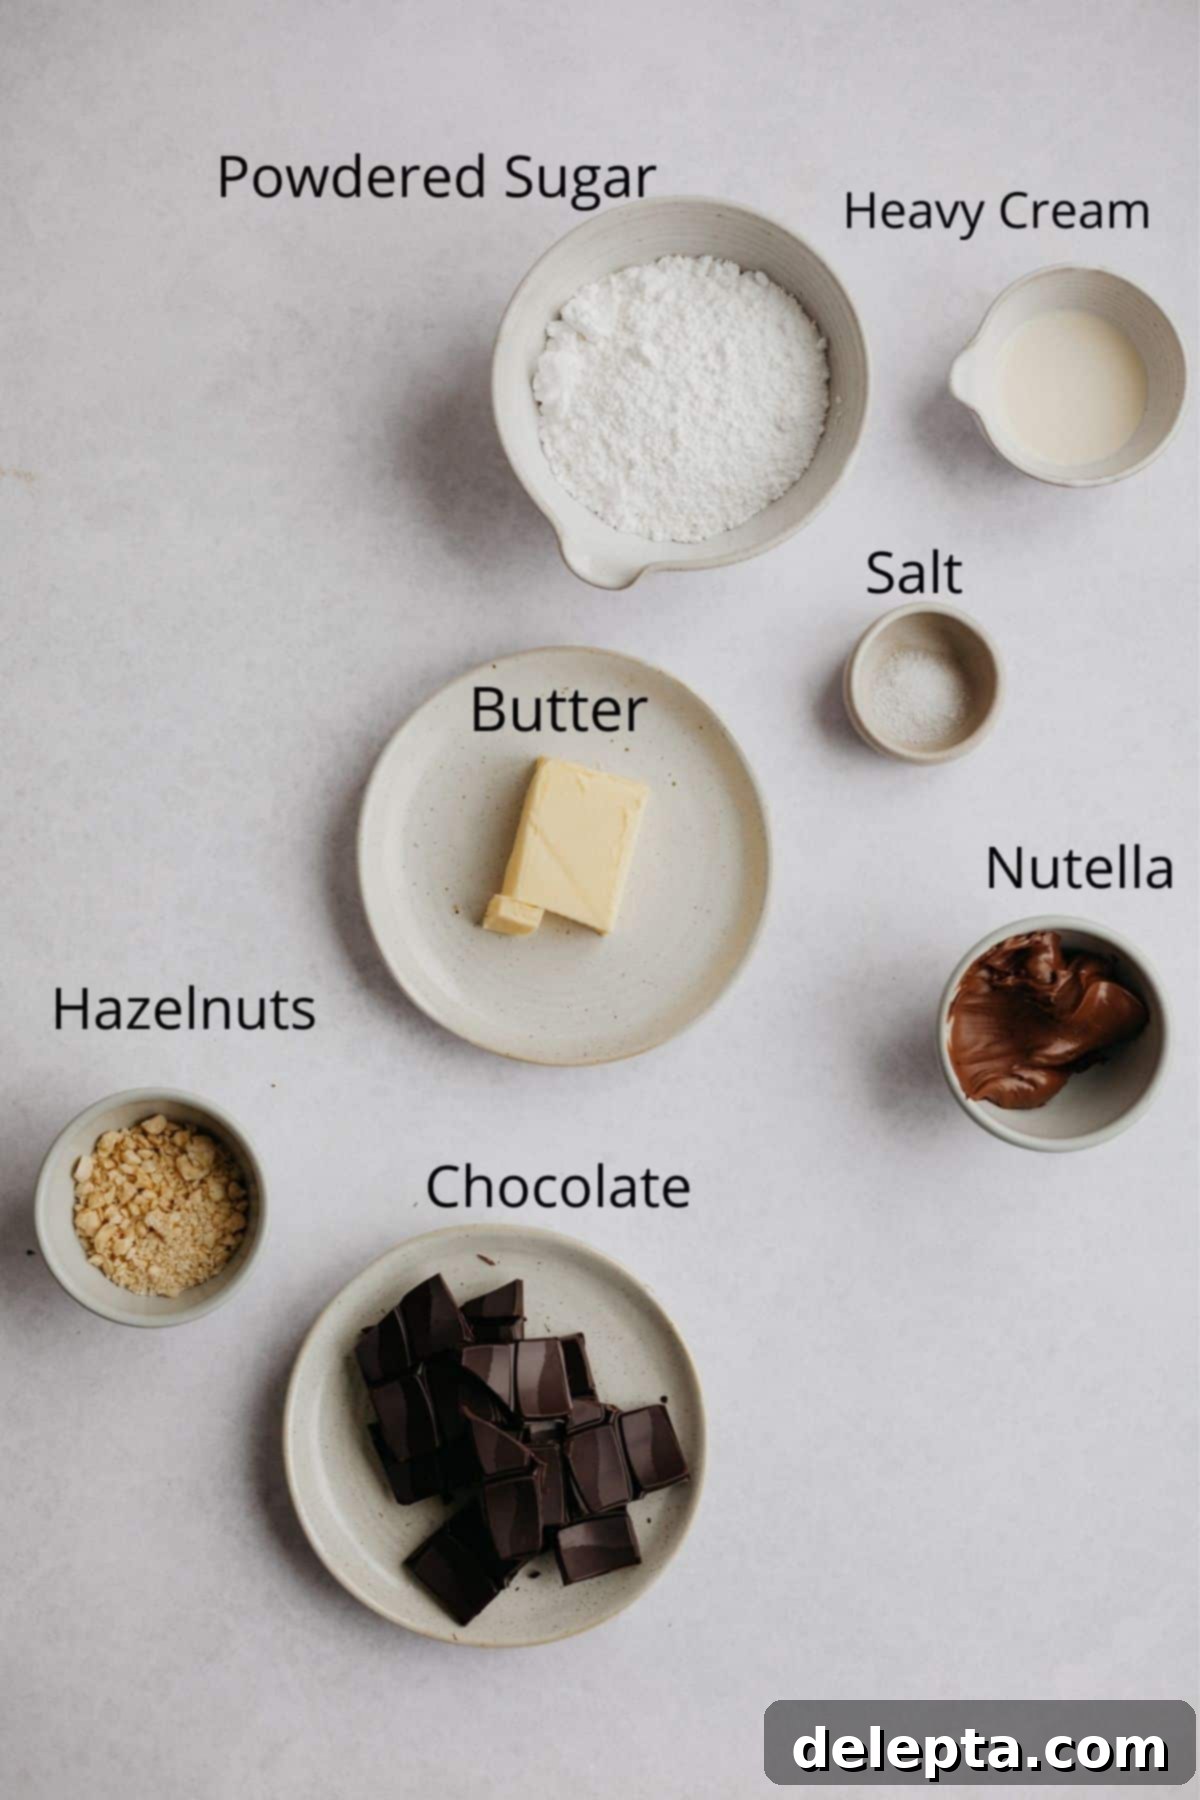
- 100 grams egg whites room temperature
- 100 grams granulated sugar
- 100 grams almond flour
- 91 grams powdered sugar
- 14 grams cocoa powder
Nutella Buttercream
- 56 grams unsalted butter room temperature
- 160 grams Nutella
- 126 grams powdered sugar
- ¼ teaspoon kosher salt
- 2 tablespoon heavy cream
Decoration
- 113 grams dark chocolate melted
- crushed hazelnuts
Instructions
Macaron Shells
-
Prepare three baking sheets by lining them with either parchment paper or reusable silicone mats. Ensure they are flat and ready for piping.
-
In a medium bowl, sift together your powdered sugar, cocoa powder, and almond flour. Repeat this sifting process a second time to ensure all dry ingredients are exceptionally fine and free of lumps. Set this mixture aside.
-
Create a double boiler by placing a heatproof bowl over a small saucepan with about an inch of simmering water. Crucially, make sure the bottom of the bowl does not touch the water. Add the egg whites and granulated sugar to the bowl. Whisk constantly for approximately 2 minutes, or until the sugar has completely dissolved. You can test this by rubbing a small amount of the mixture between your fingers; if it feels smooth with no gritty sugar granules, it’s ready. Do not let the egg whites cook.
-
Carefully pour the warm egg white and sugar mixture into the clean bowl of a stand mixer, fitted with the whisk attachment.
-
Begin whisking on low speed for 30 seconds; the mixture should start to become foamy. Increase the speed to medium and continue whisking for about 2 minutes, until the meringue turns opaque white and fluffy.
-
Now, increase the mixer speed to medium-high. Continue whisking until the meringue becomes glossy and reaches the stiff peak stage – when you stop the mixer and lift the whisk, the meringue should form a firm peak that curls or bends only slightly at the very tip. Be careful not to over-whisk.
-
Gently add the sifted powdered sugar, almond flour, and cocoa powder mixture into the stiff meringue.
-
Using a rubber spatula, begin to gently fold and press the batter against the sides of the bowl. This process, known as macaronage, removes excess air from the meringue. Continue until the batter flows like thick lava off the spatula. To test readiness, lift your spatula and try to draw a figure-8 with the batter; it should flow continuously without breaking for 10-15 seconds.
-
Carefully transfer the macaron batter into a piping bag fitted with a medium round tip (such as an Ateco 804 or Wilton 1A).
-
Pipe out approximately 70 uniform macaron shells onto your prepared baking sheets, holding the piping bag at a 90-degree angle to the surface. Once all shells are piped, firmly tap each tray twice against your counter to release any trapped air bubbles. Use a toothpick or scribe tool to gently pop any remaining visible air bubbles on the surface.
-
Allow the piped macarons to rest at room temperature for 30-60 minutes (this time can vary depending on humidity) until a dry “skin” forms. The shells should be dull and not sticky to the touch.
-
Preheat your oven to 325°F (162°C). Bake the macaron shells one tray at a time for 15-17 minutes. The shells are done when they have developed “feet” and do not wobble when gently touched. Let them cool completely on the baking sheet before attempting to remove them.
Decoration
-
Melt your dark chocolate using a microwave (in 30-second intervals, stirring each time) or a double boiler. Dip half of the cooled macaron shells into the melted chocolate, allowing excess to drip off.
-
After dipping, wait about 30 seconds for the chocolate to set slightly, then sprinkle the crushed hazelnuts over the chocolate-dipped shells. Place the macarons on a tray in the fridge for 5-10 minutes to allow the chocolate to fully set and dry.
Nutella Buttercream Assembly
-
Sift your powdered sugar for the buttercream and set it aside. This ensures a smooth, lump-free frosting.
-
In the bowl of an electric mixer with the whisk attachment, beat the softened unsalted butter until it is light, fluffy, and completely smooth, typically about 2-3 minutes.
-
Add in the Nutella and kosher salt. Beat on medium speed until well combined and uniform.
-
With the mixer running on low speed, slowly and gradually pour in the sifted powdered sugar. Once incorporated, add the heavy cream. You may adjust the amount of heavy cream to achieve your desired buttercream consistency.
-
Increase the speed to medium-high and beat the buttercream for another minute to ensure it is fully aerated and smooth.
-
Transfer the Nutella buttercream into a piping bag with a medium round tip. Pipe a generous amount onto the plain macaron shells (the ones not dipped in chocolate) and gently sandwich them together with the decorated shells. Your exquisite Nutella macarons are now ready to be enjoyed!
Notes
- For consistent and successful macaron shells, it is absolutely essential to use a digital kitchen scale for all ingredient measurements. Precision is key!
- To crush hazelnuts, place them in a clean dish towel, gather the ends, and gently hit them with a rolling pin until they reach your desired coarse consistency.
- Store your finished Nutella macarons in an airtight container in the refrigerator for up to 3 days. For optimal flavor and texture, allow them to come to room temperature for about 15-20 minutes before serving.
- Humidity can significantly affect macaron drying time. On humid days, shells may take longer to form a skin. Consider using a fan to aid the drying process if needed.
- Don’t be discouraged if your first batch isn’t perfect. Macaron making is a skill that improves with practice and attention to detail!
Nutrition
