The Ultimate Fudgy Brown Butter Espresso Brownies: Your New Favorite Recipe!
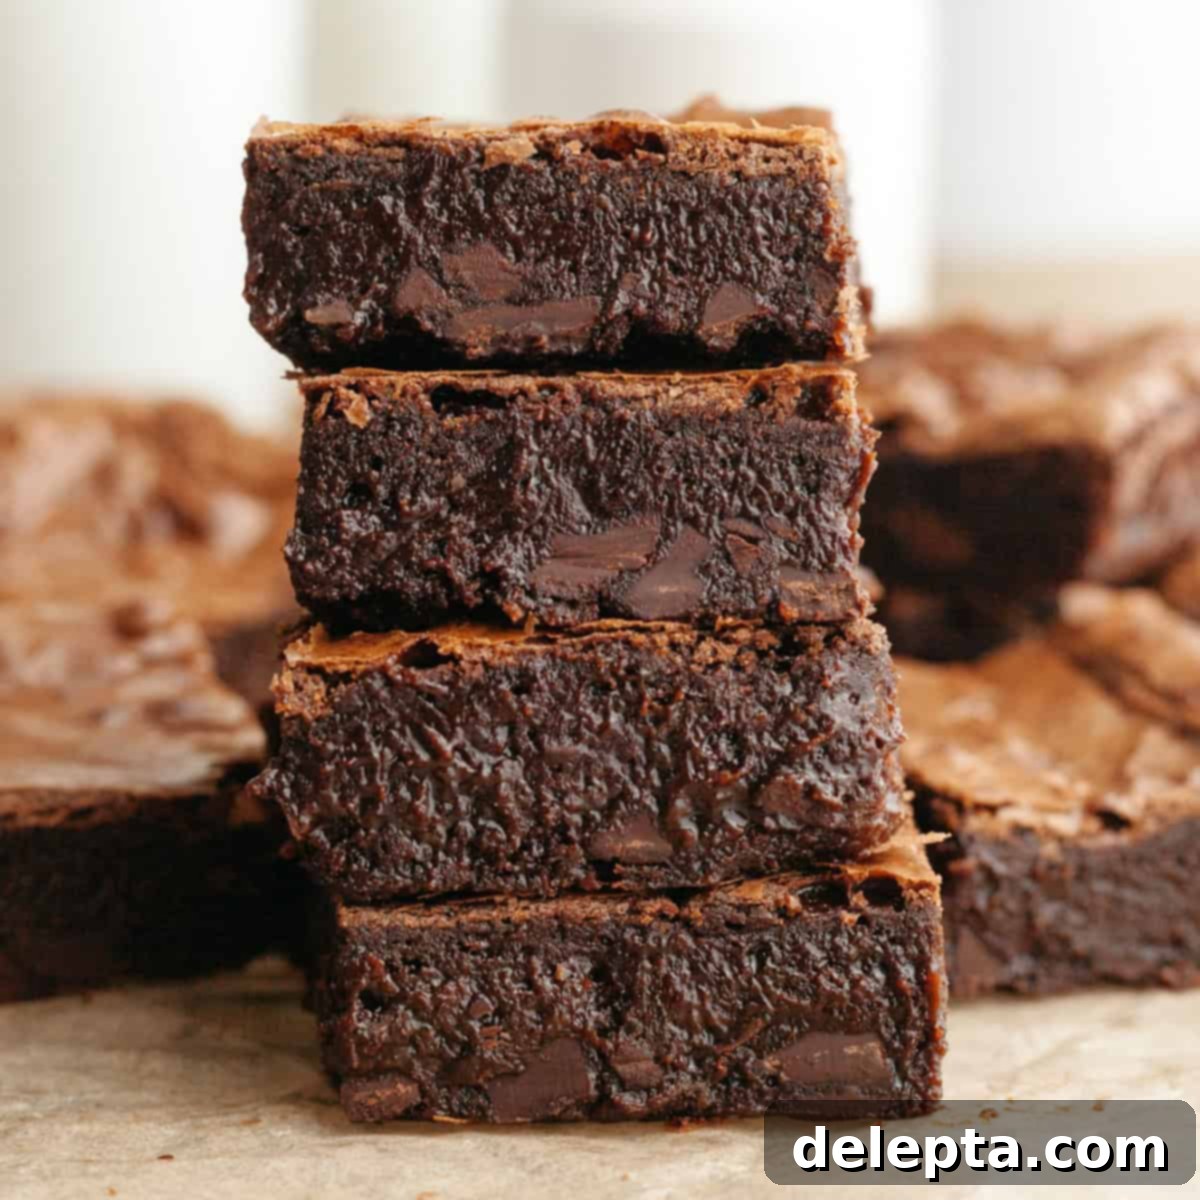
Prepare to discover what might just be the best brownie recipe ever! These incredibly fudgy brown butter espresso brownies are an absolute game-changer. I know, I know, “best ever” is a bold claim, but once you taste the rich, nuanced flavors and experience the perfect chewy-fudgy texture, you’ll understand. What makes them so special? It’s a magical combination of nutty brown butter and a secret ingredient – espresso powder – that doesn’t make them taste like coffee, but instead deeply enhances the chocolate flavor to an extraordinary level. Plus, they’re surprisingly easy to make, requiring just one bowl and one saucepan, no fancy mixer needed! We’re also spilling all the secrets to achieving that coveted crinkly brownie top every single time.
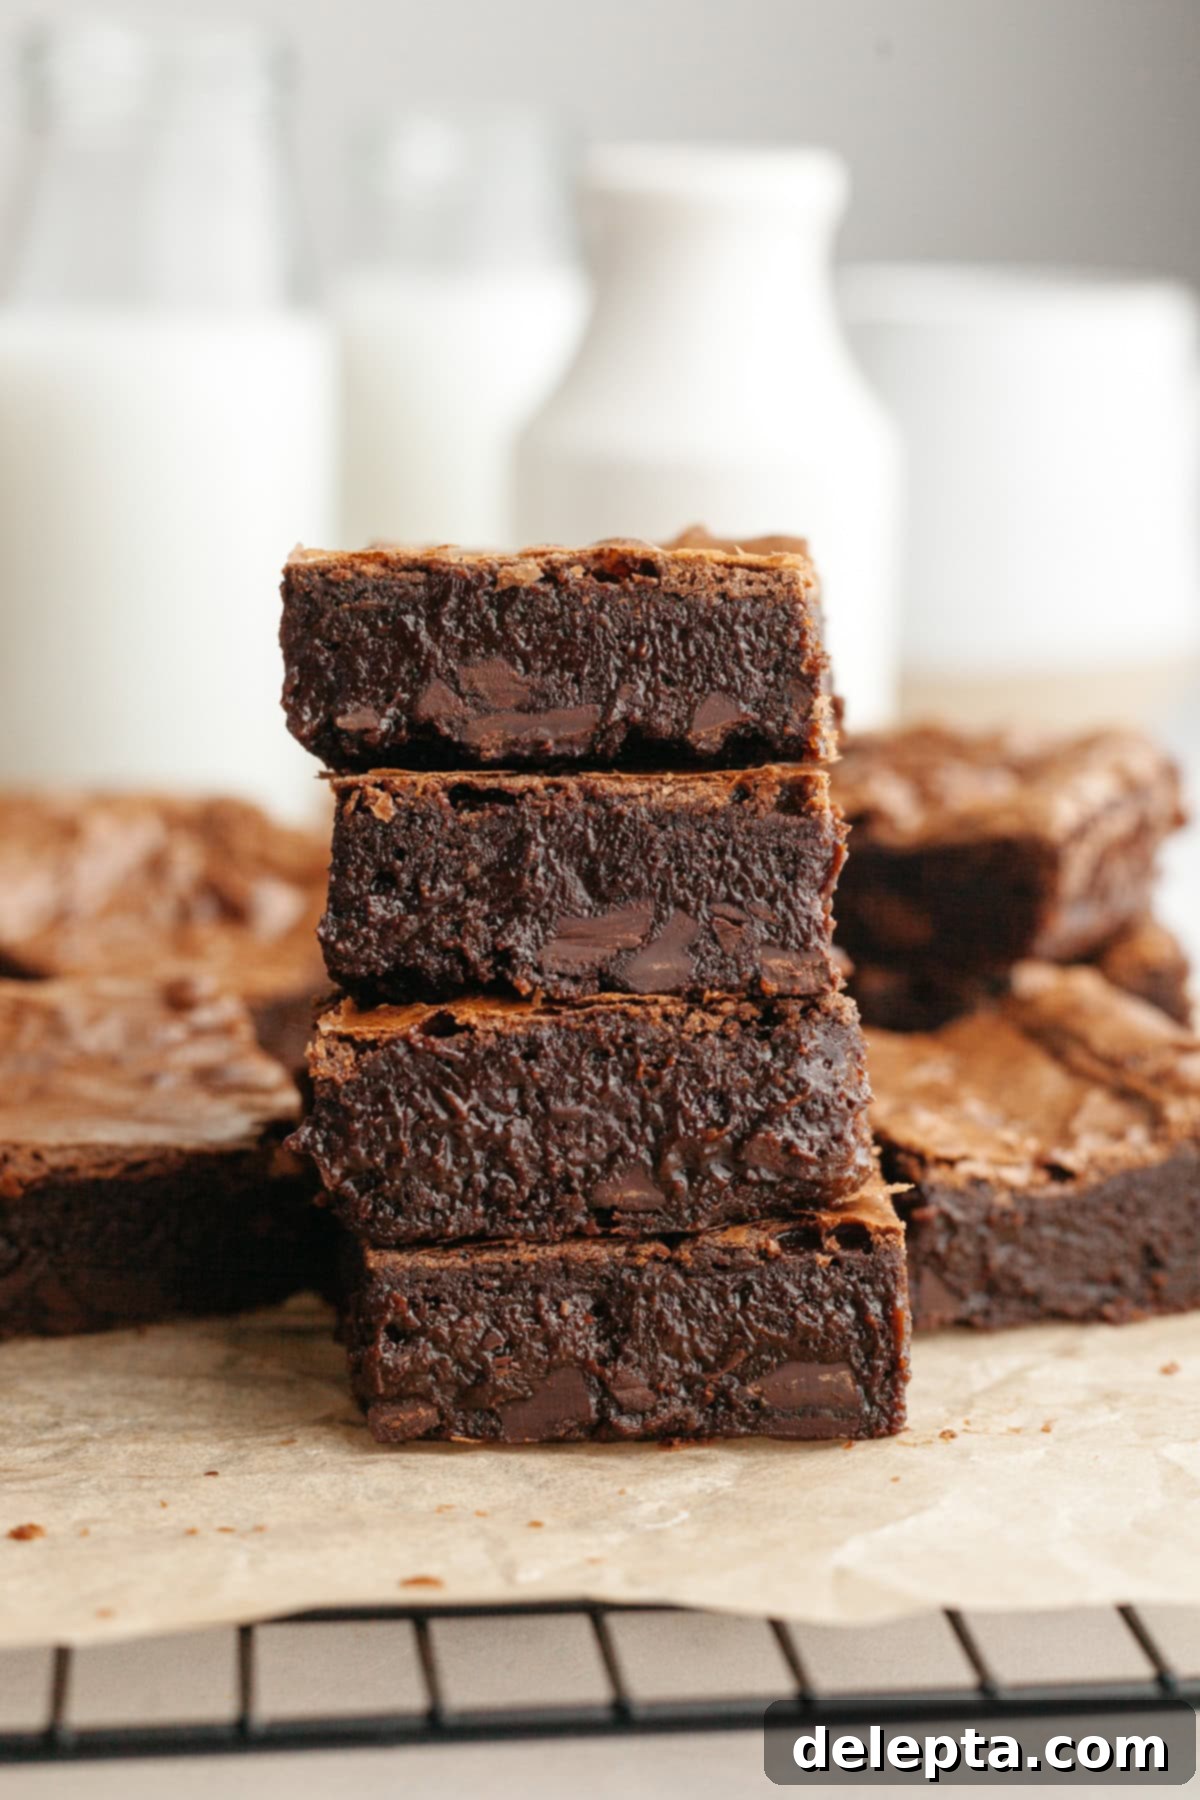
I’ve been on a delightful baking spree recently, experimenting with various brownie recipes, and these brown butter espresso brownies stand out as a clear winner. They perfectly blend the deep, intense chocolate notes of my fudgy double chocolate brownies with the delightful simplicity of my simple white chocolate chip brownies, creating a truly unique and irresistible treat.
While the ingredient list shares similarities with some of my other tried-and-true recipes, the method here is what truly sets these brownies apart. We employ a clever technique of heating the brownie batter multiple times. This isn’t just a random step; it’s specifically designed to fully dissolve the sugar, which is crucial for achieving that characteristic shiny, crinkly top. Following this, we dedicate several minutes to vigorous whisking, incorporating air into the batter, which contributes to the brownies’ light yet fudgy texture. And finally, just before sliding them into the oven, we fold in exquisite chocolate shards, ensuring pockets of melted chocolate goodness throughout every bite.
All these carefully orchestrated elements come together to deliver brownies that are not just fudgy and gooey, but also boast an aesthetically pleasing crinkly top that promises a decadent experience. If you consider yourself a true chocolate aficionado, much like myself, then you absolutely must explore some of my other indulgent creations. Dive into the rich depths of my chocolate brownies with chocolate ganache or savor the delightful tang of these chocolate brownies with chocolate cream cheese frosting. Each recipe offers a unique chocolate adventure!
Why These Brown Butter Espresso Brownies Will Become Your Go-To Recipe!
These brownies aren’t just delicious; they’re designed for ease and maximum enjoyment. Here’s why you’ll fall head over heels for this recipe:
- No Mixer Required: Forget lugging out heavy kitchen equipment! This recipe is entirely whisked by hand, making cleanup a breeze and proving that impressive baking doesn’t need complex tools.
- Minimal Equipment: You’ll only need one bowl and one saucepan. This simplicity further streamlines the baking process, leaving you with more time to anticipate the delicious outcome.
- Unforgettable Flavor Profile: Each bite is a symphony of taste, thanks to the harmonious blend of nutty browned butter, deeply rich Dutch-processed cocoa powder, the chocolate-enhancing magic of espresso powder, and delightful pockets of chopped chocolate. It’s a truly sophisticated brownie experience.
- Simple, High-Quality Ingredients: With just 10 key ingredients, this recipe focuses on quality over quantity. Each component plays a vital role in creating the ultimate fudgy brownie.
- Achieve the Perfect Crinkly Top: We’ve perfected the method to give you that coveted, slightly crisp, shiny crinkly top that is the hallmark of a truly exceptional brownie.
- Deeply Fudgy and Gooey Texture: If you’re a fan of brownies that are moist, dense, and melt-in-your-mouth gooey, then this recipe is for you. We prioritize a luxurious, almost underbaked texture that satisfies every craving.
- Perfect for Any Occasion: Whether it’s a casual weeknight dessert, a potluck, a birthday party, or just a treat for yourself, these brownies are always a crowd-pleaser and easy to transport.
Mastering Flavor with Just 10 Key Ingredients
The beauty of these brown butter espresso brownies lies in the thoughtful selection and combination of a few high-quality ingredients. Each plays a crucial role in developing the deep chocolate flavor and achieving that irresistible fudgy texture. Here’s a closer look at what you’ll need and why:
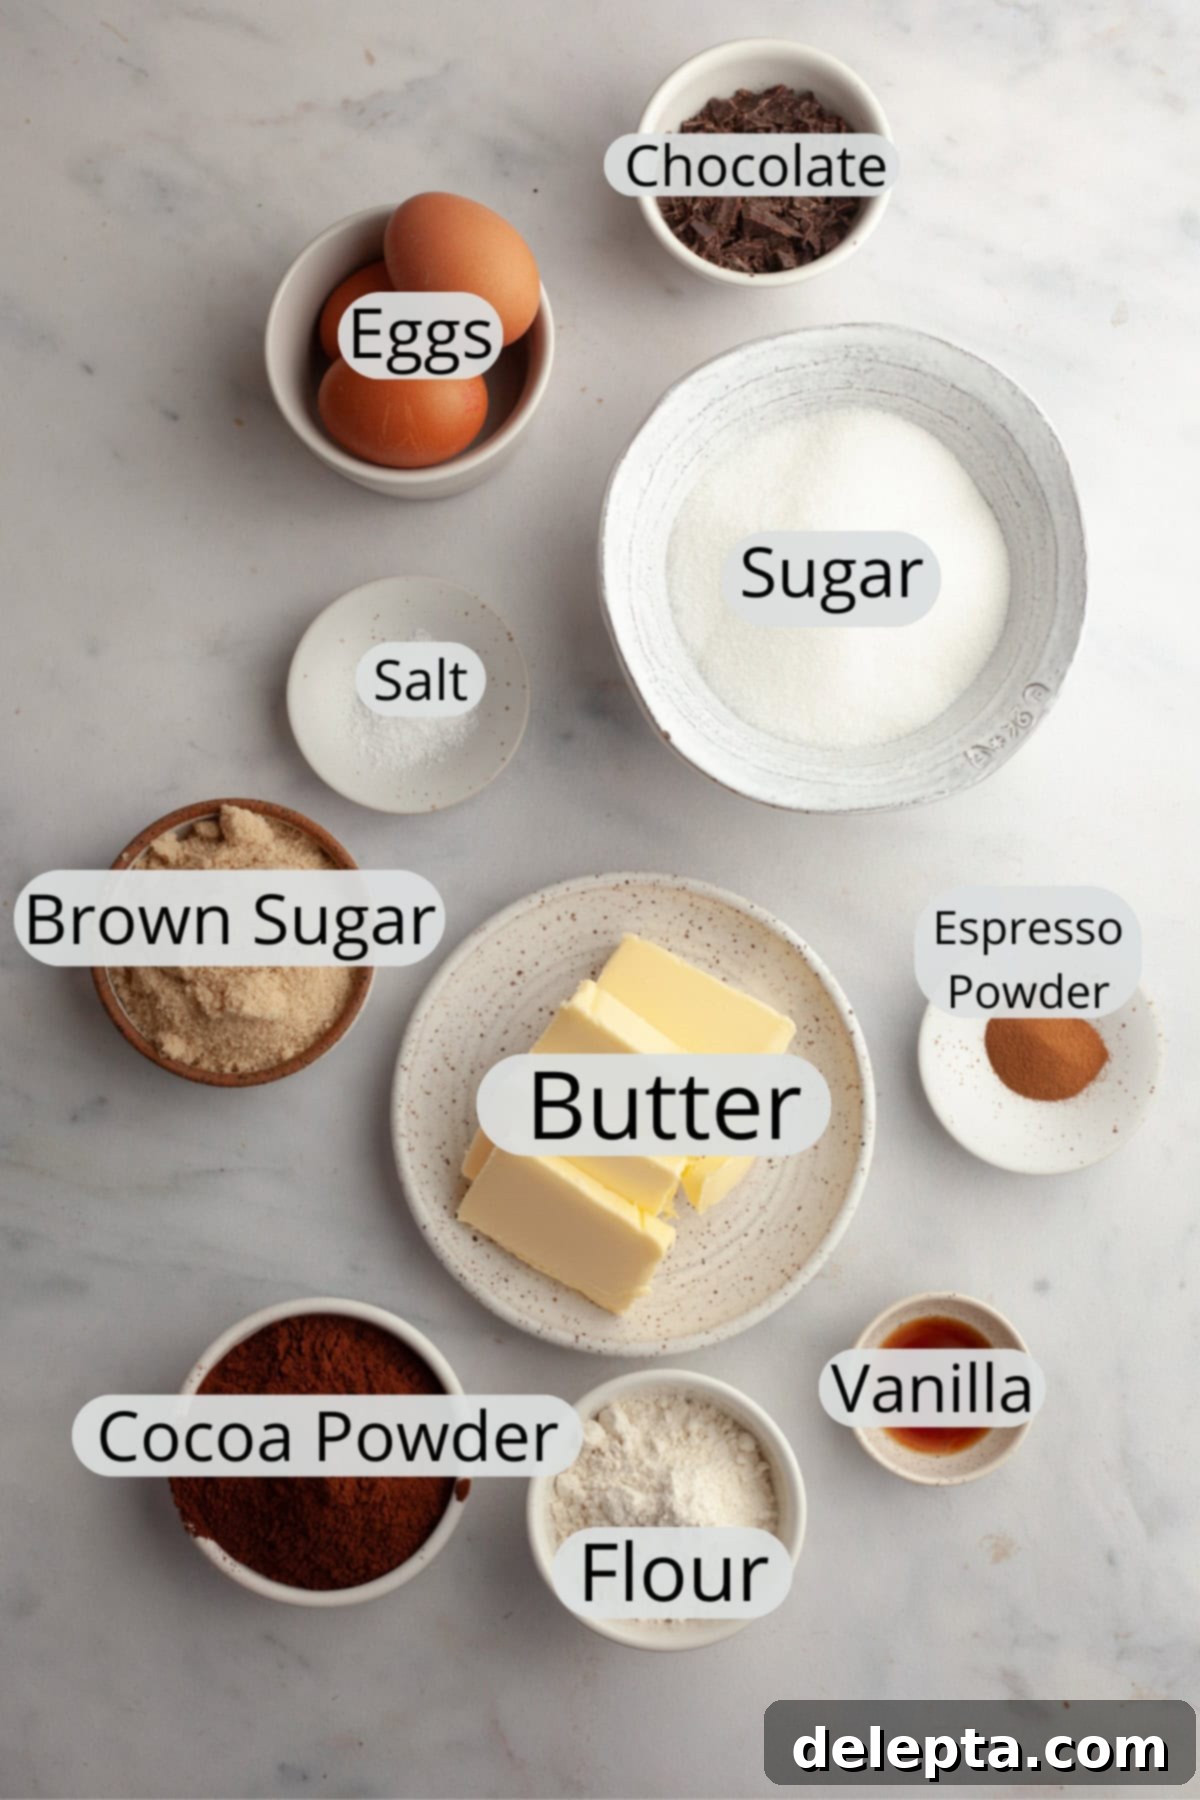
- Unsalted Butter: The star of the show! We brown the butter to unlock a rich, nutty, toffee-like aroma and flavor that elevates these brownies far beyond ordinary. Using unsalted butter allows you to control the salt content precisely. For an even more luxurious result, consider European-style butter like Kerry Gold, which has a higher butterfat content, translating to more intense flavor and a silkier texture.
- Granulated Sugar & Light Brown Sugar: This dynamic duo provides sweetness and contributes significantly to the brownie’s texture and signature crinkly top. Granulated sugar aids in creating that shiny, crisp crust, while brown sugar adds moisture, chewiness, and a subtle molasses note that complements the deep chocolate.
- Cocoa Powder: For the ultimate deep, rich chocolate flavor and a beautiful dark color, I highly recommend using Dutch-processed cocoa powder. It has a smoother, less acidic taste compared to natural cocoa powder. However, if natural cocoa is all you have, it will still yield delicious brownies, though the color might be slightly lighter and the flavor a tad brighter.
- Espresso Powder: This isn’t just for coffee lovers! Espresso powder is a secret weapon in chocolate baking. It doesn’t make the brownies taste like coffee; instead, it intensifies and deepens the chocolate flavor, making it taste “more chocolatey” without any bitterness. Ensure you use a fine powder, not coarse granules, for seamless integration into the batter.
- All-Purpose Flour: Just a touch of flour is needed to provide structure without making the brownies cakey or dry. Too much flour leads to a crumbly texture, so precise measurement (preferably by weight) is key to maintaining that desirable fudginess.
- Large Eggs & Egg Yolk: Eggs bind the ingredients together and add richness. The extra egg yolk in this recipe is a game-changer for fudginess! It increases the fat content and contributes to that dense, chewy texture we all crave in a perfect brownie.
- Vanilla Extract: A splash of good quality vanilla extract brightens and rounds out all the flavors, adding a fragrant warmth that complements the chocolate and brown butter beautifully.
- Kosher Salt: Don’t skip the salt! It balances the sweetness of the sugars and dramatically enhances the chocolate flavor. It’s like a flavor amplifier, making everything taste more vibrant. If using fine table salt, remember to halve the amount as it’s much denser than kosher salt.
- Semisweet Chocolate: Chopped finely, this chocolate melts into glorious pockets throughout the brownies, contributing to their gooey texture and adding another layer of rich chocolate flavor. Semisweet is my preference, but dark chocolate works beautifully too if you prefer a less sweet, more intense chocolate hit. Make sure to chop it into shards rather than chips for better melt and distribution.
Let’s Bake the Best Brown Butter Espresso Brownies!
Get ready to embark on a simple yet rewarding baking journey. While the full, detailed recipe can be found below, complete with a helpful video tutorial, let’s walk through the key steps and techniques that make these brownies truly shine. You’ll be amazed at how easily these come together to create such a spectacular dessert!
Step 1: Brown the Butter for Unmatched Flavor
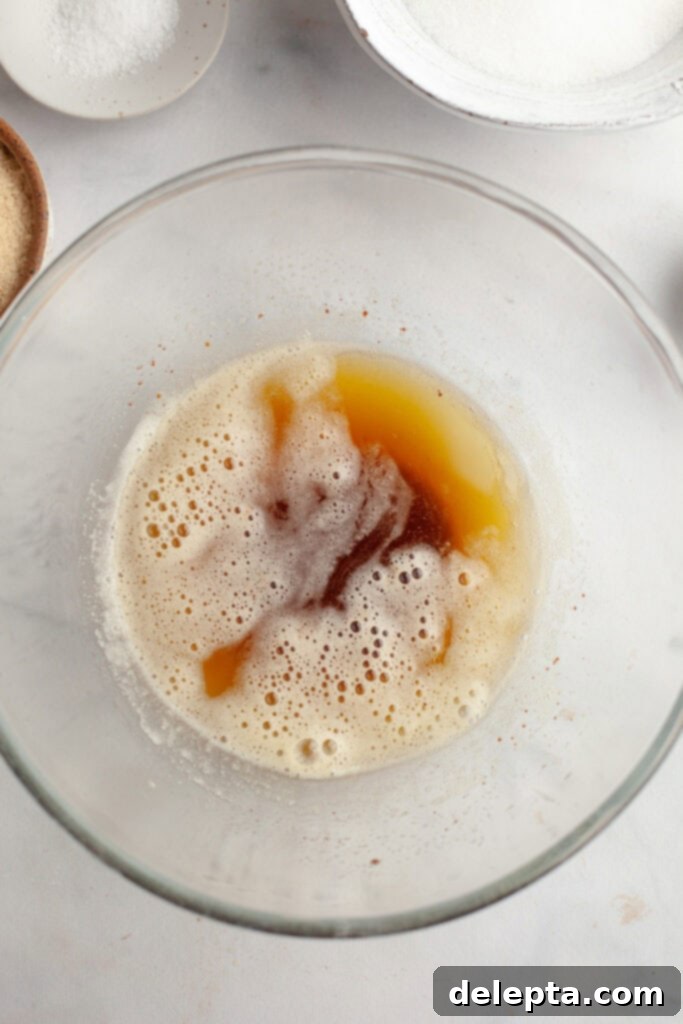
This is where the magic begins! Place your unsalted butter in a small, light-colored saucepan over medium-low heat. A light-colored pan helps you monitor the browning process effectively. Allow the butter to melt completely, stirring occasionally with a wooden spoon or rubber spatula. You’ll observe a natural progression: first, it will melt, then it will start to foam and sputter as the water evaporates. Keep stirring! Soon, small white dairy solids will separate and settle at the bottom of the pan. Continue cooking, stirring consistently, until these dairy solids transform into a beautiful golden brown color and your kitchen fills with a wonderfully nutty, toasted aroma. This distinct scent is your cue that the butter is perfectly browned. Immediately turn off the heat and carefully pour the brown butter, including all those flavorful brown bits, into a large, microwave-safe bowl. Let it cool slightly before proceeding to the next step, ensuring it’s still warm but not scorching hot.
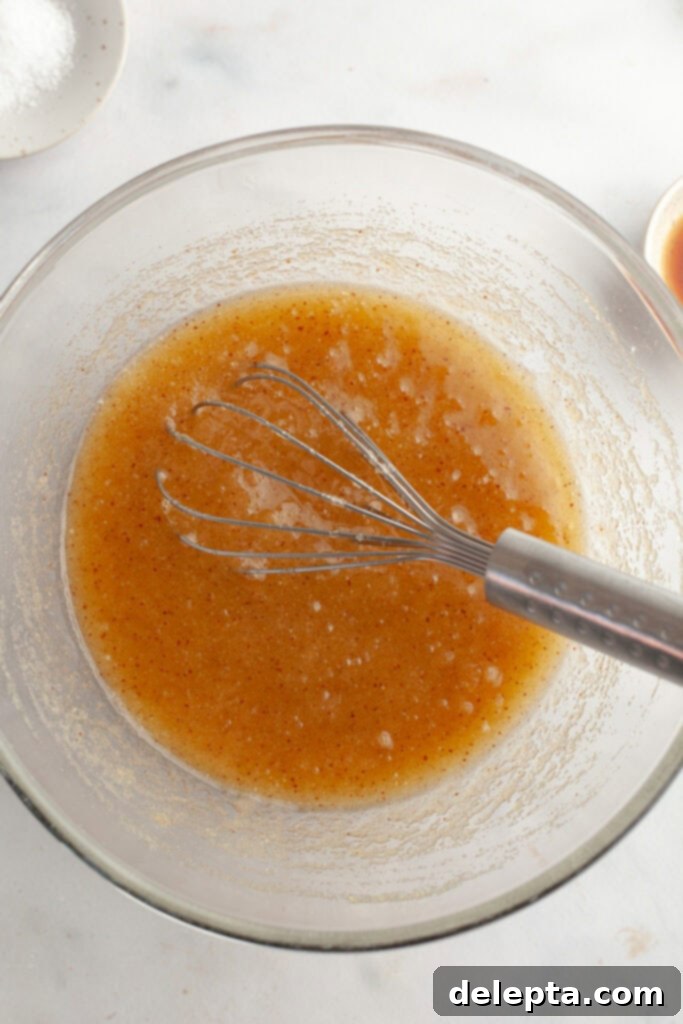
Step 2: Incorporate Sugars and Start the Whisking Magic
Once your beautifully browned butter has cooled slightly (it should still be warm to the touch, but not hot enough to scramble eggs), add both the light brown sugar and granulated sugar to the bowl. Whisk these together vigorously until the mixture is smooth and well combined. This initial whisking helps to start dissolving the sugar. Now for a secret trick for that crinkly top: Pop the bowl into the microwave for 20-30 seconds. This gentle warming helps to further dissolve the sugar crystals. Remove the bowl and whisk again for a full 2 minutes. This extended whisking incorporates air and continues to break down the sugar, both crucial elements for achieving that desirable shiny, crinkly brownie surface.
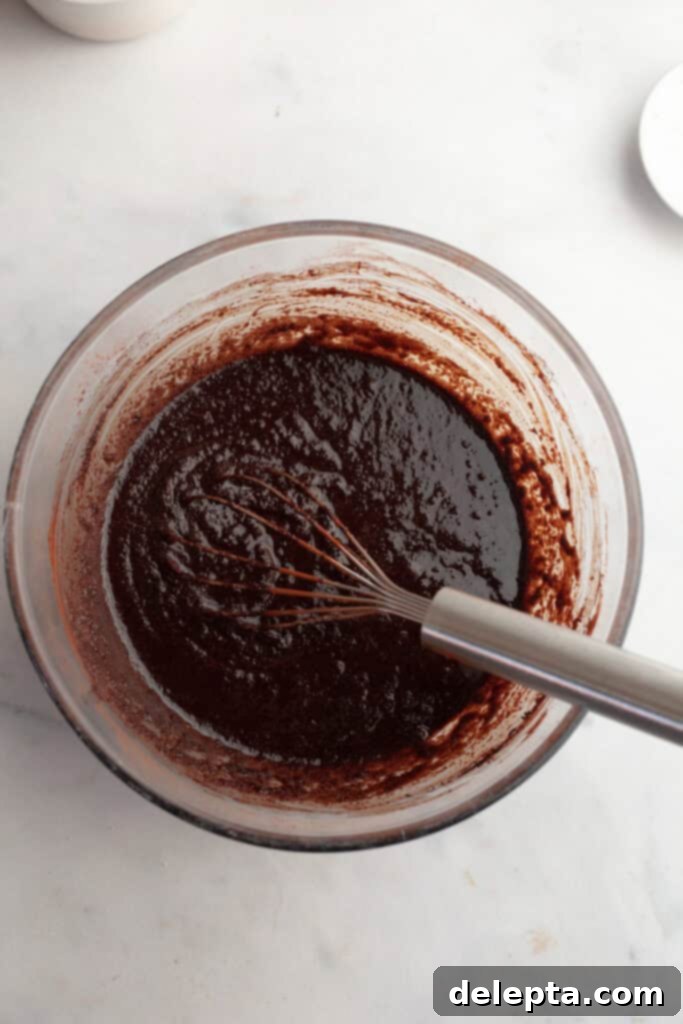
Step 3: Introduce Rich Cocoa and Eggs
Next, whisk in the kosher salt, vanilla extract, and Dutch-processed cocoa powder until fully combined. The mixture might look a bit grainy at this stage – don’t worry, that’s perfectly normal! Microwave the bowl for another 20-30 seconds to warm the mixture further, then whisk for approximately one minute. This warming and whisking continue the sugar-dissolving process, contributing to the brownie’s texture. Now, add your two large eggs and the additional large egg yolk. Here’s where your bicep gets a real workout! Whisk vigorously for 2-3 full minutes. This extended whisking with the eggs is absolutely essential for creating that beautiful, shiny, crinkly top. It incorporates air and creates an emulsion, leading to a truly fudgy and rich brownie.
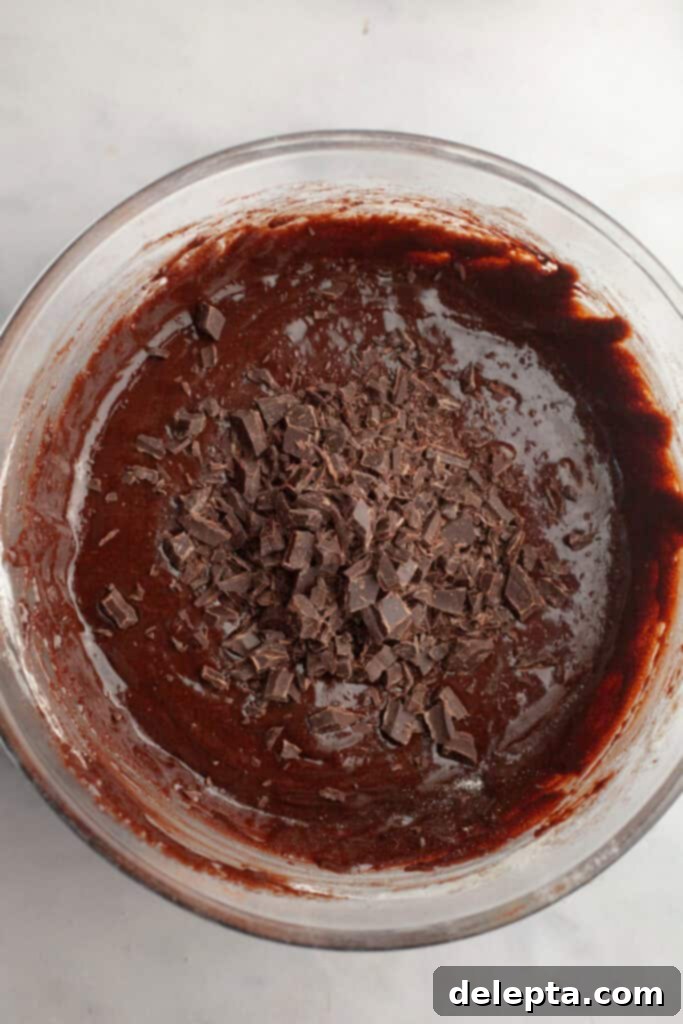
Step 4: Gently Fold in Dry Ingredients and Chocolate Shards
Now, it’s time to incorporate the dry elements. Add the all-purpose flour and espresso powder to your glossy brownie batter. Switch from your whisk to a rubber spatula. Gently fold the ingredients together until they are *just* combined. The key here is not to overmix, as overmixing can lead to tougher, cakey brownies rather than the desired fudgy texture. The batter should still look shiny and fairly thick. Finally, stir in your finely chopped chocolate shards. Chopping the chocolate rather than using pre-made chips ensures that they melt beautifully into the brownie, creating pockets of intense chocolate flavor and contributing to the overall gooeyness.
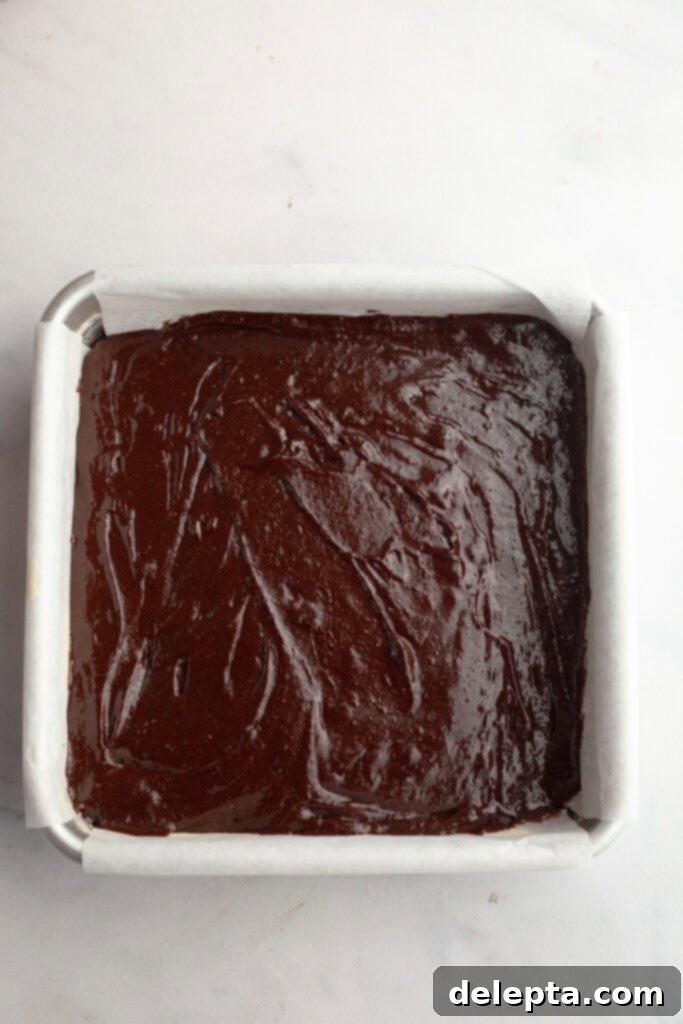
Step 5: Bake to Perfection and Patiently Cool
Pour your luxurious brownie batter into a greased and parchment-lined 8×8 inch baking pan. Make sure the parchment paper overhangs on the sides; this creates convenient “handles” that will make removing the cooled brownies a breeze. Smooth the top evenly with your spatula. Bake in a preheated oven at 350°F (175°C) for 22-30 minutes. Keep a close eye on them – baking times can vary. You’re looking for a beautiful crinkly top and when a toothpick inserted into the center comes out with moist crumbs attached, but no raw batter. Avoid overbaking, as this will result in dry brownies. Once baked, the hardest part begins: patience! Let the brownies cool completely in the pan before attempting to remove and slice them into perfect bars. Cooling allows the brownies to set, enhancing their fudgy texture and preventing them from falling apart.
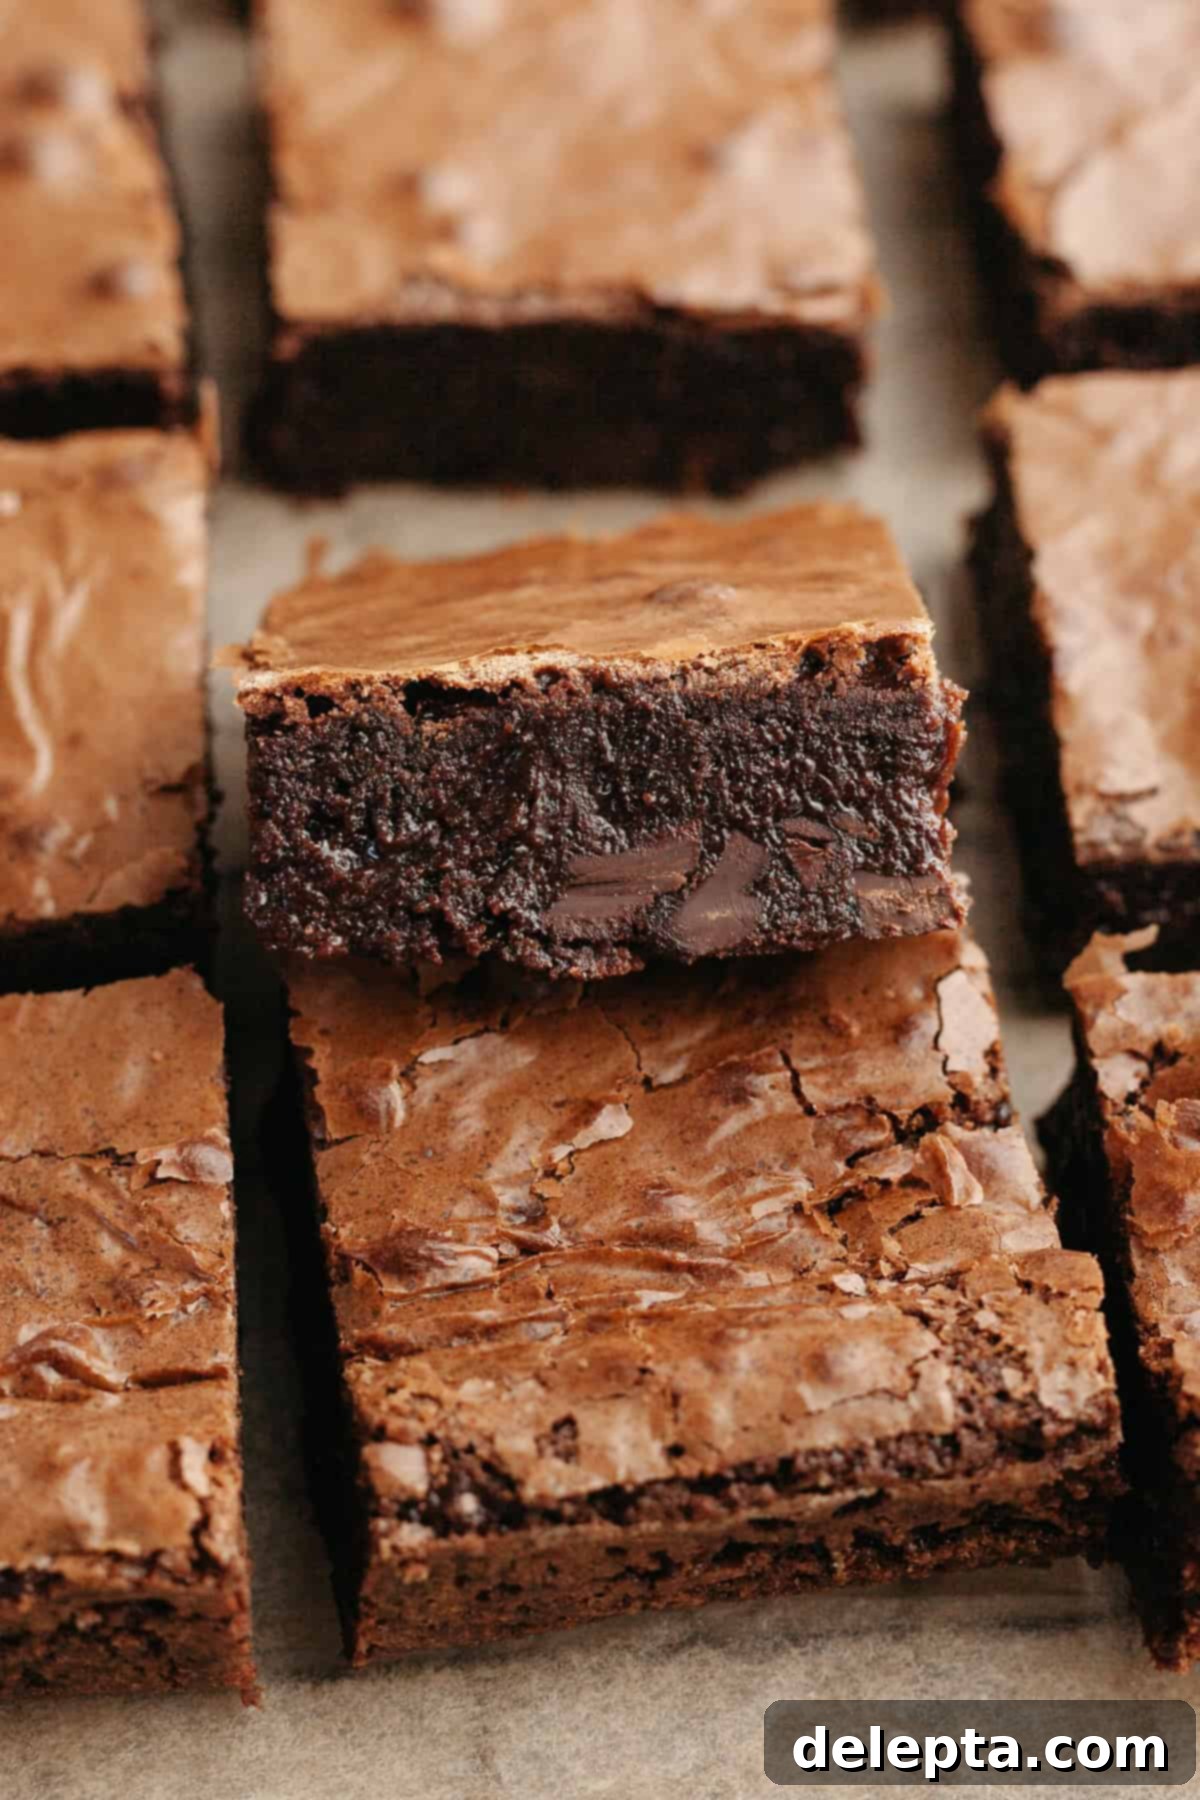
Mastering the Perfect Crinkly Brownie Top Every Time
While the crinkly top doesn’t necessarily alter the taste of a brownie, it’s undeniably a hallmark of a well-made, luxurious dessert. We all adore how it looks, promising a delightful texture beneath! Although these brownies may not achieve the intense shine of my espresso brownies (due to slightly different ingredient ratios designed for maximum fudginess), you’ll still achieve a wonderfully crinkly surface. Here’s how we ensure that gorgeous finish:
- Strategic Microwaving: The technique of repeatedly warming the brownie batter in the microwave is not just a shortcut; it’s a science-backed method. It effectively dissolves the sugar crystals within the butter, which is paramount for preventing a grainy texture and promoting that smooth, shiny crust as the brownies bake.
- Vigorous Whisking: Alongside the microwaving, diligent whisking plays a crucial role in dissolving the sugar. This strenuous activity also incorporates air into the batter, which is essential for developing the meringue-like crust that forms the crinkly top. Yes, your arm will get a workout, but the results are absolutely worth it!
- Finely Chopped Chocolate: The addition of finely chopped chocolate shards provides a dual benefit. As the brownies bake, the sugar from the melting chocolate works its way to the surface. This creates a thin, slightly brittle, and incredibly satisfying meringue-like layer that becomes the coveted crinkly top.
- Precision with a Kitchen Scale: Accuracy in baking, especially with ingredients like flour and cocoa powder, is non-negotiable for achieving perfect brownies. Using a kitchen scale ensures precise measurements, preventing the common pitfalls of adding too much flour (which leads to dry, cakey brownies) or too much cocoa (which can result in bitterness or an overly dense texture). A scale guarantees consistency and success.
Proper Storage for Lasting Fudginess
To keep your brown butter espresso brownies at their peak fudginess and flavor, proper storage is key. I highly recommend storing them in an airtight container in the refrigerator. This method not only preserves their freshness for up to 5 days but also significantly enhances their fudgy texture, making them even more dense and chewy when cold. While you can store them at room temperature in an airtight container for 2-3 days, chilling truly elevates their decadence. For longer storage, these brownies freeze beautifully for up to 3 months. Simply wrap individual brownies tightly in plastic wrap, then place them in a freezer-safe bag or container. Thaw at room temperature or warm slightly in the microwave for a warm, gooey treat.
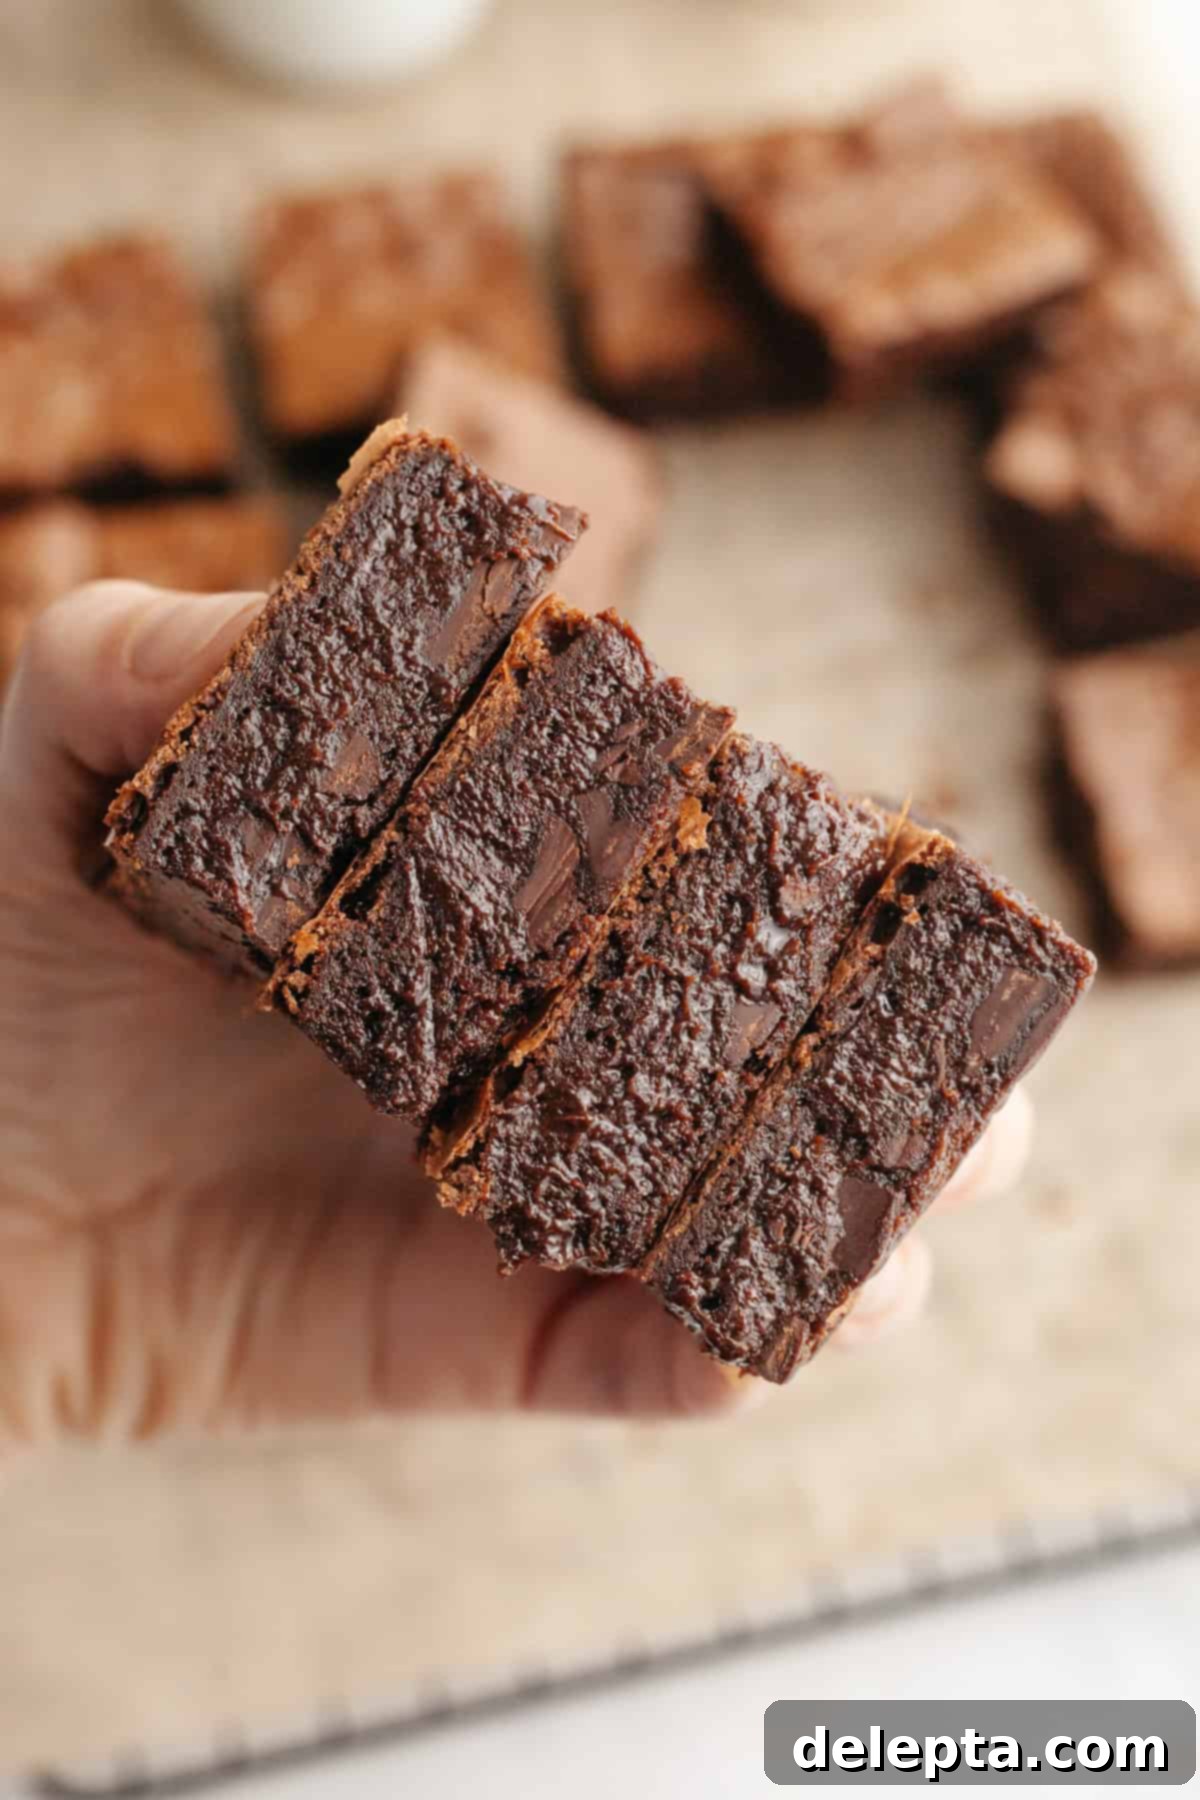
Craving More Brownie Bliss? Explore Our Collection!
If you’ve fallen in love with these brown butter espresso brownies and are eager to explore more delightful variations, you’re in luck! My recipe collection is brimming with irresistible brownie creations, each offering a unique twist on this classic dessert. From rich and decadent to fun and festive, there’s a brownie recipe for every taste and occasion. Dive into these other favorites and continue your brownie adventure:
- Marbled Cheesecake Brownies
- Easy Fudgy Peanut Butter Cream Cheese Brownies
- Birthday Cake Brownies (Easy & Fudgy)
- Fudgy M&M Brownies
If you’ve had the pleasure of making this incredible recipe, I would absolutely love to hear from you! Please make sure to leave a ⭐️ rating and review below. Your feedback truly means the world to me and helps other bakers discover these delightful treats. I always get so excited to see your creations, so don’t hesitate to tag me on Instagram @alpineella so I can admire your beautiful bakes! You can also stay connected and follow along for more delicious recipes and baking inspiration on Pinterest, Facebook, and TikTok. Happy baking!
Full Recipe Details
One Bowl Fudgy Brown Butter Espresso Brownies
Ella Gilbert
Pin Recipe
Save Recipe
Saved!
20 minutes
25 minutes
45 minutes
Dessert
American
16
brownies
226
kcal
Equipment
-
8×8 baking pan -
Small Saucepan -
Large Microwave Safe Bowl -
Kitchen Scale -
Whisk -
Rubber Spatula
Ingredients
-
¾
cup
unsalted butter -
1
cup
granulated sugar -
½
cup
light brown sugar -
½
cup
dutch process cocoa powder -
1
teaspoon
vanilla extract -
1
teaspoon
kosher salt -
2
large
eggs -
1
large
egg yolk -
½
cup
all purpose flour -
½
tablespoon
espresso powder -
4
oz
semisweet chocolate
finely chopped
Instructions
-
Preheat the oven to 350℉/175℃. Line an 8×8 baking pan with parchment paper or foil. I recommend having it overhang on the sides so it’s easier to remove the brownies once cool.
-
Over medium-low heat, melt the butter in a small saucepan. Once melted, the butter will begin to foam and sputter. You’ll see little white dairy solids at the bottom of the pan. Keep cooking and stirring with a spatula or wooden spoon until the milk solids begin to brown and it smells nutty and toasted.¾ cup unsalted butter
-
Pour the brown butter into a large microwave safe bowl and let cool slightly.
-
Add the brown sugar and granulated sugar. Whisk until smooth and place back in the microwave for 20 -30 seconds. Whisk again for 1-2 minutes.1 cup granulated sugar,
½ cup light brown sugar -
Whisk in the salt and vanilla extract and cocoa powder. Microwave for 20-30 seconds. Whisk for about a minute. At this point it’s going to look weird and grainy and that’s totally normal!1 teaspoon vanilla extract,
1 teaspoon kosher salt,
½ cup dutch process cocoa powder -
Add the eggs and egg yolk. Finish with 2-3 minutes of whisking – sorry if your arm is getting sore!2 large eggs,
1 large egg yolk -
Stir in the flour and espresso powder. It’ll be a shiny fairly thick brownie batter.½ cup all purpose flour,
½ tablespoon espresso powder -
Fold in the chocolate shards with a rubber spatula. You want them to be chopped quite finely so they’ll easily melt in the brownies when baking.4 oz semisweet chocolate
-
Pour into prepared 8×8 pan. Bake for 22-30 minutes. You should have a crinkle top and if you stick a toothpick in, it’ll come out with some wet crumbs but not raw batter.
-
Let the brownies cool completely in the pan before removing and slicing up. I recommend chilling the brownies in the fridge for a few hours if you want them to be extra fudgy!
Video
Notes
Crinkly Brownies, thanks to Sam for sharing her findings and method!
My recipes have been developed and tested in metric grams. I highly recommend using a weighing scale and measuring out your ingredients the metric way. I have provided a conversion to US cups but please note that I haven’t tested the recipe with this method. Just click on ‘Metric’ above the ingredients to see the metric measurements.
Don’t have a microwave? If you don’t have a microwave you can use the double boiler method instead. Fill a large saucepan with an inch or two of water and bring the water to a simmer. Place your large bowl on top, making sure the water doesn’t touch the bowl. Follow steps until you’ve added the cocoa powder, then remove the bowl from the saucepan.
Kosher Salt: if you don’t have kosher salt, halve the amount of salt in the ingredient list (1 teaspoon kosher salt = ½ teaspoon fine salt). Please note, that I’m using Diamond Crystal Kosher Salt. Morton Salt is a different type of kosher salt and is much saltier.
Cocoa Powder: I’m using dutch processed cocoa powder but you can swap it out for natural cocoa powder, just note that the brownies won’t be as rich.
Espresso Powder: use a fine espresso powder and not espresso granules.
Pan: I recommend using a metal pan and not a glass pan. A glass pan can’t conduct heat like metal can, so your brownies will have overcooked sides and bottom but an undercooked metal.
Storage: Keep them in an airtight container in the fridge for up to 5 days.
Nutrition
Calories:
226
kcal
Carbohydrates:
28
g
Protein:
2
g
Fat:
13
g
Saturated Fat:
8
g
Polyunsaturated Fat:
1
g
Monounsaturated Fat:
4
g
Trans Fat:
0.4
g
Cholesterol:
58
mg
Sodium:
159
mg
Potassium:
113
mg
Fiber:
2
g
Sugar:
22
g
Vitamin A:
319
IU
Calcium:
22
mg
Iron:
1
mg
Tried this recipe?
Leave a comment below! You can also tag me on Instagram @alpineella so I can see what you made!
