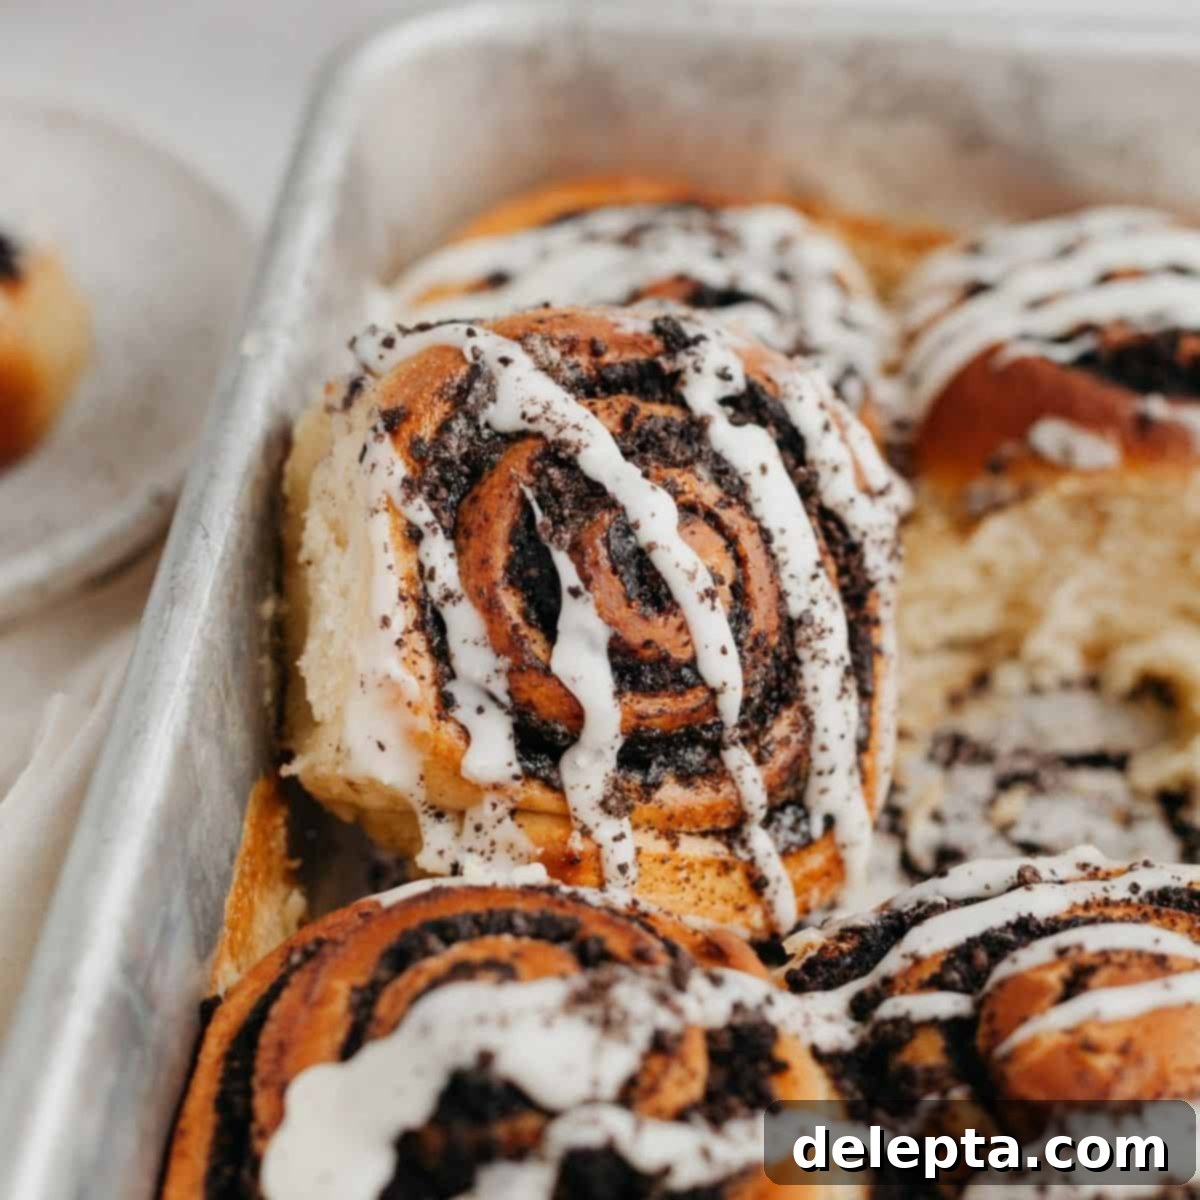
The Ultimate Gooey Oreo Cinnamon Rolls: A Cookies & Cream Breakfast Indulgence
Prepare for an irresistible breakfast experience with these incredibly soft and gooey Oreo Cinnamon Rolls! This recipe combines the classic comfort of homemade cinnamon buns with the beloved flavor of cookies and cream. Each roll is generously stuffed with a rich filling made from black cocoa powder and crushed Oreo cookies, delivering that distinctively deep chocolate taste that Oreo lovers crave. If your ideal morning starts with a decadent treat, these cinnamon rolls are precisely what you need. Best of all, they require just 25 minutes of active preparation time, and you can easily make them the night before, allowing you to wake up to fresh, warm cinnamon buns ready to bake.
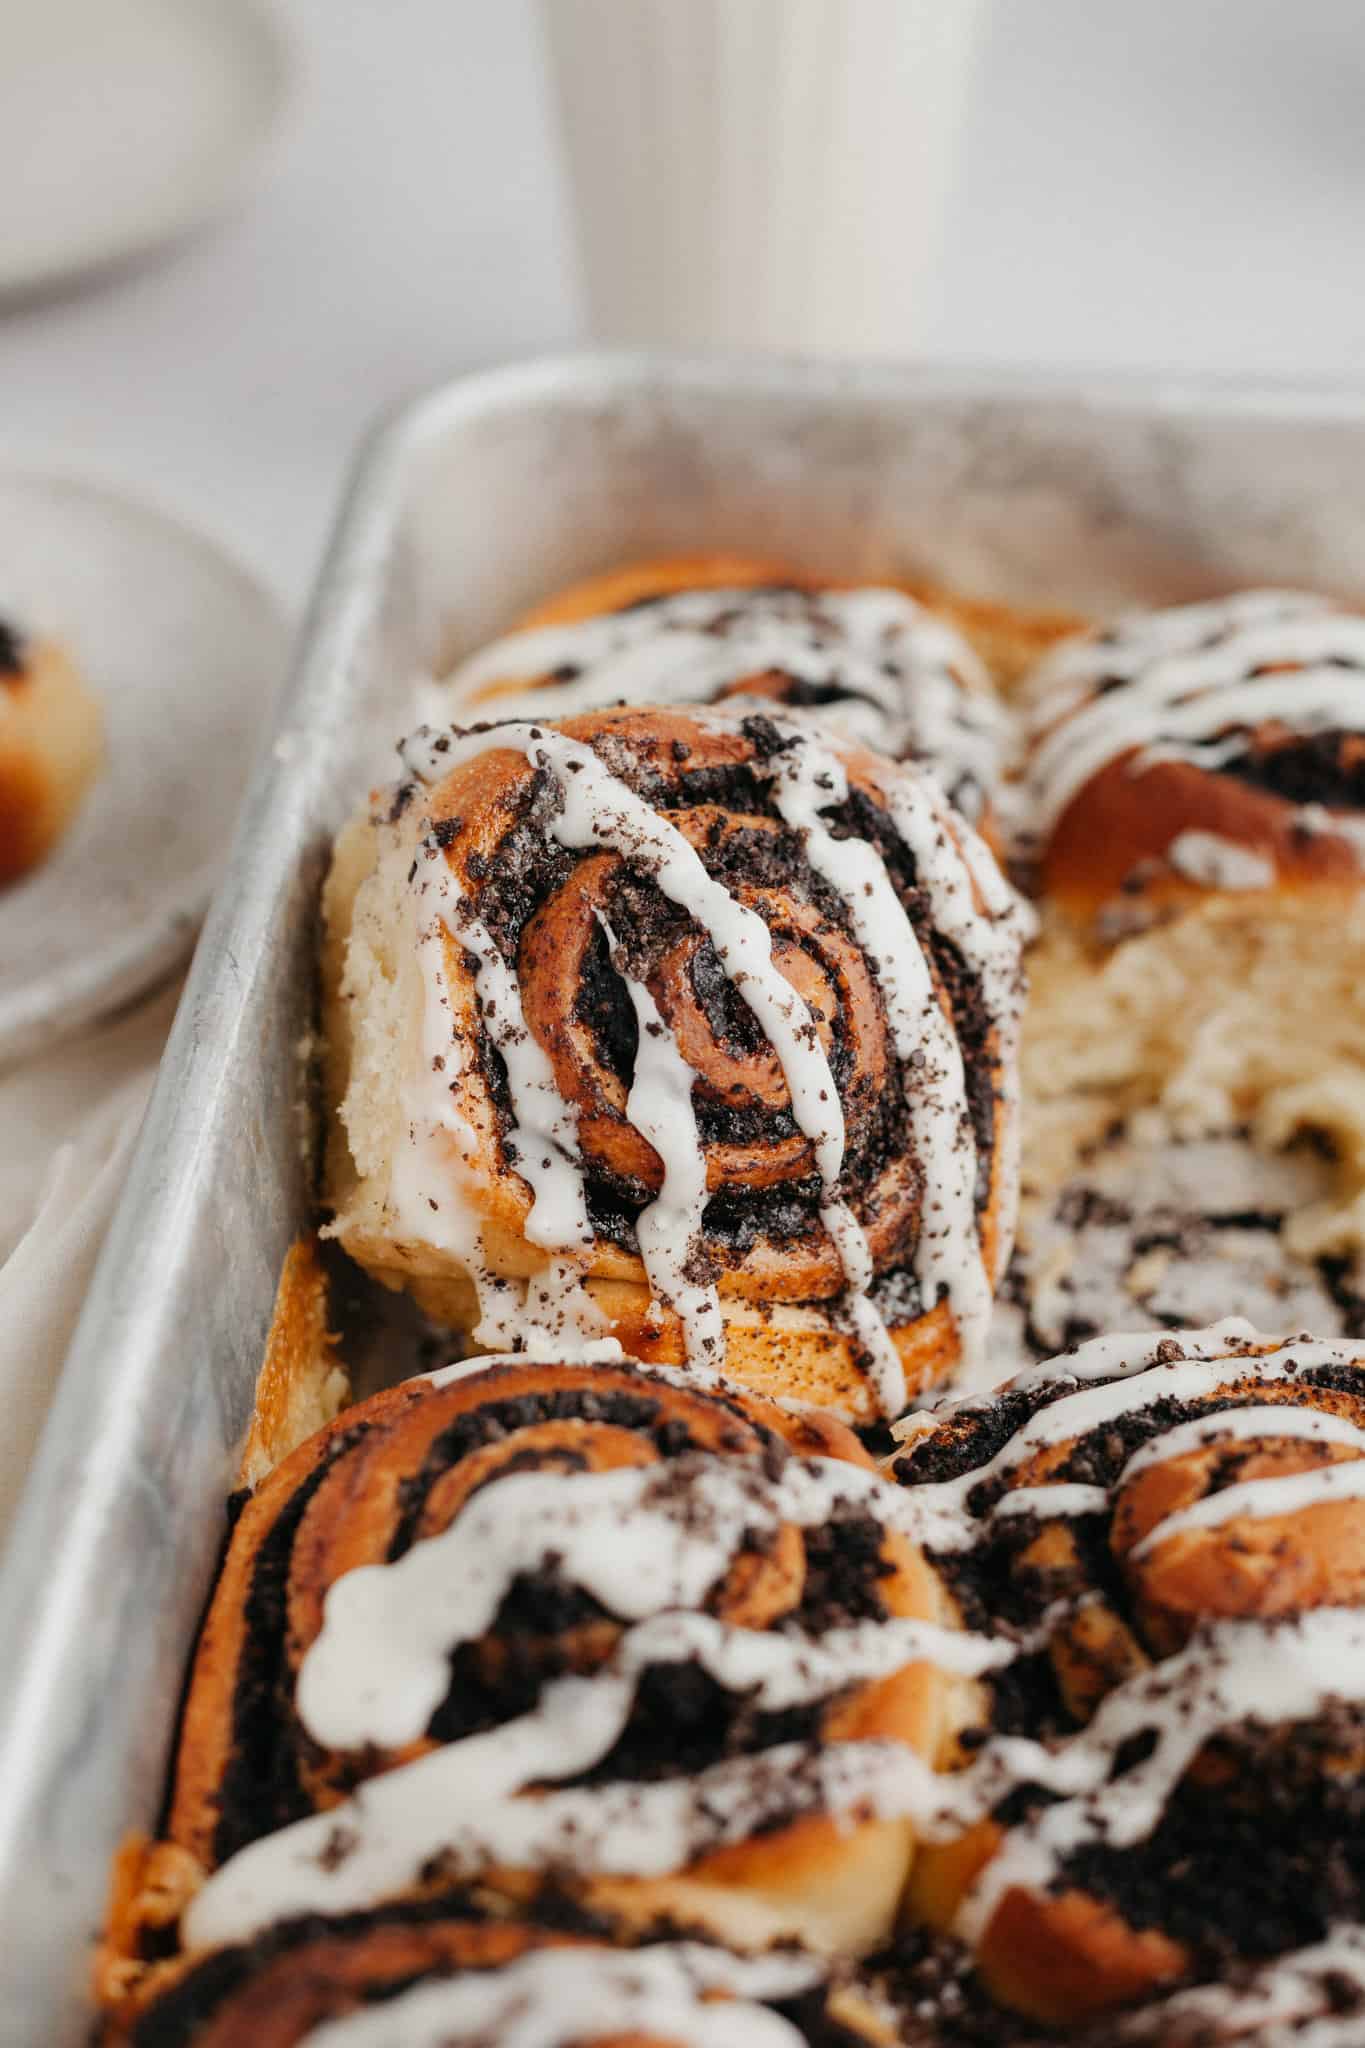
There’s something truly special about homemade cinnamon rolls, transforming any ordinary weekend morning into a celebratory occasion. Our cookies and cream cinnamon rolls are inspired by my popular brioche cinnamon roll recipe, but with a unique, exciting twist. The luscious filling features a delightful mix of traditional cinnamon and light brown sugar, enhanced significantly by the addition of rich cocoa powder and plenty of crushed Oreo cookies. This innovative combination ensures every bite is a harmonious blend of sweet, spicy, and chocolatey goodness, perfect for a decadent breakfast or dessert.
If you’re as passionate about Oreos as we are, you’ll love exploring other creative ways to incorporate them into your baking. Don’t miss out on trying my other fantastic Oreo-inspired recipes, including the show-stopping Oreo Drip Cake, the heavenly Oreo Peanut Butter Pie, delightful Rice Krispie Treats with Oreos, and the utterly delicious Oreo Chocolate Chip Cookies! Each recipe offers a different way to enjoy the classic cookie everyone adores.
Why You’ll Love These Gooey Oreo Cinnamon Rolls
These aren’t just any cinnamon rolls; they’re a symphony of flavors and textures designed to delight. Here’s why this recipe deserves a spot in your baking repertoire:
- This is a **surprisingly easy recipe**, especially for homemade cinnamon rolls. While a stand mixer with a dough hook attachment will make the process incredibly smooth by effortlessly achieving that wonderfully soft and elastic dough, it’s certainly manageable even without one. The key is allowing the dough to develop properly for that ultimate fluffy texture.
- **Perfect for make-ahead mornings:** Imagine waking up to the aroma of freshly baked cinnamon rolls without all the fuss. This recipe is designed to be prepared the night before, allowing you to do most of the work in advance. Simply let them come to room temperature in the morning, and then pop them into the oven for a stress-free, luxurious breakfast.
- **Authentic Oreo flavor:** The filling is truly special, featuring **black cocoa powder** which gives these rolls their characteristic dark color and intense, slightly bitter chocolate taste, mimicking the iconic flavor of an Oreo cookie. If black cocoa isn’t available, don’t worry – regular unsweetened cocoa powder will also yield a delicious result, just with a slightly milder chocolate profile.
- **Versatile topping options:** We recommend drizzling these warm rolls with a simple yet elegant vanilla glaze, crafted from powdered sugar and milk. However, for an extra layer of richness and tang, you could absolutely use the luscious cream cheese frosting from my brioche cinnamon rolls recipe. The choice is yours to customize your perfect sweet finish!
Essential Ingredient Notes for Perfect Oreo Cinnamon Rolls
Understanding your ingredients is the first step to successful baking. Here’s a detailed look at what you’ll need and why each component is important for achieving the best Oreo cinnamon rolls:
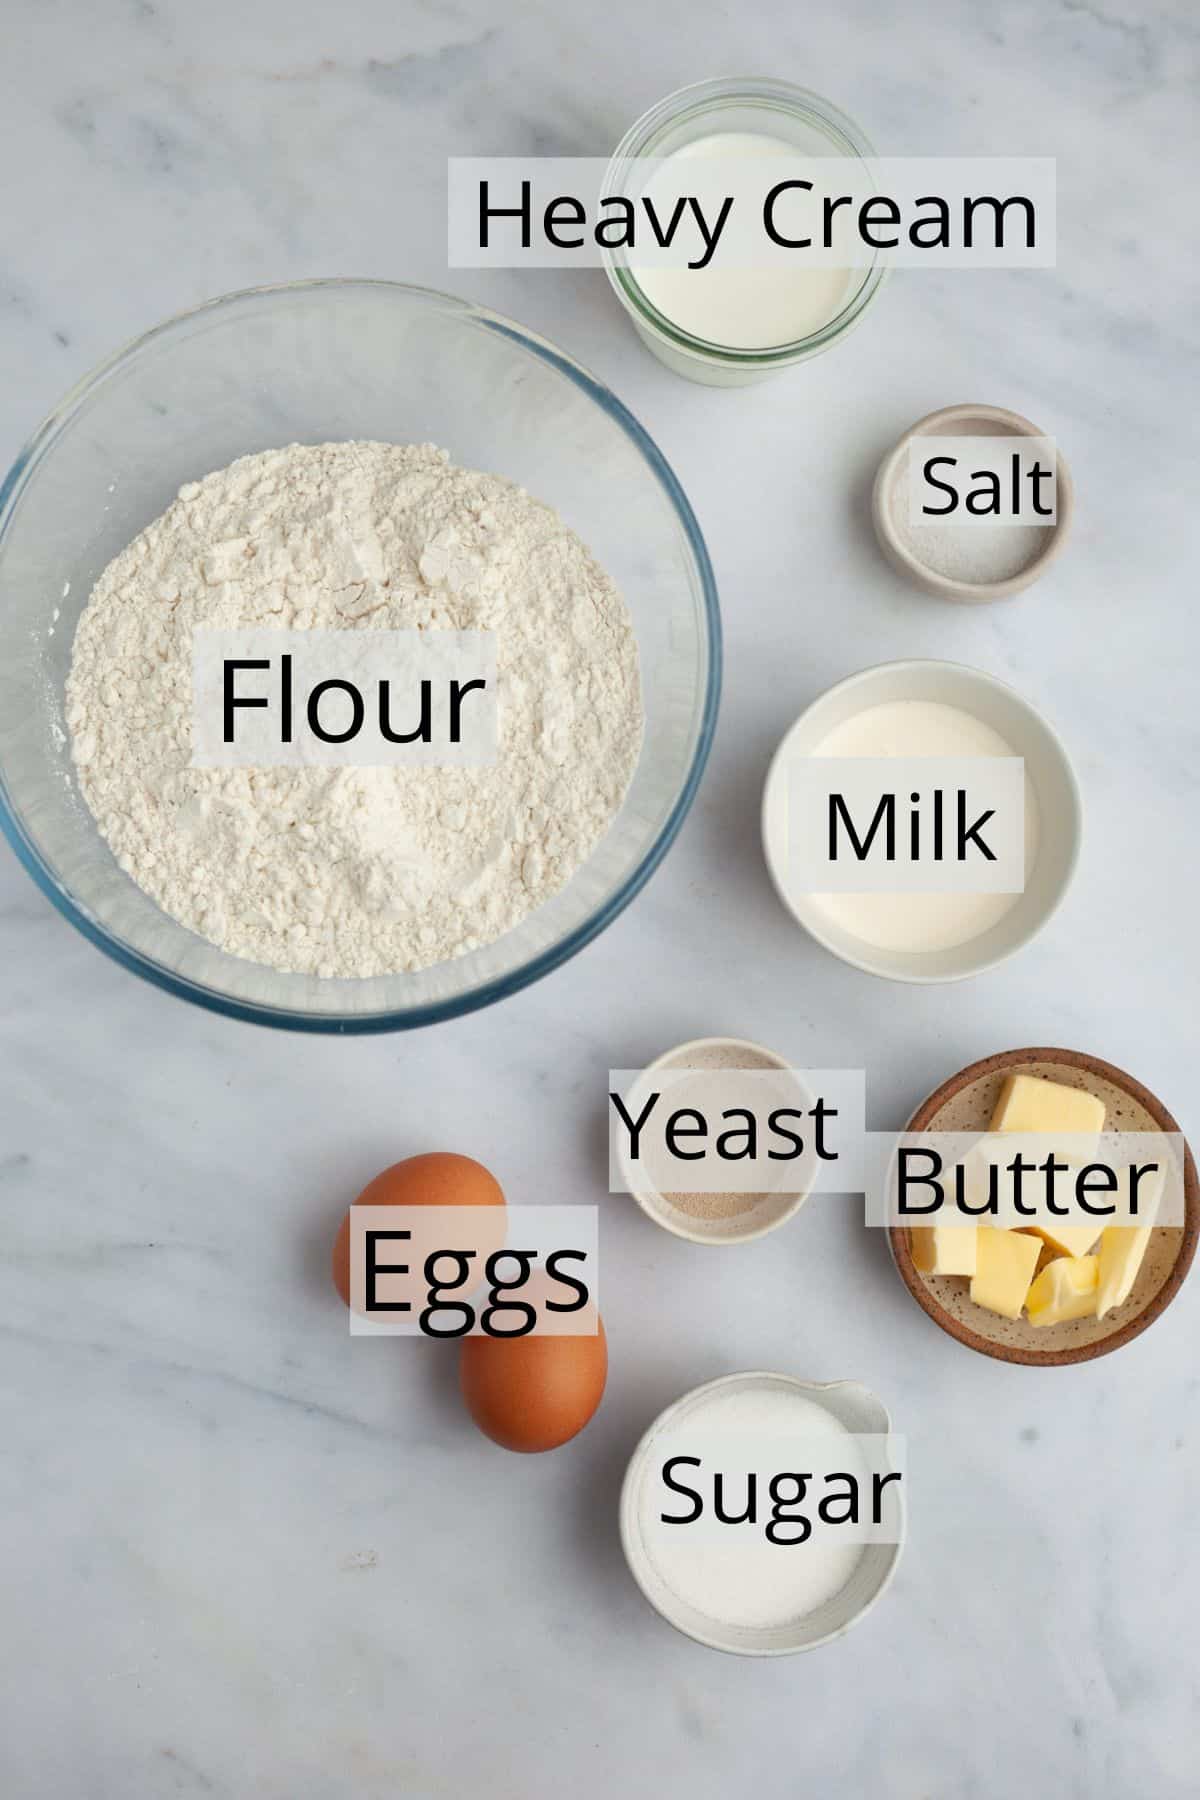
- **All-Purpose Flour:** This is the backbone of our dough. Using good quality all-purpose flour provides the perfect balance of gluten structure for a soft, chewy roll that still holds its shape. Avoid using bread flour, which can make the rolls too dense, or cake flour, which might make them too tender to roll.
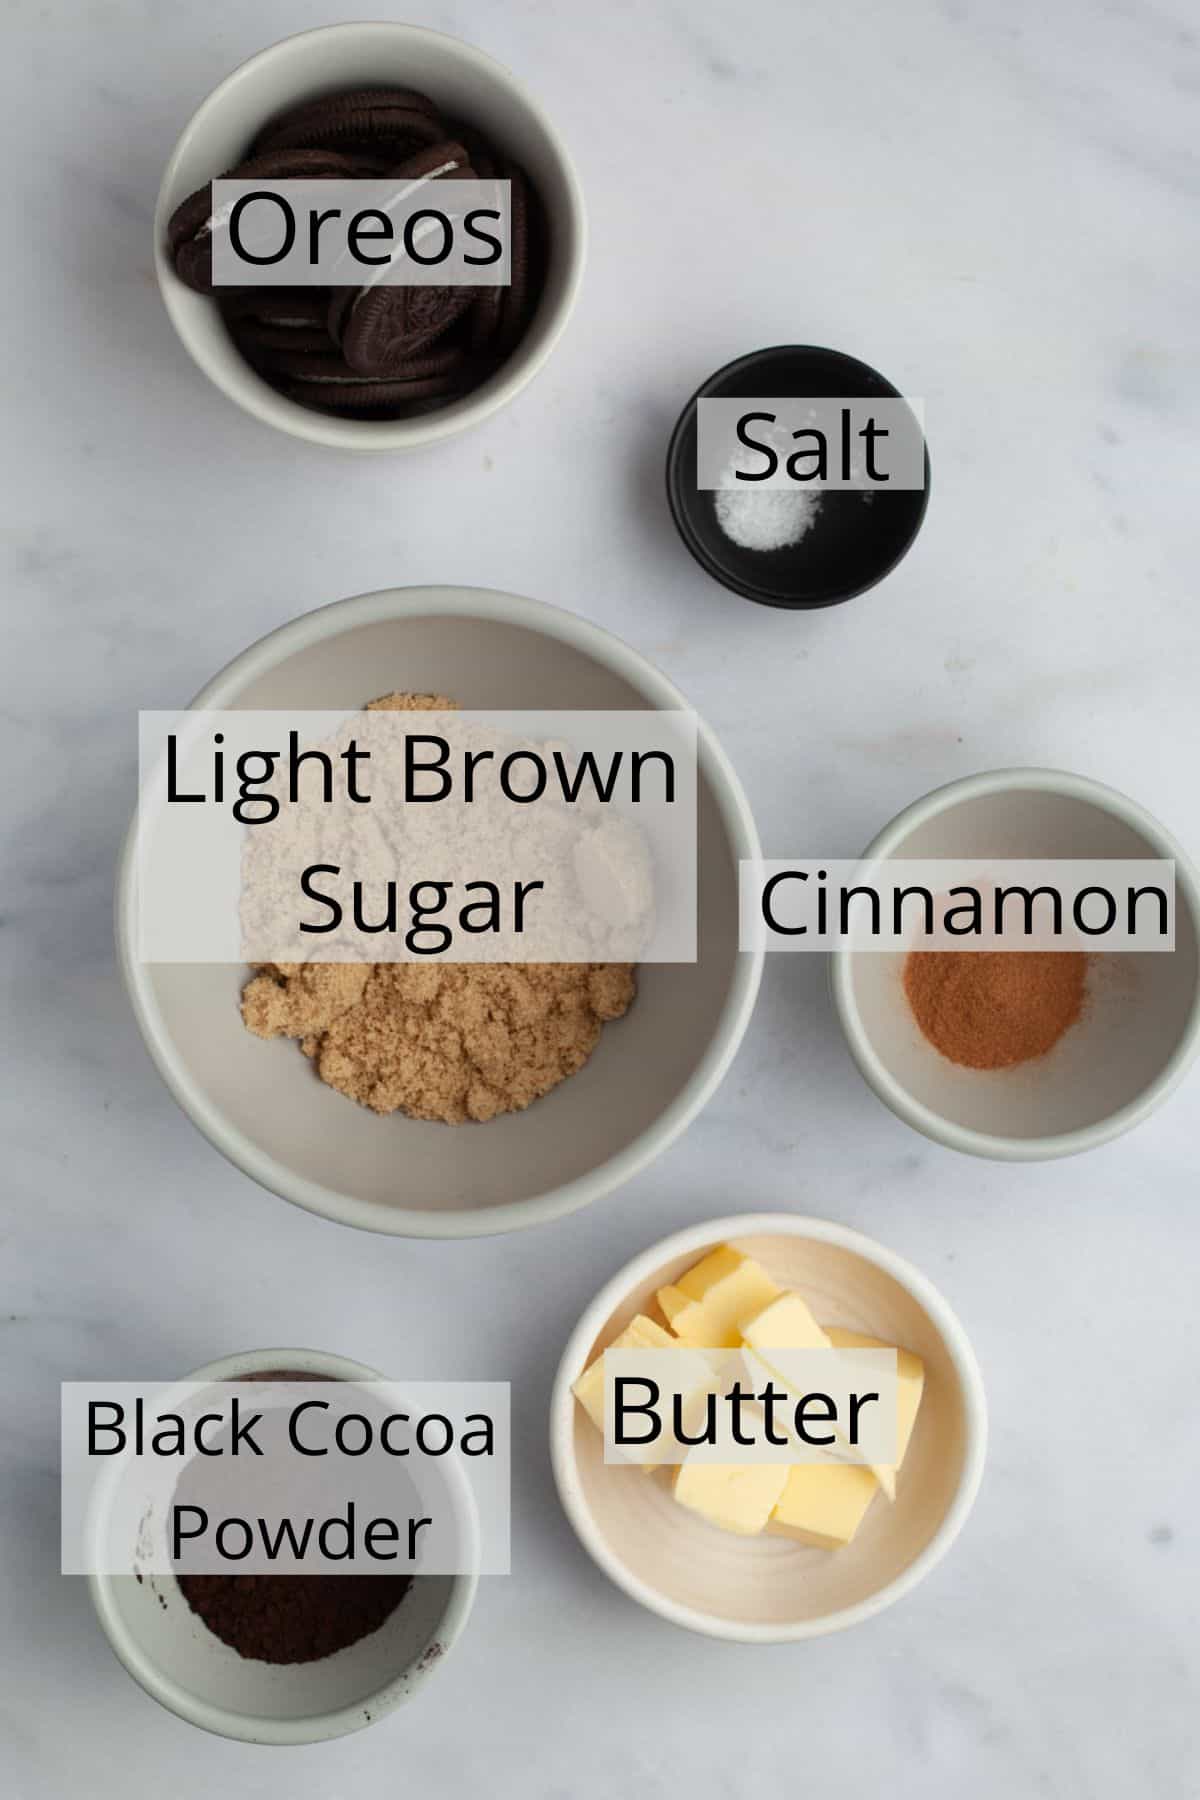
- **Unsalted Butter:** For superior flavor and richness, I consistently opt for **European-style butter** in all my baking endeavors. This type of butter boasts a higher butterfat content compared to standard American butter, resulting in significantly richer, more tender, and incredibly flavorful cinnamon buns. Ensure your butter is at room temperature for both the dough and the filling for optimal incorporation.
- **Heavy Cream:** This is one of the secret weapons for achieving incredibly soft and fluffy cinnamon rolls. Pouring warm heavy cream over the rolls just before baking creates a steamy environment in the oven, infusing moisture and tenderness directly into the dough as it bakes. Don’t skip this step for the ultimate melt-in-your-mouth texture!
- **Black Cocoa Powder:** This ingredient is key to replicating the authentic dark color and unique, slightly bitter chocolate flavor of an Oreo cookie. It’s distinct from regular cocoa powder, offering a deeper, less sweet chocolate profile. If **black cocoa powder** isn’t readily available, you can certainly substitute it with an equal amount of regular unsweetened cocoa powder, keeping in mind the final color and flavor will be slightly different but still delicious.
- **Oreos:** The star of the show! You’ll need to crush these cookies for the filling. A food processor makes quick work of this, creating fine crumbs. Alternatively, place the Oreos in a sturdy ziplock bag and use a rolling pin to crush them into your desired consistency. Don’t forget the cream filling from the Oreos – it adds extra flavor and moisture to the filling.
- **Active Dry Yeast:** This is what makes our cinnamon rolls rise, giving them that wonderful airy texture. Ensure your yeast is fresh and active by performing the “bloom” test with lukewarm milk as outlined in the instructions. Inactive yeast means no rise, so don’t skip this crucial step!
- **Granulated Sugar & Light Brown Sugar:** Granulated sugar provides sweetness and helps activate the yeast in the dough. Light brown sugar in the filling adds a deeper, molasses-rich sweetness and a lovely moist texture.
- **Fine Sea Salt:** A pinch of salt balances the sweetness in both the dough and the filling, enhancing all the other flavors.
- **Eggs & Egg Yolk:** Eggs add richness, moisture, and structure to the dough, contributing to its tender crumb. The extra egg yolk makes the dough even more luxurious and soft. Always ensure eggs are at room temperature for better incorporation into the dough.
Step-by-Step Guide to Baking Irresistible Oreo Cinnamon Rolls
Follow these detailed steps to create your own batch of delightful Oreo cinnamon rolls. Precision and patience are key for the best results!
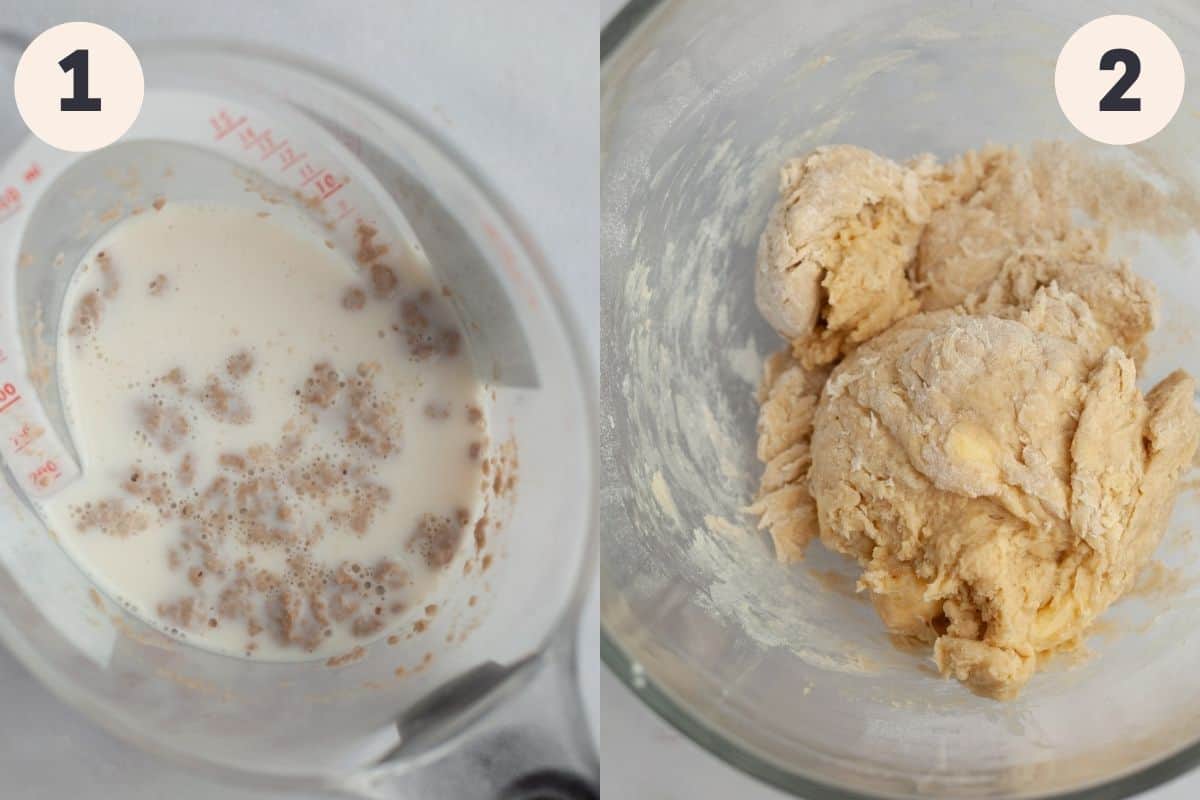
Step 1: Activate the Yeast. In a small saucepan or microwave-safe bowl, gently warm your whole milk until it’s just lukewarm (around 105-115°F or 40-46°C). It should feel warm but not hot to the touch. Pour the lukewarm milk into a jug or medium bowl, then sprinkle the active dry yeast evenly over the surface. Give it a gentle stir to combine. Allow this mixture to sit undisturbed for 5-10 minutes. You’ll know your yeast is active and ready when a frothy layer with small bubbles forms on top. If no bubbles appear, your milk might have been too hot (killing the yeast) or too cold (preventing activation), or your yeast might be expired. You’ll need to start this step over.
Step 2: Prepare the Dough. In the bowl of a stand mixer fitted with the dough hook attachment, combine your dry ingredients: all-purpose flour, granulated sugar, and fine sea salt. Whisk them briefly to ensure they are well mixed. Now, pour in the activated yeast mixture, the room temperature egg, the additional egg yolk, and the softened, cubed unsalted butter. Begin mixing on low speed for about 2-3 minutes. This initial mixing stage helps to bring all the ingredients together and starts the gluten development.
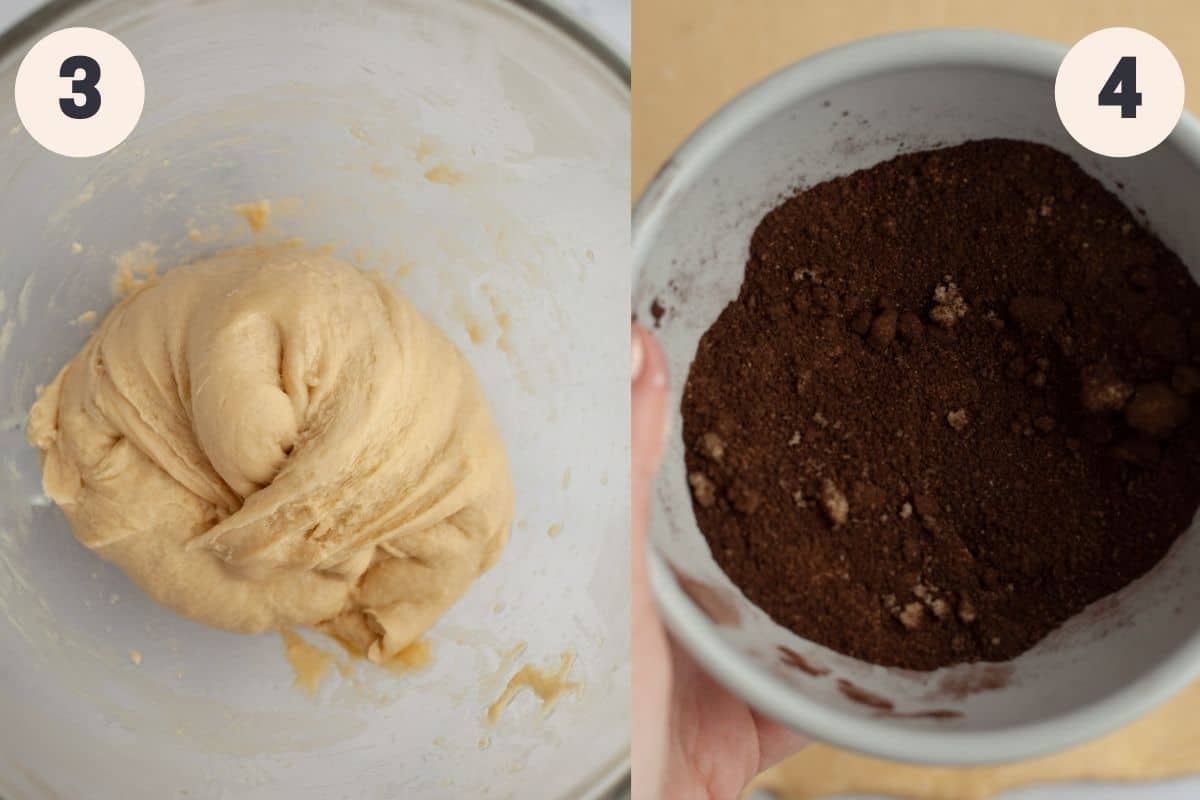
Step 3: Knead and First Rise. Increase the mixer speed to medium and continue kneading for another 3 minutes. At this point, your dough should be beautifully soft, smooth, and only slightly sticky. It should pull away from the sides of the bowl. Gently remove the dough, lightly grease the bottom and sides of the mixing bowl with a neutral vegetable oil, then return the dough to the bowl. Cover the bowl tightly with clingfilm (plastic wrap) and let the dough rise in a warm, draft-free place for 1 hour to 1 hour and 30 minutes, or until it has visibly doubled in size. This first rise is crucial for flavor development and a light, airy texture.
Step 4: Prepare the Oreo Filling. While your dough is rising, prepare the irresistible cookies and cream filling. In a small bowl, whisk together the black cocoa powder (or regular cocoa powder), ground cinnamon, and light brown sugar. Ensure there are no lumps in the brown sugar for an even distribution in the rolls. This mixture forms the base of your delicious Oreo flavor.

Step 5: Assemble the Rolls. Once your dough has doubled, gently punch it down to release the air. Lightly flour your work surface and your rolling pin. Roll the dough out into a large rectangle, aiming for dimensions of approximately 18×12 inches (46×30.5 cm). Using a pastry brush, spread the remaining room temperature unsalted butter evenly over the entire surface of the dough, leaving a small half-inch border along all edges. Evenly sprinkle your prepared cocoa and cinnamon sugar mixture over the buttered dough, then scatter your crushed Oreo cookies generously on top. Press the filling lightly to ensure it adheres to the butter.
Step 6: Slice and Second Rise. Lightly butter a 9×13 inch baking pan. Starting from one of the long sides, tightly roll up your dough into a snug log. The tighter you roll, the better your spirals will be. To cut the log into 12 equal pieces, use either a long, sharp serrated knife or unflavored dental floss (slide it under the log, cross the ends over the top, and pull to cut cleanly). Place the cut rolls, spiral-side up, into your prepared baking pan, leaving a little space between each as they will expand. Cover the pan loosely with clingfilm and let the rolls undergo their second rise for about 1 hour in a warm place. During this time, preheat your oven to 350°F (175°C) and gently warm the ½ cup heavy cream in the microwave or a small saucepan until it’s warm to the touch. Just before baking, pour this warm heavy cream evenly over and between the rolls in the pan. This step is crucial for that incredibly soft and moist texture. Bake for 25-30 minutes, or until the tops are golden brown and the rolls are puffed up and cooked through.

Pro Tips & Tricks for the Best Oreo Cinnamon Rolls
Achieving bakery-quality cinnamon rolls at home is easier with these expert tips:
- **Embrace a Weighing Scale:** For precision in baking, I cannot stress enough the importance of **using a digital kitchen scale** and measuring your ingredients in grams (the metric way). Baking is a science, and exact measurements make a monumental difference in the final texture and consistency of your dough. This prevents issues like dry or overly sticky dough that can arise from inconsistent cup measurements.
- **Proper Flour Measurement (if using cups):** If you must use measuring cups, ensure you **measure your flour correctly**. Do not scoop flour directly from the bag, as this compacts it, leading to significantly more flour than intended. Instead, first, fluff the flour in its container with a spoon or fork. Then, gently spoon the flour into your measuring cup until it overflows, and level it off with a straight edge (like the back of a knife). This method prevents a dry, dense cinnamon roll by ensuring you add the correct amount of flour.
- **Room Temperature Ingredients are Key:** Always make sure all your refrigerated ingredients, such as milk, eggs, and butter, are at **room temperature** before you begin baking. This is crucial because room temperature ingredients emulsify more easily, leading to a smoother, more uniform dough and better texture in the final product. Plan ahead by taking them out of the fridge at least 1-2 hours before you start.
- **Yeast Activation Wisdom:** When adding your yeast to the milk, confirm the milk is **lukewarm**, not hot. The ideal temperature is between 105-115°F (40-46°C). Milk that is too hot will kill the yeast, rendering it inactive and preventing your dough from rising. Conversely, milk that is too cold will inhibit yeast activation. A quick test on your wrist should feel comfortably warm, not scalding.
- **Softened Butter for Filling, Not Melted:** For the filling, it’s essential to use **softened butter**, not melted butter. Melted butter can cause the filling to leak out during the second rise or during baking, creating a messy pan and less filling in your rolls. Softened butter, when spread, acts as a barrier and helps hold the sugar and cocoa mixture in place within the spirals.
- **Advance Preparation for Fresh Morning Buns:** To enjoy fresh cinnamon rolls in the morning without the early wake-up call, you can **prepare these in advance**. Follow the recipe up to the point where the rolls are placed in the baking dish for their second rise. Instead of letting them rise for the full hour, allow them to rise for **just 30 minutes**. Then, cover the dish tightly with clingfilm and place it in the fridge overnight. The next morning, take the rolls out of the fridge about an hour before you plan to bake them, allowing them to come to room temperature and complete their final short rise before pouring over the warm cream and baking as usual.
Frequently Asked Questions About Oreo Cinnamon Rolls
Absolutely! This recipe is perfect for overnight preparation. Once you’ve placed the cut cinnamon rolls into their baking dish for the second rise, allow them to proof for just 30 minutes at room temperature. After this brief rise, cover the dish tightly with plastic wrap and transfer it to the refrigerator. The slow, cold rise overnight develops deeper flavors. The next morning, remove the rolls from the fridge about an hour before baking to allow them to come to room temperature and finish their final proof before proceeding with baking instructions.
Yes, you certainly can freeze these delicious cinnamon rolls for later enjoyment! Once the rolls have completely cooled after baking and glazing (if applicable), wrap them individually or as a whole pan tightly in plastic wrap, then an additional layer of aluminum foil. Place them in a freezer-safe bag or container for up to 2 months. To serve, you can either let them defrost overnight in the refrigerator, or gently warm them from frozen in the microwave or a preheated oven (around 300°F/150°C for 10-15 minutes, covered with foil, until warmed through). Add fresh glaze after reheating if desired.
While black cocoa powder is recommended for achieving that signature deep dark color and distinct intense chocolate flavor characteristic of Oreo cookies, you can easily substitute it. Feel free to use an equal amount of regular unsweetened cocoa powder. The cinnamon rolls will still be incredibly delicious with a rich chocolate and cinnamon flavor, though their color will be lighter and the chocolate taste slightly less intense, resembling a classic chocolate cinnamon roll.
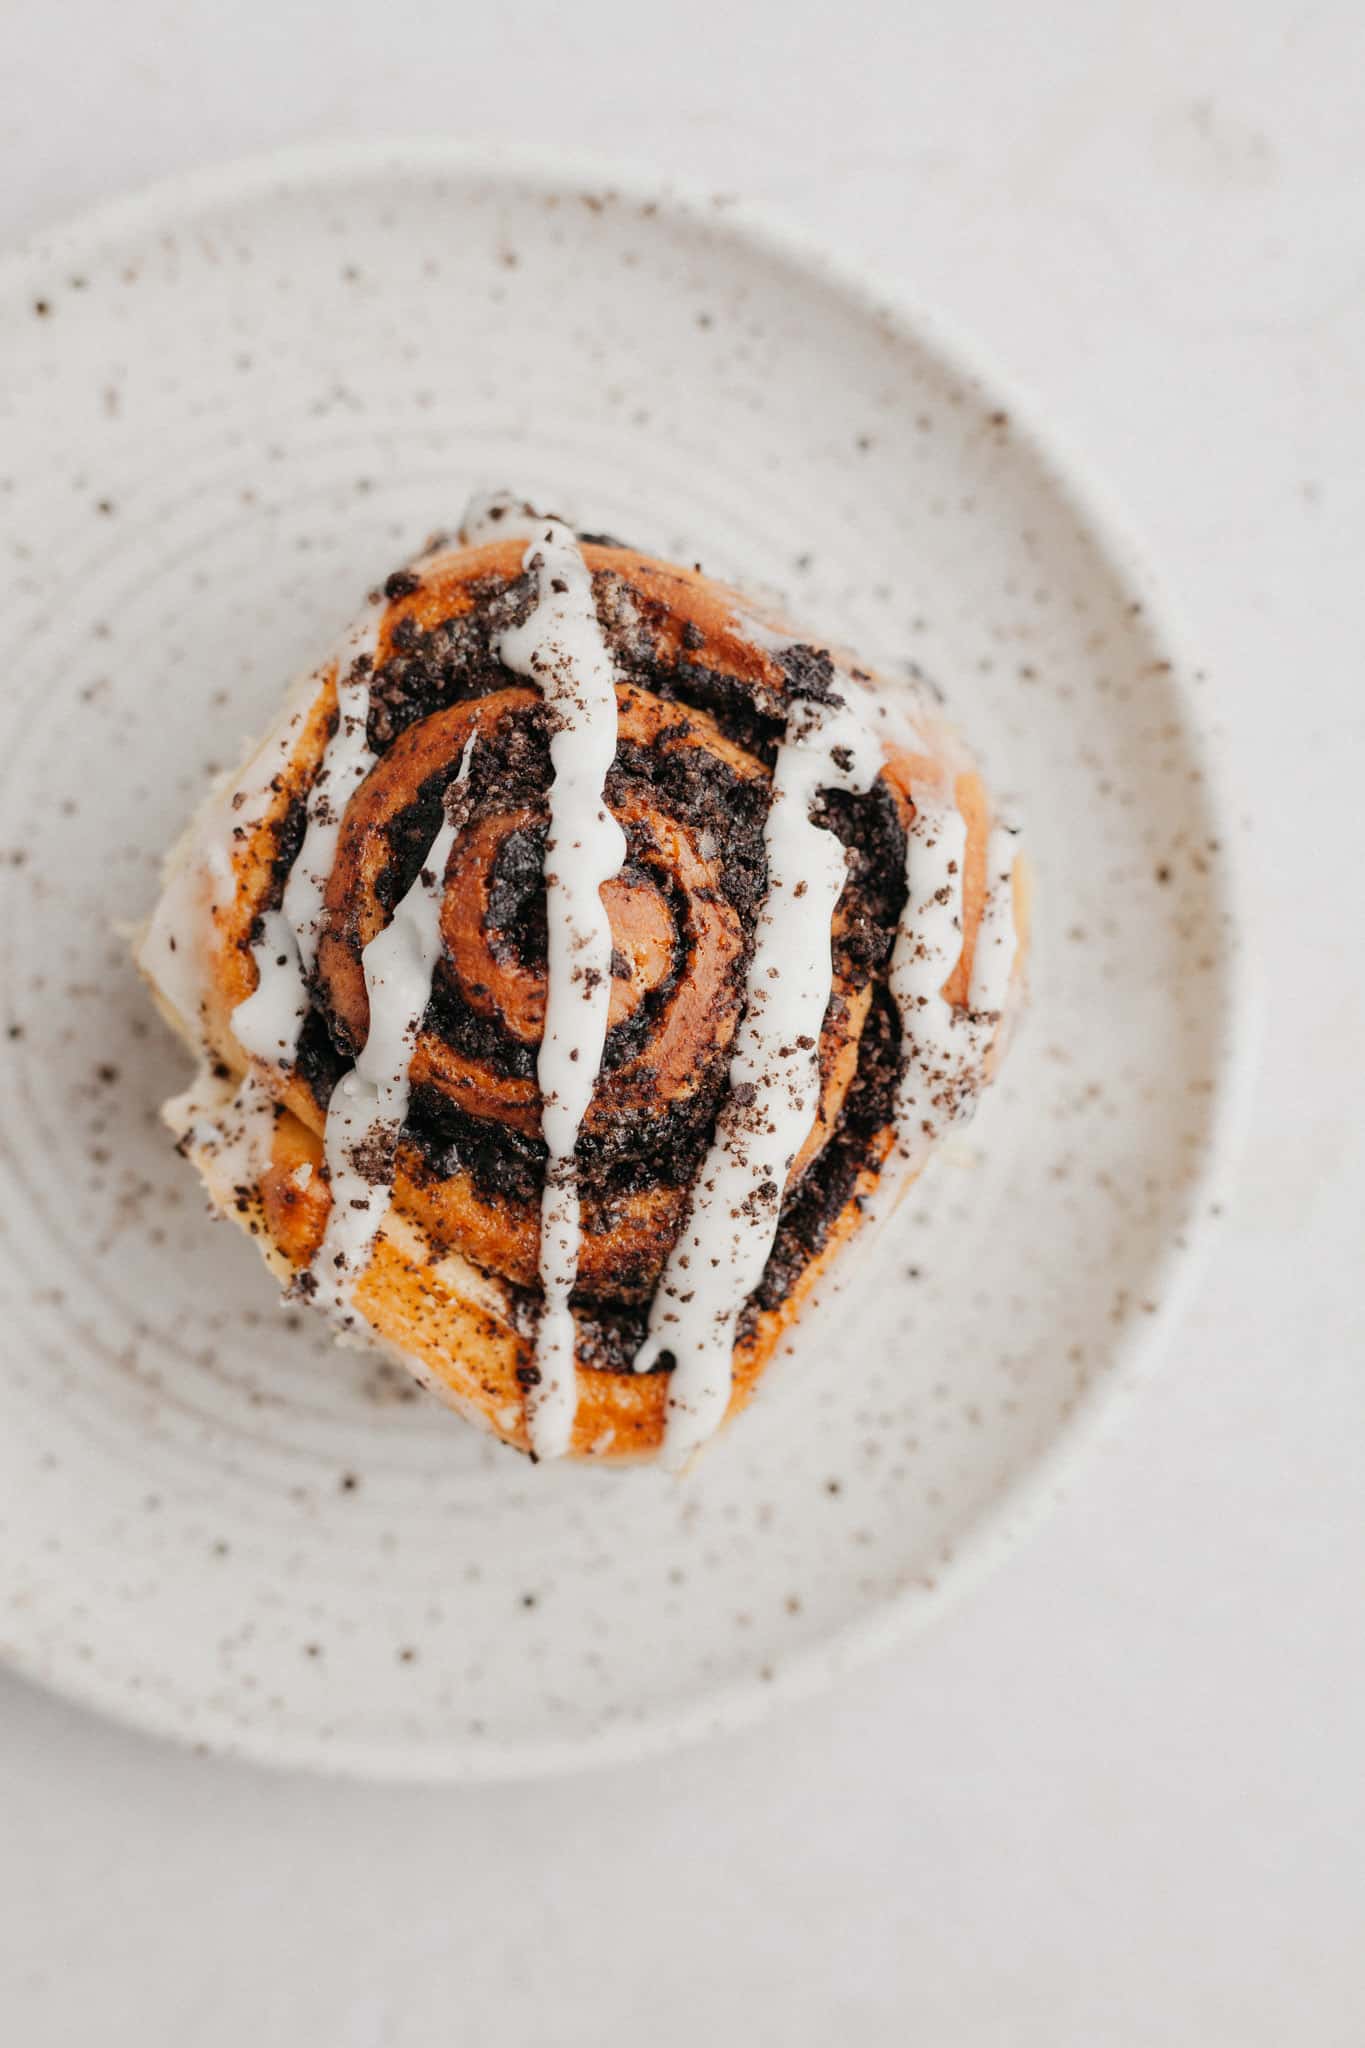
Glaze Options for Your Oreo Cinnamon Rolls
No cinnamon roll is complete without a luscious topping! For these Oreo Cinnamon Rolls, we provide a recipe for a simple yet delicious vanilla glaze, but feel free to get creative.
Simple Vanilla Glaze
Our go-to glaze is a quick mix of powdered sugar, a touch of heavy cream, and vanilla extract. It’s designed to be smooth, sweet, and provides the perfect complement without overpowering the rich Oreo flavor. Adjust the consistency by adding more liquid for a thinner drizzle or more powdered sugar for a thicker, more opaque frosting.
Cream Cheese Frosting Alternative
For those who love a bit of tang and extra decadence, a rich cream cheese frosting is an excellent alternative. You can use the recipe from my brioche cinnamon rolls or prepare a simple one by beating together 4 oz (113g) softened cream cheese, 2 tablespoons softened unsalted butter, 1 cup (120g) powdered sugar, and ½ teaspoon vanilla extract until smooth and creamy. This will add a beautiful contrast to the sweet and chocolatey rolls.
Serving and Storage Suggestions
Serving Your Oreo Cinnamon Rolls
These Oreo cinnamon rolls are best enjoyed warm, fresh from the oven, with a generous drizzle of glaze. They make an unforgettable breakfast, a delightful brunch centerpiece, or even a comforting dessert with a cup of coffee or milk. For an extra touch, garnish with a few more crushed Oreos on top of the glaze.
Storage Instructions
- **Room Temperature:** While best fresh, leftover cinnamon rolls can be stored in an airtight container at room temperature for up to 2 days. Reheat briefly in the microwave for a few seconds or in a warm oven (around 250°F/120°C) for 5-10 minutes until soft again.
- **Refrigerator:** For longer storage, cover the rolls tightly and keep them in the fridge for up to 5 days. Reheat as desired, they will be wonderfully soft again.
- **Freezing Baked Rolls:** Once completely cooled, wrap individual rolls tightly in plastic wrap and then aluminum foil, or place them in a freezer-safe bag or container. They can be frozen for up to 3 months. Thaw overnight in the fridge or microwave them until warm. Reheat in a preheated oven (350°F/175°C) for about 10 minutes for optimal texture, adding glaze after reheating.
More Irresistible Breakfast Recipes to Try Next!
If you’ve loved these Oreo Cinnamon Rolls, you’re in for a treat with these other fantastic breakfast and brunch ideas from my kitchen:
- Brioche Cinnamon Rolls with Heavy Cream
- Baked Oats for One (4 Flavors)
- Bakery Style Chocolate Chunk Banana Muffins
- Cinnamon Sugar Donuts (Ready in 15 Minutes)
Have you tried this irresistible Oreo Cinnamon Rolls recipe? We would love to hear about your baking experience! Please remember to tag me on Instagram @alpineella and don’t forget to **leave a review below** if you’ve made them! For even more delicious baking inspiration and ideas, be sure to follow me on Pinterest. Happy baking!
Oreo Cinnamon Rolls Recipe

Super fluffy cookies and cream cinnamon rolls which can be made the night before. Stuffed with crushed Oreo cookies, black cocoa powder and light brown sugar.
Pin Recipe
Save Recipe
Prep Time: 20 mins
Cook Time: 25 mins
Resting Time: 2 hrs
Total Time: 2 hrs 45 mins
Course: Breakfast
Cuisine: American
Servings: 12 rolls
Calories: 348 kcal
Equipment
- 9×13 baking tray
- Stand mixer with dough hook attachment (recommended)
- Small saucepan or microwave-safe bowl
- Rolling pin
- Pastry brush
- Long serrated knife or dental floss
- Food processor (for crushing Oreos, optional)
Ingredients
Cinnamon Rolls
- ¾ cup whole milk
- 2 ¼ teaspoon active dry yeast
- 1 egg, room temperature
- 1 egg yolk, room temperature
- 3 ½ cups all purpose flour
- ¼ cup granulated sugar
- 1 teaspoon fine sea salt
- 4 tablespoon unsalted butter, room temperature, cut into squares
- ½ cup heavy cream (for pouring over rolls before baking)
Oreo Filling
- ⅓ cup light brown sugar
- 1 ½ teaspoon ground cinnamon
- Pinch salt
- 2 tablespoons black cocoa powder (or regular unsweetened cocoa powder)
- 6 Oreos, crushed
- ¼ cup unsalted butter, room temperature (for spreading)
Glaze
- 1 cup confectioners’ sugar
- 4 tablespoon heavy cream
- 1 teaspoon vanilla extract
- 2 tablespoon water (adjust for consistency)
Instructions
Cinnamon Rolls
- Warm up your milk in a small saucepan over medium-low heat until lukewarm (105-115°F / 40-46°C). Pour into a medium bowl, add yeast, stir, and let sit for 5-10 minutes until foamy.
- In a stand mixer bowl with a dough hook, combine flour, salt, and granulated sugar. Mix briefly.
- Pour the activated yeast mixture, butter, egg, and egg yolk into the stand mixer bowl. Mix on low speed for 2-3 minutes, then increase to medium and mix for another 3 minutes until smooth and slightly sticky.
- Remove dough, lightly oil the bowl, return dough, cover with clingfilm, and let rise at room temperature for 1-1.5 hours until doubled in size.
- Butter a 9×13 inch baking dish.
- Turn dough onto a lightly floured surface. Roll into an 18×12 inch (46×30.5 cm) rectangle.
- In a small bowl, mix cinnamon, black cocoa powder, light brown sugar, and a pinch of salt. Brush the dough surface with ¼ cup softened unsalted butter, leaving a ¼ inch margin. Sprinkle the cocoa-cinnamon mixture, then crushed Oreos over the butter.
- From the long side, tightly roll the dough into a log. Cut into 12 equal pieces using dental floss or a serrated knife. Place rolls into the buttered dish.
- Cover loosely with clingfilm and let rise for about 1 hour. The dough is ready when poked, it bounces back slightly but leaves a dent. (For overnight prep: Rise for 30 minutes, then refrigerate covered. Next morning, let sit at room temp for 1 hour before baking).
- Preheat oven to 350°F (175°C). Warm ½ cup heavy cream. Pour warm cream over and between the rolls just before baking. Bake for 25-30 minutes until golden brown.
Glaze
- In a medium bowl, whisk together confectioners’ sugar, 4 tablespoons heavy cream, 1 teaspoon vanilla extract, and 2 tablespoons water until desired consistency. Add more liquid for thinner, more sugar for thicker. Drizzle over warm baked rolls.
Notes
- Butter: European-style butter (like Kerry Gold) yields richer, creamier rolls due to higher butterfat content.
- Black Cocoa Powder: Regular unsweetened cocoa powder can be used as a substitute if black cocoa is unavailable.
- Storage: Cover baked rolls and keep in the fridge for up to 5 days. Reheat in microwave or oven.
- Freezing: Fully cooled, baked rolls can be wrapped tightly and frozen for up to 3 months. Defrost in fridge overnight or microwave. Reheat in oven at 350°F (175°C) for ~10 minutes.
- Make Ahead: Follow recipe up to step 8. Rise for 30 mins, then refrigerate overnight. Let come to room temperature for 1 hour next morning before baking.
Nutrition
(Per serving, approximate)
- Calories: 348 kcal
- Carbohydrates: 56g
- Protein: 7g
- Fat: 16g
- Saturated Fat: 9g
- Polyunsaturated Fat: 1g
- Monounsaturated Fat: 4g
- Trans Fat: 1g
- Cholesterol: 69mg
- Sodium: 238mg
- Potassium: 143mg
- Fiber: 2g
- Sugar: 14g
- Vitamin A: 521IU
- Vitamin C: 1mg
- Calcium: 51mg
- Iron: 3mg
Tried this recipe?
Leave a comment below! You can also tag me on Instagram @alpineella so I can see what you made!
