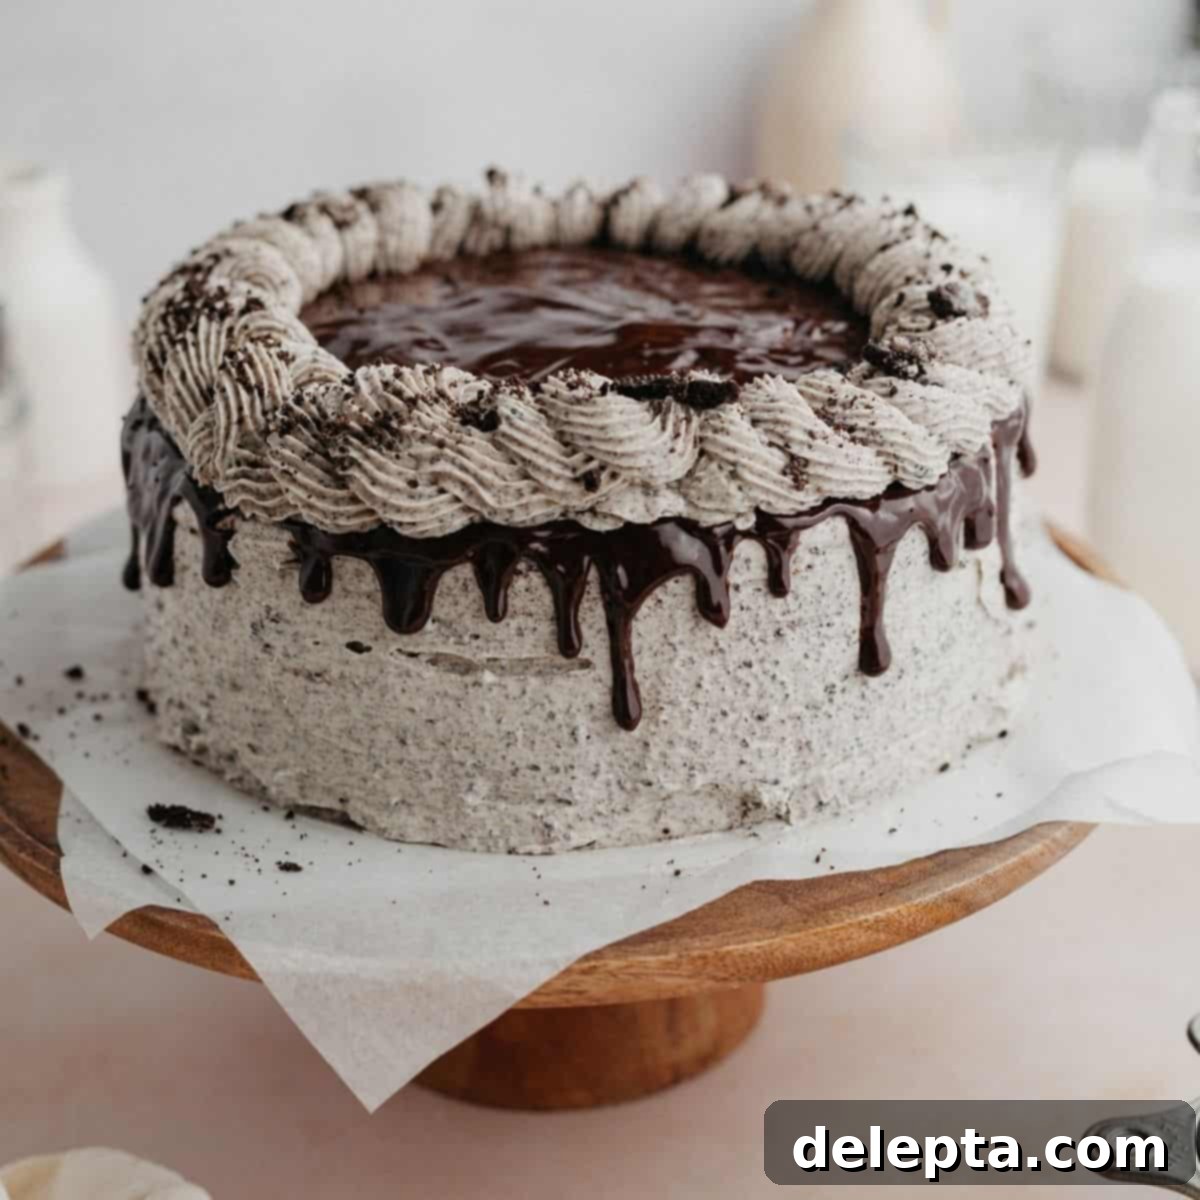
The Ultimate Oreo Drip Cake: Fudgy Chocolate Layers, Dreamy Oreo Buttercream, and Rich Ganache
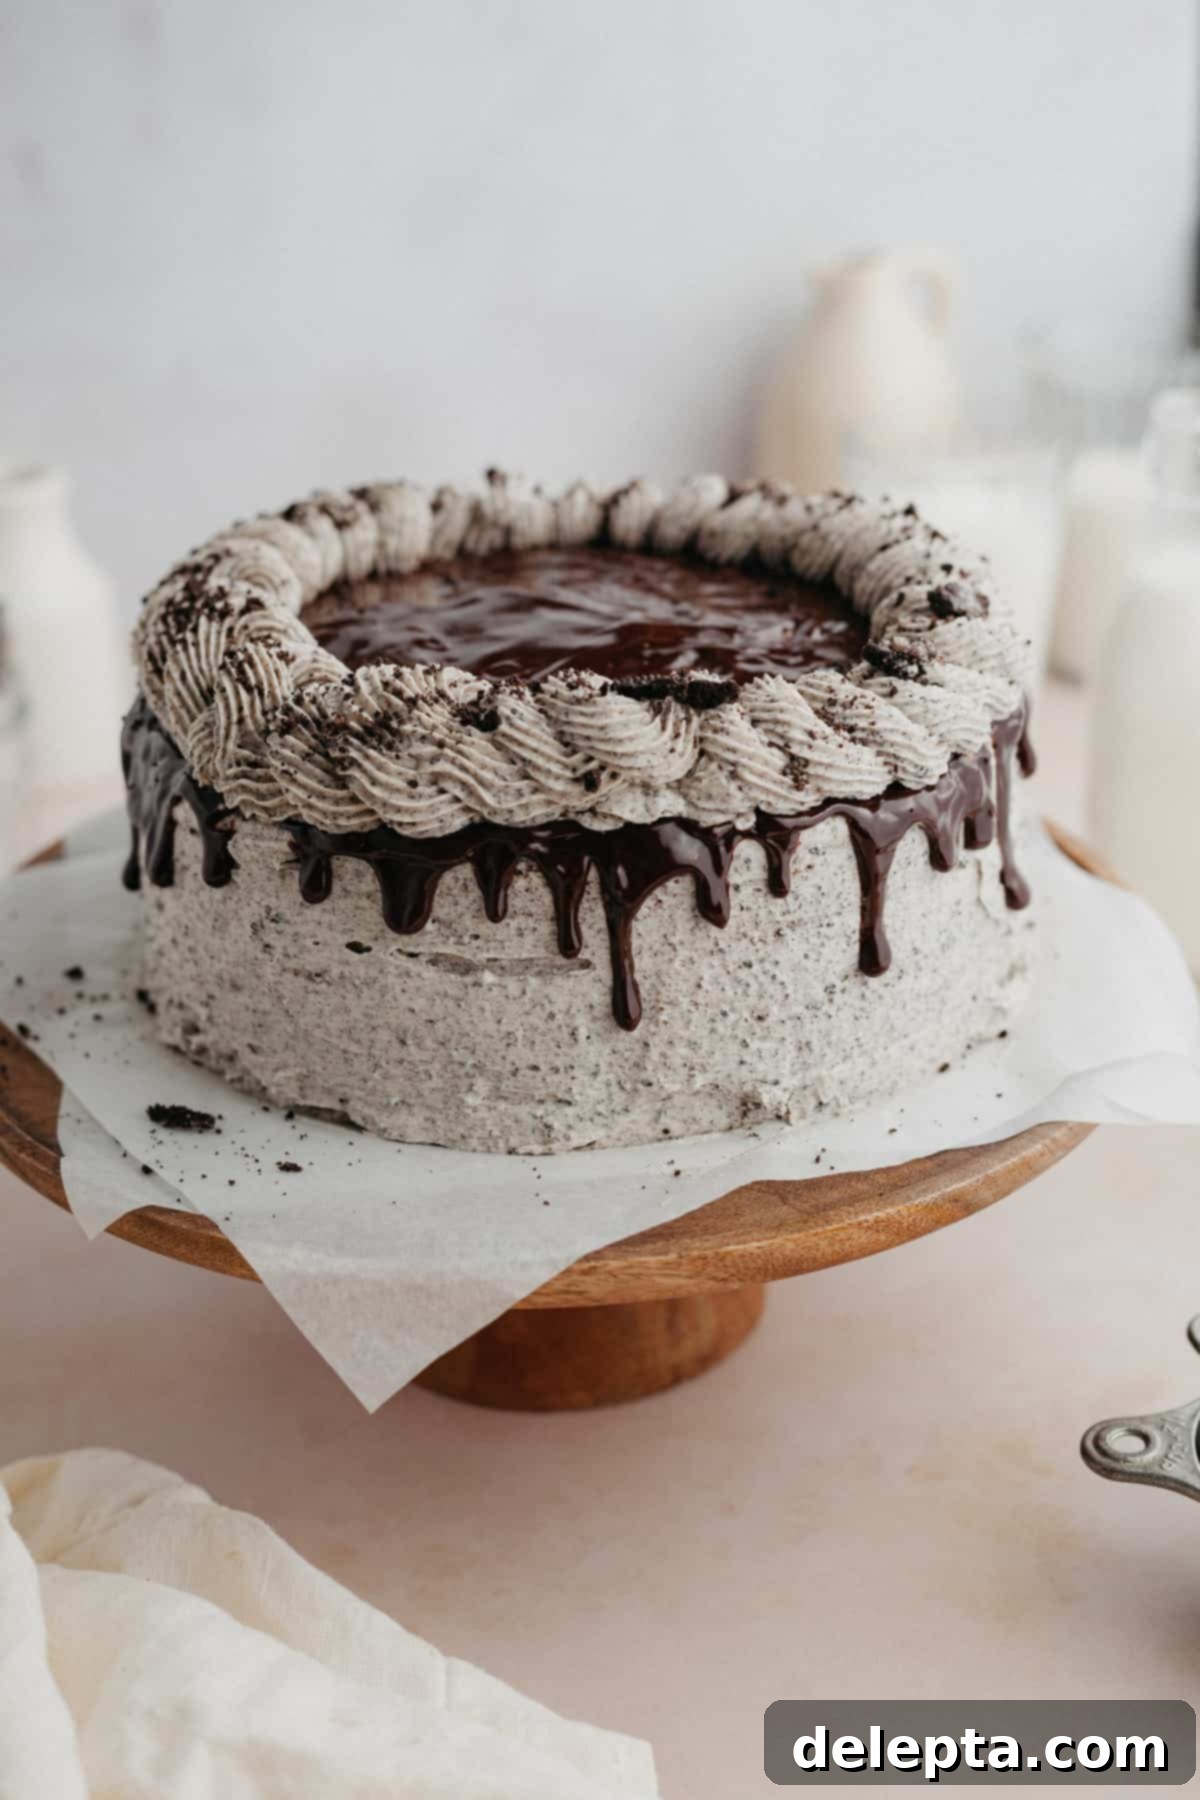
Prepare for an extraordinary dessert experience! This isn’t just any cake; it’s the ultimate Oreo Drip Cake, designed to delight every chocolate and cookie lover. Imagine sinking your teeth into layers of unbelievably fudgy chocolate cake, generously frosted with a decadent Oreo buttercream, and crowned with a luscious chocolate ganache drip. It’s a symphony of textures and flavors that will have everyone asking for seconds. Best of all? This show-stopping masterpiece only requires about 25 minutes of active preparation time, and you likely have most of the ingredients stocked in your pantry already. Get ready to bake a cake that looks as impressive as it tastes!
[feast_advanced_jump_to]
Why You’ll Adore This Oreo Drip Cake Recipe
This isn’t just another cake; it’s a celebration in itself, offering a delightful combination that’s hard to resist. Here’s why this Oreo Drip Cake will become your new favorite:
- Incredibly Moist Chocolate Cake: Our foundational chocolate cake recipe is a true winner. It’s the same reliable recipe used in our Chocolate Orange Cake, known for its deep, rich cocoa flavor and incredibly moist crumb. You don’t even need a stand mixer to prepare the cake batter – just a bowl and a whisk will do! The secret to its dark color and intense chocolate flavor lies in the addition of boiling water to the cocoa powder, blooming it beautifully.
- Perfectly Tender Texture: Thanks to the buttermilk, each chocolate cake layer boasts an exceptionally tender and moist texture that simply melts in your mouth. Buttermilk adds a subtle tang that complements the rich chocolate, ensuring a balanced and delightful flavor profile.
- Dreamy Oreo Buttercream: The frosting is an American-style buttercream, whipped to fluffy perfection and generously studded with finely crushed Oreo cookies. But we don’t stop there! We layer even more crushed Oreos between the moist chocolate cake layers, amplifying that signature cookie crunch and flavor in every bite.
- Irresistible Chocolate Ganache Drip: The elegant chocolate ganache drip not only adds a sophisticated visual appeal but also introduces another layer of rich, smooth chocolate flavor that perfectly balances the sweet buttercream and fudgy cake. It’s easier to achieve than you might think!
- Crowd-Pleaser for Any Occasion: Whether it’s a birthday, holiday, or just a weekend treat, this Oreo Drip Cake is guaranteed to impress. Its iconic flavors and stunning appearance make it the centerpiece of any dessert table.
- More Oreo Delights: Can’t get enough of Oreos? We understand! If you love this cake, be sure to explore more of our fantastic Oreo recipes. You absolutely need to try our Oreo Rice Krispie Treats for a quick and fun dessert, the vibrant Funfetti Oreo Cake for an extra festive touch, and our chewy Oreo Chocolate Chip Cookies.
- Cupcake Version Available: If you’re looking for individual portions, our Chocolate Oreo Cupcakes offer all the same incredible flavors in a convenient cupcake form!
Key Ingredients for Your Oreo Drip Cake
Crafting this incredible cake requires a few essential ingredients for each component: the fudgy chocolate cake, the creamy Oreo buttercream, and the glossy chocolate ganache drip. Gather these pantry staples, and you’ll be well on your way to baking perfection.
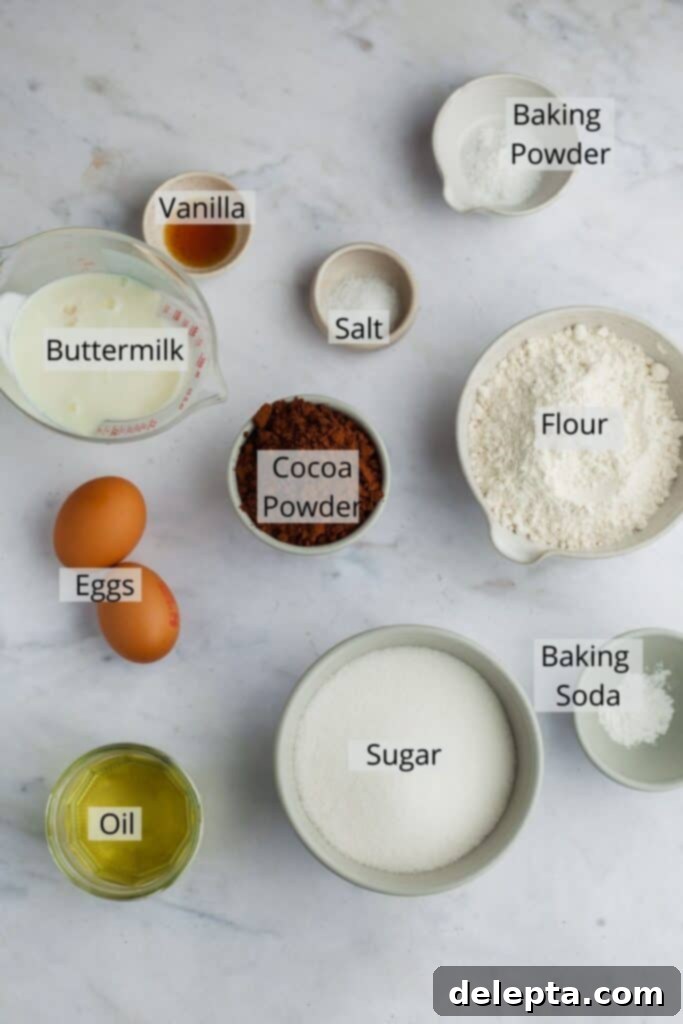
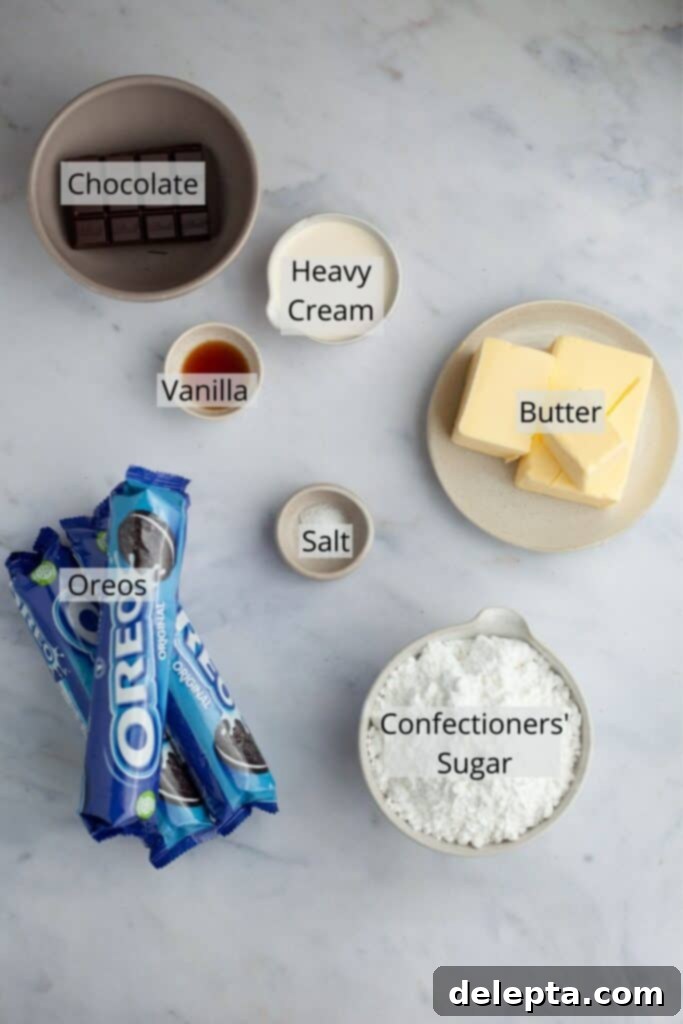
For the complete and precise list of ingredients with detailed measurements and instructions, please refer to the printable recipe card conveniently located at the bottom of this post.
Ingredient Notes for Perfect Results
Understanding the role of each ingredient can make a significant difference in your baking success. Here are some specific notes to ensure your Oreo Drip Cake turns out perfectly:
- Oil: It’s crucial to use a neutral-flavored oil like rapeseed oil, canola oil, or standard vegetable oil. These oils add an incredible amount of moisture to the cake without imparting any unwanted flavors, ensuring a tender and rich crumb that stays fresh longer.
- Cocoa Powder: This recipe specifically calls for Dutch-processed cocoa powder. Dutch-processed cocoa has been treated with an alkali to neutralize its acidity, resulting in a darker color and a smoother, less bitter chocolate flavor. How do you tell if you have Dutch-processed? Simply check the ingredients list on your cocoa powder container – if it mentions “alkali” or “acidity regulators,” you’ve got the right kind! This detail is vital for the cake’s chemistry and flavor.
- Butter: For the richest and creamiest frosting, I highly recommend using a high-quality European-style butter, such as Kerrygold. European butters typically have a higher butterfat content compared to American varieties, which translates to a luxuriously rich and incredibly smooth buttercream that holds its shape beautifully. Ensure your butter is at room temperature for optimal creaming.
- Buttermilk: Buttermilk contributes significantly to the cake’s moistness and adds a subtle tang that enhances the overall flavor. If you don’t have buttermilk on hand, don’t worry! You can easily make a substitute by adding one tablespoon of lemon juice or white vinegar to a liquid measuring cup, then filling the rest of the cup (to 240 ml or 1 cup mark) with regular milk. Stir gently and let it sit for about 5 minutes until it slightly curdles.
- Eggs: Always use large eggs at room temperature. Room temperature eggs emulsify better with other ingredients, creating a smoother batter and a more uniform cake texture.
- Flour: Standard all-purpose flour works perfectly for this recipe. Make sure to measure it correctly, ideally by weight for the most accurate results.
- Granulated Sugar & Confectioners’ Sugar: Granulated sugar is used in the cake for sweetness and structure, while confectioners’ sugar (powdered sugar) is essential for the smooth, dissolve-in-your-mouth texture of the buttercream. Sift your confectioners’ sugar if it appears lumpy to prevent a gritty frosting.
- Oreo Cookies: You’ll need Oreos in two forms for this recipe: finely pulsed into a powder for the buttercream and more coarsely crushed for sprinkling between layers and on top. Ensure the Oreos for the buttercream are very fine, especially if you plan to pipe the frosting, to avoid clogging your piping tip.
Step-by-Step: How to Make This Magnificent Oreo Drip Cake
Creating this stunning cake is a rewarding process. Follow these detailed steps for each component to ensure a perfect bake and gorgeous decoration.
For the Fudgy Chocolate Cake:
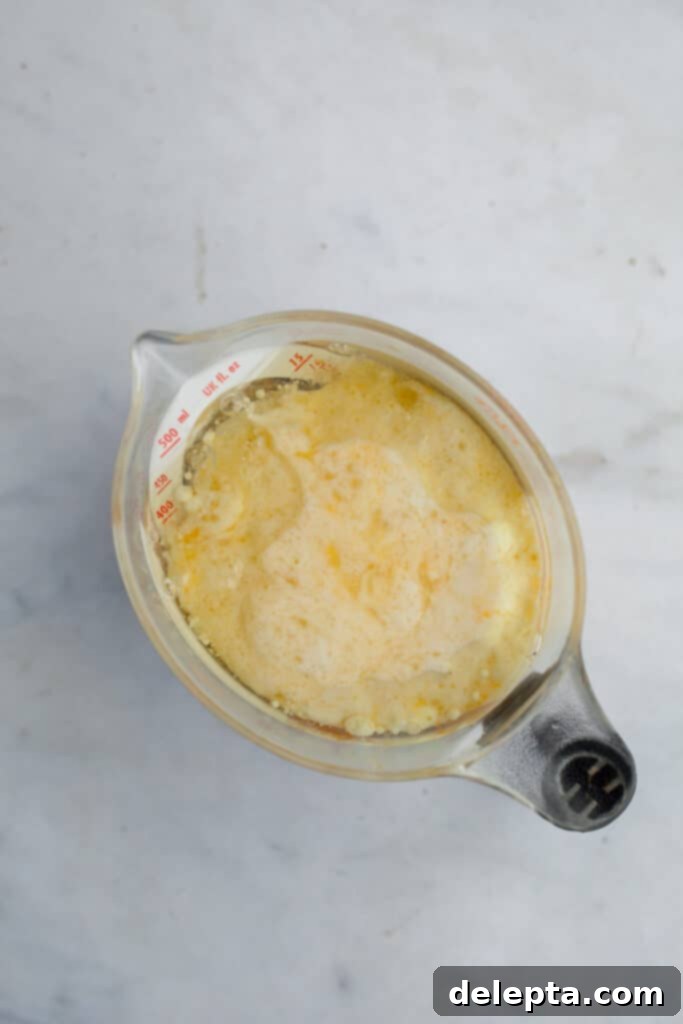
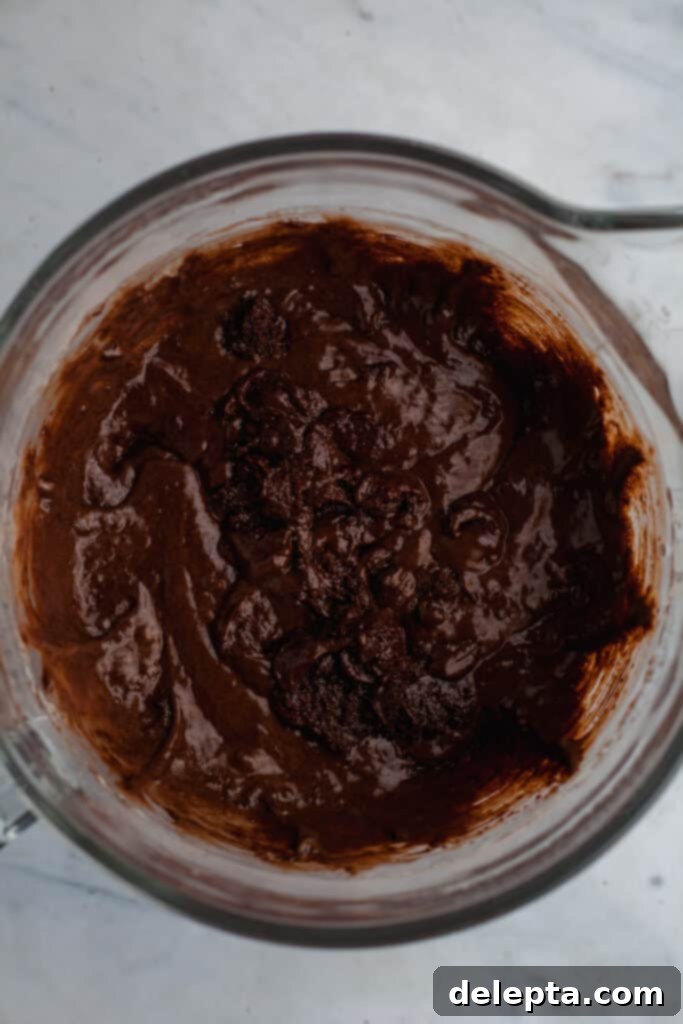
One: Prepare Wet & Dry Ingredients. In a medium-sized jug or bowl, thoroughly whisk together your room-temperature eggs, buttermilk, vanilla extract, and neutral oil until well combined and uniform. In a separate, large mixing bowl, whisk together all of your dry cake ingredients: flour, granulated sugar, Dutch-processed cocoa powder, baking soda, baking powder, and kosher salt. Ensure there are no lumps and the ingredients are evenly distributed.
Two: Combine and Mix. With your stand mixer running on its lowest speed (to prevent flour from flying everywhere!), slowly and gradually pour the wet ingredients from your jug into the large bowl containing the dry ingredients. Continue mixing on low until just combined, being careful not to overmix. Then, still on low speed, slowly add the hot water. The batter will be quite thin, but this is exactly what contributes to the cake’s incredible moistness and dark color. Mix until smooth, then turn off the mixer immediately.
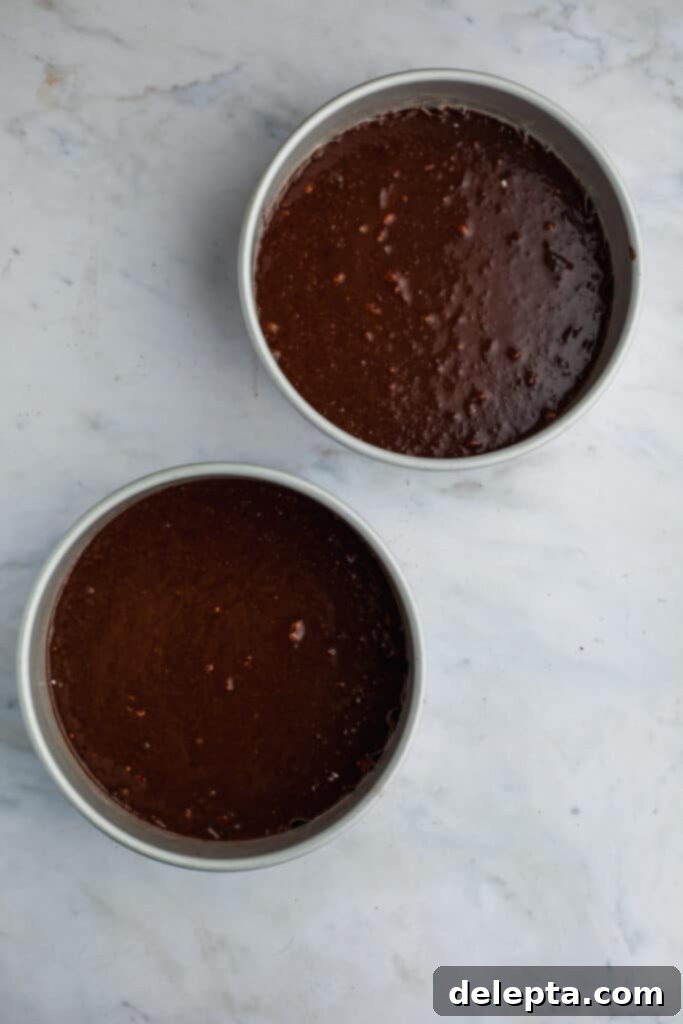
Three: Bake the Cake Layers. Divide the thin batter evenly between your two greased and parchment-lined 8-inch baking pans. Bake in a preheated oven at 350°F (175°C) for approximately 35-40 minutes, or until a wooden skewer inserted into the center of the cakes comes out clean. Once baked, let the cakes cool in their pans for about 5-10 minutes before carefully inverting them onto a wire cooling rack to cool completely. This is a critical step – the cakes must be entirely cool before frosting to prevent melting.
For the Rich Oreo Buttercream:
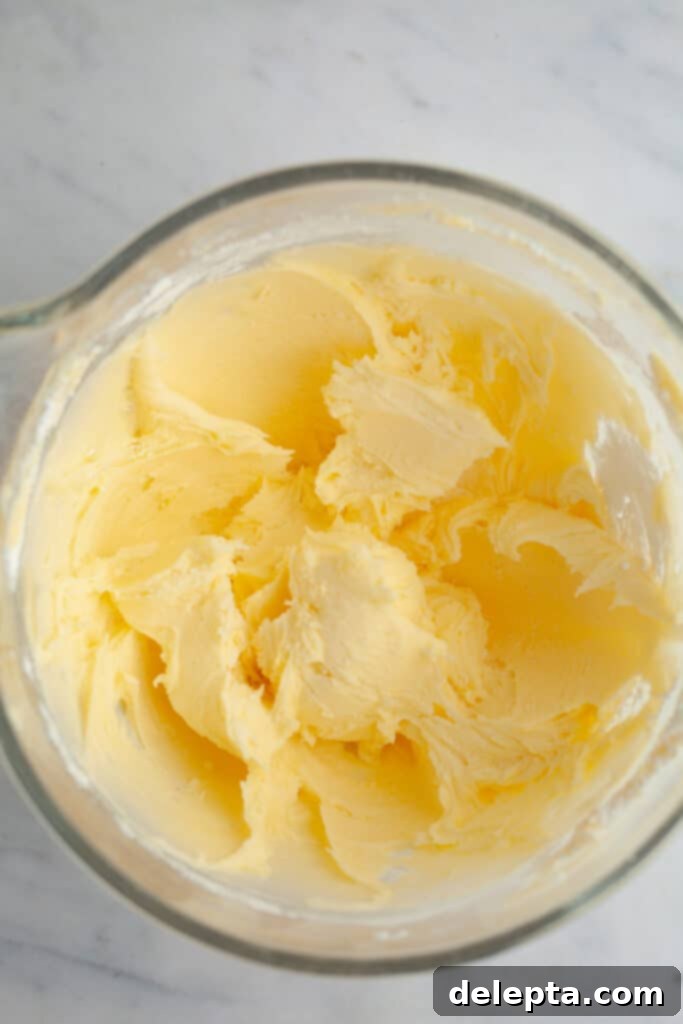
Four: Cream Butter and Sugar. In the bowl of a stand mixer fitted with the paddle attachment, begin by slowly beating the room-temperature unsalted butter with the confectioners’ sugar on low speed. This initial slow mixing prevents a cloud of powdered sugar from escaping!
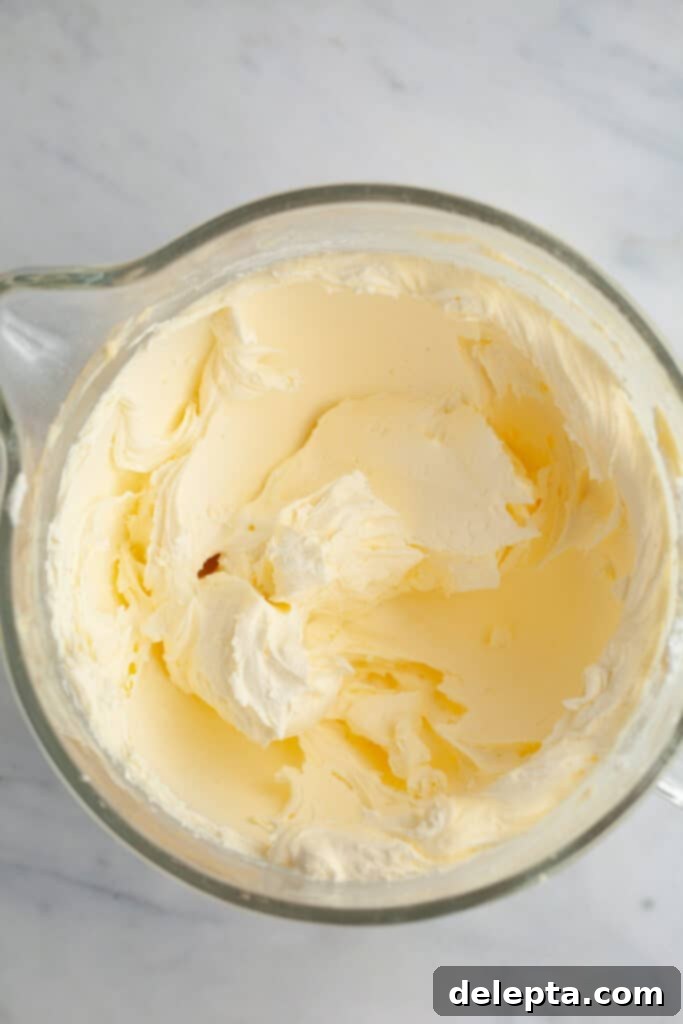
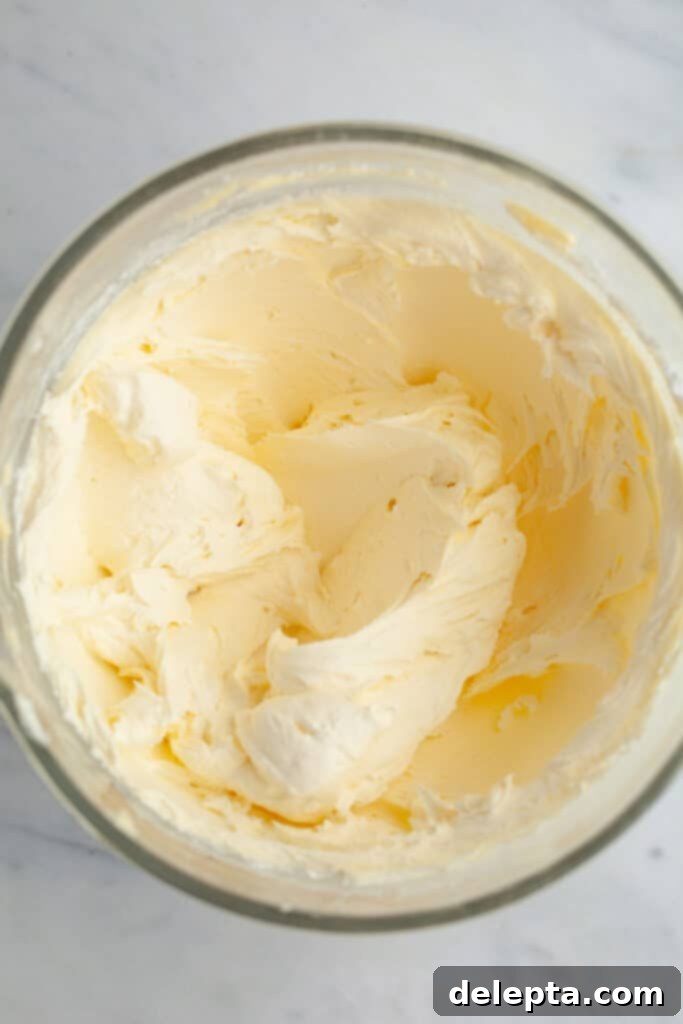
Five: Increase Speed and Beat. Once the sugar is incorporated, increase the mixer speed to medium-high. Beat for several minutes until the mixture becomes very thick, light, and fluffy. Scrape down the sides of the bowl periodically to ensure even mixing.
Six: Add Vanilla and Salt. Reduce the speed slightly, then add the vanilla extract and kosher salt. Continue beating on medium-high speed for another minute or two, allowing the flavors to meld and the frosting to become even more luxurious.
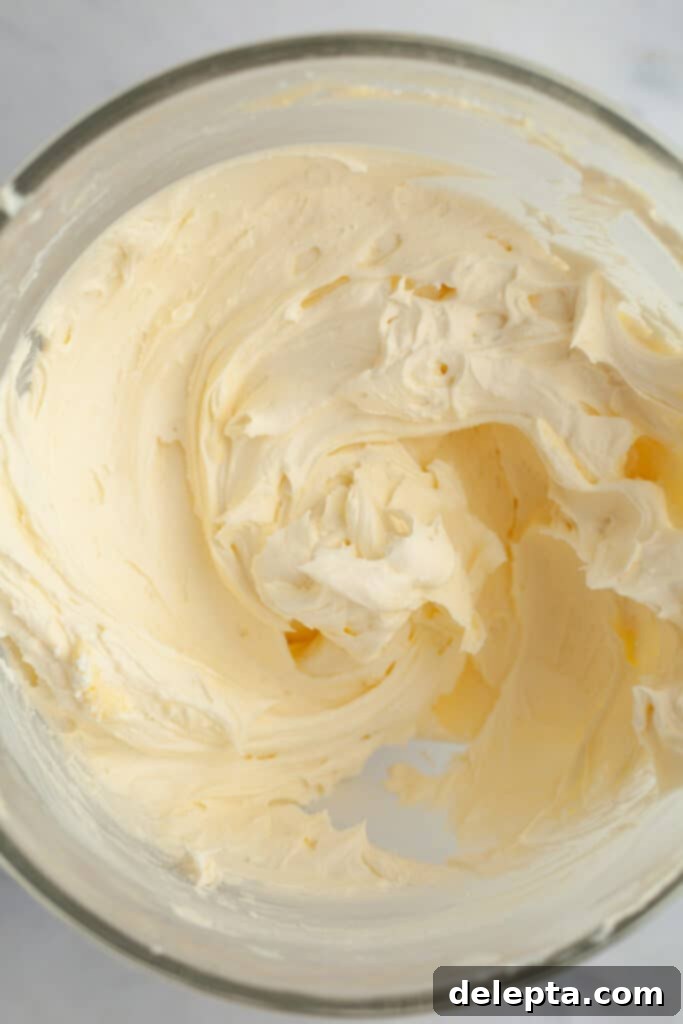
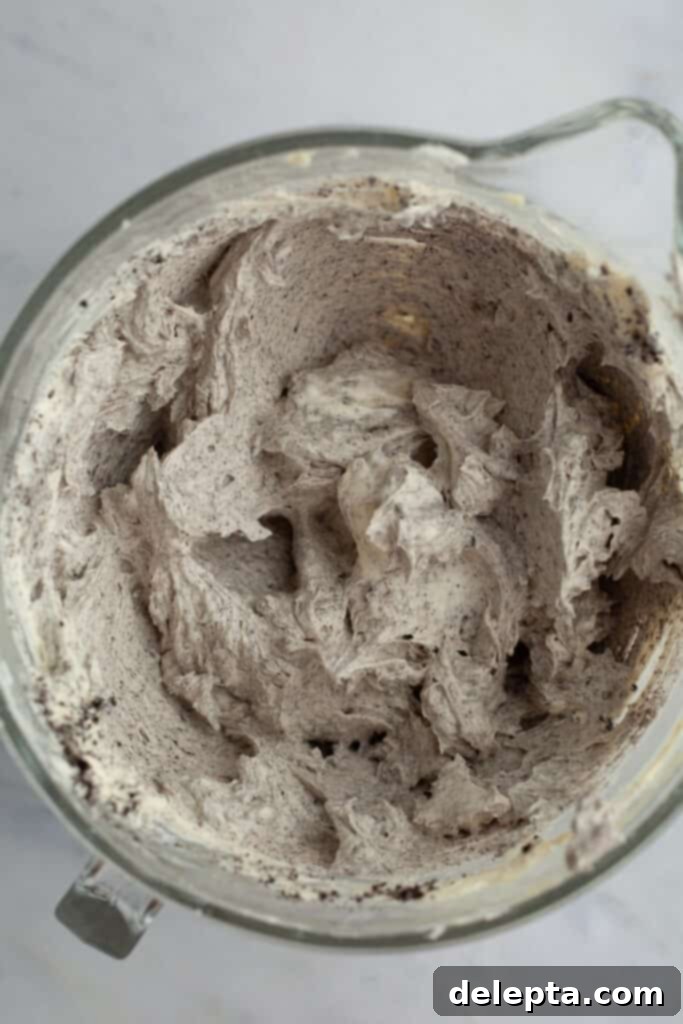
Seven: Incorporate Cream. Turn your mixer to its lowest speed. Slowly pour in the heavy cream, starting with 60ml and adding more incrementally (up to 120ml) until the frosting reaches a beautifully creamy, smooth, and easily spreadable consistency. Beat until perfectly combined, then turn off the mixer.
Eight: Fold in Oreo Crumbs. Gently fold in the finely pulsed Oreo crumbs using a rubber spatula. This preserves the fluffy texture of the buttercream while evenly distributing the delicious cookie bits. Your sensational Oreo buttercream is now ready!
For the Decadent Chocolate Ganache Drip:
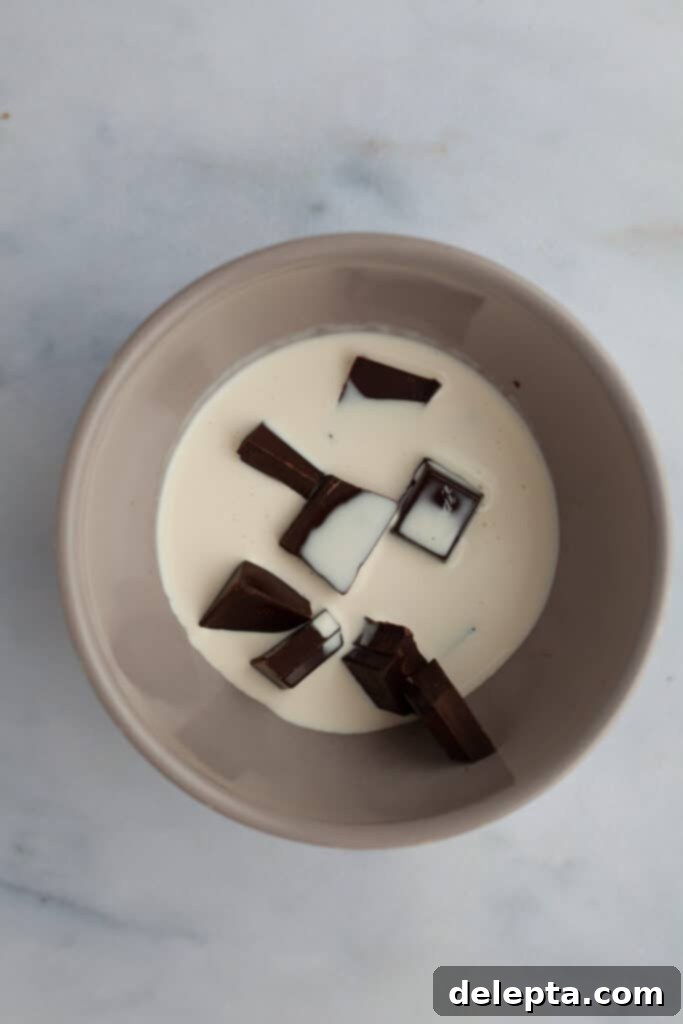
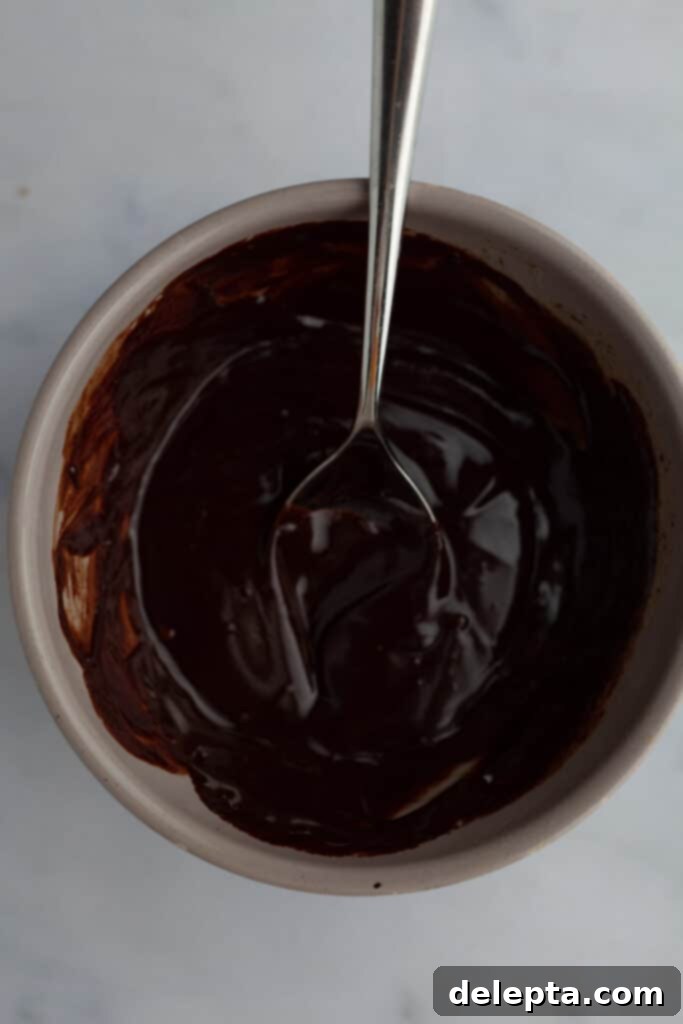
Nine: Melt Chocolate and Cream. Finely chop your dark chocolate and place it in a heatproof bowl. Pour the heavy cream over the chopped chocolate. Microwave in short 15-second bursts, stirring well after each burst, until the chocolate is completely melted and the mixture is smooth and glossy. Be careful not to overheat it.
Ten: Achieve Perfect Drip Consistency. Whisk the ganache together until it’s perfectly smooth. Now comes the crucial part: achieving the ideal drip consistency. You may need to let the ganache sit for a few minutes (or even longer, depending on your kitchen’s temperature) to cool down and thicken slightly. To test, simply spoon a small amount onto the side of a cold glass or a plate and observe how it drips. If it runs down too quickly, let it rest for another minute or two and re-test. The perfect ganache will drip slowly and elegantly down the side.
Assembling and Decorating Your Oreo Drip Cake:
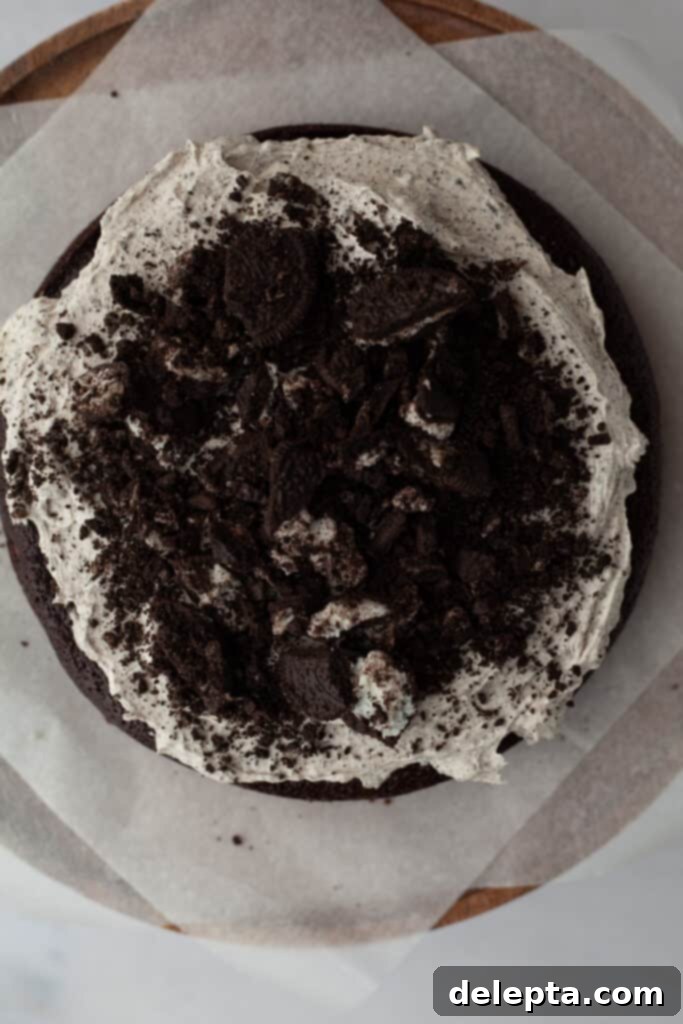
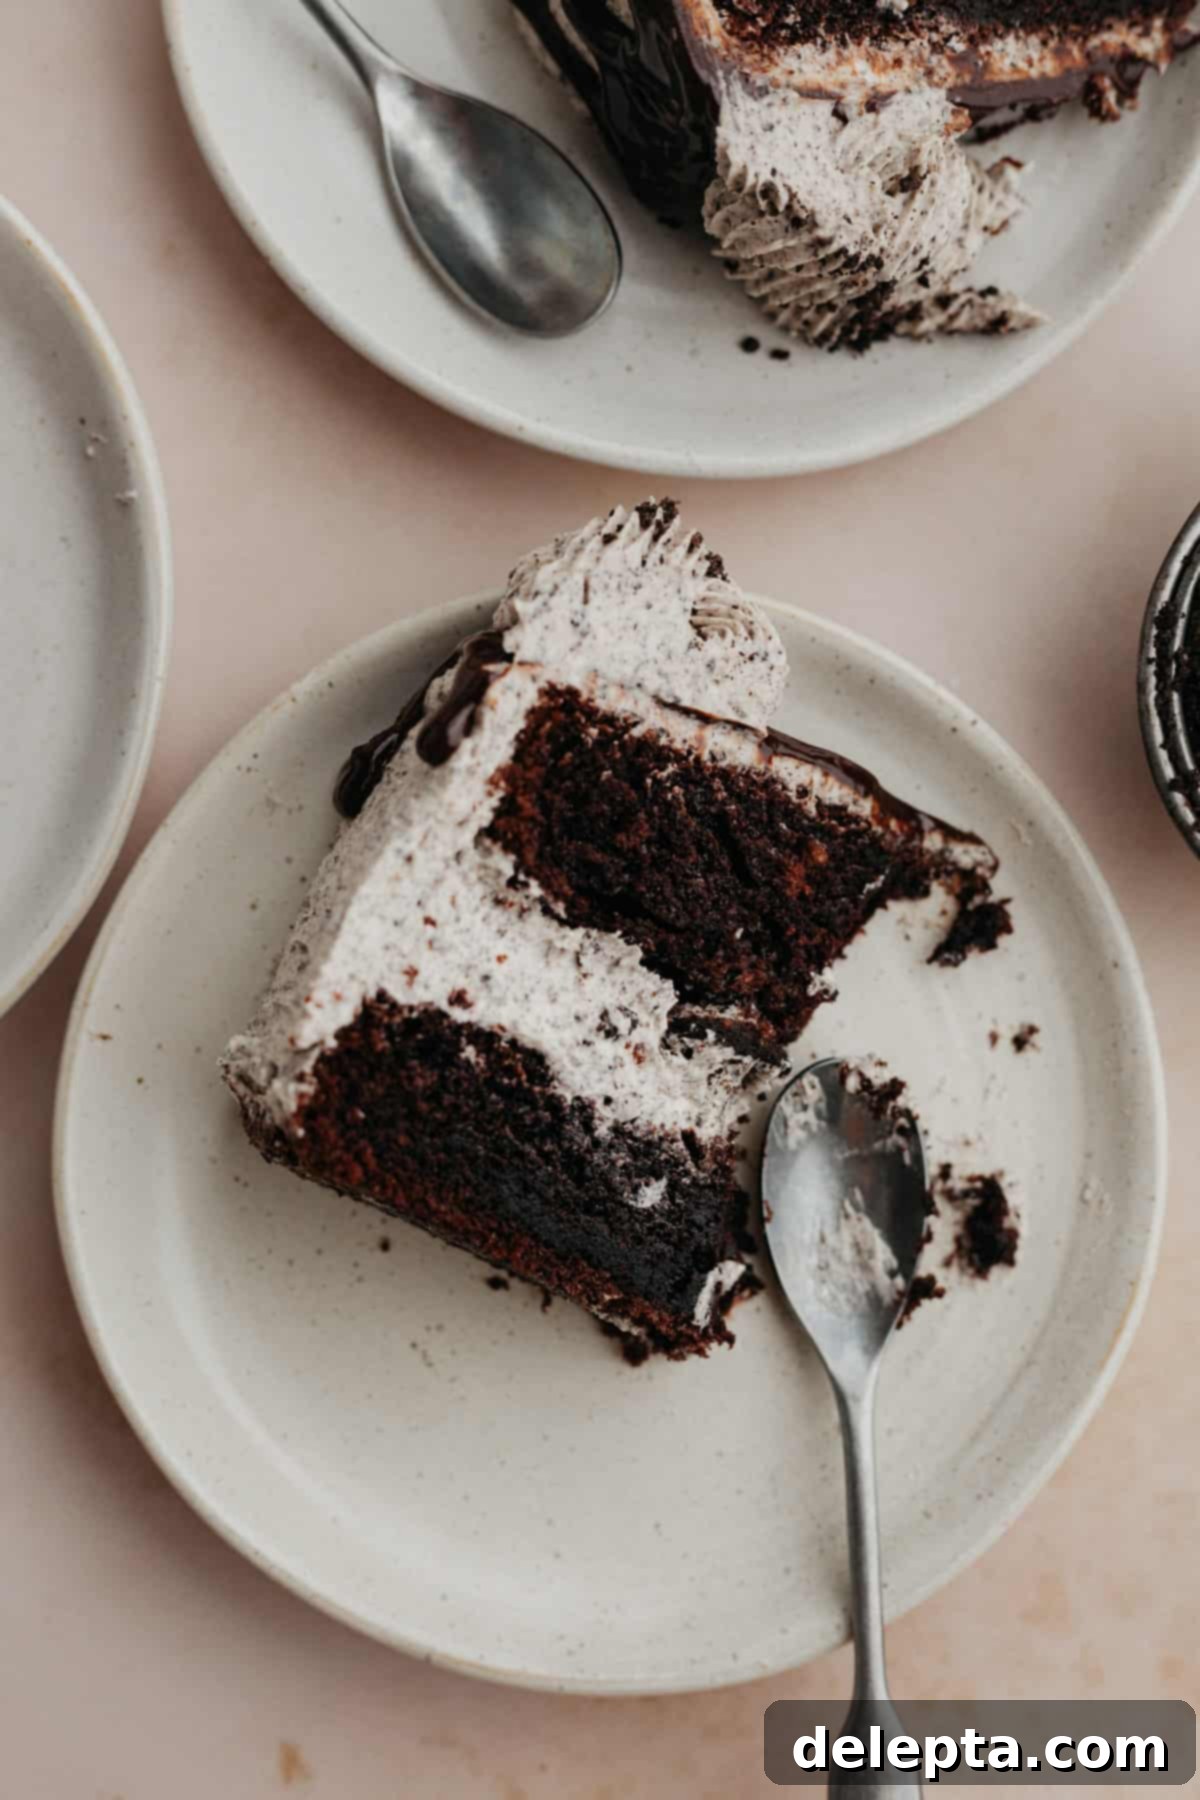
Eleven: Layer the Cake. Place your first cooled chocolate cake layer onto your serving plate or cake stand. Spread a generous portion of your luscious Oreo buttercream evenly over the top. Then, sprinkle a good amount of the coarsely crushed Oreos over the frosting. Carefully place the second cake layer directly on top and gently press down to secure it. Apply a thin layer of buttercream all over the cake (the “crumb coat”) to seal in any loose crumbs. Smooth it as best you can. Place the cake in the fridge for about 10-15 minutes to allow the crumb coat to firm up. Meanwhile, set aside some frosting if you plan to pipe decorative borders later.
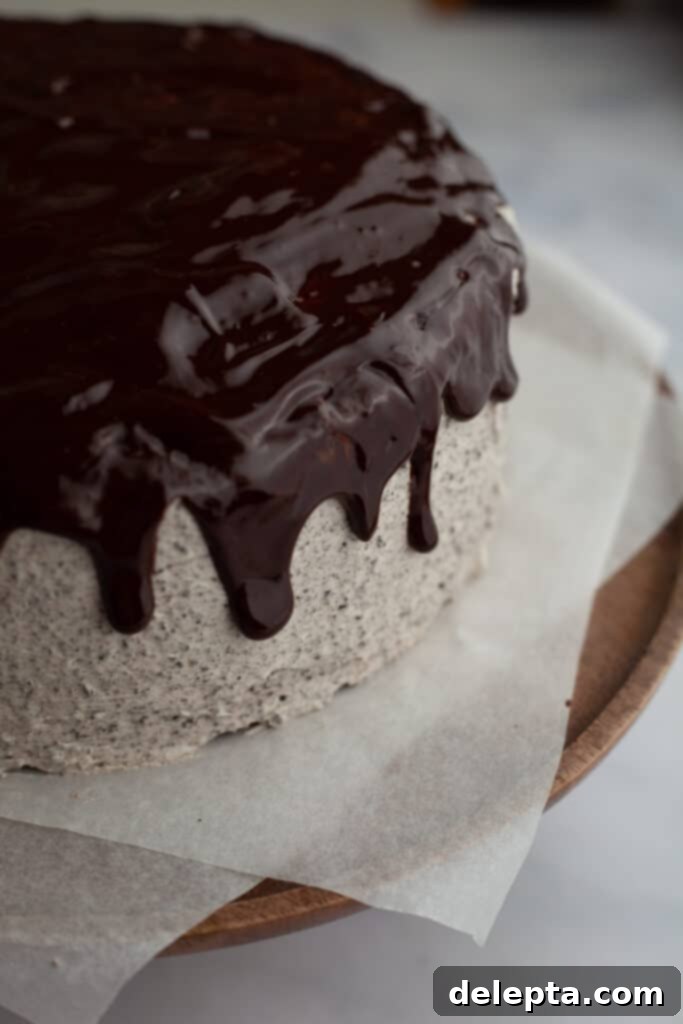
Twelve: Final Frosting and Drip. Retrieve the cake from the fridge. Apply the remaining Oreo buttercream to completely cover and smooth the sides and top of the cake. Once the cake is smoothly frosted, it’s time for the signature chocolate drip! Using a small spoon, carefully spoon portions of the ganache over the very edge of the cake, allowing it to slowly cascade down the sides. Repeat this process around the entire circumference of the cake. If your ganache has become too thick to drip gracefully, microwave it for just a few seconds to loosen it up. Once the drips are in place, spoon the remaining ganache over the top of the cake and use a small offset spatula to gently spread it evenly across the surface.
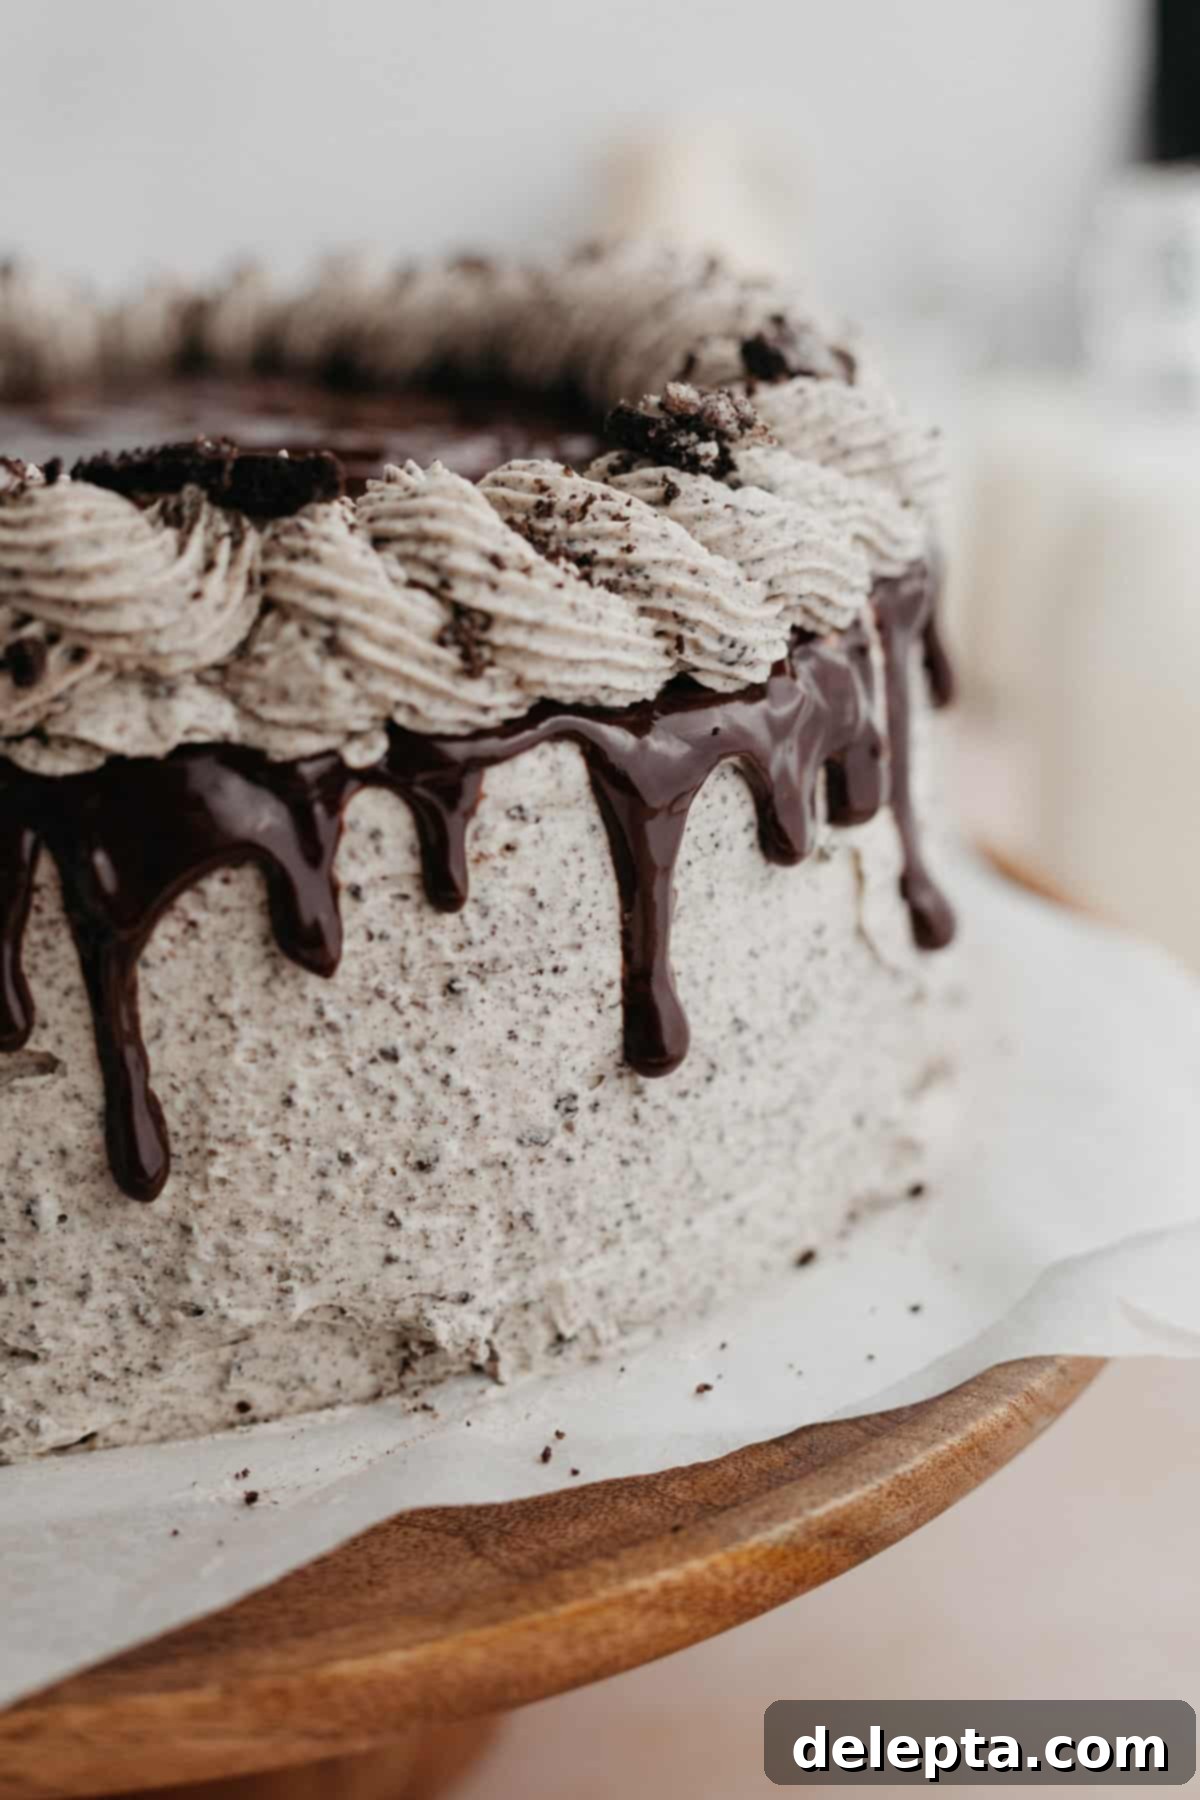
Decorate (Optional): If you reserved some buttercream, use a piping bag fitted with a Wilton 1M tip (or your favorite decorative tip) to pipe swirls or borders around the top edge of the cake. Finish by sprinkling additional crushed Oreo cookies over the top of the cake for extra texture and visual appeal. Your magnificent Oreo Drip Cake is now complete!
Expert Baking Tips for Ultimate Success
Achieving a perfect cake consistently involves a few key practices. Keep these expert tips in mind to ensure your Oreo Drip Cake turns out flawlessly every time:
- Precision with a Scale: I cannot stress this enough: for baking, especially for consistent and professional results, measuring your ingredients by weight using a kitchen scale is paramount. My recipes are developed and tested using metric grams, which provides the most accurate measurements compared to volume (cups), where results can vary widely. Investing in a good digital scale will truly elevate your baking.
- Room Temperature Ingredients are Key: Always ensure all your cold ingredients, such as butter, eggs, and buttermilk, are at room temperature before you begin mixing. This allows them to emulsify properly, creating a smooth, cohesive batter and a uniform, tender cake crumb. Cold ingredients can lead to a lumpy batter and a denser cake. Pull them out of the fridge at least 30-60 minutes before you start.
- Finely Crush Oreos for Piping: If your decorative plans involve piping the Oreo buttercream with a piping bag and tip, it’s absolutely essential to pulse your Oreo cookies into a very fine, almost powdery crumb. Any larger pieces will inevitably clog the piping tip, leading to frustration and an uneven design. A food processor is your best friend here!
- Cool Cakes Completely: Patience is a virtue when it comes to frosting a cake. Your cake layers must be completely cool to the touch before you even think about applying any frosting. If the cake is even slightly warm, the buttercream will melt and slide right off, turning your beautiful creation into a messy disaster. Allow ample cooling time, ideally several hours, or even chill the cooled layers in the fridge for a short period before frosting.
- Don’t Overmix: While mixing is necessary to combine ingredients, overmixing the cake batter, especially after adding flour, can develop the gluten too much. This leads to a tough, dry cake. Mix until just combined, then stop.
- Parchment Paper for Easy Release: Always line the bottoms of your cake pans with parchment paper after greasing. This guarantees that your cake layers will release cleanly from the pans without sticking, preserving their beautiful shape.
- Testing Ganache Consistency: As mentioned in the instructions, testing your ganache on a cold glass is a fantastic trick. The perfect consistency means it drips slowly and holds its shape a bit, not running down too fast or setting too quickly. Adjust by gently warming for thinner ganache or letting it cool for thicker.
Frequently Asked Questions (FAQ)
Absolutely! The cake layers themselves are excellent for making in advance. Once they are fully cooled, tightly wrap each individual cake layer in plastic wrap to prevent them from drying out. You can bake the layers a day or two before you plan to assemble the cake and store them at room temperature or even in the freezer for longer. However, I generally don’t recommend making the buttercream frosting ahead of time, as it’s best when freshly whipped for optimal texture and fluffiness.
To maintain its freshness and beautiful presentation, store the assembled and decorated Oreo Drip Cake in an airtight cake carrier or under a cake dome in the refrigerator for up to 5 days. For the best eating experience, always allow the cake to come to room temperature for at least 30-60 minutes before serving. This softens the buttercream and cake layers, enhancing their flavor and texture.
Yes, this cake freezes beautifully! For best results, I recommend freezing individual slices wrapped tightly in plastic wrap, then placed in a freezer-safe bag or container. You can also freeze a whole cake after it’s been crumb-coated and chilled (before the final frosting and drip). It will keep well in the freezer for up to 3 months. When you’re ready to enjoy, let the cake or slices defrost overnight in the refrigerator. After defrosting, allow it to sit at room temperature for an hour or so before serving to ensure the cake and frosting are at their ideal texture.
Beyond the elegant chocolate ganache drip, there are many ways to elevate your cake’s appearance! As suggested in the recipe, I used a Wilton 1M piping tip to pipe beautiful rosettes or a simple shell border around the top edge of the cake. This adds a lovely texture and height. For additional flair, you can sprinkle extra crushed Oreo crumbs directly on top of the ganache and piped frosting, or arrange whole or half Oreo cookies strategically on the surface. Small chocolate candies, chocolate shavings, or even a dusting of cocoa powder can also make a wonderful impact.
A dry cake can often be attributed to a few common culprits. The most frequent reason is overbaking, so ensure you’re testing for doneness early and relying on the toothpick test. Overmixing the batter, especially after adding flour, can also develop too much gluten, leading to a tough, dry texture. Finally, inaccurate ingredient measurements, particularly too much flour or not enough liquid, can impact the moisture content. Using a kitchen scale for precise measurements can help prevent this.
More Delicious Layer Cake Recipes to Try!
If you’ve loved baking and enjoying this Oreo Drip Cake, you’re in for a treat with our other popular layer cake creations. Each recipe offers a unique flavor profile and a delightful baking experience:
- Chocolate Orange Cake: A vibrant and zesty chocolate cake, perfect for those who love the classic combination of chocolate and citrus.
- Blueberry Jam Cake: A delightful, fruity cake featuring sweet blueberry jam layered with tender cake, ideal for a lighter, summery dessert.
- Chocolate and Peanut Butter Layer Cake: The ultimate pairing of rich chocolate and creamy peanut butter, this cake is a dream come true for fans of this beloved combination.
We absolutely love seeing your baking creations! Make sure to tag me on Instagram @alpineella and leave a review below if you’ve made this incredible Oreo Drip Cake. Your feedback and photos are always appreciated! For even more delicious baking inspiration and ideas, be sure to follow me on Pinterest!
Recipe
Oreo Drip Cake
Ella Gilbert
Pin Recipe
Save RecipeSaved!
25 minutes
35 minutes
1 hour
Dessert
American
12 slices
773 kcal
Equipment
-
2 x 8-inch cake pans
Ingredients
Cake
- 240 ml hot water
- 65 grams cocoa powder dutch processed
- 350 grams granulated sugar
- ¾ teaspoon vanilla extract
- ¾ teaspoon kosher salt
- 2 eggs room temperature
- 220 grams all purpose flour
- 2 teaspoon baking soda
- 1 teaspoon baking powder
- 240 ml buttermilk room temperature
- 120 ml vegetable oil
Frosting
- 452 grams unsalted butter room temperature
- 2 teaspoon vanilla extract
- ½ teaspoon kosher salt
- 678 grams confectioners’ sugar
- 60-120 ml heavy cream
- 225 grams Oreo cookies pulsed into a powder
- 120 grams Oreo cookies crushed to go into cake
Chocolate Drip
- 60 grams dark chocolate chopped
- 60 ml heavy cream
Instructions
Cake
-
Preheat oven to 350°F/175°C. Grease 2x 8-inch cake pans with butter, then line the bottoms with parchment paper.
-
Combine the flour, cocoa powder, sugar, baking powder, baking soda, and salt in the bowl of a stand mixer, using the paddle attachment. Set aside
-
In a large jug, combine the buttermilk, oil, eggs, and vanilla
-
While the mixer is on low speed, slowly pour in the ingredients from the large jug
-
While the mixer is still running, slowly add the hot water and mix. Your batter will be very thin. Make sure the mixer is on your lowest speed so it doesn’t splash everywhere
-
Pour the batter into the prepared pans. Bake for 35-40 minutes, until a toothpick comes out clean when inserted
-
Allow the cakes to cool completely before removing from pans
Frosting
-
In a stand mixer fitted with the paddle attachment, beat the butter and powdered sugar together on low speed
-
Increase the speed to medium-high and beat until it becomes thick
-
Add the vanilla extract and salt and beat on medium-high
-
Turn the mixer to low, and pour in the cream until it becomes creamy and spreadable
-
Fold in the Oreo crumbs
Ganache Drip
-
Put the chopped chocolate and double cream in a bowl and microwave in 15 second bursts until the chocolate is melted. Keep checking the texture of the ganache until you can drip it down the side of a bowl and it doesn’t continue running down.
Assemble
-
Place one layer down and spread some of the frosting over it. Sprinkle over your chopped oreos. Place the next layer on top and gently press down. Frost the cake (keep some to decorate the top of the cake!) and chill for 10 minutes.
-
Use a spoon to place the drip over the edge and let it slowly drip down. Repeat all along the cake. If the ganache doesn’t drip down, heat it up in the microwave for a few seconds. Spoon over the remaining ganache on top and use a small offset spatula to evenly spread the ganache on top.
-
Use a Wilton 1M tip to decorate the top of the cake.
Notes
Butter: I use European style butter, like Kerry Gold, in my recipes. This will make your frosting much creamier and richer.
Salt: If you don’t have kosher salt, halve the amount of salt called for in the recipe. 1 teaspoon kosher salt = ½ teaspoon fine salt.
Oreos: If you are frosting the top of the cake with a piping tip, make sure to pulse your Oreos into a fine crumb. If they are too big they will clog the piping tip.
Buttermilk: No buttermilk on hand? Mix one tablespoon of lemon juice or white wine vinegar with 1 cup of milk, then let it sit for 5 minutes so it can curdle.
Storage: Cover the cake tightly and keep in the fridge for up to 5 days.
Freezing: Freeze for up to 3 months, let the cake defrost overnight in the fridge and then come to room temperature when you’re ready to eat it.
Nutrition
