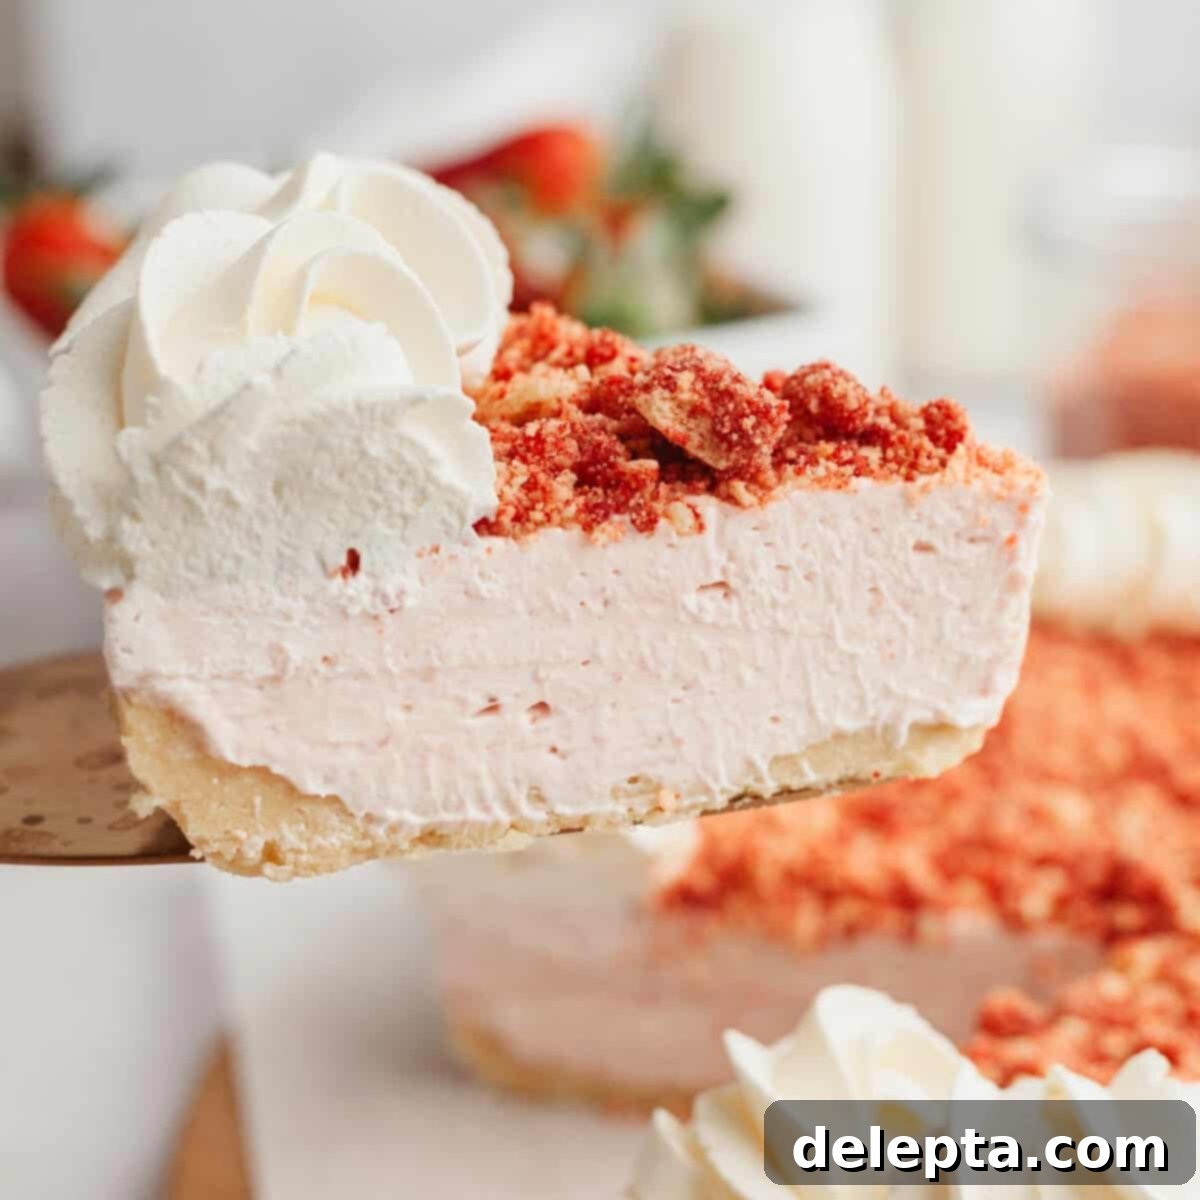
The Ultimate No-Bake Strawberry Crunch Cheesecake with Golden Oreo Crust
Prepare to fall in love with the most exquisite and effortlessly delicious dessert you’ll ever make: this phenomenal no-bake strawberry crunch cheesecake! It’s a true showstopper that combines irresistible textures and vibrant flavors, making it the perfect treat for any occasion, especially during the warmer months. Imagine a rich, buttery golden Oreo crust providing the perfect foundation for a lusciously creamy, smooth strawberry cheesecake filling. But the magic doesn’t stop there; this masterpiece is generously crowned with a homemade strawberry shortcake crumble topping that delivers an incredible crunch and an extra burst of strawberry delight. The best part? There’s no complicated water bath, no oven baking required, and absolutely no gelatin needed to achieve its perfect set. With just 10 simple ingredients, you can create a dessert that will impress everyone and leave them craving more!
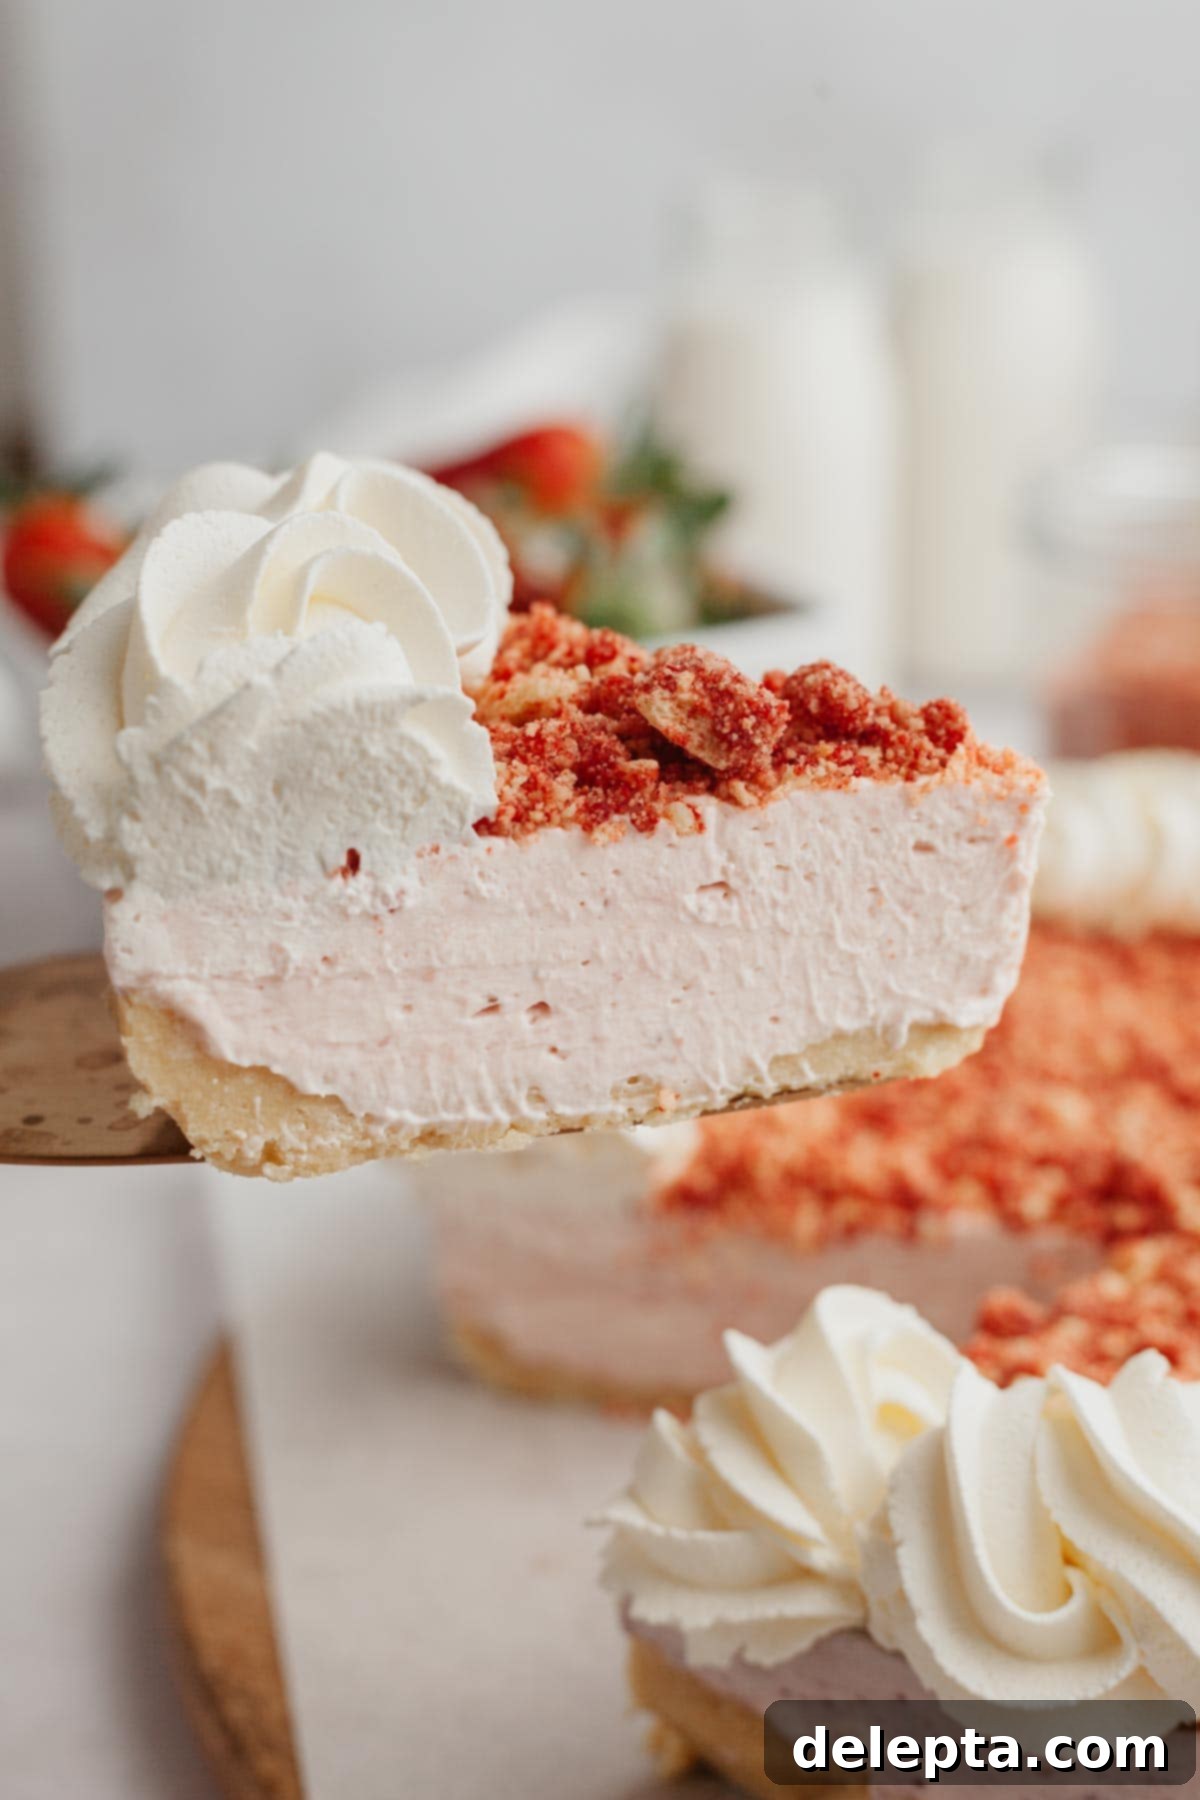
Strawberry desserts hold a special place in my heart, especially as Spring transitions into Summer. There’s something undeniably refreshing and joyous about the bright, sweet, and slightly tart flavor of fresh strawberries. This particular strawberry crunch cheesecake truly maximizes that incredible strawberry flavor, delivering an intense berry experience in every bite. We achieve this profound taste through the clever combination of luscious fresh strawberries, which are reduced into a concentrated puree, and the vibrant intensity of freeze-dried strawberries incorporated into the delightful crunch topping. This dual approach ensures a multi-dimensional strawberry explosion that will delight your palate.
If you find yourself enchanted by the irresistible allure of strawberries and are eager to explore more berry-filled creations, I highly recommend checking out some of my other beloved strawberry recipes. You absolutely must try my strawberry filled cupcakes, which are generously piped with a rich, homemade strawberry preserves for an extra burst of fruity sweetness. For a more substantial dessert, my strawberry layered cake offers a beautiful presentation and layers of pure strawberry bliss. And if you adore the creamy texture of this no-bake cheesecake but are in the mood for a different flavor profile, my no-bake vanilla cheesecake is equally simple to prepare and offers a classic, comforting alternative.
Why You’ll Adore This No-Bake Strawberry Crunch Cheesecake!
- Unforgettable Strawberry Flavor: This cheesecake truly shines with an authentic and intense strawberry flavor that sets it apart. Similar to how my strawberry cake with strawberry filling achieves its deep berry taste, this cheesecake gets its incredible flavor from a carefully reduced strawberry puree. This process concentrates the natural sugars and essence of fresh strawberries, ensuring that every spoonful is bursting with rich, fruity goodness. You won’t find any artificial flavors here, just pure, unadulterated strawberry joy.
- Effortlessly No-Bake: Say goodbye to oven worries, cracking cheesecakes, and complicated water baths! This recipe features a delightfully super creamy cheesecake filling that requires absolutely no baking. This makes it an ideal dessert to prepare, especially during those hot summer days when turning on the oven is the last thing you want to do. It’s a fantastic, stress-free option for creating a luxurious dessert with minimal fuss.
- Irresistible Strawberry Crunch Topping: The signature element of this cheesecake is its utterly addictive homemade strawberry crumble topping. This crunchy layer adds a fantastic textural contrast to the smooth, creamy filling, elevating the entire dessert experience. Crafted from a combination of finely crushed golden Oreos and vibrant freeze-dried strawberries, this topping provides both a delightful crispness and an additional layer of concentrated berry flavor that perfectly complements the cheesecake.
- Perfect for Making Ahead: Hosting a party or simply want to enjoy a delicious dessert without last-minute stress? This no-bake cheesecake recipe is your perfect solution! Because it requires a generous chilling period to set beautifully, it’s an excellent candidate for making ahead of time. You can assemble it the day before your event, allowing the flavors to meld and the cheesecake to firm up perfectly, leaving you free to enjoy your guests without any kitchen rush.
Perfecting the No-Bake Strawberry Crunch Cheesecake: Our Recipe Journey
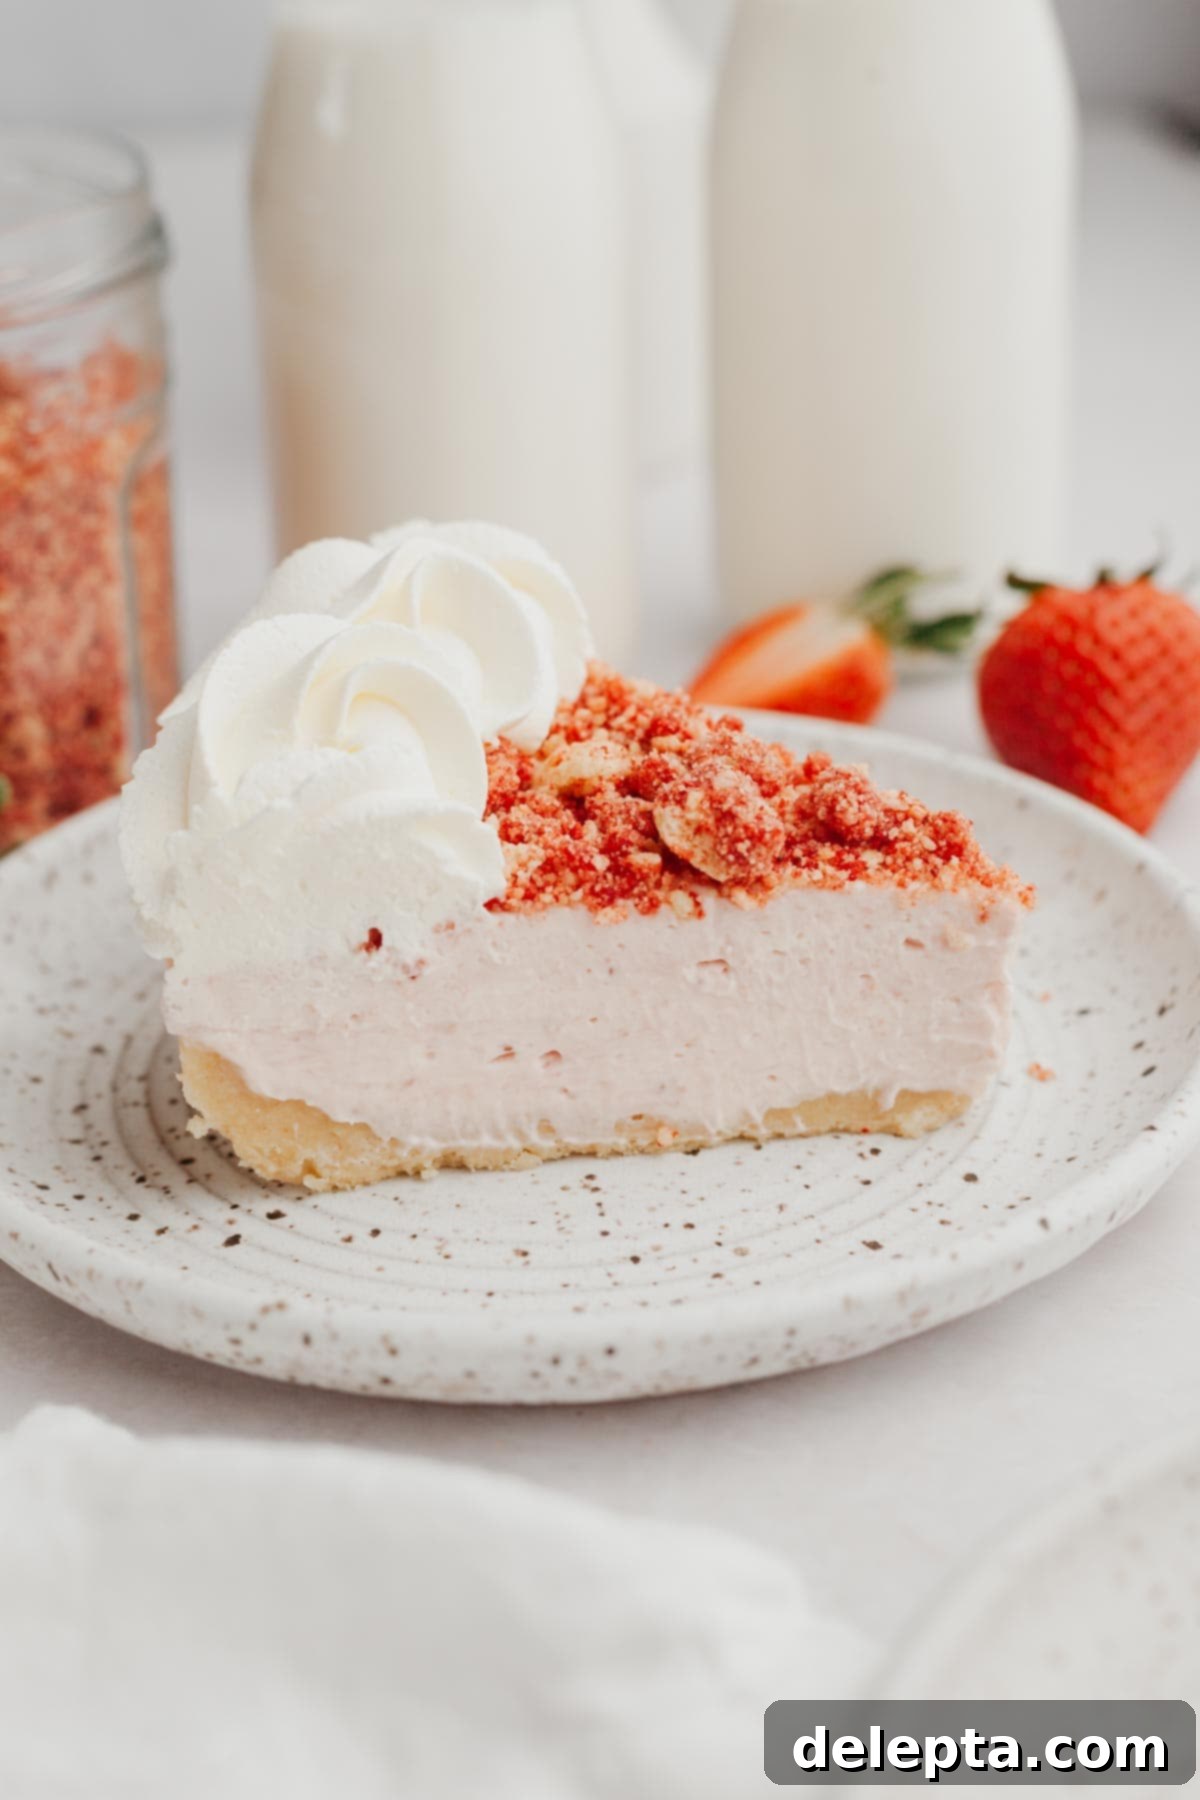
Developing a no-bake cheesecake that delivers on both flavor and texture can be a delightful challenge. Just like with my popular Biscoff cheesecake and the elegant strawberry white chocolate cheesecake, the foundation of this strawberry crunch cheesecake relies on a stable and incredibly creamy cheesecake base. The secret to its impeccable structure and luxurious mouthfeel lies in the careful incorporation of whipped cream into the filling. The whipped cream plays a crucial role in stabilizing the mixture, ensuring that when you slice into your finished cheesecake, you get beautifully clean, defined portions without any slumping. Beyond stabilization, it also contributes significantly to the cheesecake’s wonderfully light and airy texture, making each bite feel like a delicate cloud of strawberry goodness.
Achieving a truly vibrant and authentic strawberry flavor was paramount for this recipe. We ensured a robust berry presence by first reducing fresh strawberries into a concentrated puree. This process intensifies their natural sweetness and tartness, creating a deep flavor base. To further amplify that characteristic strawberry “oomph,” we then added freeze-dried strawberries, which offer a potent, natural burst of berry flavor without introducing excess moisture. An interesting evolution in this recipe’s development was the crust. Initially, the cheesecake crust was baked to achieve maximum crispness. However, through testing, we transitioned to a no-bake crust, aligning with the overall theme of a truly easy, oven-free dessert. This change ensures that the entire recipe remains simple and perfectly suited for any season, particularly when you want to avoid heating your kitchen.
Essential Ingredients for Your Strawberry Crunch Cheesecake
This incredible no-bake strawberry crunch cheesecake requires only 10 simple ingredients, making it surprisingly accessible for such a show-stopping dessert. Quality ingredients make all the difference, so here’s a closer look at what you’ll need to create this delightful treat:
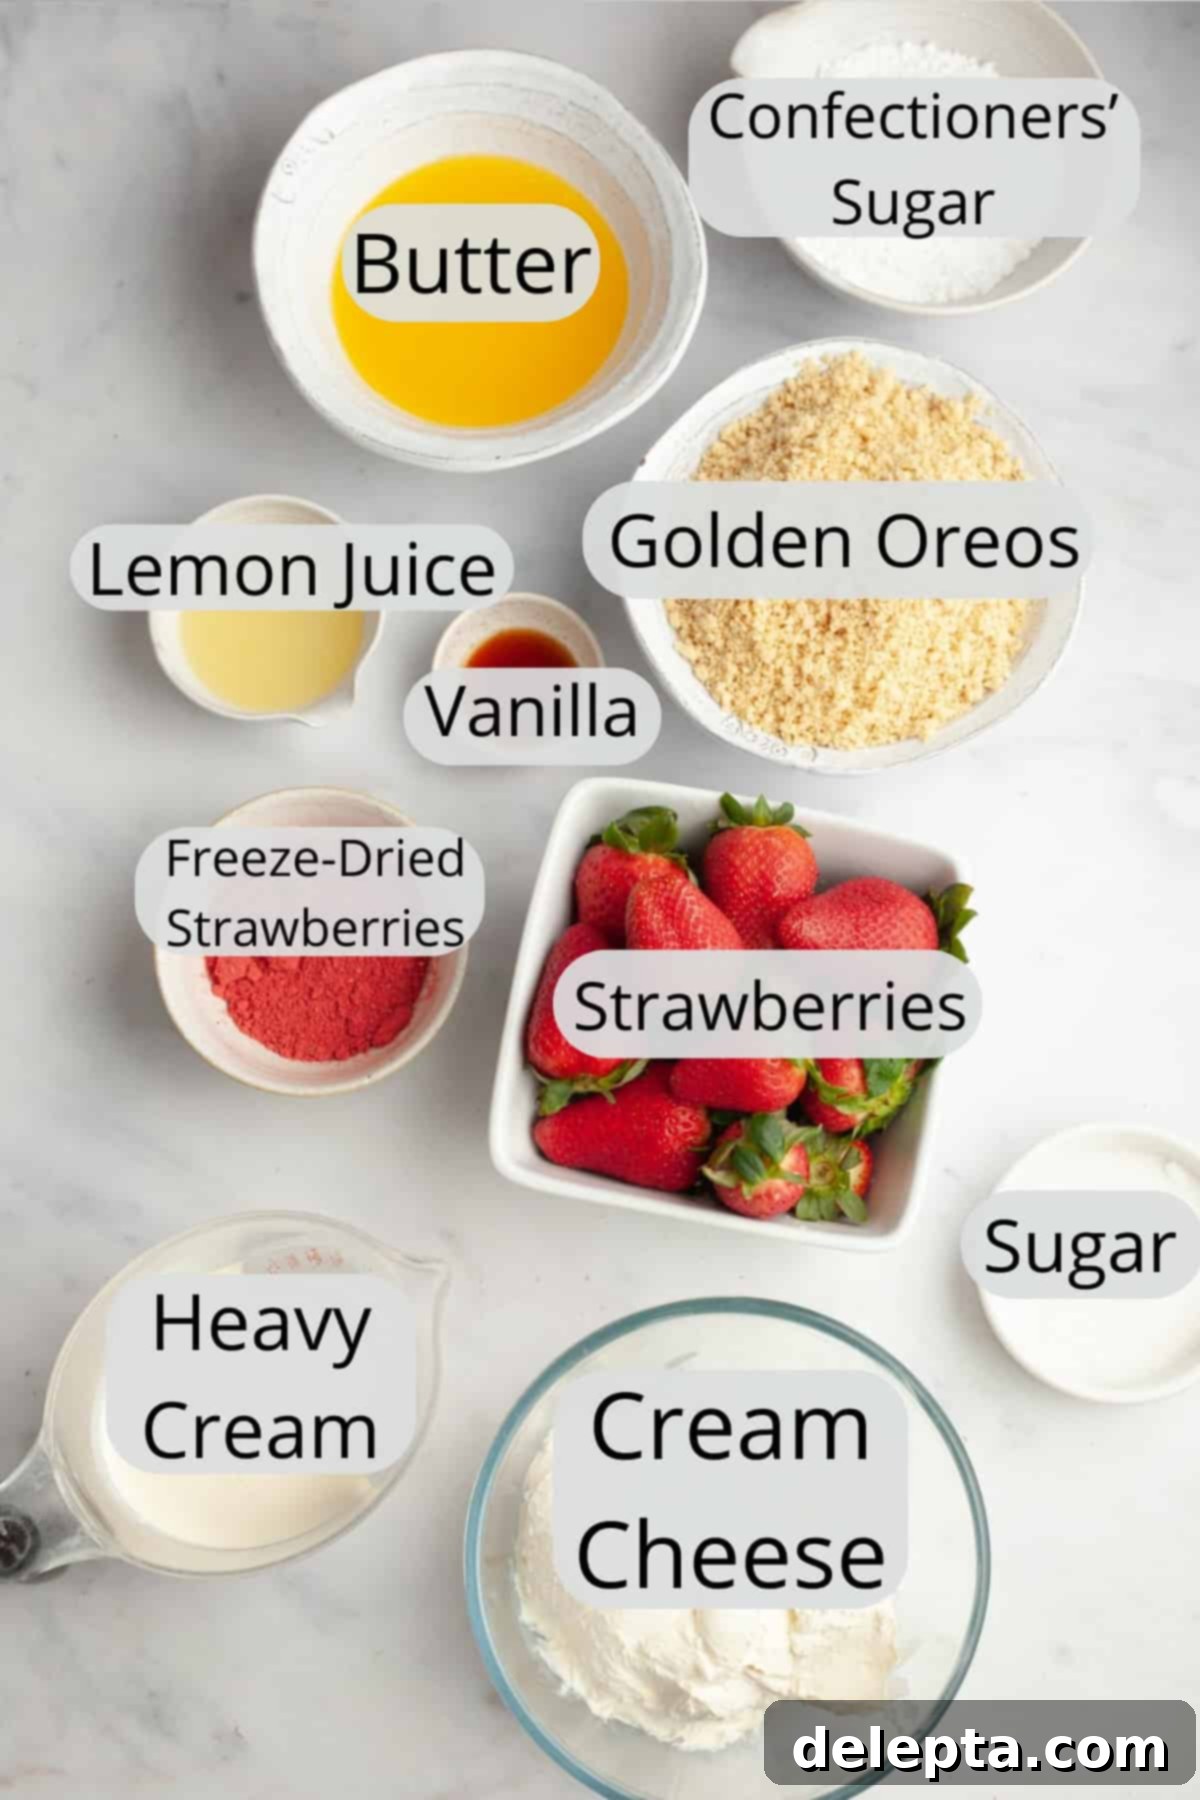
- Fresh Strawberries: The heart of our cheesecake’s flavor. For the best possible results, I strongly recommend using ripe, in-season strawberries. Their natural sweetness and vibrant color are unmatched. If you use out-of-season or less flavorful berries, the reduced strawberry puree won’t achieve the same bright, intense flavor and brilliant pink hue, which will impact the overall visual appeal and taste of your finished cheesecake. Seek out the freshest berries you can find for truly exceptional results.
- Cream Cheese: The foundation of any great cheesecake! I exclusively use full-fat Philadelphia cream cheese for this recipe, as its rich, tangy flavor and firm texture are crucial for a perfectly set and delicious cheesecake. Lower-fat versions or different brands might yield a runnier filling that won’t set properly. If you’re based in Europe and your cream cheese comes in convenient tubs rather than the firmer blocks or packets common in the US, you’ll need to take an extra step: pat it down thoroughly with a paper towel. This helps remove any excess moisture, which is vital for achieving the correct cheesecake consistency.
- Golden Oreos: These vanilla sandwich cookies are what give our crust its unique, buttery flavor and satisfying crunch. They’re also a key component of the famous “crunch” topping. If, for any reason, you can’t get your hands on golden Oreos, don’t worry! You can easily substitute them with classic graham crackers or even vanilla wafers. The flavor profile will shift slightly, but the structural integrity of the crust will remain excellent.
- Lemon Juice: While often considered optional in some desserts, I truly believe lemon juice makes a monumental difference in this recipe. Just a small amount of fresh lemon juice brightens and enhances the natural flavor of the strawberries, making them pop even more. It balances the sweetness of the cheesecake, preventing it from tasting overly rich and adding a lovely zesty note that elevates the entire dessert. Don’t skip it if you want that extra layer of delicious complexity!
- Freeze-Dried Strawberries: These little gems are a secret weapon for concentrated strawberry flavor in the crunch topping. Unlike fresh or frozen berries, freeze-dried strawberries offer an intense berry taste and a dry, crunchy texture when crushed, which is exactly what we need for our topping. You can typically find freeze-dried strawberries at specialty stores like Trader Joe’s and Whole Foods, as well as larger grocery chains like Target, or conveniently order them online from Amazon.
For precise measurements and detailed quantities, please refer to the comprehensive recipe card located at the bottom of this post.
Crafting Your Dream: How to Make No-Bake Strawberry Crunch Cheesecake
Making this no-bake strawberry crunch cheesecake is a straightforward process, broken down into simple, easy-to-follow steps. Precision in each stage ensures a perfect result. Let’s get started!
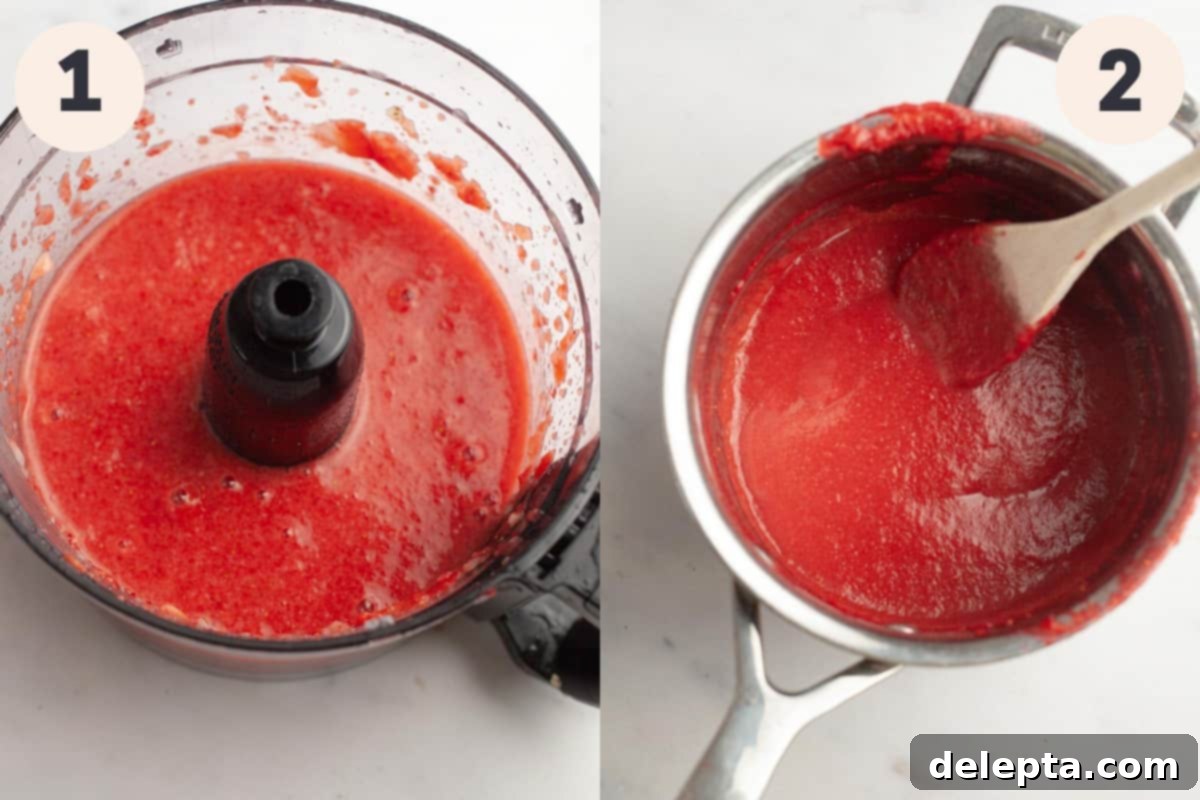
Step 1: Prepare the Strawberry Puree. Begin by washing and hulling your fresh strawberries. Place them into a food processor or a high-speed blender. Process until the strawberries are completely smooth, with no noticeable chunks remaining. This will create the base for our intensely flavored strawberry reduction.
Step 2: Reduce the Strawberry Puree. Pour the freshly pureed strawberries into a small saucepan. Add the specified amount of lemon juice to the puree. Place the saucepan over medium-low heat. Bring the mixture to a gentle simmer, stirring frequently to prevent scorching. Continue to cook and stir, allowing the liquid to evaporate, until the puree has reduced significantly in volume, reaching a concentrated consistency of about ½ a cup. This crucial step intensifies the strawberry flavor and removes excess moisture. This reduction process can take approximately 25-30 minutes, so be patient and keep an eye on it to ensure it doesn’t boil over or burn.
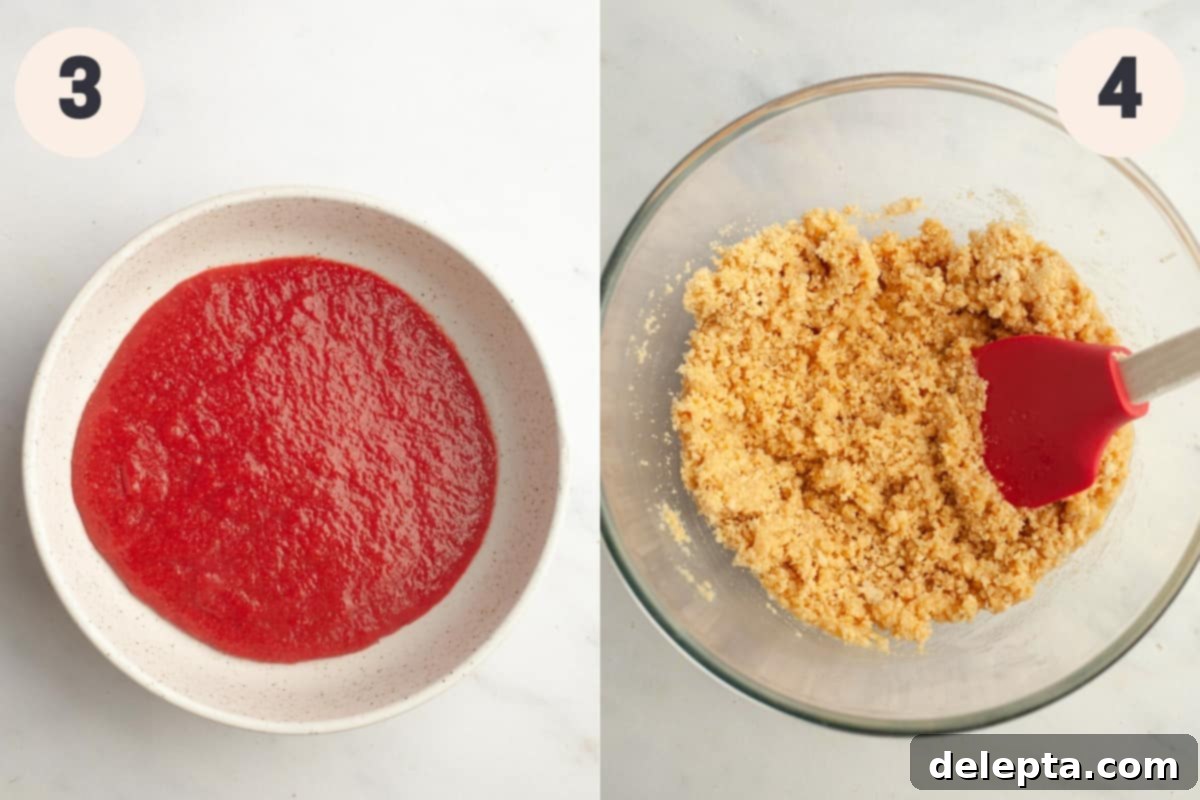
Step 3: Cool the Reduced Strawberries. Once your strawberry puree has reached the desired reduced volume and thickness, immediately pour it into a shallow bowl or spread it thinly on a small tray. A larger surface area will help the puree cool down much faster, which is essential before incorporating it into the cheesecake filling. Allow it to cool completely to room temperature, or even slightly chilled, to prevent it from warming up the cream cheese mixture.
Step 4: Prepare the Golden Oreo Crust. In a large mixing bowl, combine the finely crushed golden Oreos with the melted butter. Stir these two ingredients together thoroughly until the mixture is uniformly combined and takes on the consistency of wet sand. This ensures that your crust will hold together beautifully.
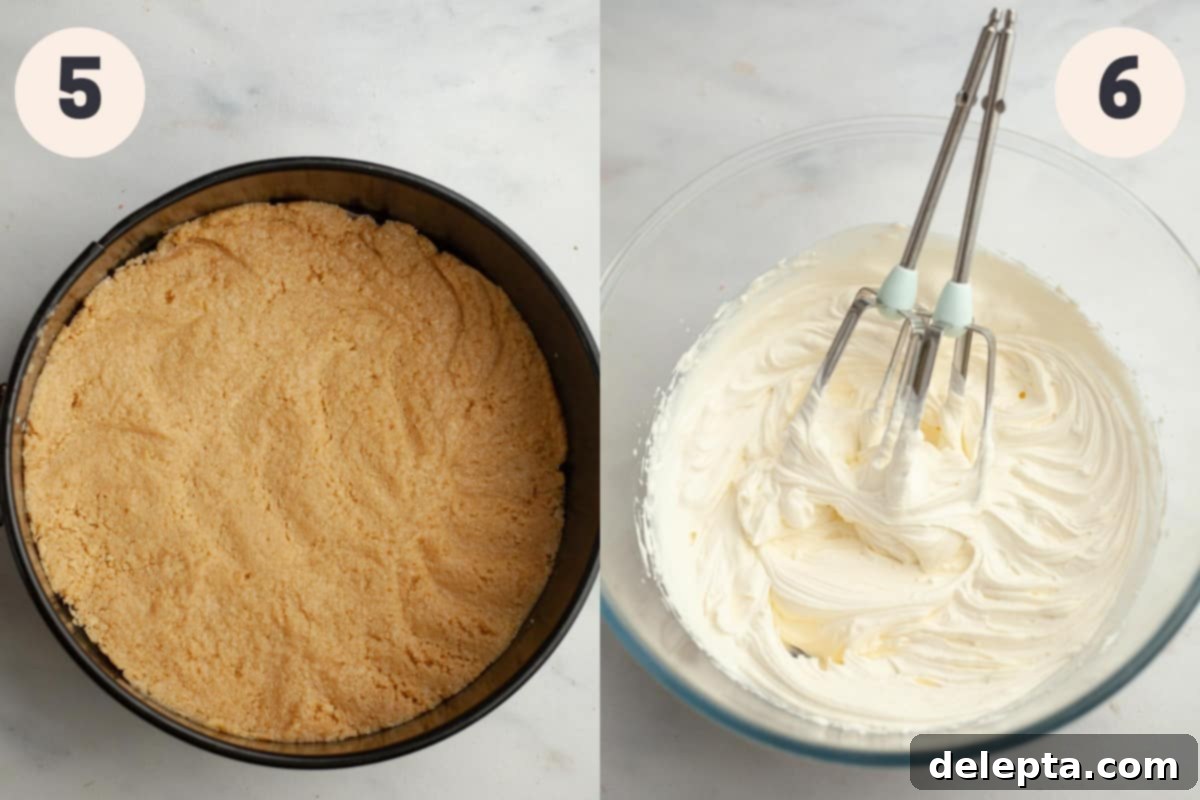
Step 5: Form and Chill the Crust. Line the bottom of a 9-inch springform pan with parchment paper for easy removal. Transfer the golden Oreo and butter mixture into the prepared pan. Using the bottom of a flat-bottomed measuring cup or your clean fingers, firmly press the crust mixture evenly across the bottom of the pan. Make sure it’s packed tightly and extends slightly up the sides. Once pressed, place the pan in the freezer to chill and firm up while you prepare the cheesecake filling. This quick chill helps the crust set firmly.
Step 6: Whip the Heavy Cream. In a separate large, chilled bowl, using a handheld electric mixer or a stand mixer fitted with the whisk attachment, beat the cold heavy cream. Whip on medium-high speed until it forms stiff peaks. Be careful not to over-whip, or it will turn grainy. Once stiff peaks are achieved, gently set the whipped cream aside for later use in the filling.
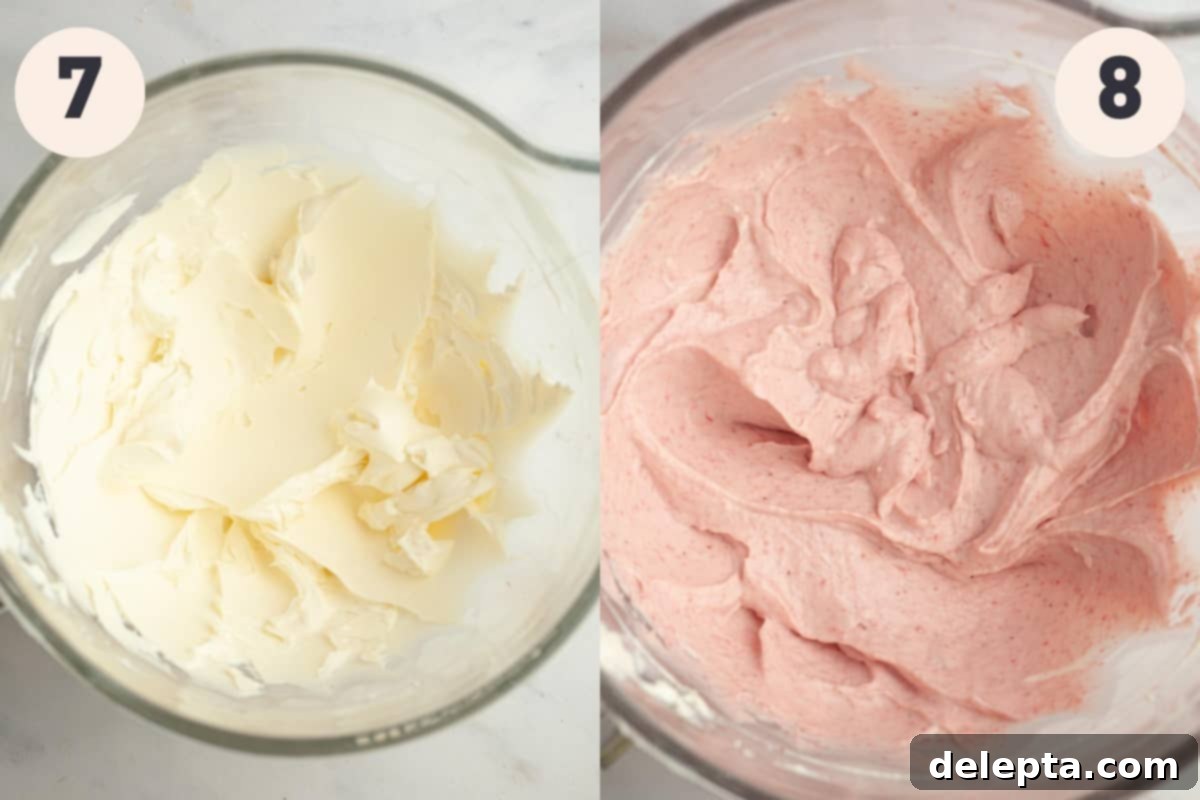
Step 7: Prepare the Cream Cheese Base. In the bowl of a stand mixer fitted with the paddle attachment (or using a clean large bowl with a handheld mixer), add the softened cream cheese. Beat the cream cheese on medium speed until it is completely smooth and creamy, with no lumps. Ensure your cream cheese is at room temperature for the best results; cold cream cheese will remain lumpy.
Step 8: Combine Filling Ingredients. To the smoothed cream cheese, add the completely cooled reduced strawberries, the remaining lemon juice, powdered sugar, and vanilla extract. Beat these ingredients together on medium speed until everything is thoroughly combined and the mixture is smooth and evenly pink. You may need to stop the mixer periodically to scrape down the sides of the bowl with a spatula to ensure all ingredients are fully incorporated. Once smooth, avoid overmixing.
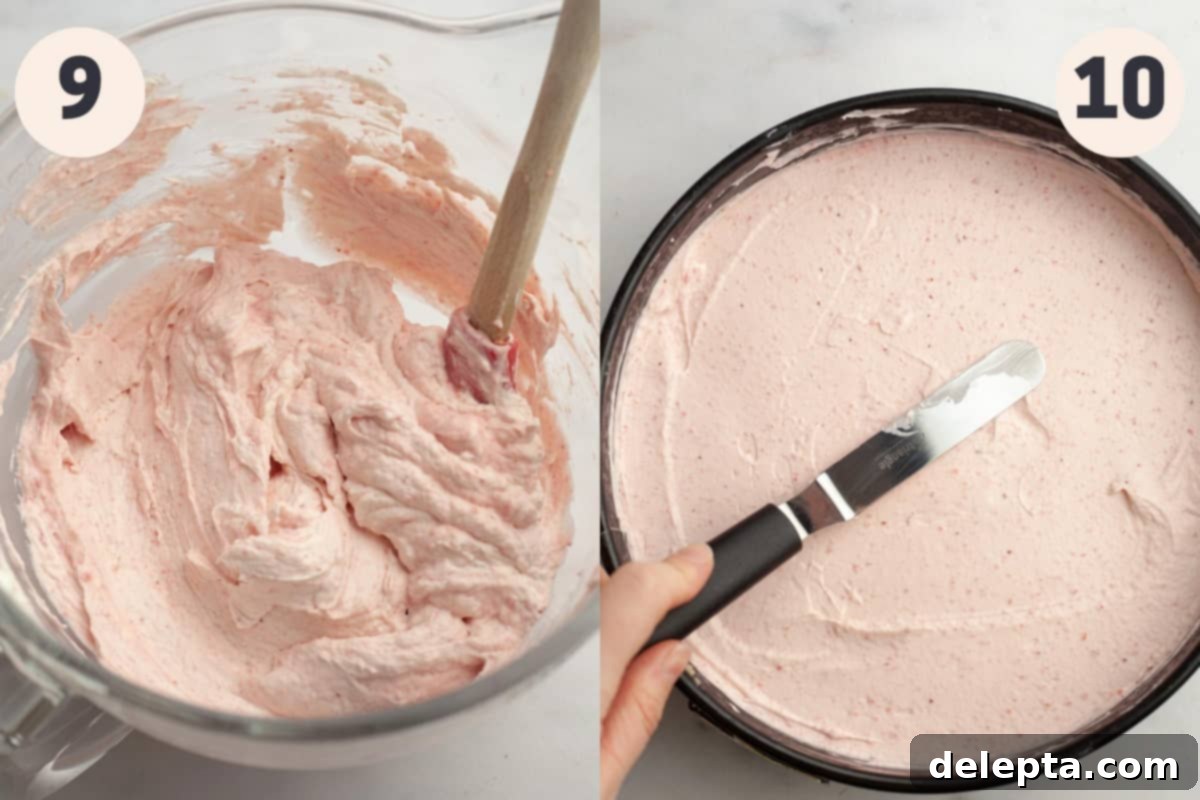
Step 9: Gently Fold in Whipped Cream. Carefully add the reserved whipped cream to the strawberry cream cheese mixture. Using a rubber spatula, gently fold the whipped cream into the cream cheese mixture using an upward motion. The key here is to be gentle to avoid deflating the air from the whipped cream, which is crucial for the cheesecake’s light and airy texture. Continue folding until the whipped cream is just incorporated and no streaks remain.
Step 10: Chill the Cheesecake. Retrieve the springform pan with the chilled crust from the freezer. Pour the prepared strawberry cheesecake filling evenly into the crust. Use a small offset spatula or the back of a spoon to gently spread and smooth the top surface of the cheesecake. Cover the pan tightly with plastic wrap, ensuring it doesn’t touch the surface of the cheesecake. Transfer the covered cheesecake to the refrigerator and allow it to chill overnight, or for a minimum of 12 hours. This extended chilling time is vital for the cheesecake to fully set and achieve its perfect creamy texture and clean slices.
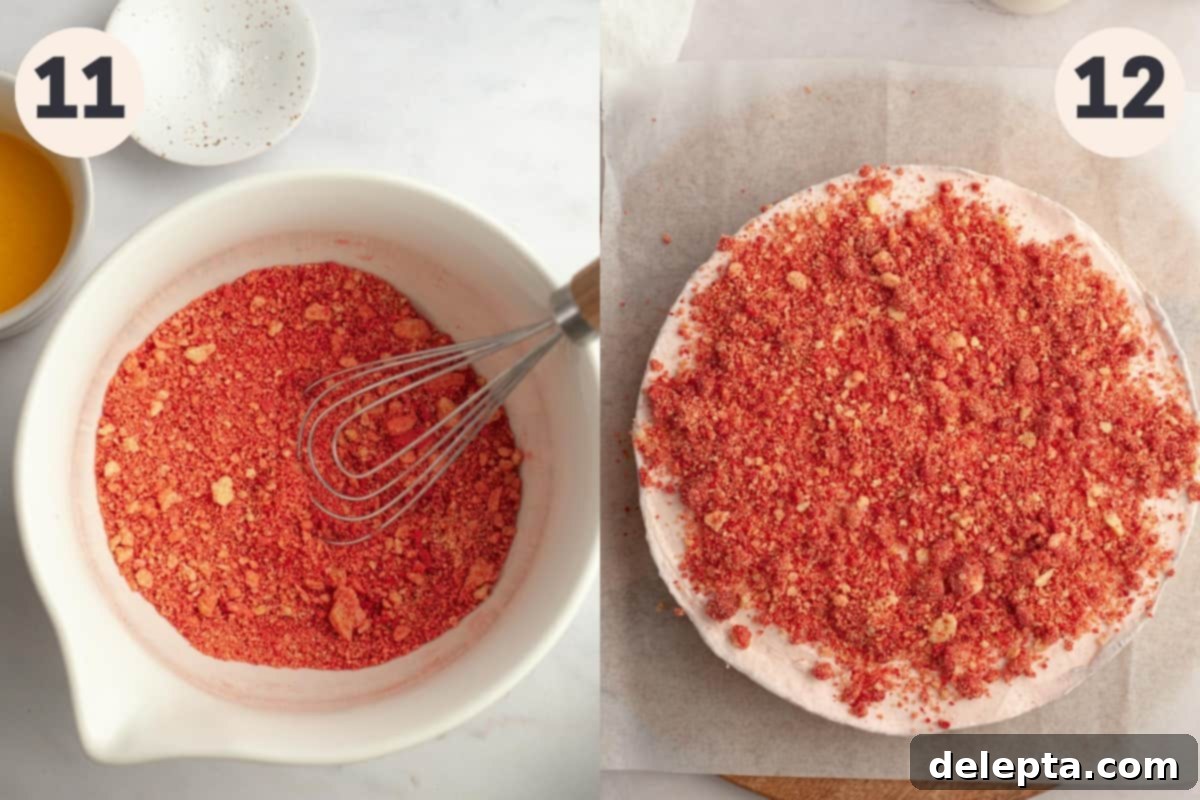
Step 11: Prepare the Strawberry Crunch Topping. In a small bowl, combine the roughly crushed golden Oreos with the freeze-dried strawberry powder. Mix them together until the strawberry powder evenly coats the Oreo crumbs, creating a beautifully pink and crunchy topping. The key here is to have coarse crumbs, not a fine powder, for that signature crunch.
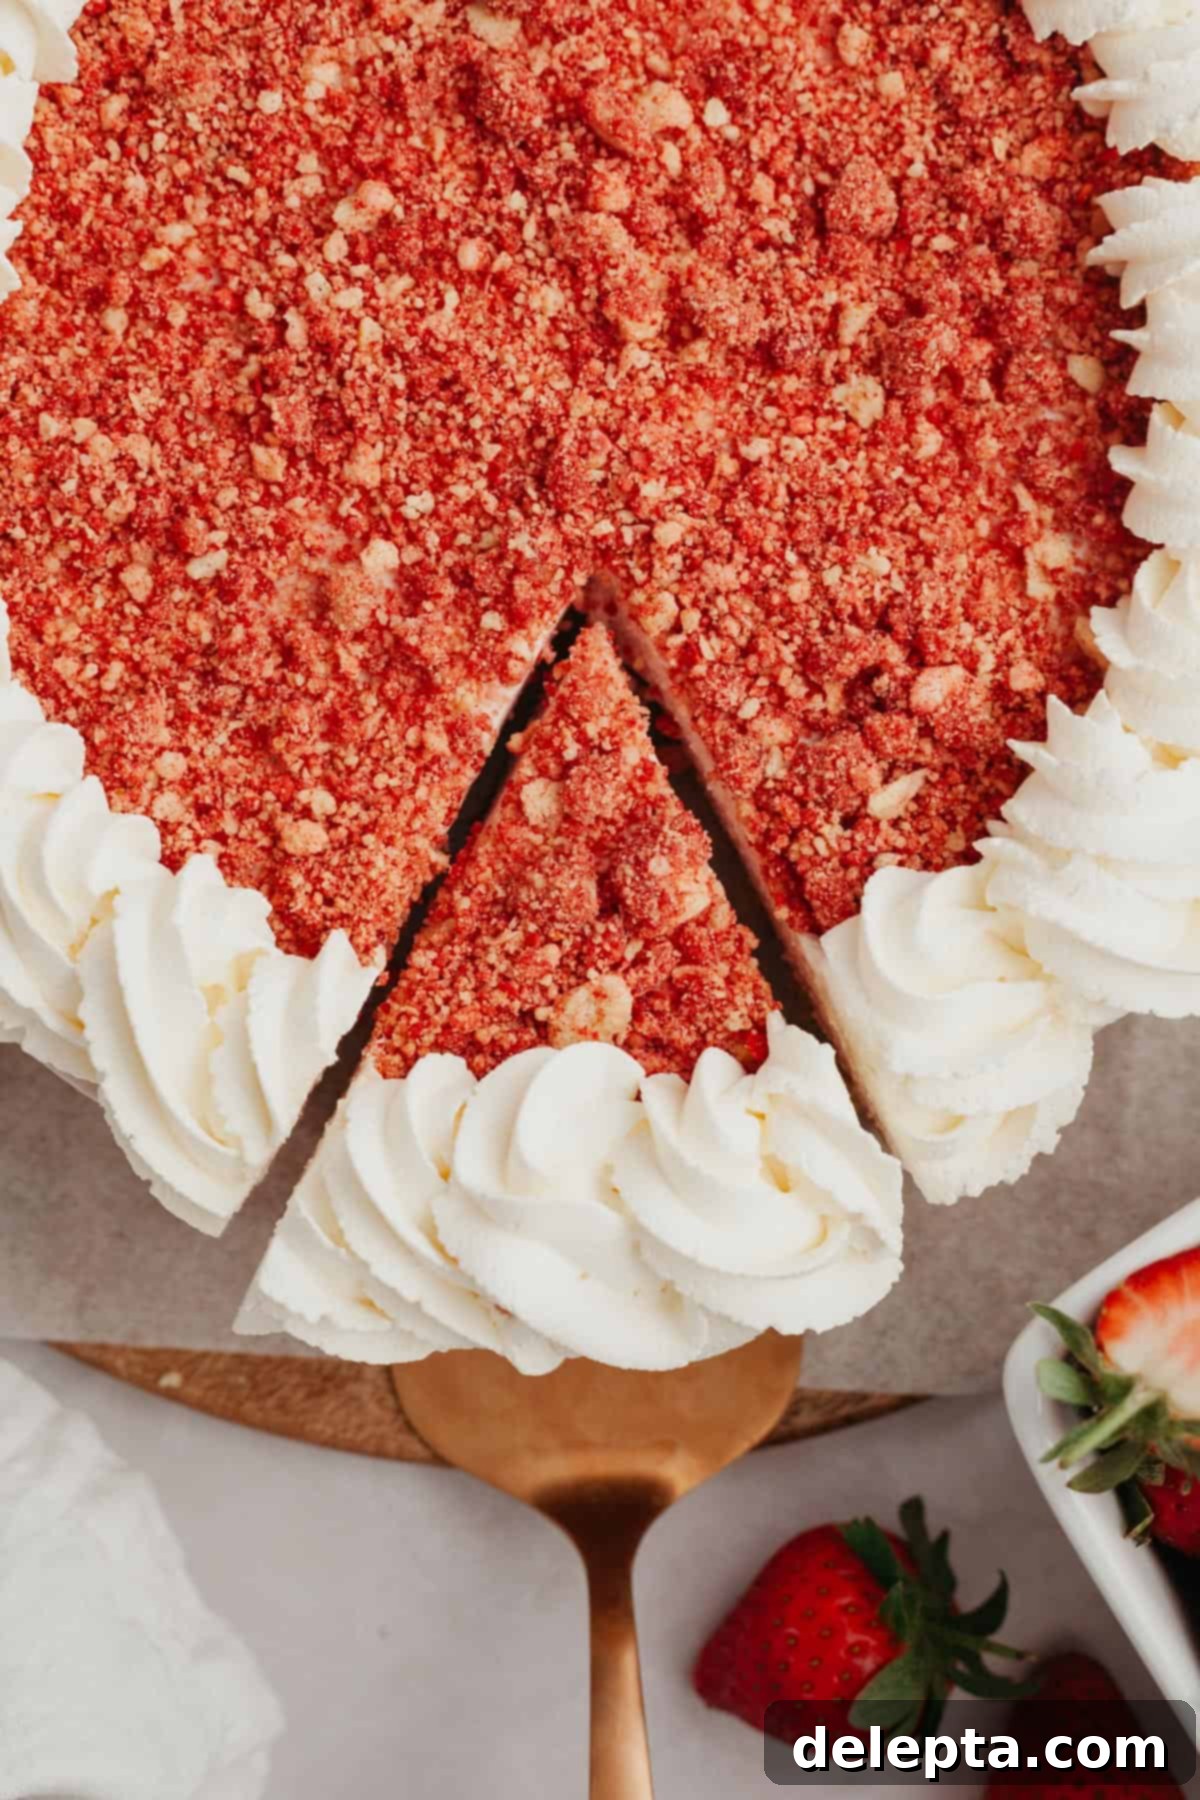
Step 12: Serve and Decorate. Once your cheesecake has thoroughly chilled and is ready to serve, carefully remove the springform pan from the fridge. Run a thin, sharp butter knife or a small offset spatula along the inner edge of the pan to loosen the cheesecake. Then, gently release and remove the sides of the springform pan. Sprinkle the prepared strawberry shortcake crunch topping generously and evenly over the top of the cheesecake. For an extra touch of elegance and creaminess, you can decorate the edges or the entire top with freshly whipped cream, using a piping bag and a decorative tip if desired. Slice and enjoy your magnificent creation!
Expert Tips & Tricks for Cheesecake Perfection
- I highly recommend investing in a kitchen scale and utilizing the metric measurements provided in the recipe card. While cup measurements are common, metric weights offer unparalleled accuracy in baking. This precision will make a huge difference in the consistency and outcome of all your baking endeavors, ensuring your cheesecake turns out perfectly every time.
- Ensuring your cream cheese is at proper room temperature before you begin mixing is absolutely crucial for a smooth filling. I always take my cream cheese out of the refrigerator about 2-3 hours beforehand. If your cream cheese is too cold, it will not beat smoothly and will remain lumpy, leading to a textured filling rather than the silky-smooth consistency we’re aiming for. This simple step makes a world of difference.
- Be patient while reducing the strawberries. This step is vital for concentrating flavor and removing excess moisture, which directly impacts the cheesecake’s ability to set. Depending on the ripeness and water content of your particular strawberries, the reduction time may vary. If you rush this process and don’t allow the puree to thicken enough, it will be too thin, and your cheesecake filling might not set properly, resulting in a runny texture.
- For the absolute best results and the cleanest slices, chill your cheesecake for a full 12 hours. I’ve experimented with shorter chilling times, and while it was somewhat set at 6 hours, the slices were noticeably cleaner and the texture firmer and more cohesive after the extended 12-hour period. Planning ahead to leave it in the fridge overnight or until the next day will guarantee a picture-perfect cheesecake.
- If you have dietary preferences or simply prefer a different flavor profile, you have the flexibility to make a classic graham cracker crust instead of the golden Oreo crust. While golden Oreos offer a distinct vanilla flavor, a graham cracker crust provides a more traditional and equally delicious base for this strawberry cheesecake.
Frequently Asked Questions About This No-Bake Strawberry Crunch Cheesecake
While a springform pan is highly recommended for its ease of use and for achieving that professional, clean-sided look, it’s not strictly mandatory. You could use a deep-dish pie plate or an equivalent baking dish instead. However, if you opt for a regular pie plate, keep in mind that you won’t be able to remove the cheesecake from the pan before serving. This means you’ll have to cut and serve the slices directly from the plate, which can sometimes make for less elegant presentation.
I generally do not recommend freezing this particular no-bake strawberry cheesecake. While some cheesecakes can withstand freezing, the delicate, airy texture achieved by the whipped cream in this recipe can become compromised after thawing. It may result in a slightly grainy or watery consistency, affecting the overall quality and enjoyment of the dessert. For the best taste and texture, it’s best consumed fresh after its initial chilling period.
To maintain its freshness and delightful texture, keep your no-bake strawberry crunch cheesecake covered tightly in the refrigerator. Use plastic wrap to cover the springform pan (or the dish it’s in) to prevent it from absorbing any odors from the fridge and to keep it from drying out. When stored correctly, the cheesecake will remain delicious for up to 5 days, making it an excellent make-ahead option.
Achieving beautifully clean slices is all about proper chilling and technique. First and foremost, make sure your cheesecake has been in the fridge for the full recommended 12 hours. This is the most important factor for a firm set. Secondly, use a large, sharp knife. For each slice, dip the knife in hot water and wipe it clean with a paper towel before making the cut. This helps the knife glide smoothly through the creamy filling without dragging or sticking, resulting in perfectly pristine slices.
Absolutely! While the strawberry crunch topping is a highlight, your cheesecake will still be stunning and delicious with alternative decorations. If freeze-dried strawberries aren’t available, I think this cheesecake would look incredibly beautiful and fresh with simply a generous layer of thinly sliced fresh strawberries fanned out on top. Alternatively, you could fully cover the top with a swirl of extra homemade whipped cream, perhaps adorned with a few whole fresh berries for a classic, elegant finish.
Indulge in More Strawberry Delights: Try These Recipes Next!
If you’ve loved the vibrant flavors of this strawberry crunch cheesecake, you’ll be thrilled to discover more of my favorite strawberry-inspired creations. These recipes are perfect for anyone who can’t get enough of this fantastic berry:
- Easy Strawberry Apple Crisp
- Strawberry and White Chocolate Cheesecake (No Bake)
- Strawberry Crumble
- Vanilla Cake with Strawberry Filling
If you’ve had the pleasure of making this delightful recipe, I would be absolutely thrilled to hear from you! Please make sure to leave a ⭐️ rating and a review below to share your experience and feedback. I genuinely love seeing your creations, so don’t forget to tag me on Instagram @alpineella so I can admire what you’ve made! You can also follow along for more delicious recipes and baking inspiration on Pinterest, Facebook, and TikTok! Happy baking!
Recipe
Strawberry Crunch Cheesecake
Ella Gilbert
Pin Recipe
Save RecipeSaved!
Equipment
-
9″ springform pan
Ingredients
Cheesecake Base
- 24 golden oreos crushed
- ½ cup unsalted butter melted
Reduced Strawberries
- 3 ½ cups strawberries
- 2 tablespoon lemon juice
Strawberry Cheesecake Filling
- 16 oz cream cheese room temperature
- 1 tablespoon lemon juice
- 2 teaspoon vanilla extract
- 1 cup powdered sugar
- 1 cup heavy cream cold
Whipped Cream Topping
- 1 cup heavy cream
- ¼ cup sugar
Strawberry Crunch Topping
- 3 golden oreos crushed
- 1 ½ tablespoon freeze dried strawberry powder
Instructions
Make Base
-
Preheat oven to 350°F/175°C.
-
Using a blender or food processor, crush the golden oreos until you have a fine crumb.24 golden oreos
-
In a medium bowl or jug, mix together the crumbs and melted butter until it resembles wet sand.½ cup unsalted butter
-
Press this into your 9-inch springform pan, going up slightly at the sides and making sure the bottom is even. Bake for 10 minutes then let cool completely.
Reduced Strawberries.
-
Blend the strawberries until it is completely pureed. Pour into a small saucepan with the lemon juice, and bring to a boil over medium-high heat. Once it begins to boil, lower the temperature to medium-low and cook for 25-30 minutes. Stir occasionally until it is reduced down to ½ cup of strawberries.3 ½ cups strawberries, 2 tablespoon lemon juice
-
Pour into a tray to let it cool down quicker.
Cheesecake Filling
-
Using a handheld mixer or in a stand mixer with the whisk attachment, whip the heavy cream until you have stiff peaks. This may take 4-5 minutes. Set aside.1 cup heavy cream
-
In a stand mixer fitted with the paddle attachment, beat the cream cheese until it is completely smooth. It needs to be at room temperature or it will be too lumpy.16 oz cream cheese
-
Add the cooled reduced strawberries, lemon juice, powdered sugar and vanilla to the cream cheese. Beat on medium speed until well combined. You may need to stop the mixer and scrape down the sides of the bowl. Once completely smooth and creamy, stop the mixer.1 tablespoon lemon juice, 2 teaspoon vanilla extract, 1 cup powdered sugar
-
Fold in the whipped cream, do it gently as you don’t want to deflate the whipped cream. Continue folding until it is completely incorporated.
-
Pour into the cooled crust and use a small offset spatula to smooth the top. Place plastic wrap on top of the springform pan and chill for 12 hours.
Whipped Cream
-
In a stand mixer with the whisk attachment or using a handheld whisk, whip the heavy cream on medium-high speed until you have stiff peaks.1 cup heavy cream
-
Slowly pour in the sugar. Use immediately. I piped my whipped cream with a Wilton 1M tip.¼ cup sugar
Strawberry Crunch Topping
-
Crush the golden oreos roughly, you don’t want it to be a powdered but quite coarse.3 golden oreos
-
Mix with your freeze dried strawberry powder. Sprinkle on top of the cheesecake.1 ½ tablespoon freeze dried strawberry powder
Video
Notes
Heavy Cream: If you’re in the UK, use double cream.
Cream Cheese: If you are in Europe and your cream cheese comes in tubs instead of packets, you’ll need to press your cream cheese with kitchen paper to remove moisture.
Storage: Keep your cheesecake in the fridge for up to 5 days.
Nutrition
