Irresistibly Chewy Brown Butter Oreo Chocolate Chip Cookies (No Mixer Needed!)
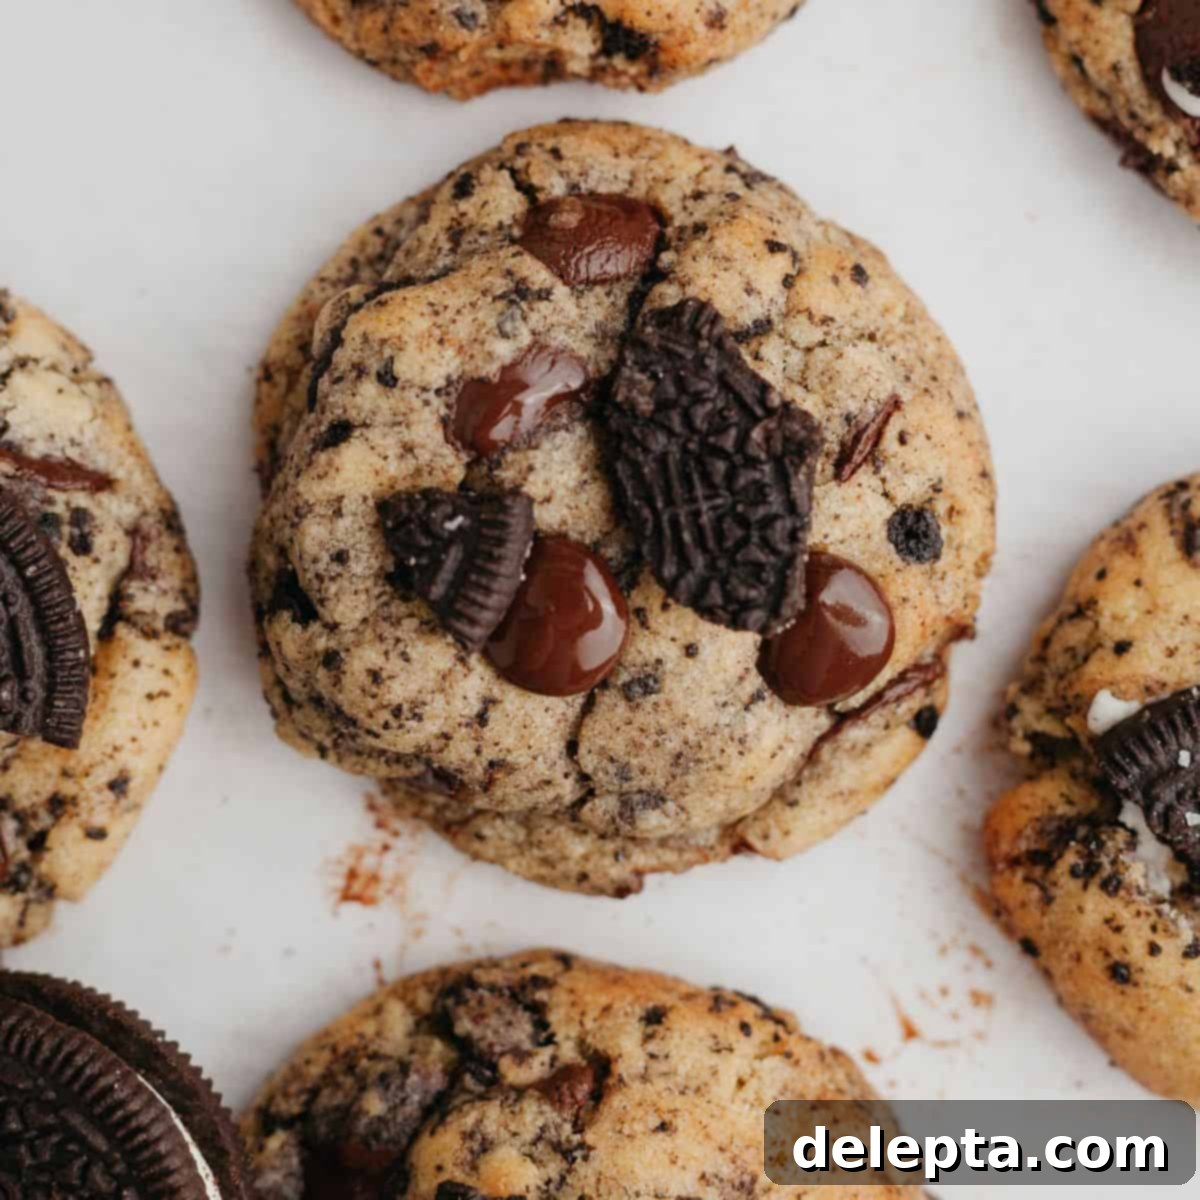
These **Oreo chocolate chip cookies** are an absolute dream for any Oreo enthusiast! Crafted with the rich, nutty depth of browned butter, these cookies n’ cream delights are wonderfully soft, delightfully chewy, and generously packed with crunchy crushed Oreo cookies. The best part? You *won’t even need a stand mixer* to whip up a batch of these bakery-style beauties, making cleanup a breeze and baking accessible for everyone.
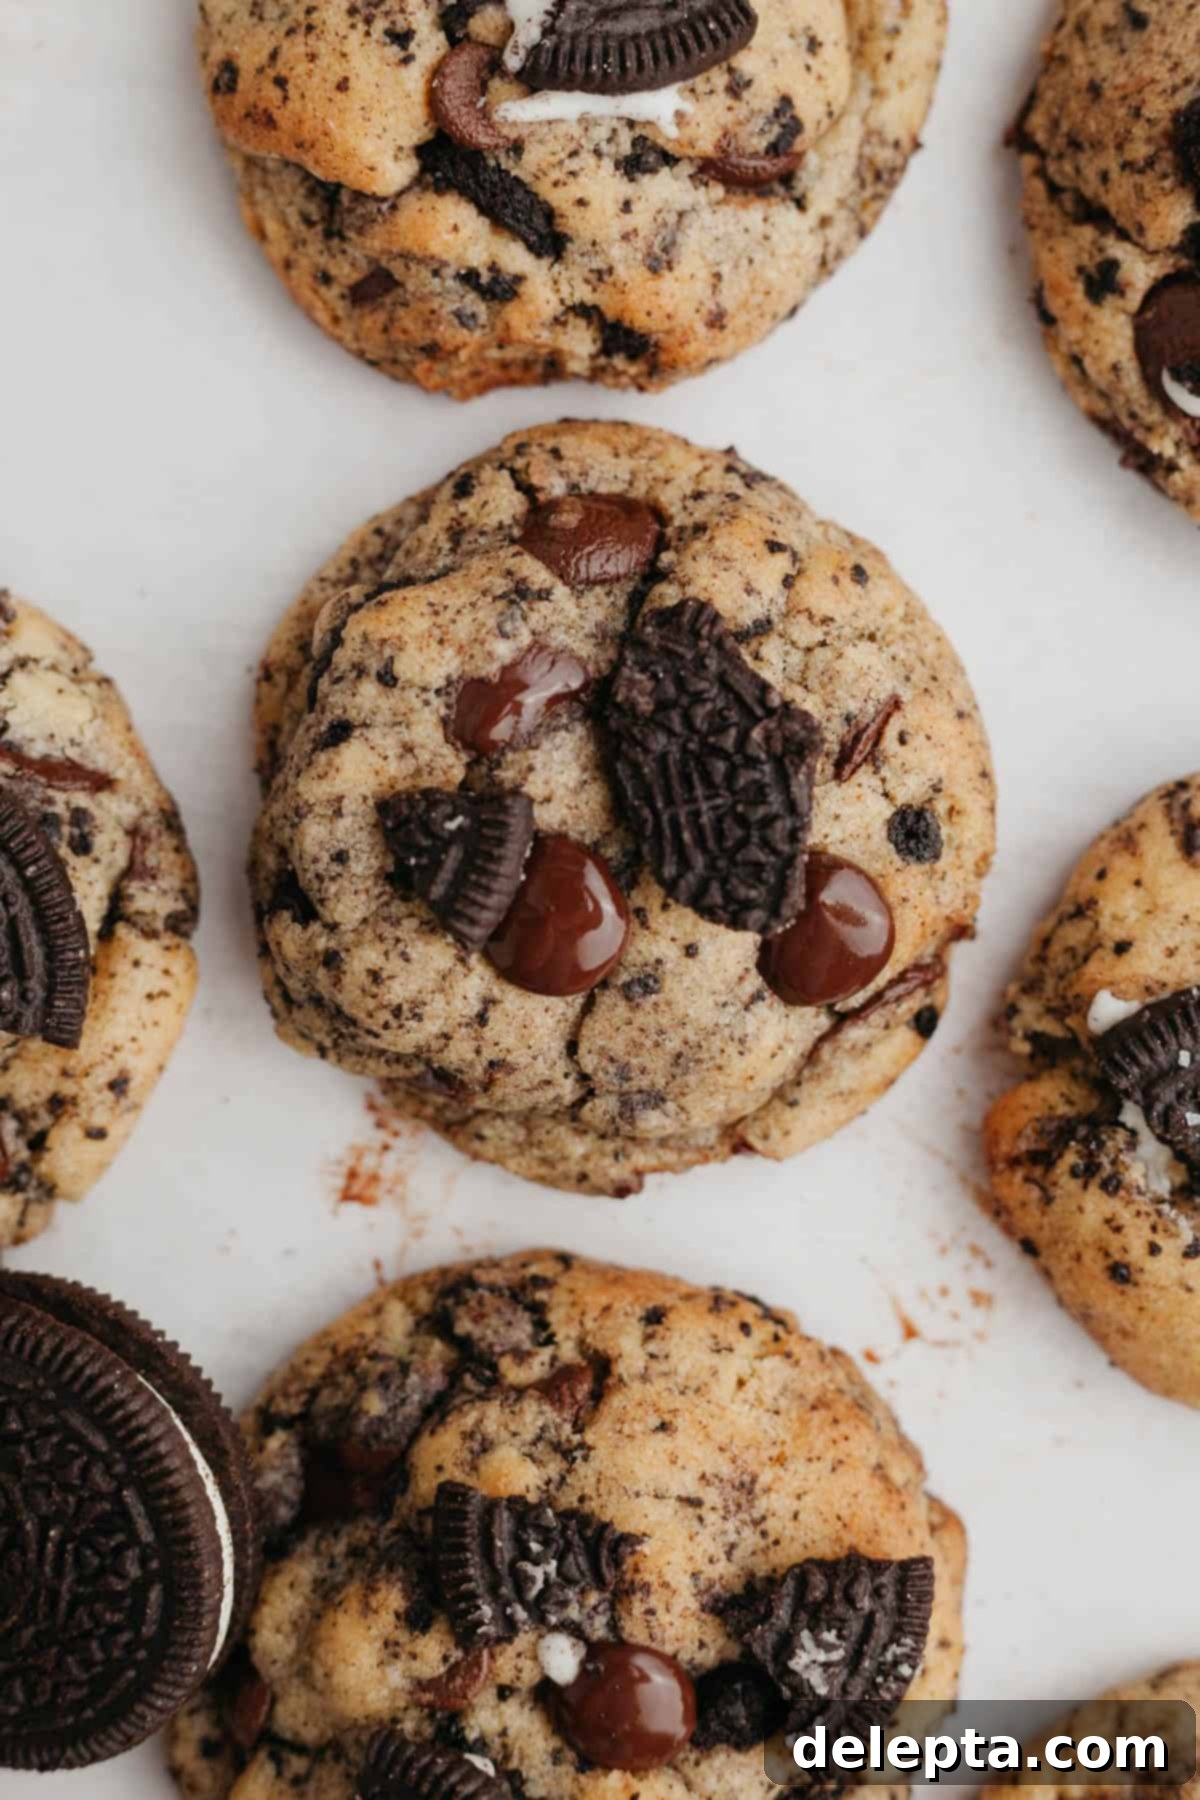
There’s truly nothing more comforting than a warm, freshly baked chocolate chip cookie, straight from the oven. And these aren’t just any cookies; they’re elevated by the addition of America’s favorite cookie – Oreos! What makes this recipe even better is its sheer simplicity. Forget the hassle of dragging out a heavy electric mixer; you can prepare this entire dough in just one bowl. This means less equipment, less mess, and more time to enjoy your perfectly baked creations.
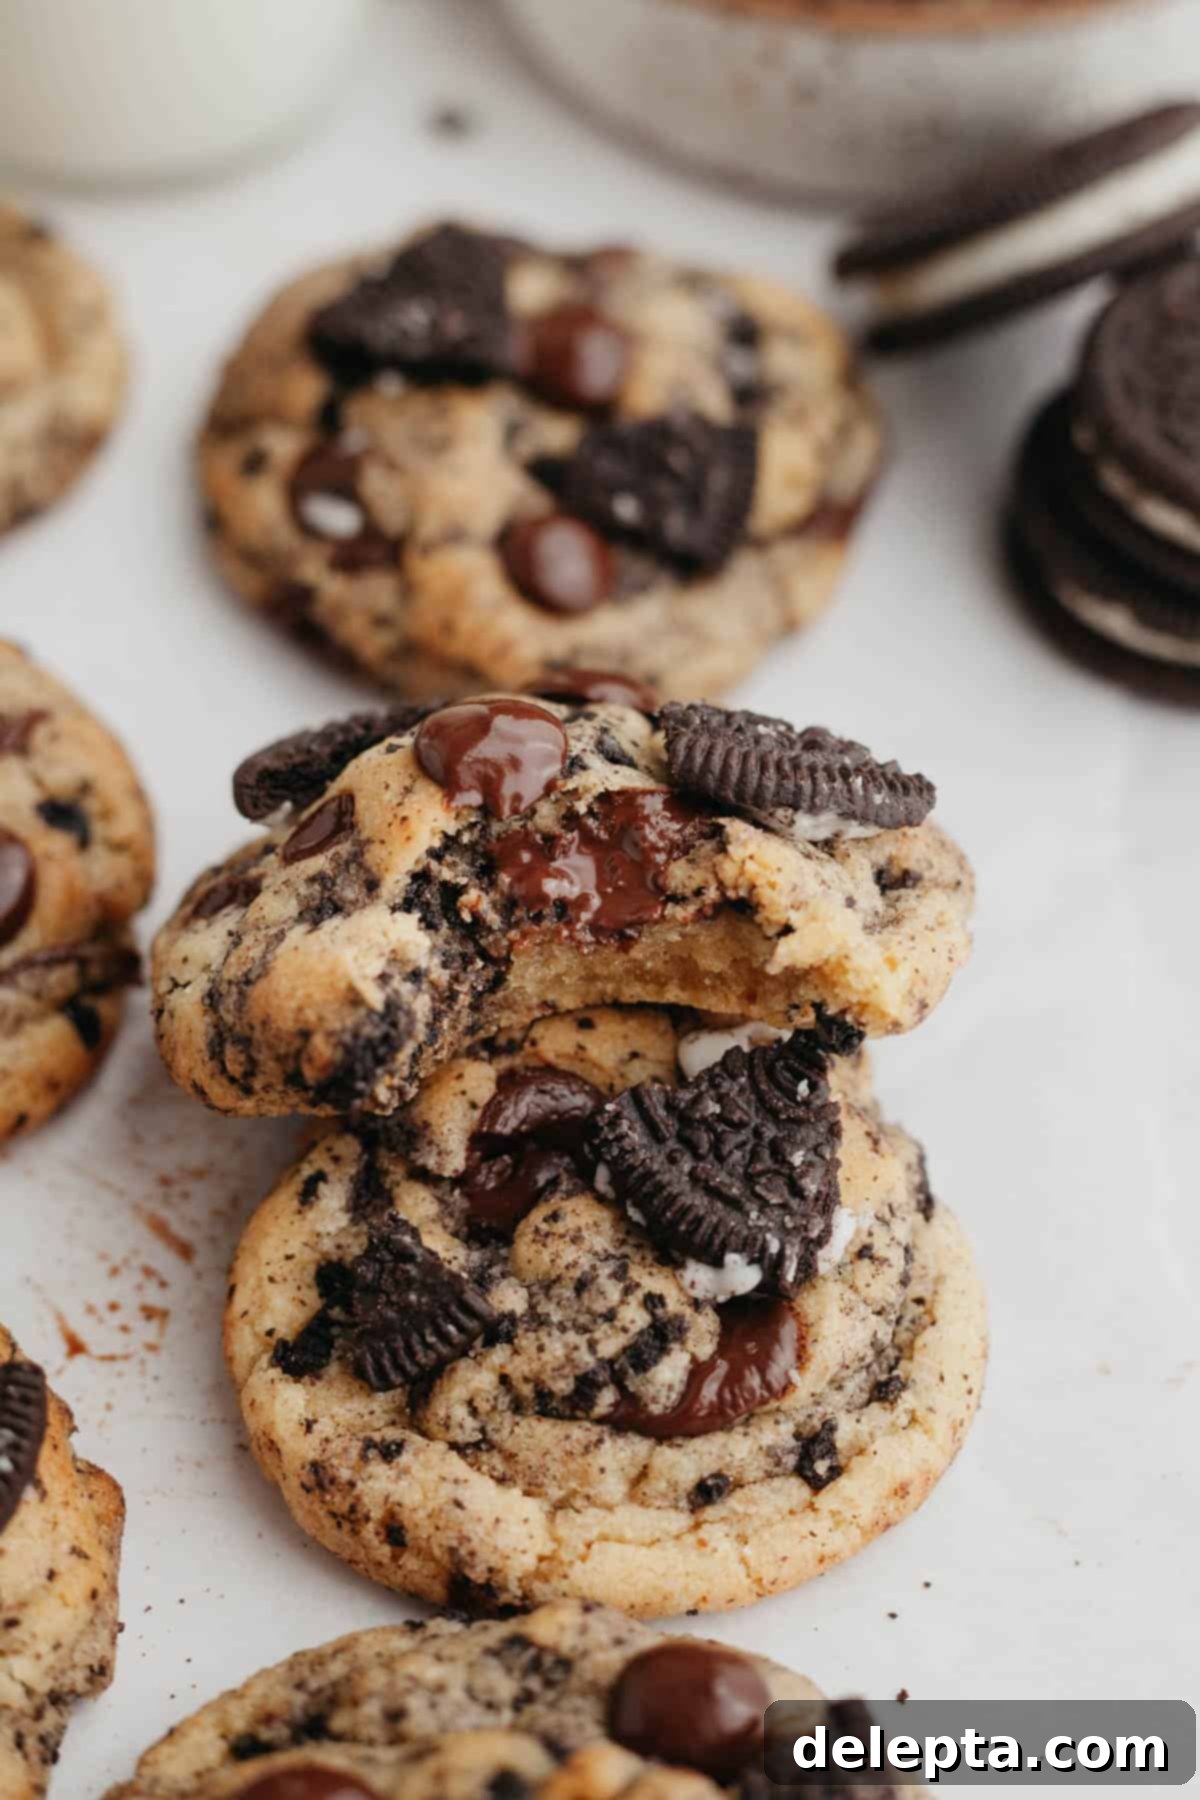
Our signature Oreo chocolate chip cookies are generously studded with both fine Oreo crumbs for a subtle cookies n’ cream infusion and larger crushed Oreo pieces for satisfying textural variety. To add an extra layer of complexity and sophistication, we incorporate browned butter. This magical ingredient not only enhances the flavor profile with its deep, nutty notes but also perfectly balances the sweetness from the chocolate chips and Oreo pieces, creating a truly harmonious treat. It’s no wonder these particular Oreo cookies have taken my Instagram page by storm – they are simply that soft, wonderfully chewy, and incredibly delicious!
If you find yourself to be an avid Oreo lover, much like myself, then you absolutely must explore some of our other fantastic Oreo-inspired recipes. Indulge in our Oreo cinnamon rolls for a decadent breakfast, savor a slice of rich Oreo peanut butter pie, enjoy the nostalgic crunch of Oreo rice krispie treats, or celebrate with our stunning Oreo drip cake! For those who adore the combination of peanut butter and Oreos, you’ll be thrilled with these browned butter peanut butter cookies with Oreos. Each recipe offers a unique way to enjoy the classic cookies n’ cream flavor.
Why You’ll Fall in Love with This Recipe!
- No Electric Mixer Required: Say goodbye to bulky equipment and tedious cleanup! This recipe is designed for maximum convenience, requiring only a single saucepan to brown the butter and one mixing bowl for the dough. It’s a truly effortless way to achieve phenomenal homemade cookies without any specialized gadgets. If you’re looking for another mixer-free cookie recipe, check out my M&M chocolate chip cookie recipe!
- Made with Simple, Accessible Ingredients: You don’t need obscure items to create these incredible cookies. This recipe calls for just 11 everyday pantry staples, ensuring that these wonderfully chewy and soft Oreo chocolate chip cookies are always within reach, whether it’s a planned baking day or a spontaneous craving.
- Minimal Chilling Time for Perfect Results: Thanks to the melted browned butter, a brief 30-minute chilling period for the cookie dough balls is all that’s needed. This crucial step helps the dough solidify slightly, preventing excessive spreading in the oven and guaranteeing you thick, luscious, and perfectly shaped cookies with every bake.
- Explosive Oreo Flavor in Every Bite: The cookie dough itself is lovingly folded with a generous amount of crushed Oreos, ensuring that delightful cookies n’ cream taste permeates every morsel. For that authentic bakery-style appeal and an extra textural pop, we also press additional Oreo pieces onto the cookies right after baking. These cookies are absolutely perfect served alongside a tall, cold glass of milk!
- Freezer-Friendly for Future Indulgences: Planning ahead or simply want to savor your cookies over time? Once you’ve rolled the dough into individual balls, you can easily freeze them for later. This means fresh-baked cookies are just minutes away whenever the craving strikes, making them perfect for unexpected guests or a quick dessert.
Essential Ingredients You’ll Need
Crafting the perfect cookie begins with quality ingredients. Here’s what you’ll need to create these irresistible Oreo chocolate chip cookies, along with a few notes to guide you:
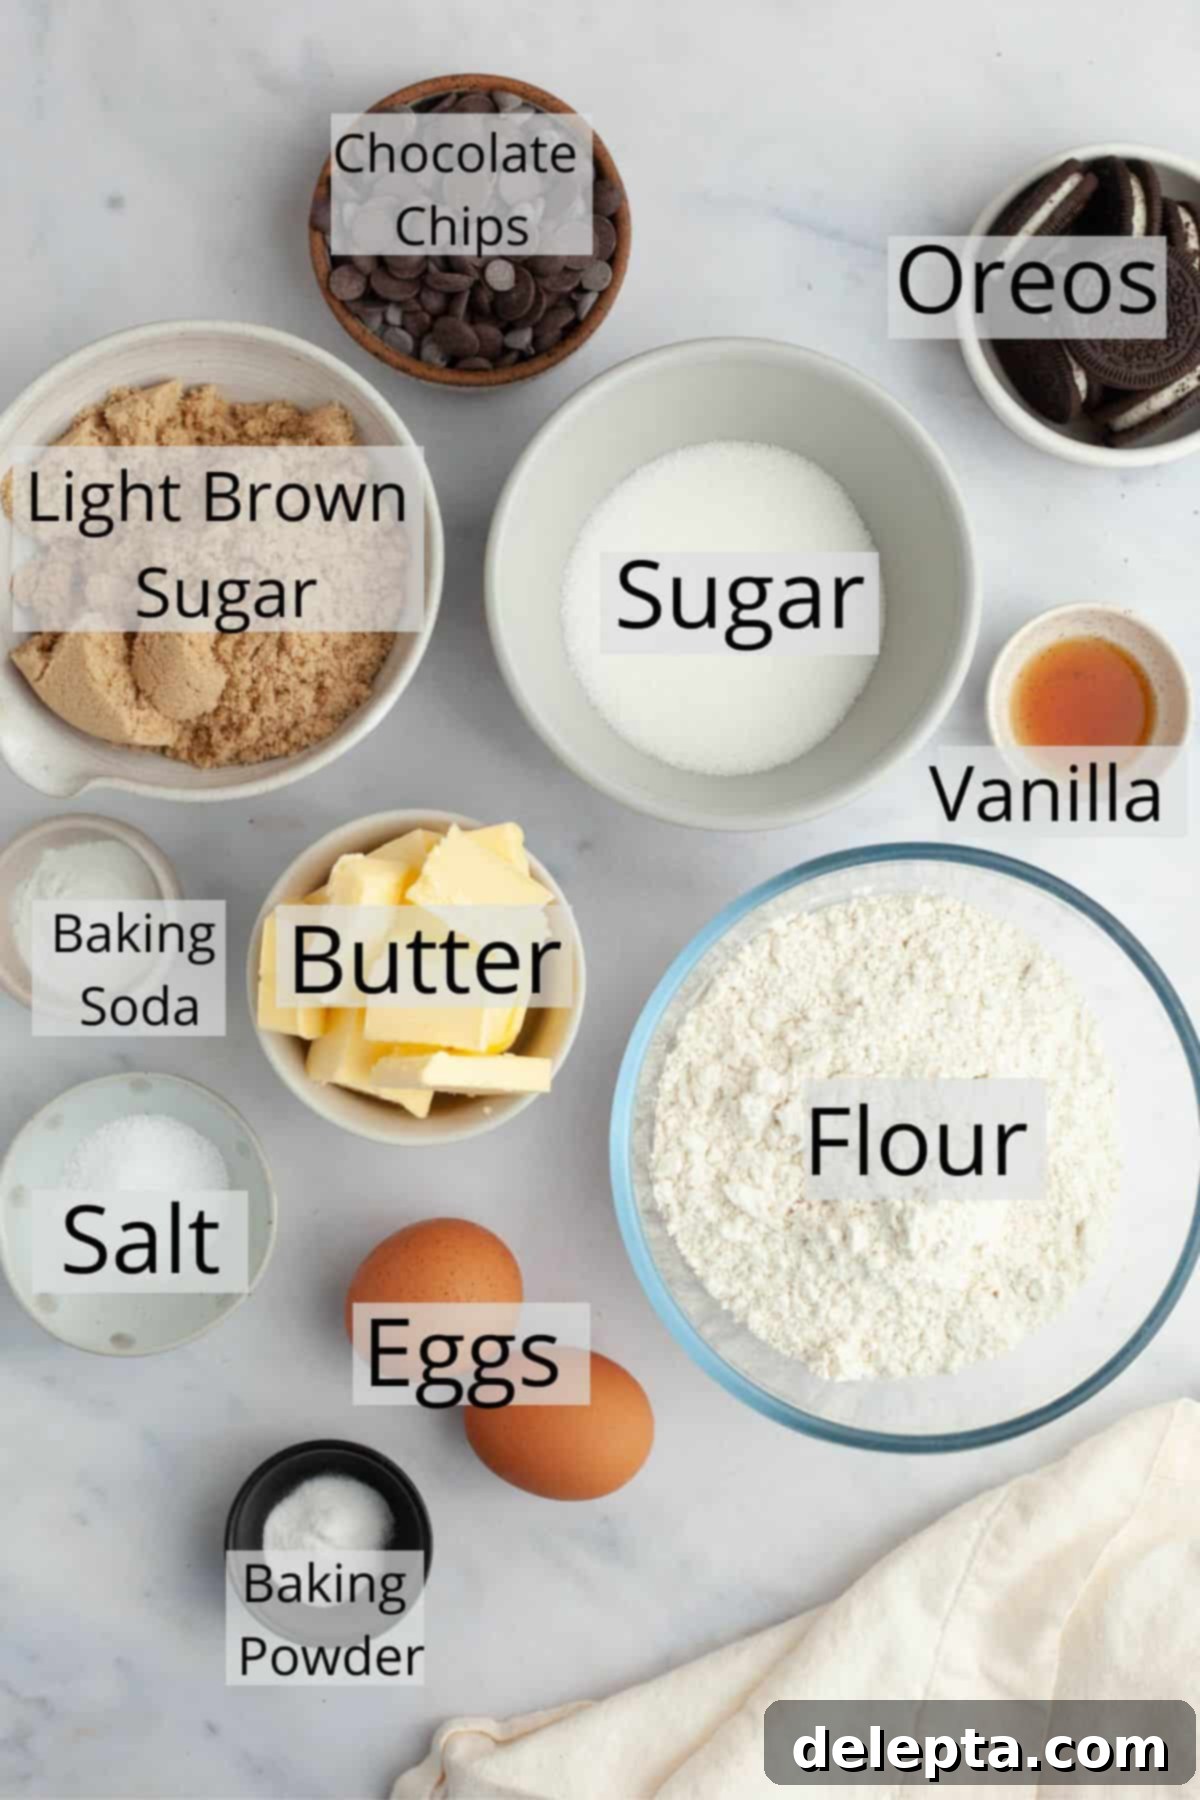
- All-Purpose Flour: This forms the foundational structure of our cookies. While I primarily use standard all-purpose flour for consistent results, if you’re looking for a gluten-free alternative, a 1:1 all-purpose gluten-free flour blend might work, though it hasn’t been personally tested with this specific recipe.
- Unsalted Butter: Using unsalted butter is key for controlling the exact amount of salt in your cookies, allowing you to perfectly balance the flavors. I particularly favor European-style butter, such as Kerrygold, due to its higher butterfat content. This higher fat percentage contributes to a richer flavor and a superior, more tender texture in your baked goods, especially after browning.
- Oreos: The star of the show! You can use either regular Oreos or Double Stuffed Oreos – both variations have been tested and yield equally delicious results, providing that iconic chocolatey cookie and creamy filling contrast. Feel free to experiment with different Oreo flavors for a fun twist!
- Chocolate Chips: For an optimal chocolate experience in every bite, I recommend using a combination of mini chocolate chips and larger chocolate wafers or chunks. This blend ensures a delightful distribution of chocolate throughout the cookie, from delicate melting pockets to satisfyingly chunky morsels. Dark chocolate works wonderfully here to complement the sweetness of the Oreos and brown sugar.
- Sugars: A blend of light brown sugar and granulated sugar is essential. Brown sugar contributes to the cookies’ chewiness and moisture, while granulated sugar aids in spreading and crisping the edges.
- Eggs: We use one whole egg and one extra egg yolk. The whole egg provides structure, while the extra yolk adds richness, moisture, and contributes significantly to the cookie’s signature chewiness and soft texture. Ensure they are at room temperature for better emulsification.
- Vanilla Extract: A crucial flavor enhancer that elevates the overall taste profile, adding warmth and depth that complements both the chocolate and Oreo flavors.
- Baking Powder & Baking Soda: These leavening agents work in harmony to give the cookies their ideal lift and tender crumb. Baking soda reacts with the acidic brown sugar, while baking powder provides additional aeration.
- Kosher Salt: Salt is vital for balancing sweetness and enhancing all the other flavors in the cookie. It brings out the notes of chocolate and browned butter beautifully.
For precise measurements and quantities, please refer to the detailed recipe card provided below.
Easy Step-by-Step Baking Instructions
Follow these simple steps to create a batch of the most delicious Oreo chocolate chip cookies that will impress everyone!
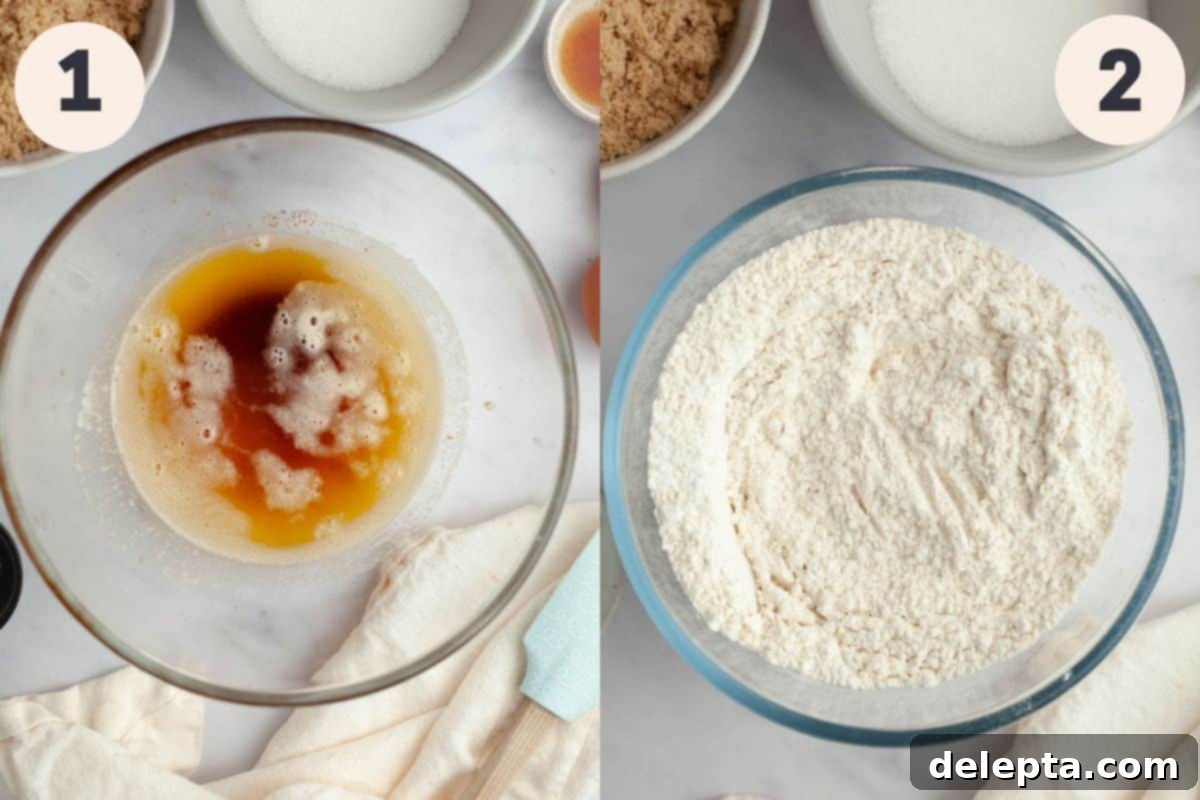
Step 1: Master the Browned Butter. Begin by browning your butter, a step that infuses your cookies with an incredible depth of nutty flavor. Place the unsalted butter in a small, light-colored saucepan (so you can easily see the color change) and melt it over medium-low heat. Once the butter has completely melted, increase the heat slightly to medium. Keep a close eye on it and stir continuously with a rubber spatula, scraping the bottom of the pan. After a few minutes, the butter will start to foam, and you’ll notice white milk solids collecting at the bottom. Continue stirring. These milk solids will gradually transform from white to a beautiful light golden brown, and you’ll be greeted by a wonderfully rich, toasty, and nutty aroma. Congratulations, you’ve successfully made brown butter! Immediately pour this liquid gold, making sure to scrape out all those flavorful brown bits from the bottom of the pan, into a separate heatproof bowl. Allow it to cool completely to room temperature before proceeding with the recipe. This cooling step is critical to prevent the butter from cooking the eggs when they are added.
Step 2: Prepare Your Dry Ingredients and Oreos. In a medium-sized bowl, whisk together the all-purpose flour, baking powder, and baking soda. This ensures that the leavening agents are evenly distributed throughout the dry mixture. Next, prepare your Oreos. For the best texture and flavor, crush the Oreos in a food processor until you have a varied consistency – a delightful combination of fine crumbs that will flavor the dough, and some larger Oreo chunks that will add a satisfying bite to the finished cookies. If you don’t have a food processor, you can place them in a ziplock bag and crush them with a rolling pin.
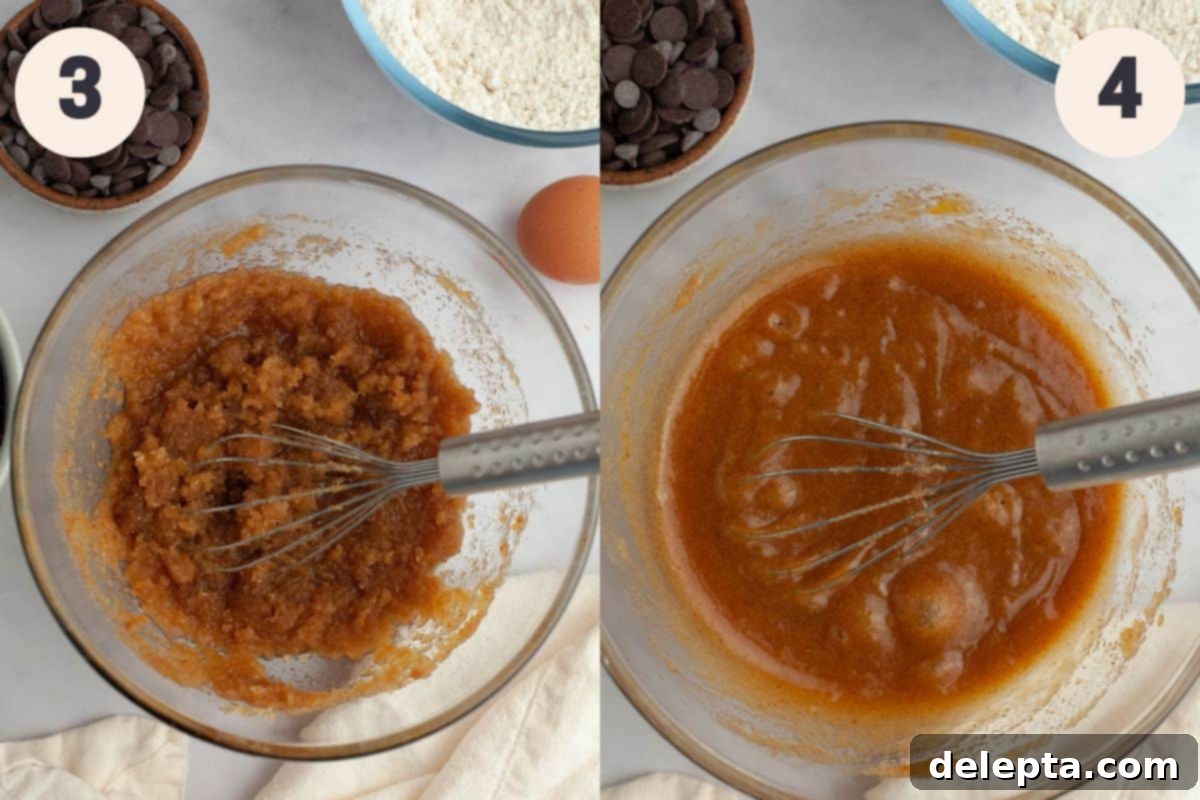
Step 3: Combine Sugars, Vanilla, and Salt with Cooled Brown Butter. Once your browned butter has cooled completely (it should no longer be warm to the touch), pour the light brown sugar, granulated white sugar, kosher salt, and vanilla extract directly into the melted brown butter. Whisk these ingredients together vigorously until the mixture is smooth and thoroughly combined. The sugars will start to dissolve slightly, creating a glossy, rich base for your cookie dough.
Step 4: Incorporate Eggs for Richness and Texture. Add the room temperature whole egg and the extra egg yolk to your butter-sugar mixture. Continue to whisk until the mixture is beautifully smooth, lightened in color, and glossy. This thorough whisking incorporates air, which contributes to the cookies’ light and chewy texture, and ensures the eggs are fully emulsified into the fats and sugars.
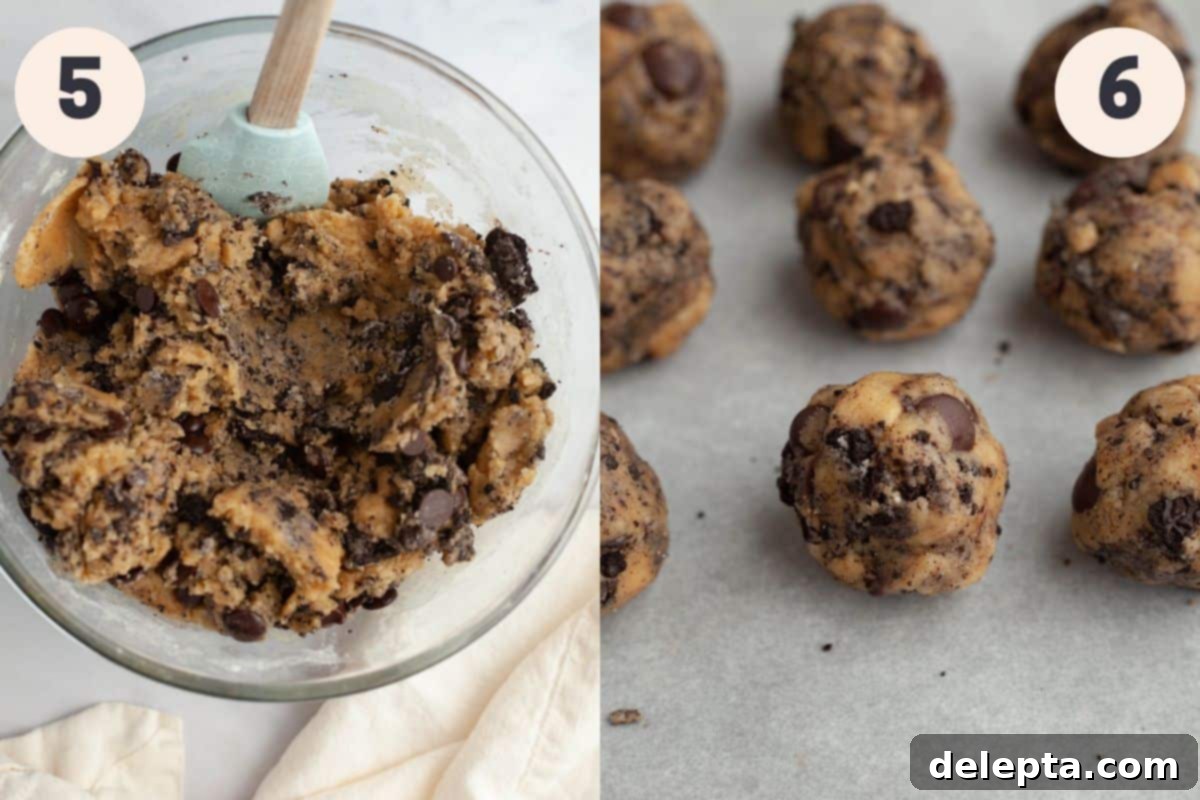
Step 5: Fold in Dry Ingredients, Oreos, and Chocolate Chips. Gradually pour your whisked dry ingredients (flour, baking powder, baking soda) into the wet butter and egg mixture. Using a sturdy rubber spatula, gently fold everything together until just combined. Be careful not to overmix, as this can lead to tough cookies. Stop mixing as soon as there are no visible streaks of dry flour. Then, fold in your crushed Oreo crumbs and a generous amount of chocolate chips. Keep a small handful of chocolate chips and some of the larger Oreo pieces aside for decorating the baked cookies later – this little trick gives them that professional, bakery-fresh appearance.
Step 6: Portion, Chill, and Bake to Perfection. Using a 1.5 tablespoon cookie scoop (or simply scoop out about 2 tablespoons of dough), portion the cookie dough and roll each portion into a neat ball. Arrange the cookie dough balls on a baking sheet lined with parchment paper. This parchment paper prevents sticking and ensures even baking. Once all the dough is portioned, chill the cookie dough balls in the refrigerator for a minimum of 30 minutes, or up to overnight. Chilling is essential for allowing the flavors to meld and for the cookies to hold their shape during baking, resulting in thicker, chewier cookies that don’t spread too much. After chilling, preheat your oven to 350°F (175°C). Bake the cookies, six at a time, on a parchment-lined baking sheet for approximately 10-12 minutes, or until the edges are golden brown and the centers are still slightly soft. Immediately after removing them from the oven, gently press the reserved extra chocolate chips and larger Oreo pieces onto the tops of the warm cookies for that irresistible bakery-style finish. Let them cool on the baking tray for about 10 minutes to set before carefully transferring them to a wire cooling rack to cool completely. Store any leftover baked cookies in an airtight container at room temperature for up to 5 days to maintain their freshness and chewiness.
Expert Tips & Tricks for Perfect Cookies
Achieving bakery-quality cookies at home is easier than you think with a few simple techniques:
- Accurate Measuring is Key: For consistent and professional baking results, I cannot stress enough the importance of using a digital kitchen scale and measuring your ingredients by weight (the metric way). Baking is a science, and precise measurements make a profound difference in the final texture and outcome of your cookies. Volume measurements (cups) can vary greatly, leading to unpredictable results.
- The “Fluff and Sprinkle” Method for Flour: If you absolutely must use measuring cups instead of a scale for your flour, employ the “fluff and sprinkle” method. First, fluff the flour in its container with a spoon. Then, gently spoon the flour into your measuring cup until it overflows, and finally, level it off with a straight edge (like the back of a knife) without packing it down. Over-measuring flour is a common pitfall that can result in dry, dense, and crumbly cookies instead of the soft and chewy masterpieces we’re aiming for! You can find a detailed guide here.
- Always Use Room Temperature Ingredients: For a smooth, emulsified cookie dough, ensure all your refrigerated ingredients, especially butter and eggs, are at room temperature before you begin baking. Cold ingredients don’t blend as effectively, which can lead to a lumpy dough and an uneven texture in your final baked goods. Take them out of the fridge at least an hour or two before you plan to start the recipe.
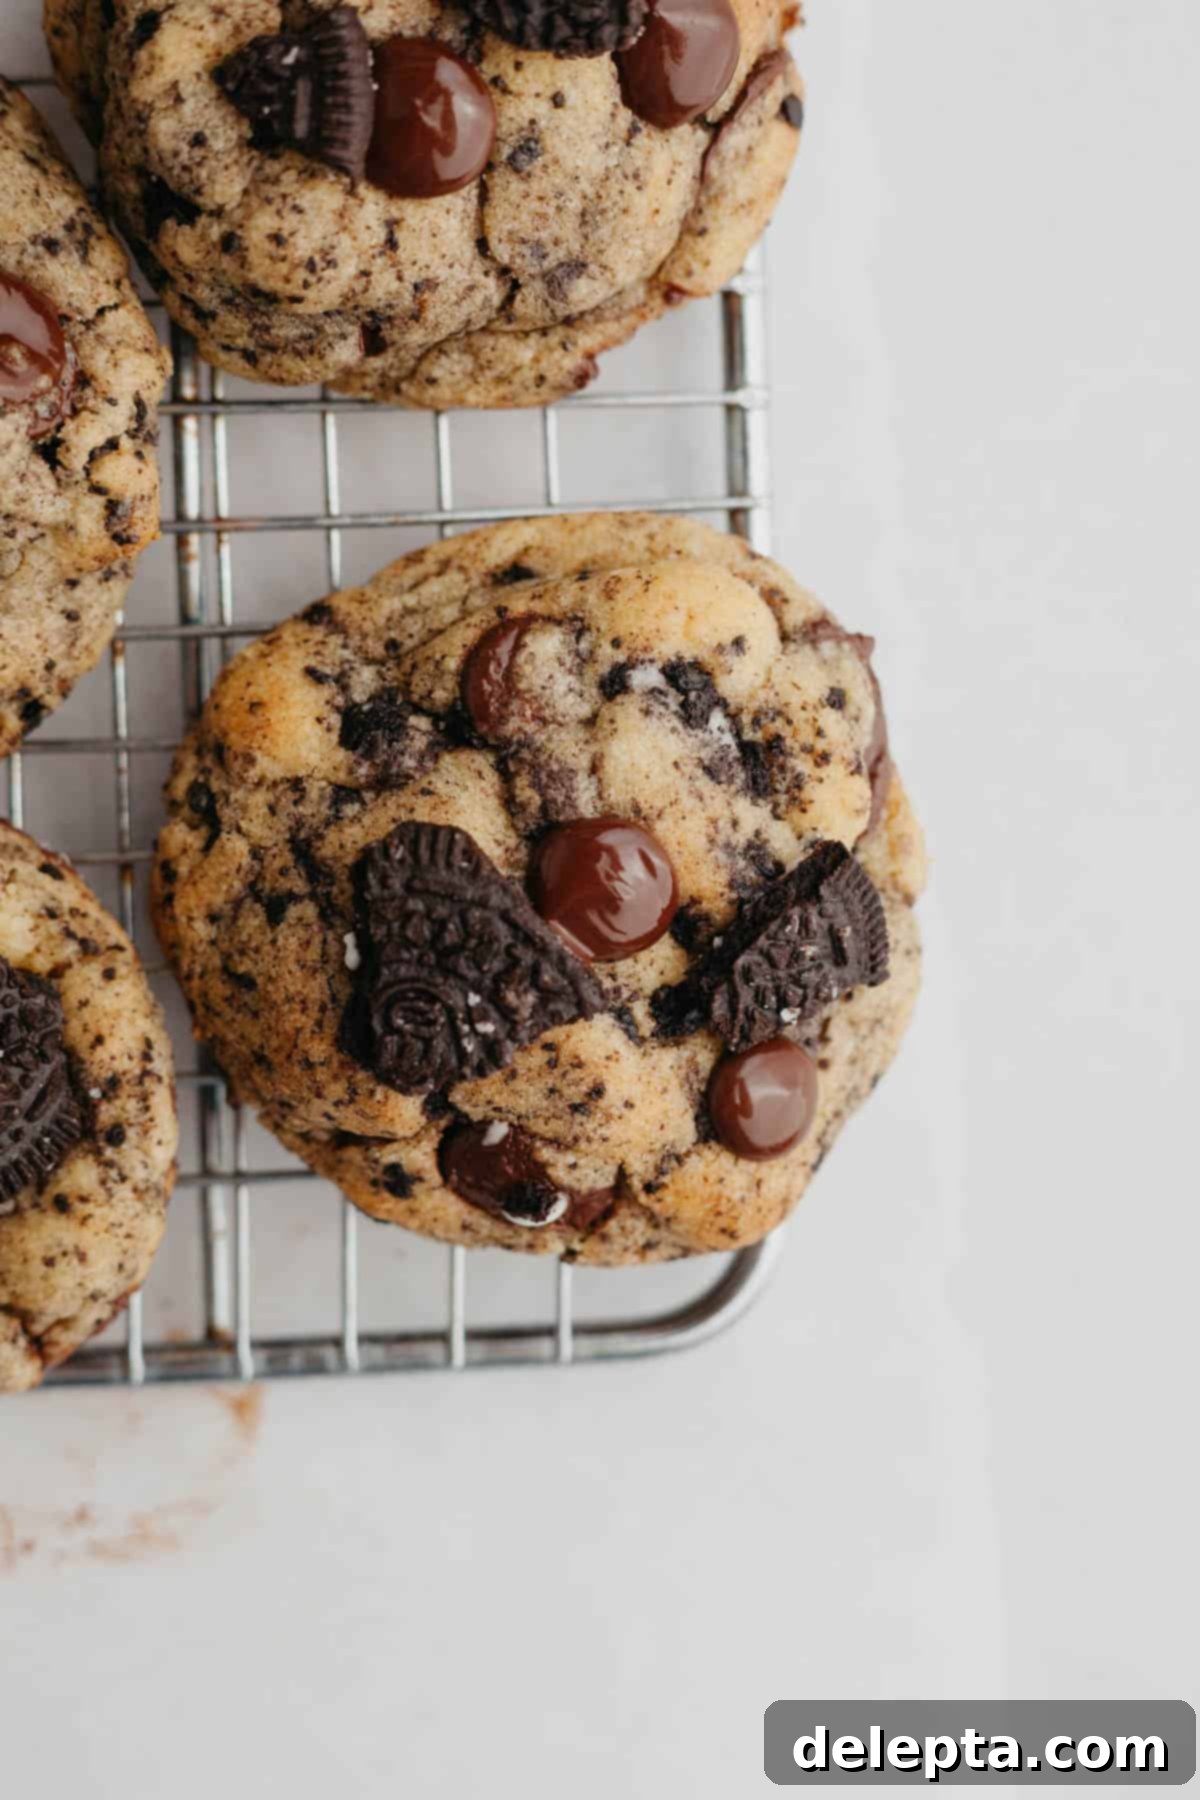
- Achieving That Bakery-Style Look: For cookies that look like they came straight from a gourmet bakery, try this trick: immediately after removing the hot cookies from the oven, use a large round biscuit cutter or a wide mug (larger than your cookie) and gently ‘scoot’ it around each cookie. This helps to reshape any irregular edges into a perfectly round, aesthetically pleasing circle. While the cookies are still warm and soft, gently press a few extra chocolate chips and larger crushed Oreo pieces onto the top of each cookie. This makes them look even more tempting and professional.
- Don’t Overbake: For the softest, chewiest cookies, it’s better to slightly underbake them. The cookies will continue to cook and set as they cool on the baking sheet. Look for edges that are set and golden brown, while the center still looks a bit soft and slightly undercooked.
Expand Your Baking Repertoire: Try These Delicious Cookie Recipes Next!
- Classic Thumbprint Hershey Kiss Cookies
- Chocolate Chip and Marshmallow Cookies
- Small Batch Peanut Butter Cookies
- Peanut Butter Oatmeal M&M Cookies
If you’ve had the pleasure of making this delightful recipe, **please make sure to leave a ⭐️ rating and a thoughtful review below**! Your feedback is invaluable and helps others discover these wonderful cookies. I absolutely adore seeing your culinary creations, so don’t hesitate to tag me on Instagram @alpineella so I can admire what you’ve baked! You can also connect with me and follow along on Pinterest, Facebook, and TikTok for more delicious inspiration and baking adventures!
Full Recipe Details

Oreo Chocolate Chip Cookies
Ella Gilbert
Pin Recipe
Save RecipeSaved!
Ingredients
- 1 ½ sticks unsalted butter
- 2 ½ cups all-purpose flour
- ¾ teaspoon baking powder
- ½ teaspoon baking soda
- 1 cup light brown sugar
- ½ cup granulated sugar
- 1 egg room temperature
- 1 egg yolk room temperature
- 2 teaspoon vanilla extract
- 1 ½ teaspoon kosher salt
- 1 cup dark chocolate chips
- 12 Oreos
Instructions
-
Preheat your oven to 350°F/175°C and line 3 baking trays with parchment paper
-
Whisk together your flour, baking soda and baking powder in a medium bowl. Set aside. In a food processor or in a ziplock bag with a rolling pin, crush your Oreos. You want a mixture of Oreo crumbs and bigger chunks of Oreo cookies.2 ½ cups all-purpose flour, ¾ teaspoon baking powder, ½ teaspoon baking soda, 12 Oreos
-
In a small saucepan over medium-low heat, melt the butter. Once melted, increase the heat to medium and let the butter begin to foam. Keep cooking and stirring with a spatula, until the butter begins to brown and gives off a nutty smell (2-3 minutes). Pour into a medium bowl and let cool completely1 ½ sticks unsalted butter
-
Add in the sugars, vanilla and salt to the butter mixture. Whisk to combine.1 cup light brown sugar, ½ cup granulated sugar, 2 teaspoon vanilla extract, 1 ½ teaspoon kosher salt
-
Add in the egg and egg yolk and whisk until smooth and glossy1 egg, 1 egg yolk
-
Pour in the dry ingredients and use a rubber spatula to combine until there are no more streaks of flour.
-
Add in your chocolate chips and Oreo crumbs. Keep a small handful of chocolate chips and some of the bigger Oreo pieces to the side.1 cup dark chocolate chips
-
Scoop out the cookie dough using a 1.5 tablespoon ice cream scooper and place on a lined tray. Chill for at least 30 minutes or up to overnight
-
Bake the cookies 6 at a time for 10-12 minutes. Once out of the oven, gently press on extra chocolate chips and some of the larger Oreo pieces.
Notes
Butter: For an incredibly creamy, richer, and more luxurious bake, I strongly recommend using European-style butter, such as Kerrygold, in all my recipes. Its higher fat content makes a noticeable difference.
Salt: If you don’t have kosher salt on hand, please remember to halve the amount of salt specified in the recipe. As a general rule, 1 teaspoon of kosher salt is equivalent to approximately ½ teaspoon of fine table salt due to granule size and density.
Oreos: Don’t be afraid to get creative with your Oreos! This recipe is incredibly versatile. I’ve successfully tested it with both classic regular Oreos and the more decadent Double Stuffed variety, and both deliver fantastic results. Feel free to use your favorite flavor or any seasonal Oreo varieties for a unique twist.
Storage: To maintain optimal freshness, store your baked cookies in an airtight container at room temperature for up to 1 week. If you’ve opted to freeze unbaked cookie dough balls, they will keep beautifully for up to 2 months. When you’re ready to bake, simply take them straight from the freezer and bake at the same recommended temperature, adding just an extra minute or two to the baking time.
Nutrition Information
