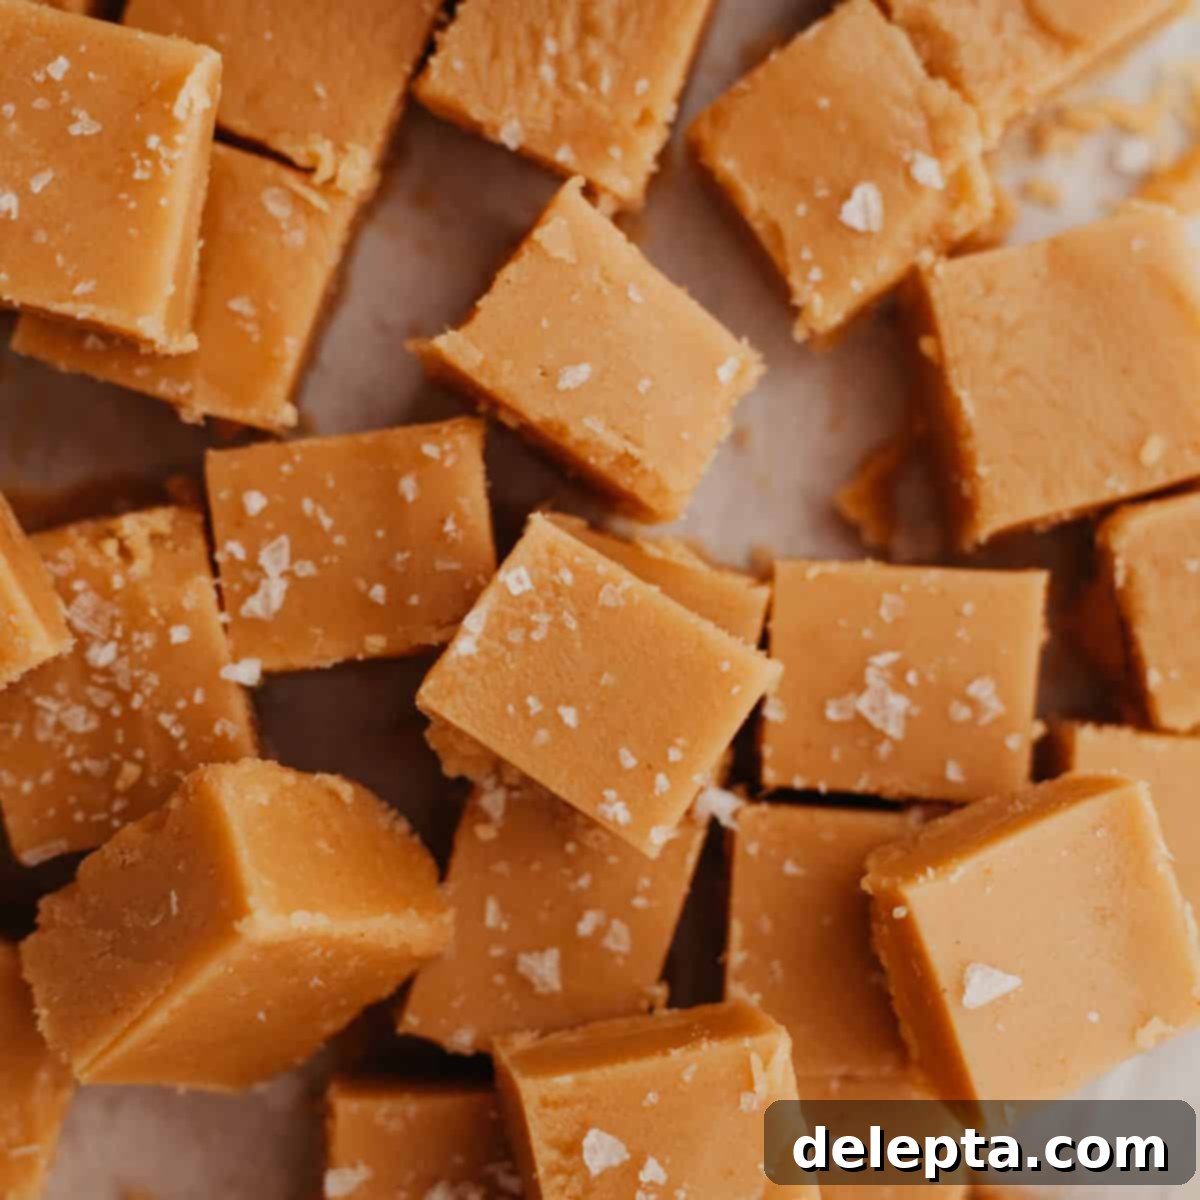
The Easiest No-Bake Peanut Butter Fudge: 5 Ingredients, 10 Minutes, Pure Bliss
Prepare for a delightful treat that requires absolutely no baking and comes together in a flash! This incredible no-bake peanut butter fudge is a dream come true for dessert lovers and busy home cooks alike. Made from just 5 simple ingredients, this rich, creamy, and undeniably smooth fudge eliminates the need for any fancy equipment or a daunting candy thermometer. You can whip up a batch of this irresistible homemade peanut butter fudge in as little as 10 minutes of active prep time, making it the perfect last-minute indulgence or a quick crowd-pleaser for any occasion.
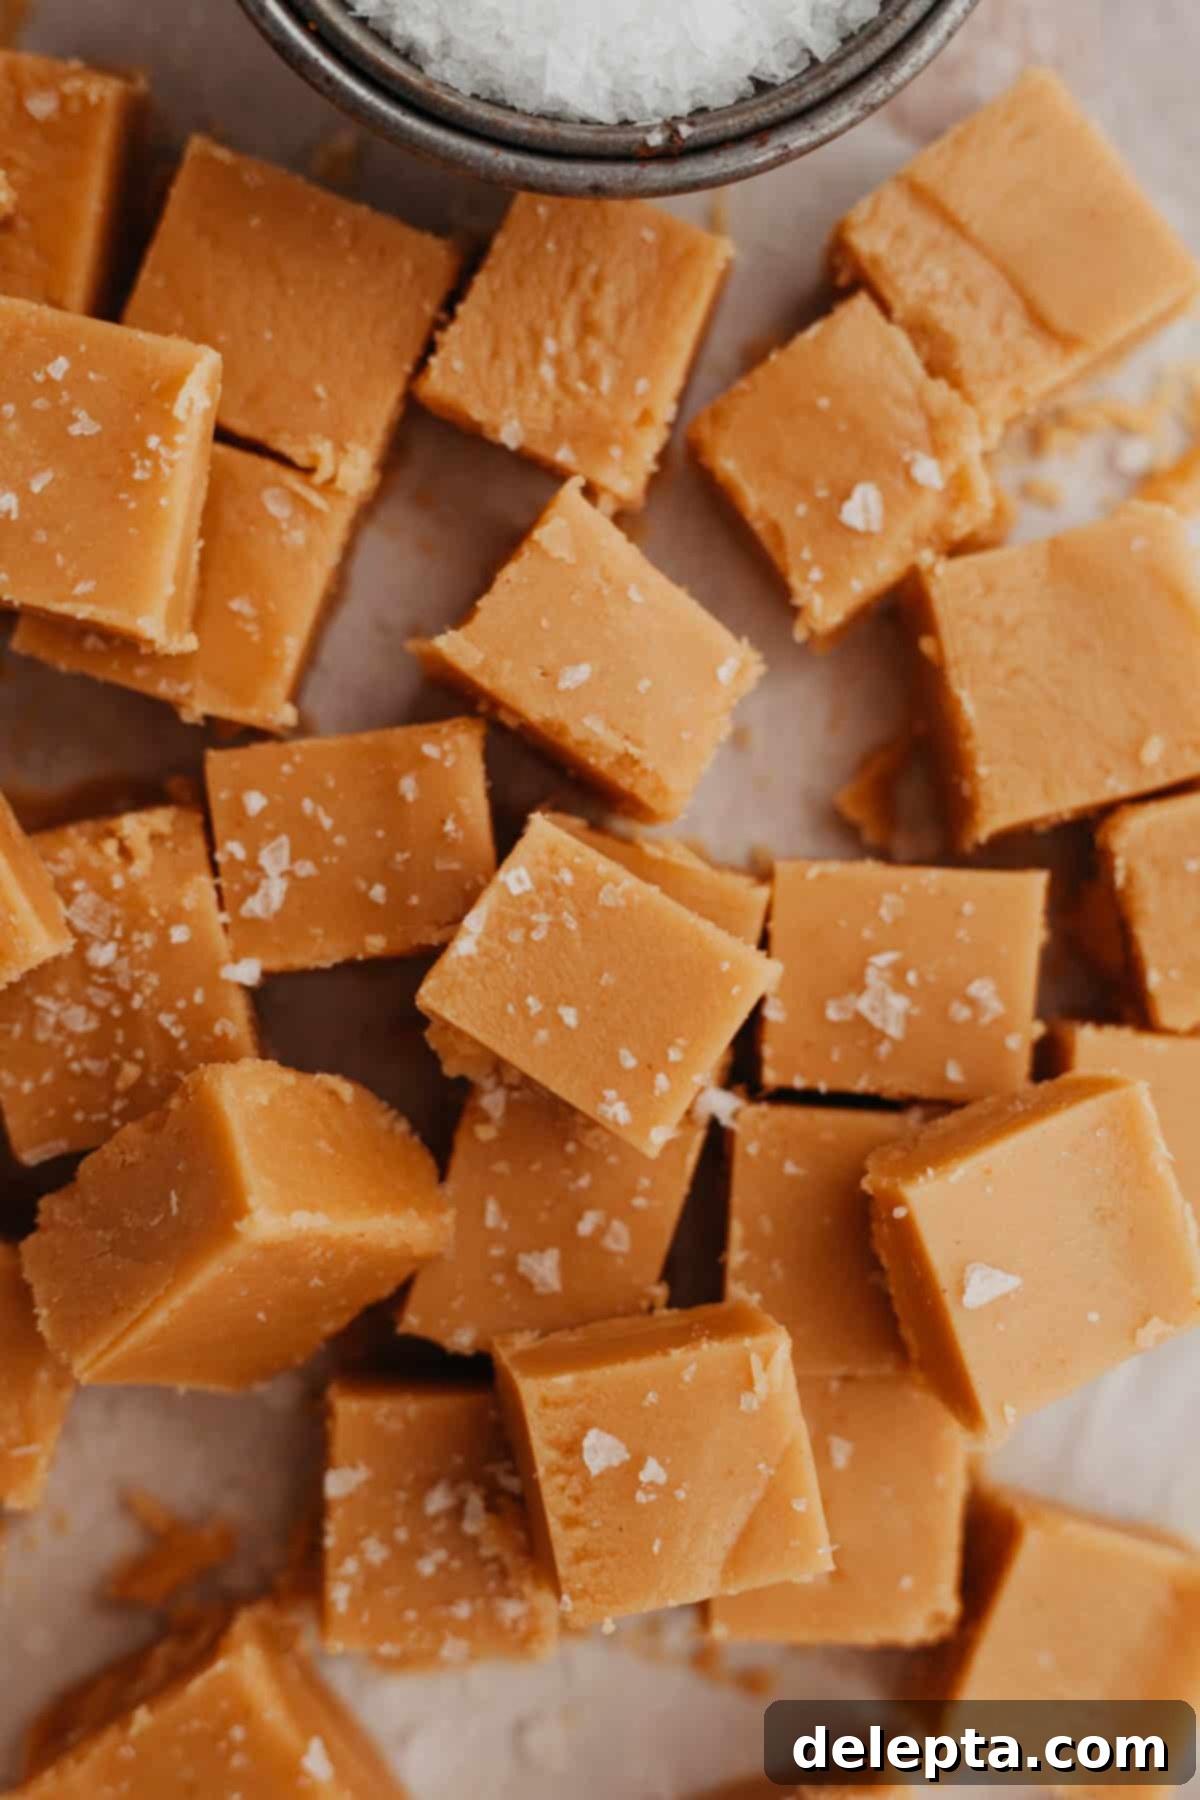
There’s a special kind of satisfaction that comes from creating a truly impressive dessert with minimal effort. This smooth and creamy peanut butter fudge fits that bill perfectly! While it boasts a sophisticated texture and flavor that will have everyone thinking you spent hours in the kitchen, I promise you it’s incredibly easy to make. The best part? No need for a candy thermometer, which often deters many from trying their hand at homemade fudge, or any other specialized equipment. Just a bowl, a microwave, and a few essential ingredients stand between you and a batch of the most delicious, quick peanut butter fudge you’ve ever tasted. It’s ideal for busy weeknights, potlucks, or simply satisfying that sudden sweet craving without the stress.
Craving more delightful peanut butter recipes? Explore some of my other favorites: my decadent Oreo peanut butter pie, the perfectly chewy peanut butter Nutella cookies, the nostalgic chocolate peanut butter rice krispie treats, and the delightful peanut butter marshmallow cookies. These recipes are sure to satisfy any peanut butter enthusiast!
[feast_advanced_jump_to]
Why You’ll Love This Easy Peanut Butter Fudge Recipe
This isn’t just another fudge recipe; it’s a game-changer! From its incredibly straightforward process to its crowd-pleasing taste, here are several reasons why this homemade no-bake peanut butter fudge will quickly become a staple in your dessert repertoire:
- Effortless 5-Ingredient Magic: Forget complex ingredient lists! This recipe truly shines with its simplicity, calling for only five everyday ingredients: creamy peanut butter, unsalted butter, confectioners’ sugar (also known as powdered sugar or icing sugar), a splash of vanilla extract, and a pinch of salt. That’s all you need to create a rich and satisfying peanut butter fudge that tastes like it came from a gourmet candy shop. This minimalist approach ensures that even beginner cooks can achieve perfect results every time.
- Lightning-Fast Preparation: In today’s fast-paced world, time is a precious commodity. This quick peanut butter fudge recipe respects your schedule, requiring a mere 10 minutes of active prep time. The majority of the work involves melting ingredients in the microwave and a quick stir, making it perfect for last-minute cravings, unexpected guests, or when you need a dessert in a hurry.
- No Baking, No Fuss: The “no-bake” aspect is a huge advantage! You won’t need to turn on your oven, monitor temperatures, or deal with any tricky candy-making techniques that traditional fudge often demands. This eliminates common pitfalls associated with boiling sugar, ensuring a perfect batch every time, even for novice bakers. It’s particularly ideal for hot summer days when you don’t want to heat up your kitchen.
- A True One-Bowl Wonder: Minimize cleanup with this fantastic one-bowl recipe. All the mixing happens in a single microwave-safe bowl, cutting down significantly on dirty dishes and making the whole process even more appealing. Less time cleaning means more time enjoying your delicious fudge!
- Infinitely Customizable: While utterly delicious on its own, this peanut butter fudge serves as a perfect canvas for your creative flair. Add sprinkles for a festive touch, a sprinkle of flaky sea salt for a sophisticated sweet-and-salty contrast (my personal favorite!), chopped nuts like pecans or walnuts for added texture, or even miniature chocolate chips or chopped peanut butter cups for an extra layer of decadence. The possibilities are endless, allowing you to tailor it to any taste or occasion.
- Perfect for Gifting: Homemade fudge makes a wonderful, thoughtful gift for holidays, birthdays, or just because. Package these delightful squares in a decorative tin, a beautiful box, or cellophane bags, and you’ll have a charming, delicious present that everyone will adore and appreciate.
- Kid-Friendly & Fun: Because it’s so simple and involves no hot stovetop cooking, this recipe is fantastic for getting kids involved in the kitchen (with adult supervision for the microwave part!). They’ll love helping to mix the ingredients, smoothing out the top, and of course, taste-testing the delicious results. It’s a fun project that yields sweet rewards.
Ingredient Notes for Perfect No-Bake Peanut Butter Fudge
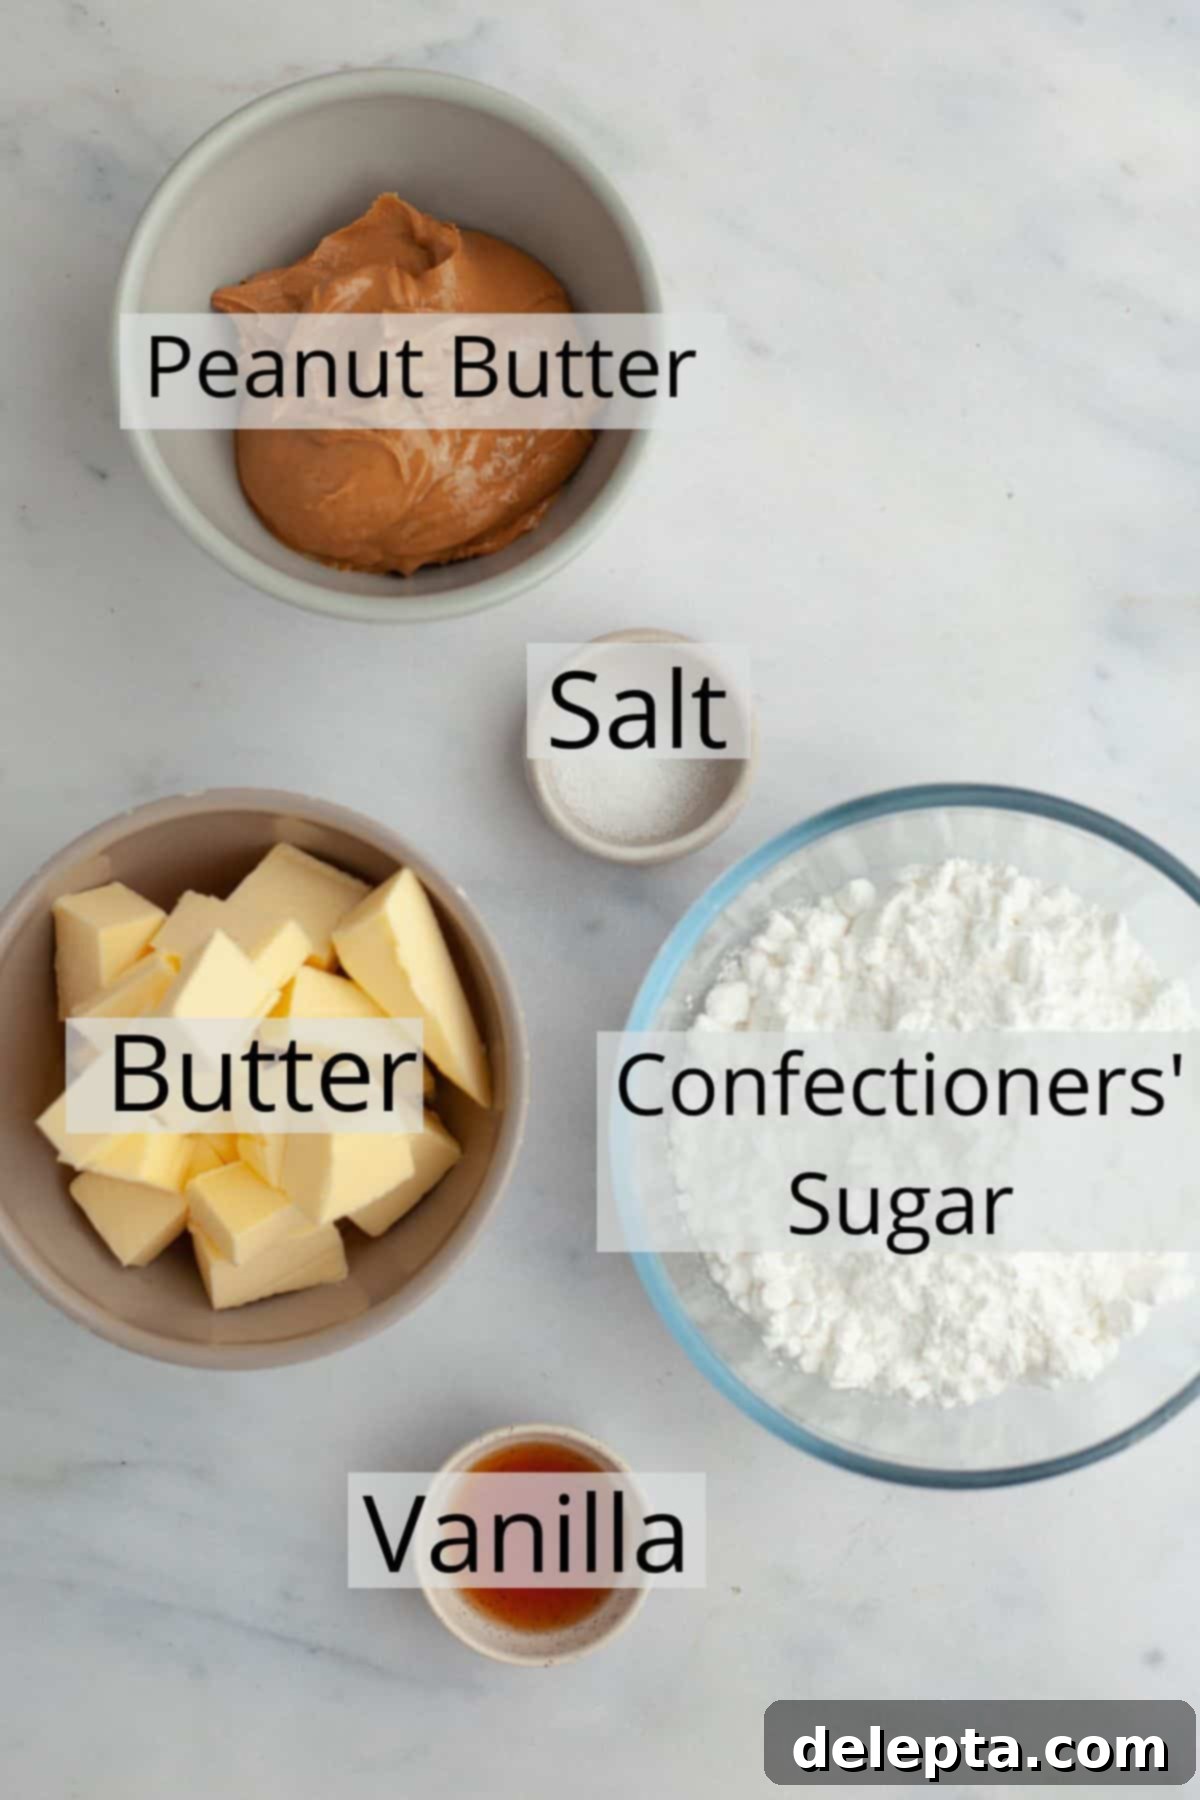
Success in simple recipes often hinges on the quality and type of ingredients you choose. Here’s a closer look at the key components for this irresistible no-bake peanut butter fudge, ensuring you achieve that perfectly creamy texture and rich flavor:
Peanut Butter: For this specific no-bake fudge recipe, it is crucial to use a creamy, commercial-brand peanut butter (like Jif or Skippy). These brands are typically stabilized, meaning their oils don’t separate, and they have a consistent, smooth texture that is essential for the fudge to set correctly. I have exclusively tested this recipe with this type of peanut butter. Natural peanut butter, which often separates with a layer of oil on top and can have a grittier texture, might yield different, less desirable results and is not recommended. The stability and consistency of commercial peanut butter are key to achieving that perfectly smooth and firm fudge.
Confectioners’ Sugar: This ingredient is also widely known as icing sugar or powdered sugar. Its incredibly fine texture is absolutely essential for creating smooth, lump-free fudge. Granulated sugar will not work here as it will result in a grainy texture. I highly recommend sifting the confectioners’ sugar before incorporating it into your mixture. This simple step breaks up any clumps that may have formed in the bag due to moisture, ensuring your fudge has a perfectly silky and uniform texture without any undesirable grainy bits. Don’t skip this step for the best creamy fudge!
Vanilla Extract: Given that this easy peanut butter fudge recipe relies on a minimal number of ingredients, each one plays a significant role in the overall flavor profile. Therefore, investing in a high-quality pure vanilla extract will make a noticeable difference in the taste of your fudge. Artificial vanilla extract can often leave a less pleasant aftertaste, whereas a good pure vanilla extract enhances the sweetness and depth of the peanut butter, elevating the flavor from simply good to absolutely phenomenal and truly homemade.
Unsalted Butter: My preference for baking, and especially for this rich fudge, is European-style unsalted butter. European butter typically has a higher butterfat content (around 82% compared to American butter’s 80%), which contributes to a noticeably creamier, richer, and more luxurious texture in the final product. The higher fat content also helps in achieving that melt-in-your-mouth consistency. If you can’t find European butter, regular unsalted butter will certainly work, but you might notice a slight difference in the richness and overall mouthfeel. Always ensure your butter is fresh for the best flavor.
Salt: A touch of salt is a non-negotiable ingredient in nearly any sweet dessert recipe. It doesn’t make the fudge salty, but rather acts as a crucial flavor enhancer, perfectly balancing the intense sweetness of the confectioners’ sugar and bringing out the deep, nutty notes of the peanut butter. I initially incorporate a small amount of kosher salt into the mixture itself. For an extra gourmet touch and a delightful sweet-and-savory contrast, I also love to sprinkle a pinch of flaky sea salt (like Maldon) over the top of the finished fudge just before it sets. This provides a subtle crunch and a burst of savory flavor that complements the sweetness beautifully and elevates the entire experience.
Step-by-Step Instructions for Easy No-Bake Peanut Butter Fudge
Creating this delicious, creamy peanut butter fudge is incredibly straightforward and takes just a few minutes of hands-on time. Follow these simple, detailed steps for a perfect batch every time!
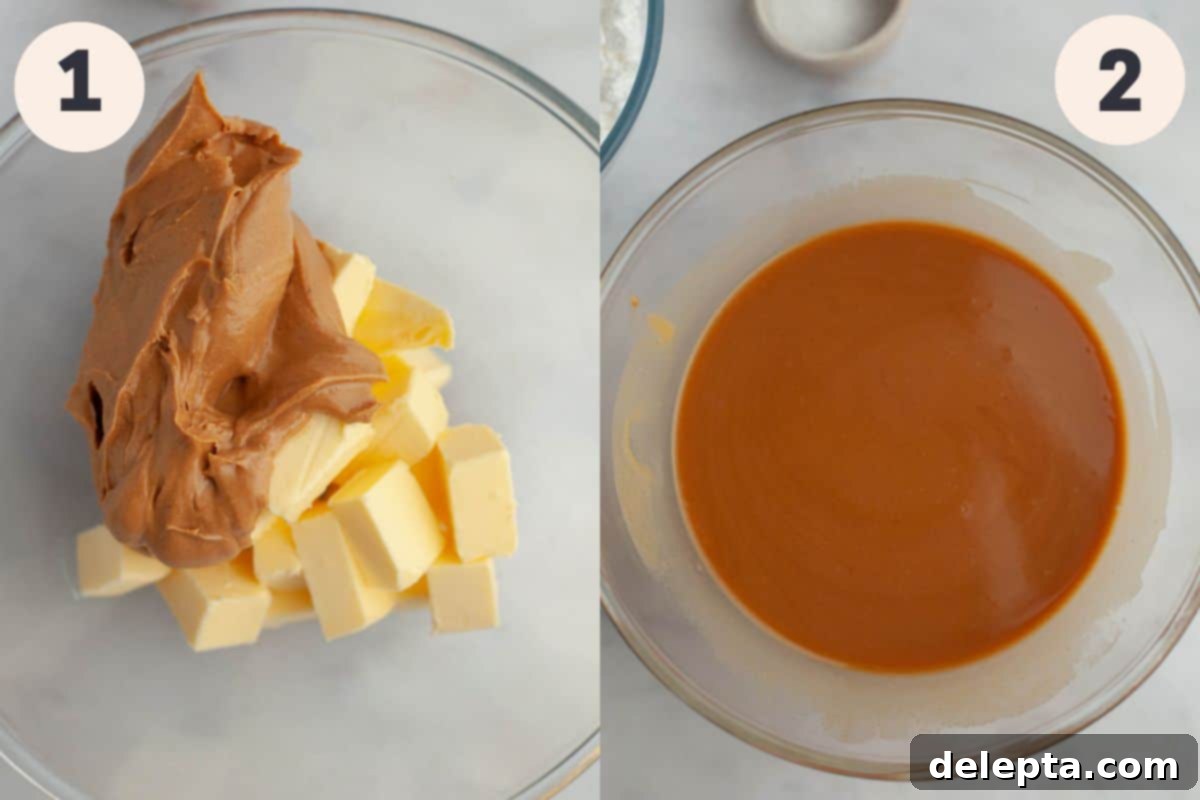
Step 1: Prepare Your Pan and Melt the Fats. Begin by lining an 8×8 inch baking pan with parchment paper. It’s a smart move to leave a generous overhang on the sides – these will act as convenient “handles,” making it incredibly easy to lift the entire block of set fudge out of the pan later for neat, clean slicing. Next, grab a large, microwave-safe bowl. Add your chosen creamy peanut butter and the cubed unsalted butter to this bowl. Cubing the butter beforehand is a small but effective trick that helps it melt more quickly and evenly, ensuring a smoother initial mixture without any stubborn chunks.
Step 2: Gently Melt and Combine. Place the bowl containing the peanut butter and butter into your microwave. Heat the mixture in short, controlled 30-second increments. After each increment, remove the bowl from the microwave and stir thoroughly with a sturdy rubber spatula. This intermittent heating and stirring is crucial; it prevents the mixture from overheating, scorching, or separating, which can happen if heated continuously. Continue this process until both the butter and peanut butter are fully melted and beautifully combined into a glossy, perfectly homogeneous liquid. This usually takes a total of 2-3 minutes, depending on your microwave’s power.
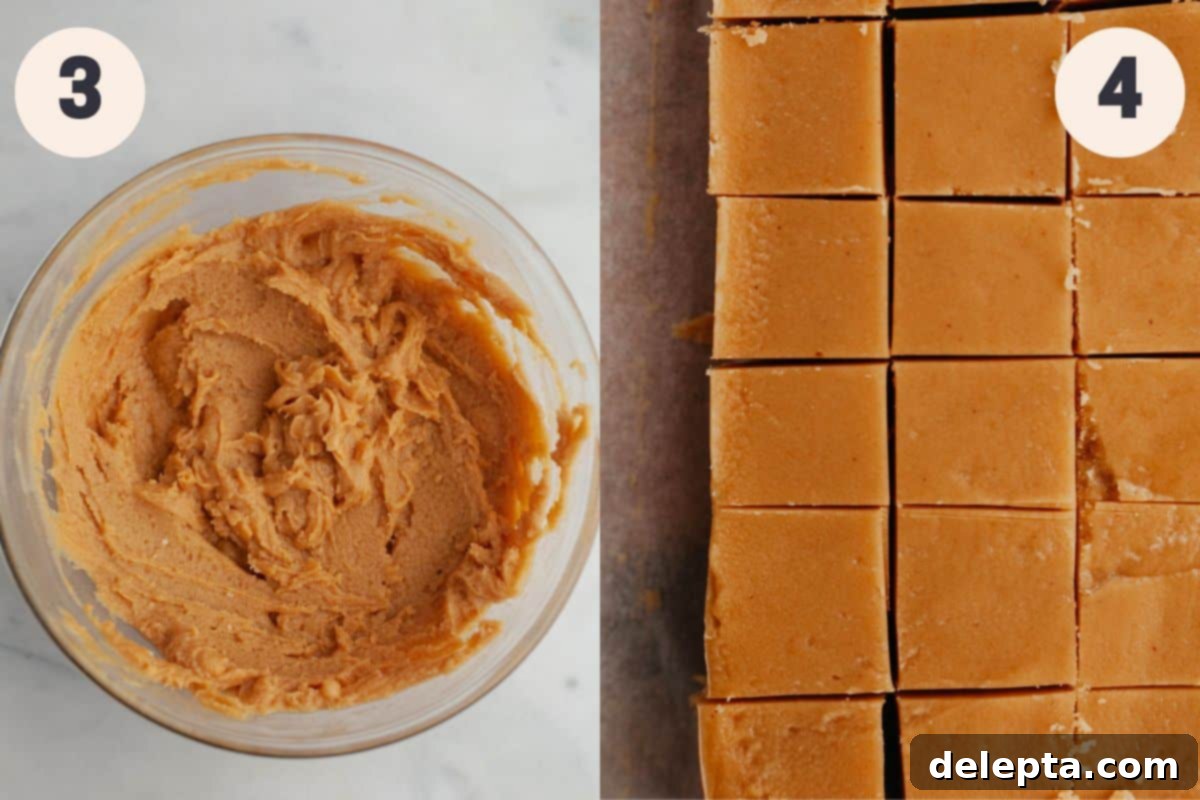
Step 3: Introduce Dry Ingredients and Mix. Once your peanut butter and butter mixture is smoothly melted and combined, remove the bowl from the microwave. It’s now time to incorporate the dry ingredients. Add the sifted confectioners’ sugar (remember to sift it for lump-free results!), the high-quality vanilla extract, and the kosher salt. Using your sturdy rubber spatula, mix everything together with vigorous stirring. At first, the mixture might appear crumbly or dry, but don’t be discouraged! As you continue to stir, the ingredients will quickly combine and transform into a very thick, pliable, and almost cookie dough-like consistency. Continue mixing until it is completely smooth and all the dry ingredients are fully incorporated, with absolutely no lumps of sugar remaining. This step requires a bit of arm strength, but it’s crucial for achieving the perfect creamy texture in your final fudge.
Step 4: Press, Chill, and Slice. Carefully pour or spoon the thick, rich fudge mixture into your prepared 8×8 inch pan. The mixture will be quite dense, so use the back of your rubber spatula or a small offset spatula to firmly press the fudge down into an even layer, ensuring it fills all the corners of the pan. Take your time to smooth out the top surface as much as possible – a perfectly smooth top will give your finished fudge a professional and appealing appearance. Once smoothed, place the pan into the refrigerator and chill for at least 3 hours, or until the fudge is completely firm and set. Do not rush this chilling process, as it’s essential for the fudge to firm up. Once properly chilled and firm, use the parchment paper overhangs to gently lift the entire block of fudge out of the pan. Place it on a cutting board and slice it into desired squares (64 small 1-inch squares is a common yield and makes for bite-sized delights, but larger pieces are also wonderful for a more substantial treat!).
Expert Tips and Tricks for the Best No-Bake Peanut Butter Fudge
Even though this is an incredibly simple recipe, a few insider tips and tricks can elevate your no-bake peanut butter fudge from great to absolutely phenomenal, ensuring every batch is a resounding success:
- Precision with a Weighing Scale: While cup measurements are provided for convenience, I always advocate for using a digital kitchen scale, especially when baking or making confections. Measuring ingredients, particularly confectioners’ sugar and butter, by weight (metric grams are often most accurate) ensures far greater precision and consistency in your results. This precision can make a huge difference in the final texture and consistency of your fudge, leading to a perfectly balanced and smooth treat every time.
- Creative Topping Ideas: Don’t limit yourself to just plain fudge – let your creativity shine! As mentioned, I love adding flaky sea salt for a perfect sweet and savory contrast that truly enhances the flavor. But feel free to get creative and experiment with various additions. Consider folding into the mixture or sprinkling on top:
- Colorful sprinkles for birthdays, holidays, or any festive occasion.
- Finely chopped nuts (peanuts, pecans, walnuts, or even cashews) for added crunch and nutty depth.
- Miniature chocolate chips (milk, dark, or white) or chopped dark chocolate for a delicious flavor combination.
- Crushed pretzels or even potato chips for an extra salty-crunchy kick that’s unexpectedly delightful.
- Chopped peanut butter cups for the ultimate peanut butter indulgence.
- A delicate drizzle of melted chocolate or white chocolate once the fudge has set for an elegant finish.
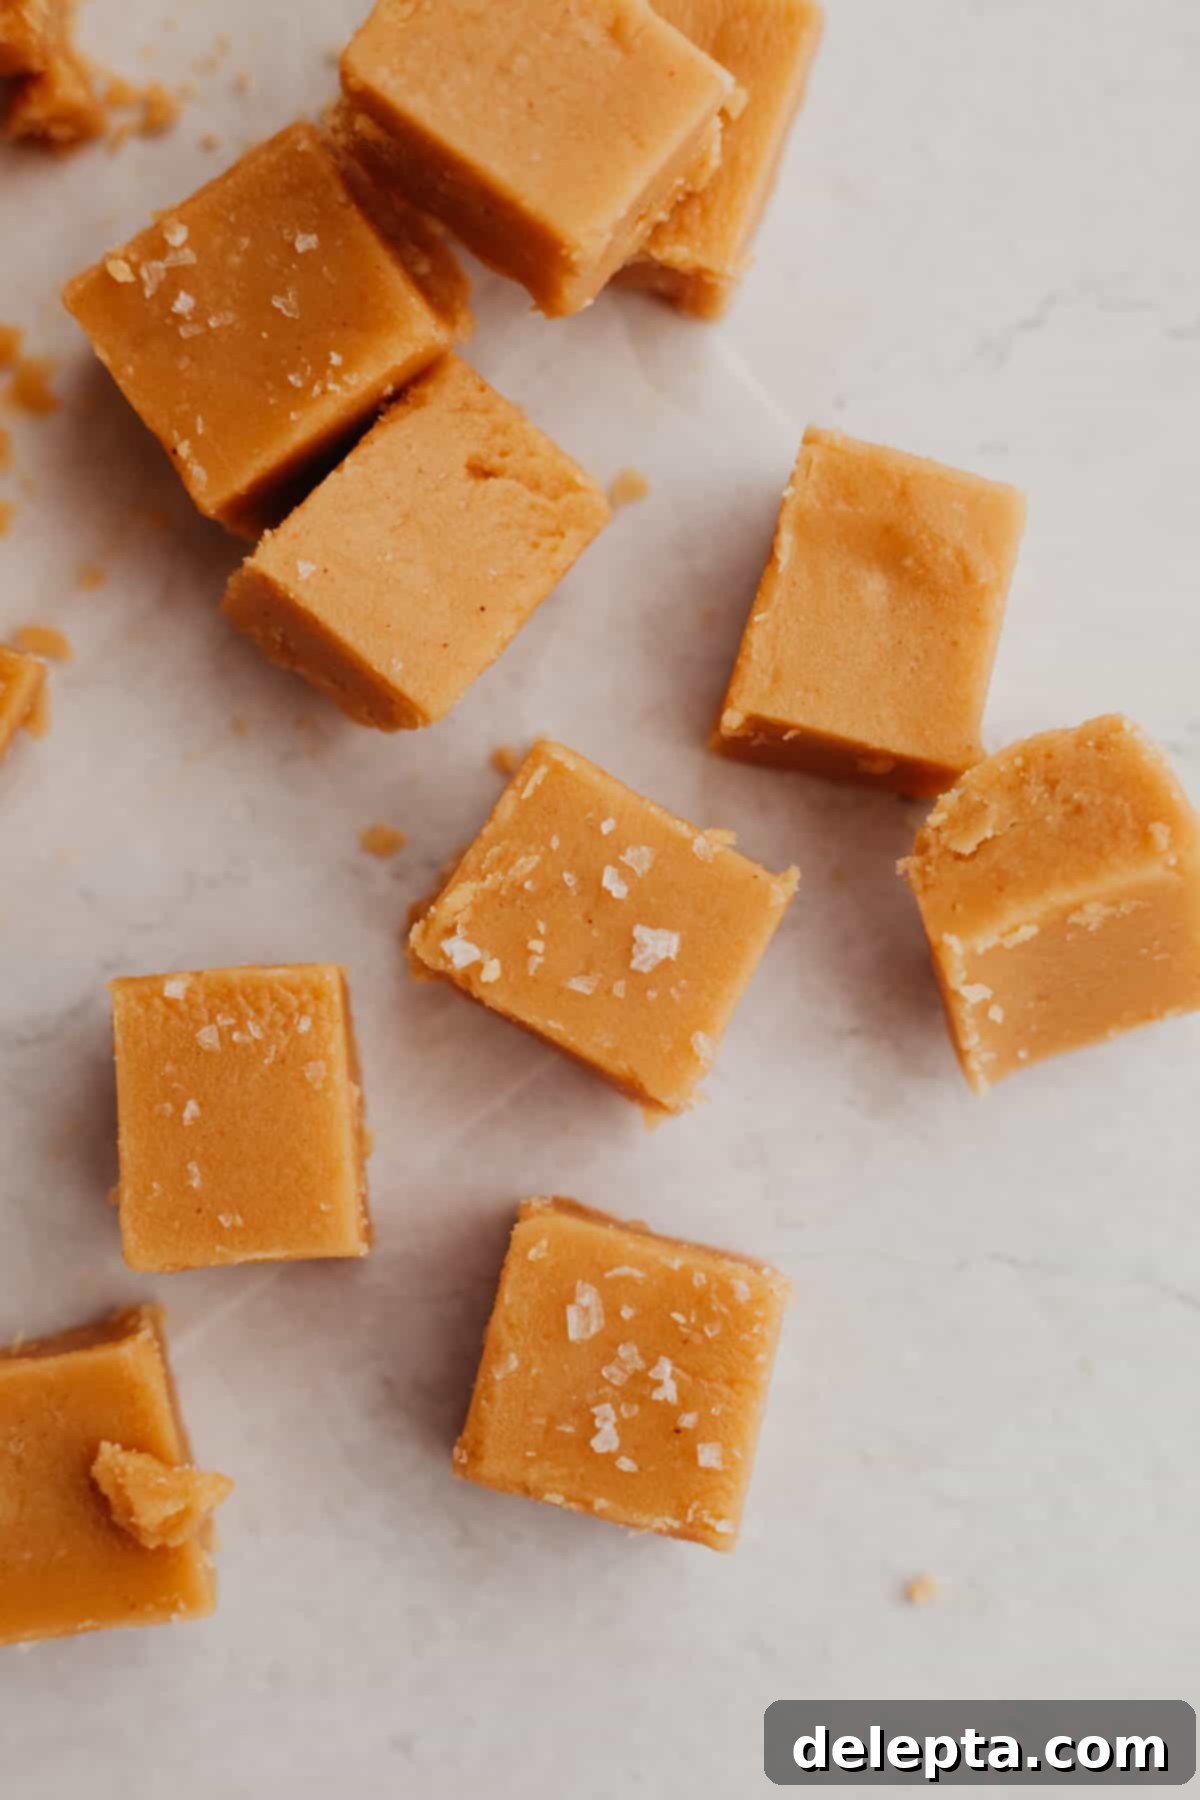
- Achieving a Perfectly Smooth Top: For that professional, bakery-quality finish, pay careful attention to smoothing the top of your fudge. After pouring the mixture into the prepared pan, use a small offset spatula or the back of a rubber spatula. Gently and slowly work the spatula across the entire surface, pressing lightly and evenly to eliminate any ripples, bumps, or cracks until you achieve a perfectly even and smooth top. This is best done before you place the pan in the refrigerator.
- Proper Pan Lining for Easy Removal: The parchment paper isn’t just for preventing sticking; it’s key for effortless removal and achieving clean, defined edges on your fudge squares. Make sure the parchment paper extends beyond the edges of the pan, creating easily graspable “handles” that allow you to lift the entire slab of fudge out effortlessly once it’s firm and ready for slicing.
- Chill Time is Crucial: Patience is a virtue, especially with no-bake desserts! Do not rush the chilling process. Allow the fudge to chill for the full recommended 3 hours (or even longer, up to 4-6 hours or overnight for ultimate firmness) in the coldest part of your refrigerator. This extended chilling ensures it completely sets and firms up properly, making it easy to slice into clean, non-sticky squares that hold their shape beautifully. A well-chilled fudge is a perfectly sliced fudge.
- Temperature of Ingredients: For optimal mixing and melting, ensure your unsalted butter is at a soft room temperature before you cube and combine it with the peanut butter. While the peanut butter can be used straight from the jar, having the butter slightly softened helps everything melt together more quickly and smoothly in the microwave, preventing any separation and ensuring a homogeneous base for your fudge.
Frequently Asked Questions About No-Bake Peanut Butter Fudge
Once your delicious no-bake peanut butter fudge has fully set and been cut into squares, transfer it to an airtight container. You can store it in the refrigerator for up to 1 week, where it will maintain its firm texture and fresh taste. For longer storage, this fudge freezes beautifully! Simply place the cut squares in a single layer on a parchment-lined baking sheet and freeze until solid. Then, transfer them to a freezer-safe, airtight container or bag, separating layers with parchment paper to prevent sticking. It can be frozen for up to 2 months. When you’re ready to enjoy it, simply let the fudge defrost at room temperature for about 15-30 minutes before serving.
Absolutely! This recipe for easy peanut butter fudge is incredibly simple to scale up. To double the batch, simply double all the ingredient quantities listed precisely. Instead of an 8×8 inch pan, you will need a larger 9×13 inch baking pan to accommodate the increased volume of fudge. The active prep time will remain largely the same, though a larger block of fudge might require slightly longer chilling time in the refrigerator to set completely and achieve the desired firmness.
While aluminum foil might seem like a convenient substitute, I strongly recommend using parchment paper over aluminum foil for lining your baking pan when making this fudge. I have tested this recipe with both options, and foil tends to stick slightly to the fudge and can create slight indents and an uneven, less appealing texture on the bottom and sides of the fudge, preventing that desired perfectly smooth finish. Parchment paper, on the other hand, allows for effortless removal and results in beautifully smooth, clean-cut fudge squares.
There are a few common reasons why your fudge might not be setting correctly. The most frequent cause is an incorrect ratio of ingredients, particularly if the confectioners’ sugar was not measured accurately, or if natural peanut butter (which has different oil content and consistency) was used instead of commercial creamy peanut butter. Ensure you’re using the specified type of peanut butter and that your confectioners’ sugar is sifted and measured precisely, ideally by weight. Additionally, insufficient chilling time can prevent it from firming up. Make sure it chills for the full recommended 3 hours, or even longer (up to 4-6 hours or overnight), in the coldest part of your refrigerator.
Fudge can become crumbly or dry if there’s too much confectioners’ sugar, or if the mixture was over-mixed once the sugar was added, causing it to dry out prematurely. It could also happen if the butter and peanut butter mixture wasn’t melted completely smooth before adding the dry ingredients, leading to uneven absorption. Ensure your measurements are accurate, especially for the sugar. When mixing in the confectioners’ sugar, stir just until smooth and combined – avoid overworking the mixture, as this can affect its final texture.
While this recipe specifically calls for creamy commercial peanut butter for the ideal smooth texture, you could experiment with crunchy peanut butter if you specifically enjoy the added nut pieces and don’t mind a different textural experience. However, be aware that the final fudge will have a more textured, less uniformly smooth consistency. For other nut butters like almond butter or cashew butter, the results may vary significantly due to differences in their fat content, oil separation, and overall consistency. I highly recommend sticking to creamy, commercial peanut butter for your first attempt to ensure the best and most reliable results.
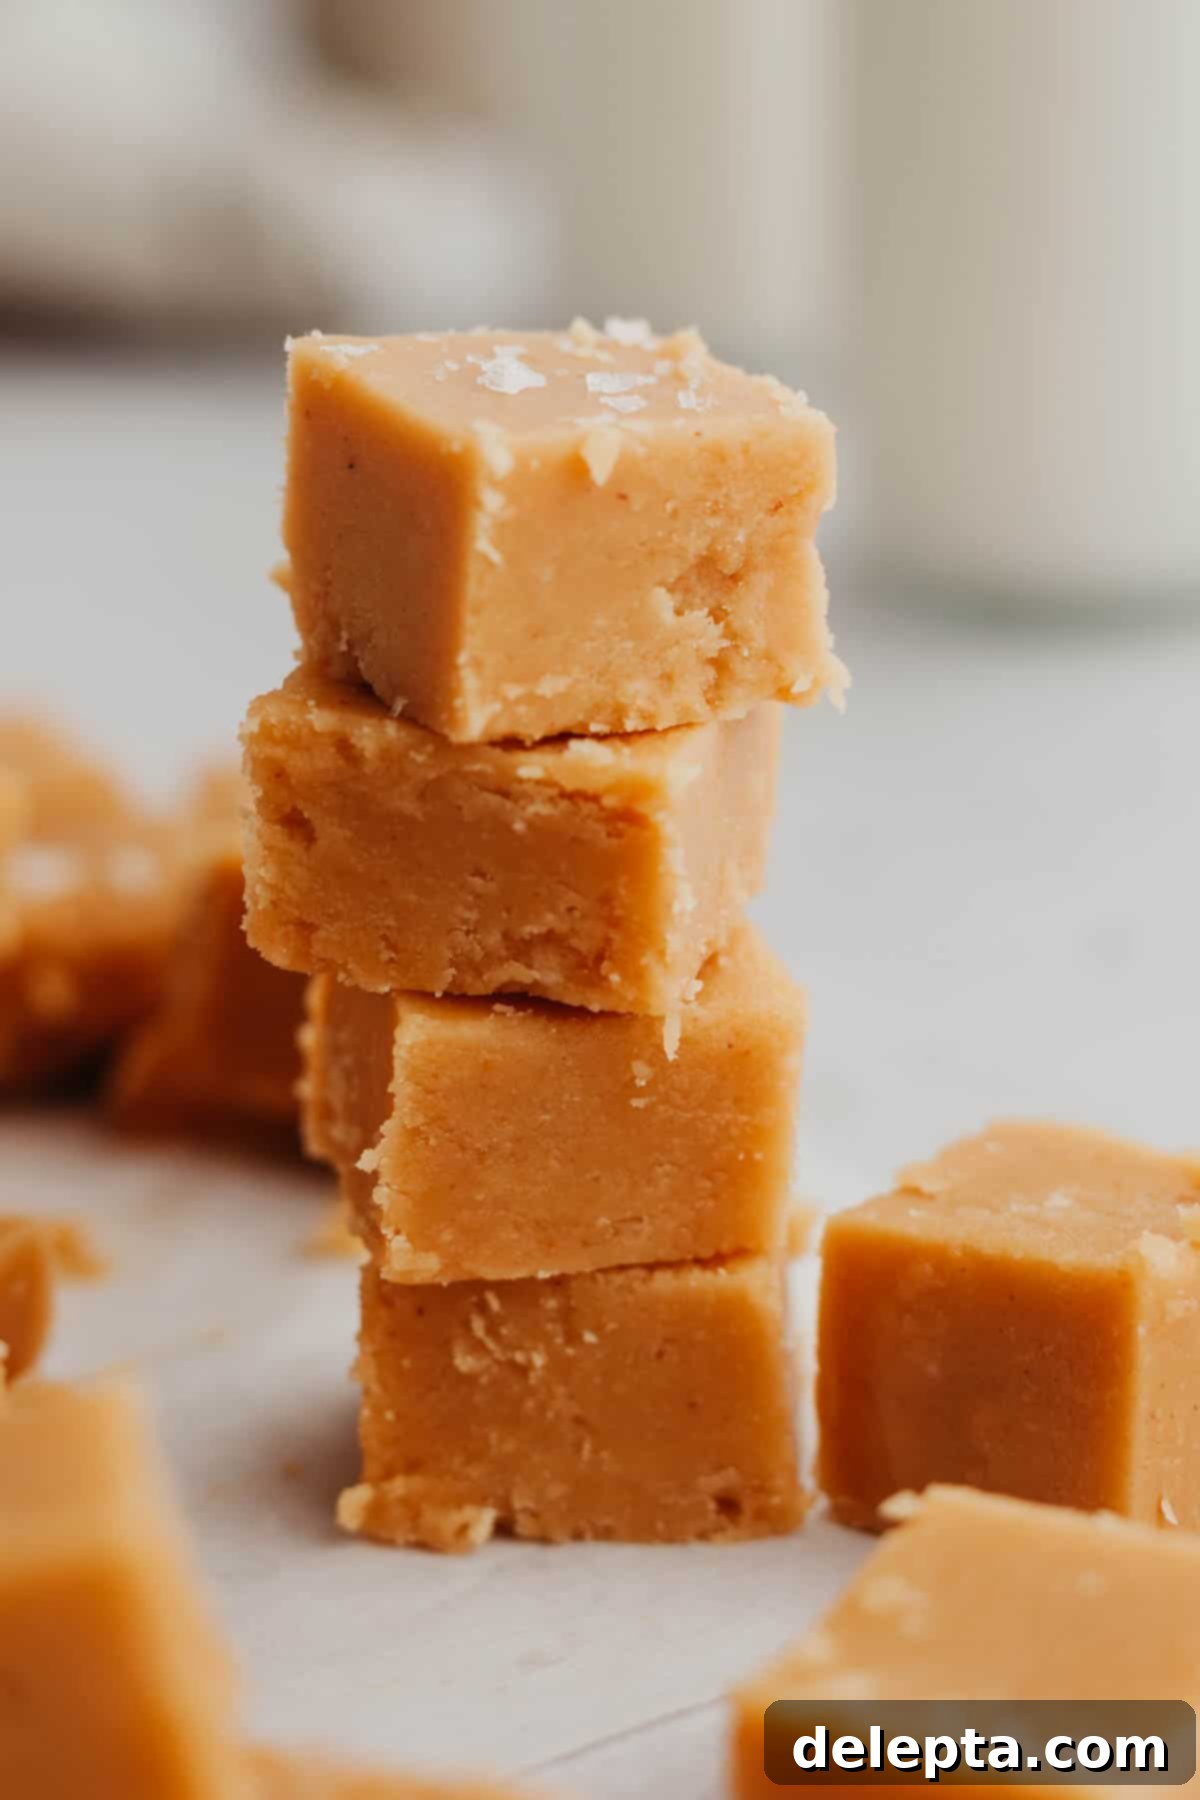
Try These Other Irresistible No-Bake and Easy Desserts Next!
If you loved the simplicity and deliciousness of this easy no-bake peanut butter fudge, you’re in for a treat! I have many more simple dessert recipes that are perfect for satisfying your sweet tooth without requiring hours in the kitchen or complex techniques. Explore some of my other favorites that are equally delightful and straightforward:
- Seven Layer Magic Cookie Bars with Pretzels
- No Bake Cookie Dough Bites with Chocolate Chips
- Chocolate Sprinkle Donuts
- Easy Strawberry Shortcake Crumble
Have you made this recipe? Please rate the recipe below! Don’t forget to follow me on Instagram @alpineella and Pinterest!
Recipe
No Bake Peanut Butter Fudge
Ella Gilbert
Pin Recipe
Save RecipeSaved!
Equipment
-
1 8×8 baking pan
Ingredients
- 1 cup creamy commercial peanut butter
- 1 cup unsalted butter cubed, preferably European style
- 3 teaspoons pure vanilla extract
- 3 cups sifted confectioners’ sugar (powdered sugar / icing sugar)
- ½ teaspoon kosher salt (plus extra flaky sea salt for topping, optional)
Instructions
-
Line an 8×8 inch baking pan with parchment paper, allowing some overhang on the sides for easy lifting.
-
In a large, microwave-safe bowl, combine the creamy peanut butter and cubed unsalted butter. Microwave in 30-second increments, stirring well after each interval, until both are completely melted and the mixture is smooth and combined (this usually takes 2-3 minutes total, depending on microwave power). Remove from the microwave.1 cup creamy commercial peanut butter, 1 cup unsalted butter
-
Add the sifted confectioners’ sugar, pure vanilla extract, and kosher salt to the melted mixture. Using a sturdy rubber spatula, stir vigorously until all ingredients are thoroughly combined and the mixture becomes very thick and smooth, resembling cookie dough. Ensure no lumps of sugar remain.3 teaspoons pure vanilla extract, 3 cups sifted confectioners’ sugar, ½ teaspoon kosher salt
-
Pour the thick fudge into the prepared 8×8 inch pan. Use an offset spatula or the back of your rubber spatula to press the fudge evenly into the pan and smooth the top surface completely. If desired, sprinkle with flaky sea salt or other toppings. Chill in the refrigerator for at least 3 hours, or until fully set and firm. Once firm, use the parchment paper to lift the fudge from the pan and slice into 64 small 1-inch squares (or larger, as preferred).
Notes
Butter: I prefer using European-style unsalted butter (e.g., Kerry Gold) due to its higher fat content, which yields a creamier and richer fudge. Regular unsalted butter works too!
Salt: If substituting kosher salt with fine table salt, use half the amount specified (e.g., ½ teaspoon kosher salt = ¼ teaspoon fine salt).
Peanut Butter: Use a creamy, commercial-brand peanut butter (like Jif or Skippy) for consistent results. Natural peanut butter with oil separation is not recommended for this recipe as it can affect the texture and setting.
Storage: Store the fudge in an airtight container in the fridge for up to 1 week. For longer preservation, freeze for up to 3 months and allow to defrost at room temperature before serving.
Nutrition
