Delicious & Easy Marble Loaf Cake with Rich Chocolate Ganache
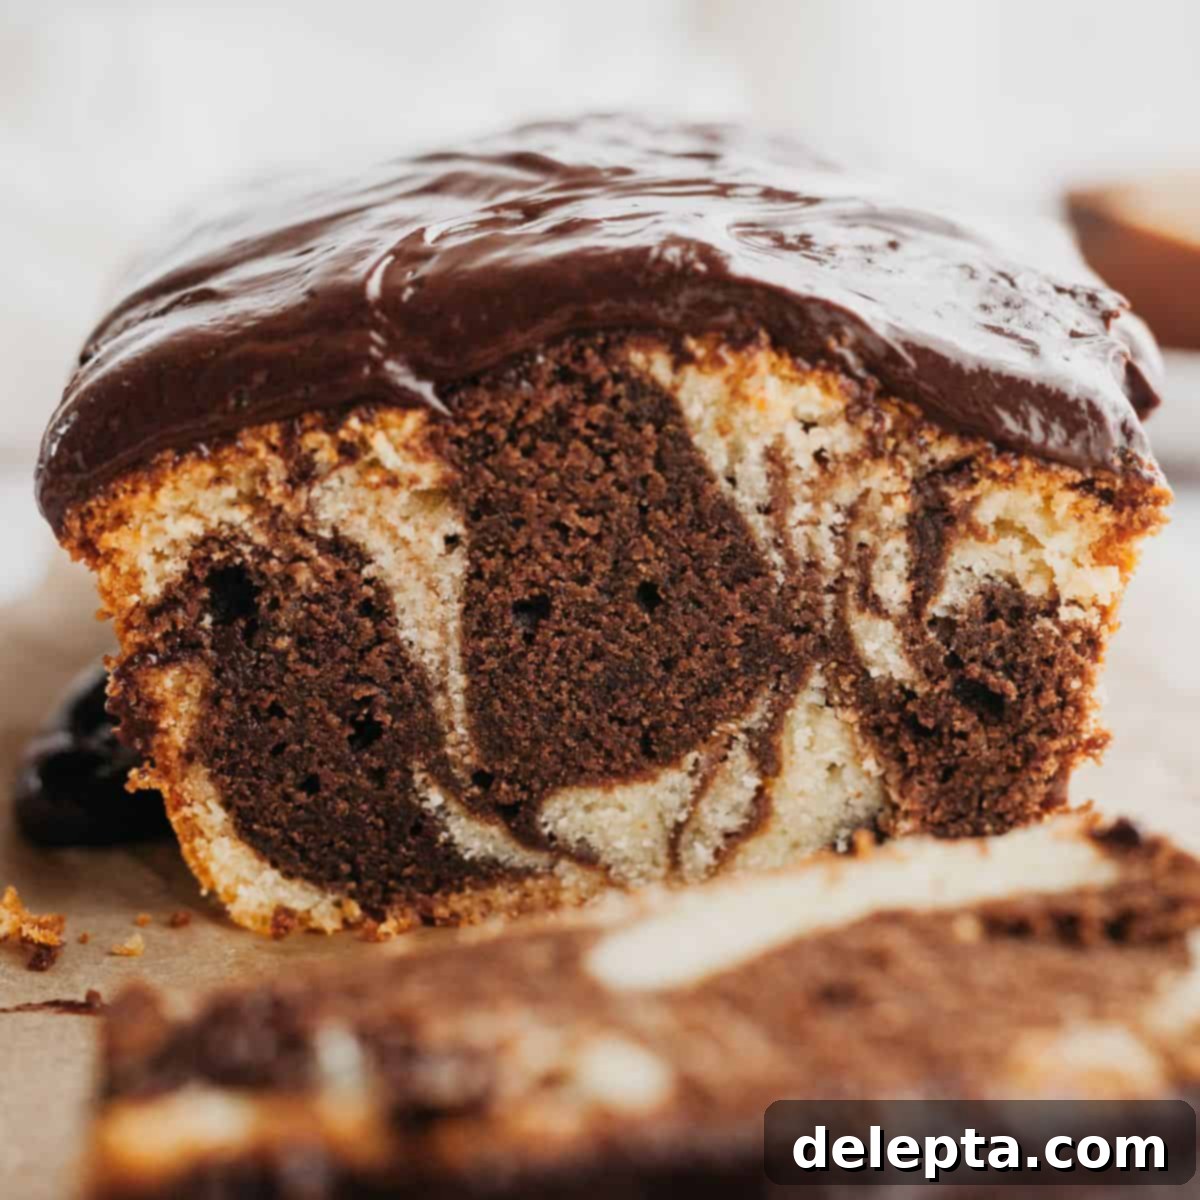
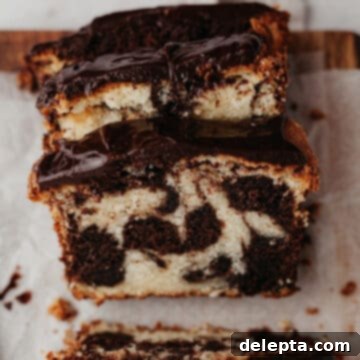
Indulge in the delightful swirls of vanilla and chocolate with this incredibly moist and soft marble loaf cake. Perfect for any occasion, from a comforting breakfast treat to an elegant dessert, this pound cake offers a harmonious blend of flavors and a beautiful visual appeal that makes every slice a masterpiece. With just 20 minutes of active preparation, you can achieve a truly stunning and delicious result, crowned with a dreamy, luscious chocolate ganache that takes it to another level of perfection. This recipe is designed to be accessible for bakers of all skill levels, ensuring a rewarding and delicious baking experience.
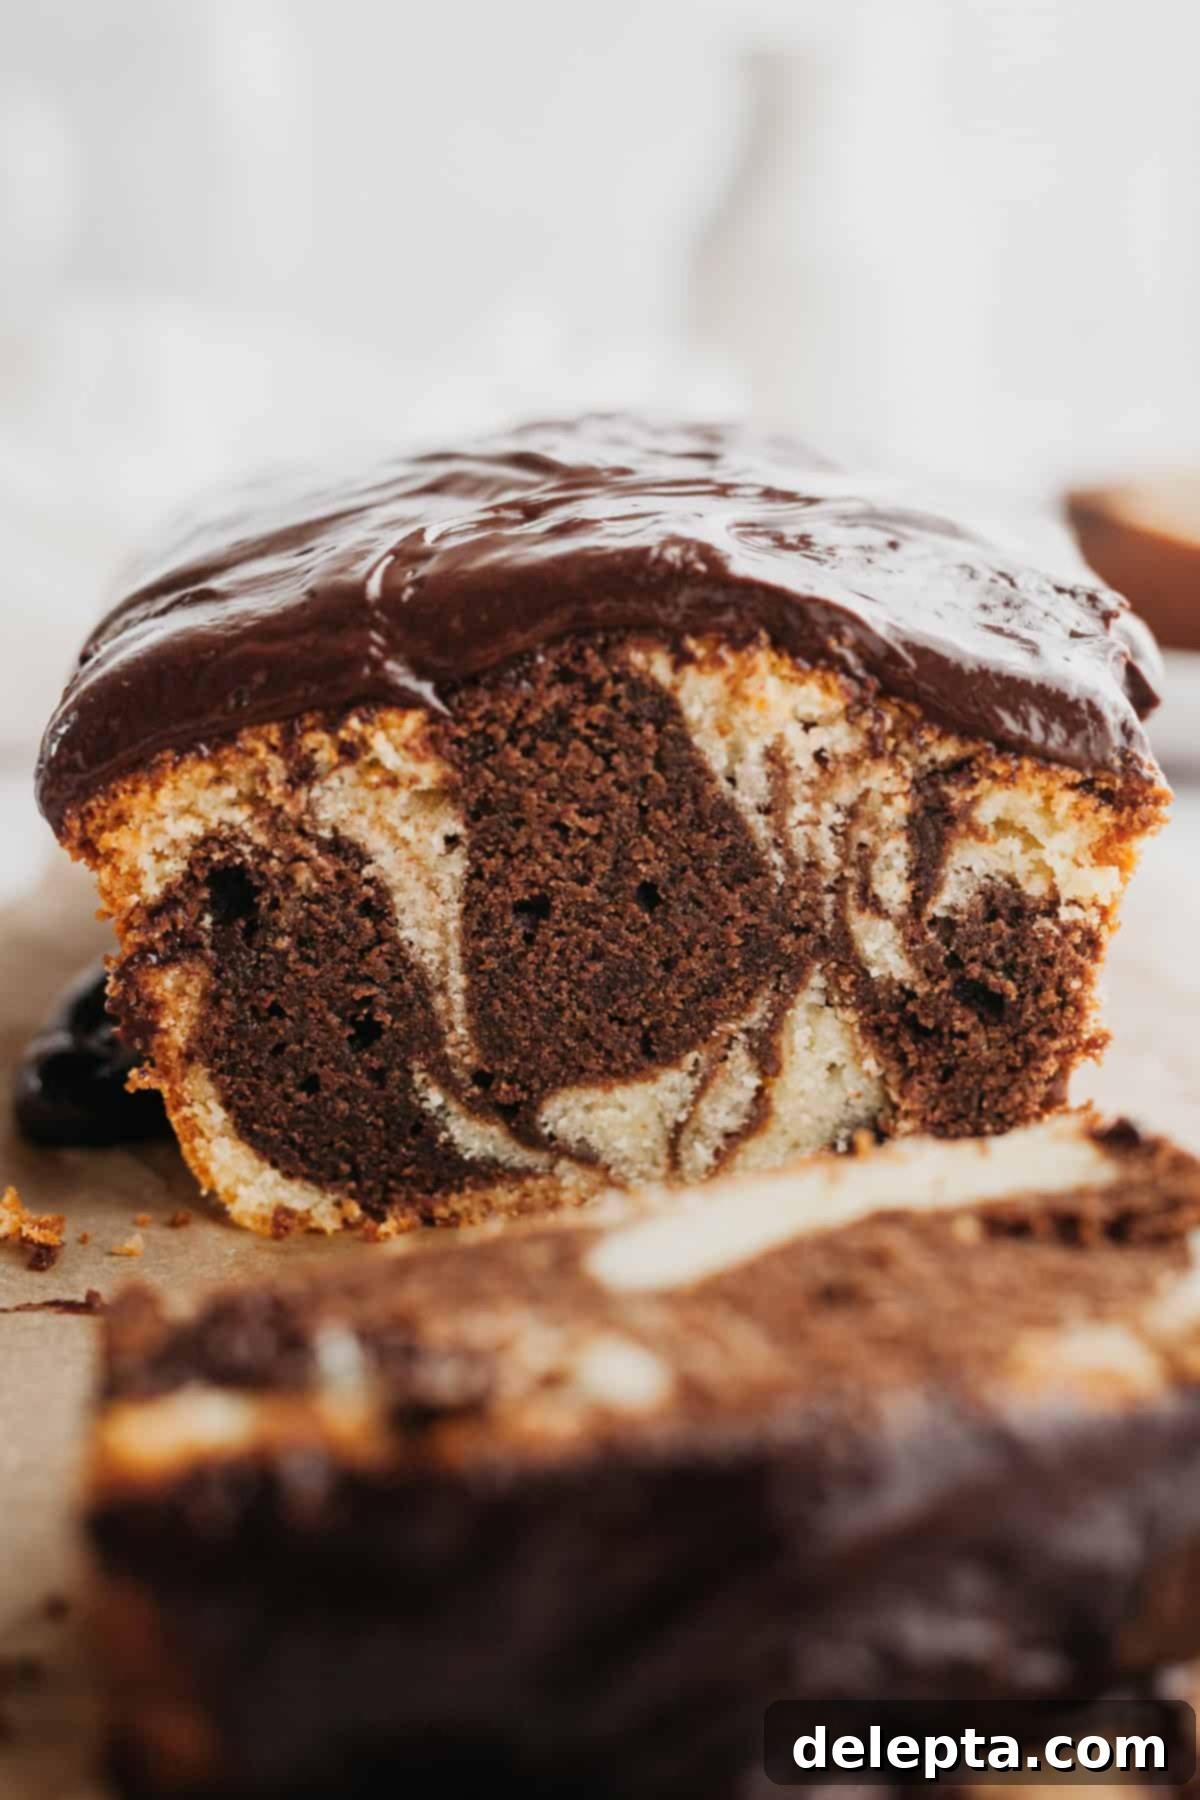
This beloved recipe for Marble Loaf Cake was originally shared in June 2021 and has since been thoughtfully updated with new images and enhanced details to ensure your baking experience is as perfect as possible. We’ve refined the instructions and tips to guide you toward baking success with even greater clarity.
Loaf cakes hold a special place in my heart, and they are always an absolute sensation in my household! Their versatility and comforting nature make them a go-to choice for any day of the week. Whether it’s the vibrant burst of fruit in a white chocolate and raspberry loaf cake or the decadent richness of this marbled masterpiece, they consistently prove to be quick to prepare and require only the most basic kitchen equipment. Beyond their ease, there’s a unique charm in the intricate swirling of the chocolate and vanilla batters; it means that each and every slice you cut reveals a distinct and captivating pattern, making it a joy to behold as much as it is to eat. The artistic swirl of flavors not only delights the palate but also adds an element of visual excitement, turning a simple cake into a culinary spectacle.
The secret to this cake’s unparalleled softness and luxurious moisture lies in the clever incorporation of sour cream into the batter. This humble ingredient acts as a game-changer. Opting for full-fat sour cream instead of traditional milk introduces a profound richness and tenderness, transforming the texture into something truly extraordinary and irresistible. The slight acidity of the sour cream also helps to tenderize the gluten in the flour, resulting in an incredibly fine and moist crumb that stays fresh longer. It’s this simple yet powerful ingredient swap that elevates a good cake to an unforgettable one, making every bite a creamy, dreamy experience.
[feast_advanced_jump_to]
Why You’ll Adore This Marble Loaf Cake Recipe!
- Two Flavors, One Effortless Batter: This recipe brilliantly delivers the best of both worlds – the sweet comfort of classic vanilla and the deep richness of luxurious chocolate – all from a single, easy-to-manage cake batter. You don’t need to prepare two entirely separate batters, simplifying the baking process significantly while still achieving a complex flavor profile.
- Unbelievably Moist and Buttery Texture: The star ingredient here is sour cream. Thanks to its inclusion, this loaf cake boasts an exceptionally moist crumb and a wonderfully rich, buttery flavor that is characteristic of a true pound cake. Sour cream adds not only moisture but also a slight tang that beautifully balances the sweetness, resulting in a cake that literally melts in your mouth and remains soft for days.
- Visually Stunning Swirls: The magic truly happens when you gently swirl the chocolate and vanilla batters together. This creates a mesmerizing marble effect, ensuring that every single slice is uniquely beautiful and a delightful surprise. It’s a simple technique that yields impressive, Instagram-worthy results without requiring advanced decorating skills.
- Simple Ingredients, Incredible Results: Forget obscure ingredients! This recipe confidently calls for basic pantry staples that you likely already have on hand, such as flour, sugar, butter, and eggs. It’s designed to be straightforward and accessible, proving that you don’t need fancy components to create a truly delicious and impressive homemade cake that tastes like it came from a professional bakery.
- Enhanced Chocolate Richness: A special, optional yet highly recommended, touch in this recipe is the addition of espresso powder to the chocolate batter. While it won’t make your cake taste like coffee, it dramatically deepens and intensifies the chocolate flavor, making it even more decadent, profound, and utterly irresistible. It’s a subtle boost that makes a big difference to the overall taste experience.
Essential Ingredients for Your Perfect Marble Loaf Cake
Crafting this exquisite marble loaf cake requires a selection of fresh, high-quality ingredients. For optimal results and a smooth, emulsified batter, it is crucial that all cold ingredients (like butter, eggs, and sour cream) are at perfect room temperature before you begin mixing. Each component plays a vital role in achieving that coveted moist texture, rich flavor, and beautiful marbled appearance.
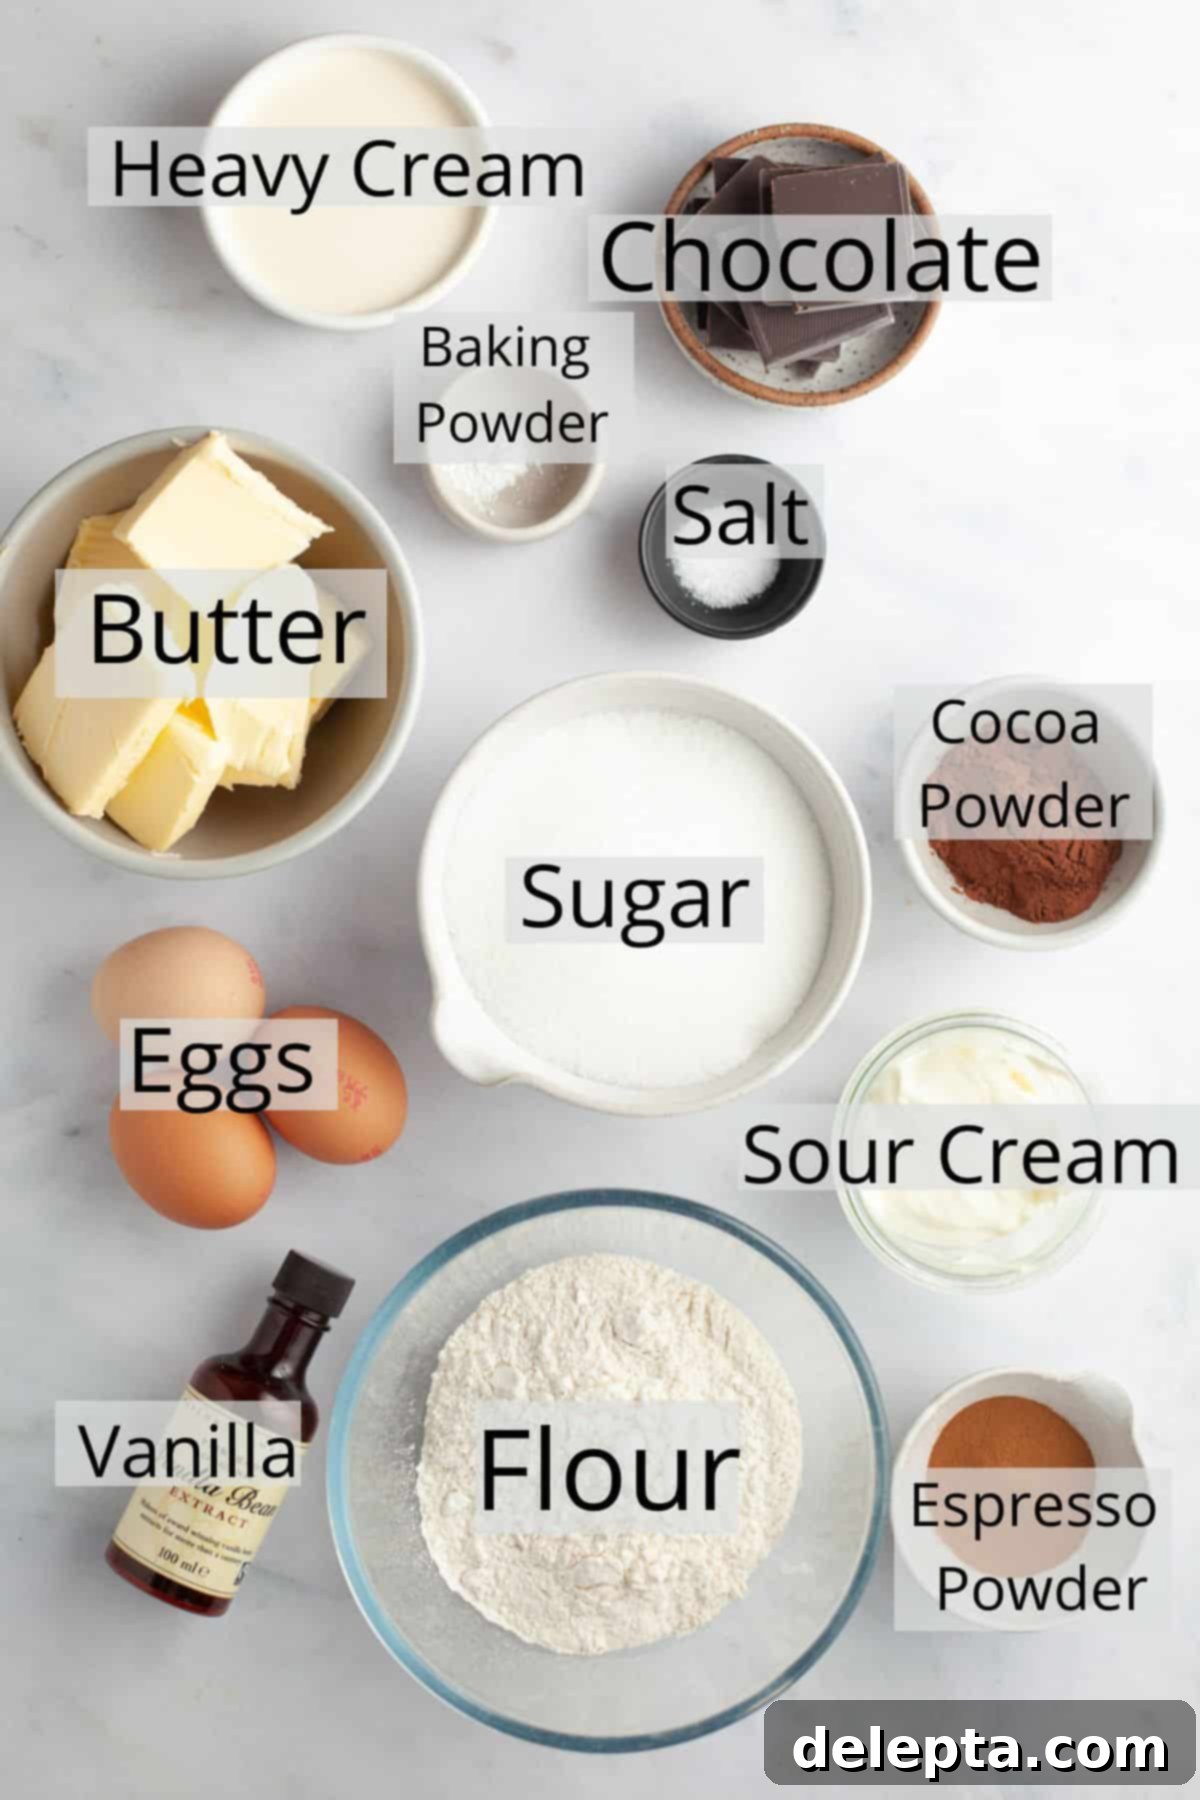
- All-Purpose Flour: This is the structural backbone of our cake. I’ve rigorously tested this recipe with standard all-purpose flour, ensuring consistent and reliable results every time. For the most accurate measurement and best baking outcomes, always weigh your flour using a kitchen scale rather than measuring by volume.
- Espresso Powder: An optional yet highly recommended secret weapon for the chocolate batter. This finely ground coffee or espresso powder doesn’t impart a coffee flavor but rather acts as a powerful flavor enhancer, significantly deepening and intensifying the richness and complexity of the chocolate notes. It truly makes the chocolate sing louder and more profoundly!
- Unsalted Butter: For a truly superior flavor and texture, I strongly advocate for using European-style unsalted butter, like Kerry Gold. Its higher fat content (typically 82% compared to American butter’s 80%) contributes to a much richer, creamier batter and a more tender, melt-in-your-mouth crumb. Ensure it’s at perfect room temperature – soft enough to indent with a finger, but not melted – for proper creaming with the sugar.
- Sour Cream: This is the undeniable star ingredient for achieving supreme moisture and tenderness! Substituting full-fat sour cream for milk in this recipe dramatically increases the cake’s tenderness, richness, and keeps it incredibly moist, yielding a wonderfully soft crumb that stays fresh longer. Make sure it’s at room temperature for smooth incorporation into the batter, preventing curdling.
- Dutch Process Cocoa Powder: The type of cocoa powder you use significantly impacts the cake’s color and flavor. This recipe was specifically developed and tested with Dutch process cocoa powder. If you’re unsure whether your cocoa is Dutch processed, check the ingredient label – it will typically list ‘alkali’ or ‘acidity regulators.’ Dutch process cocoa provides a darker, more intense color and a milder, less acidic chocolate flavor compared to natural cocoa, which pairs beautifully with the other ingredients and enhances the richness without bitterness.
- Baking Powder: We’re using a precise, small amount of baking powder to provide just the right amount of lift. This ensures our pound cake has a dense yet tender structure, characteristic of a classic loaf cake, preventing it from becoming overly airy or dry.
- Dark Chocolate: For the crowning glory – the luscious chocolate ganache – a good quality dark chocolate is absolutely essential. I prefer to use a semisweet or dark chocolate with at least 60% cocoa solids. Opting for a higher quality chocolate will result in a ganache that is rich, smooth, glossy, and perfectly balances the sweetness of the cake with its deep chocolate notes.
- Granulated Sugar: Beyond providing sweetness, granulated sugar plays a crucial role in creating a tender crumb when creamed with the butter. It helps to aerate the batter, contributing to the cake’s light texture.
- Eggs: Large, room-temperature eggs act as vital binders, add richness, and contribute significantly to the cake’s overall structure and moisture. Ensuring they are at room temperature allows them to emulsify properly with the butter and sugar, creating a smooth and cohesive batter.
- Pure Vanilla Extract: Essential for the vanilla portion of the batter, providing a warm, comforting, and aromatic base flavor. Always use a good quality pure vanilla extract for the best and most authentic taste; imitation vanilla won’t yield the same depth of flavor.
- Kosher Salt: A small pinch of salt is a fundamental flavor enhancer in baking. It balances the sweetness of the cake and sharpens all the other flavors. If you’re using fine table salt, remember to use half the amount specified, as it is much more concentrated.
- Heavy Cream (for ganache): The other crucial component for making a rich and smooth chocolate ganache. Using high-fat heavy cream (typically 36% fat or higher) is key to creating a silky, pourable ganache that sets beautifully to a luscious consistency.
Baking Your Perfect Marble Loaf Cake: A Detailed Step-by-Step Guide
Follow these detailed steps carefully to achieve a beautifully marbled, moist, and delicious loaf cake every single time. Precision in baking leads to perfection, so take your time and enjoy the process of creating this delightful treat!
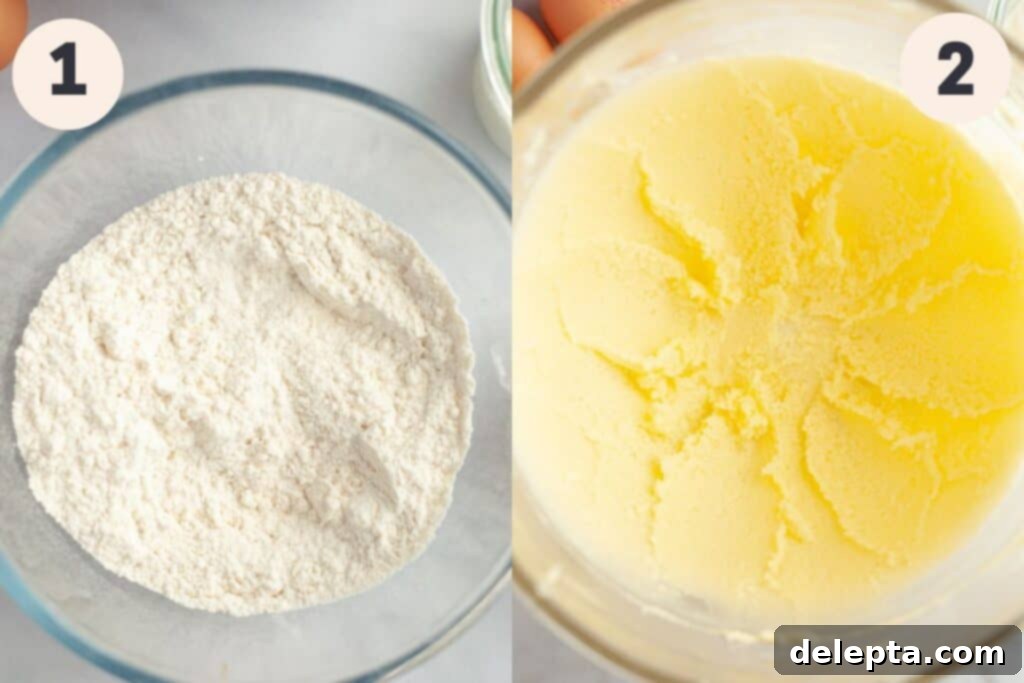
Step One: Prepare Dry Ingredients and Pan. Begin by preheating your oven to 325°F (167°C). Take your 8.5×4.5″ metal loaf pan and generously butter its interior, making sure to coat all surfaces. Then, line it with a strip of parchment paper, ensuring there’s an overhang on the longer sides; this will create convenient “handles” that will make it significantly easier to lift the baked cake out of the pan once cooled. In a separate medium-sized mixing bowl, thoroughly whisk together your all-purpose flour, kosher salt, and baking powder until they are completely combined and uniform. This step is important to ensure the leavening agent is evenly distributed throughout the dry ingredients, promoting a consistent rise.
Step Two: Cream Butter and Sugar. Using a stand mixer fitted with the paddle attachment, or a powerful hand mixer, begin by beating your room-temperature unsalted butter on medium-high speed for approximately 1 minute until it becomes visibly smooth and creamy. This initial creaming incorporates vital air into the butter. Next, add your granulated sugar to the bowl. Continue to beat the mixture on medium-high speed for a full 5 minutes. The goal here is to achieve a very light, fluffy, and noticeably pale-colored mixture. This indicates that ample air has been incorporated, which is crucial for achieving a tender, open crumb in your finished pound cake.
-

Four
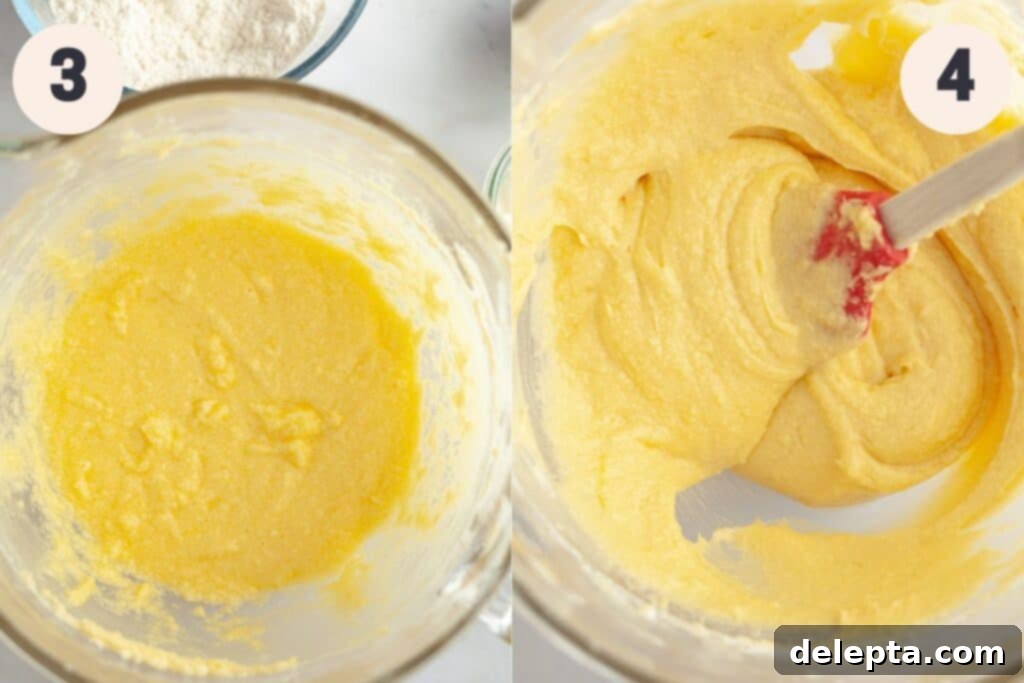
Step Three: Incorporate Vanilla and Eggs. Once your butter and sugar mixture is light and fluffy, pour in your pure vanilla extract and mix briefly until it is just combined into the batter. Then, add your room-temperature eggs, one at a time. After each individual egg is added, whip the batter thoroughly for a full 1 minute, ensuring it is fully incorporated and emulsified into the creamy base. Use a rubber spatula to meticulously scrape down the sides and bottom of the mixing bowl before adding the next egg. This attention to detail ensures a uniform batter and prevents any unmixed pockets.
Step Four: Alternate Dry and Wet Ingredients. Reduce the mixer speed to its lowest setting. Add approximately one-third of your whisked flour mixture to the wet ingredients in the stand mixer. Beat gently until it’s just combined, being very careful not to overmix, which can lead to a tough cake. Once the flour is mostly incorporated, add half of your room-temperature sour cream. Beat again on low speed until combined. Repeat this process once more: add the next third of the flour, then the remaining sour cream, and finally, the last third of the flour mixture. Always beat on low speed after each addition, mixing only until the ingredients are just combined. This method helps to maintain the tender crumb and prevents over-development of gluten.
-

Six
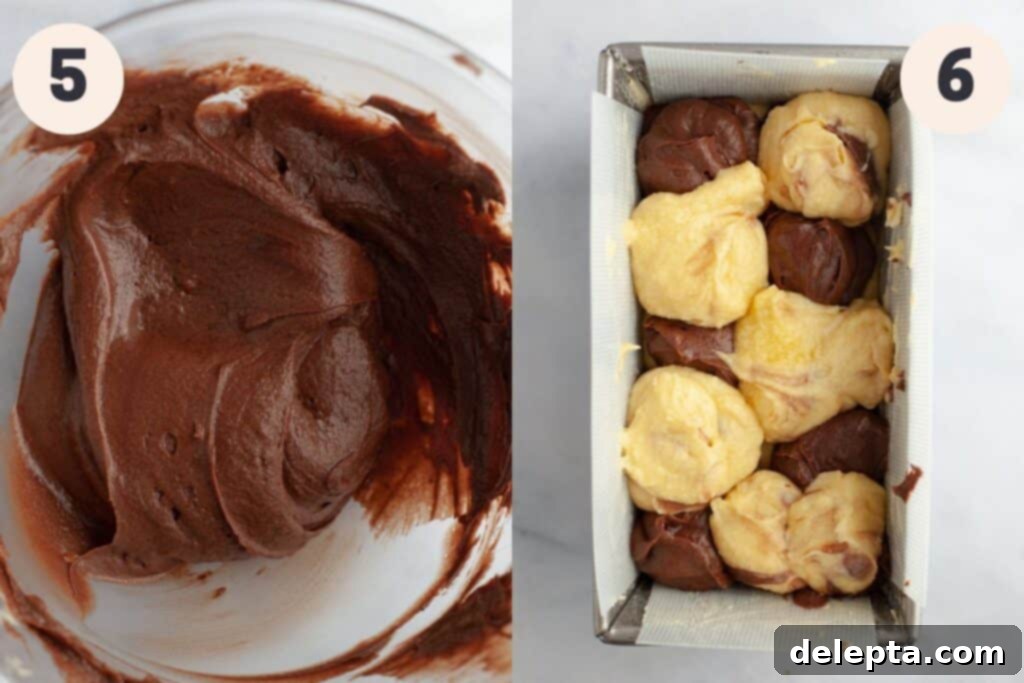
Step Five: Create the Chocolate Batter. Carefully spoon out exactly half of your prepared vanilla cake batter into a separate medium-sized bowl. In a small, heatproof bowl, combine 1 tablespoon of hot water (boiling water works best for quick dissolution) with the instant espresso powder and stir vigorously until the powder is fully dissolved and there are no granules remaining. Pour this dissolved espresso mixture along with the Dutch process cocoa powder into the medium bowl containing half of the vanilla batter. Gently fold and mix these ingredients together with a spatula until you have a smooth, uniformly colored chocolate batter. Be careful not to overmix at this stage; just combine until streaks of cocoa disappear.
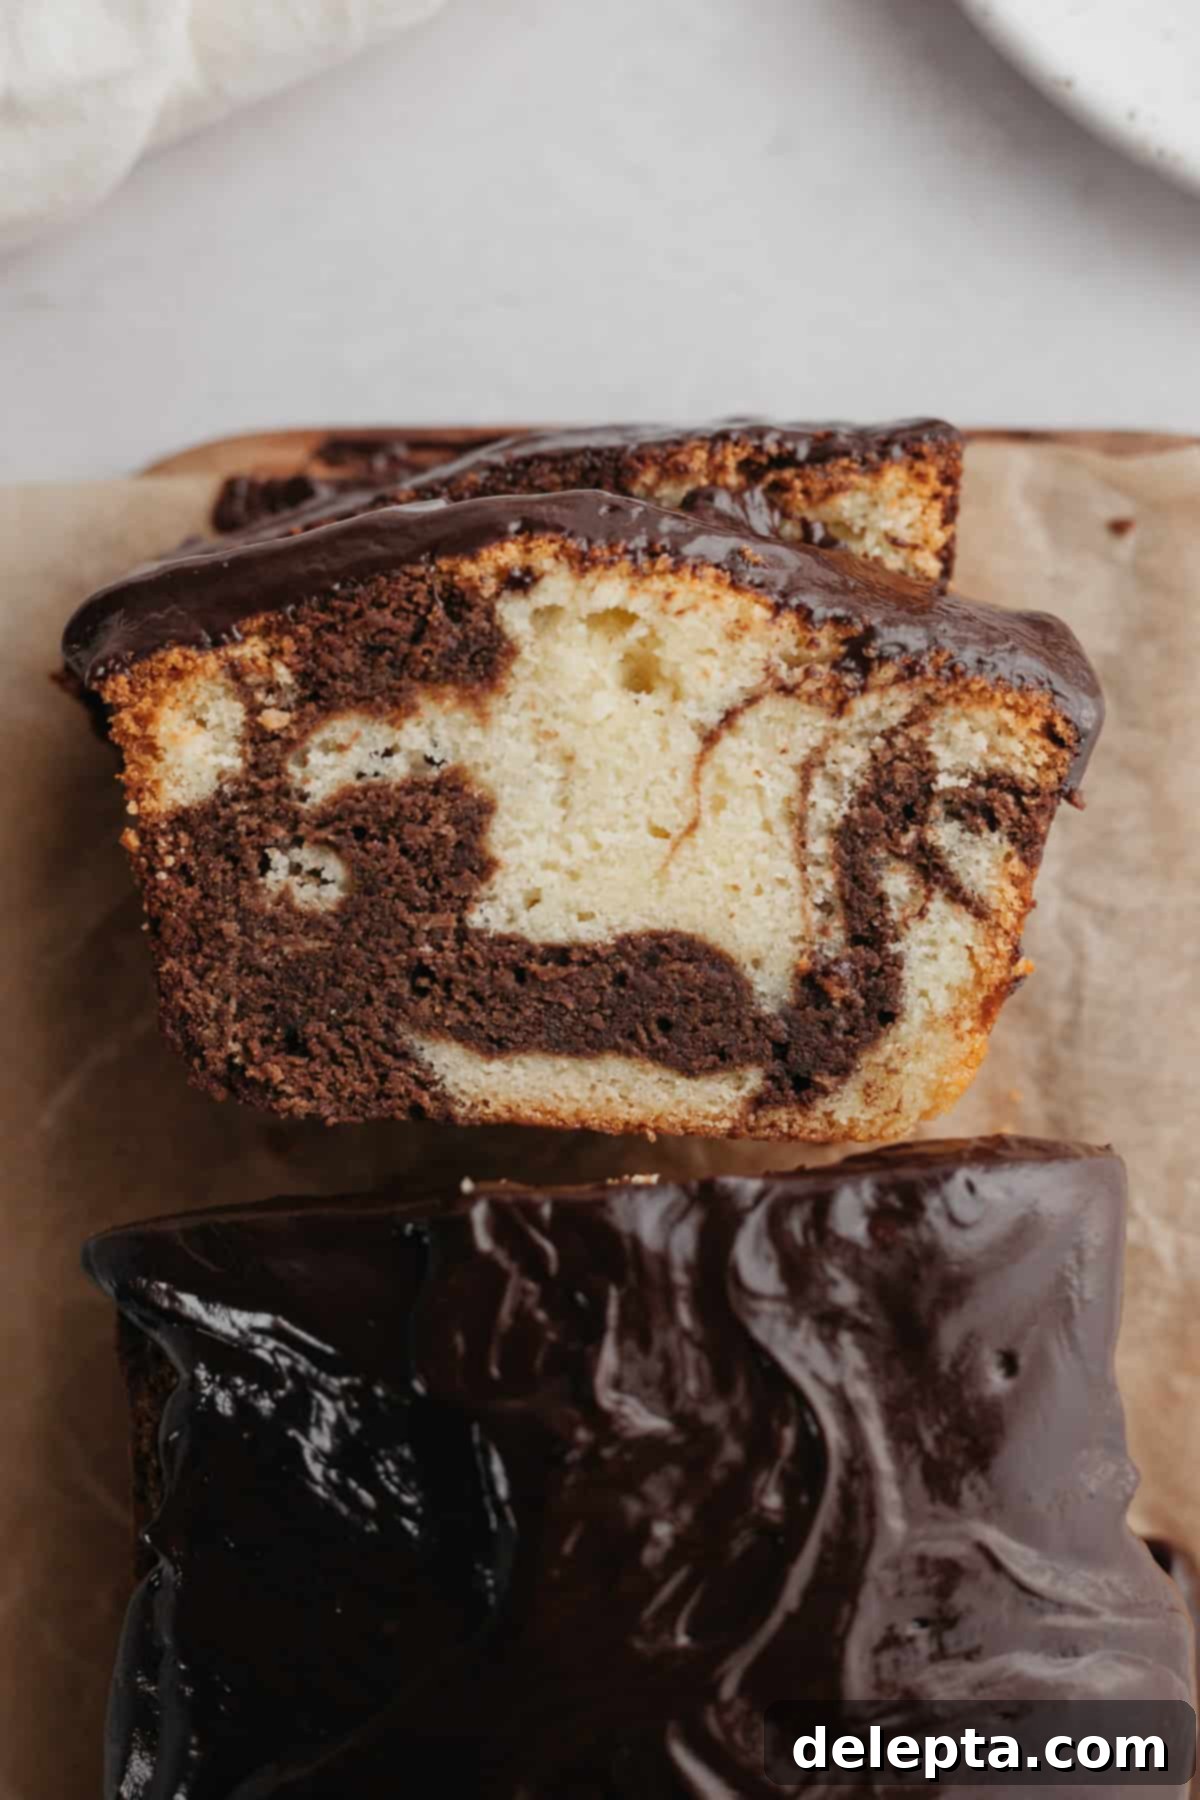
Step Six: Assemble and Swirl. Now for the fun and artistic part – creating the mesmerizing marble effect! Using an ice cream scooper or a large spoon, begin layering the batters into your prepared loaf pan. Alternate scoops of the vanilla batter with scoops of the chocolate batter, arranging them in a “checkerboard” or random pattern. Continue this process until all of the batter has been used; I typically create at least two distinct layers like this for a striking marble effect. Once all the batter is in the pan, take a butter knife or a thin skewer and gently swirl through the batters a few times. Don’t overdo the swirling, as you want distinct ribbons and streaks of chocolate and vanilla, not a fully mixed brown batter. A few deliberate passes are enough to achieve a beautiful pattern. Finally, tap the pan gently on your kitchen counter a few times to release any trapped air bubbles within the batter. Place the loaf pan into your preheated oven and bake for 70-80 minutes, or until a wooden skewer or toothpick inserted into the very center of the cake comes out clean or with only a few moist crumbs attached. After baking, remove the pan from the oven and let the cake cool in the pan for 15-20 minutes before carefully lifting it out using the parchment paper overhangs. Transfer the cake to a wire rack to cool completely before slicing or adding the ganache.
Expert Baking Tips for Your Best Marble Loaf Cake
- Precision is Key: Always Weigh Your Ingredients! For consistent, professional-level baking results, I cannot stress enough the importance of using a kitchen scale to accurately weigh your ingredients, especially flour. Measuring by volume (cups) can lead to significant variations due to packing differences, whereas metric measurements by weight ensure unparalleled accuracy, making a huge difference in the texture, rise, and overall success of your loaf cake. Invest in a good digital scale – it will transform your baking!
- Whip It Good for a Fluffy Texture: To achieve that wonderfully soft, tender, and fluffy pound cake texture, you need to aerate the butter and sugar mixture much more than you might instinctively think. This is a critical step! I highly recommend setting a timer and truly beating the mixture on medium-high speed for the full 5 minutes as specified in the recipe. This extended creaming process incorporates essential air, creating a light and tender crumb that is the hallmark of a perfect pound cake.
- Room Temperature Ingredients are Non-Negotiable: Ensure all your cold ingredients, such as butter, eggs, and sour cream, are at proper room temperature before you begin mixing. Cold ingredients don’t emulsify properly with the creamed butter and sugar, leading to a lumpy, sometimes curdled batter and a denser, less appealing cake. Room temperature butter creams beautifully with sugar, trapping air efficiently, and room temperature eggs and sour cream integrate smoothly into the batter, creating a homogeneous and stable emulsion.
- Patience is a Virtue: Cool Completely Before Slicing: It can be incredibly tempting to dive into a warm, fragrant, freshly baked loaf, but resisting the urge is absolutely crucial! Allow your marble loaf cake to cool completely on a wire rack before you attempt to slice into it. Cutting into a warm cake can cause it to crumble, fall apart, and lose its beautiful structure as the internal starches are still setting.
- Ganache Perfection: Wait for a Fully Cooled Cake: Similarly, do not prepare or, more importantly, apply the chocolate ganache until your loaf cake is entirely cool to the touch. If you pour or spread warm ganache over a still-warm cake, the residual heat from the cake will simply melt the ganache, causing it to slide off the sides, creating a messy, undesirable finish rather than a glossy, set topping. A completely cool cake ensures the ganache sets beautifully, creating a stable and attractive coating.
- Don’t Overmix the Batter: After adding the dry ingredients to the wet mixture, it is vital to mix only until they are just combined, and no visible streaks of flour remain, always on the lowest speed. Overmixing develops gluten, which can lead to a tough, chewy, and rubbery cake rather than the desired tender and moist texture we are aiming for.
- The Art of Swirling: Less is More! When it comes to marbling the batters, remember that less is often more. Gently run a knife or a thin skewer through the batters a few times, creating broad, sweeping motions. You want distinct ribbons and swirls of chocolate and vanilla, not a uniformly mixed brown batter. Too much swirling will blend the colors together, losing the beautiful marble effect.
Frequently Asked Questions About Marble Loaf Cake
To keep your marble loaf cake deliciously fresh and wonderfully moist, I highly recommend storing it at room temperature. The best way to do this is to tightly wrap the entire cooled loaf, or individual slices, in plastic wrap. Once wrapped, place it in an airtight container to create a double barrier against air exposure. This method prevents it from drying out and helps preserve its wonderful moist texture and flavor for up to 3-4 days. Avoid refrigeration if possible, as it can dry out cakes.
Absolutely! This marble loaf cake freezes beautifully, making it perfect for meal prep or enjoying a treat whenever a craving strikes. For optimal results and convenience, I suggest cutting the completely cooled loaf into individual slices first. Wrap each slice tightly in plastic wrap, ensuring no air gaps, and then place them in a freezer-safe bag or an airtight container. You can safely store them in your freezer for up to 3 months. When you’re ready to enjoy a slice, simply let it defrost in the refrigerator for a few hours, or at room temperature for about an hour. Do note that if your cake was topped with ganache, the texture of the ganache might become slightly thicker or less glossy after defrosting, but it will still be absolutely delicious!
For this particular recipe, I highly recommend using a metal loaf pan, specifically one made from a lighter-colored metal. Darker pans tend to absorb and conduct more heat, which can cause the outside of your loaf to cook and brown much faster, potentially leading to a crunchier or even slightly over-baked crust. This isn’t ideal for the soft, tender texture we’re aiming for here. If you’re looking to achieve exceptionally sharp corners and a taller, more uniform loaf, which creates stunning slices, consider investing in a Pullman loaf pan. Its straight sides and (optional) lid produce a wonderfully structured and professional-looking cake.
Yes, you certainly can use a standard 9×5 inch loaf pan instead of the recommended 8.5×4.5 inch pan. However, please be aware that using a larger pan will result in a thinner loaf because the batter will spread out more. Consequently, the baking time will need to be adjusted and will likely be significantly shorter than what’s specified in the recipe (approximately 10-20 minutes less). To prevent overbaking, start checking for doneness earlier by inserting a wooden skewer or toothpick into the center of the cake.
Rest assured, absolutely not! This is a common and understandable concern, but the espresso powder in this recipe serves a very specific and magical purpose: to enhance and deepen the natural flavor of the chocolate. It acts as a subtle flavor amplifier, bringing out the rich, complex, and sometimes subtle notes of the cocoa without imparting any noticeable coffee taste whatsoever. It simply makes your chocolate swirls taste even more intensely chocolatey and incredibly delicious!
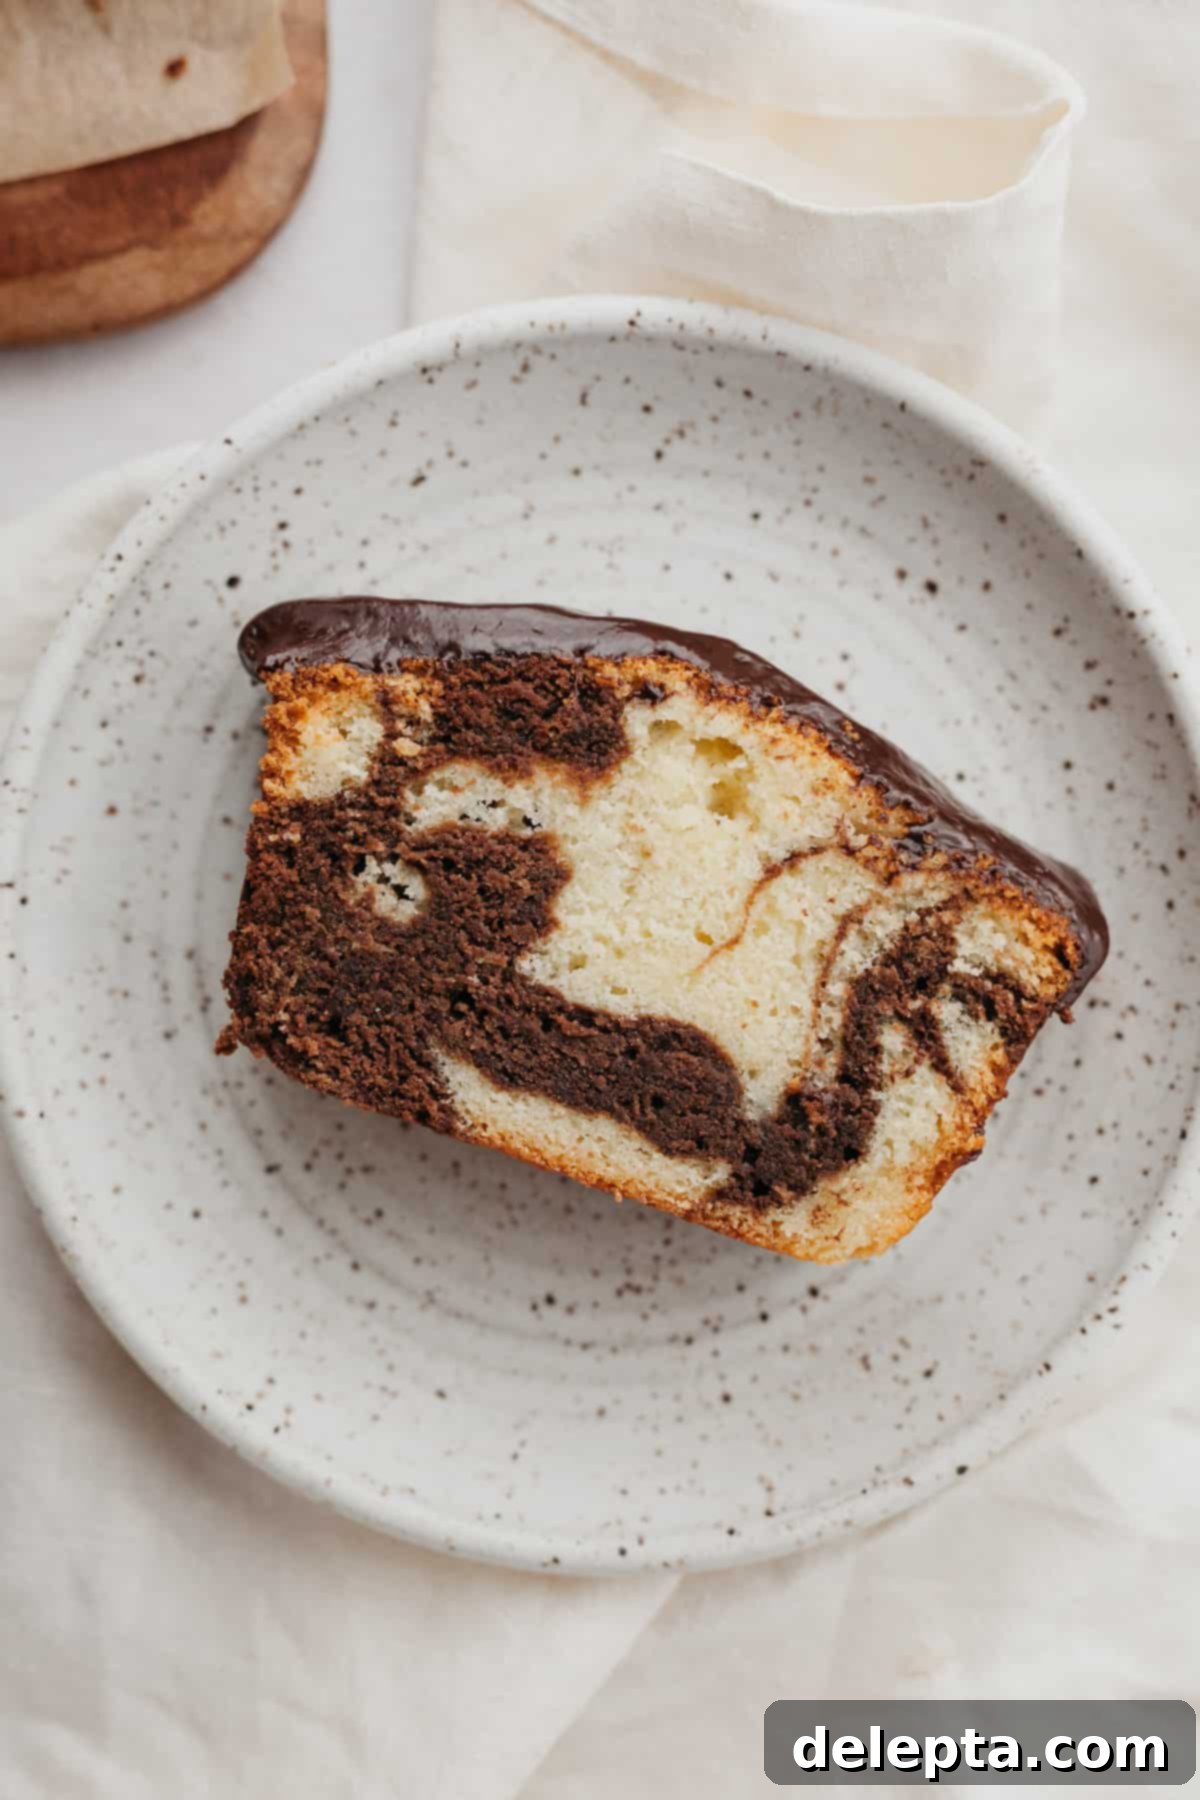
More Delightful Loaf and Simple Cake Recipes to Try:
- Irresistible Banana Cake with Chocolate Frosting
- Ultra Moist One-Bowl Chocolate Chunk Banana Bread Recipe
- Effortless Yogurt Plum Cake (Simple 1-Bowl Recipe)
- Decadent Double Chocolate Sour Cream Pound Cake
Made this delightful marble loaf cake? We’d absolutely love to hear from you! Please take a moment to rate the recipe below and share your experience with us! Don’t forget to connect with me on Instagram @alpineella and Pinterest to show off your beautiful baking creations and get more delicious recipe inspiration!
Full Recipe Details
Classic Marble Loaf Cake with Chocolate Ganache
Ella Gilbert
Pin Recipe
Save RecipeSaved!
Equipment You’ll Need
-
8.5″x4.5″ Loaf Pan (or similar, see FAQ for adjustments)
-
Stand mixer with paddle attachment (or a powerful hand mixer)
-
Large and medium mixing bowls
-
Whisk and rubber spatula
-
Parchment paper
-
Ice cream scooper or large spoon (for layering batter)
-
Small saucepan (for ganache)
-
Wire rack (for cooling)
Ingredients for the Loaf and Ganache
For the Marble Loaf Cake
- 1 cup unsalted butter at room temperature
- 1 ½ cups granulated sugar
- 3 large eggs at room temperature
- 1 ⅓ cups all-purpose flour
- ½ teaspoon kosher salt
- ¼ teaspoon baking powder
- ½ cup sour cream at room temperature
- 2 teaspoons pure vanilla extract
- 3 tablespoons Dutch process cocoa powder
- 2 teaspoons instant espresso powder (mixed with 1 tbsp hot water)
For the Chocolate Ganache Topping
- 4 oz good quality semisweet or dark chocolate finely chopped
- small pinch kosher salt (to enhance chocolate flavor)
- ½ cup heavy cream (36% fat or higher)
Detailed Baking Instructions
-
Prepare Your Oven and Pan: Begin by preheating your oven to 325°F (167°C). Take your 8.5×4.5″ loaf pan and generously butter its entire interior, ensuring full coverage. Then, line it with a strip of parchment paper, making sure there’s an overhang on the longer sides; these will serve as convenient “handles” for easy removal of the baked cake later.
-
Combine Dry Ingredients: In a medium-sized mixing bowl, thoroughly whisk together your all-purpose flour, baking powder, and kosher salt until they are completely combined and uniform. This step is crucial to ensure the leavening agent is evenly distributed throughout the dry components, which promotes a consistent and even rise in your cake. Set this bowl aside for later use.
-
Cream the Butter: Using a stand mixer equipped with a paddle attachment (or a powerful hand mixer if you don’t have a stand mixer), beat the room-temperature unsalted butter on high speed for exactly 1 minute. The butter should transform into a visibly smooth, light, and creamy consistency. This initial creaming step is vital for incorporating air into the butter, which contributes to the cake’s tender texture.
-
Add Sugar and Vanilla: Now, add the granulated sugar to the creamed butter. Continue beating this mixture on high speed for an additional 4 minutes. This extended creaming is critical for incorporating ample air into the batter, resulting in a very light, fluffy, and noticeably pale-colored mixture. Once the butter-sugar mixture is light and airy, add your pure vanilla extract and mix briefly until it is just combined into the batter.
-
Incorporate Eggs: Add your room-temperature eggs one by one. After each individual egg addition, beat the batter thoroughly for a full minute, ensuring the egg is fully incorporated and emulsified into the creamy base. Use a rubber spatula to meticulously scrape down the sides and bottom of the mixing bowl thoroughly before adding the next egg. This attention to detail ensures a uniform, smooth batter and prevents any unmixed pockets of ingredients.
-
Alternate Dry and Wet: Reduce the mixer speed to its lowest setting. Add precisely one-third of your prepared flour mixture to the wet ingredients in the stand mixer and beat gently until it’s just combined; be very careful not to overmix, as this can lead to a tough cake. Once the flour is mostly incorporated, add half of your room-temperature sour cream. Beat again on low speed until smooth. Repeat this alternating process: add the next third of the flour, then the remaining sour cream, and finally, the last portion of the flour mixture. After each addition, beat only until the ingredients are just combined. This method helps to maintain the tender crumb and prevents over-development of gluten.
-
Create Chocolate Batter: In a small bowl, whisk the instant espresso powder with 1 tablespoon of hot (preferably boiling) water until it completely dissolves and forms a smooth paste. Carefully transfer exactly half of your prepared vanilla cake batter into a separate medium bowl. Pour the dissolved espresso mixture and the Dutch process cocoa powder into this medium bowl. Gently fold and mix these ingredients together with a spatula until you achieve a smooth, consistent, and uniformly colored chocolate batter. Again, be careful not to overmix at this stage; just combine until streaks of cocoa powder disappear.
-
Assemble and Marble: Now for the fun and artistic part – creating the mesmerizing marble effect! Using an ice cream scooper or a large spoon, begin layering the batters into your prepared loaf pan. Alternate scoops of the vanilla batter with scoops of the chocolate batter, arranging them in a “checkerboard” or random pattern. Continue this process until all of the batter has been used; I typically create at least two distinct layers like this for a striking marble effect. Once all the batter is in the pan, take a butter knife or a thin skewer and gently swirl through the batters a few times. Don’t overdo the swirling, as you want distinct ribbons and streaks of chocolate and vanilla, not a uniformly mixed brown batter. A few deliberate passes are enough to achieve a beautiful pattern.
-
Remove Air Bubbles: Gently tap the loaf pan against your kitchen countertop several times. This action helps to release any trapped air bubbles within the batter, which can cause large holes in the finished cake, ensuring a more uniform and smooth texture in the final baked cake.
-
Bake and Cool: Place the loaf pan into your preheated oven and bake for approximately 1 hour and 10 minutes. The cake is done when a wooden skewer or toothpick inserted into the very center of the cake comes out clean or with only a few moist crumbs attached (not wet batter). After baking, remove the pan from the oven and let the cake cool in the pan for 15-20 minutes on a wire rack. This allows the cake to set without collapsing. Then, carefully lift it out using the parchment paper overhangs and transfer it directly to the wire rack to cool completely before slicing or adding the ganache.
-
Prepare and Apply Ganache: While the cake is cooling, prepare your rich chocolate ganache. In a small saucepan, bring the heavy cream to a gentle simmer over medium heat (do not let it boil vigorously, just small bubbles around the edges). Place your finely chopped dark chocolate in a medium, heatproof bowl. Once the cream is simmering, pour it directly over the chopped chocolate. Let it sit undisturbed for 3 minutes to allow the chocolate to melt from the heat of the cream. Then, using a rubber spatula, gently stir the cream and chocolate together from the center outwards until the mixture is completely smooth, glossy, and emulsified. Stir in a small pinch of kosher salt to enhance the chocolate flavor. Let the ganache sit at room temperature for about 15 minutes, stirring occasionally, until it thickens to a pourable yet slightly more stable consistency, similar to thick syrup. Once the loaf cake is completely cool, pour or spread the ganache evenly over the top, letting it drip down the sides for a beautiful effect. Allow the ganache to set completely before slicing and serving.
Baker’s Notes for Success
Salt Type Matters: The recipe specifically calls for kosher salt. If you only have fine table salt available, it’s crucial to halve the amount called for in the recipe, as it is much saltier by volume. For example, 1 teaspoon of Diamond Crystal kosher salt is roughly equivalent to ½ teaspoon of fine table salt. Please note, these measurements are for Diamond Crystal salt and not Morton salt, which is typically much too salty for a direct substitution. Always check your salt type!
Optimal Storage for Freshness: To keep your delicious marble loaf cake at its absolute best and maintain its signature moisture, store it tightly wrapped in plastic wrap at room temperature for up to 3 days. For longer storage, you can easily freeze individual slices. Simply wrap each cooled slice securely in plastic wrap, then place them in an airtight container or freezer bag. They will keep beautifully in your freezer for up to 3 months. Thaw in the refrigerator overnight or at room temperature for a few hours when you’re ready to enjoy a delightful treat.
Achieving the Perfect Swirl: When creating the marble effect with the two batters, aim for gentle, deliberate swirls. The key is to run a knife or skewer through the batters a few times with broad, sweeping motions. Overmixing the two batters will result in a muddy, uniform brown color rather than distinct, beautiful streaks of vanilla and chocolate, which diminishes the visual appeal of the cake. A few strategic passes are all you need to achieve an elegant and captivating pattern.
Oven Temperature Consistency: Ovens can vary widely in their actual temperature compared to what they display. It’s always a good idea to use an oven thermometer to ensure your oven is accurately preheated and maintains the correct temperature of 325°F (167°C). An accurate oven temperature is crucial for even baking, proper cake rise, and preventing the cake from drying out or burning.
Nutritional Information (per slice, approximate)
