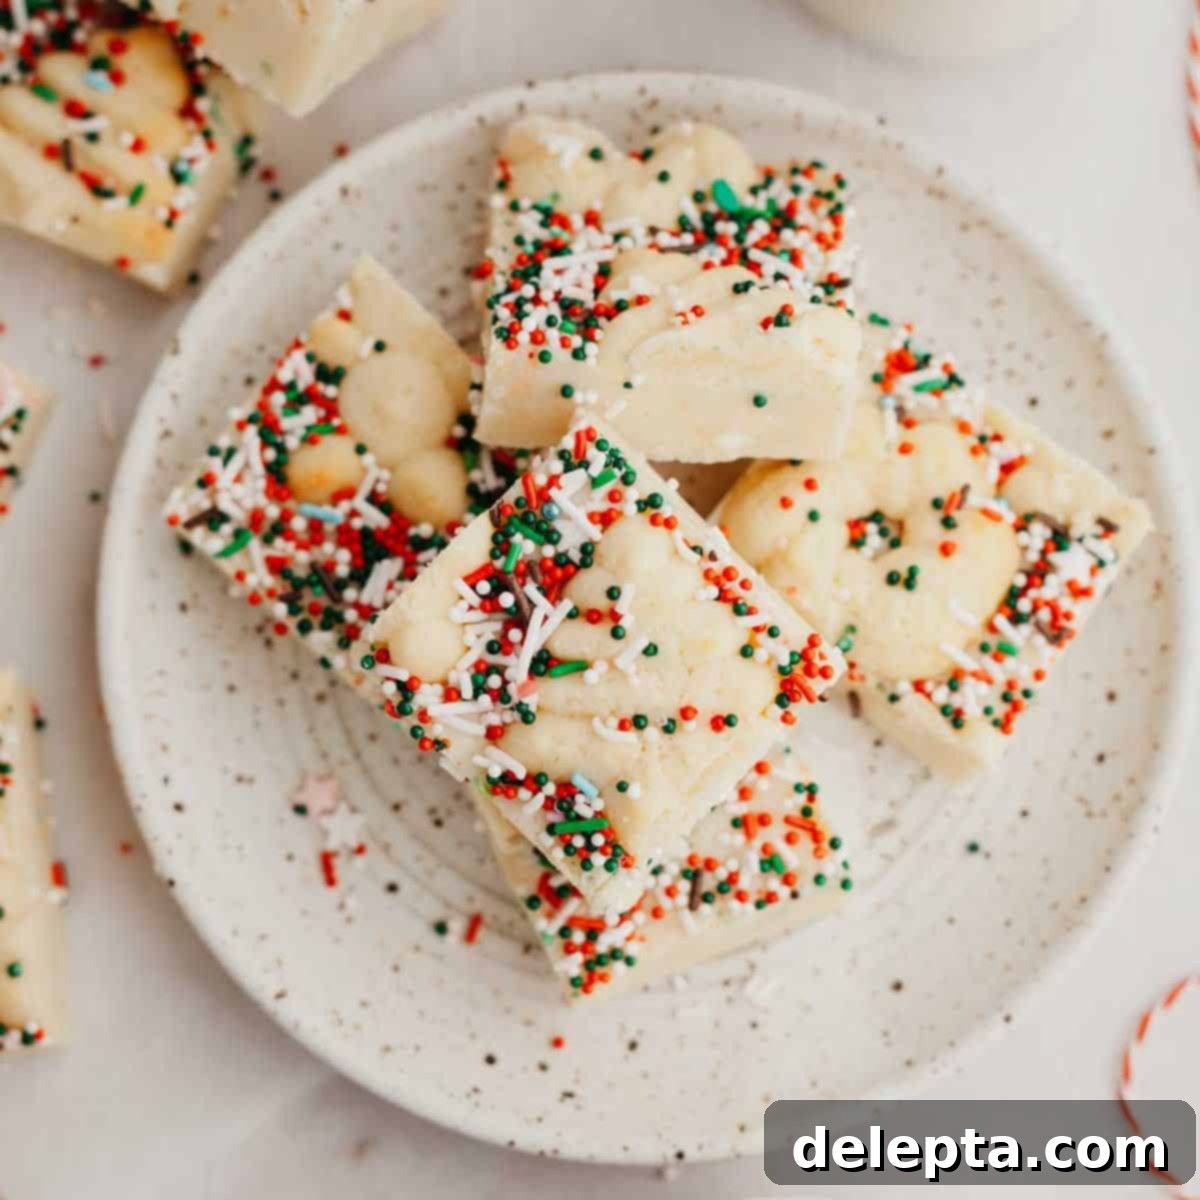
Effortless No-Bake Christmas Cookie Fudge: Your Easiest Holiday Treat Recipe
The holiday season is a magical time, filled with joy, family, and, of course, delicious treats. If you’re looking for a dessert that delivers maximum festive cheer with minimal effort, look no further than this incredibly simple Christmas cookie fudge. It’s truly one of the easiest holiday delights you can whip up, requiring only seven common ingredients and absolutely no baking! Forget about complicated candy-making techniques or temperamental candy thermometers – this recipe is designed for stress-free seasonal sweetness.
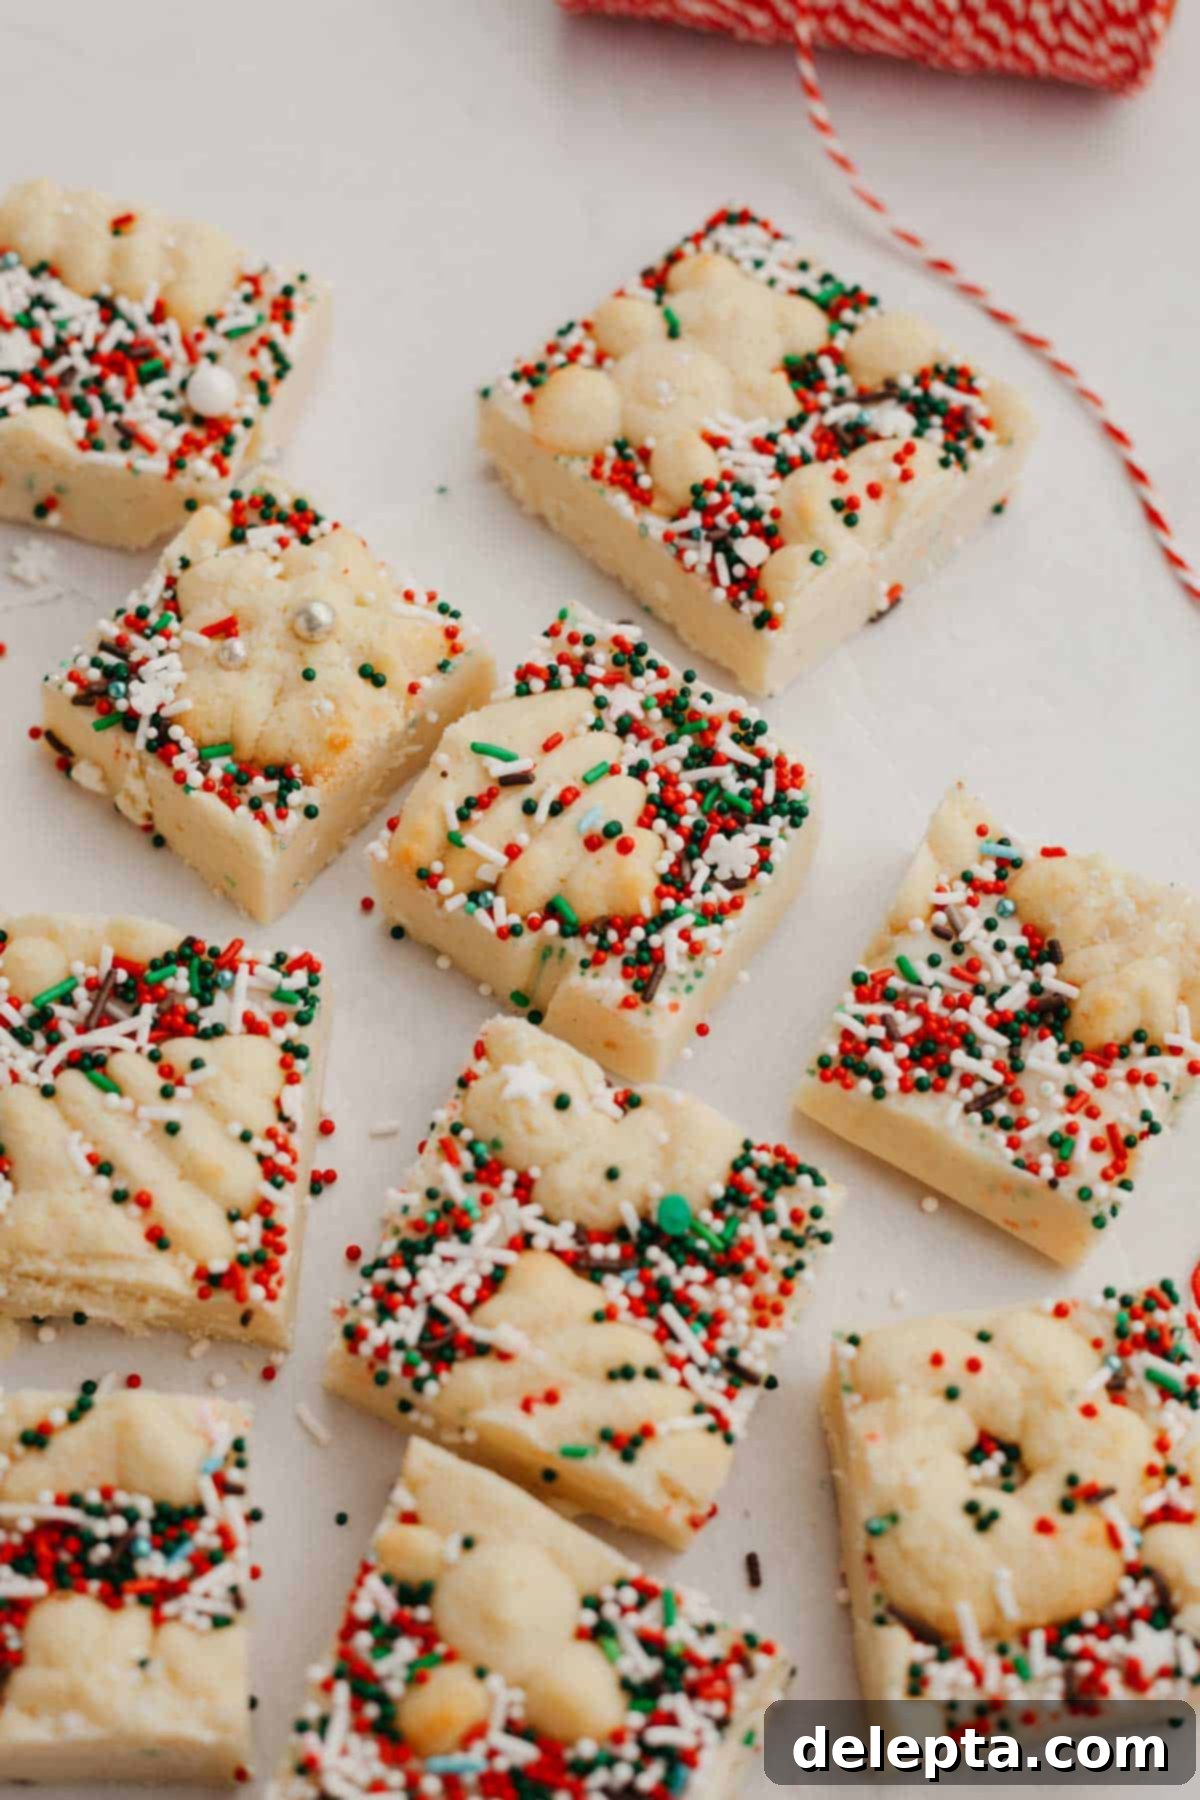
This delightful, no-bake Christmas cookie fudge recipe shares a wonderful similarity with my popular no-bake peanut butter fudge recipe. Just like its peanut butter counterpart, this holiday fudge doesn’t demand any specialized kitchen skills or a daunting candy thermometer. Its simplicity makes it incredibly accessible for home cooks of all experience levels, guaranteeing a successful and delicious outcome every time.
Crafting this festive fudge is not only straightforward but also incredibly rewarding. With just about 15 minutes of active preparation time, you’ll have a luscious batch ready for chilling. While patience is required as the fudge sets in the refrigerator to achieve its perfect, sliceable consistency, the hands-on effort is minimal. This homemade holiday fudge is an ideal candidate for thoughtful edible gifts, a standout addition to your holiday dessert platter, or a fantastic contribution to cookie swaps and potlucks. Its vibrant appearance, adorned with festive sprinkles and charming Christmas cookies, makes it a true showstopper.
[feast_advanced_jump_to]
Why You’ll Adore This Festive Christmas Cookie Fudge!
- It harnesses the power of simple pantry ingredients – chances are, you already have most of what you need on hand, saving you last-minute grocery runs during the busy holiday season.
- This recipe is a fantastic way to utilize your favorite homemade Christmas cookies (I particularly love using my spritz cookies for this!) or even store-bought varieties. They add a delightful crunch and extra festive flair when used to decorate the top.
- Say goodbye to holiday stress! This delightful fudge can be made well ahead of time, giving you more flexibility. Simply prepare it, store it in the fridge, and pull it out when you’re ready to serve or gift.
- In terms of hands-on time, this is a truly quick recipe. You’ll only need approximately 15 minutes to actively prepare the fudge mixture before it chills to perfection, making it ideal for busy schedules.
- No-Bake Perfection: Skip the oven entirely! This no-bake fudge means less heat in your kitchen and more time enjoying the festivities. It’s a lifesaver for those who aren’t avid bakers or have a full oven during the holidays.
- Customizable Fun: Beyond the cookies, this fudge is a blank canvas for customization. Add different sprinkles, chocolate drizzles, or other festive candies to make it uniquely yours.
- Perfect for Gifting: Homemade fudge is a cherished gift. Its vibrant colors and delightful taste make it an excellent choice for holiday gift baskets, teacher gifts, or hostess presents.
Essential Ingredients for Homemade Christmas Cookie Fudge
Creating this easy Christmas cookie fudge requires just a handful of straightforward ingredients. While the list is short, choosing quality components will truly elevate the final taste and texture of your holiday treat.
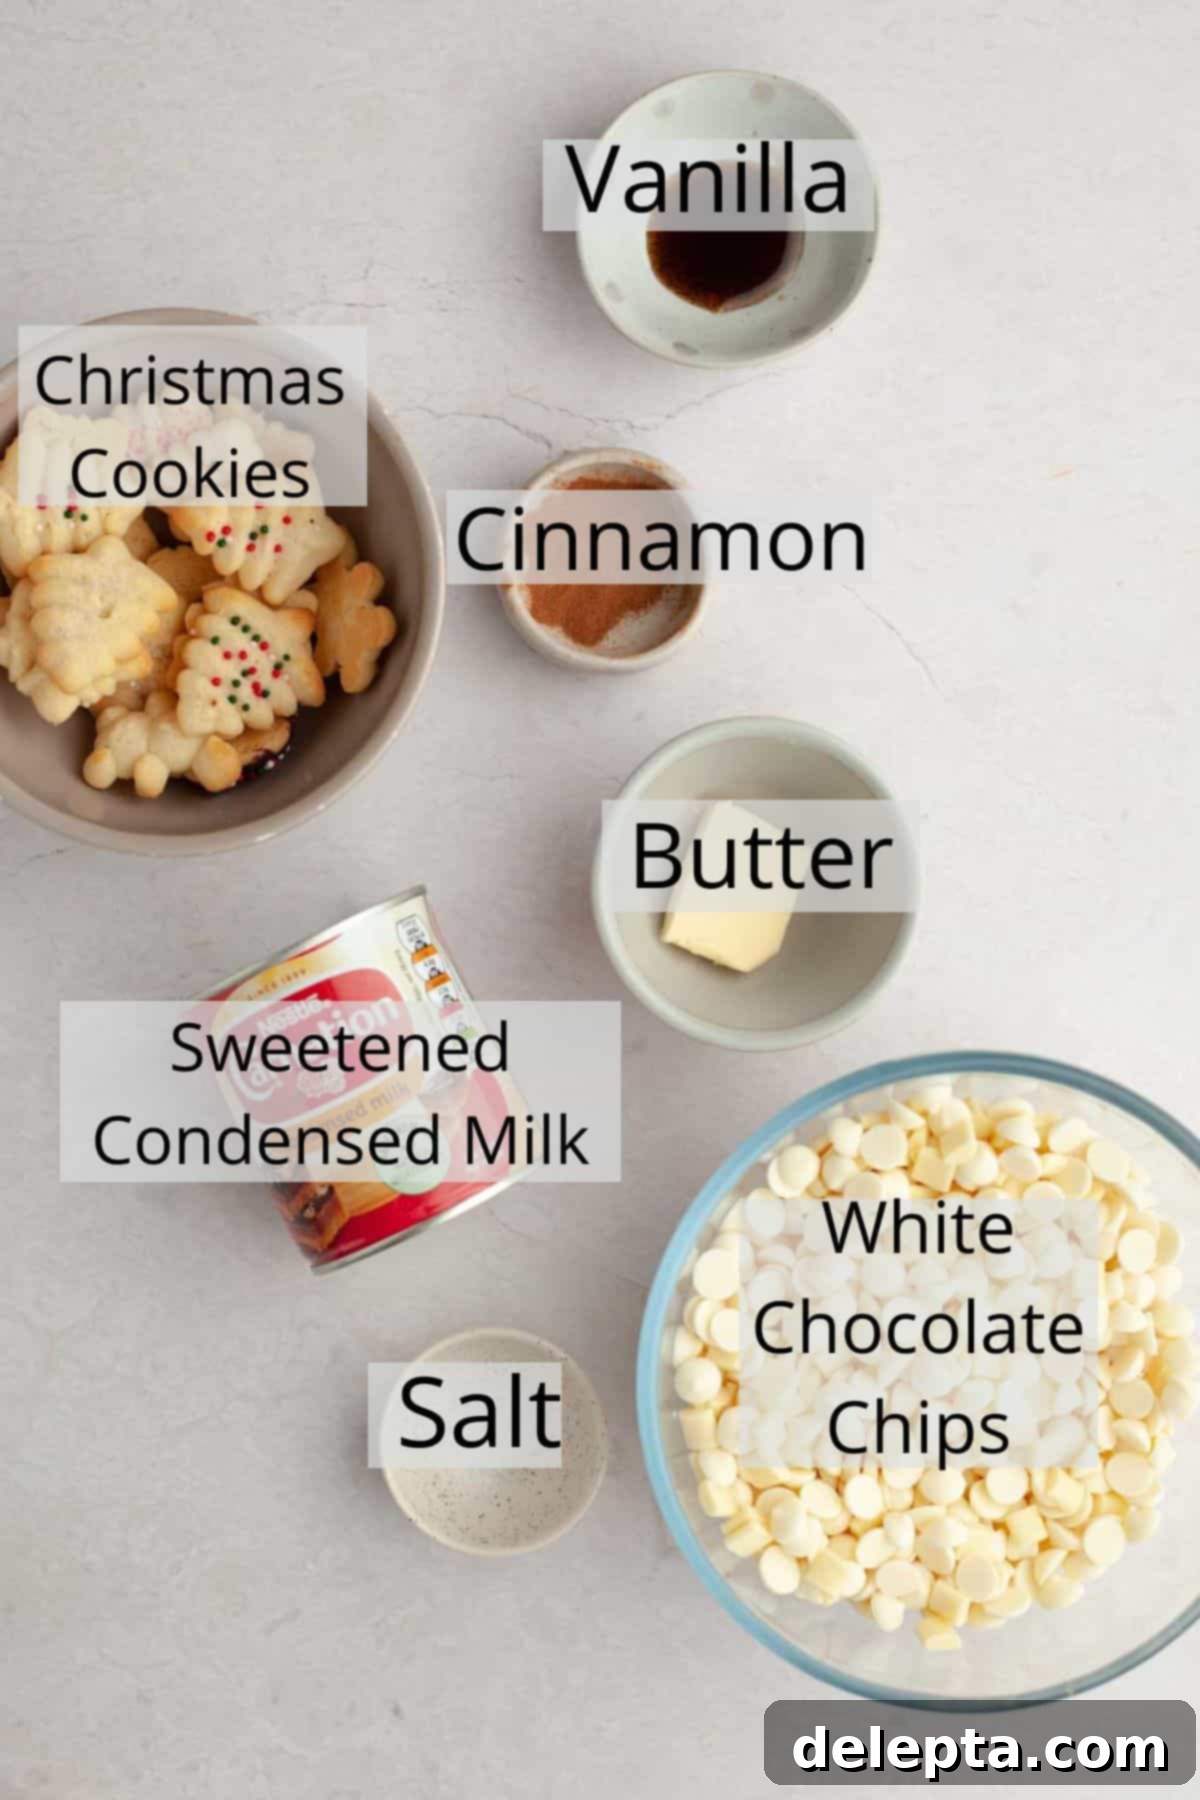
Sweetened Condensed Milk: This is a non-negotiable ingredient for achieving that classic, creamy fudge consistency without a candy thermometer. It’s crucial to use sweetened condensed milk and not evaporated milk. Evaporated milk has a different sugar content and consistency, and I have not tested this recipe with it, so I cannot guarantee it will yield the same delicious results. The sweetened condensed milk provides both the sweetness and the smooth, rich base for our no-bake fudge.
Quality White Chocolate Chips: The base of this incredible Christmas cookie fudge is white chocolate, making its quality paramount. A good quality white chocolate will melt smoothly, taste richer, and provide a superior flavor foundation. I highly recommend using brands known for their excellent melting properties and taste, such as these Guittard white chocolate chips, which offer a smooth melt and delightful vanilla notes. Avoid using “white baking chips” that may contain less cocoa butter, as they might not melt as nicely or taste as rich.
Unsalted Butter: Just a tablespoon of unsalted butter is added to the mixture. This helps create an even smoother, more luxurious texture in the fudge, adding a touch of richness and helping everything melt together beautifully. Using unsalted butter allows you to control the overall saltiness of the fudge.
Vanilla Bean Paste: Since this recipe relies on a few core ingredients, maximizing the flavor of each one is key. While vanilla extract is perfectly fine, vanilla bean paste offers a more intense, complex vanilla flavor and beautiful flecks of vanilla bean, elevating the fudge from good to absolutely extraordinary. It truly packs a more potent punch compared to regular vanilla extract, enhancing the overall aroma and taste profile of your festive treat.
A Pinch of Salt: Don’t skip the salt! A small pinch of salt in sweet recipes is a game-changer. It balances the sweetness of the chocolate and condensed milk, enhancing all the other flavors and preventing the fudge from being overly cloying. It brings a subtle depth that makes the fudge taste even better.
A Pinch of Ground Cinnamon: For that extra touch of holiday warmth and spice, a pinch of ground cinnamon is included. This subtle addition complements the sweetness of the white chocolate and the flavor of the Christmas cookies, infusing the fudge with an unmistakable festive aroma and taste. It’s a small detail that makes a big difference in capturing the essence of Christmas.
Christmas Cookies: This is where the “Christmas cookie” magic truly happens! You have a wonderful opportunity to personalize your fudge here. I love using leftover spritz cookies because they’re beautiful and hold their shape well, but the possibilities are endless. Consider using classic gingerbread cookies for a spicy kick, sugar cookies for a traditional taste, shortbread, or even chocolate chip cookies. You can press whole mini cookies into the top, or roughly chop larger ones for a delightful texture. The choice is yours to make this fudge uniquely festive and delicious!
Simple Steps to Your Best No-Bake Christmas Cookie Fudge
Making this holiday fudge is remarkably straightforward. Follow these easy steps to ensure a smooth, creamy, and perfectly set batch of festive deliciousness. Remember, the key is gentle heat and constant stirring!
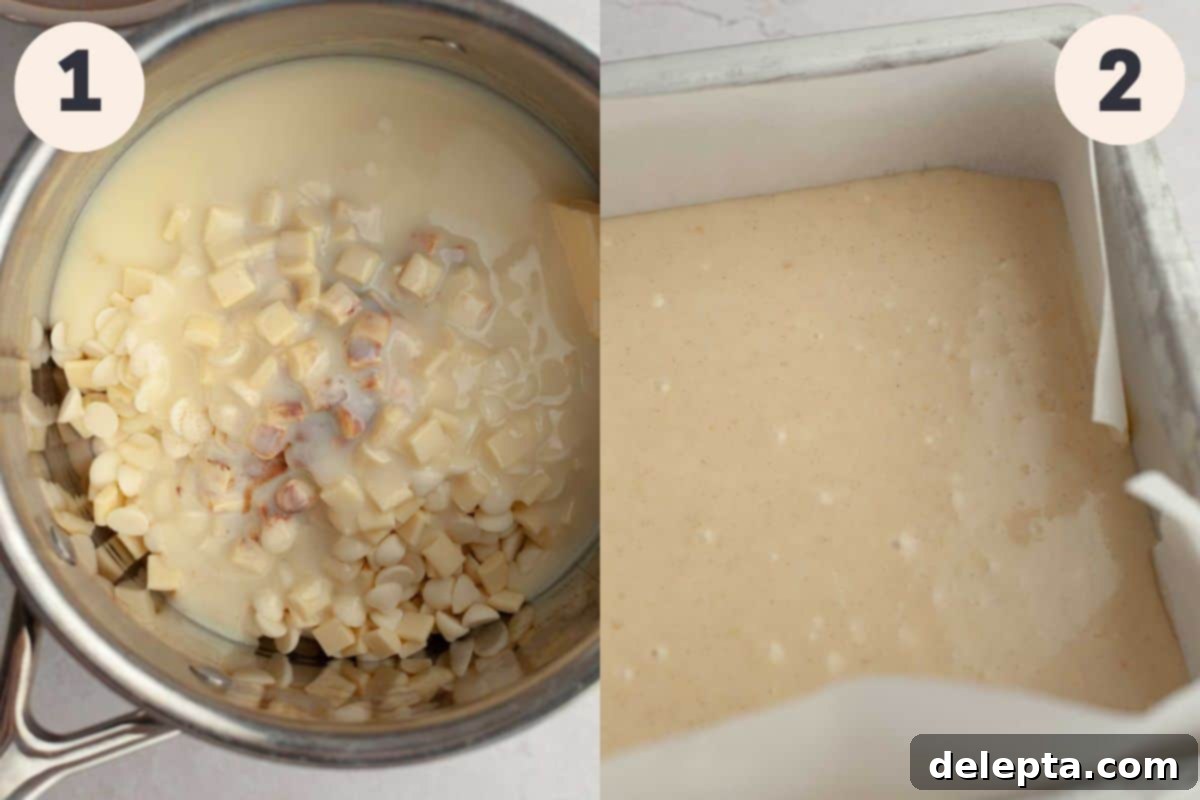
Step 1: Melt the Fudge Base. Begin by combining the sweetened condensed milk, white chocolate chips, unsalted butter, vanilla bean paste, a pinch of salt, and a pinch of ground cinnamon into a medium-sized, heavy-bottomed saucepan. Place the saucepan over medium-low heat. This gentle heat is crucial to prevent the chocolate from seizing or burning. Stir the mixture continuously with a rubber spatula or wooden spoon. Your goal is to melt the chocolate and butter completely, integrating them into a smooth, glossy, and uniform fudge mixture. Be patient and keep stirring; it might take a few minutes, but constant agitation prevents sticking and ensures even melting.
Step 2: Transfer to Prepared Pan. Once your fudge mixture is perfectly smooth and all ingredients are fully incorporated, immediately pour the warm, luscious fudge into an 8×8 inch baking pan that you’ve already lined with parchment paper. Ensure the parchment paper hangs over the sides, creating “handles” that will make it incredibly easy to lift the set fudge out of the pan later. Use your spatula to spread the fudge evenly across the bottom of the pan, creating a smooth, flat surface.
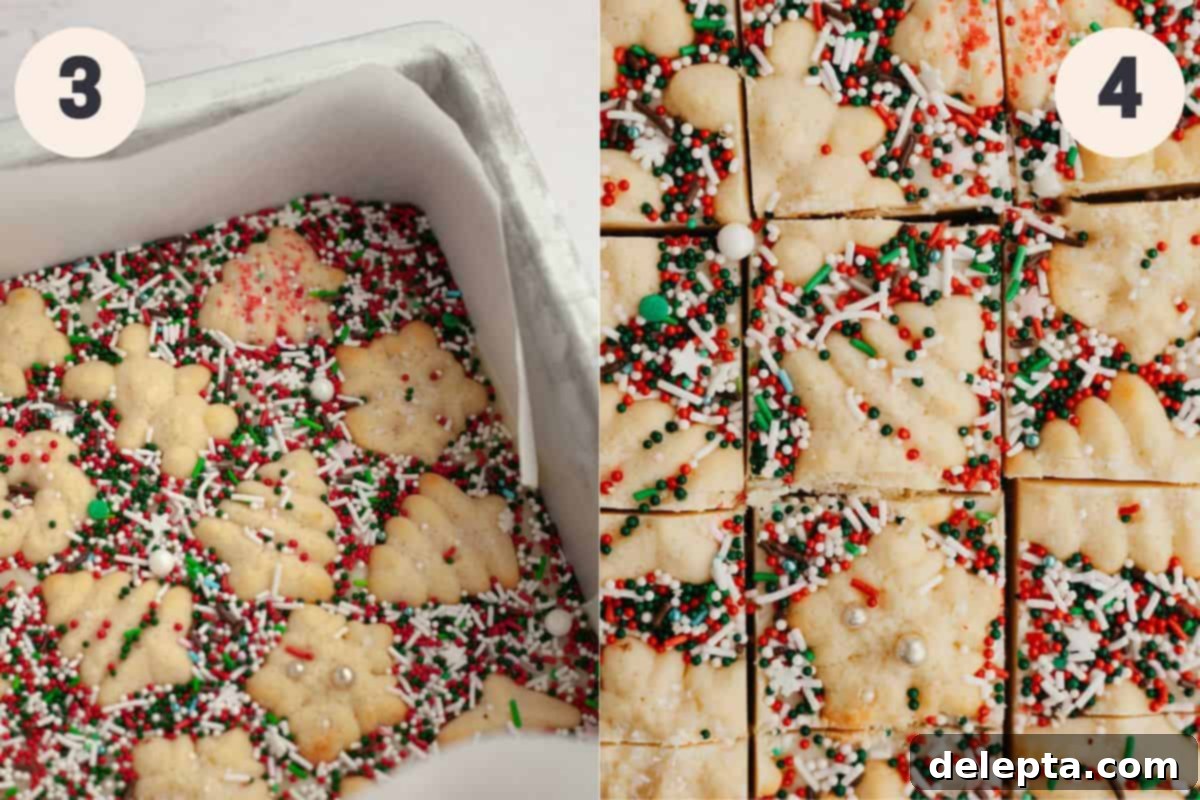
Step 3: Add Your Festive Toppings. This is the fun part where you add your personal touch! Gently press your chosen Christmas cookies on top of the warm, wet fudge mixture. Arrange them in a pattern or scatter them randomly for a rustic look. Immediately after, liberally pour festive red and green sprinkles over the entire surface, filling any empty spaces between the cookies. The warmth of the fudge will help the sprinkles adhere. Remember, the fudge starts to set quickly, so work swiftly to ensure all your delightful toppings stick firmly. If you prefer a simpler look, you can certainly omit the sprinkles.
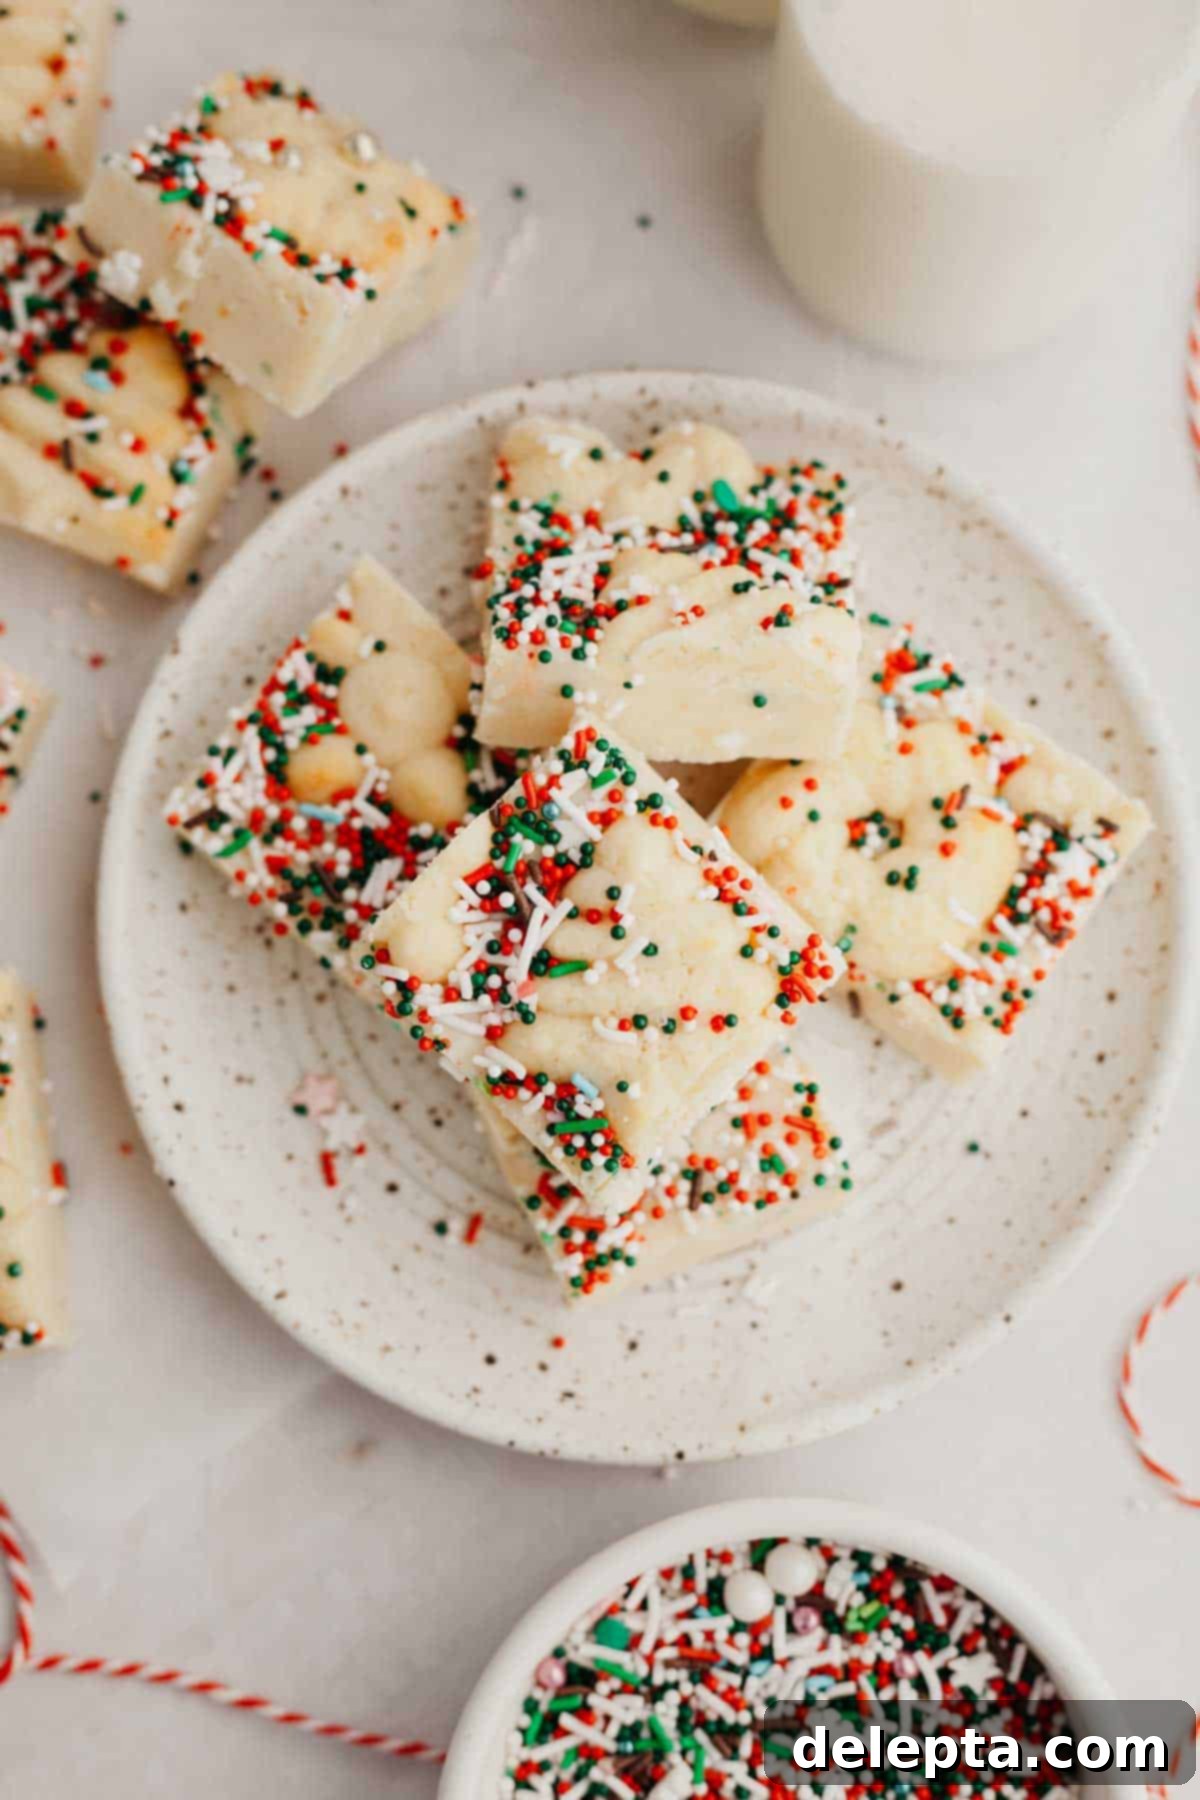
Step 4: Chill to Perfection. Allow the fudge to cool down to room temperature on your countertop first. This prevents drastic temperature changes that can affect texture. Once it’s no longer warm to the touch, carefully transfer the pan to the refrigerator. Let the fudge chill for at least 3 hours. This extended chilling time is essential for the fudge to firm up completely, allowing for clean, precise slices. For best results and the firmest fudge, an overnight chill is often ideal. Once thoroughly chilled, lift the fudge out using the parchment paper handles, place it on a cutting board, and slice it into desired squares.
Expert Tips & Tricks for Perfect Christmas Cookie Fudge
Even though this no-bake Christmas cookie fudge recipe is incredibly easy, a few expert tips can ensure your batch is absolutely perfect every time. Pay attention to these details for the best possible results.
- Accurate Measuring is Key – For truly consistent and foolproof results in any recipe, especially in fudge where ratios are important, I highly recommend using a digital kitchen weighing scale. Measuring ingredients the metric way (grams) is the most accurate method and makes a huge difference in achieving the perfect texture. Volume measurements (cups) can be less precise due to variations in how ingredients are packed.
- Creative Topping Ideas Beyond Sprinkles – While festive sprinkles and Christmas cookies are wonderful, don’t limit your imagination! You could also add crushed candy canes or peppermint candies for a refreshing minty twist, mini chocolate chips (white, milk, or dark), finely chopped nuts (pecans, walnuts, or pistachios), candied ginger, or even a drizzle of contrasting melted chocolate (like dark chocolate over the white fudge) for an extra layer of flavor and visual appeal.
- Act Quickly with Toppings – The no-bake fudge mixture begins to set relatively quickly as it cools. For this reason, it’s essential to add your sprinkles and Christmas cookies as soon as the fudge has been poured into the baking pan. If you wait too long, the surface might become too firm, and your toppings won’t adhere properly, potentially falling off when you slice or serve the fudge.
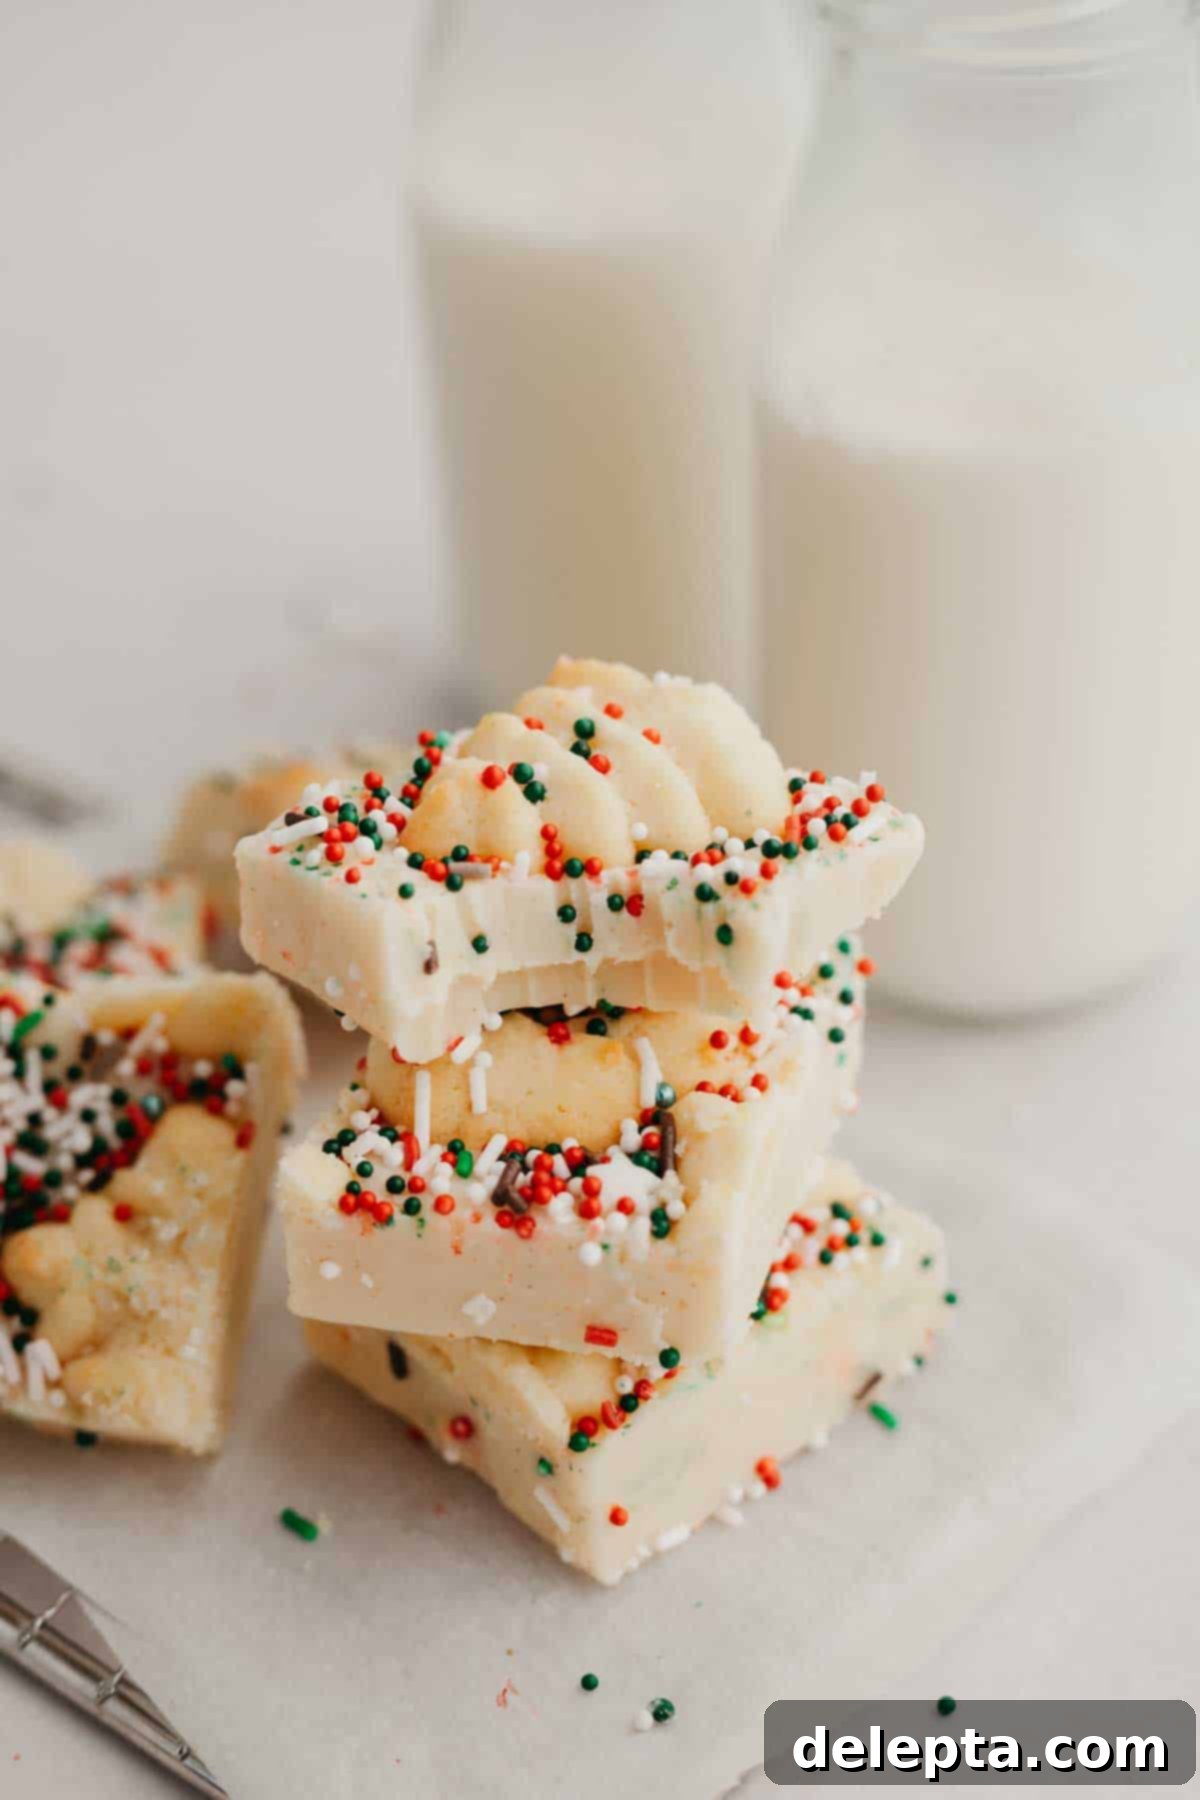
- Refrigeration for Optimal Texture – This is a softer style of fudge, which contributes to its melt-in-your-mouth quality. To maintain its best texture and shape, and to keep it fresh, I strongly recommend storing your Christmas cookie fudge in an airtight container in the refrigerator when you’re not enjoying it. This prevents it from becoming too soft at room temperature and extends its shelf life.
- Achieving Clean Cuts: For perfectly neat squares, use a sharp knife and clean it with hot water and wipe it dry between each cut. This prevents sticking and dragging, giving you beautifully presented pieces of fudge.
- Preventing Scorching: When melting the fudge base, always use medium-low heat. High heat can cause the white chocolate or condensed milk to scorch, resulting in a grainy texture or a burnt taste. Stir constantly and patiently until smooth.
- Pan Preparation: Always line your baking pan with parchment paper, leaving an overhang on the sides. This ensures that you can easily lift the entire slab of fudge out of the pan once it’s set, making slicing a breeze.
- Temperature Matters: Allow the fudge to cool completely to room temperature before transferring it to the fridge. Putting a hot pan directly into a cold refrigerator can create condensation, which might affect the fudge’s texture.
Frequently Asked Questions About Christmas Cookie Fudge
Yes, you can certainly use a 9×9 inch pan if that’s what you have available. However, please note that using a larger pan will result in a thinner layer of fudge. This means your fudge squares will be less thick than if you used an 8×8 pan. The chilling time might also be slightly reduced due to the thinner profile, but ensure it’s fully firm before slicing.
No, it is highly recommended that you do not substitute evaporated milk for sweetened condensed milk in this recipe. These two dairy products are distinctly different, particularly in their sugar content and viscosity. Sweetened condensed milk is thick and very sweet, which is essential for creating the creamy, no-bake fudge texture. Evaporated milk is unsweetened and much thinner, and its use would likely result in a runny, unset fudge that will not firm up properly. This recipe has only been developed and tested with sweetened condensed milk.
When stored properly in an airtight container in the refrigerator, this delicious Christmas cookie fudge will stay fresh for up to 1 week. For longer storage, it can also be frozen.
Absolutely! This Christmas cookie fudge freezes beautifully. Once it’s fully set and sliced, arrange the squares in a single layer on a parchment-lined tray and freeze until solid. Then, transfer the frozen fudge squares to an airtight, freezer-safe container or bag, separating layers with parchment paper to prevent sticking. It can be stored in the freezer for up to 3 months. Thaw in the refrigerator or at room temperature before serving.
The best Christmas cookies are those that hold their shape well and complement the white chocolate flavor. Spritz cookies, sugar cookies, shortbread, and even gingerbread cookies are fantastic choices. You can use mini cookies whole or break larger ones into pieces. The key is to press them gently into the warm fudge so they adhere firmly as it sets.
Creative Variations & Perfect Gifting Ideas
This easy Christmas cookie fudge recipe is wonderfully adaptable. Feel free to get creative with flavors and toppings to make it uniquely yours or to suit different occasions. Here are some ideas to inspire you:
- Flavor Infusions: Beyond vanilla and cinnamon, consider adding a hint of almond extract for a marzipan-like flavor, a touch of peppermint extract (perfect with crushed candy canes), or even orange zest for a bright, citrusy note that complements white chocolate beautifully.
- Chocolate Varieties: While white chocolate is traditional for this festive fudge, you can experiment with other chocolate types. Milk chocolate chips would create a richer, sweeter fudge, while semi-sweet or dark chocolate chips would offer a more intense, less sweet profile. Adjust sweetness levels as needed.
- Nutty Additions: For an extra layer of crunch and flavor, fold in chopped pecans, walnuts, or pistachios into the warm fudge mixture just before pouring it into the pan. This adds a delightful texture contrast.
- Candy Mix-Ins: Besides Christmas cookies, consider incorporating mini marshmallows, M&Ms, or chopped caramels for added chewiness and fun.
- Gifting Presentation: Once your fudge is perfectly set and sliced, arrange it in decorative tins or festive boxes. You can layer the fudge with parchment paper between each piece to prevent sticking. Tie it with a pretty ribbon and add a homemade tag for a truly thoughtful and delicious gift that friends, family, and colleagues will adore.
- Holiday Platters: This fudge makes a stunning addition to any holiday dessert platter. Arrange the squares alongside other festive treats like peppermint bark cookies, gingerbread, or classic sugar cookies for a diverse and appealing spread.
Discover More Festive Holiday Recipes!
If you loved the ease and deliciousness of this no-bake Christmas cookie fudge, you’re in for a treat! The holiday season is a wonderful time to explore new flavors and create cherished memories in the kitchen. Here are some other fantastic recipes perfect for your holiday baking and entertaining:
- No Bake Peanut Butter Fudge
- Peppermint Bark Cookies
- Classic Thumbprint Hershey Kiss Cookies
- No Spread Sugar Cookies
Have you made this incredible No-Bake Christmas Cookie Fudge recipe? We would absolutely love to hear from you! Please take a moment to rate the recipe below and share your experience in the comments section. Don’t forget to connect with me on Instagram @alpineella and Pinterest to share your festive creations! Your feedback and photos bring so much joy.
Recipe Card: Easy No-Bake Christmas Cookie Fudge
Christmas Cookie Fudge
Ella Gilbert
Pin Recipe
Save RecipeSaved!
Equipment
-
1 8×8 baking pan (or 9×9 for thinner squares)
-
Medium Saucepan
-
Rubber Spatula or Wooden Spoon
-
Parchment Paper
Ingredients
- 3 cups good quality white chocolate chips
- 14 ounce can of sweetened condensed milk
- 1 tablespoon unsalted butter
- 2 teaspoons vanilla bean paste
- pinch salt
- pinch ground cinnamon
- Christmas cookies (e.g., spritz, gingerbread, sugar cookies, shortbread) (for topping)
- Optional: Festive sprinkles (red and green for holiday flair)
Instructions
-
Prepare your baking pan: Line an 8×8 inch baking pan with parchment paper, allowing the edges to hang over to create “handles.” This will make removing the set fudge much easier.
-
Combine ingredients for the fudge base: In a medium-sized, heavy-bottomed saucepan, pour in the sweetened condensed milk, unsalted butter, white chocolate chips, vanilla bean paste, pinch of salt, and pinch of ground cinnamon.3 cups white chocolate chips, 14 ounce can of sweetened condensed milk, 2 teaspoons vanilla bean paste, pinch salt, pinch ground cinnamon, 1 tablespoon unsalted butter
-
Melt the fudge mixture: Place the saucepan over medium-low heat. Continuously stir this fudge mixture until the white chocolate chips and butter are completely melted and the mixture is smooth, glossy, and well combined. Do not leave it unattended, as the chocolate can scorch easily at the bottom.
-
Pour, top, and chill: Pour the warm fudge mixture into your prepared pan, spreading it evenly. Immediately scatter your chosen Christmas cookies and festive sprinkles over the top, gently pressing the cookies into the fudge so they adhere. Allow the fudge to cool completely to room temperature (it will be hot!). Once cooled, transfer the pan to the refrigerator and chill for at least 3 hours, or until thoroughly firm, before slicing into squares.Christmas cookies, Festive sprinkles
Notes
Butter: For an exceptionally creamy and rich fudge, I prefer to use European-style butter, such as Kerry Gold, in my recipes. Its higher fat content contributes to a superior mouthfeel and luxurious texture in the finished product.
Salt: The small pinch of salt in this recipe is vital for balancing the sweetness and enhancing the overall flavor. If you’re using kosher salt, follow the recipe’s specified amount. If you only have fine table salt, remember that it’s saltier by volume. As a general rule, halve the amount of salt called for in the recipe if substituting fine salt for kosher salt (e.g., 1 teaspoon kosher salt = ½ teaspoon fine salt).
Storage: To maintain its freshness and delightful texture, store this Christmas cookie fudge in an airtight container. Keep it refrigerated for up to 1 week. For longer storage, this fudge freezes wonderfully for up to 3 months. Just be sure to separate layers with parchment paper if stacking!
Nutrition
