Homemade Bourbon Apple Pie with Flaky Cinnamon Crust: Your Go-To Fall Dessert Recipe
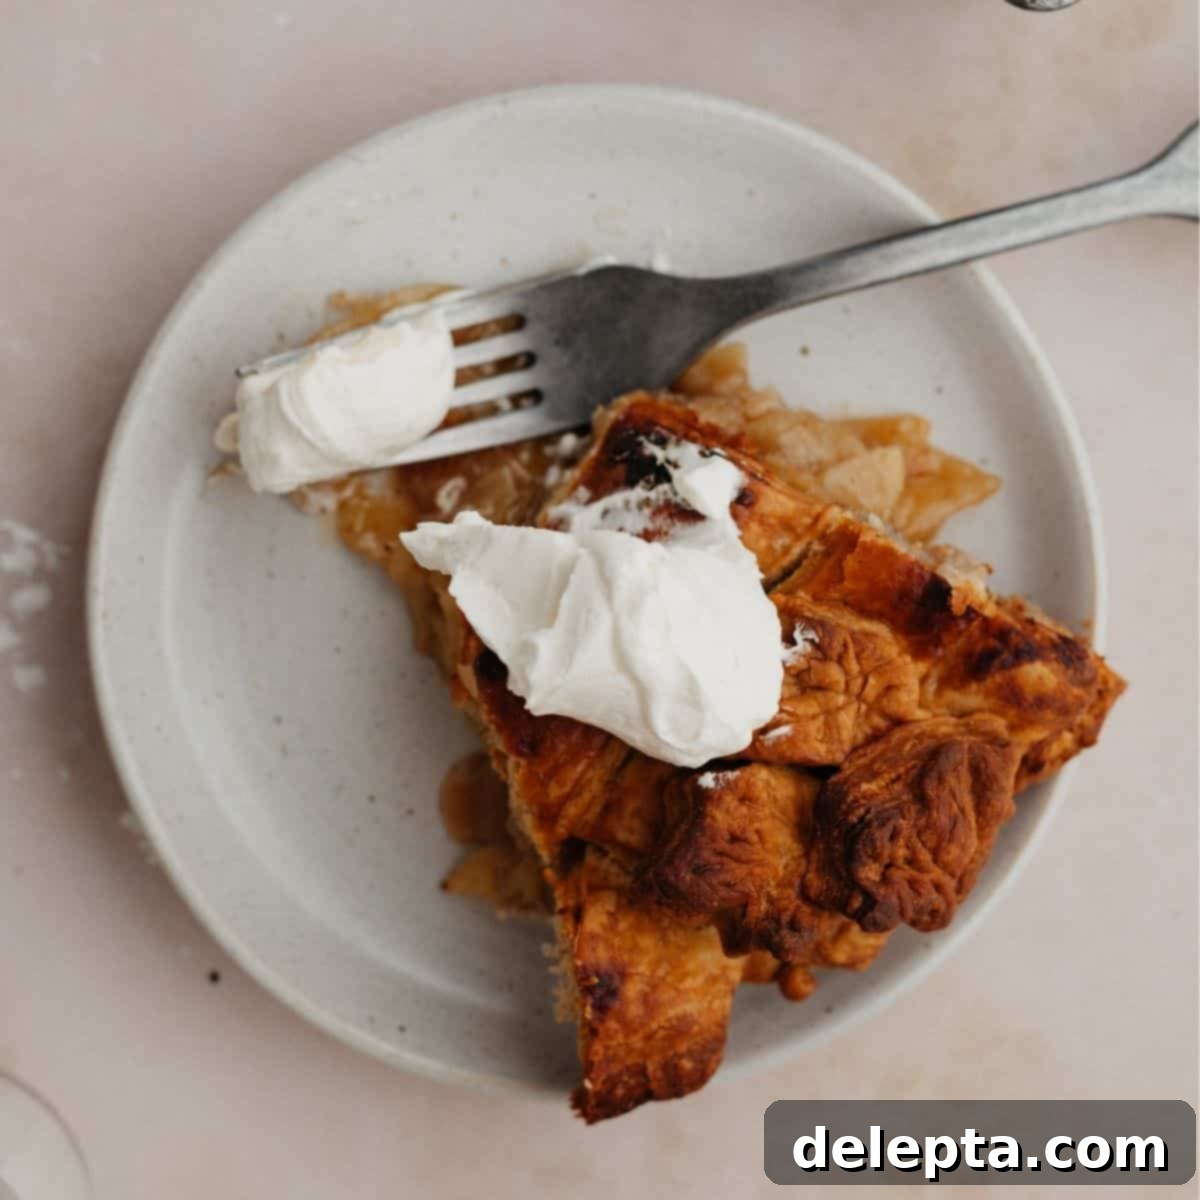
There’s a universally acknowledged comfort that comes with a warm slice of apple pie, but what if you could elevate that experience to something truly extraordinary? Enter the **Bourbon Apple Pie** – a delightful twist on a classic that promises an unforgettable flavor journey. This easy-to-follow recipe brings together the comforting familiarity of a traditional apple pie with the sophisticated warmth of bourbon, all encased in a perfectly flaky, subtly spiced cinnamon pie crust. It’s a dessert that speaks of cozy autumn evenings, festive gatherings, and the joy of homemade baking.
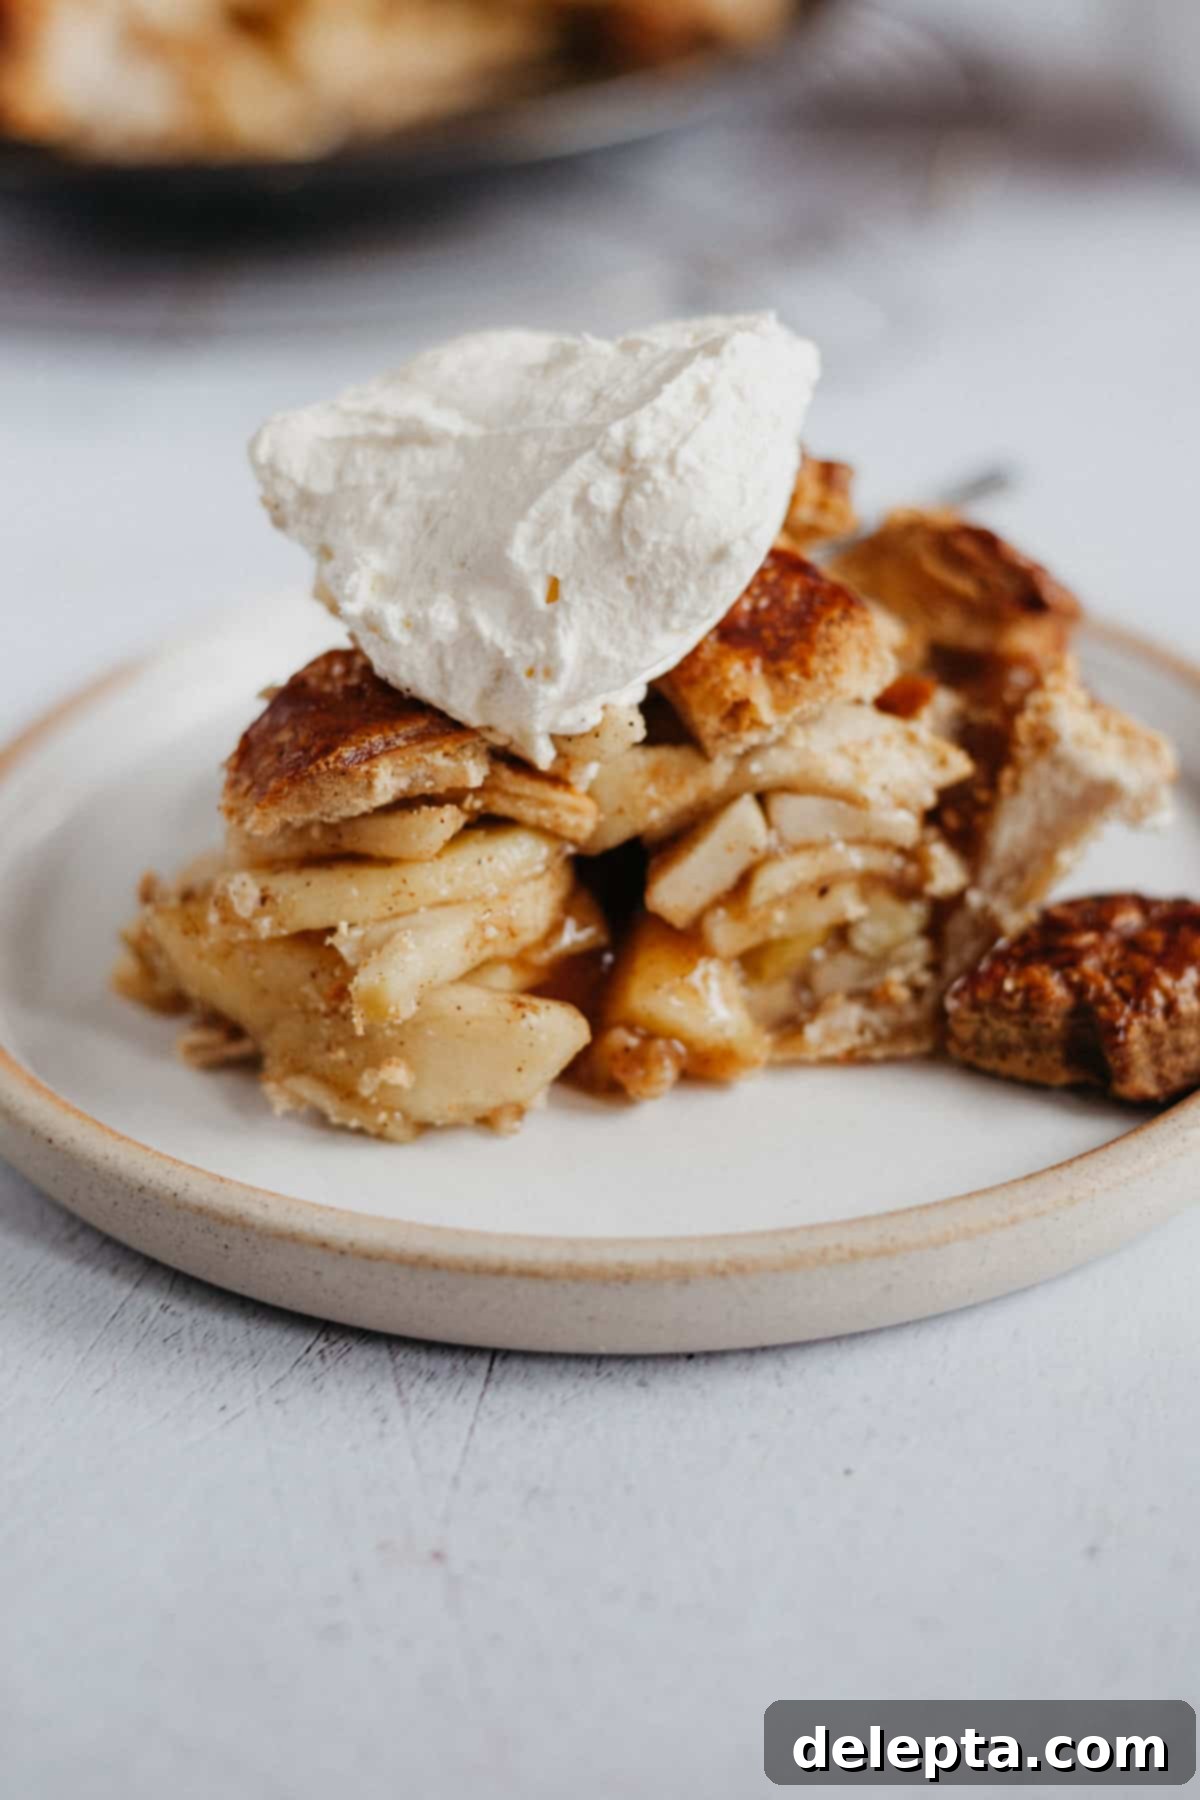
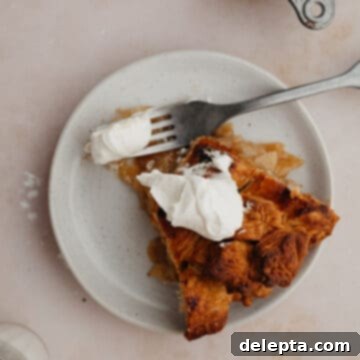
Crafting this exquisite **bourbon-infused apple pie** is simpler than you might think. We’ll guide you through making a tender, all-butter pie dough right in your stand mixer – a method so easy and foolproof, you’ll wonder why you ever did it by hand! This is the same reliable recipe that yields the incredibly flaky crust for our beloved Cherry Rhubarb Pie. The simple yet flavorful apple filling is where the magic truly happens, with a generous splash of bourbon adding a layer of depth and complexity that complements the sweet and tart apples beautifully. You’ll only need about ten staple ingredients for the filling, most of which are likely already in your pantry. Get ready to bake a pie that will impress everyone, then grab a generous slice and top it with a cloud of homemade whipped cream for the ultimate indulgence!
The Ultimate Bourbon Apple Pie: What Makes This Recipe Special?
This isn’t just any apple pie; it’s a celebration of classic flavors enhanced by thoughtful techniques and a touch of spirited flair. Here’s why this **bourbon apple pie recipe** is destined to become your new favorite:
- Effortlessly Flaky, All-Butter Cinnamon Pie Crust: Our signature pie dough is made quickly and easily in a stand mixer, ensuring minimal handling and maximum flakiness. Infused with a hint of cinnamon, this crust provides the perfect aromatic foundation, making it an ideal choice for any autumn or winter gathering. While a stand mixer streamlines the process, don’t worry – you can certainly achieve excellent results by hand as well!
- Perfectly Cooked, Bourbon-Kissed Apple Filling: The filling for this pie is truly exceptional. We begin by macerating the apples, allowing them to release their natural juices and intensify their flavor. A brief cooking process ensures the apples are tender but still retain a pleasant bite, preventing a watery pie. The star ingredient, bourbon, is then folded in, adding a warm, caramel-like note that perfectly balances the sweetness and spice of the apples.
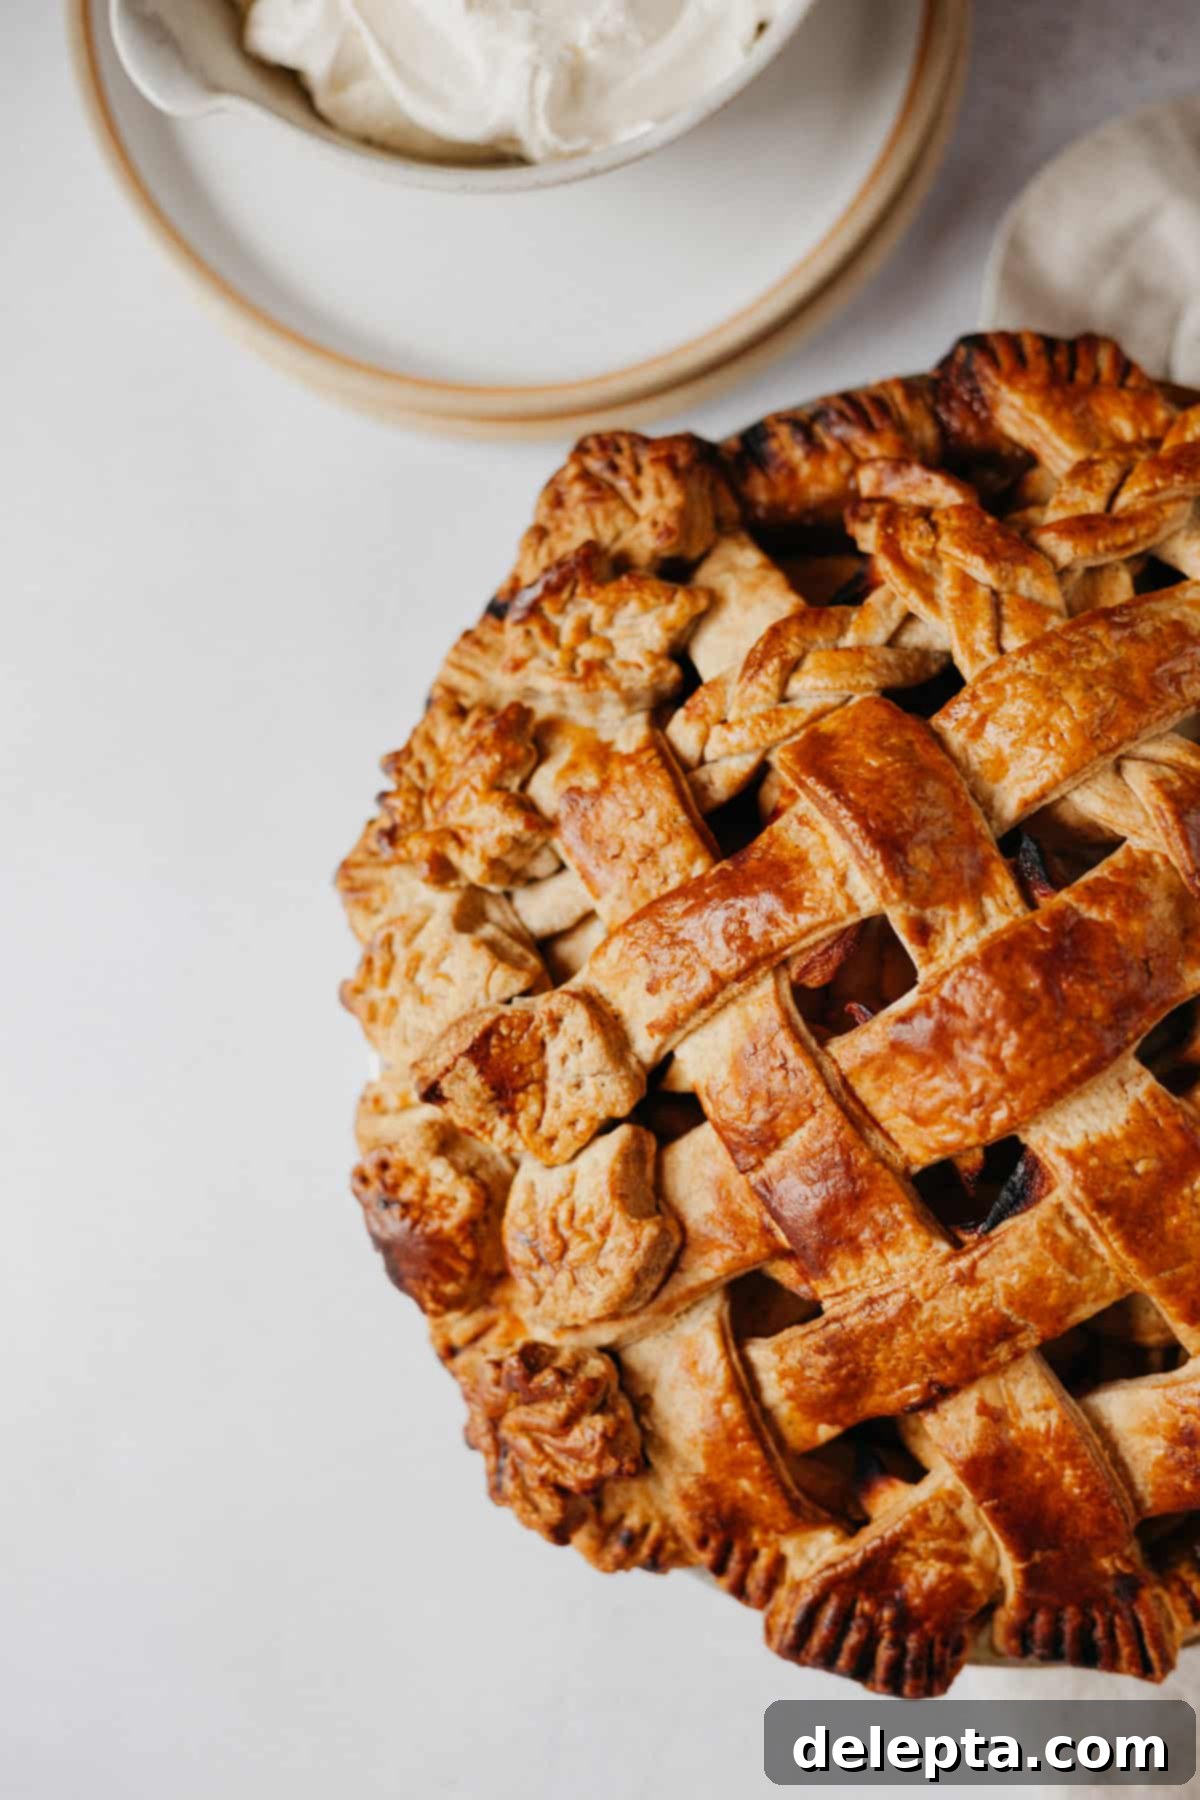
- Stunning Presentation with a Lattice Top: Beyond its incredible taste, this pie is designed to be a showstopper. We’ll walk you through creating an elegant lattice top, which not only looks beautiful but also allows steam to escape, resulting in a perfectly baked crust and filling. And of course, no apple pie is complete without a generous topping of freshly whipped cream to finish it off.
Essential Ingredients for Your Bourbon Apple Pie
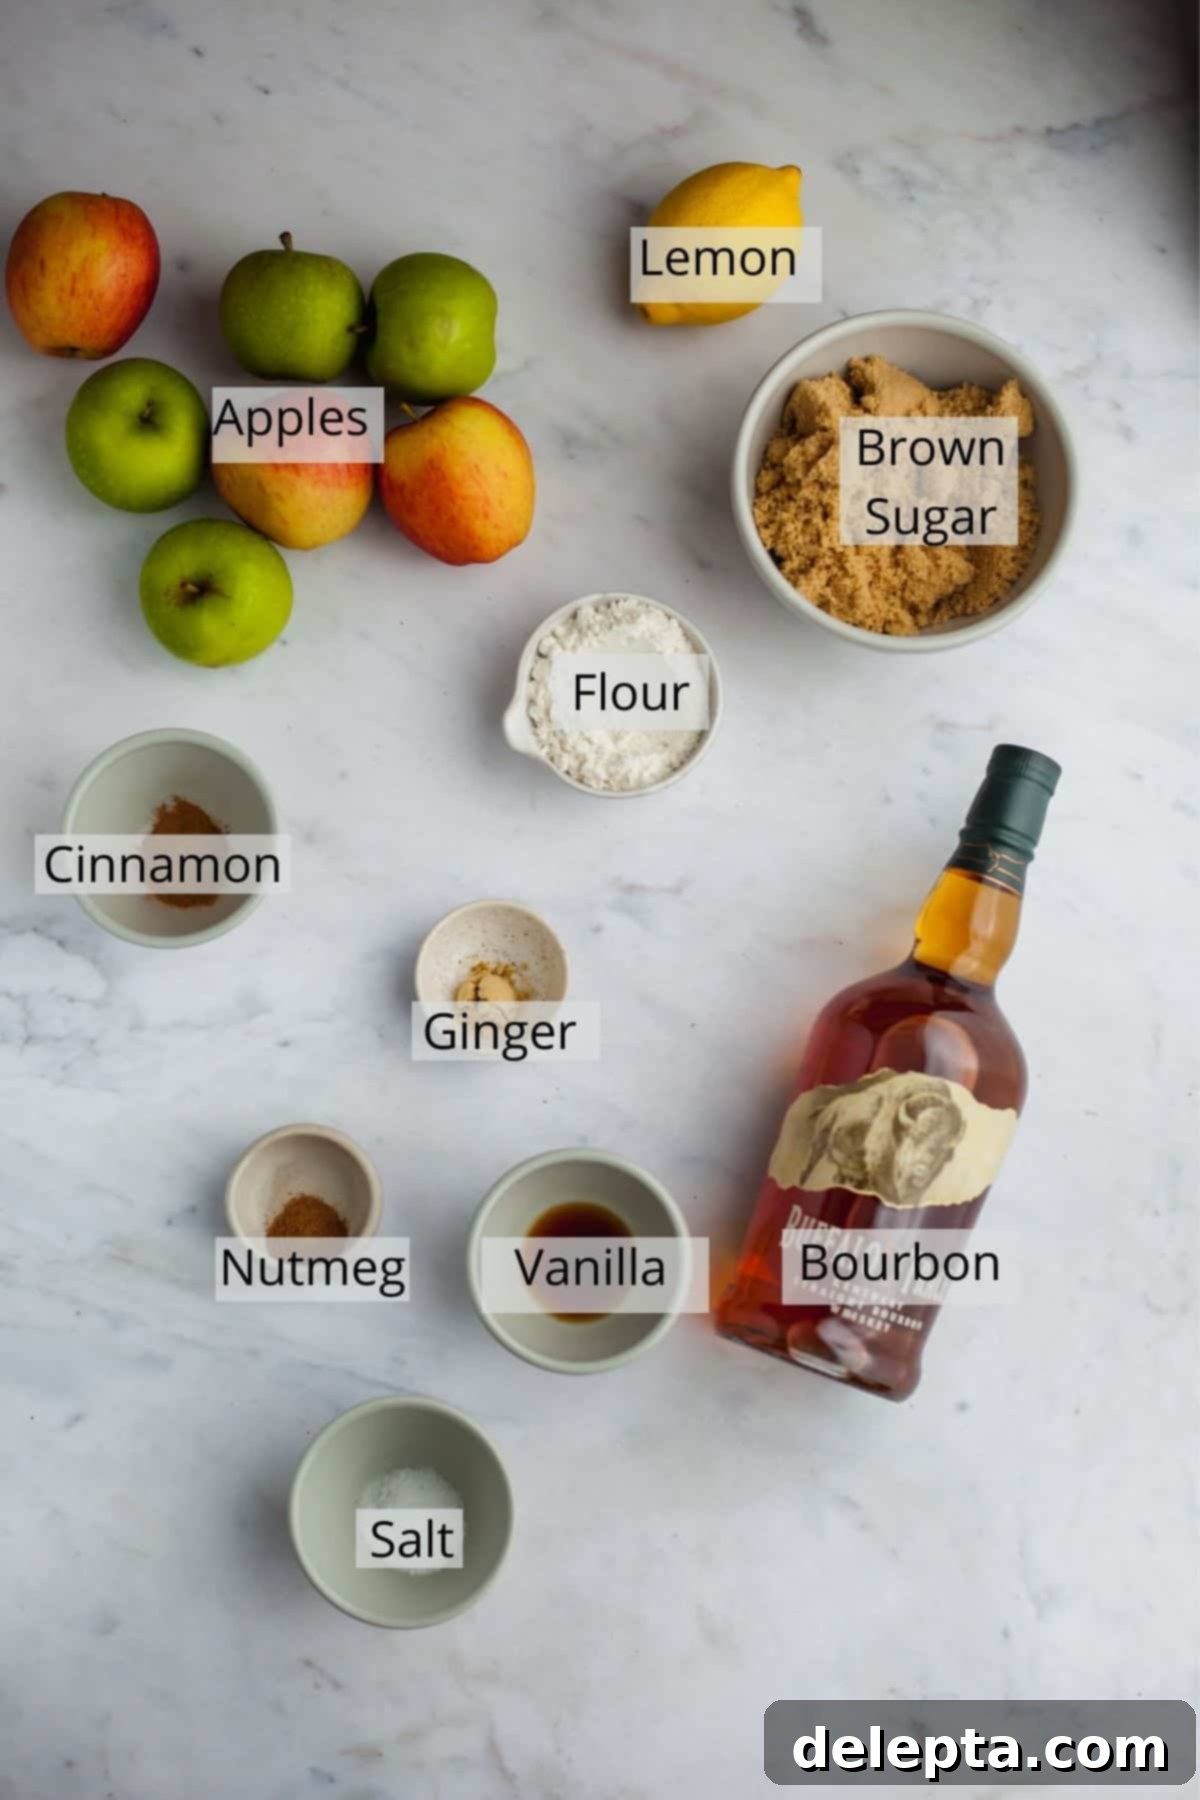
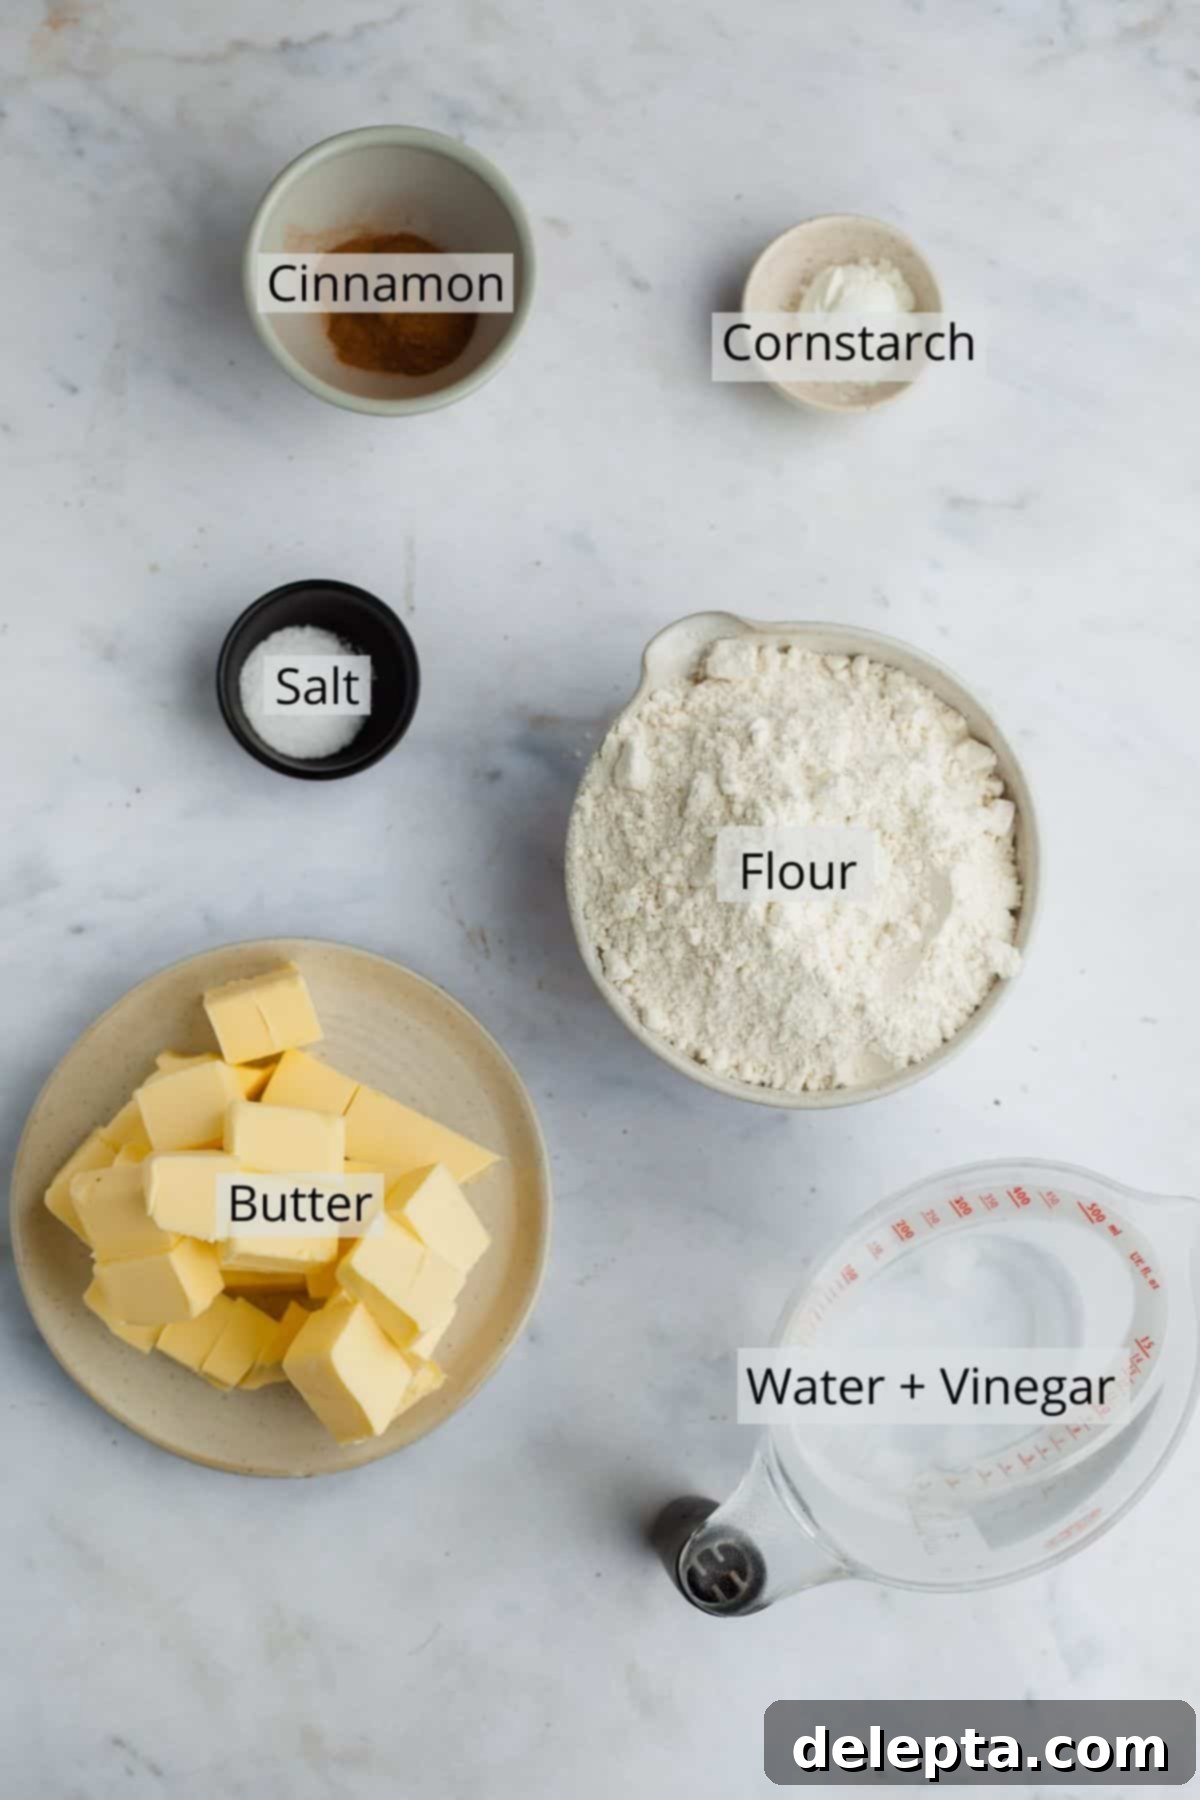
Creating this magnificent **homemade apple pie** requires a few key ingredients for both the rich, flaky crust and the succulent, bourbon-infused filling. Using quality ingredients ensures the best possible flavor and texture.
-

Filling Ingredients -

Pie Dough Ingredients
Ingredient Notes and Tips for a Perfect Pie
Understanding the role of each ingredient can make a significant difference in the outcome of your pie. Here are some detailed notes to guide you:
- Apples: The key to a multi-dimensional apple pie is using a variety of apples. I highly recommend a mix of tart Granny Smith and sweeter, firmer varieties like Braeburn, Honeycrisp, or Gala. Granny Smith apples hold their shape well during baking and provide a crucial tartness that prevents the pie from being overly sweet. Braeburns or Honeycrisps offer a lovely balance of sweet and tangy, along with a firm texture that won’t turn mushy. Using a blend ensures a more complex flavor profile and a more appealing texture in every bite. Ensure they are peeled, cored, and sliced thinly for even cooking.
- Butter: For the ultimate flaky pie dough, unsalted European-style butter is highly recommended. European butter typically has a higher butterfat content (around 82-84%) compared to American butter (around 80%), which results in a richer flavor and a more tender, flakier crust. Brands like Kerrygold are excellent choices. The higher fat content contributes to those desirable layers in the crust. Always ensure your butter is very cold and cut into small cubes, which is crucial for creating pockets of steam during baking that lead to flakiness. If European-style butter isn’t available, use the coldest unsalted butter you can find.
- Spices: A carefully chosen blend of spices truly elevates the apple filling. This recipe calls for a fragrant mix of ground cinnamon, nutmeg, and ginger. Cinnamon is the quintessential apple pie spice, providing warmth and sweetness. Nutmeg adds a subtle, earthy depth, while ginger introduces a gentle, zesty heat that complements the apples without overpowering them. This combination creates a rich, inviting aroma and a perfectly balanced taste that screams “fall.”
- Vinegar (Optional for Dough): While optional, adding a small amount of white wine vinegar to your ice water for the pie dough can significantly improve its texture. The acidity in the vinegar helps to tenderize the dough by interfering with gluten development, resulting in a more tender and less chewy crust. It also helps prevent oxidation, keeping the dough from turning gray. You won’t taste the vinegar in the final baked pie, but you’ll appreciate the enhanced flakiness. Ensure the water is ice cold for best results.
- Bourbon: The star ingredient of this specialty pie, bourbon, adds a wonderfully complex, warm, and slightly caramelized flavor to the apple filling. While most of the alcohol bakes off, the distinctive notes of vanilla, oak, and caramel remain, creating a truly unique and irresistible pie. Any good quality bourbon will work beautifully here. If you prefer a non-alcoholic version, you can substitute the bourbon with an equal amount of apple juice, apple cider, or even a dash of bourbon-flavored extract mixed with water, though the flavor profile will be slightly different.
- Brown Sugar vs. White Sugar: We opt for light brown sugar in the filling because its molasses content adds moisture, a deeper caramel flavor, and a softer texture to the apples compared to granulated white sugar. This richness is essential for the depth of flavor in a **bourbon apple pie**.
- Lemon Juice: Fresh lemon juice is vital in the apple filling. It prevents the apples from browning too quickly and, more importantly, brightens their flavor, balancing the sweetness of the sugar and the richness of the spices and bourbon. It ensures the pie tastes fresh and vibrant.
Step-by-Step Guide to Making Your Bourbon Apple Pie
Baking this Bourbon Apple Pie is a rewarding process, made easier with our detailed instructions. We’ll start with the flaky cinnamon crust, then move on to the luscious apple filling, and finally, the assembly and baking.
-

Step One -

Step Two
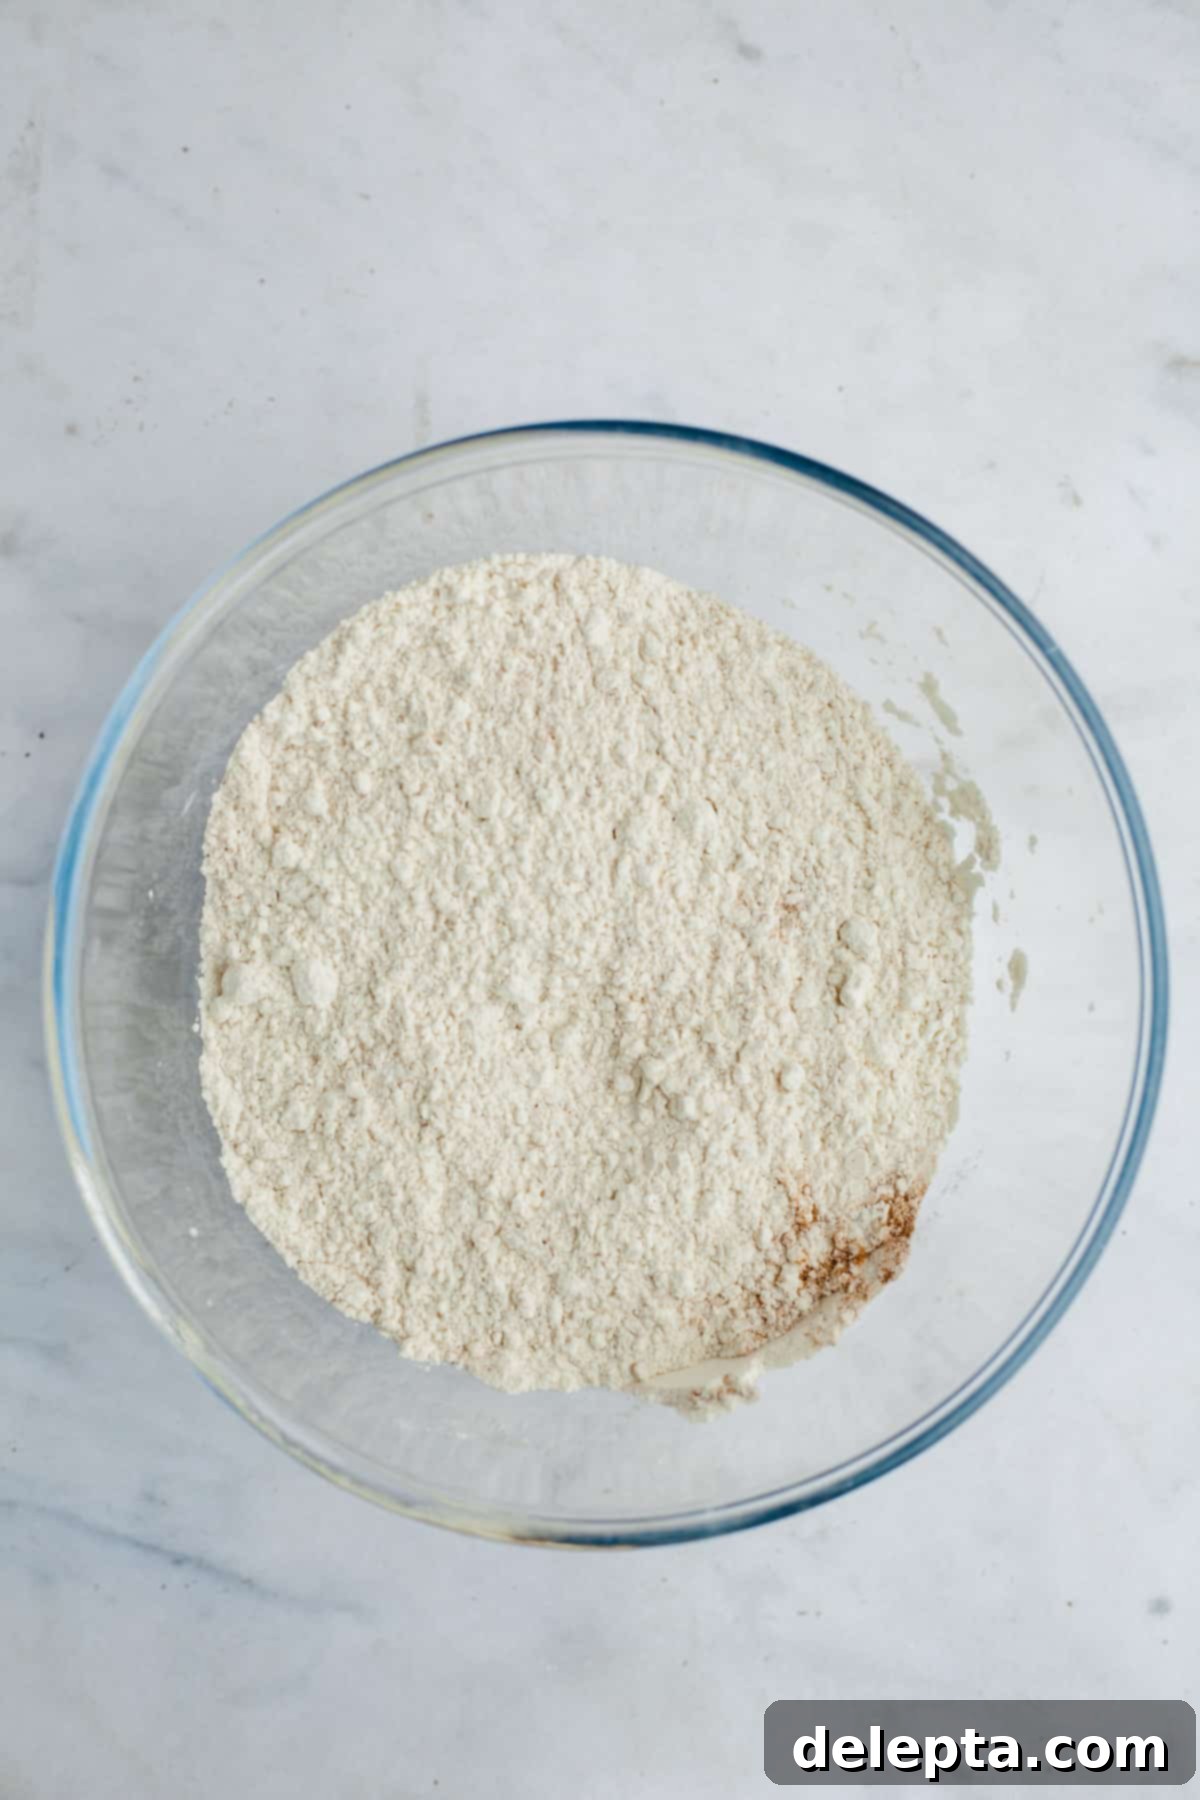
Step One: Prepare Your Dough Ingredients. In a large mixing bowl, thoroughly whisk together all the dry ingredients for your pie dough: flour, cinnamon, and kosher salt. Cinnamon adds a wonderful warmth to the crust that perfectly complements the apple filling. Next, cut your very cold butter into ½-inch cubes and spread them out on a plate. In a separate jug, mix together the ice water and white wine vinegar (if using). The colder your ingredients, the flakier your crust will be, so it’s essential to keep everything chilled. Place both the bowl of dry ingredients and the plate of butter cubes, along with the jug of wet ingredients, into the fridge for at least 15 minutes. You can even add a few ice cubes to the water to ensure it stays extra cold. This chilling step is non-negotiable for a truly flaky pastry.
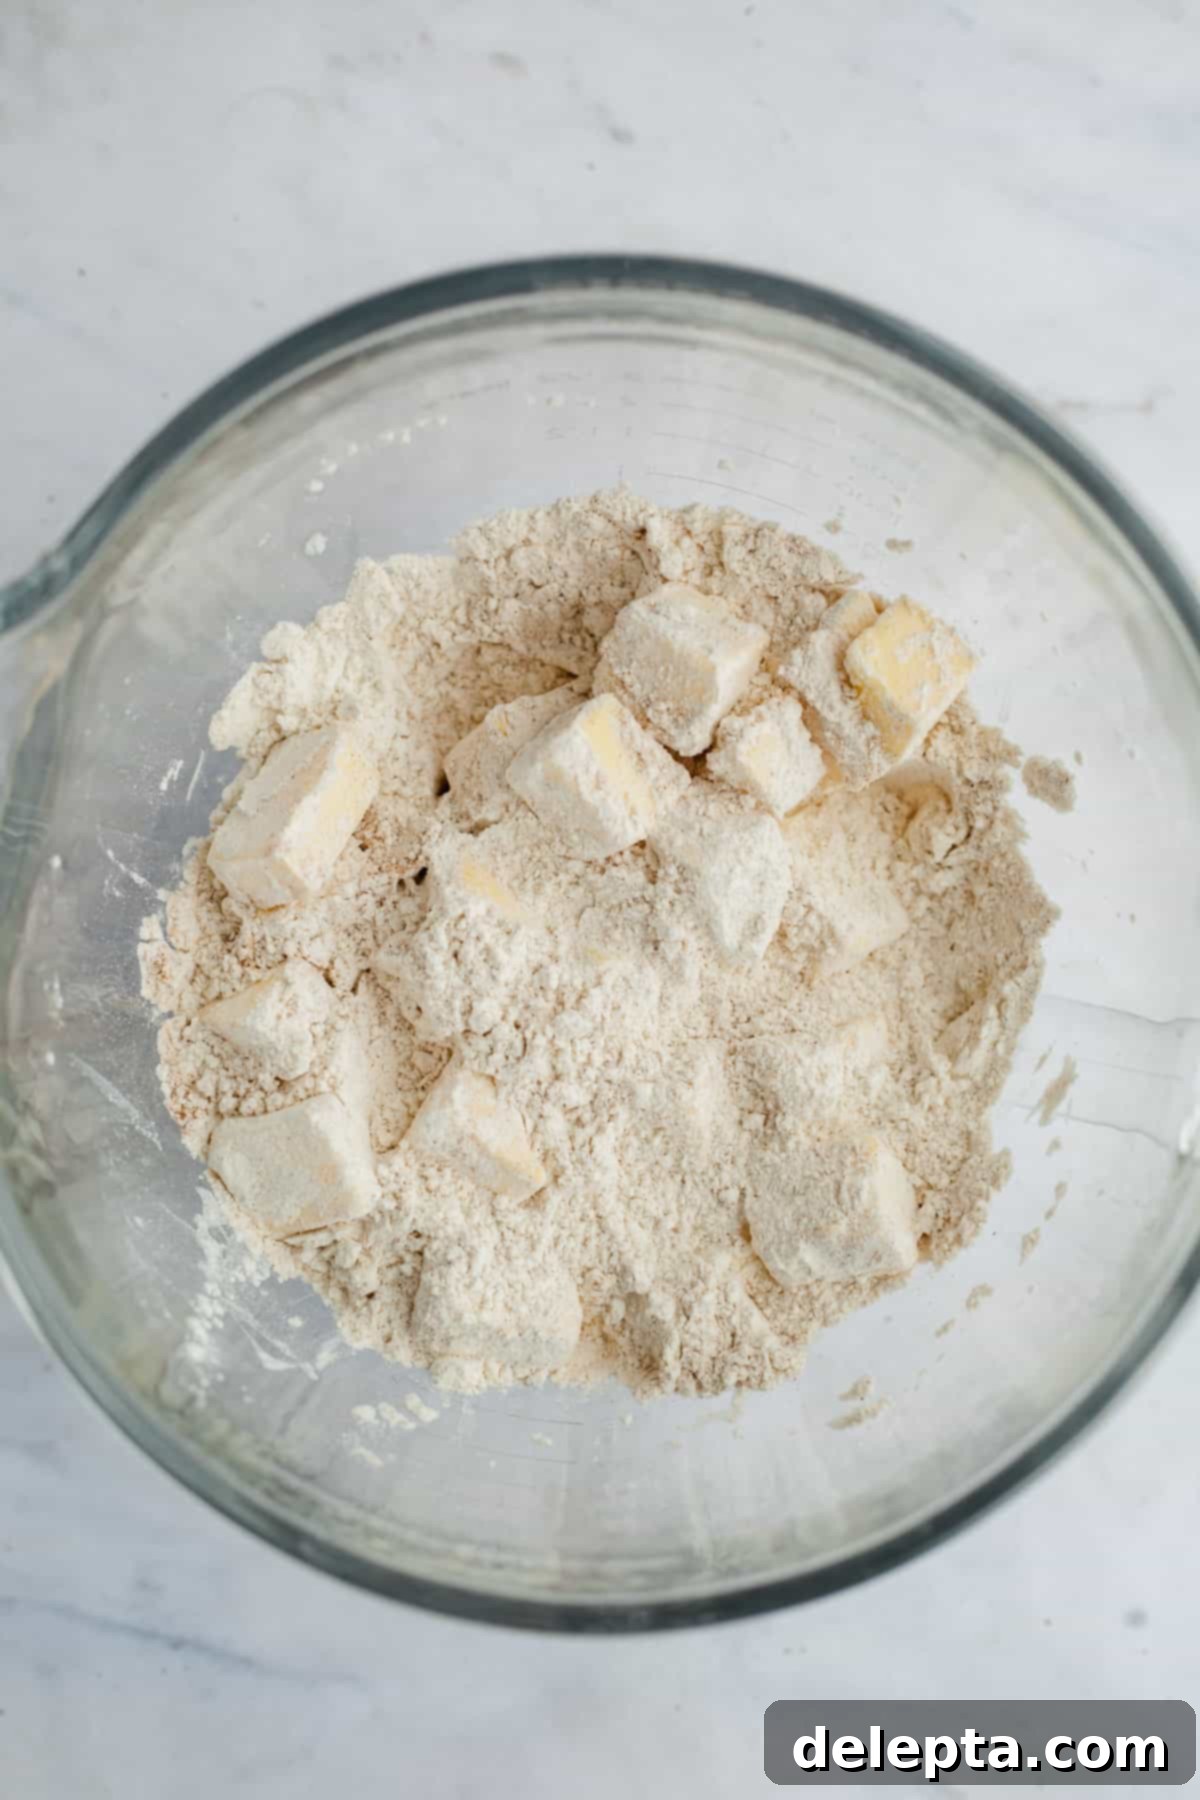
Step Two: Coat the Butter. Once thoroughly chilled, transfer the dry ingredients to the bowl of your stand mixer, fitted with the paddle attachment. Add the cold butter cubes to the flour mixture. Gently toss the butter cubes with the dry ingredients using a spoon or your hands, ensuring that each cube is completely coated in flour. This flour coating acts as a barrier, preventing the butter from melting too quickly and promoting those distinct layers of flaky crust. The goal here is to keep the butter as cold and separate as possible before mixing.
-

Step Three -

Step Four
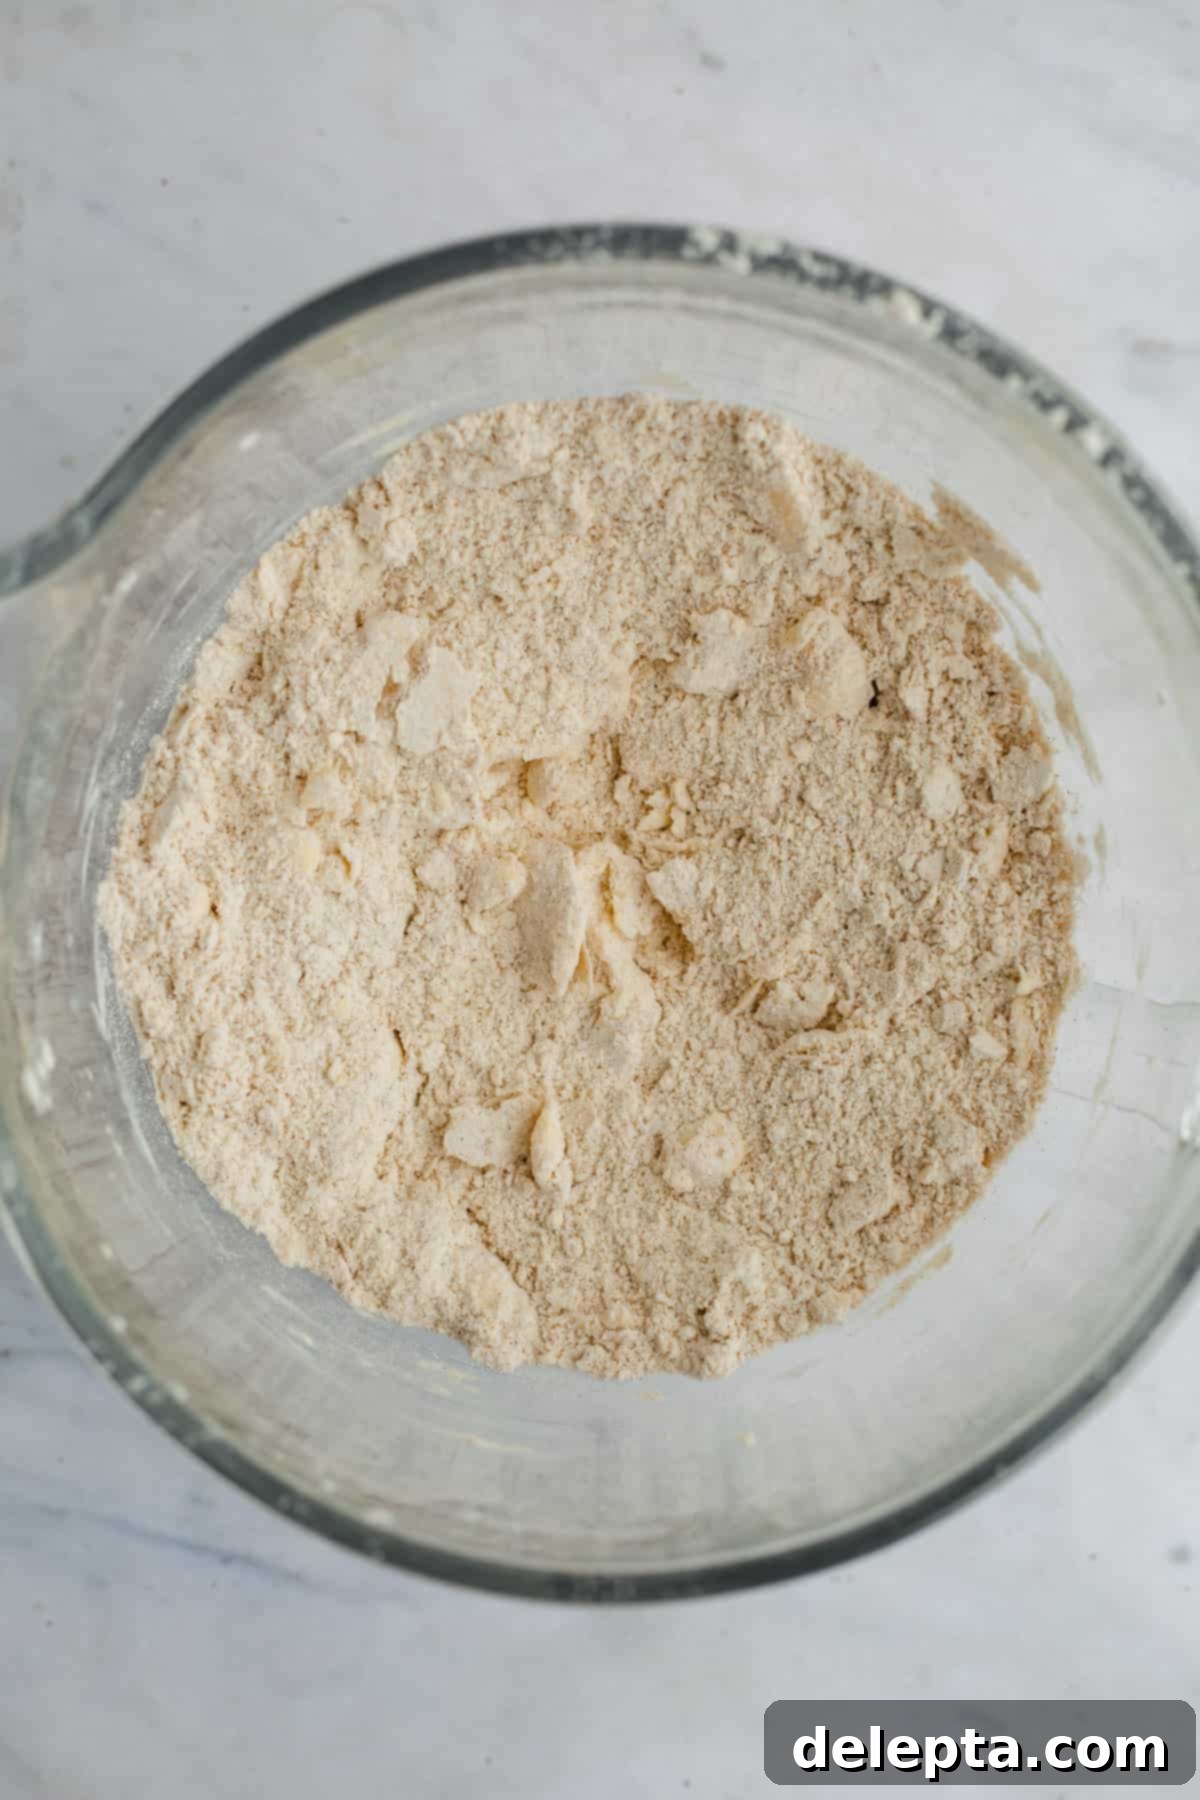
Step Three: Incorporate the Butter. With the butter cubes coated in flour within your stand mixer bowl, set the mixer speed to low. Allow it to mix for approximately 2 minutes. The goal here is to break down the butter into smaller, pea-sized pieces, but not to fully incorporate it into the flour. These small chunks of butter are what will create those desirable flaky layers in your pie crust as they melt and release steam during baking. If mixing by hand, you can use a pastry blender, two knives, or your fingertips to cut the butter into the flour until it resembles coarse meal with some pea-sized pieces remaining.
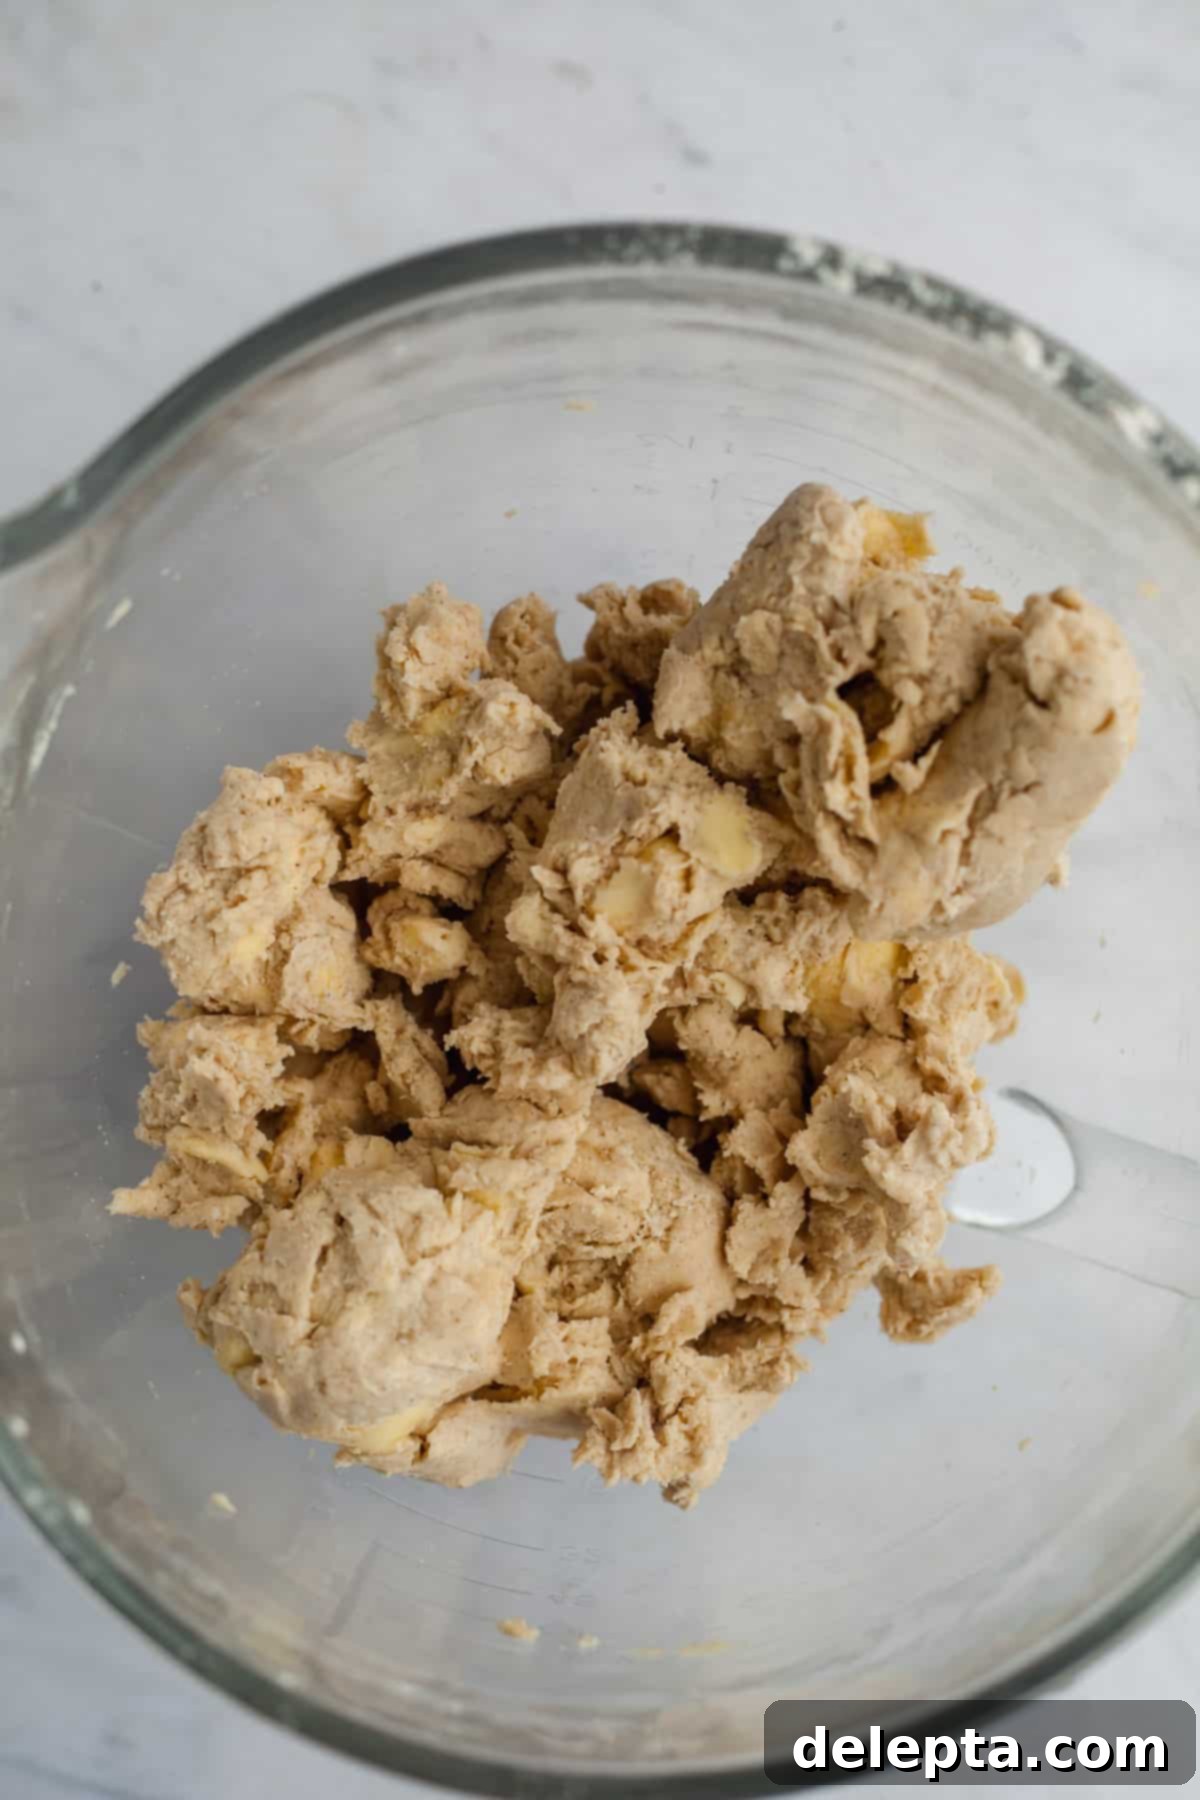
Step Four: Add the Liquid. While the mixer is still running on low speed, slowly and gradually pour in the chilled water and vinegar mixture. You might not need all of the liquid. Add it just until the dough comes together and looks moist enough to form a ball, but is not sticky. The dough should still appear a bit shaggy. Over-mixing at this stage can develop too much gluten, resulting in a tough crust. If mixing by hand, create a well in the center of your dry ingredients, pour in the liquid, and gently toss with your hands until just combined.
-

Step Five -

Step Six
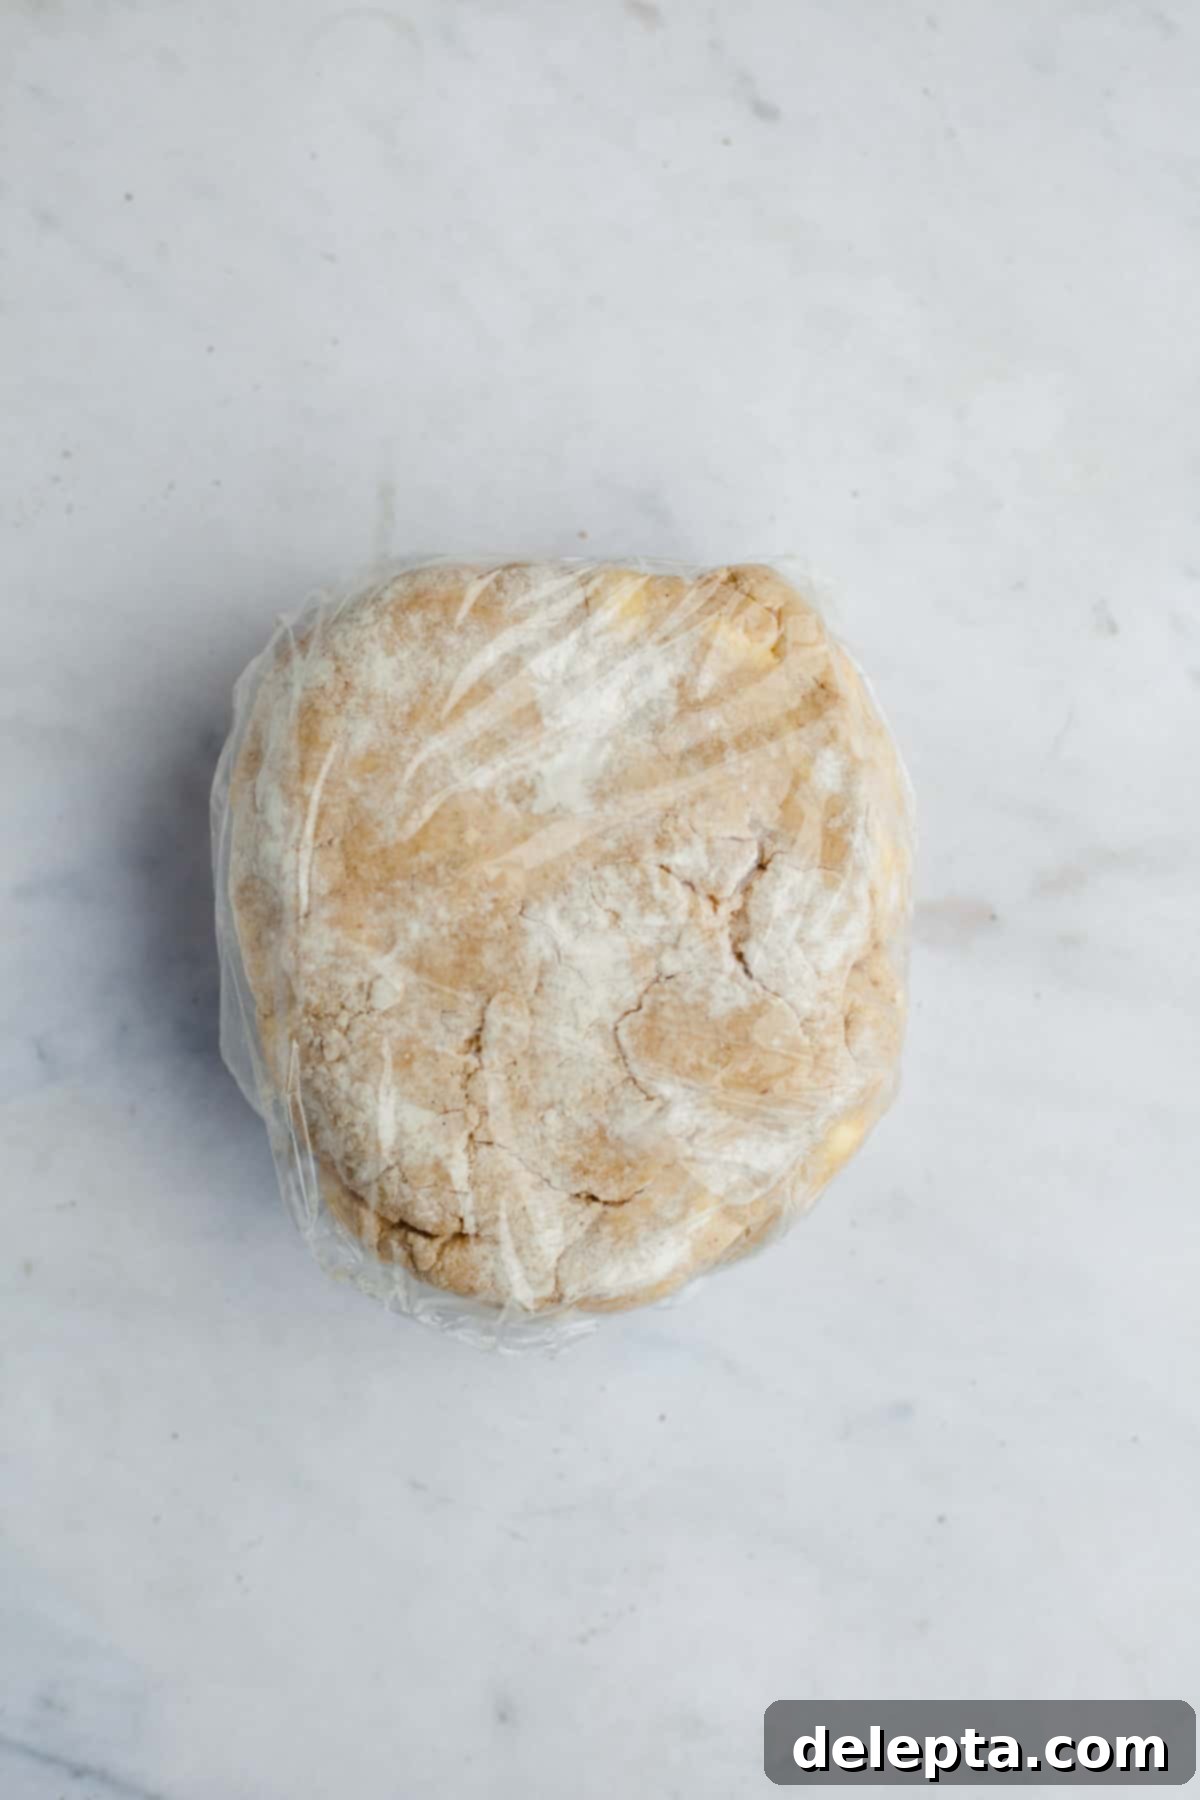
Step Five: Chill and Laminate the Dough. Turn the dough out onto a lightly floured surface and gently bring it together to form a rough disc. Avoid overworking it. Wrap the disc tightly in plastic wrap and chill it in the refrigerator for at least 1 hour. This initial chill allows the gluten to relax and the butter to firm up. After this first chill, roll out the dough on a lightly floured surface into a rectangle about ¼ inch thick. To achieve an even flakier crust, perform a simple lamination: fold the dough into thirds, like a letter envelope. Then, fold it in half again. This layering technique creates more distinct butter pockets. Split the dough into two equal portions, wrap each half securely in plastic wrap, and refrigerate for a minimum of 2 hours, or ideally, overnight. This longer chill is crucial for handling the dough and ensuring a supremely flaky texture when baked.
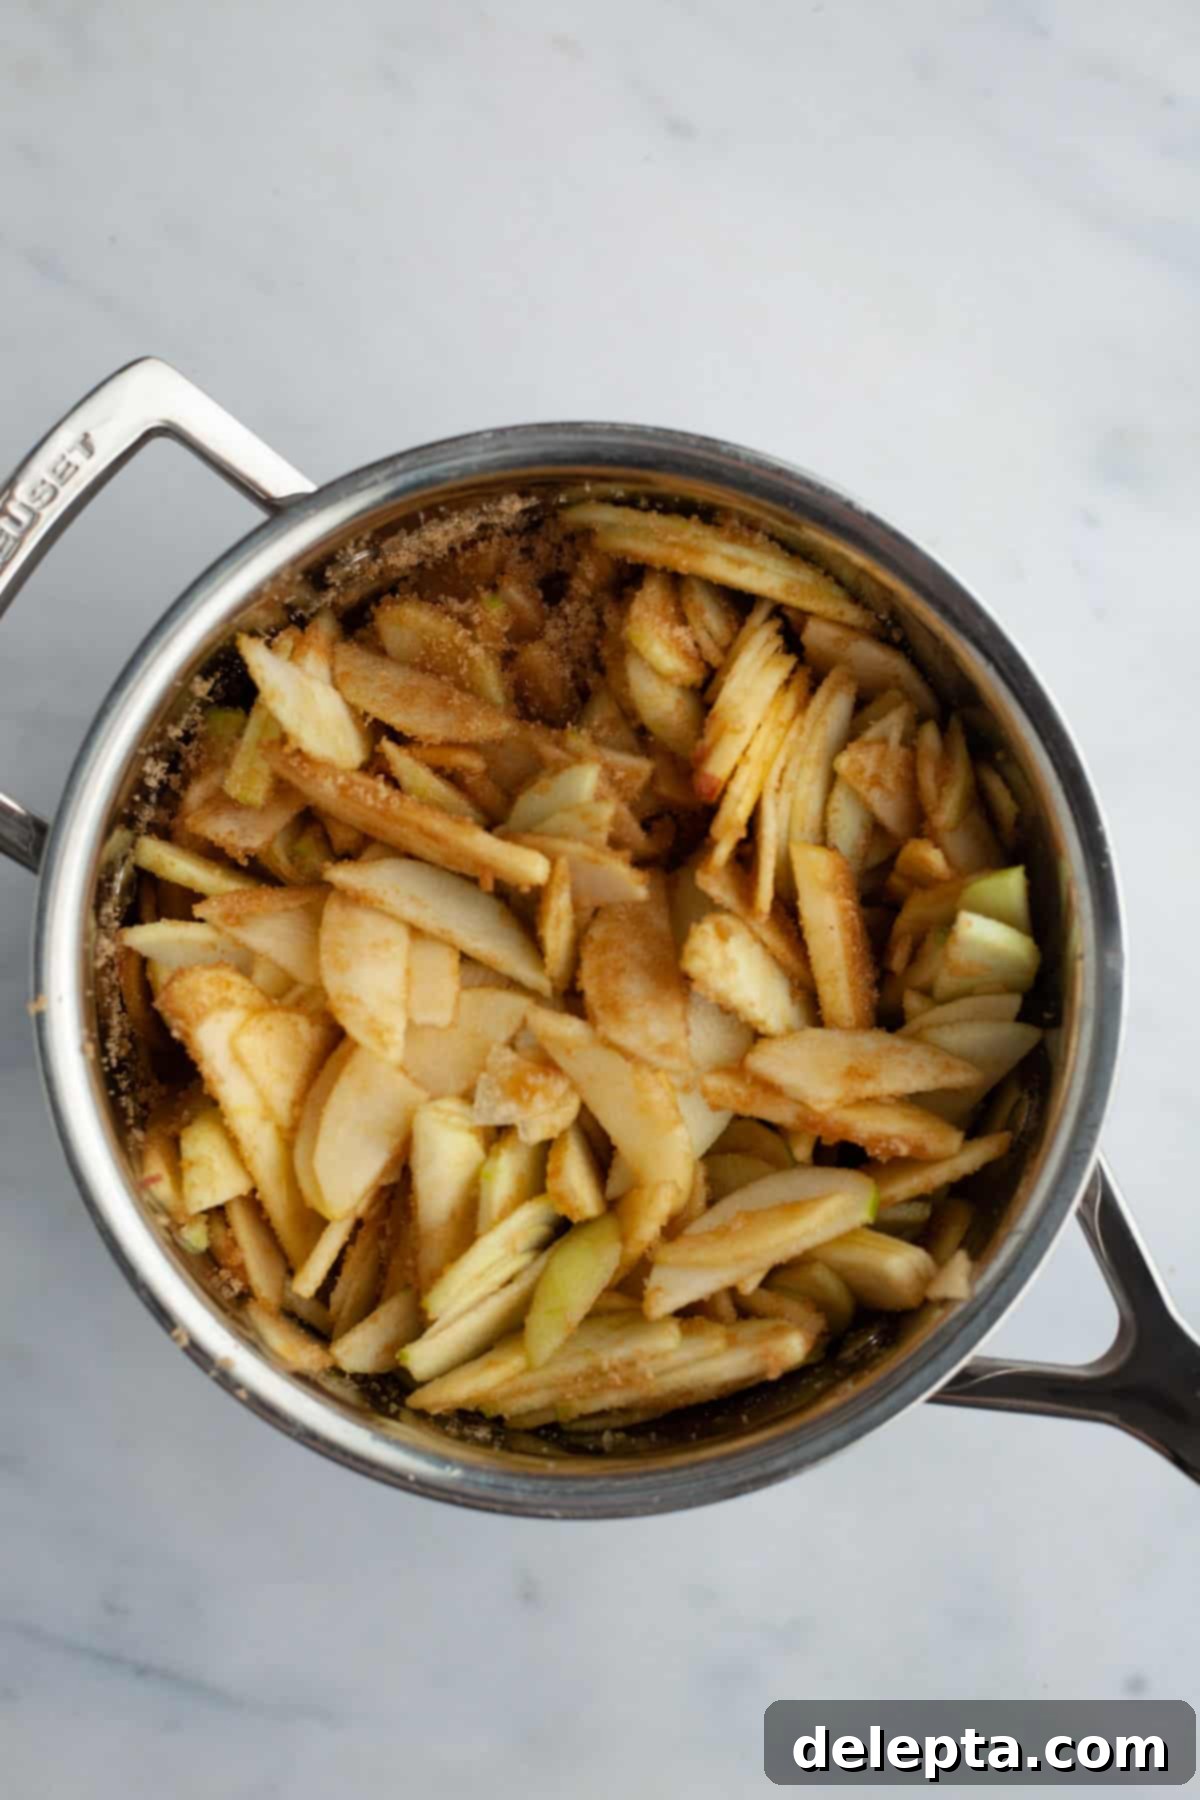
Step Six: Macerate the Apples. While your dough is chilling, begin preparing the flavorful **bourbon apple pie filling**. In a medium-sized pot or large bowl, combine your thinly sliced apples, light brown sugar, and fresh lemon juice. Toss everything together until the apples are well coated. Let this mixture sit for 30-45 minutes at room temperature. This process, called maceration, allows the sugar to draw out moisture from the apples, creating a natural syrup and intensifying their flavor. This step is essential for preventing a dry pie and ensuring the filling is perfectly moist and flavorful.
-

Step Seven -

Step Eight
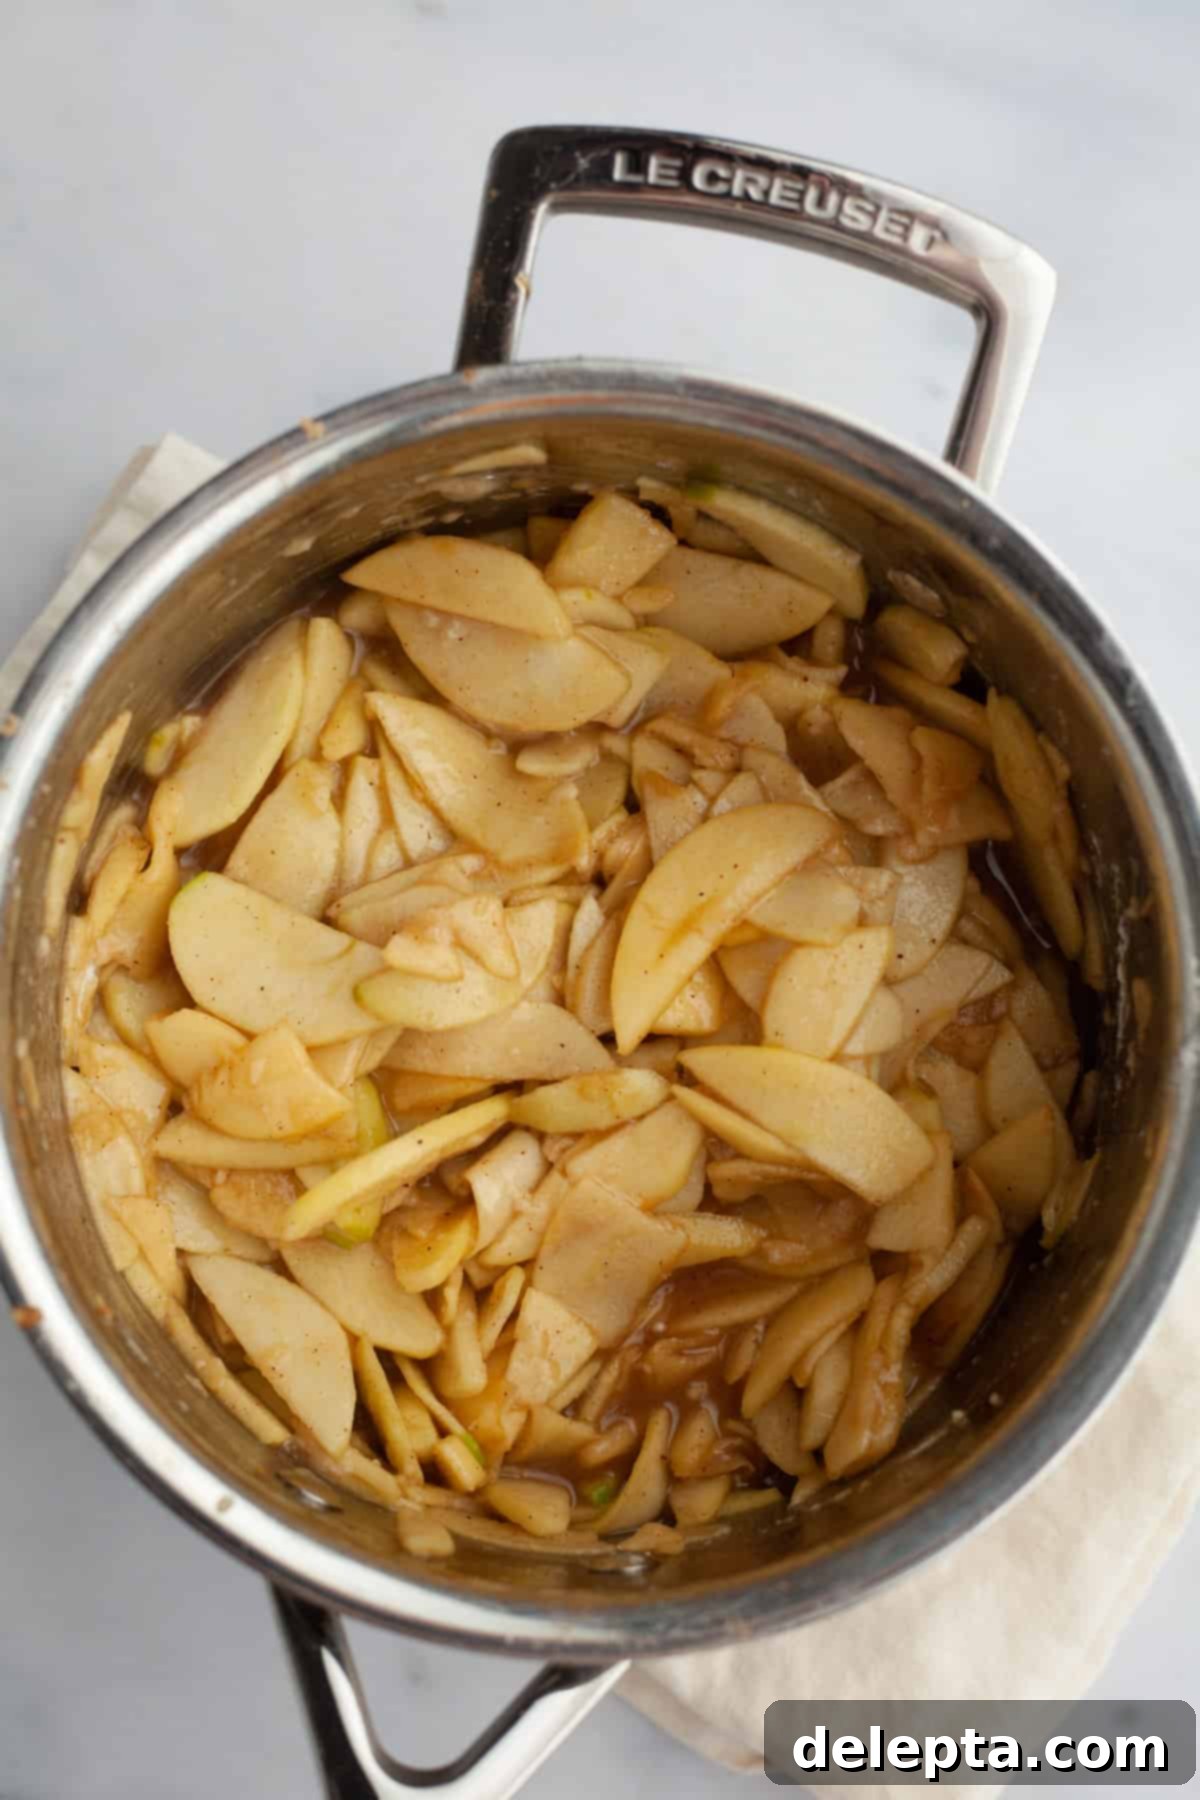
Step Seven: Cook and Flavor the Filling. After maceration, sprinkle your prepared spices (cinnamon, nutmeg, ginger), vanilla extract, and kosher salt over the apple mixture in the pot. Stir well to combine. Heat the mixture over medium heat for 5-8 minutes, stirring occasionally. The apples will soften slightly, and the juices will thicken into a glorious syrup. Once the apples are tender-crisp, remove the pot from the heat. Now for the star ingredient: add the bourbon and the flour, mixing thoroughly until the flour is completely incorporated and no lumps remain. The flour acts as a thickener, ensuring your pie filling sets perfectly. Adding the bourbon off the heat helps preserve its delicate flavor notes.
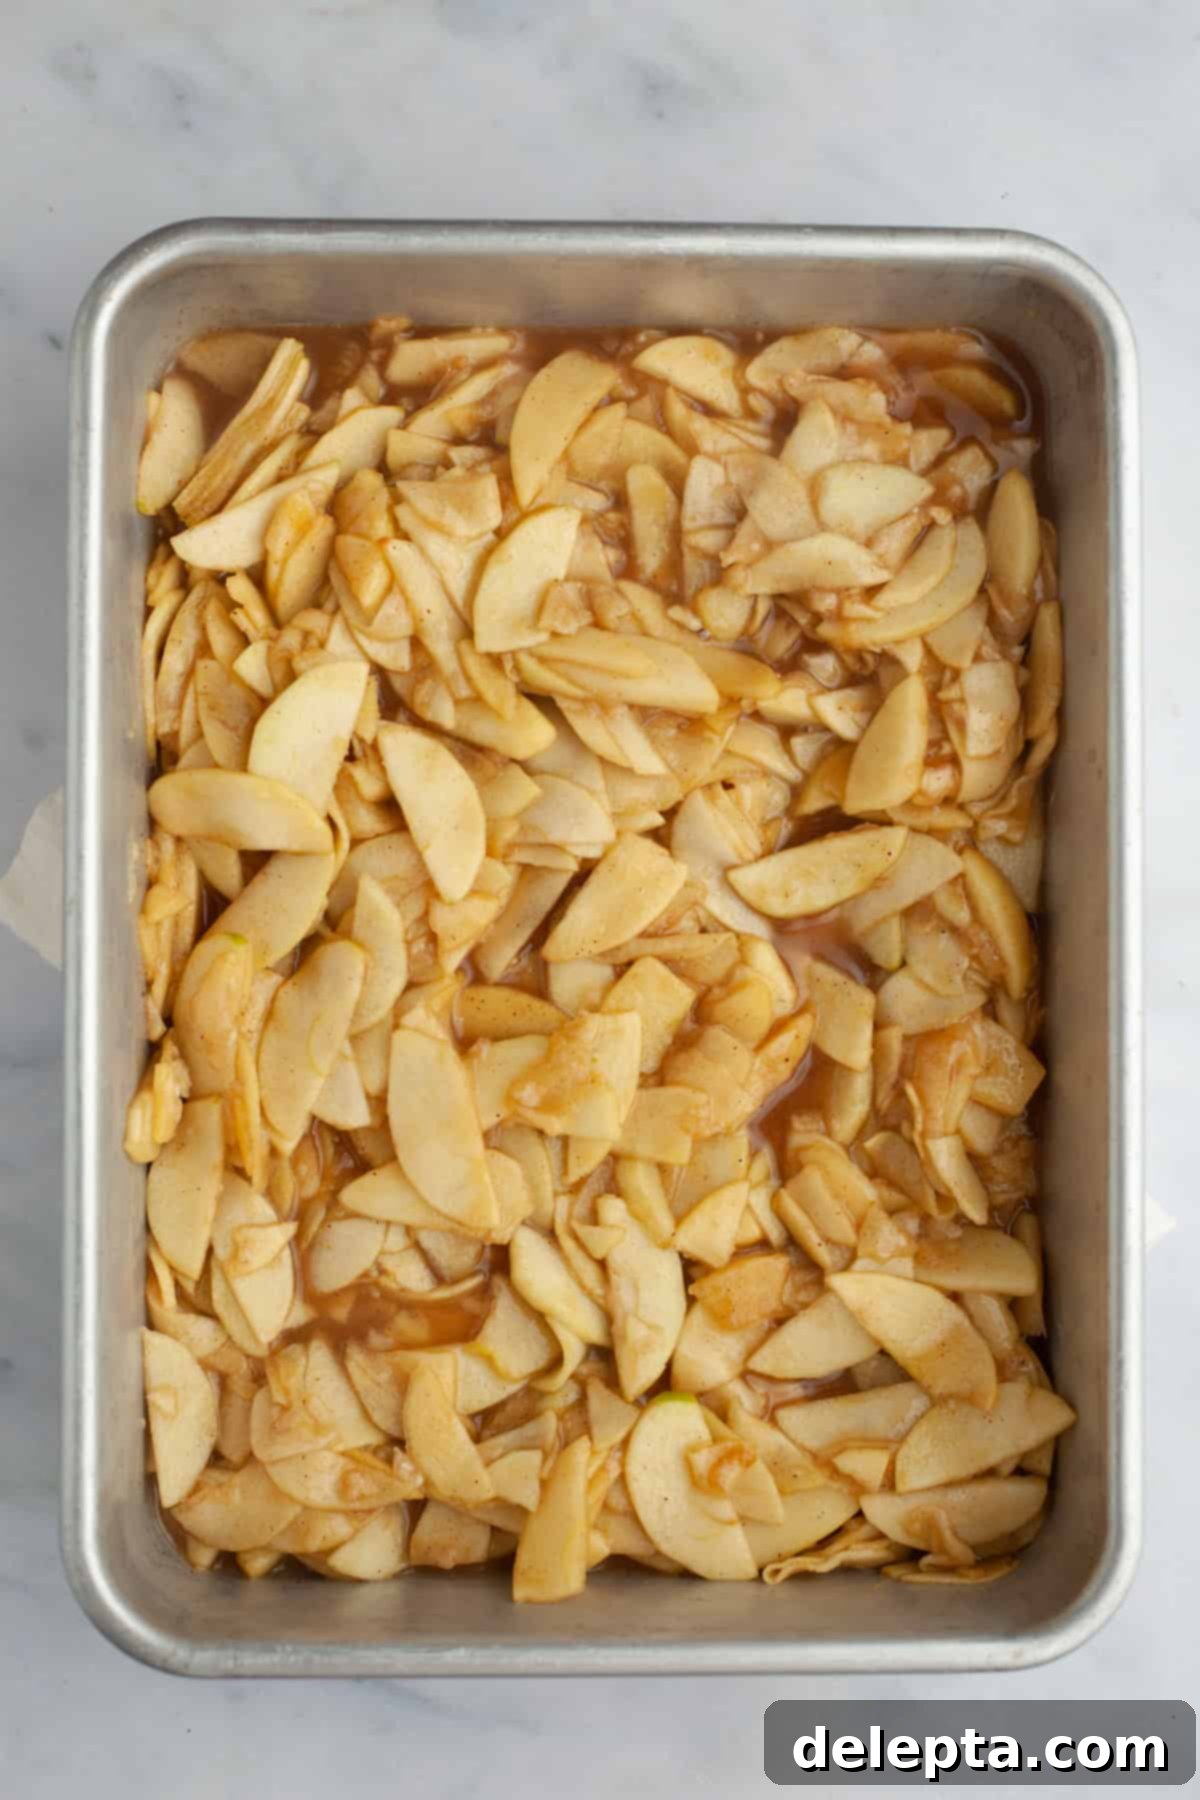
Step Eight: Cool the Filling. Pour the warm **bourbon apple pie filling** into a shallow tray or baking sheet. Spreading it out thinly will significantly speed up the cooling process. It’s crucial for the filling to be completely cool before you add it to your pie crust. A hot filling can melt the butter in your pie dough, compromising the flakiness of the crust. You can place the tray in the refrigerator or even the freezer for a short period to accelerate cooling. Ensure it’s cool to the touch before proceeding.
-

Step Nine -

Step Ten
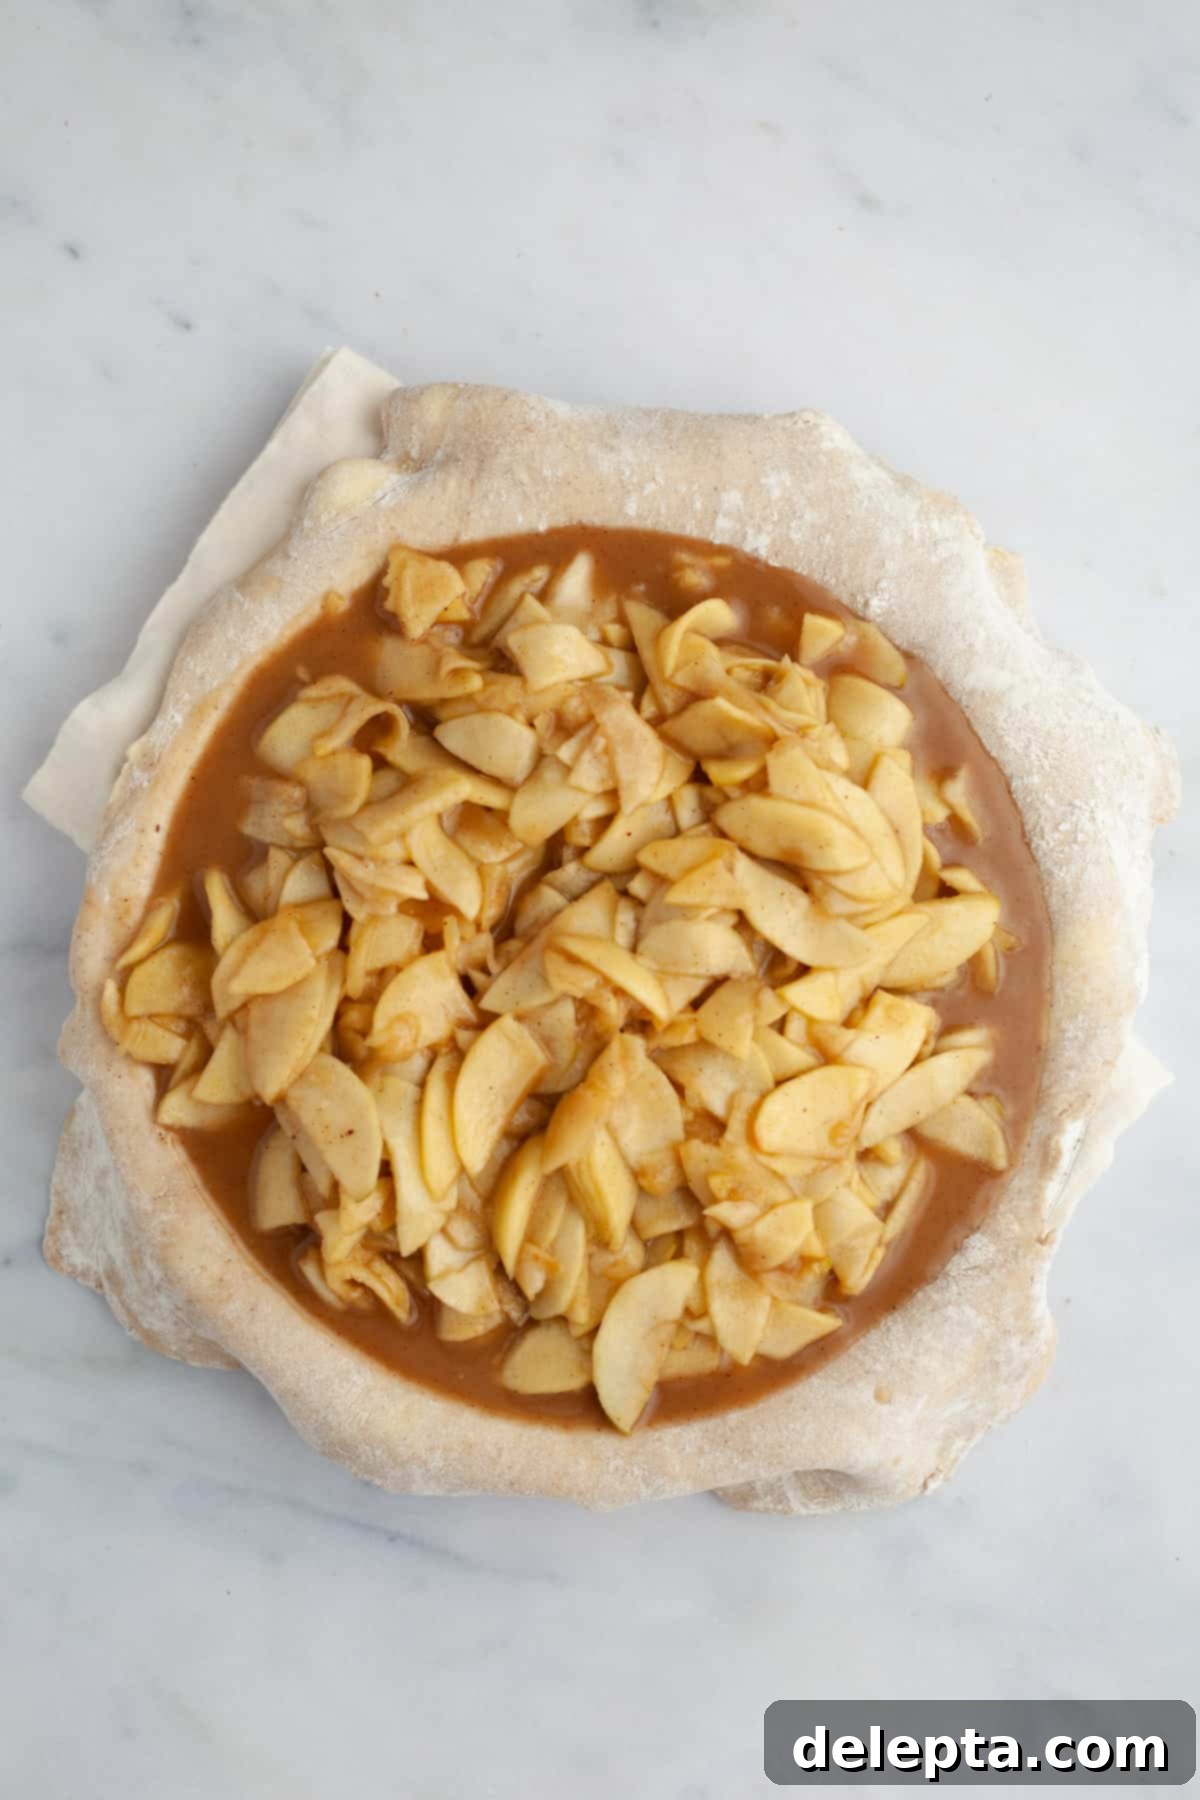
Step Nine: Assemble the Pie Base. Take one half of your chilled pie dough out of the fridge and let it sit at room temperature for about 15-20 minutes to soften slightly, making it easier to roll. On a lightly floured surface, roll out the dough into a circle that is approximately 1 inch wider than your 9-inch pie plate. Carefully transfer the rolled dough into your pie plate, gently pressing it into the bottom and up the sides without stretching it. Trim any excess dough, leaving about a ½-inch overhang. Now, pour your completely cooled **bourbon apple filling** into the dough-lined pie plate. Don’t worry if it looks like a lot of filling; it will settle during baking. Place the assembled pie base into the fridge to chill for another 15 minutes. This firms up the crust and filling before the top crust is added.
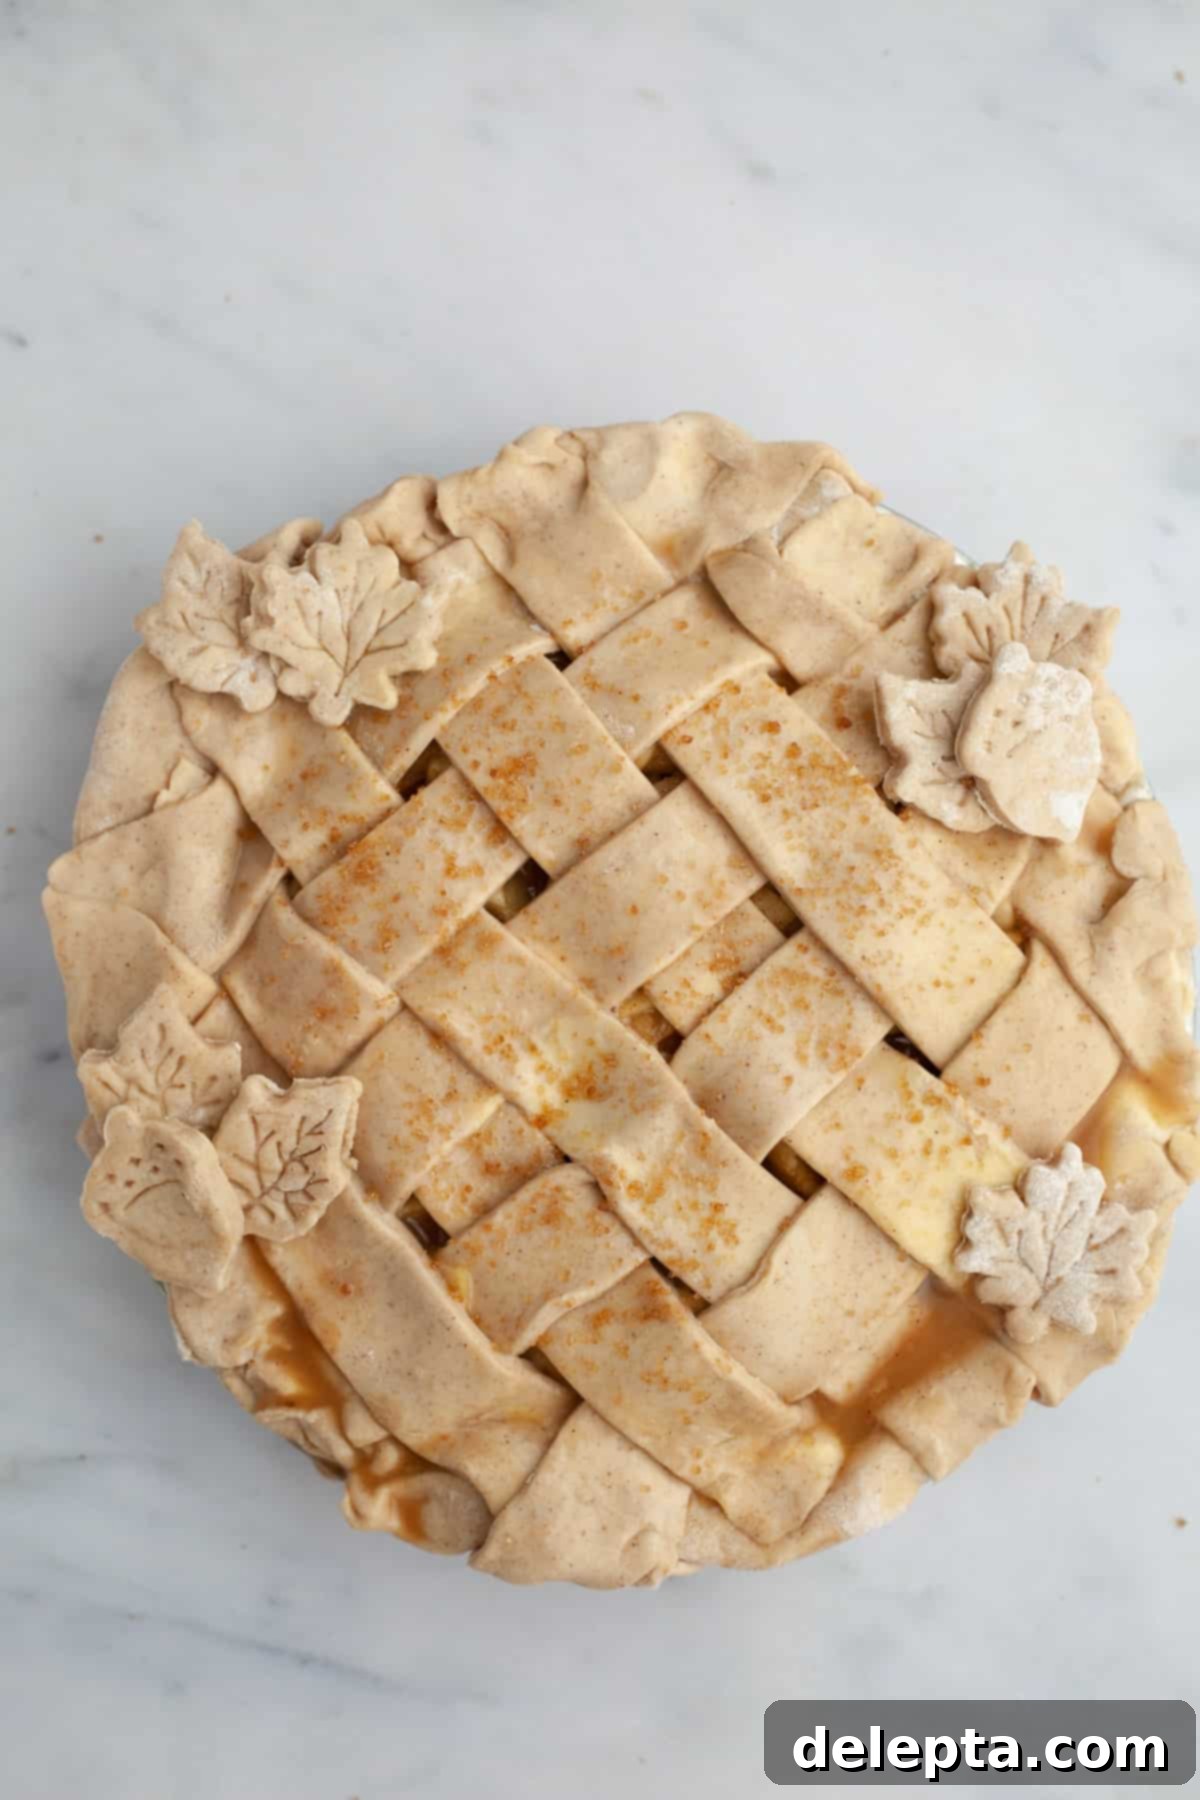
Step Ten: Create the Lattice Top and Bake. While your pie base is chilling, retrieve the second half of your pie dough from the refrigerator. Roll it out on a lightly floured surface, making it slightly thicker than the bottom crust if desired for sturdier lattice strips. Use a pastry cutter or a sharp pizza slicer to cut the dough into even strips for your lattice top. The width of the strips is up to your preference – typically ¾ to 1 inch wide works well. Retrieve your chilled pie from the fridge. Arrange the strips over the filling to create a beautiful woven lattice pattern. Trim any lattice strip edges that extend too far beyond the pie plate. Take the ½-inch overhang from the bottom crust and fold it over the edges of the lattice strips, gently pressing them together to seal. Crimp the edges decoratively using your fingers or a fork. For an extra touch, use any leftover dough scraps to cut out decorative shapes (like leaves or apples) with a small cookie cutter and place them on the lattice. Prepare an egg wash by whisking one egg yolk with a tablespoon of water, then lightly brush the entire lattice top with it. This will give your pie a beautiful golden-brown, glossy finish. Preheat your oven to 400°F (200°C). Place the pie on a baking sheet lined with foil (to catch any potential drips) and bake for 65-75 minutes, or until the crust is deeply golden brown and the filling is bubbling. If the edges of your pie begin to brown too quickly, loosely cover them with aluminum foil. Once baked, let the pie cool for at least an hour on a wire rack before slicing. This allows the filling to set properly, ensuring clean, beautiful slices. Serve warm with whipped cream or a scoop of vanilla ice cream.
Pro Tips for a Perfectly Baked Bourbon Apple Pie
Achieving pie perfection is within reach with these helpful tips and tricks:
- Precision is Key: Measure by Weight! I cannot stress this enough: for consistent and accurate baking results, especially with pie dough, I highly recommend using a kitchen scale and measuring your ingredients in metric grams. Volume measurements (cups) can be notoriously inaccurate due to variations in how ingredients are scooped and packed. Weighing ensures you have the exact ratios for a perfect dough every time.
- Prevent Over-Browning: If you notice the edges of your pie crust browning too quickly before the rest of the pie is cooked, gently cover the edges with strips of aluminum foil. This acts as a shield, preventing them from burning while the interior of the pie continues to bake evenly.
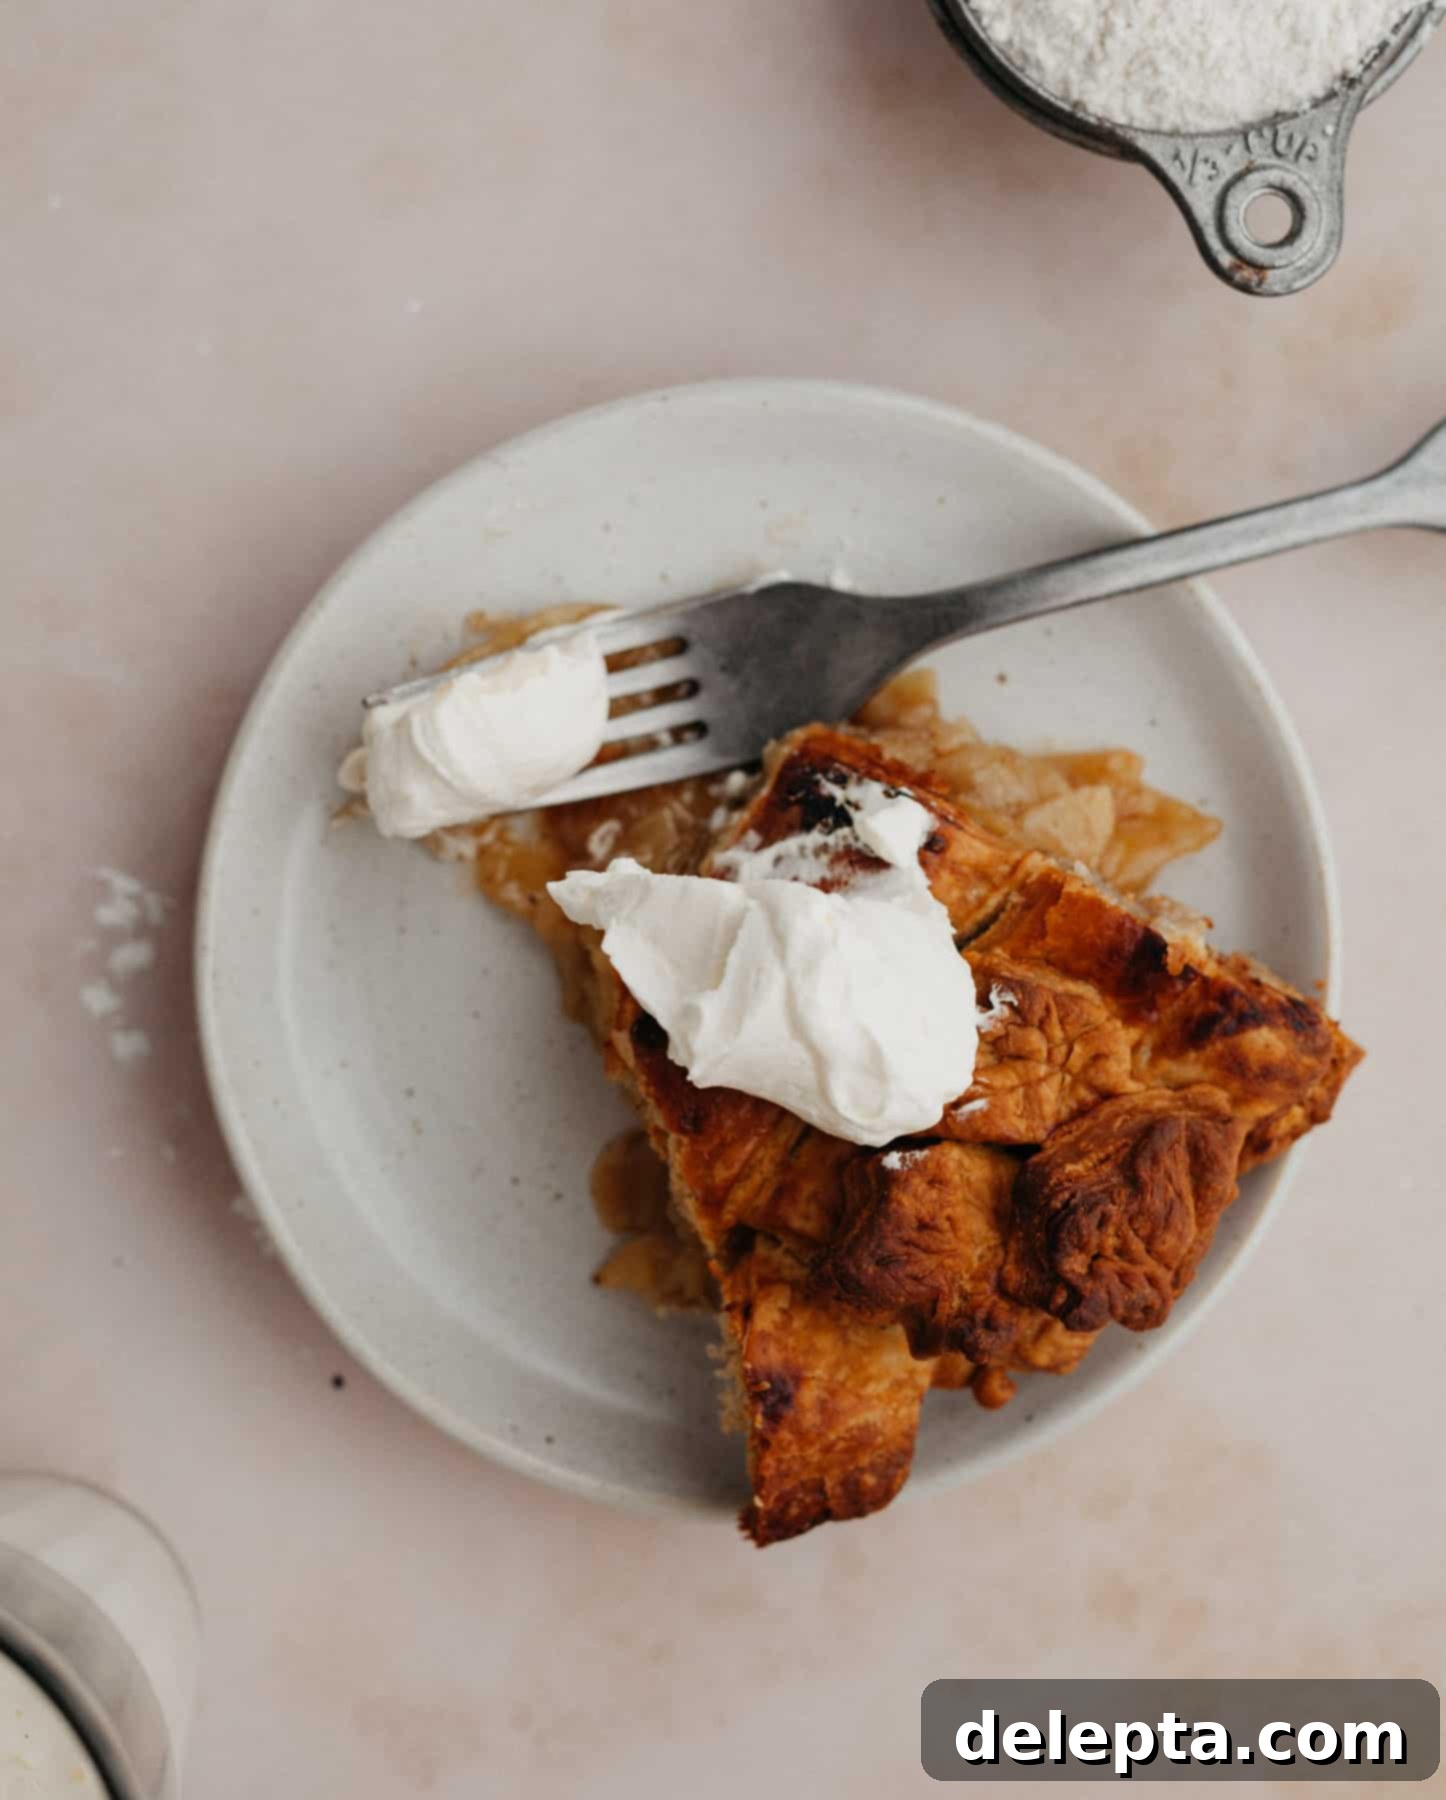
- Patience for Setting: It can be tempting to cut into a warm, fragrant pie immediately, but resist the urge! Allowing your pie to cool for at least an hour (or even longer) before slicing is crucial. This time allows the filling to set properly, preventing it from oozing out and ensuring you get beautiful, clean, well-defined slices. A slightly warm pie is still delightful!
- Strategic Egg Wash Application: When brushing your pie with an egg wash for that gorgeous golden sheen, avoid brushing it directly onto the very edges of the crust. The edges tend to brown easily on their own, and an egg wash can accelerate this, leading to burnt crust edges. Focus the egg wash on the lattice strips and any decorative elements.
- Keep Dough Cold: The secret to a flaky crust is cold butter. Work quickly when handling the dough and use cold ingredients. If your kitchen is warm, chill the dough more frequently.
- Don’t Overwork the Dough: Excessive kneading or handling of the dough develops gluten, leading to a tough crust. Mix just until combined and handle gently.
- Ventilation is Important: If you opt for a full top crust instead of a lattice, remember to cut several slits into the top. This allows steam to escape from the filling during baking, preventing a soggy bottom crust and potential cracks in the top.
- Pre-bake if Needed: For a truly crisp bottom crust, especially with very juicy fillings, you might consider blind baking (pre-baking) your bottom crust for about 10-15 minutes before adding the filling. This is usually only necessary if you struggle with soggy bottom crusts.
Frequently Asked Questions About Bourbon Apple Pie
Here are answers to some common questions about making and enjoying this delicious pie:
For the most balanced flavor and texture in your **bourbon apple pie**, I strongly recommend using a mixture of apples. Combining tart varieties with sweeter, firmer ones creates a more complex and appealing filling. Excellent choices include Granny Smith (for tartness and firm texture), Honeycrisp (sweet, crisp, and holds shape), Braeburn (sweet-tart with good firmness), and Gala (mildly sweet, good for blending). Using 2-3 different types ensures your pie isn’t too sweet or too bland, and the apples retain a nice textural contrast after baking.
The absolute most important trick to making a tender, flaky pie crust is keeping all your ingredients, especially the butter and water, as cold as possible. Cold butter melts slower in the oven, creating pockets of steam that lift the dough into flaky layers. Before you even start mixing, I recommend chilling your flour, butter (cubed), and the water/vinegar mixture in the fridge for at least 15-30 minutes. Using a stand mixer with a paddle attachment is also a great advantage, as it minimizes heat transfer from your hands to the butter. If working by hand, work quickly and use a pastry blender. Avoid overworking the dough, which can develop too much gluten and make the crust tough.
Once your **bourbon apple pie** has completely cooled, it should be stored in the refrigerator. Tightly wrap the pie in plastic wrap or aluminum foil, or place it in an airtight pie carrier, to prevent it from drying out or absorbing other odors from the fridge. Stored this way, it will keep for up to 5 days. For serving, you can warm individual slices in the microwave for a few seconds or gently reheat the entire pie (or larger sections) in a moderate oven until warmed through. It’s absolutely delicious served warm with a dollop of fresh whipped cream or a scoop of vanilla bean ice cream!
Love Pie? Discover More Delicious Recipes!
If you’ve fallen in love with the art of pie making, or simply can’t get enough of these comforting desserts, you’re in for a treat! Explore some of our other favorite pie recipes that are sure to delight your taste buds and impress your guests:
- Cherry Rhubarb Pie
- Oreo Peanut Butter Pie (no bake)
- Chocolate Coconut Cream Pie
- Brownie Pie
If you’ve whipped up this incredible **Bourbon Apple Pie**, we’d absolutely love to see your creation! Make sure to tag me on Instagram @alpineella and consider leaving a review below to share your experience with other bakers. For more delicious baking ideas and inspiration, you can also follow me on Pinterest. Happy baking!
Recipe
Bourbon Apple Pie
Ella Gilbert
Pin Recipe
Save RecipeSaved!
Equipment
-
1 x 9-inch pie plate
Ingredients
Pie Dough
- 360 grams flour
- 1 teaspoon kosher salt
- 280 grams butter
- 160 millilitres ice water
- 2 teaspoons white wine vinegar
- 2 teaspoons ground cinnamon
Apple Pie Filling
- 1220 grams apples peeled, cored and sliced thinly
- 226 grams light brown sugar
- 1 teaspoon ground cinnamon
- 2 teaspoon vanilla extract
- ¾ teaspoon kosher salt
- ¼ teaspoon nutmeg
- ½ teaspoon ground ginger
- 2 tablespoons lemon juice
- 40 grams flour
- 1 tablespoon bourbon
- 1 egg yolk for egg wash
Whipped Cream
- 240 grams heavy cream
- 3 tablespoon confectioners’ sugar
- ¼ teaspoon kosher salt
- 1 teaspoon vanilla extract
Instructions
Make Pie Dough
-
Mix together the flour, cinnamon, and salt in a large bowl. Cut the butter into ½ inch cubes and place on a plate. Mix the water and vinegar together in a jug. Place everything in the fridge for at least 15 minutes
-
Place all the dry ingredients into the bowl of a stand mixer fitted with the paddle attachment. Add the butter and toss them in the flour, making sure they’re completely covered in flour.
-
Put the speed to low and mix together until the butter is the size of peas, about 2 minutes. If using your hands, mix together the butter and flour until the size of peas.
-
With the mixer running on low, pour in the water/vinegar, until the mixture is wet enough – I didn’t use all of the water and left about 1 tbsp. If using your hands, create a well in the center of the bowl and pour the water/vinegar there. Use your hands to toss the mixture together. You don’t want it to be too wet or too dry
-
Place the dough onto a floured surface and use your hands to shape it into a disc. Cover in plastic wrap and chill for at least 1 hour
-
After 60 minutes in the fridge, roll it out on a lightly floured surface until it’s ¼ inch thick. Fold it in half, then in half again. Split the dough in 2, and wrap each half in plastic. Refrigerate for at least 2 hours or preferably, overnight.
Make Pie Filling
-
In a medium pot, combine the diced apples, lemon juice and light brown sugar. Toss it and let it sit for 30-45 minutes
-
Sprinkle over the spices, vanilla and salt and cook for 5-8 minutes over medium heat. Take it off the heat and add the bourbon and flour.
-
Let it cool completely. To speed this up, pour it into a tray.
-
Line a baking sheet with foil to catch any juices. Heat oven to 400°F/200°C.
-
Take your dough out of the fridge and let it come to room temperature for about 20 minutes. Roll the dough out onto a lightly floured surface until it is about 1 inch wider than your pie plate. Carefully place the dough onto your pie plate. Pour your cooled filling into the pie plate. Chill in the fridge for 15 minutes
-
Roll out your second dough, making it a bit thicker than your other dough. and cut into pieces to make a lattice. Weave them together on top of your pie. Trim the lattice edges so they aren’t sticking out over the sides. Tuck the excess sides under and press it gently together to make your edges. Crimp the edges as you wish. Brush it with your egg wash (though leave the edges, those will get brown anyways!)
-
Bake pie for 65-75 minutes. If your pie edges are too brown, you can cover them with foil. Cool pie for at least an hour before cutting.
Make Whipped Cream
-
Whip all ingredients together with a hand held mixer until you have soft peaks.
Notes
Butter: I use European style butter, like Kerry Gold, in my recipes. This will make your dough much creamier and richer.
Salt: If you don’t have kosher salt, halve the amount of salt called for in the recipe. 1 teaspoon kosher salt = ½ teaspoon fine salt.
Storage: keep your pie tightly wrapped in the fridge for up to 5 days.
Nutrition
