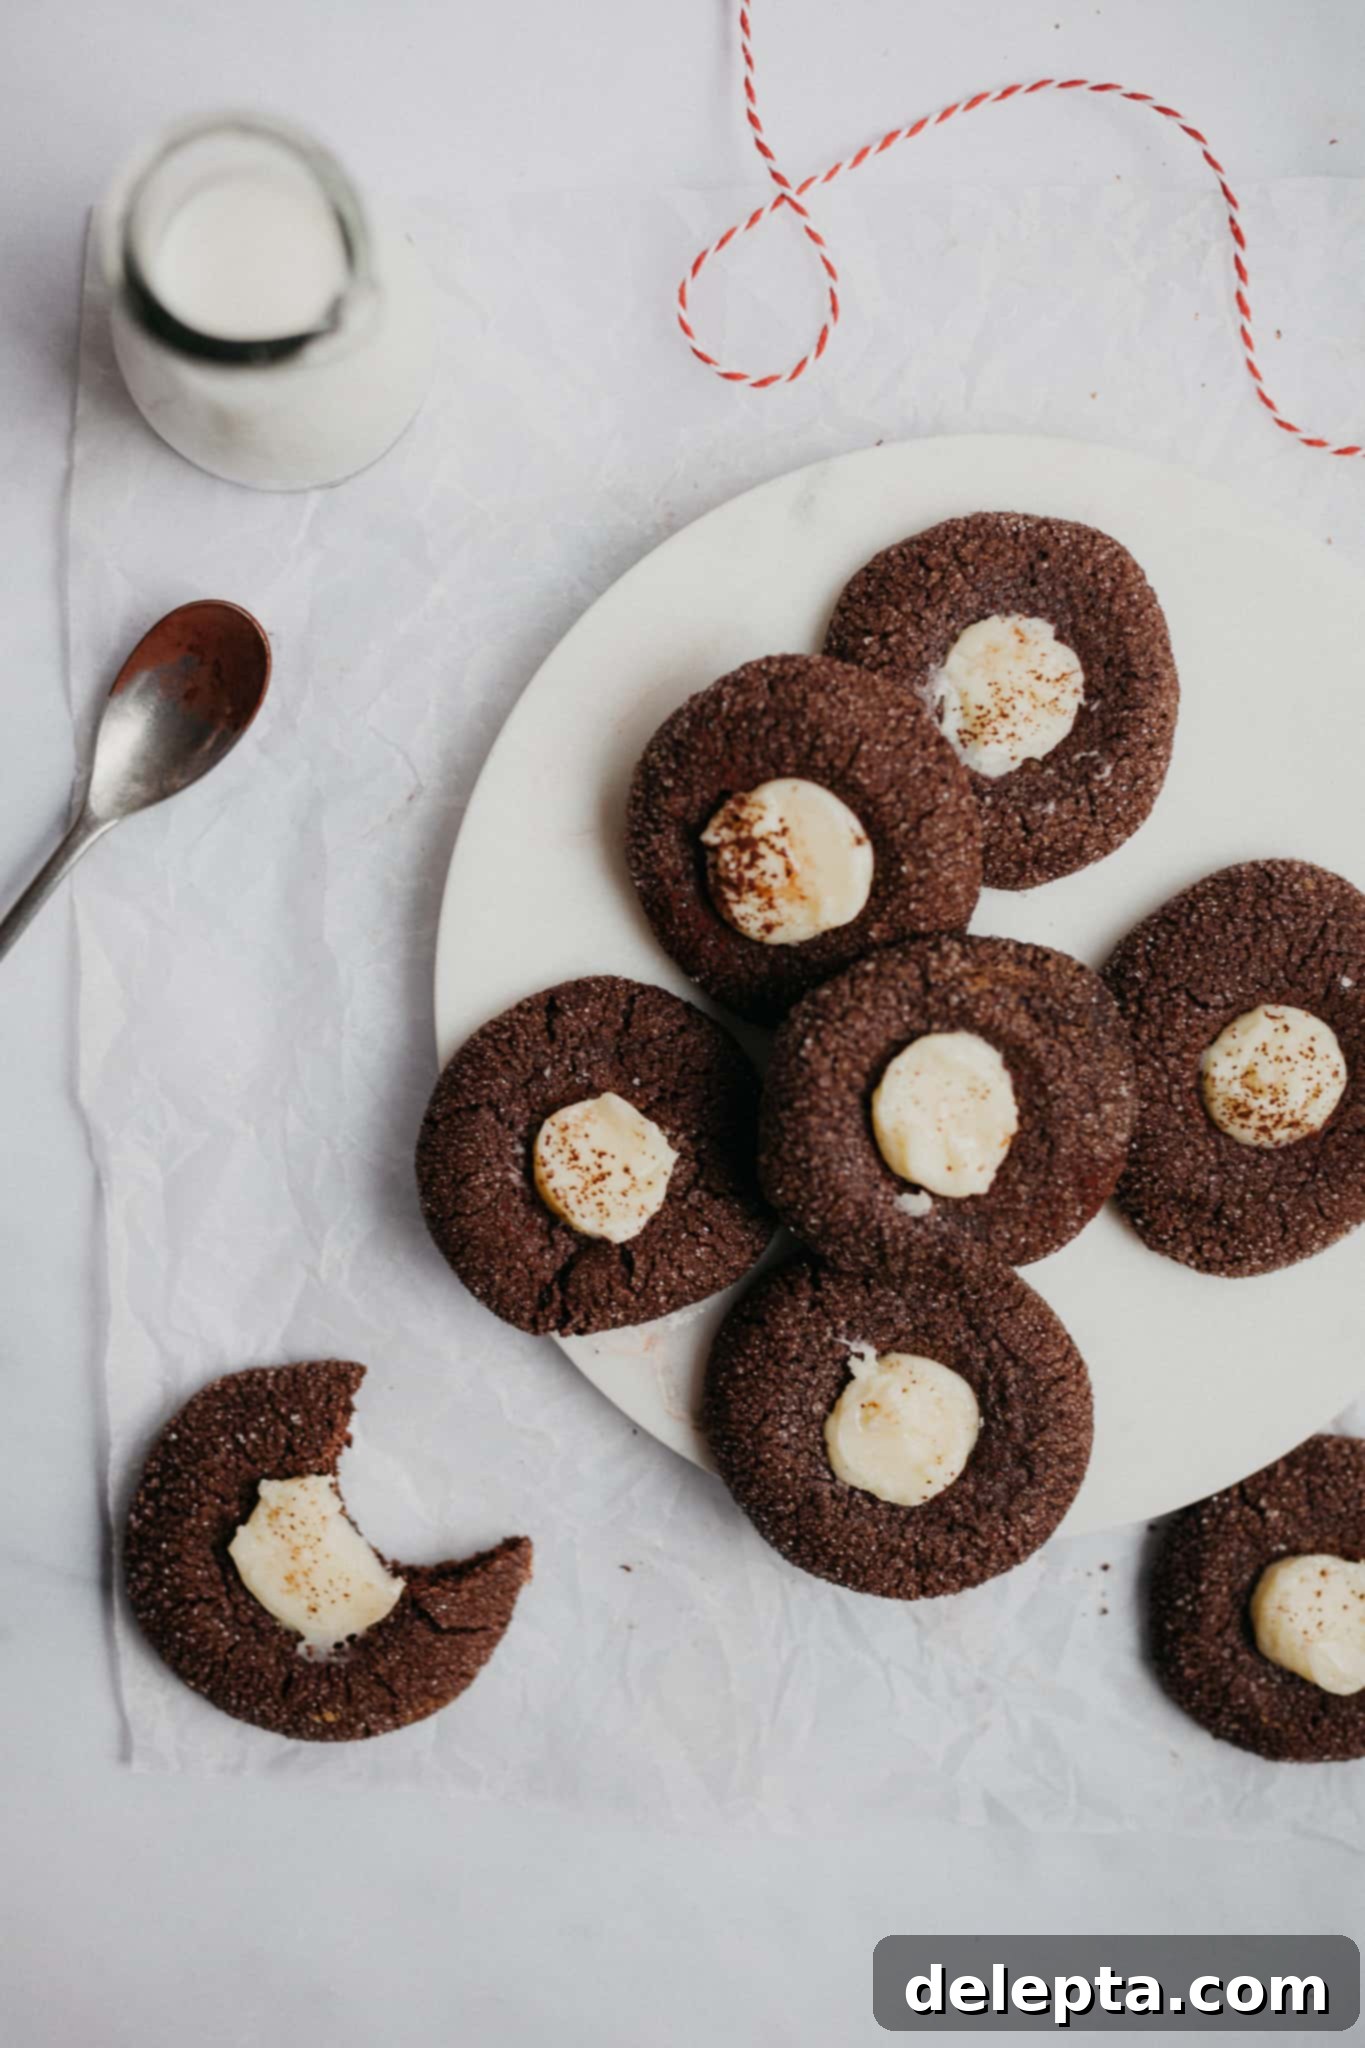
Indulge in the Best Hot Chocolate Thumbprint Cookies: A Luxurious White Chocolate Ganache Recipe
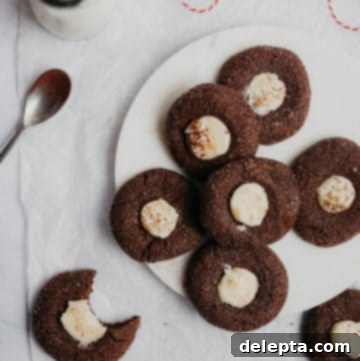
Welcome to cookie week! And what better way to kick it off than with these absolutely irresistible Hot Chocolate Thumbprint Cookies? These delightful treats quickly became the star of my recipe testing sessions, earning rave reviews from friends and family alike. Imagine a rich, chewy chocolate cookie base, perfectly rolled in sparkling granulated sugar, and then filled with a smooth, luscious white chocolate ganache. It’s essentially the comforting warmth of a gourmet hot chocolate, beautifully encapsulated in a single, decadent cookie. They’re not just cookies; they’re a luxurious experience, designed to bring a little extra joy and coziness to any occasion, especially during the festive season.
There’s something truly magical about thumbprint cookies. Their classic charm meets a modern, indulgent twist with this hot chocolate inspired version. The deep chocolate flavor of the cookie pairs exquisitely with the creamy sweetness of the white chocolate ganache, creating a harmonious balance that will have everyone reaching for more. Each bite offers a delightful contrast in textures – the slight crispness from the sugar coating, the tender crumb of the cookie, and the velvety melt of the ganache. These cookies are perfect for holiday platters, cookie exchanges, gifting to loved ones, or simply enjoying with a cup of coffee or, fittingly, a mug of hot chocolate.
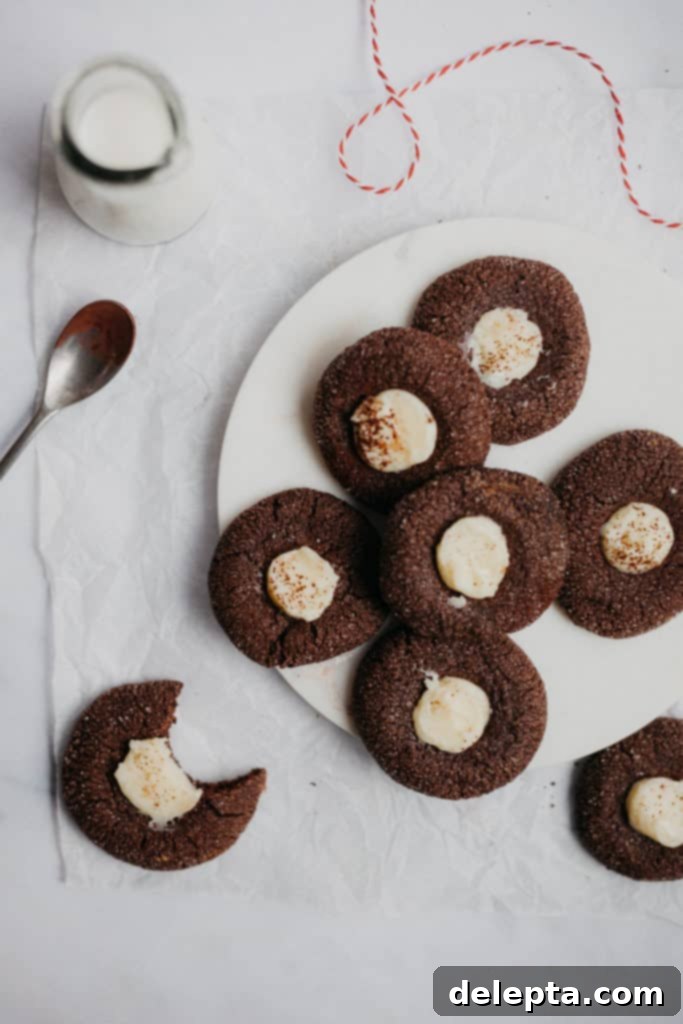
Key Ingredients for Decadent Hot Chocolate Thumbprint Cookies
Crafting the perfect Hot Chocolate Thumbprint Cookies starts with understanding the role each ingredient plays in creating their unique flavor and texture. Here’s a closer look at the components that make these cookies so special:
- All-Purpose Flour: This is the structural backbone of our cookies. Regular all-purpose flour provides the perfect balance of tenderness and chewiness. Always remember to measure flour by weight for accuracy or use the spoon-and-level method if using measuring cups to avoid a dense cookie.
- High-Quality Cocoa Powder: The heart of the “hot chocolate” flavor! Using a good quality unsweetened cocoa powder is crucial here. Dutch-processed cocoa powder will give you a darker, milder chocolate flavor, while natural cocoa powder offers a lighter color and slightly more intense, fruity chocolate notes. Choose your preference, but a rich cocoa will make all the difference.
- Sugar – A Sweet Harmony: This recipe brilliantly uses a combination of light brown sugar and granulated white sugar in the dough. Light brown sugar adds moisture, chewiness, and a subtle molasses flavor, complementing the chocolate. Granulated sugar provides sweetness and helps with browning. Additionally, rolling the dough balls in extra granulated white sugar before baking gives these cookies that signature sparkling, slightly crisp exterior, mimicking the festive look of a snow-dusted treat.
- Premium White Chocolate: For the star of our filling, a smooth and luxurious white chocolate ganache. Opt for good quality white chocolate chips or, even better, a white chocolate bar finely chopped. The quality of your white chocolate will directly impact the creaminess and flavor of your ganache. Avoid using “white melting wafers” or “compound chocolate” as they often contain less cocoa butter and can result in a grainy or oily ganache.
- Unsalted Butter: Essential for a rich and tender cookie. Always use unsalted butter at room temperature, as this allows it to cream properly with the sugars, incorporating air and creating a light texture. If you only have salted butter, you can use it, but be sure to reduce the amount of added salt in the recipe by about ¼ teaspoon to avoid overly salty cookies.
- Eggs: Eggs act as a binder, helping to hold the cookie dough together, and also add richness and moisture, contributing to the cookies’ tender crumb.
- Vanilla Extract: A splash of pure vanilla extract enhances the chocolate flavor and adds a beautiful aromatic depth to the cookies.
- Baking Soda: This leavening agent helps the cookies rise slightly and contributes to their soft, chewy texture.
- Salt: A small amount of salt balances the sweetness and brings out the chocolate flavor, making it more pronounced.
- Double Cream (Heavy Cream): This is the magic ingredient for our silky smooth white chocolate ganache. Its high fat content creates a rich, stable, and incredibly decadent filling that perfectly complements the chocolate cookies.
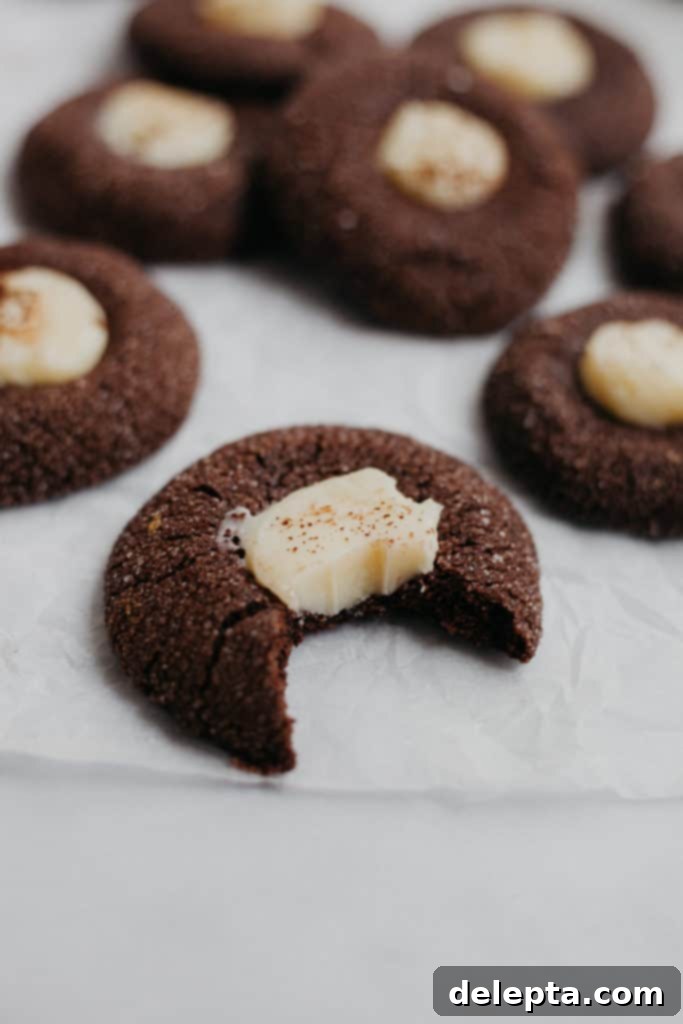
How to Make Irresistible Hot Chocolate Thumbprint Cookies: A Step-by-Step Guide
Making these hot chocolate thumbprint cookies is a delightful process that yields impressive results. Here’s a detailed guide to ensure your cookies turn out perfectly:
Step 1: Prepare Your Dry Ingredients with Care
Begin by whisking together the all-purpose flour, rich cocoa powder, baking soda, and a pinch of salt in a medium-sized bowl. This step is crucial for ensuring that the leavening agent and salt are evenly distributed throughout the dry mixture, preventing pockets of unmixed ingredients in your final cookie dough. A well-combined dry mix sets the foundation for a consistently textured cookie.
Step 2: Achieve the Perfect Creamed Butter and Sugars
In the bowl of a stand mixer fitted with a paddle attachment, or using a hand mixer, cream together the softened unsalted butter, light brown sugar, and granulated white sugar. Beat on medium-high speed until the mixture is light, fluffy, and pale in color. This process incorporates air into the butter and sugar, which is essential for a tender, soft cookie texture. Next, beat in the large egg and the vanilla extract, mixing until just combined. Scrape down the sides of the bowl to ensure everything is thoroughly incorporated.
Step 3: Gently Combine Wet and Dry Mixtures
Gradually add the whisked dry ingredients to the wet mixture in the stand mixer. Pour in the milk simultaneously. Mix on the lowest speed until the ingredients are just combined and a soft, cohesive dough forms. Be careful not to overmix, as this can develop the gluten in the flour too much, leading to tough cookies. Stop mixing as soon as no streaks of flour are visible.
Step 4: Shape, Sugar-Coat, and Chill for Success
Once your dough is ready, it’s time to shape your cookies. I find that using a 1-tablespoon ice cream scoop (or a similar cookie scoop) helps create uniformly sized cookies. Roll each scoop of dough into a smooth ball. Then, generously roll each ball into granulated sugar until it’s thoroughly coated – this gives them their signature sparkle and a pleasant crunch. Next, using your thumb or the rounded end of a wooden spoon or spatula, create an indent in the center of each cookie dough ball. These indentations will hold the luscious white chocolate ganache later. Place the shaped cookies on a baking sheet lined with parchment paper and chill them in the refrigerator for at least one hour. This chilling step is vital; it helps prevent the cookies from spreading too much during baking, ensuring they maintain their beautiful thumbprint shape and a chewy texture.
Step 5: Bake to Golden Perfection
Preheat your oven to 350°F (180°C). Arrange your chilled, indented cookie dough balls on a parchment-lined baking sheet, leaving about 2-3 inches between each to allow for slight spreading. Bake for 12-15 minutes, or until the edges are set and the cookies are puffed. Don’t worry if the indents have slightly puffed up or lost some shape during baking; as soon as the cookies come out of the oven, use the end of a spatula or a small measuring spoon to gently reinforce and deepen the indentations while the cookies are still warm and pliable. This ensures you have plenty of room for your delicious ganache. Allow the cookies to cool on the baking sheet for a few minutes before transferring them to a wire rack to cool completely. It’s essential they are fully cooled before filling.
Step 6: Craft the Silky White Chocolate Ganache
While your cookies are cooling, prepare the luxurious white chocolate ganache. Finely chop your white chocolate and place it in a heatproof bowl. In a small saucepan, bring the double cream (heavy cream) to a gentle boil. As soon as it boils, immediately pour the hot cream over the chopped white chocolate. Let it sit undisturbed for a few minutes to allow the heat from the cream to melt the chocolate. Then, using a whisk, gently stir from the center outwards until the mixture is completely smooth, glossy, and emulsified. If your ganache seems too thin, you can refrigerate it for about 30 minutes, stirring occasionally, until it thickens to a pipeable consistency. This cooling period is key to preventing the ganache from running out of your cookie indents. Once cooled to the desired thickness, transfer the ganache to a piping bag (or use a small spoon) and fill each cookie’s indentation generously.
And there you have it! Your batch of exquisite Hot Chocolate Thumbprint Cookies is ready to be enjoyed. These cookies are truly a labor of love, but the smiles they bring make every step worthwhile. The combination of rich chocolate, sparkling sugar, and creamy white chocolate ganache is a symphony of flavors and textures that’s perfect for sharing, or for a quiet moment of indulgence.
Tips for Baking Perfect Hot Chocolate Thumbprint Cookies
To ensure your Hot Chocolate Thumbprint Cookies turn out absolutely perfect every time, keep these expert tips in mind:
- Use Room Temperature Butter: This cannot be stressed enough! Softened butter creams beautifully with sugar, incorporating air that leads to a light and tender cookie. Cold butter won’t cream properly, and melted butter will result in a greasy, flat cookie.
- Don’t Skimp on Chilling: The chilling time is crucial for preventing the cookies from spreading excessively in the oven and helps them hold their shape and that essential thumbprint indentation. A minimum of one hour is recommended, but you can chill them for up to 24 hours.
- Measure Ingredients Accurately: Especially flour. Too much flour can lead to dry, dense cookies, while too little can make them spread too much. Use a kitchen scale for precision, or the spoon-and-level method for measuring cups.
- Avoid Overmixing the Dough: Once you add the dry ingredients, mix only until just combined. Overmixing develops the gluten in the flour, resulting in tough, chewy cookies rather than soft ones.
- Reinforce Thumbprints Post-Bake: As mentioned in the instructions, the indentations might puff up slightly during baking. Gently press them down again with the back of a small spoon or spatula immediately after they come out of the oven, while they’re still warm and soft.
- Quality Chocolate for Ganache: For the white chocolate ganache, use high-quality white chocolate. This will give you a smoother, richer, and better-tasting ganache. Cheaper chocolate chips often contain stabilizers that can make ganache grainy or prevent it from setting properly.
- Allow Ganache to Cool: Before piping or spooning the ganache into the cookie indents, ensure it has cooled and thickened slightly. If it’s too warm, it will be too runny and will likely spill out of the thumbprints.
- Even Cookie Size: Use a cookie scoop to ensure all your cookies are roughly the same size. This helps them bake evenly and look more professional.
Variations & Customizations
While these Hot Chocolate Thumbprint Cookies are delicious as is, feel free to get creative with these variations:
- Dark Chocolate Ganache: Instead of white chocolate, use dark chocolate for the ganache for an extra rich, double chocolate experience.
- Peppermint Twist: Add a few drops of peppermint extract to both the cookie dough and the ganache for a festive mint-chocolate flavor, or sprinkle crushed candy canes on top of the ganache.
- Espresso Infusion: A teaspoon of instant espresso powder added to the cookie dough will deepen the chocolate flavor beautifully.
- Nutella or Caramel: For a different filling, consider warm Nutella or a salted caramel sauce instead of ganache.
- Toppings Galore: Before the ganache sets, sprinkle with mini marshmallows, chocolate shavings, or a dusting of extra cocoa powder for an authentic hot chocolate look.
Storage Instructions
To keep your Hot Chocolate Thumbprint Cookies fresh and delicious:
- At Room Temperature: Store the filled cookies in an airtight container at room temperature for up to 3-4 days. The ganache will firm up slightly but remain creamy.
- Refrigeration: If your kitchen is very warm, or if you prefer a firmer ganache, you can store them in the refrigerator for up to a week. Let them come to room temperature for about 15-20 minutes before serving for the best texture.
- Freezing Dough: You can prepare the cookie dough, roll it into balls, coat in sugar, and make the indentations. Freeze them on a baking sheet until solid, then transfer to a freezer-safe bag for up to 2-3 months. Bake from frozen, adding a minute or two to the baking time.
- Freezing Baked Cookies (Unfilled): Baked, unfilled cookies can be frozen in an airtight container for up to 3 months. Thaw at room temperature and then fill with freshly made ganache.
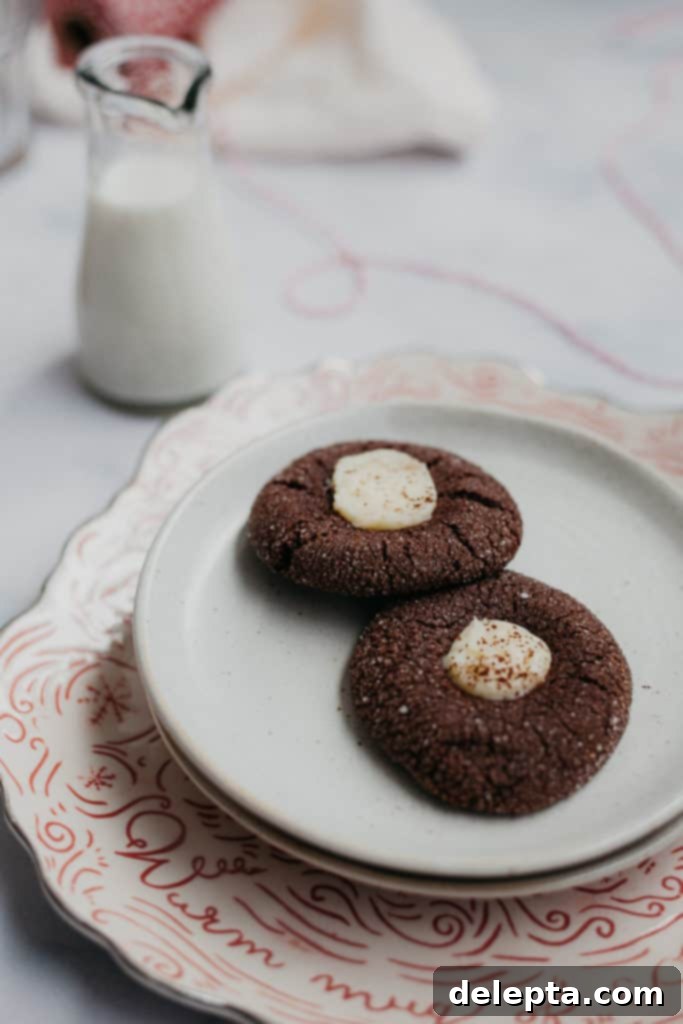
These Hot Chocolate Thumbprint Cookies are more than just a sweet treat; they’re a celebration of comfort, flavor, and festive cheer. Whether you’re making them for a special occasion or simply to brighten a normal day, they are guaranteed to impress. The combination of a tender, rich chocolate cookie and that smooth, dreamy white chocolate ganache is simply irresistible. So gather your ingredients, follow these steps, and prepare to delight your taste buds with these luxurious cookies!
Recipe
Hot Chocolate Thumbprints
Ella Gilbert
Pin Recipe
Save RecipeSaved!
Ingredients
Chocolate Thumbprint Cookie Dough
- 180 grams all-purpose flour
- 45 grams unsweetened cocoa powder
- ½ teaspoon baking soda
- ¼ teaspoon salt
- 113 grams unsalted butter, softened to room temperature
- 100 grams light brown sugar
- 135 grams granulated sugar (67g for dough, 68g for rolling)
- 1 large egg
- 1 teaspoon pure vanilla extract
- 2 teaspoons milk
White Chocolate Ganache
- 170 grams white chocolate, finely chopped (or good quality chips)
- 60 grams double cream (heavy cream)
Instructions
-
In a medium bowl, whisk the flour, cocoa powder, baking soda, and salt together until thoroughly combined. Set aside.
-
In the bowl of a stand mixer fitted with a paddle attachment (or using a hand mixer), beat the softened butter, light brown sugar, and 67g of the granulated sugar together on medium-high speed until the mixture is light, fluffy, and creamy (about 2-3 minutes). Add the egg and vanilla extract, beating on high speed until just combined. Scrape down the sides of the bowl as needed. Pour the dry ingredients into the wet ingredients, add the milk, and mix on low speed until just combined and a soft dough forms. Do not overmix.
-
Take small portions of the cookie dough, a little less than 1 Tablespoon each, and roll them into smooth balls. Roll each dough ball into the remaining 68g of granulated sugar until fully coated. Place the sugar-coated dough balls onto a lined baking sheet. Using your thumb or the rounded end of a spatula/wooden spoon, gently make an indent in the center of each cookie dough ball.
-
Chill the shaped cookies for at least 2 hours in the refrigerator. This crucial step helps prevent spreading and maintains the cookie’s shape during baking.
-
Preheat your oven to 350°F (180°C). Line a baking sheet with parchment paper. Remove the chilled and shaped cookies from the refrigerator. Arrange the cookies on the prepared baking sheet, spacing them about 2-3 inches apart.
-
Bake for 12-14 minutes, or until the edges are set and the cookies are slightly puffed. Upon removing them from the oven, the indents might have lost some of their shape. Immediately use the end of a spatula or a small measuring spoon to gently press and reinforce the indentations into the warm cookies.
-
Allow the baked cookies to cool on the baking sheets for 5 minutes before transferring them to a wire rack to cool completely. Ensure cookies are fully cooled before filling.
-
While the cookies cool, prepare the white chocolate ganache. Place the finely chopped white chocolate into a heatproof bowl.
-
In a small saucepan, bring the double cream to a gentle boil over medium heat. As soon as it boils, immediately pour the hot cream over the chopped white chocolate. Let it sit undisturbed for 3 minutes to allow the chocolate to melt. After 3 minutes, whisk gently from the center outwards until the mixture is smooth, glossy, and fully emulsified. Refrigerate the ganache, stirring occasionally, for about 30 minutes, or until it has thickened to a pipeable consistency.
-
Once the cookies are completely cool and the ganache has thickened, transfer the ganache to a piping bag (or use a small spoon) and fill each cookie’s indentation with the creamy white chocolate ganache. Enjoy!
Notes
