Ultimate Fudgy Campfire Brownies with Toasted Marshmallow Meringue and Crunchy Pretzels
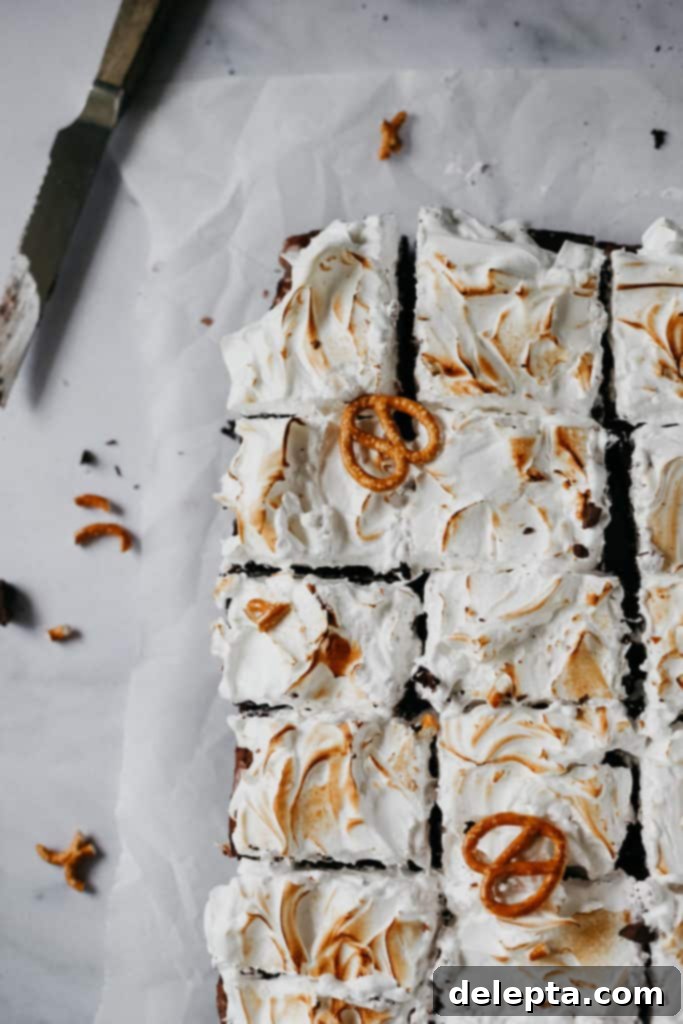
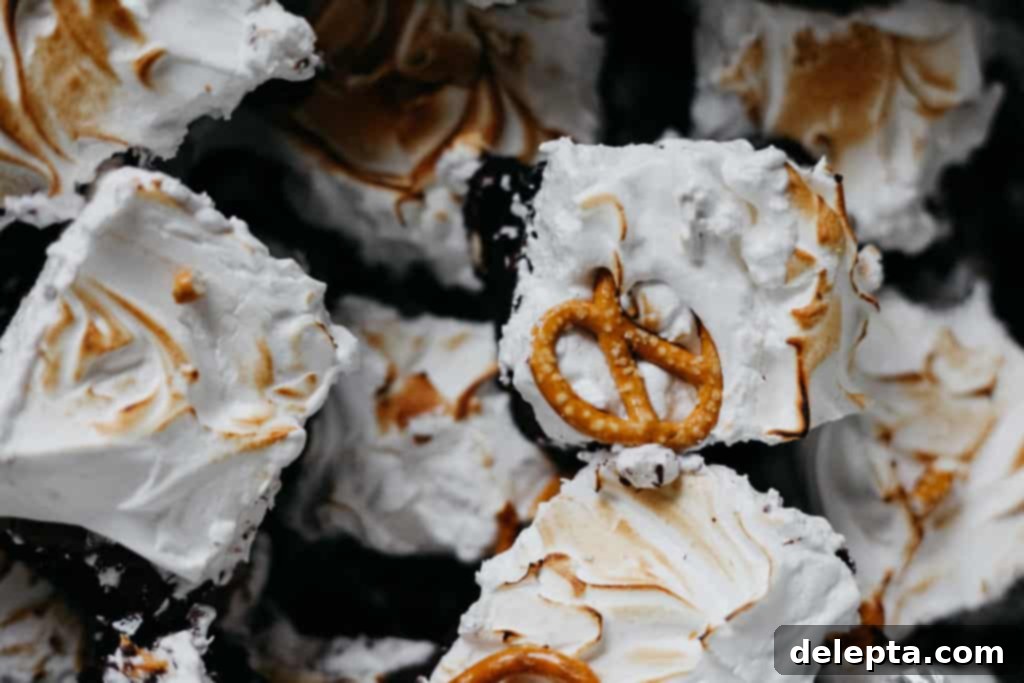
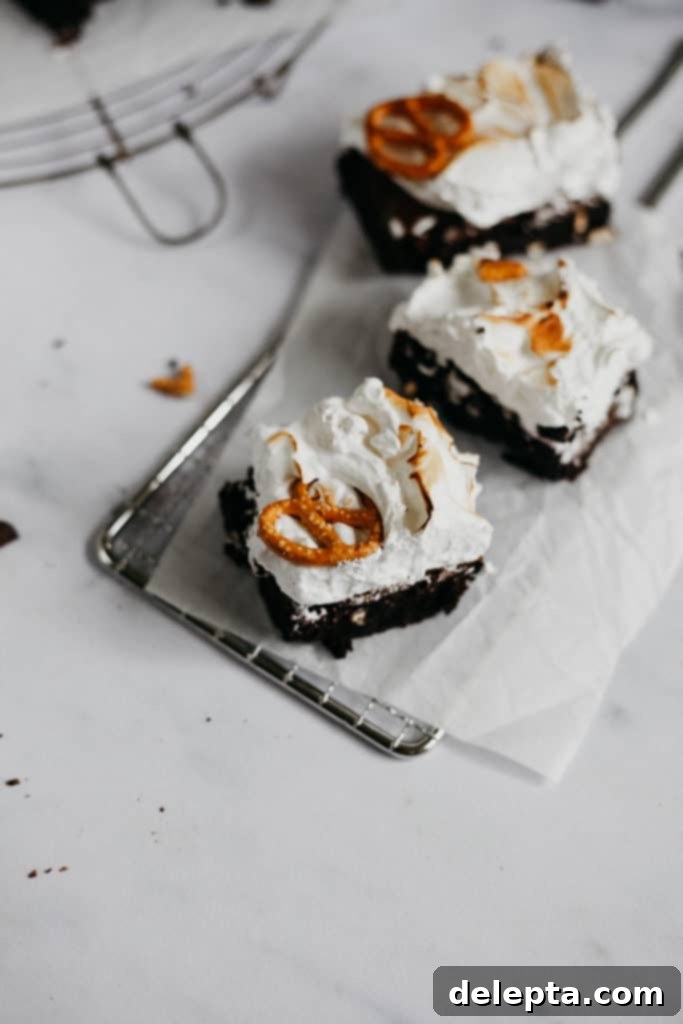
There’s something inherently magical about brownies – their rich, decadent flavor, that perfect fudgy texture, and the endless possibilities for delicious toppings. Today, we’re taking the classic brownie experience to a whole new level with these irresistible Campfire Brownies. Picture a deep, dark chocolate base, studded with salty pretzels, and crowned with a luscious, torched marshmallow meringue. It’s a dessert that evokes cozy evenings, crackling fires, and sweet nostalgia, all in one incredible bite.
The inspiration for these brownies initially stemmed from the beloved s’mores combination: graham cracker, chocolate, and marshmallow. A truly perfect trio, traditionally enjoyed around a campfire. However, living in London, a significant challenge quickly arose: the elusive graham cracker. While some might suggest digestive biscuits as a substitute, trust me when I say, they are absolutely not the same! I even embarked on a graham cracker baking mission myself to confirm this undeniable truth. Providing a homemade graham cracker recipe felt like a step too far for this particular brownie adventure, creating unnecessary complexity.
So, the “s’mores” idea evolved. I decided to scrap the cookie element entirely and introduce a new star: pretzels! This ingenious swap transformed them from s’mores brownies into what I lovingly call “Campfire Brownies.” And while I might joke about eating pretzels by a campfire (my own campfire experiences are admittedly few and filled with an irrational fear of insects and forest creatures), the name perfectly captures the spirit of relaxed indulgence and toasted sweetness these brownies deliver. The salty crunch of the pretzels adds an unexpected but utterly delightful contrast to the rich chocolate and sweet, airy meringue, making these brownies truly unforgettable.
Why You’ll Love These Campfire Brownies
These aren’t just any brownies; they’re a symphony of flavors and textures designed to delight your senses. Here’s why this recipe will quickly become a favorite:
- Unrivaled Fudginess: Thanks to a unique combination of both cocoa powder and melted dark chocolate, these brownies boast an intensely rich chocolate flavor and an irresistibly dense, fudgy texture that brownie purists dream of.
- Perfect Salty-Sweet Balance: The addition of crushed salted pretzels throughout the brownie batter is a game-changer. It introduces a delightful salty counterpoint to the sweetness of the chocolate and marshmallow, preventing the dessert from being overly cloying and enhancing every bite.
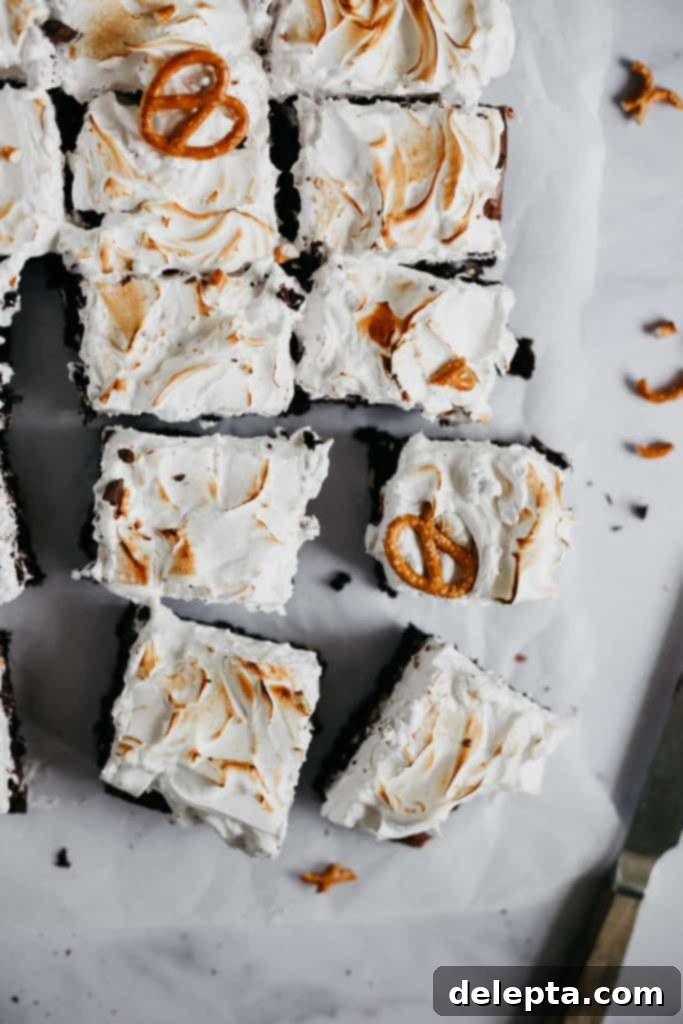
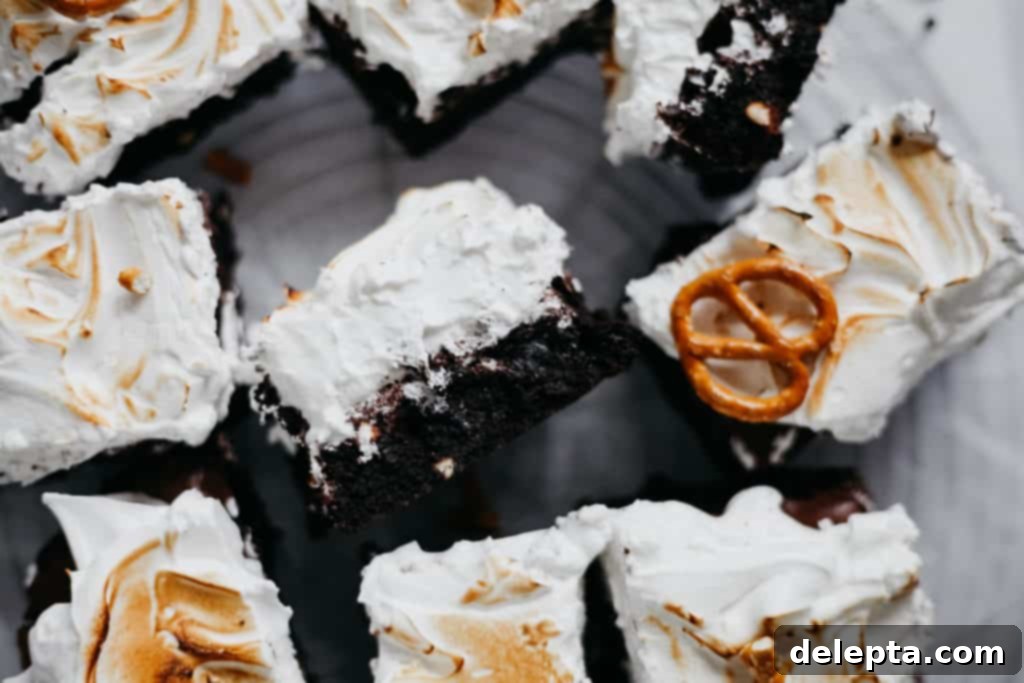
- Cloud-Like Toasted Marshmallow Meringue: Forget store-bought marshmallows! Our homemade Swiss meringue topping is airy, silky-smooth, and can be beautifully toasted with a kitchen blowtorch, mimicking that iconic campfire char. It’s a truly luxurious finish that elevates the entire brownie.
- Exciting Texture Contrast: Each bite offers a satisfying interplay of textures – the chewiness of the brownie, the crisp snap of the pretzels, and the soft, pillowy meringue. It’s a textural adventure that keeps you coming back for more.
- A Unique Twist on a Classic: While inspired by s’mores, these Campfire Brownies forge their own path. They offer a familiar comfort with a sophisticated, unexpected twist, making them perfect for sharing (or not!).
Essential Baking Tips for Perfect Campfire Brownies
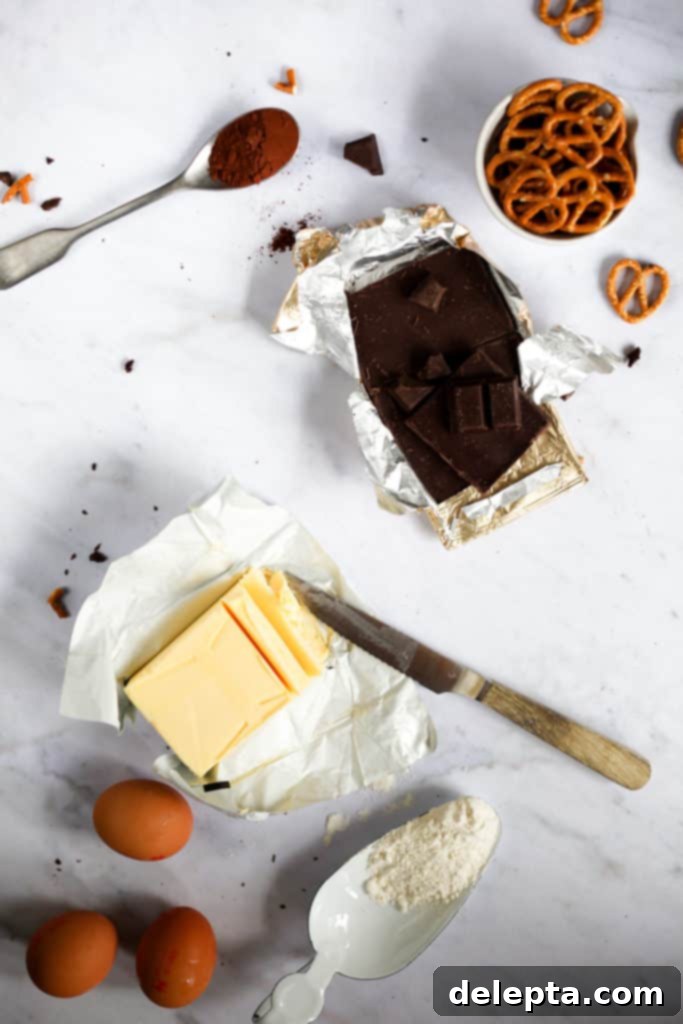
- Double the Chocolate Power: Unlike many brownie recipes that use either cocoa powder or melted chocolate, this recipe brilliantly incorporates both! The cocoa powder provides an intense, deep chocolate flavor, while the melted dark chocolate contributes to that signature fudgy, dense texture and adds a lovely richness. This dual approach ensures maximum chocolatey goodness in every square.
- The Golden Rule of Cooling: Patience is truly a virtue when it comes to these brownies. It is absolutely crucial to let your brownies cool completely to room temperature before you even think about preparing or adding the marshmallow meringue on top! Applying a warm meringue to a warm brownie will result in a messy, melted disaster and a sad, deflated topping.
- Understanding Swiss Meringue: The marshmallow topping in this recipe is based on a Swiss meringue, a wonderfully stable and silky-smooth frosting. If you’ve tried my yellow cake recipe, you’ll recognize this reliable base. Swiss meringue involves gently heating egg whites and sugar over a double boiler before whipping, which dissolves the sugar and stabilizes the egg whites, resulting in a glossy, firm, and pipeable meringue that holds its shape beautifully and toasts perfectly.
- Marshmallow Alternatives (If Meringue Isn’t Your Style): If the thought of making your own meringue feels a bit daunting, you can certainly substitute with actual marshmallows! While I haven’t personally tried this exact method with this recipe, a common approach is to add mini marshmallows on top of the brownie batter during the last 5-10 minutes of baking, or sprinkle them on top of the fully baked and cooled brownies, then torch them. Be mindful that real marshmallows will have a different texture than the homemade meringue, but will still deliver that classic s’mores flavor.
- The Pretzel Twist (or Classic S’mores Swap): The broken salted pretzels are a fantastic addition, offering a delightful crunch and a much-needed saltiness that beautifully cuts through the richness of the chocolate and the sweetness of the marshmallow. They create an addictive salty-sweet dynamic. However, if you’re determined to achieve a more traditional s’mores brownie experience, you can easily substitute the pretzels with broken graham crackers. Just remember that the saltiness will be less prominent.
- Baking Pan Precision: Don’t underestimate the importance of your baking pan size – it genuinely matters! Learning from past mistakes (like using a much smaller pan for the same recipe and ending up with monstrously thick brownies that took double the baking time), I can tell you that a 9×13 inch pan is ideal for this recipe. Using a pan that’s too small will result in a much thicker brownie, requiring a significantly longer bake time and potentially affecting the fudgy consistency. Conversely, a pan that’s too large could lead to thin, dry brownies. Stick to the recommended size for optimal results.
Mastering the Marshmallow Meringue Topping
- The Double Boiler Method: This marshmallow meringue utilizes a Swiss meringue base, a method revered for its stability and smooth texture. We begin by gently heating egg whites, granulated sugar, cream of tartar, vanilla extract, and a pinch of salt together in a bowl placed over a pot of simmering water (a double boiler). This indirect heat ensures the egg whites are safely cooked while the sugar completely dissolves, creating a stable foundation for the meringue.
- Whisking to Perfection: During the heating process, you’ll need to whisk the mixture constantly for approximately 8-10 minutes. This continuous whisking prevents the egg whites from scrambling and encourages the sugar to dissolve evenly. You’ll observe the mixture gradually transform from a slightly yellowish, granular consistency to a bright white, opaque, and slightly thickened liquid. This visual change is your first indicator of readiness.
- The Granule Test (or Thermometer Check): Traditionally, a candy thermometer is used to confirm the mixture has reached 160-175°F (71-79°C) – a safe temperature for consuming egg whites. However, if you don’t have one, a reliable alternative is the “granule test.” Carefully rub a small amount of the mixture between your thumb and forefinger. It should feel completely smooth, with no discernible sugar granules. If you feel any grittiness, continue whisking and heating until the sugar is fully dissolved.
- Whipping to Stiff, Glossy Peaks: Once the sugar is dissolved and the mixture is heated, immediately transfer the bowl to a stand mixer fitted with a whisk attachment. Whip the mixture on high speed until it becomes thick, glossy, and forms stiff, fluffy peaks. This usually takes about 5-7 minutes. You’ll know it’s ready when you lift the whisk and the peaks stand firm, perhaps with just a slight curl at the very tip. Over-whipping can make it dry, so keep an eye on it.
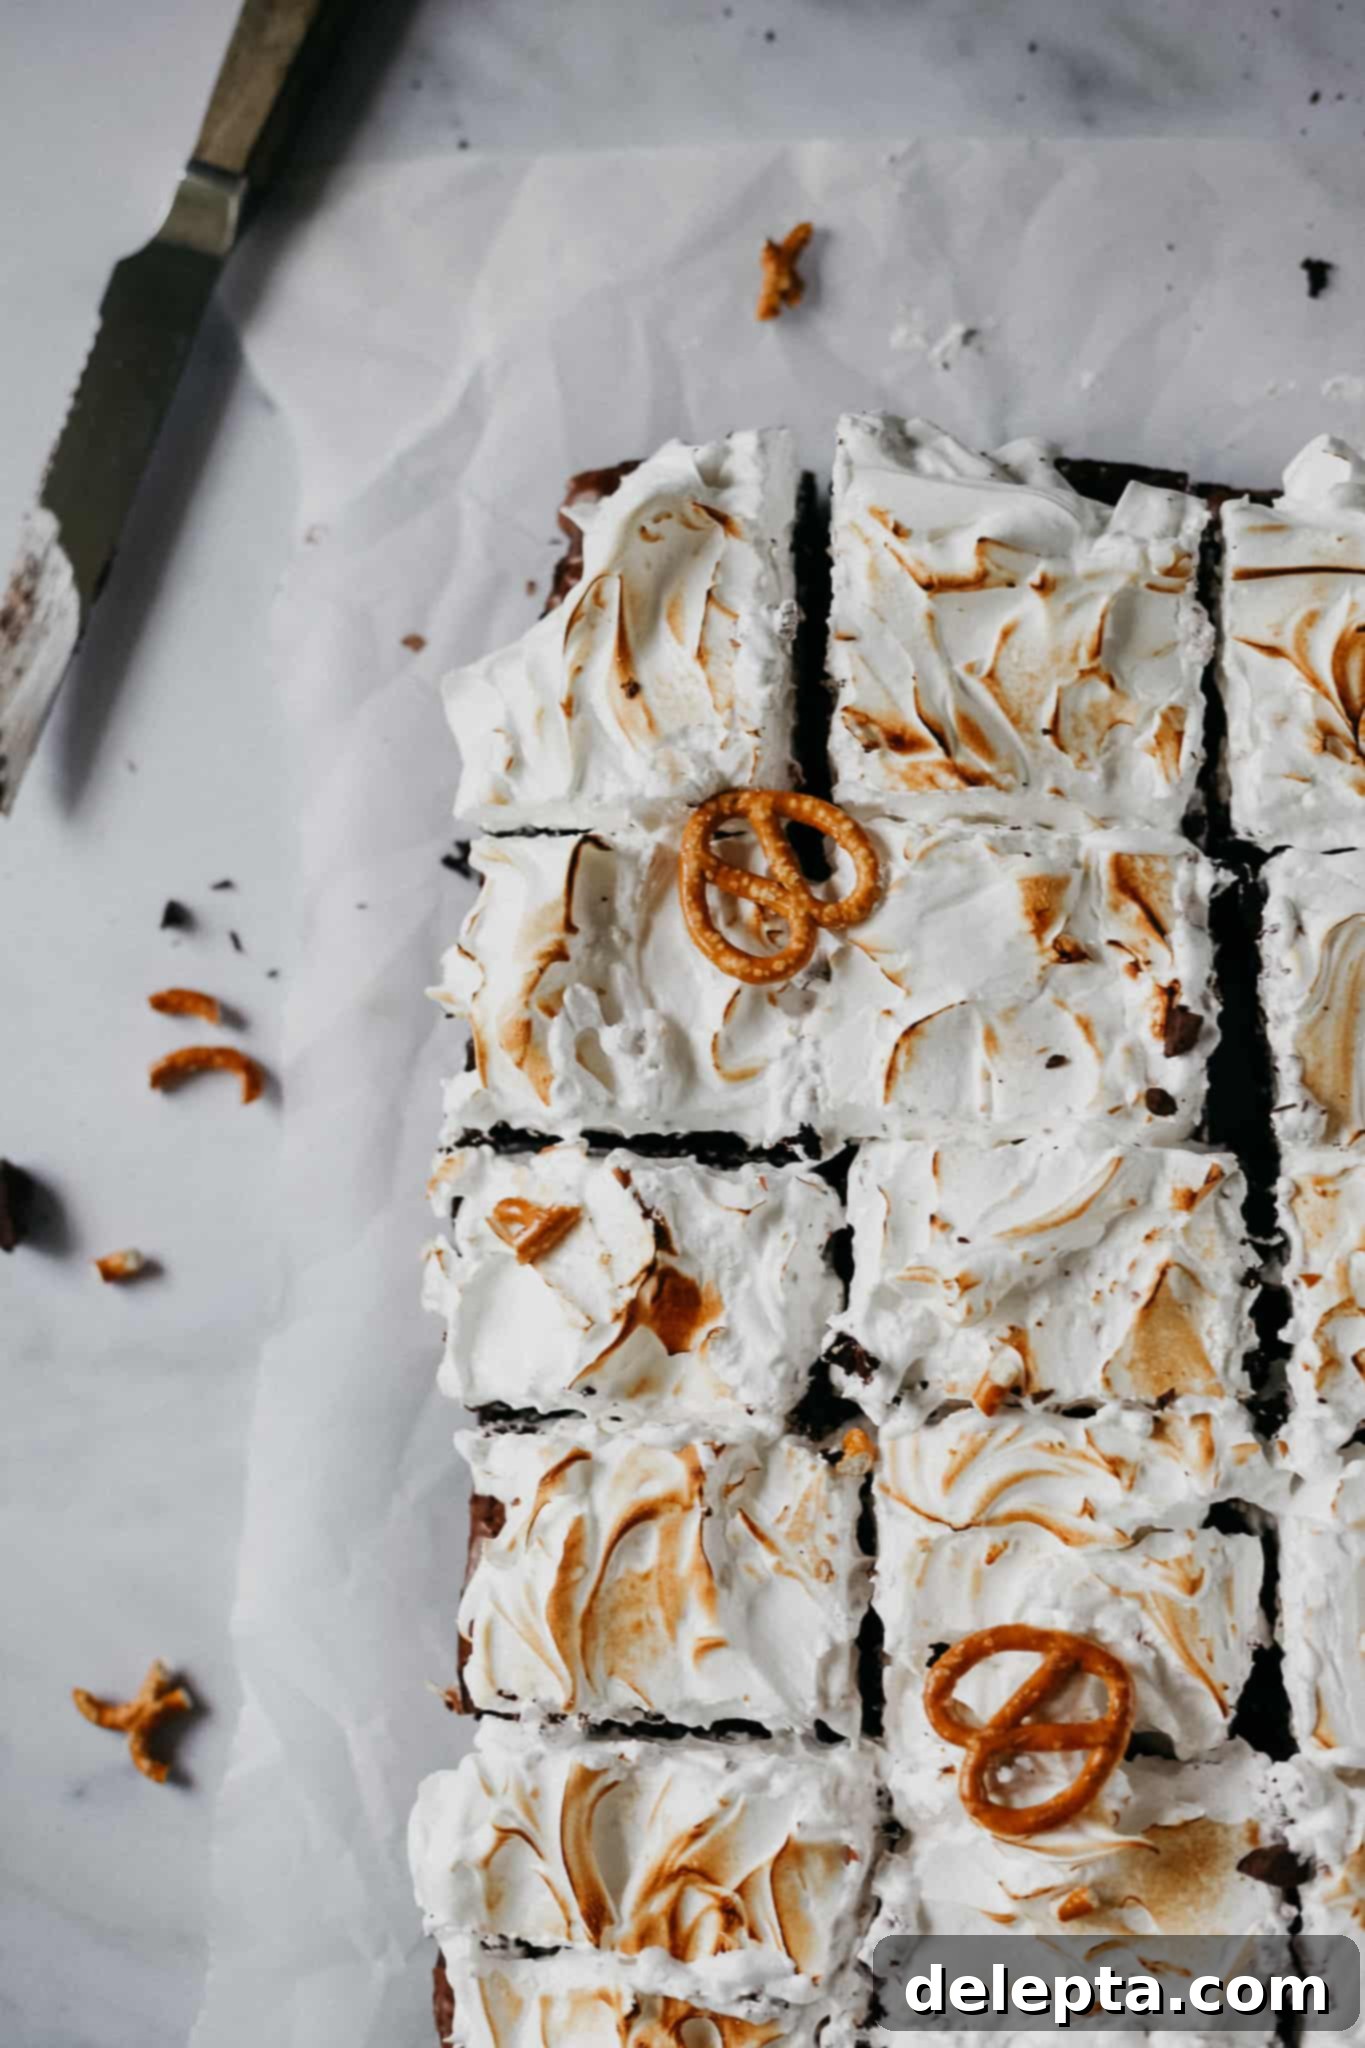
- Spread and Torch Immediately: Swiss meringue is best used immediately after whipping for optimal texture and ease of spreading. Generously spread the fluffy meringue over your completely cooled brownies. Use an offset spatula to create beautiful swoops and swirls, adding to the visual appeal. Then, and this is the fun part, carefully use a kitchen blowtorch to toast the marshmallow topping until it’s beautifully golden brown and lightly charred in spots, just like a real campfire marshmallow. Always exercise caution and follow safety guidelines when using a blowtorch.
- Storage Savvy: Due to the egg white content in the marshmallow meringue, it’s best to store these decadent brownies in an airtight container at room temperature for up to 2-3 days, or in the refrigerator for up to 4-5 days. While they are safe to eat at room temperature, chilling them can help the meringue set further and make for cleaner cuts. The meringue will remain stable, but its texture might slightly soften over time.
Recipe: Campfire Brownies
Campfire Brownies
Ella Gilbert
Pin Recipe
Save RecipeSaved!
Ingredients
Brownies
- 96 grams all-purpose flour
- 85 grams cocoa powder
- 255 grams unsalted butter
- 128 grams dark chocolate, broken up
- 340 grams granulated sugar
- 43 grams light brown sugar
- 1 ¼ teaspoon kosher salt
- 4 large eggs
- 1 ½ teaspoon vanilla extract
- ½ teaspoon espresso powder
- 45 grams salted pretzels, broken up
Marshmallow Meringue
- 3 egg whites
- 150 grams granulated sugar
- ¼ teaspoon cream of tartar
- ½ teaspoon vanilla extract
- ¼ teaspoon kosher salt
Instructions
Brownies
-
Preheat your oven to 350°F (175°C). Line a 9×13 inch baking pan with aluminum foil, ensuring enough overhang on the sides to easily lift the brownies out later. Lightly grease the foil with butter or cooking spray. In a medium bowl, sift together the all-purpose flour and cocoa powder to remove any lumps, then set aside.
-
In a saucepan, melt the unsalted butter over low heat. Once melted, increase the heat to medium and bring the butter to a gentle simmer. Continue cooking, stirring constantly, until the butter browns and develops a nutty aroma and a beautiful amber color (this is browned butter, adding incredible depth of flavor). Remove the pan from the heat immediately and stir in the broken dark chocolate until it has completely melted and the mixture is smooth and glossy. Set aside to cool slightly.
-
In the bowl of a stand mixer fitted with a whisk attachment, combine the granulated sugar, light brown sugar, kosher salt, large eggs, vanilla extract, and espresso powder. Whip this mixture on medium-high speed for about 8 minutes. You’re looking for it to become thick, pale yellow, and noticeably increased in volume, achieving a ribbon-like consistency when the whisk is lifted. This aeration is key to the brownie’s texture.
-
Reduce the mixer speed to low. Slowly pour the cooled chocolate-butter mixture into the egg mixture. Mix until it is just combined and no streaks of egg mixture remain. Be careful not to overmix at this stage.
-
Add the sifted flour and cocoa powder mixture to the wet ingredients. Mix on low speed until just combined. Stop the mixer as soon as the last streaks of flour disappear to avoid overdeveloping the gluten. Using a flexible spatula, gently fold in the broken salted pretzels.
-
Pour the brownie batter into your prepared 9×13 inch pan and spread it evenly. Bake for 25 minutes. The brownies should appear glossy on top, and a toothpick inserted into the center should come out with moist crumbs, not wet batter. They will continue to set as they cool. Allow the brownies to cool completely to room temperature in the pan before attempting to add the marshmallow meringue. This step is critical!
Marshmallow Meringue
-
Prepare a double boiler: Fill a medium saucepan with about an inch of water and place it over medium-low heat. Bring the water to a gentle simmer (it should not boil rapidly).
-
In the clean, dry bowl of a stand mixer, combine the egg whites, granulated sugar, kosher salt, cream of tartar, and vanilla extract. Place this bowl over the simmering water in the saucepan, ensuring the bottom of the bowl does not touch the water. Whisk the mixture constantly for approximately 10 minutes. You’ll notice it transform from a yellowish, grainy mixture to a smooth, opaque white, and slightly thickened consistency.
-
To check for readiness, ideally use a candy thermometer; the mixture should register 175°F (79°C). If you don’t have a thermometer, perform the “granule test”: carefully rub a small amount of the mixture between your fingers. It should feel completely smooth, with no sugar granules present. If it’s still gritty, continue whisking and heating for a few more minutes until smooth.
-
Carefully remove the bowl from the double boiler and attach it to your stand mixer. Using the whisk attachment, whip the mixture on high speed for about 5-7 minutes, until it becomes very thick, glossy, and forms firm, stiff peaks. When you lift the whisk, the peaks should hold their shape, possibly with a slight curl at the tip.
-
Immediately spread the marshmallow meringue evenly over the completely cooled brownies. Use an offset spatula or the back of a spoon to create beautiful swoops, swirls, and peaks on the surface. For that authentic “campfire” look, use a kitchen blowtorch (very carefully!) to toast the marshmallow topping until it’s beautifully golden brown with some slightly darker, charred spots. Serve and enjoy!
