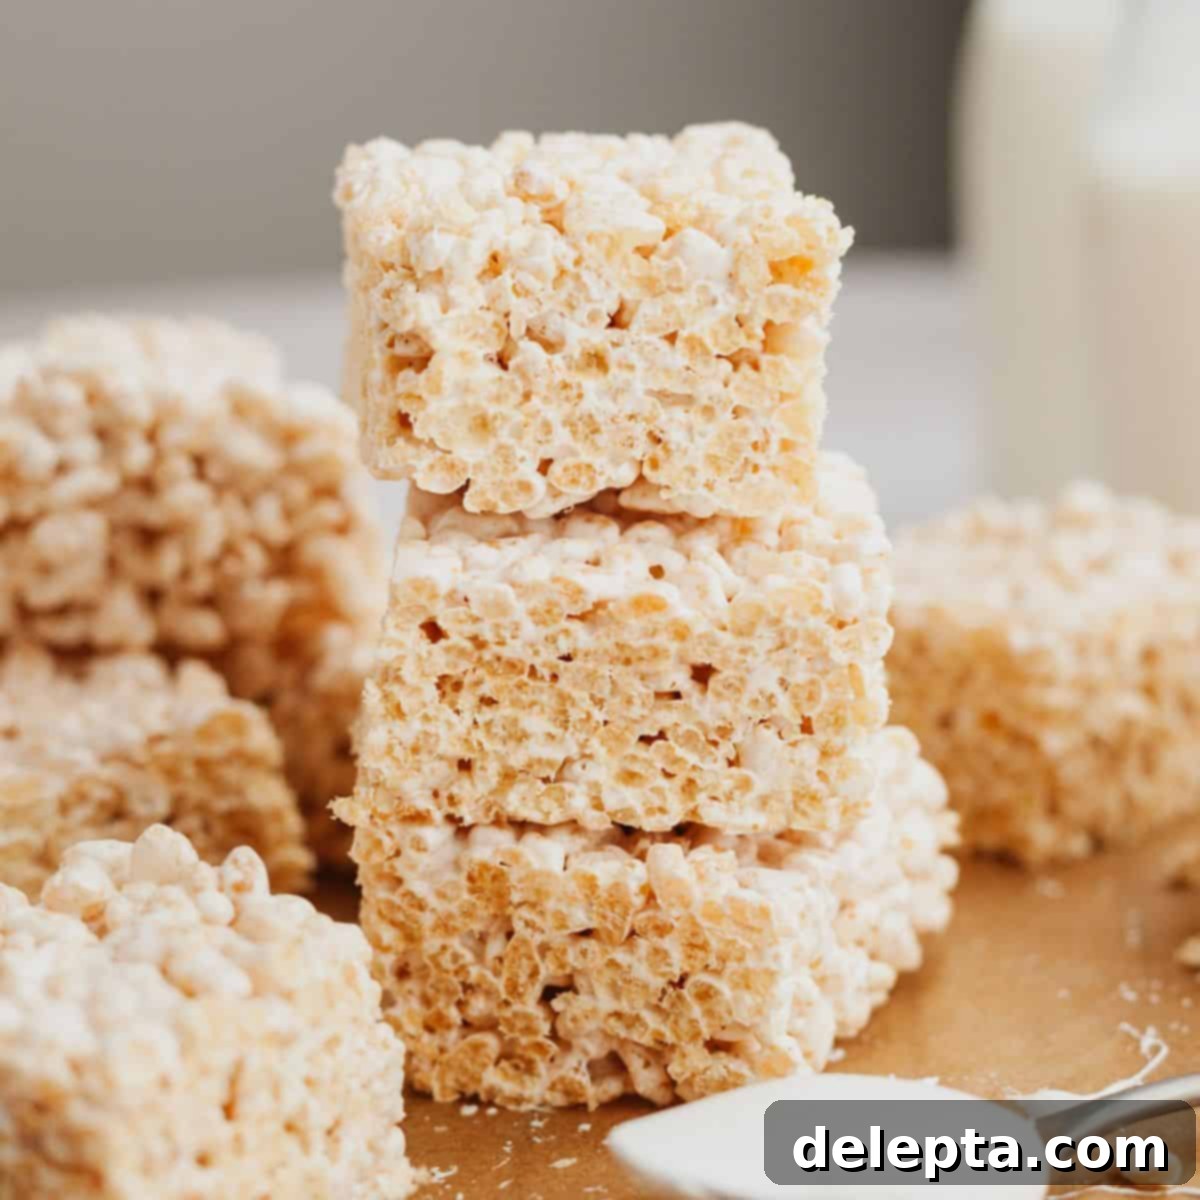
Irresistible Marshmallow Fluff Rice Krispie Treats: The Ultimate 5-Ingredient No-Bake Delight
Prepare to fall in love with these extraordinary Rice Krispie Treats made with gooey marshmallow fluff! A delightful twist on a beloved classic, this recipe replaces traditional marshmallows with rich, fluffy marshmallow creme, creating an irresistibly soft and chewy texture. Requiring just 5 simple ingredients and about 15 minutes of active preparation time, these no-bake bars are incredibly easy to make. They are perfect for satisfying sweet cravings, impressing at bake sales, or as a quick, crowd-pleasing dessert for any occasion.
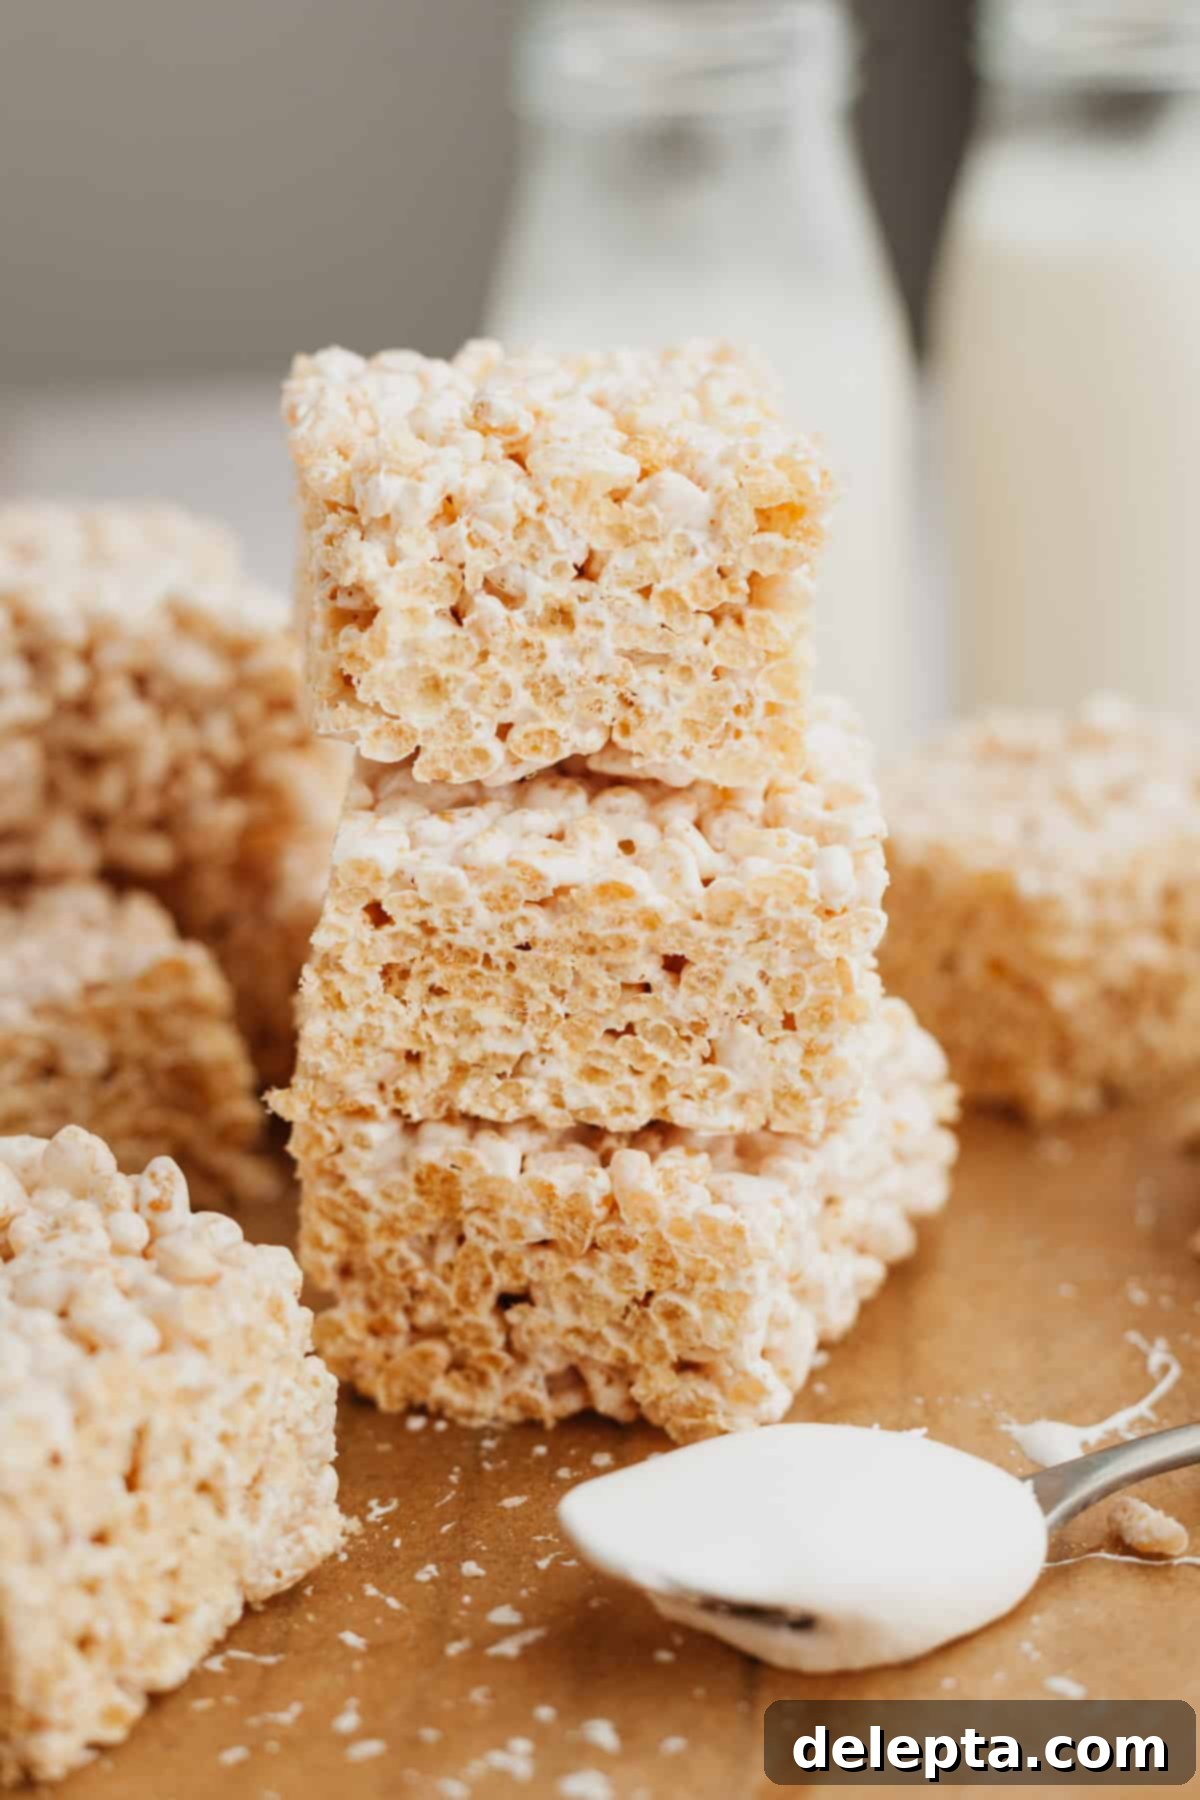
These marshmallow fluff Rice Krispie treats are truly a family favorite, earning rave reviews every time they’re served. Their incredible chewiness and subtly sweet flavor make them an ideal choice for school lunchboxes, after-school snacks, birthday party desserts, or even a simple treat to enjoy with a cup of coffee. Unlike traditional recipes, the use of marshmallow fluff gives these squares a uniquely light and pillowy consistency that sets them apart.
While I often rely on classic marshmallows for recipes like my chocolate covered rice krispie treats, there are times when my pantry is bare of regular bags of marshmallows. However, a jar of marshmallow fluff (or marshmallow creme) is a staple I almost always have on hand! This recipe brilliantly leverages that gooey jarred goodness, proving that you don’t need conventional marshmallows to achieve a truly spectacular Rice Krispie treat. In fact, many argue that the fluff version is even better, offering a softer bite and a wonderfully smooth melt.
Why You’ll Adore These Marshmallow Fluff Rice Krispie Treats!
- You only need 5 simple ingredients to whip up these incredible marshmallow fluff rice krispie treats! This minimal ingredient list makes them an accessible and budget-friendly dessert that doesn’t compromise on flavor or texture.
- These delightful squares are incredibly convenient, as they’re made in just 1 pan. Forget about multiple mixing bowls and endless cleanup; everything comes together in a single saucepan, making your baking experience truly hassle-free.
- A secret weapon in this recipe is the inclusion of brown butter. This adds a rich, nutty depth of flavor that beautifully balances the sweetness of the marshmallow fluff, elevating these treats beyond the ordinary. The subtle caramel notes from the browned butter are a game-changer!
- I’ve kept these Rice Krispie squares wonderfully plain to highlight their exquisite flavor, but they are a fantastic canvas for creativity. Feel free to add sprinkles for a festive touch, mix in chocolate chips for a rich twist, or experiment with other favorite mix-ins!
- They are a no-bake dessert, meaning no oven required! Perfect for hot summer days or when you simply want a quick and easy sweet fix without turning on the heat.
- The marshmallow fluff creates an exceptionally gooey and soft texture that’s less sticky and firmer than traditional marshmallow versions, offering a truly unique and satisfying bite.
Essential Ingredients for Your Gooey Treats
Crafting these delectable no-bake treats requires only a handful of readily available ingredients. Each component plays a crucial role in achieving the perfect balance of flavor and texture:
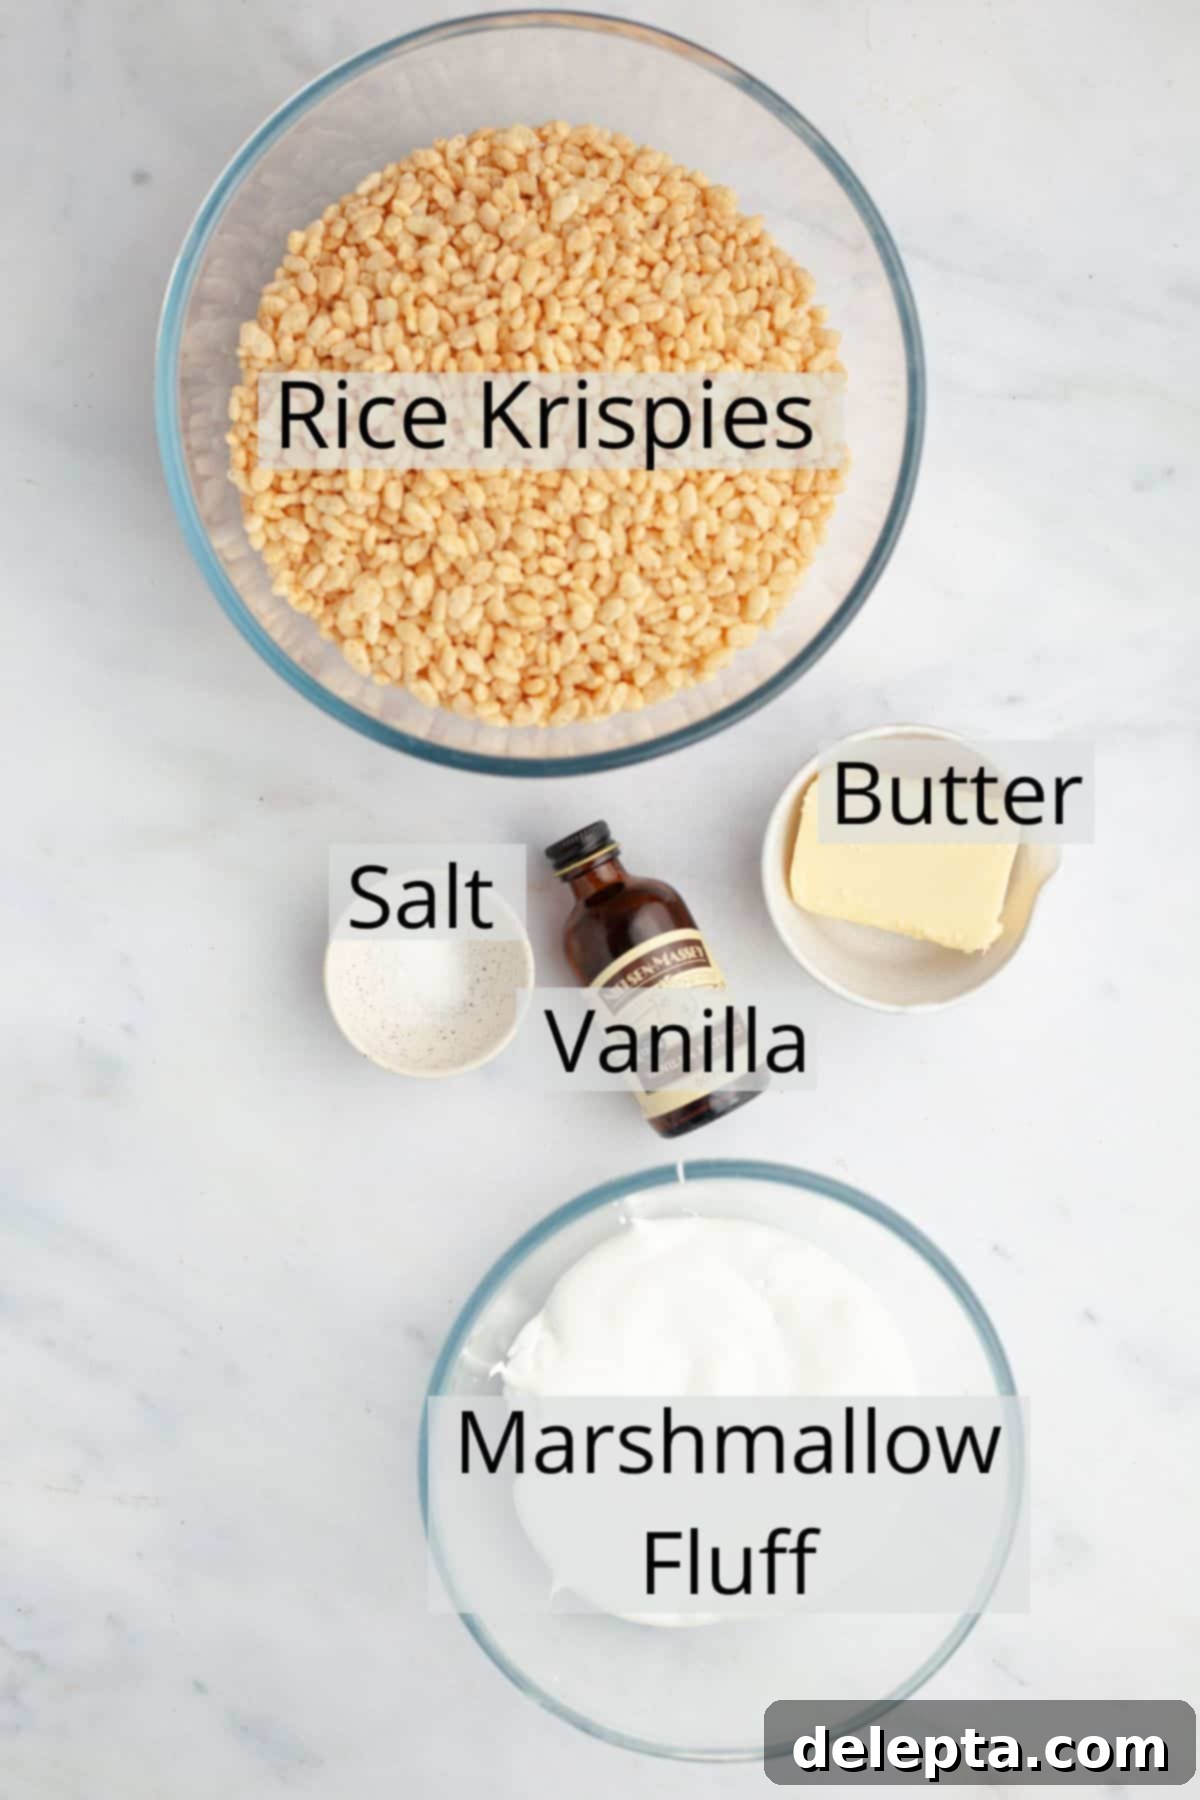
- Unsalted Butter: Using unsalted butter allows you to control the overall saltiness of the treats. The star of the show here is browning the butter, which develops an incredible nutty, caramel-like flavor that elevates these simple treats to a gourmet level. Don’t skip this step – it truly makes a difference!
- Marshmallow Fluff: This is the key ingredient that gives these Rice Krispie treats their unique, ultra-soft, and incredibly gooey texture. You’ll want to use a whole 7-ounce jar for this recipe to ensure maximum fluffiness and stickiness. Marshmallow fluff creates a silkier, less dense binding than melted regular marshmallows, resulting in a lighter and chewier treat.
- Vanilla Extract: A high-quality vanilla extract is essential for enhancing the overall flavor profile. It adds a warm, aromatic note that complements the sweetness of the marshmallow fluff and the nuttiness of the brown butter beautifully. Don’t underestimate the power of good vanilla!
- Kosher Salt: While these are sweet treats, a touch of kosher salt is vital. It acts as a flavor enhancer, balancing the sweetness of the marshmallow fluff and bringing out the complex notes of the brown butter. A pinch of salt prevents the treats from tasting one-dimensionally sweet and adds a subtle savory counterpoint.
- Rice Krispie Cereal: The classic crispy foundation! I typically use Kellogg’s brand Rice Krispies for their reliable crispness, but any generic puffed rice cereal from your local grocery store will work just as well. Ensure it’s fresh for the best crunch.
That’s all you need for these quick and easy Rice Krispie treats with marshmallow fluff! Gather these simple ingredients, and you’ll be on your way to a truly delightful dessert experience.
Easy Step-by-Step Instructions for Perfect Treats
Making these Rice Krispie treats with marshmallow fluff is a breeze, even for beginner bakers. Just follow these simple steps for a truly delicious result. We’ll be using just one pan for the entire process, minimizing cleanup!
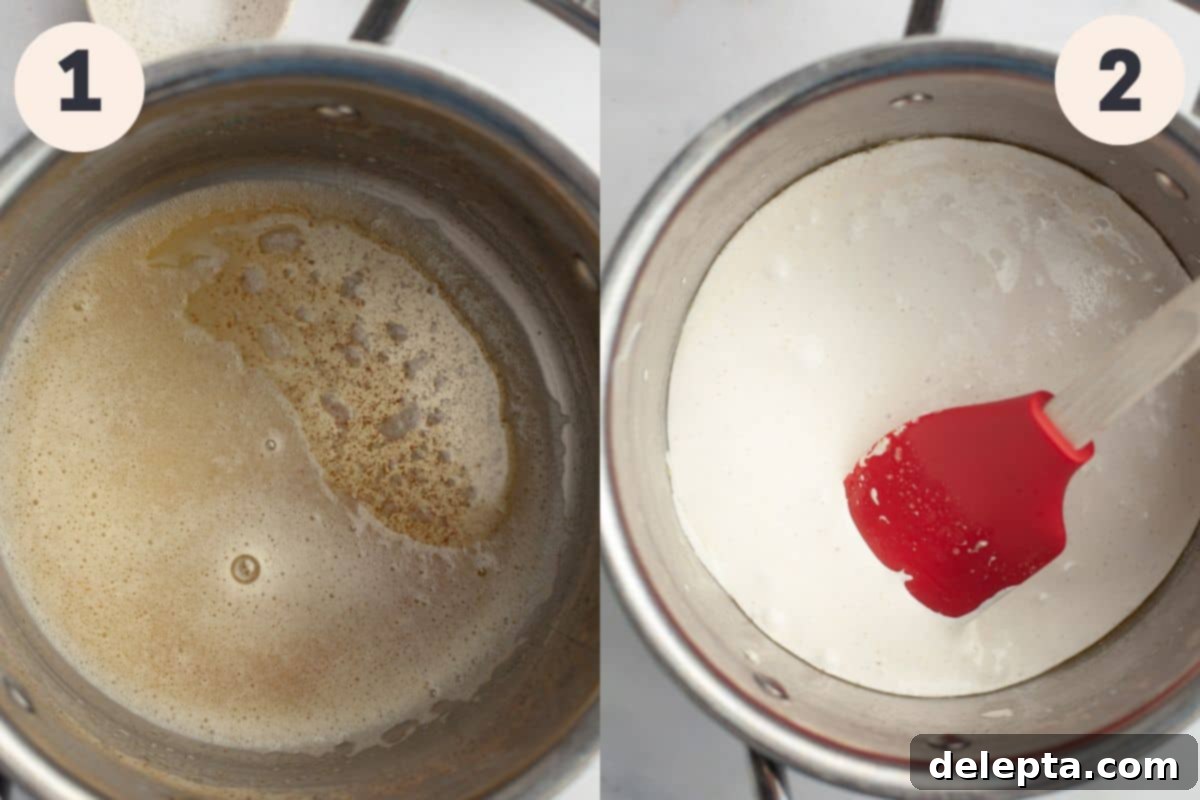
Step 1: Brown the Butter for Flavor Depth. Begin by lining an 8×8 inch baking pan with parchment paper, leaving an overhang on the sides to easily lift the treats later. Set this aside. Next, place your unsalted butter in a medium-sized saucepan over medium-low heat. Allow the butter to fully melt. Once melted, continue to cook the butter, stirring occasionally. It will start to foam and sputter. Keep a close eye on it, as the milk solids at the bottom of the pan will begin to turn a light golden brown (as seen in the image above!). This browning process imparts a rich, nutty, and toasted aroma and flavor, which is absolutely essential for these treats. Swirl the pan occasionally to ensure even browning and prevent burning. Once it reaches a beautiful amber color and smells fragrant, immediately move to the next step.
Step 2: Combine Marshmallow Fluff with Brown Butter. Reduce the heat to low. Add the entire jar of marshmallow fluff, vanilla extract, and kosher salt to the saucepan with the browned butter. Stir everything together continuously over low heat using a rubber spatula. It might seem like the butter and fluff won’t combine at first, but with consistent stirring, they will gradually come together into a smooth, glossy, and uniformly blended marshmallow mixture. This usually takes a few minutes. Once fully combined and silky smooth, turn off the heat.
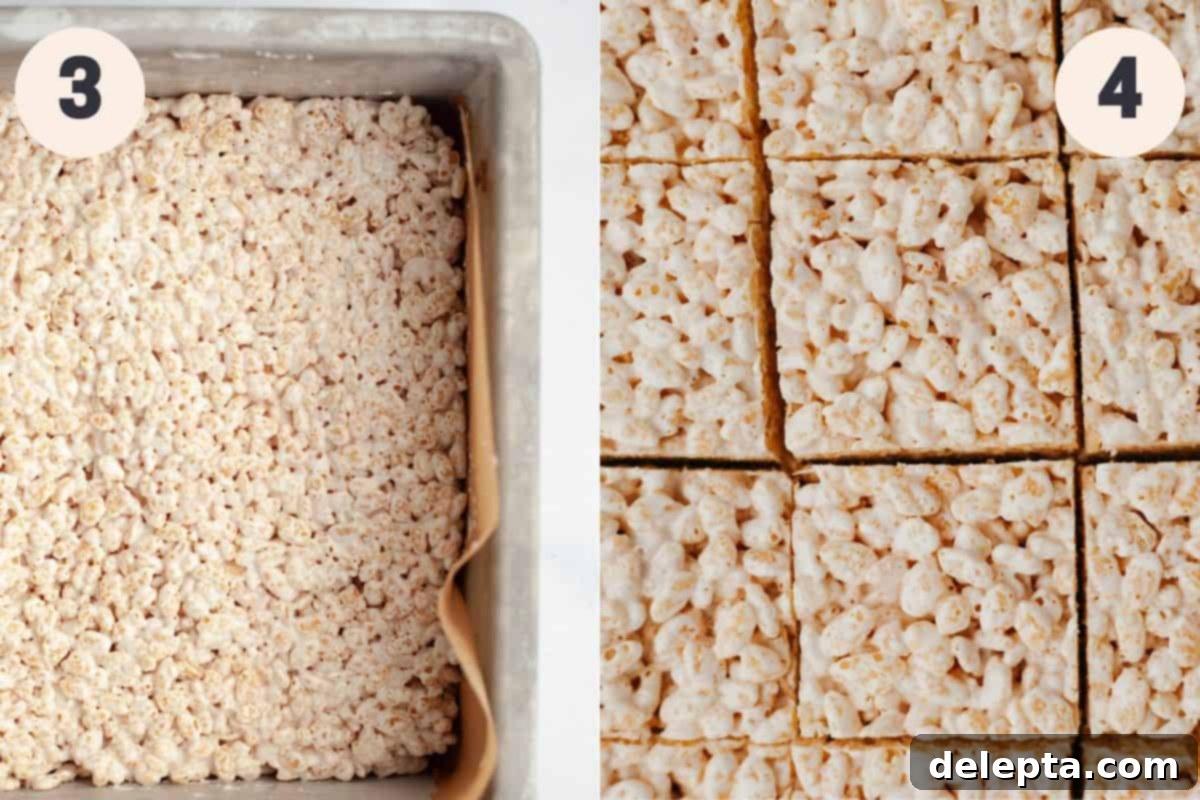
Step 3: Add Cereal and Mix Thoroughly. Remove the pan from the heat. Quickly add the measured Rice Krispies cereal to the warm marshmallow mixture in the saucepan. Use your rubber spatula to gently but thoroughly stir everything together. Work quickly, as the marshmallow mixture will start to set as it cools. Ensure that every single piece of cereal is coated evenly with the sweet, gooey marshmallow fluff. This is crucial for uniform texture and flavor in every bite. If adding sprinkles or chocolate chips, this is the time to fold them in.
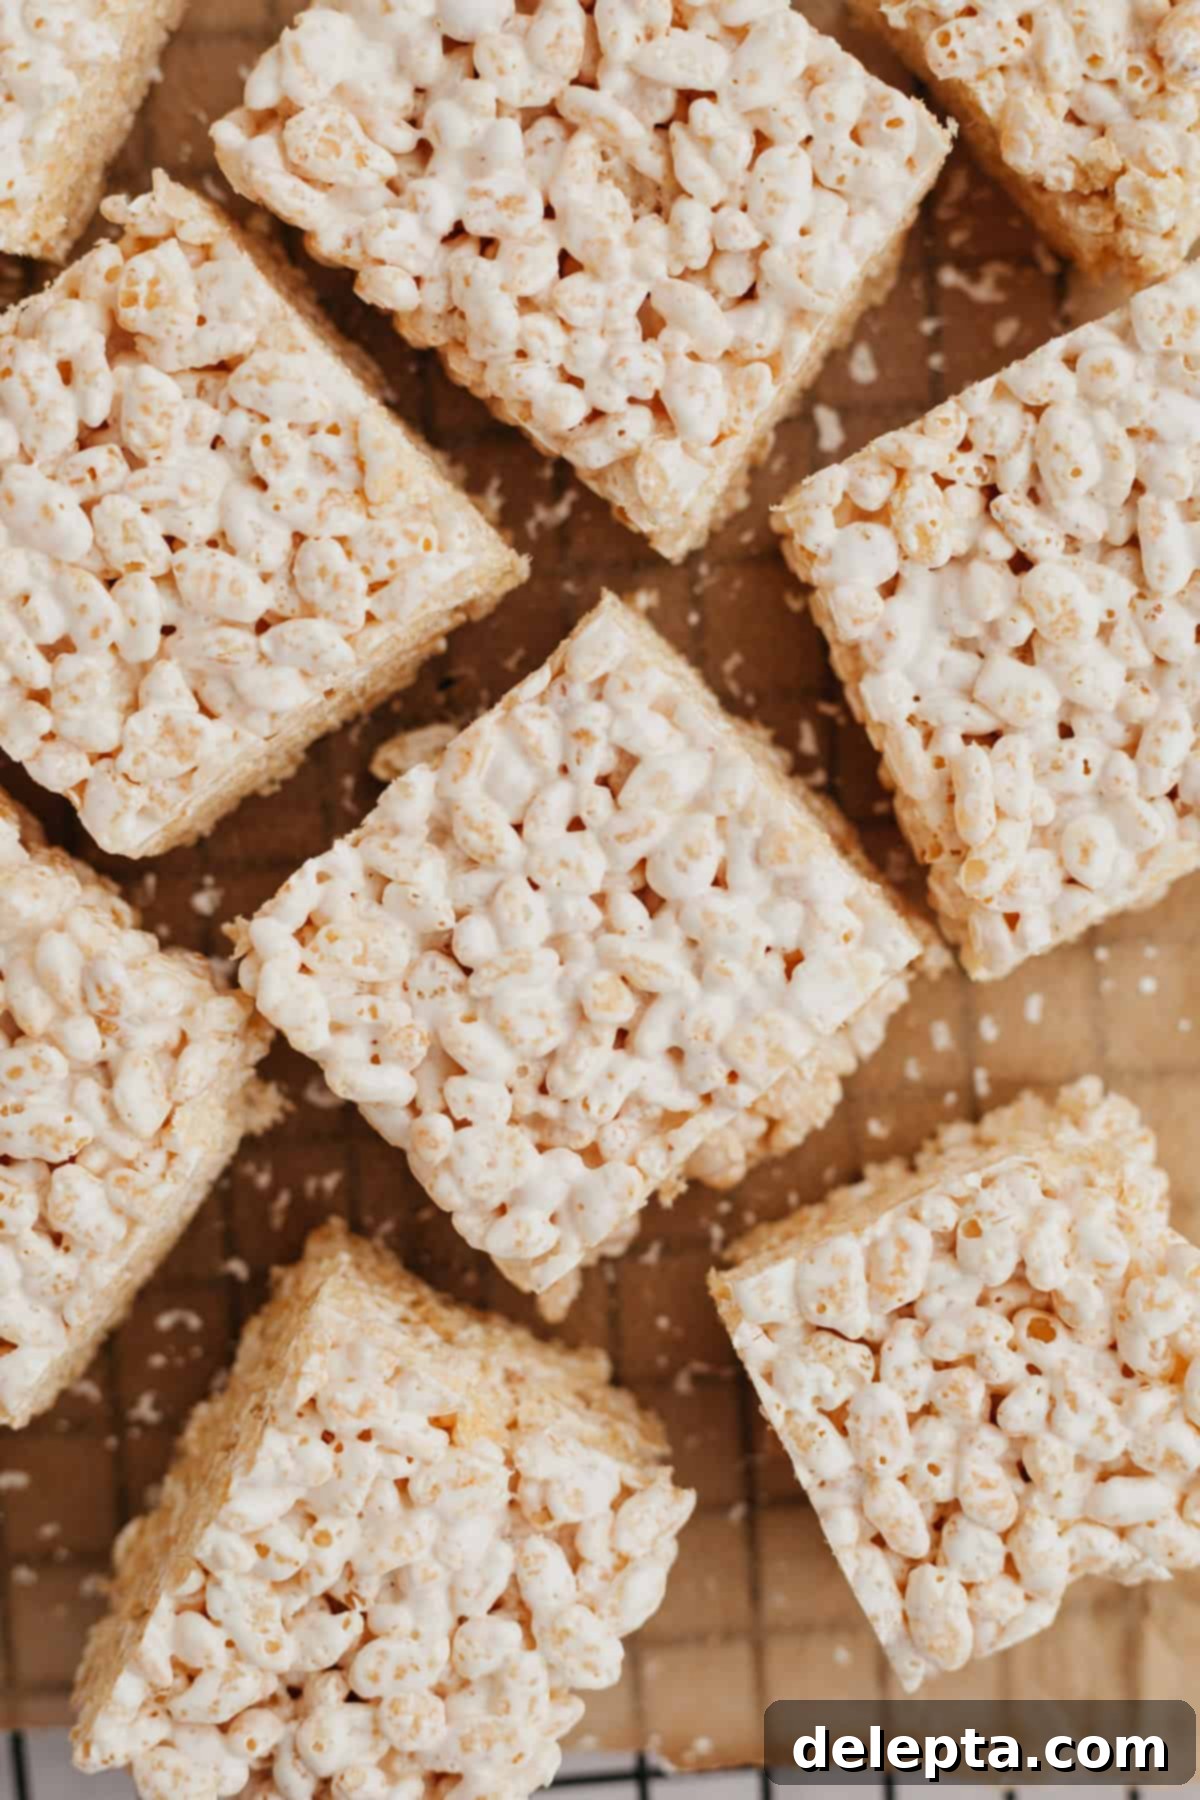
Step 4: Press into Pan and Allow to Set. Once the cereal is fully coated, pour the marshmallow-cereal mixture into the prepared 8×8 baking pan lined with parchment paper. Use your rubber spatula, or lightly greased fingertips, to gently and evenly press the mixture into the pan. Avoid pressing too firmly, as this can result in hard, dense treats. A light, even pressure is all that’s needed to ensure they hold their shape. Let the mixture rest undisturbed at room temperature for at least 1 hour, or ideally 2 hours, to allow them to set completely. Once firm, lift the treats out of the pan using the parchment paper overhang and slice them into squares. Enjoy your perfectly gooey and chewy marshmallow fluff Rice Krispie treats!
Pro Tips & Tricks for the Best Marshmallow Fluff Treats
Achieving perfectly gooey and delicious marshmallow fluff Rice Krispie treats is easy with a few expert tips:
- Taming the Fluff: This marshmallow fluff mixture is exceptionally sticky, much more so than melted regular marshmallows. To make handling it easier, I highly recommend using two rubber spatulas. One can be used to scoop and stir the fluff, while the other helps scrape it off the first spatula and out of the jar. Lightly coating your spatulas with non-stick spray can also be a lifesaver.
- Patience with Combining: It might initially seem like the brown butter isn’t fully combining with the marshmallow fluff. Don’t panic! Give it a few minutes over low heat and continue to stir continuously. The warmth and constant motion will eventually bring everything together into a beautiful, homogenous, and glossy mixture.
- Customization is Key: Once you’ve added the cereal to the marshmallow mixture, feel free to fold in your favorite additions! Mini chocolate chips, colorful sprinkles, crushed candies, or even a drizzle of melted chocolate on top after they’ve set can elevate these treats. Get creative and make them your own!
- Work Quickly and Efficiently: Once the cereal is combined with the warm marshmallow mixture, it will start to set relatively quickly as it cools. Work swiftly to ensure all the cereal is coated and then to press the mixture into your prepared pan evenly.
- Don’t Over-Press: When pressing the mixture into the baking pan, use gentle and even pressure. Over-compacting the cereal can result in dense, hard, and less enjoyable treats. You want them to be set, but still light and airy.
- Pan Size Matters: This recipe is designed for an 8×8 inch baking pan for thick, substantial bars. If you only have a 9×9 inch pan, you can certainly use it, but be aware that your treats will be thinner. If using a larger pan, you might consider doubling the recipe for thicker squares.
- Grease Your Tools: Lightly coat your hands or the back of your spatula with non-stick cooking spray or butter before pressing the mixture into the pan. This prevents sticking and makes the process much smoother.
- Sharp Knife for Clean Cuts: Once the treats have set, use a sharp knife that has been lightly greased with butter or non-stick spray. This will help you get clean, precise cuts without the treats sticking to the blade.
Frequently Asked Questions About Marshmallow Fluff Rice Krispie Treats
Absolutely! This recipe is easily scalable. To make a larger batch, simply double all the ingredients and use a 9×13 inch baking pan instead of an 8×8 inch pan. This will yield a greater quantity of equally delicious, gooey Rice Krispie bars for a crowd.
Nope, not at all! The beauty of this recipe is that it specifically uses marshmallow fluff (also known as marshmallow creme) instead of conventional marshmallows. You won’t need a single marshmallow for these unique and extra-gooey treats.
The primary difference lies in the texture! Because we’re using marshmallow fluff instead of melted regular marshmallows, these Rice Krispie treats aren’t as dense or sticky as their traditional counterparts. They are significantly softer, more ethereal, and feel a bit lighter when you bite into them, offering a delightful chewiness that’s truly distinct. The brown butter also adds a depth of flavor that’s often missing in standard recipes.
While technically possible, freezing Rice Krispie treats made with marshmallow fluff is generally not recommended. The freezing and thawing process can alter their delicate texture, potentially making them less crispy and more prone to becoming soggy. For best results and optimal freshness, they are best enjoyed at room temperature within a few days of making them.
There are a few common reasons why your treats might be hard. The most frequent culprit is over-cooking the marshmallow mixture. Heating the marshmallow fluff for too long can cause it to become overly stiff once cooled. Another reason could be pressing the mixture too firmly into the pan. Gentle pressure is key to maintaining a light, airy, and soft texture. Ensuring your ingredients are fresh also helps!
Storage Recommendations for Freshness
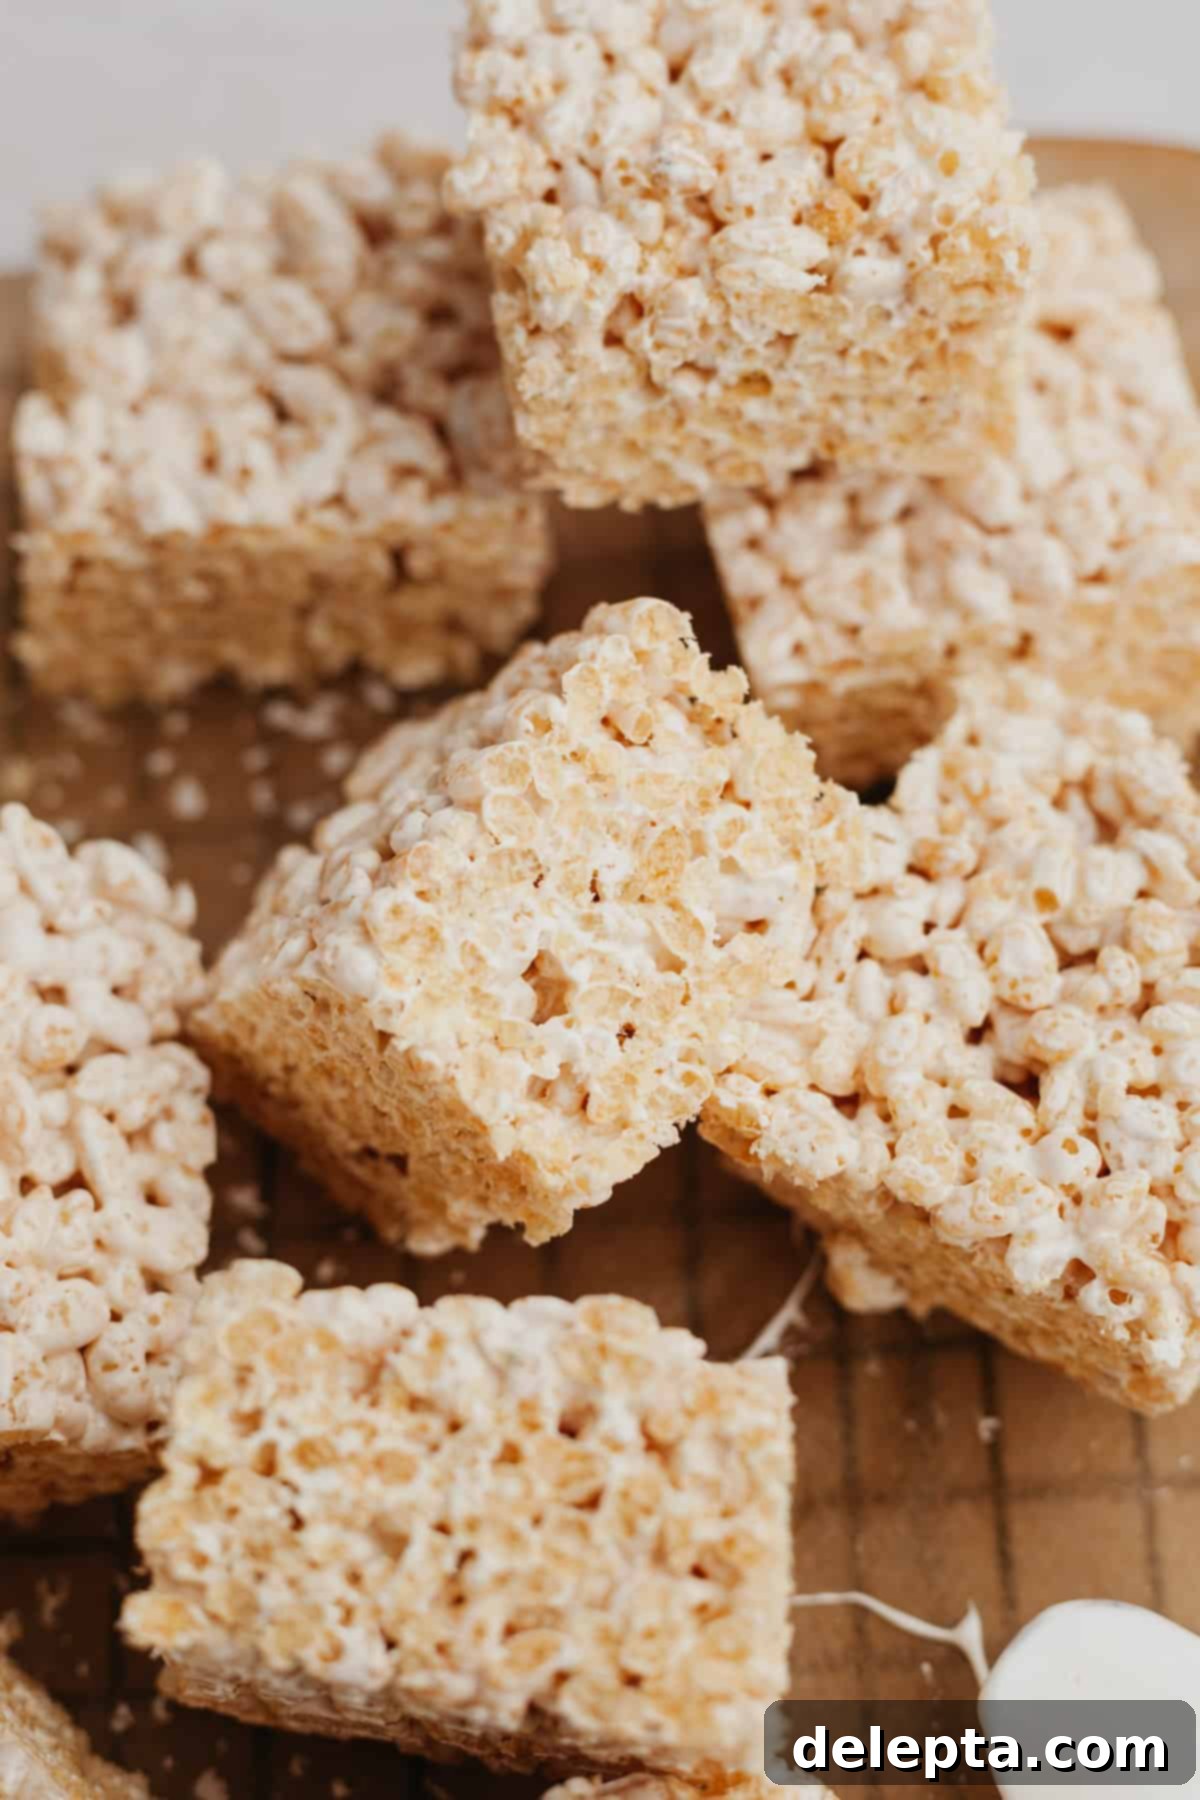
To maintain their optimal texture and deliciousness, I highly recommend storing your sliced marshmallow fluff Rice Krispie bars in an airtight container. Keep them at room temperature for up to 3 days. While they can last a little longer, their signature gooey and soft texture is best enjoyed within the first few days of preparation. Avoid refrigerating them, as the cold air can make them hard and less enjoyable. If stacking, place parchment paper between layers to prevent sticking.
Expand Your No-Bake Horizons: Try These Delicious Recipes Next!
If you loved these incredibly easy and flavorful marshmallow fluff Rice Krispie treats, you’ll definitely want to explore more no-bake wonders and brown butter delights. Here are a few other fantastic recipes that deliver on taste and simplicity, perfect for your next baking adventure:
- The Best Brown Butter Blondies (1 Bowl)
- Biscoff Rice Krispie Treats
- Brownies with Peanut Butter Cups
- Chocolate Peanut Butter Rice Krispie Treats
Recipe Card
Rice Krispie Treats with Marshmallow Fluff
Ella Gilbert
Pin Recipe
Save RecipeSaved!
Equipment
-
1 8×8 baking pan
Ingredients
- 3 tablespoons unsalted butter
- 7 oz marshmallow fluff
- 1 teaspoon vanilla extract
- ½ teaspoon kosher salt
- 5 cups rice krispie cereal
Instructions
-
Line an 8×8 inch baking pan with parchment paper, leaving an overhang on all sides to easily lift the treats later. Set aside.
-
Take a medium saucepan and place it over medium-low heat on the stove. Add your butter and stir until it’s completely melted. You then want to brown the butter: reduce the heat to low and stir occasionally. The butter will start to foam and sputter. Keep an eye on the milk solids at the bottom of the pan as they turn a light golden brown. It should smell wonderfully toasted and nutty. This process adds significant depth of flavor.3 tablespoons unsalted butter
-
Add in the entire 7 oz jar of marshmallow fluff, vanilla extract, and kosher salt. Use a rubber spatula to combine it thoroughly with the brown butter over low heat. Continue stirring until the mixture is completely smooth and unified, taking a few minutes to fully integrate.7 oz marshmallow fluff, 1 teaspoon vanilla extract, ½ teaspoon kosher salt
-
Take the pan off the heat immediately. Pour in the 5 cups of Rice Krispie cereal. Using your rubber spatula, stir quickly and gently, ensuring all of the cereal is thoroughly coated in the melted marshmallow mixture. This step needs to be done efficiently before the mixture begins to set.5 cups rice krispie cereal
-
Pour this mixture into your prepared 8×8 inch pan. Use the back of your rubber spatula, or lightly buttered fingertips, to gently and evenly press the mixture into the pan. Avoid pressing too hard to keep the treats soft and chewy. Let it rest at room temperature for a minimum of 1 hour, or ideally 2 hours, to set completely. Once firm, use the parchment paper overhang to lift the entire slab out of the pan and slice into perfect squares.
Nutrition
