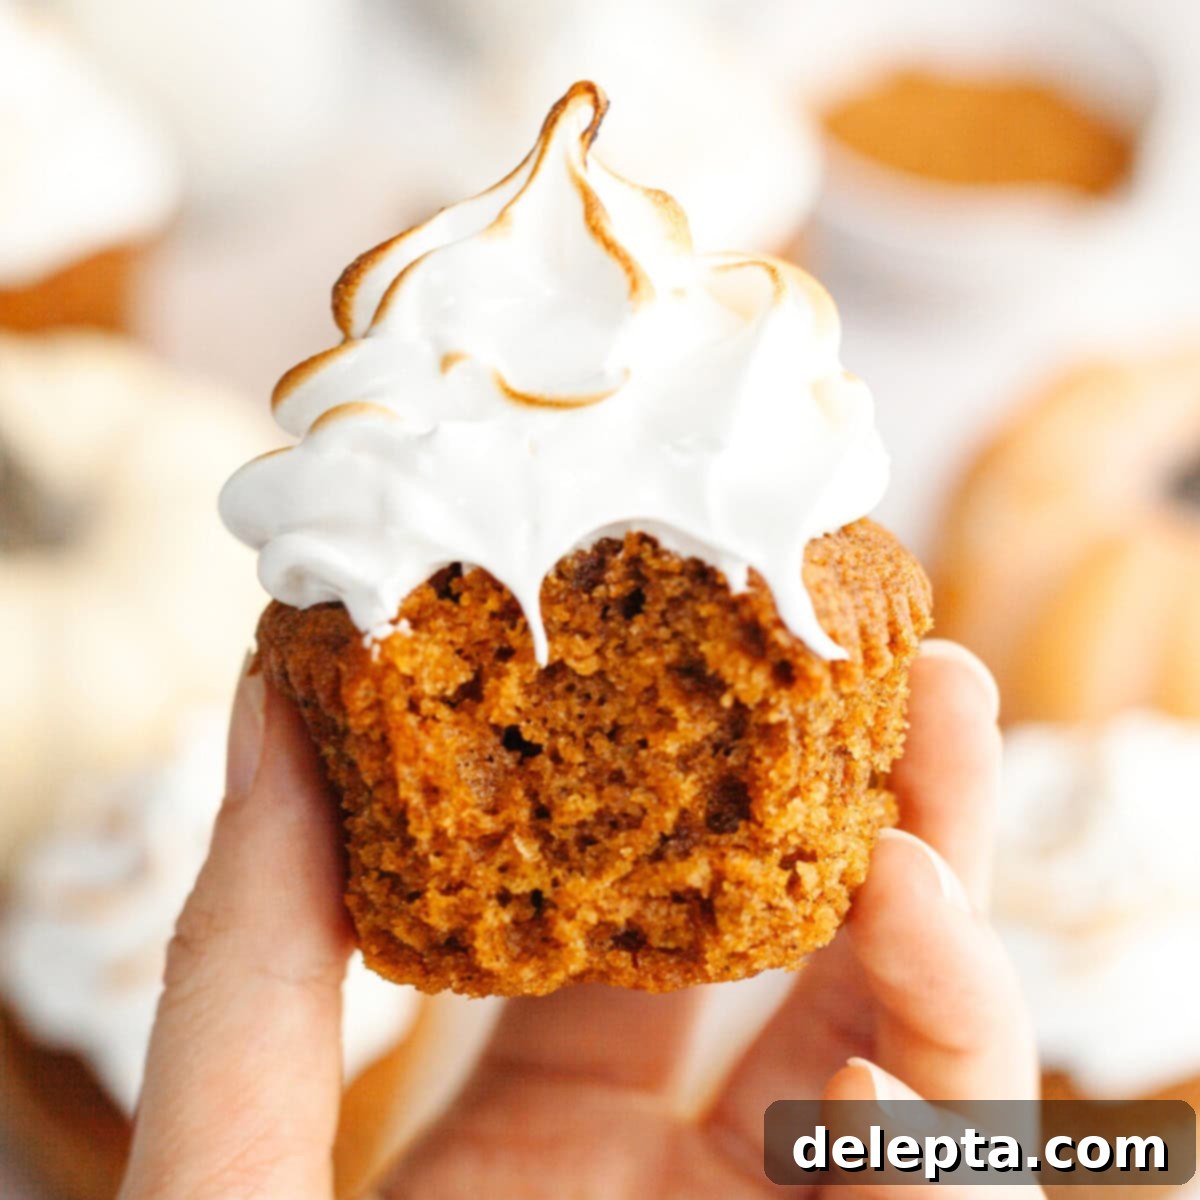
Homemade Marshmallow Meringue Frosting: Your Guide to Fluffy, Toasted Perfection (No Corn Syrup!)
Prepare to elevate your dessert game with this incredible **homemade marshmallow meringue frosting** recipe! Imagine the light, airy texture of your favorite marshmallow fluff, but crafted from scratch, without corn syrup, and with an elegant, glossy finish. This recipe delivers a truly gourmet experience that’s surprisingly simple to achieve, requiring just five everyday ingredients. Whether you’re topping classic chocolate cupcakes, a decadent pumpkin pie, or even a simple bowl of fresh fruit, this versatile and easy-to-make frosting can be effortlessly piped and then beautifully toasted with a kitchen blowtorch or broiler for that irresistible golden-brown crust. Best of all, you can create this dreamy topping without any artificial preservatives or complicated techniques, making it a fantastic, healthier alternative to store-bought options.
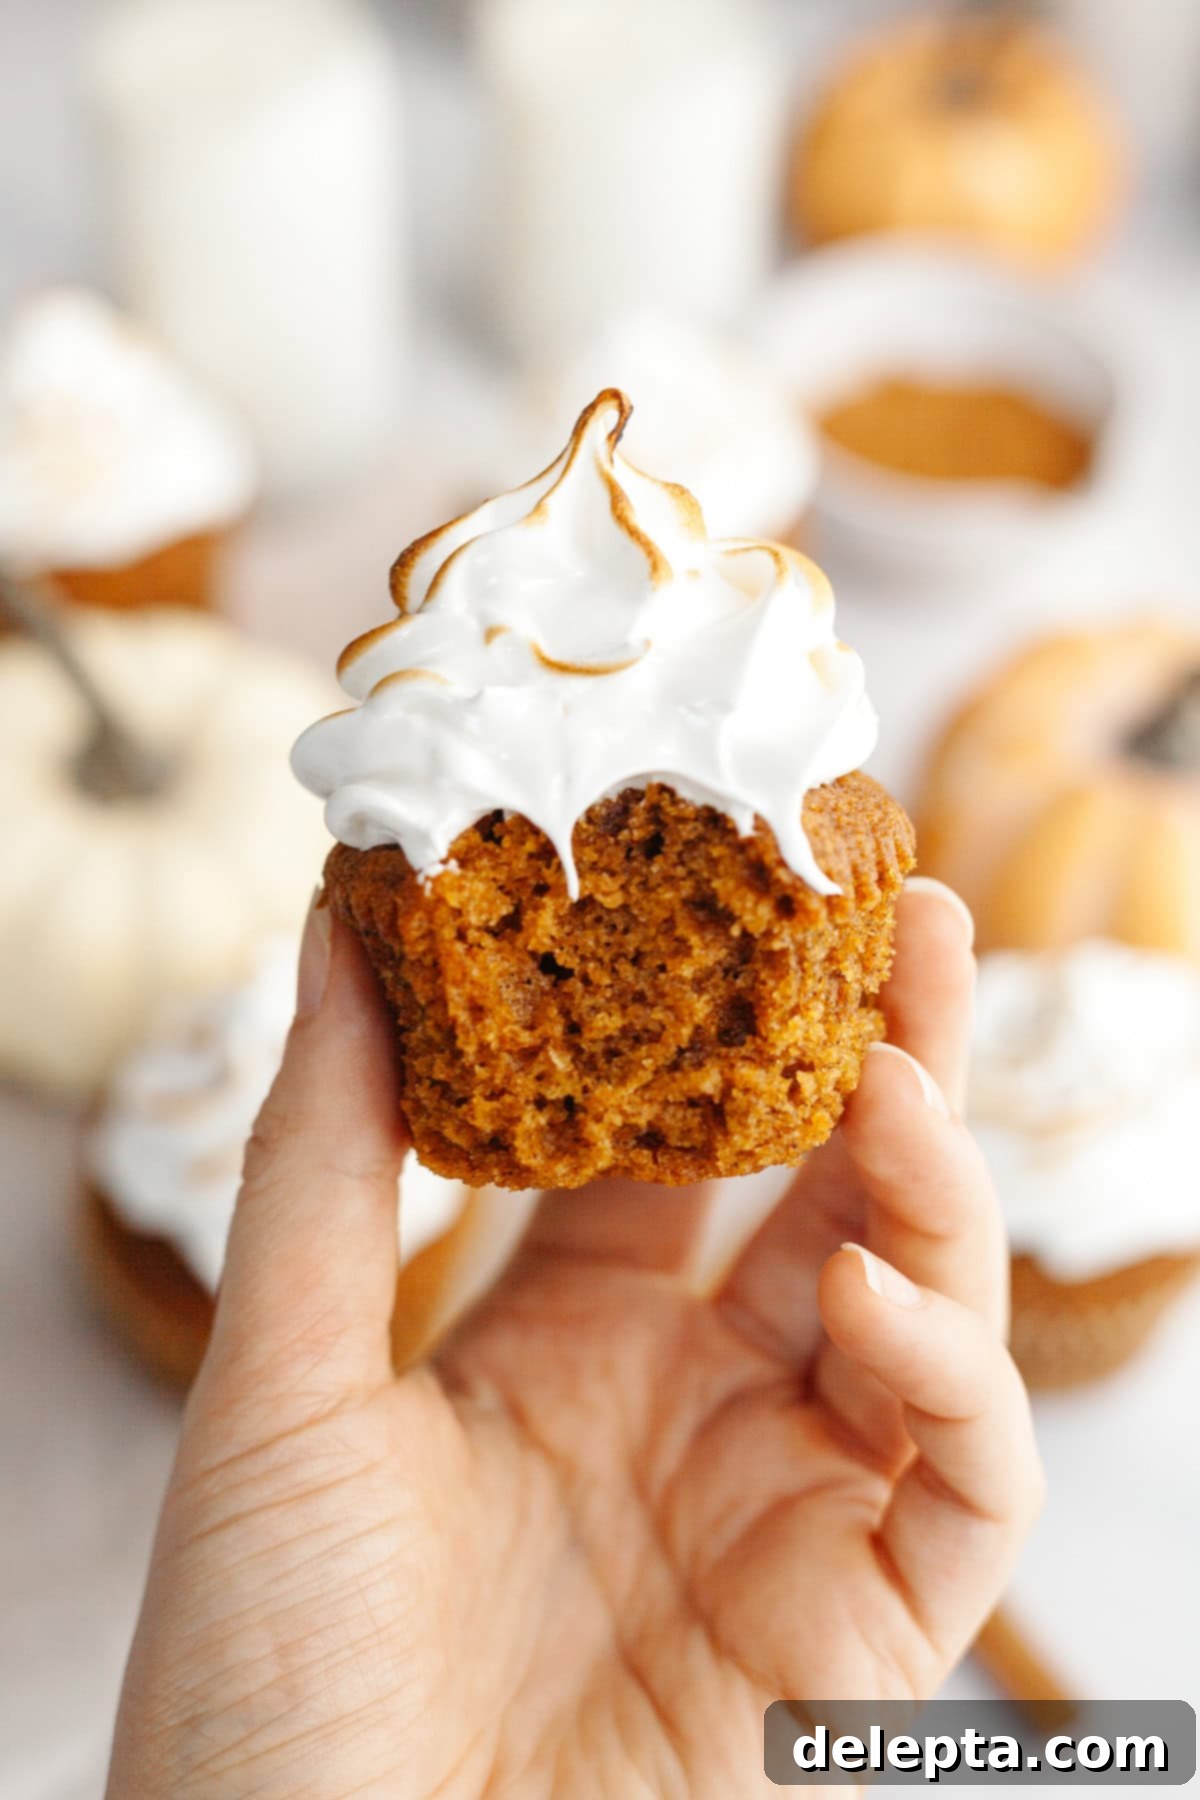
This delightful marshmallow meringue frosting was born out of a desire for the perfect complement to my rich browned butter pumpkin pie recipe. I envisioned a cloud-like topping, sweet and slightly caramelized, that would perfectly balance the deep, spiced notes of the pie, offering both textural contrast and a burst of flavor. What I ultimately developed is more than just a topping; it’s a revelation in homemade baking that rivals any store-bought marshmallow fluff but boasts superior taste and a cleaner ingredient list.
Unlike commercial marshmallow fluff, which often relies on corn syrup and various stabilizers to achieve its signature texture, this homemade meringue frosting is crafted from pure, wholesome ingredients you likely already have in your pantry: fresh egg whites, granulated sugar, a touch of cream of tartar for unparalleled stability, pure vanilla extract for aromatic depth, and a tiny pinch of salt to enhance all the flavors. The absence of corn syrup means you get a more natural, less cloying sweetness and a frosting you can feel good about serving.
The process itself might sound intimidating to new bakers, but it’s remarkably similar to making a classic Swiss meringue buttercream, only we simplify things by omitting the butter. This streamlines the preparation considerably while retaining all the luxurious texture and impressive stability that cooked meringues are known for. You’ll begin by gently warming the egg whites and sugar over a double boiler until the sugar completely dissolves, creating a safe, pasteurized, and incredibly stable base. Then, with the power of a stand mixer, you’ll whip this warm mixture into breathtakingly glossy, stiff peaks that hold their shape beautifully and pipe like a dream. From this point, the culinary possibilities are truly endless!
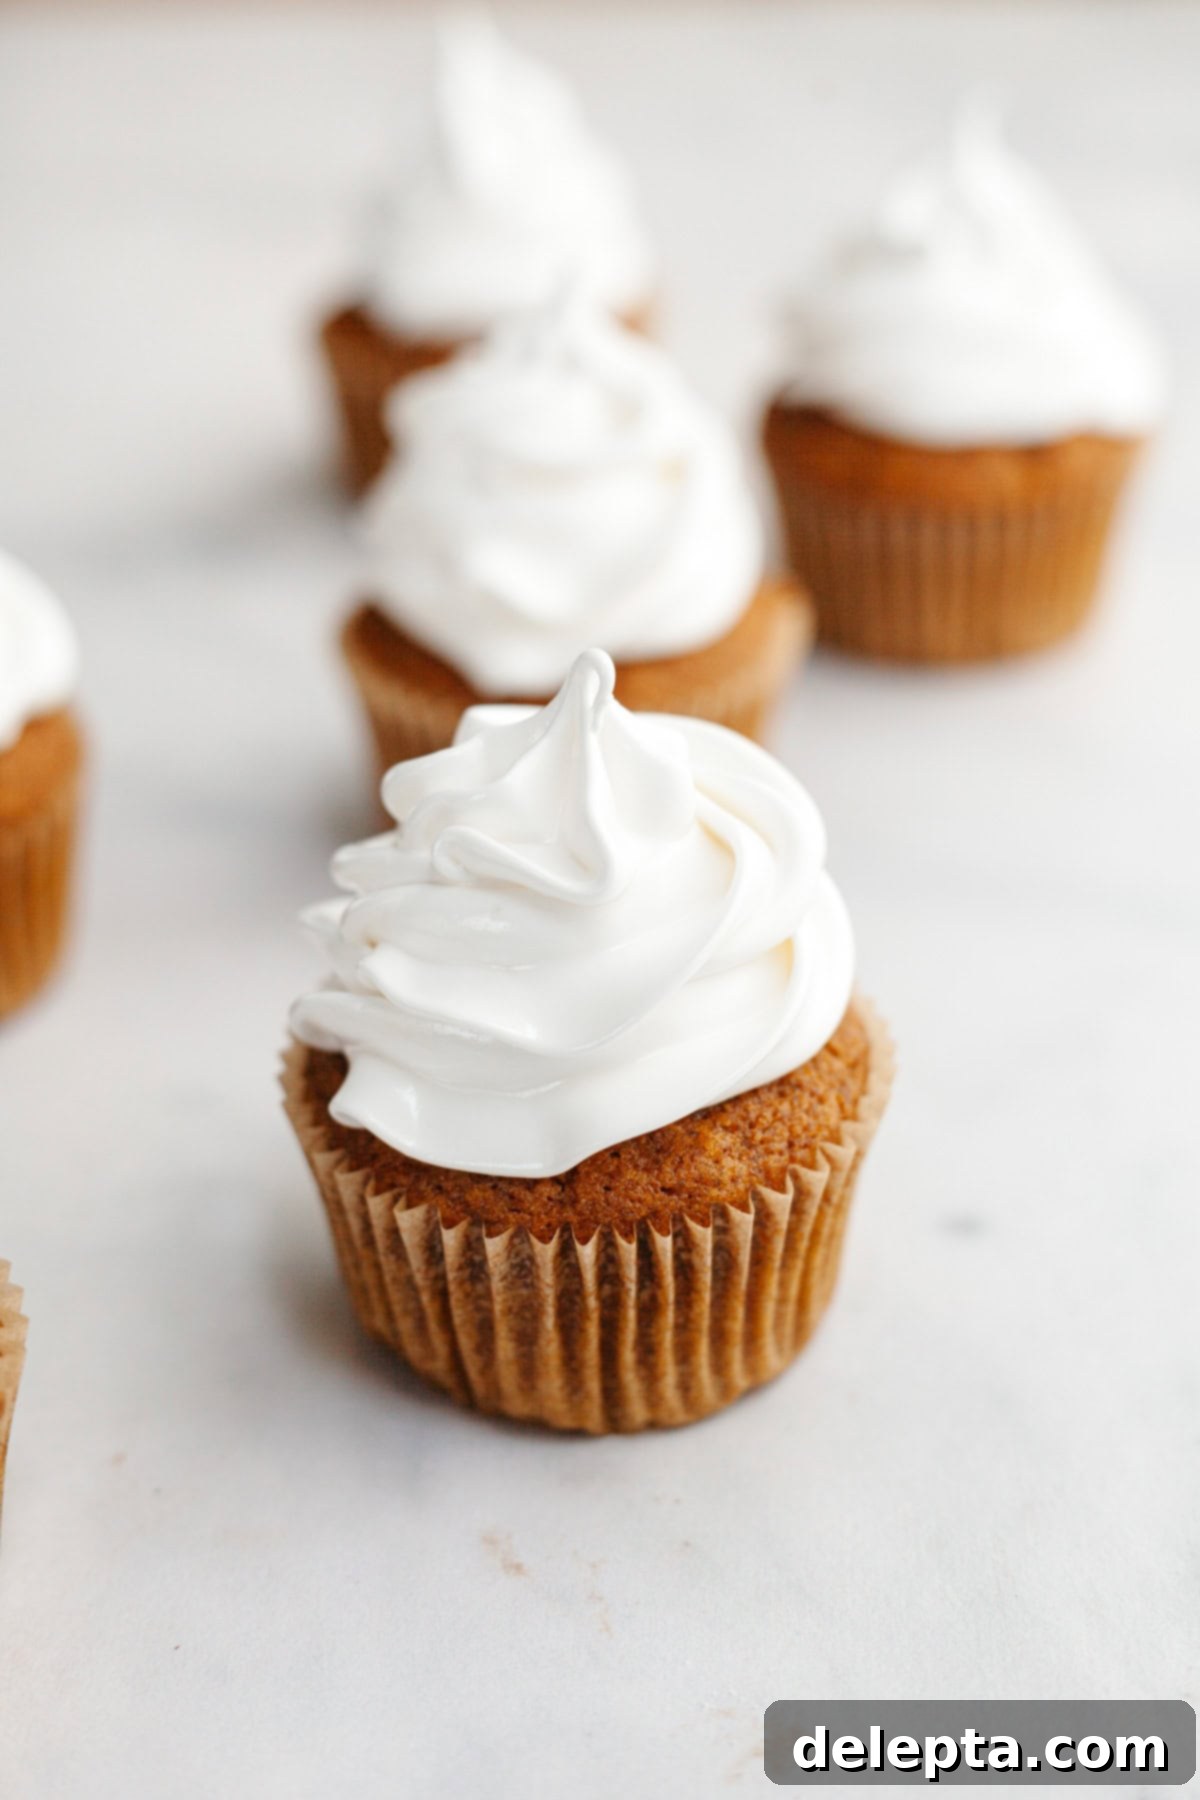
You can pipe elegant swirls onto fluffy cupcakes, sandwich it between cookies for a sophisticated twist on a classic, or generously dollop it over your favorite pies and toast it to a golden perfection. That beautiful toasted finish brings out deep, caramelized notes reminiscent of a cozy campfire s’more, adding an extra layer of deliciousness and visual appeal. I’ve personally fallen in love with this marshmallow frosting, using it as the crowning glory for my pumpkin spice cupcakes, where the combination offers a harmonious blend of spice and sweet, fluffy goodness. But don’t stop there! I’m already dreaming up a decadent chocolate cupcake recipe that would be absolutely phenomenal with this frosting – just imagine those rich “s’mores vibes” brought to life on your dessert table. This isn’t just a frosting; it’s an experience, transforming ordinary desserts into extraordinary indulgences with minimal effort.
Mastering Marshmallow Meringue: The Magic of Just 5 Simple Ingredients!
The true genius of this elegant marshmallow meringue frosting lies in its remarkable simplicity. With just five common ingredients, you can effortlessly create a topping that tastes and looks far more complex and impressive than it truly is. Each component plays a specific and crucial role in achieving the perfect light, fluffy texture, impressive stability, and balanced flavor. Understanding these roles will help you appreciate the process even more. Let’s take a closer look at what you’ll need to gather to embark on your meringue journey:
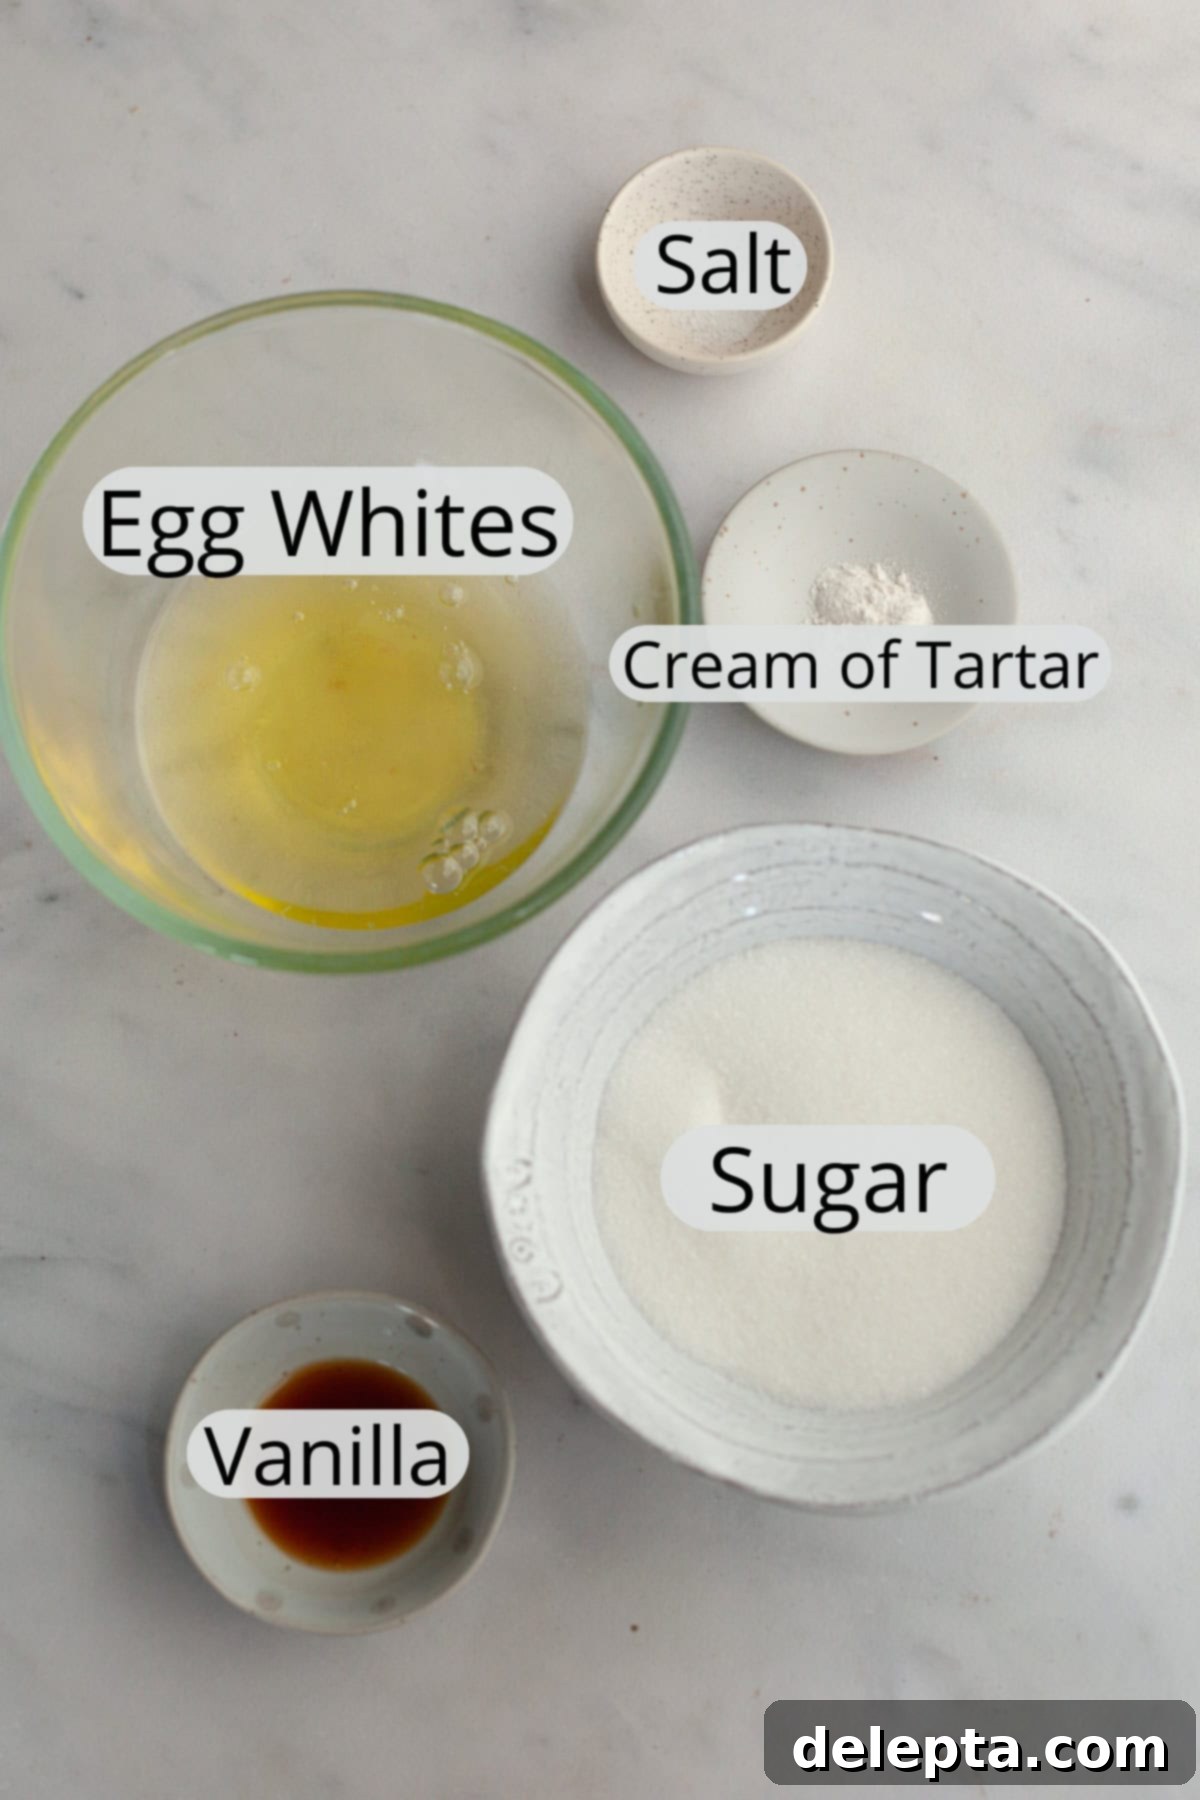
- Egg Whites: These are undeniably the foundational ingredient of our meringue, providing the essential structure and airy volume. For optimal whipping results, it is absolutely crucial that your egg whites are at room temperature. While separating cold eggs is often easier (as the yolk is firmer and less likely to break), allow the separated whites to sit on the counter for at least 30 minutes, or even up to an hour, before you begin mixing. This warming process allows the proteins to relax, enabling them to whip up to their maximum volume and create a significantly more stable meringue. Be extremely meticulous during separation; even a tiny speck of egg yolk or any grease from your hands or equipment can prevent your egg whites from reaching those coveted stiff peaks.
- Granulated Sugar: Beyond simply imparting sweetness, granulated sugar is a vital player in both the meringue’s stability and its characteristic glossy appearance. When gently heated and completely dissolved with the egg whites over a double boiler, it forms a stable syrup that coats and strengthens the delicate air bubbles introduced during whipping. This process is what creates that wonderfully fluffy, voluminous, and stable texture. Use regular granulated sugar for the best and most consistent results; finer sugars can sometimes dissolve too quickly, while coarser sugars might struggle to dissolve completely, leaving a gritty texture.
- Cream of Tartar: This is unequivocally a must-have ingredient, and you absolutely cannot skip it for this recipe! Often found in the spice or baking aisle, cream of tartar is an acidic powder that acts as a powerful stabilizing agent for egg whites. It works by strengthening the protein bonds in the egg whites, helping them to whip faster, achieve greater volume, and, most importantly, preventing them from collapsing or becoming deflated. It ensures your marshmallow meringue remains beautifully light, fluffy, and holds its piped or spread shape with confidence.
- Vanilla Extract: A teaspoon of high-quality pure vanilla extract adds a lovely, warm depth of flavor that beautifully complements the inherent sweetness of the meringue. While classic vanilla is always a fantastic choice, don’t hesitate to experiment with other flavorings like almond extract for a nutty twist, lemon extract for brightness, or even a hint of peppermint for festive holiday treats.
- Pinch of Salt: A small amount of salt might seem insignificant in a sweet recipe, but it’s truly a secret weapon in baking. It serves to balance the sweetness of the sugar, preventing the frosting from being overly sugary, and significantly enhances all the other flavors, making the overall taste brighter, more complex, and utterly irresistible.
With these five simple, yet powerful, components understood and prepared, you’re now well-equipped to create an irresistibly light, stable, and delicious homemade marshmallow meringue frosting that will impress everyone!
Let’s Craft This Dreamy Marshmallow Meringue Frosting!
Creating this stunning marshmallow meringue frosting is not only an exciting culinary adventure but also a deeply rewarding process. By following these detailed steps, you can ensure a perfectly fluffy, brilliantly glossy, and incredibly stable meringue every single time. Remember, a little precision and patience are your best friends in the art of meringue making!
Step 1: Gently Heat and Dissolve the Sugar
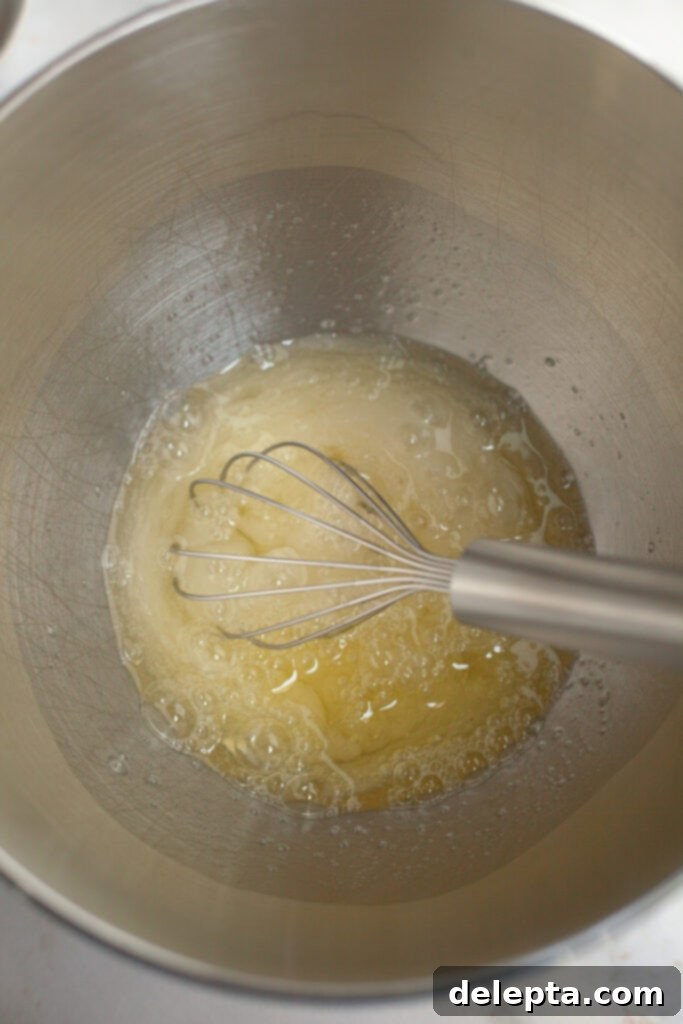
Begin by combining your room temperature egg whites, granulated sugar, pinch of salt, and cream of tartar in a large, heatproof mixing bowl. A metal bowl is highly recommended for this step, as it conducts heat evenly and efficiently, which is crucial for the proper dissolution of sugar. Next, set up your double boiler: fill a small saucepan with an inch or two of water and place it on the stove over medium-low heat, allowing the water to come to a gentle simmer. Carefully place your mixing bowl on top of the saucepan, making absolutely certain that the bottom of the bowl does not touch the simmering water. This is vital to prevent the egg whites from scrambling; we’re gently warming them, not cooking them directly.
Whisk the mixture constantly and gently over the simmering water. As you whisk, you’ll feel the sugar crystals gradually dissolving, and the mixture will become warmer and slightly frothy. Continue whisking for about 3-5 minutes, or until the sugar has completely dissolved. To confidently test for dissolved sugar, carefully lift the whisk and rub a tiny amount of the mixture between your thumb and forefinger; if it feels perfectly smooth with no grittiness whatsoever, your sugar is dissolved, and the mixture is ready for the next exciting step. This heating process also serves to safely pasteurize the egg whites, making them safe for consumption.
Step 2: Whip to Stiff, Glossy Peaks
Once the sugar is fully dissolved and the mixture is warm to the touch (it should feel pleasantly warm, around 160°F or 71°C if you’re using a thermometer for pasteurization, though the “no grittiness” test is sufficient), carefully remove the bowl from the saucepan. Immediately transfer the warm egg white mixture to the bowl of a stand mixer fitted with the whisk attachment. Alternatively, a high-powered handheld mixer can also be used effectively for this step. Now, add the vanilla extract, which should always be incorporated after heating to preserve its delicate flavor.
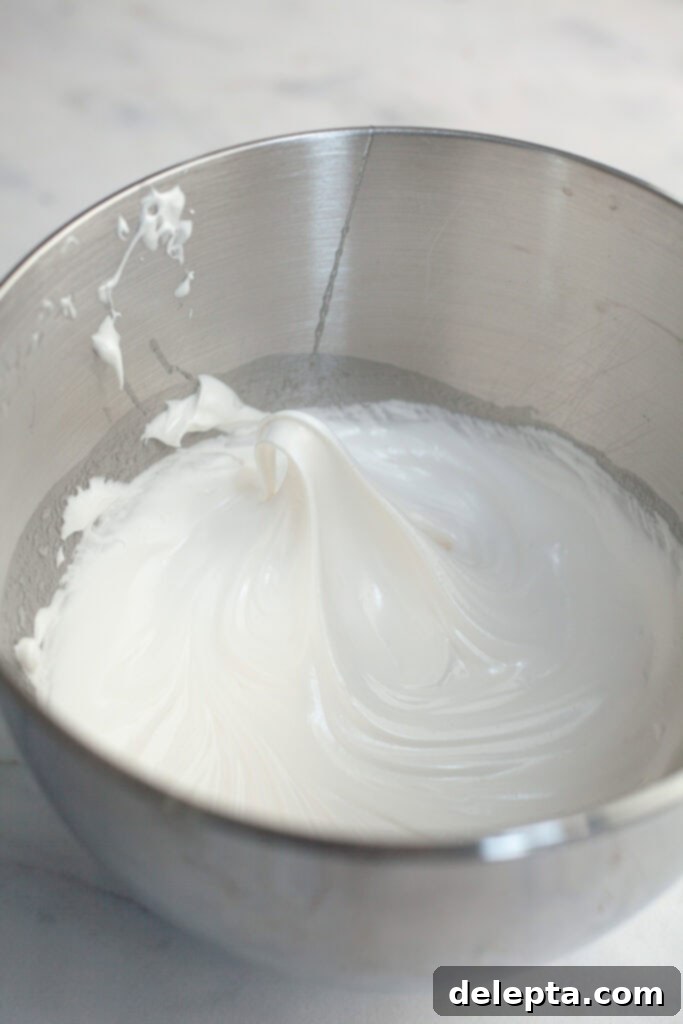
Begin whisking the mixture on high speed. Initially, the liquid will appear thin and foamy, but as you continue to whip, a magical transformation will occur. The mixture will gradually increase in volume, become thicker, and develop a beautiful, brilliant sheen. Within approximately 5 to 8 minutes, depending on the power of your mixer, you should achieve incredibly stiff and glossy peaks. When you lift the whisk, the meringue should stand straight up without drooping, holding its shape firmly and resembling a thick, luxurious marshmallow cream. An additional indicator of readiness is that the mixing bowl should feel cool to the touch, signifying that the meringue has properly cooled while whipping, creating a stable emulsion.
Step 3: Frost, Toast, and Indulge!
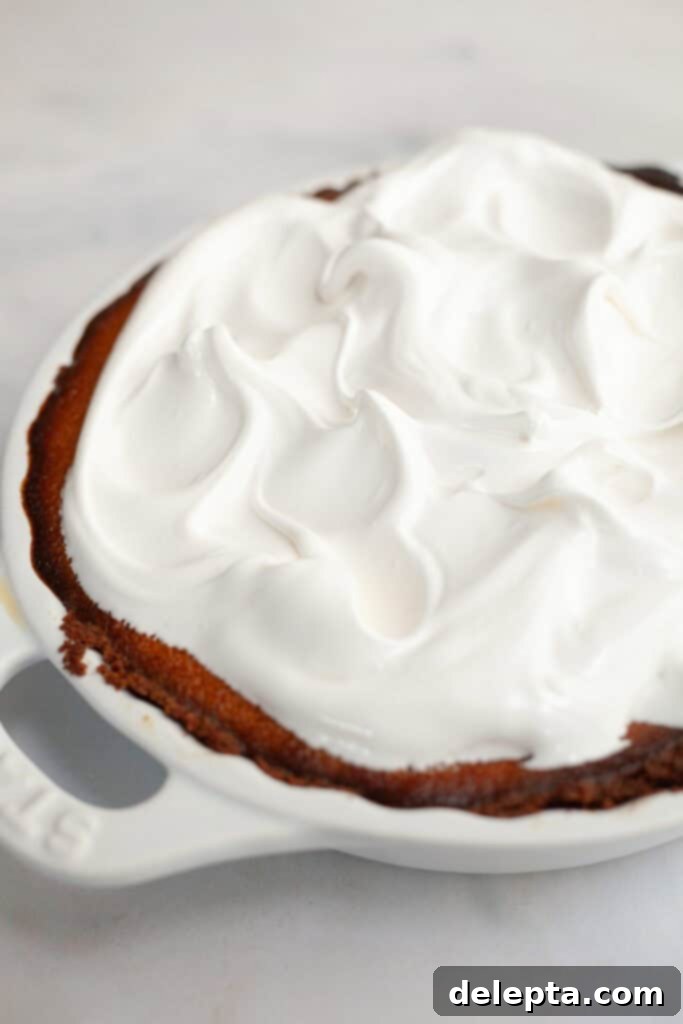
Now comes the most delightful part: applying your homemade marshmallow meringue frosting! Your freshly made frosting is ready to be generously spread or artfully piped onto your favorite baked goods. Use an offset spatula to create beautiful, rustic swirls on a pumpkin pie or any cake, achieving an elegant yet effortless look. For more intricate designs on cupcakes or celebratory cakes, load the meringue into a piping bag fitted with your favorite decorative tip.
The frosting is absolutely delicious as is, offering a pure, airy marshmallow flavor that’s light and sweet. However, to truly elevate its taste and presentation, you have the wonderful option of toasting it! Using a kitchen blowtorch, gently toast the surface of the meringue until it achieves a gorgeous golden-brown color. This process creates delightful caramelized notes and a slightly crisp exterior, adding incredible depth of flavor and textural complexity. Remember to keep the flame moving constantly to ensure even toasting and prevent any burning. Serve your frosted and toasted creations immediately to fully appreciate their homemade goodness and irresistible charm!
Ella’s Expert Tips, Tricks, & More for Perfect Meringue!
Achieving a flawless and delectable marshmallow meringue frosting is certainly within reach, especially with a few expert insights and handy tricks up your sleeve. Here are some essential tips to ensure your success, along with solutions to common challenges and creative ways to customize your meringue:
- Spotless Equipment is Absolutely Key: The most crucial rule for successful meringue is to ensure your mixing bowl and whisk attachment are impeccably clean and completely free from any traces of grease or fat. Even the tiniest residue can prevent your egg whites from whipping up properly, leading to a soupy, unstable, or deflated meringue. To be extra cautious, take a moment to wipe your bowl and whisk with a paper towel dampened with a few drops of lemon juice or white vinegar before you begin. This helps to strip away any invisible fat film.
- Not Ideal for Cake Fillings (But Perfect for Frosting!): Due to its inherently light, airy, and somewhat delicate consistency, this marshmallow meringue frosting is generally not stiff enough to be used as a structural filling between cake layers, especially for multi-tiered or heavy cakes. It can be quite soft and may cause layers to shift or slide. However, it’s absolutely fantastic for generously frosting the outsides of cakes, creating a stunning, cloud-like finish that is both elegant and delicious. It’s also perfect for piping beautiful decorative borders or swirls.
- No Blowtorch? No Problem! Use Your Broiler: If you don’t own a kitchen blowtorch, you can still achieve that beautiful, caramelized toasted effect using your oven’s broiler. Here’s how: Place your frosted baked goods on a baking sheet on the top rack of your oven, positioned directly under the broiler element. Keep the oven door slightly ajar and watch them like a hawk! Meringue can go from perfectly golden to completely burnt in a matter of mere seconds. Broil for just 30-60 seconds, or until you achieve your desired level of light browning. Keep in mind that while effective, the broiler often yields a slightly less even and sometimes more greyish-brown color compared to the precise, intense heat of a blowtorch, but it’s a perfectly viable and delicious alternative.
- Troubleshooting Soupy Meringue: If, after whisking for the recommended time, your meringue isn’t reaching stiff peaks or appears stubbornly soupy, it’s almost always due to one of two common reasons: either your mixing bowl and/or whisk attachment weren’t perfectly clean (fat contamination), or the sugar wasn’t fully dissolved during the gentle heating step. Unfortunately, once egg whites are contaminated with fat, they usually won’t whip properly, and you might need to start over. If the issue is primarily undissolved sugar, you can try gently re-warming the mixture over the double boiler, whisking constantly until it feels smooth, then immediately transfer it back to your stand mixer and re-whip on high speed.
- Addressing Grainy Meringue: If your finished meringue feels grainy when tasted, it’s a clear indication that the granulated sugar didn’t fully dissolve during the initial heating step over the double boiler. This is precisely why the “rub between your fingers” test is so important – it ensures all those sugar crystals have melted into the egg white mixture, contributing to a smooth, stable, and glossy meringue. For future attempts, be diligent with this test before moving to the whipping stage.
- Optimal Storage & Make-Ahead Advice: This marshmallow meringue frosting is truly at its absolute best when enjoyed fresh on the day it’s made. The texture and fluffiness are at their peak immediately after whipping. However, if you happen to have any leftovers, store them in an airtight container in the refrigerator for up to 2 days. While it will still be delicious, please note that the meringue may gradually lose some of its original volume, glossy sheen, and may become slightly weepy (releasing a bit of liquid) over time. This frosting is generally not recommended for freezing, as it tends to break down and become watery upon thawing, compromising its delightful texture.
- Exciting Flavor Variations: While the classic vanilla flavor is wonderfully versatile, feel free to unleash your creativity and experiment with other flavor variations! Add a teaspoon of pure almond extract for a delightful nutty twist, a few drops of peppermint extract for festive holiday treats, or even fold in a tablespoon of sifted cocoa powder for a rich chocolate marshmallow frosting that’s perfect for s’mores-inspired desserts. You can also incorporate fresh citrus zest, such as orange or lemon, for a brighter, zesty flavor profile that cuts through the sweetness beautifully.
Delightful Recipes to Pair with Your Homemade Marshmallow Frosting
This incredible homemade marshmallow meringue frosting is so versatile and utterly delicious, it can truly elevate almost any dessert! Its light, airy texture and sweet, customizable flavor make it the perfect companion for a wide array of baked goods. Here are some fantastic ideas and tried-and-true recipes from my kitchen to inspire your next baking project. Prepare to transform your favorite treats into something truly special and unforgettable:
- Top Rich Chocolate Cupcakes: Imagine indulging in moist, dark chocolate cupcakes crowned with generous swirls of this fluffy, beautifully toasted marshmallow meringue. The striking contrast of intensely rich chocolate and airy, caramelized marshmallow is an absolute dream combination, creating a gourmet s’mores experience in every single bite.
- Spread on Top of Fudgy Homemade Brownies: Take your classic fudgy brownies to an extraordinary new level by spreading a generous, thick layer of this homemade meringue frosting over them. A quick toast with a blowtorch or under the broiler will transform them into irresistible s’mores brownies, perfect for potlucks, parties, or simply a cozy night in.
- Pipe on Top of Elegant Red Velvet Cake: While cream cheese frosting is the traditional accompaniment for red velvet cake, a fluffy marshmallow meringue adds a unique, sophisticated, and surprisingly delicious twist. The light sweetness and subtle vanilla notes of the meringue beautifully complement the cake’s delicate cocoa flavor and vibrant red hue, creating a dessert that’s both familiar and excitingly new.
- Make Gourmet Oatmeal Creme Pies: For a delightful trip down memory lane with an elevated, homemade touch, use this dreamy marshmallow frosting as the irresistible filling for your own gourmet oatmeal creme pies. Sandwich a dollop of frosting between my favorite chocolate chip coconut oatmeal cookies. These homemade versions will be far superior in taste and texture to any store-bought equivalent.
- Beyond Baking – Versatile Serving Ideas: Don’t limit yourself to just baked goods! This marshmallow meringue is incredibly versatile. Use it as a luxurious, cloud-like topping for steaming cups of hot chocolate, transforming a simple beverage into a decadent treat. It also makes a fantastic, sweet dip for an array of fresh fruits like strawberries, bananas, or apple slices. For a fun and interactive dessert, create a delightful deconstructed s’mores bar, offering graham cracker squares and chocolate shards alongside a bowl of this fluffy meringue for dipping and assembling.
Discover More Irresistible Sweet Treats!
Loved creating and enjoying this incredible homemade marshmallow meringue frosting? Then you’re sure to adore these other fantastic recipes that are perfect for pairing with it, or simply enjoying on their own. Get ready to expand your baking repertoire and impress your friends and family with these delightful creations:
- Marshmallow Meringue Frosting
- Brown Butter Pumpkin Pie with Gingersnap Crust
- Pumpkin Spice Cupcakes with Marshmallow Frosting
- Maple Espresso Glaze Icing
If you’ve made this incredibly delicious homemade marshmallow meringue frosting, please consider sharing your experience! We would absolutely love for you to leave a ⭐️ rating and review below. Your feedback is invaluable and helps other bakers in our community discover and enjoy these recipes. I adore seeing all your wonderful creations, so don’t forget to tag me on Instagram @alpineella so I can admire your masterpieces! You can also follow along for more baking inspiration, behind-the-scenes glimpses, and delicious recipes on Pinterest, Facebook, and TikTok!
Recipe

Marshmallow Meringue Frosting
Ella Gilbert
Pin Recipe
Save RecipeSaved!
Ingredients
Marshmallow Frosting
- 4 large egg whites room temperature
- ¾ cup granulated sugar
- ½ teaspoon cream of tartar
- pinch salt
- 1 teaspoon vanilla
Instructions
Marshmallow Frosting
-
Place the egg whites, sugar, salt, and cream of tartar in a heatproof bowl – I prefer using a metal bowl for this, as it conducts heat efficiently and evenly.4 large egg whites, ¾ cup granulated sugar, ½ teaspoon cream of tartar, pinch salt
-
Fill a saucepan with an inch or two of water on the stove and place over medium-low heat, so the water begins to simmer gently. Place the heatproof bowl on top of the saucepan, making absolutely sure the bottom of the bowl doesn’t touch the simmering water. This prevents the egg whites from scrambling.
-
Whisk constantly and vigorously until the sugar completely dissolves. The mixture will transition from thick to a frothy, more liquid consistency. To confidently test for dissolved sugar, carefully lift the whisk and rub a tiny amount of the mixture between your thumb and forefinger; you should feel no grittiness from the sugar crystals.
-
Once the sugar is fully dissolved, carefully remove the bowl from the double boiler setup and immediately transfer it to your stand mixer, fitted with the whisk attachment (or grab your handheld mixer). Add the vanilla extract at this stage.1 teaspoon vanilla
-
Beat the mixture on high speed for approximately 5 to 8 minutes, or until the meringue forms stiff, glossy peaks. When you lift the whisk, the peaks should stand upright and hold their shape without drooping. The mixing bowl should also be cool to the touch by the end of this process.
-
Your glorious marshmallow meringue frosting is now ready! Generously frost your cupcakes, cake, or pie. For an optional but highly recommended finish, use a kitchen torch to toast the frosting until beautifully golden-brown, adding a wonderful caramelized flavor and visual appeal. Enjoy this homemade delight!
Notes
Amount of Frosting: This recipe yields approximately 4 cups of fluffy marshmallow meringue frosting, which is enough to generously frost 12 standard cupcakes or cover an 8-inch layer cake. It also provides ample topping for two pies, or a very thick, luscious layer for one large pie. You can easily halve the recipe for smaller batches or double it for larger gatherings without compromising quality.
Storage: For the best taste and texture, this marshmallow meringue frosting is ideally served immediately after preparation. If you have any leftovers, store them in an airtight container in the refrigerator for up to 2 days. While it will still be delicious, the meringue may gradually lose some of its original volume and glossy sheen, and a slight weepiness can occur over time. This frosting is not recommended for freezing, as it tends to break down and become watery upon thawing, compromising its delightful texture.
Nutrition
