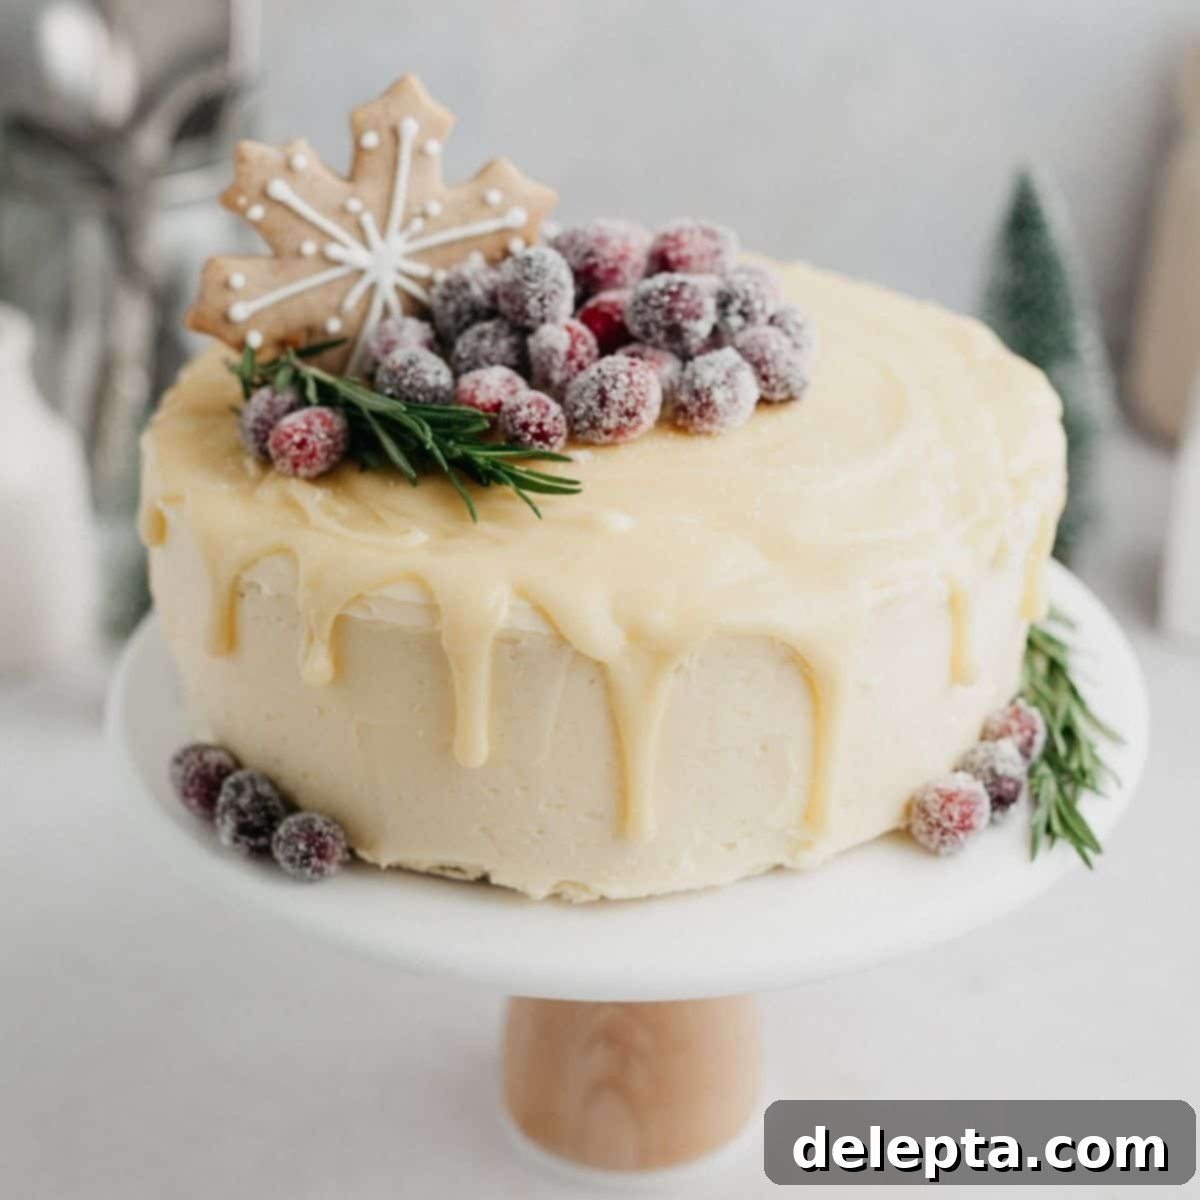
Festive Eggnog & Peppermint White Chocolate Drip Cake: Your Ultimate Holiday Showstopper
Elevate your holiday celebrations with this breathtaking **White Chocolate Drip Cake**, a true festive masterpiece! This isn’t just any dessert; it’s a culinary experience designed to impress with minimal effort. Imagine layers of incredibly fluffy and moist eggnog cake, infused with classic seasonal spices like nutmeg and cinnamon, and a hint of warming bourbon, perfectly complemented by a rich and creamy peppermint buttercream. The entire creation is then elegantly finished with a smooth, glossy white chocolate drip, making it a stunning centerpiece for any gathering. Best of all, this show-stopping dessert boasts a remarkably quick prep time, allowing you to whip up holiday magic in your kitchen in just about 20 minutes before it bakes to perfection.
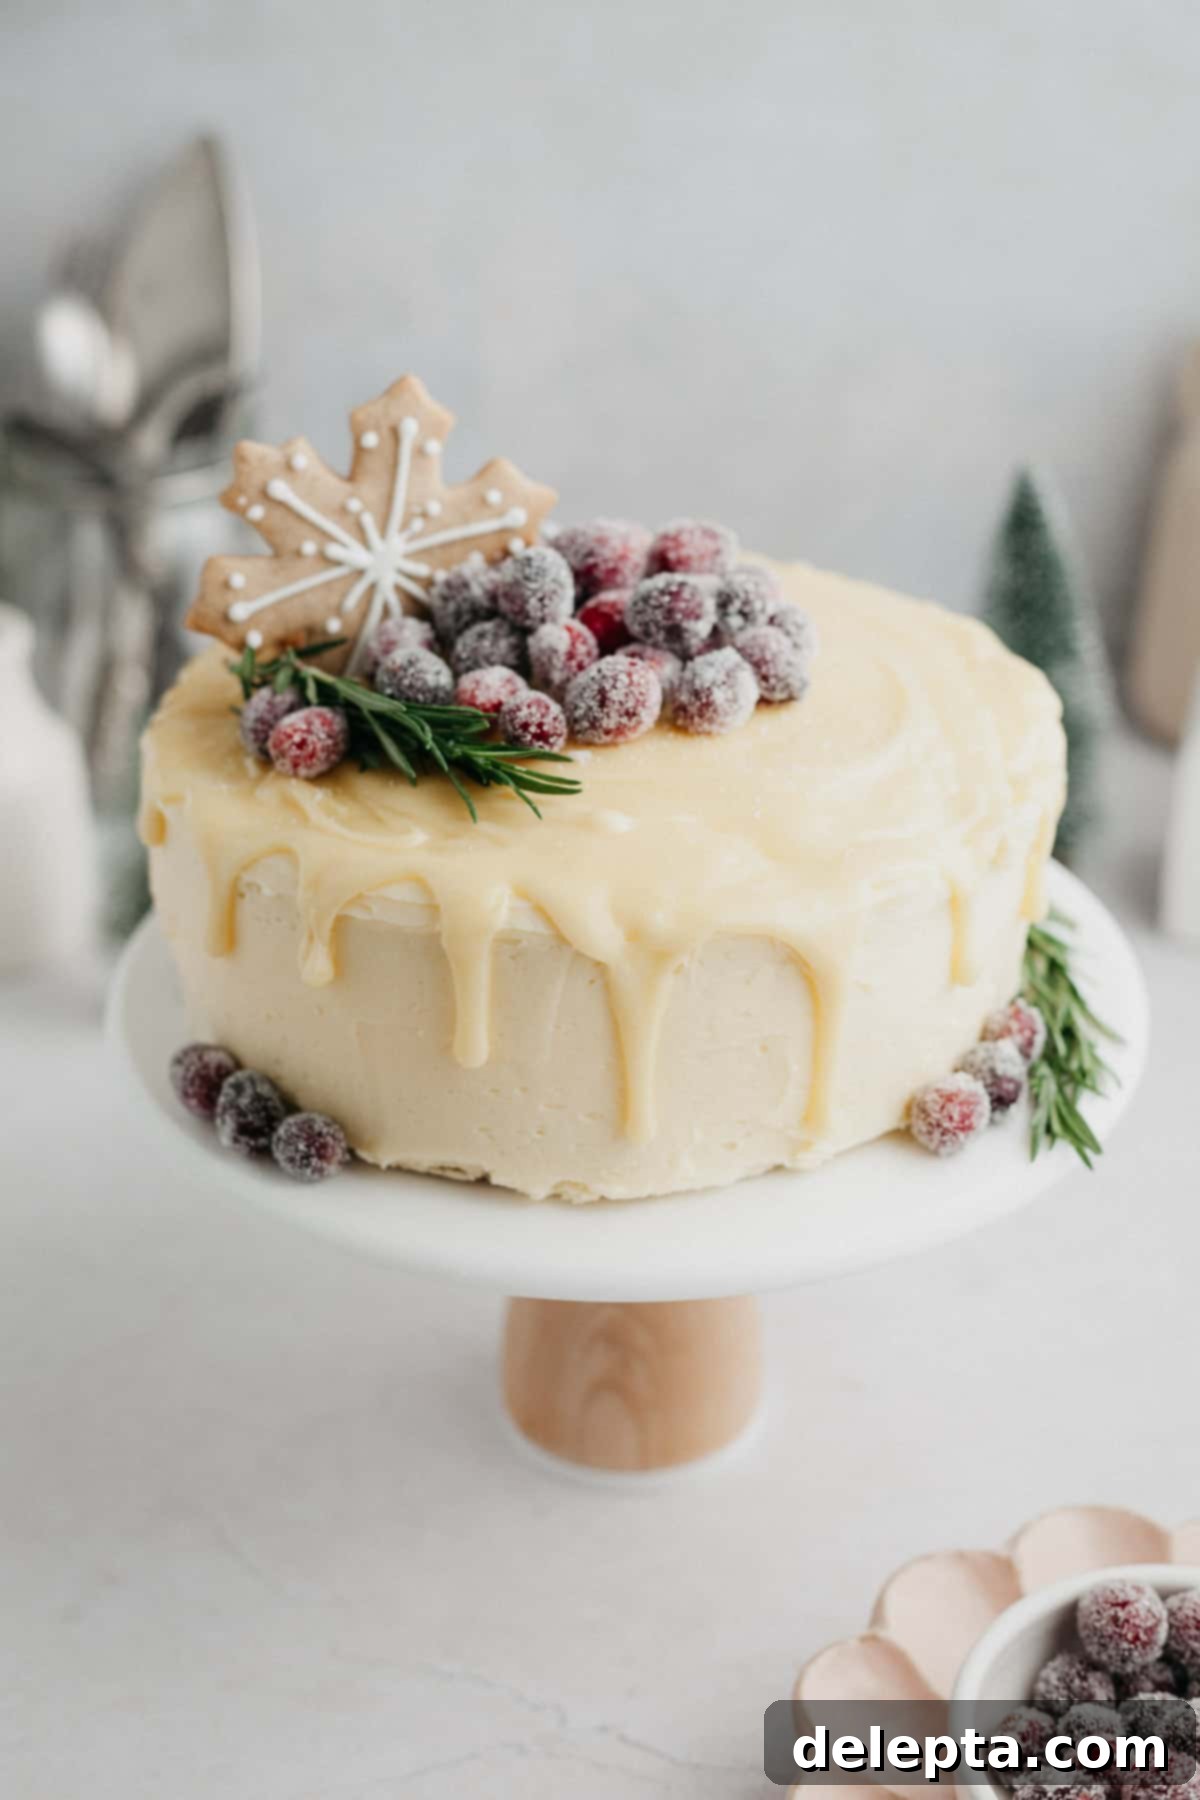
Drip cakes, with their cascading ganache, undeniably bring a touch of drama and sophistication to any dessert table. Despite their elaborate appearance, mastering a smooth ganache drip is surprisingly simple! If you’ve enjoyed other dramatic creations like our Oreo Drip Cake, you’ll find this white chocolate version equally accessible and incredibly rewarding to make. We’ll guide you through each step to ensure your drip is flawless.
Tell Me About This Festive White Chocolate Drip Cake Recipe!
This holiday cake is a delightful fusion of classic flavors and elegant presentation. Here’s what makes it so special:
- Fluffy & Moist Eggnog Cake: The cake layers are exceptionally tender and moist, thanks to the reverse creaming method. This technique ensures a fine crumb and delicate texture. Each bite is infused with the cozy, nostalgic flavors of eggnog, achieved through a careful balance of nutmeg, cinnamon, and a subtle kick from bourbon. It’s the perfect foundation for a truly festive dessert.
- Creamy Peppermint Buttercream: To complement the rich eggnog cake, we’ve crafted a smooth and luscious American buttercream. A generous addition of peppermint extract provides a refreshing, cool burst of flavor, reminiscent of candy canes and winter cheer. This vibrant frosting is easy to make and pipes beautifully.
- Smooth White Chocolate Drip: The show-stopping element of this cake is its elegant white chocolate ganache drip. Creating the ganache is straightforward: melt premium white chocolate with warm heavy cream until perfectly smooth. Once cooled slightly, it’s carefully spooned over the chilled, frosted cake, creating alluring cascades down the sides. This not only looks stunning but adds another layer of decadent white chocolate flavor.
- Festive Finishing Touches: Elevate your cake’s visual appeal with delightful holiday decorations. Think charming gingerbread cookies, glistening sugared cranberries, or sprigs of fresh rosemary for a touch of natural elegance. These garnishes transform your cake into an edible work of art, perfect for any holiday celebration or special occasion.
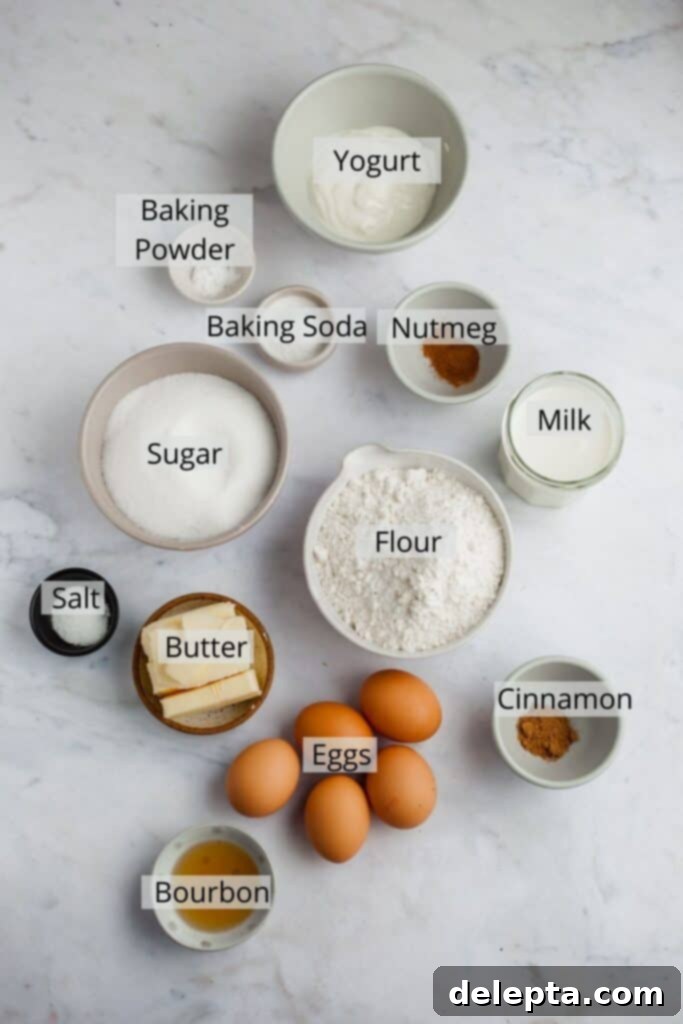
Essential Ingredients for Your Eggnog Peppermint Cake
-

Cake Ingredients -

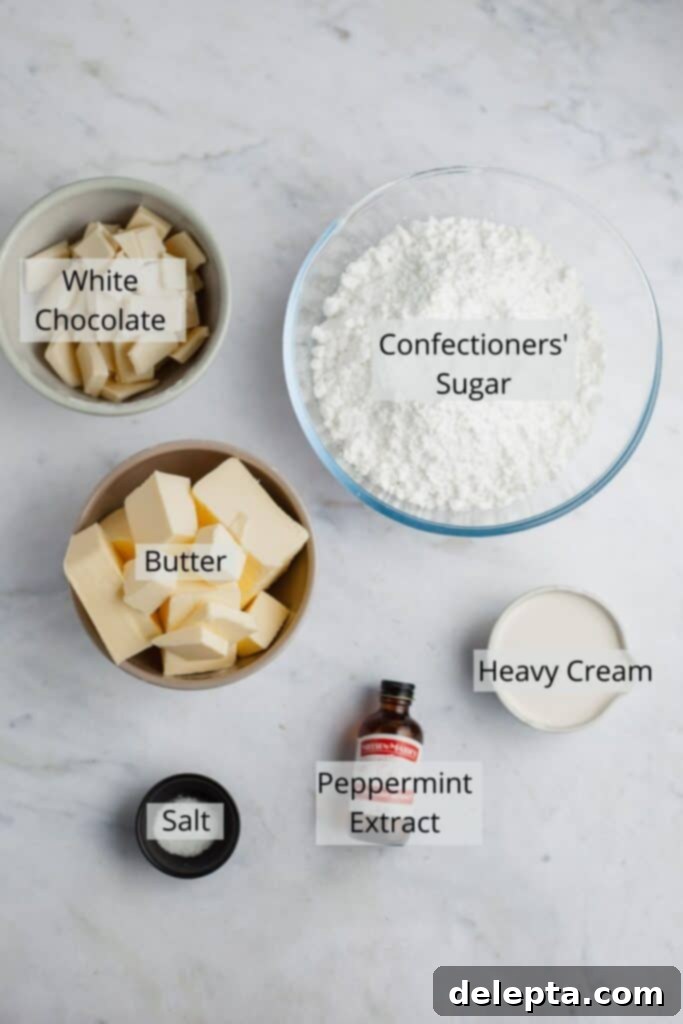
Frosting & Drip Ingredients
The printable recipe card with the full list of ingredients and detailed instructions can be found at the very bottom of this post, ready for you to print or save.
- Butter: For the ultimate richness and depth of flavor, I consistently recommend using European-style butter, such as KerryGold. Its higher butterfat content contributes to a more tender cake crumb and an exceptionally creamy buttercream, elevating the overall taste and texture of your finished dessert. Ensure it’s softened to room temperature for optimal mixing.
- Yogurt: This unassuming ingredient is the secret to an incredibly moist cake! Full-fat plain yogurt adds a delightful tang and ensures the cake remains tender for days. If yogurt isn’t available, an equal amount of full-fat sour cream makes an excellent substitute, delivering similar moisture and richness.
- Bourbon: To infuse our cake with that quintessential eggnog flavor, a touch of bourbon is essential. The alcohol bakes out, leaving behind a warm, complex note that perfectly complements the spices. If you prefer to omit alcohol or don’t have bourbon on hand, an equal amount of pure vanilla extract can be used for a delicious, alcohol-free alternative.
- Spices: Ground cinnamon and nutmeg are the heart of our eggnog cake layers, lending their aromatic warmth and festive charm. These classic holiday spices are crucial for achieving the characteristic eggnog taste. However, if you’re aiming for a simpler, elegant vanilla cake, you can easily omit them and let the pure vanilla flavor shine.
- Peppermint Extract: For that refreshing, invigorating kick that screams “Christmas,” peppermint extract is key to our buttercream. It adds a wonderful cool contrast to the rich cake. If peppermint isn’t to your taste or you prefer a more classic flavor, feel free to substitute it with an equal amount of high-quality vanilla extract.
- White Chocolate: For the drip, choose a good quality white chocolate bar (not chips, as they often contain stabilizers that prevent smooth melting). Look for white chocolate with a higher cocoa butter content for the best flow and gloss.
- Heavy Cream: This is essential for both the buttercream’s texture and creating the perfect ganache. Full-fat heavy cream (or whipping cream) ensures richness and stability.
- Confectioners’ Sugar: Also known as powdered sugar, this fine sugar is crucial for achieving a smooth, lump-free buttercream. Sifting it beforehand can help guarantee a silky texture.
- Eggs: This recipe uses both egg whites and a whole egg at room temperature for optimal emulsification and cake structure. Room temperature eggs combine more easily with other ingredients, leading to a more homogenous batter.
- All-Purpose Flour, Baking Powder, Baking Soda, Kosher Salt: These are your standard baking staples, working together to give the cake its structure, lift, and balanced flavor.
How to Make This Decadent Eggnog Peppermint White Chocolate Drip Cake
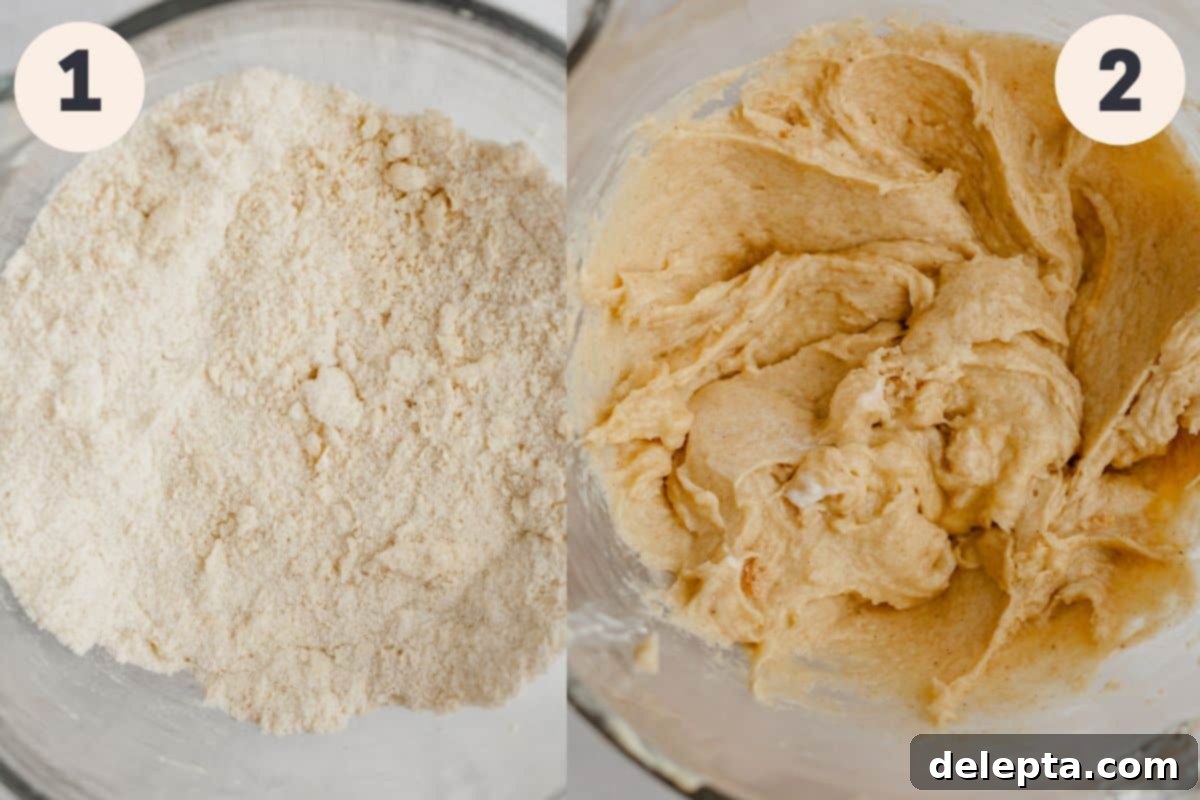
Step 1: Preparing the Dry Ingredients and Butter. In the bowl of your stand mixer, fitted with the paddle attachment, combine all of your dry ingredients for the cake: flour, sugar, baking powder, baking soda, kosher salt, ground nutmeg, and ground cinnamon. Mix these on low speed just until they are thoroughly blended. Next, add your softened, room-temperature unsalted butter to the dry mixture. Continue mixing on low speed until the mixture transforms into a texture resembling damp sand. This is the first stage of the reverse creaming method, ensuring a tender cake.
Step 2: Incorporating Eggs. Now, it’s time to introduce the eggs. Add your egg whites one at a time, mixing well after each addition to fully incorporate them into the batter. Once all egg whites are in, add the whole egg and beat again until everything is smoothly combined. Remember to scrape down the sides and bottom of your mixing bowl frequently to ensure a uniform batter.
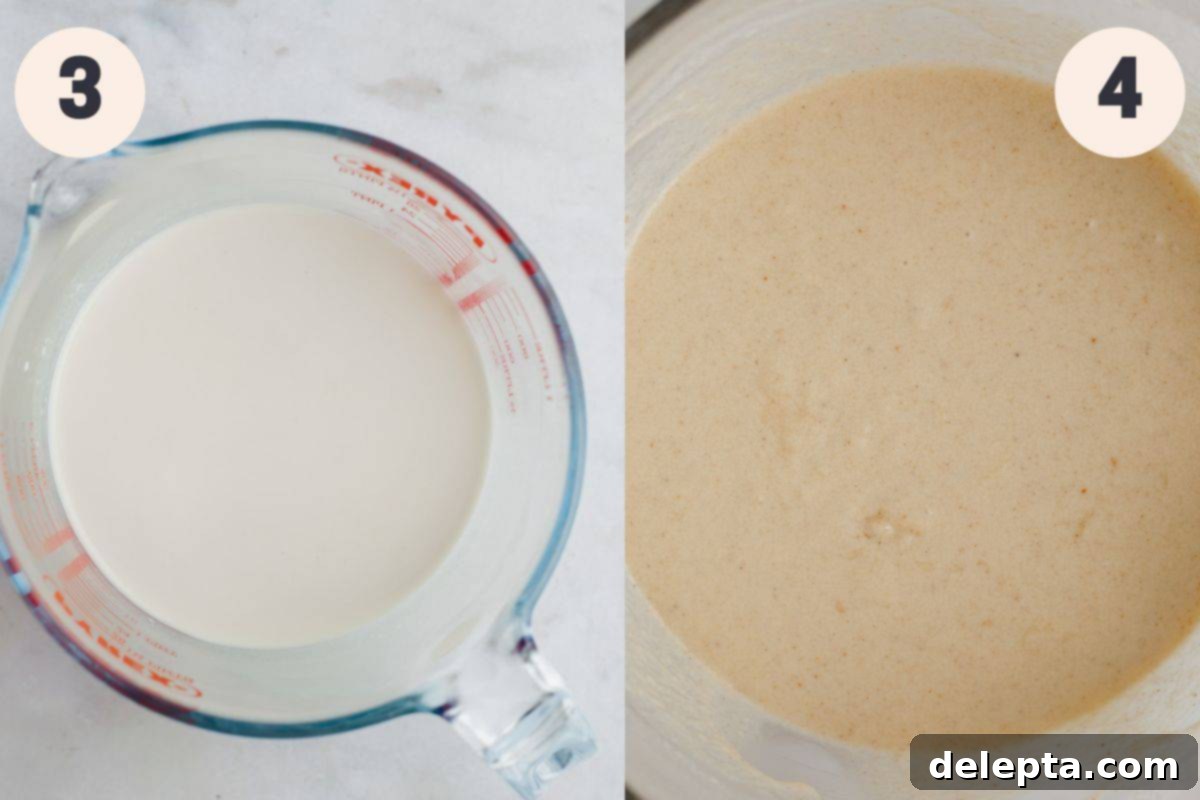
Step 3: Whisking the Wet Ingredients. In a separate, medium-sized jug, combine the whole milk, bourbon (or vanilla extract), and full-fat yogurt. Whisk these liquid ingredients together until you have a completely smooth and uniform mixture. This ensures they will incorporate easily into your cake batter without lumps.
Step 4: Adding Wet to Dry. With your stand mixer running on its lowest speed, slowly pour in approximately one-third of the prepared liquid mixture from the jug. Mix gently until just combined. The batter will be quite thin at this stage, so be careful to avoid splashing. Repeat this process twice more, adding the remaining liquid in two equal additions and mixing slowly after each. Once all the liquid is incorporated, continue to beat the batter on low speed for about 2 minutes. The final batter will be notably thin, which is exactly how it should be for this recipe.
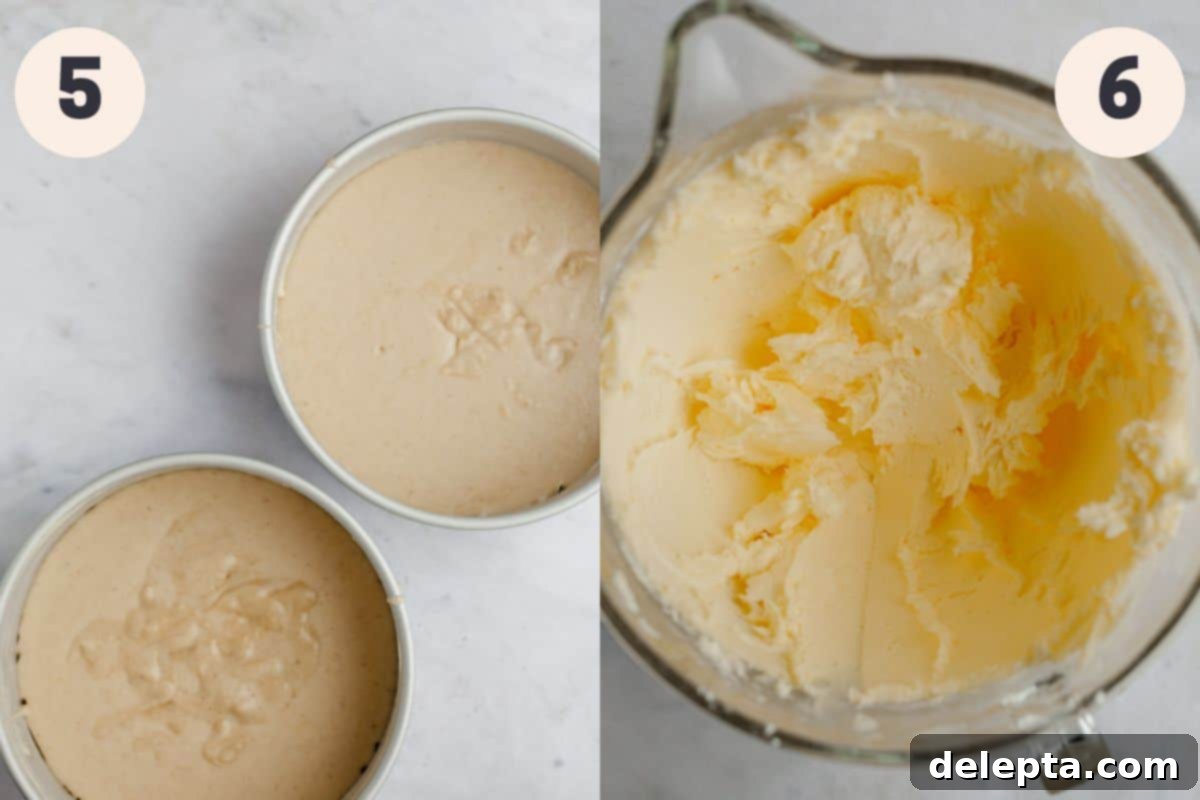
Step 5: Baking the Eggnog Cake Layers. Divide the thin batter evenly between two 8-inch greased and floured cake pans. Place them in your preheated oven at 350°F (175°C) and bake for 25-30 minutes, or until a toothpick inserted into the center of a cake comes out clean. Once baked, remove the cakes from the oven and allow them to cool in their pans for about 10-15 minutes. This crucial resting period helps them set before you invert them onto a wire rack to cool completely. Ensure they are fully cooled before frosting.
Step 6: Starting the Peppermint Buttercream. While the cakes are cooling, begin your peppermint buttercream. In the bowl of a clean stand mixer fitted with the paddle attachment, combine the softened unsalted butter and confectioners’ sugar. Start mixing on a very low speed to prevent a cloud of sugar from erupting. Continue mixing until the butter and sugar are fully combined and begin to form a crumbly mixture. Then, increase the speed to medium-high and beat for several minutes until the mixture becomes noticeably creamy, light, and fluffy.
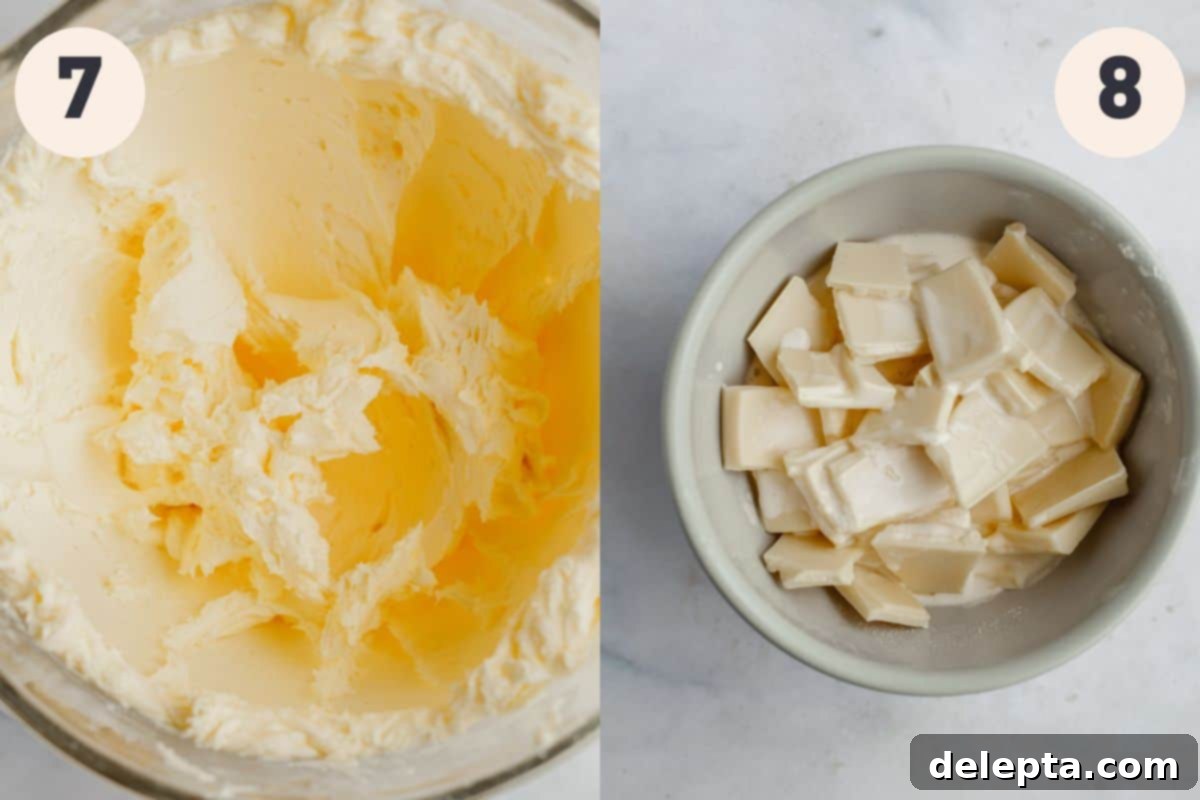
Step 7: Flavoring the Buttercream. With the mixer still running on medium-high, add your kosher salt and peppermint extract. Beat again for a couple of minutes to ensure these flavors are evenly distributed throughout the buttercream. Finally, reduce the mixer speed to low and slowly pour in the heavy cream. Continue beating until the frosting achieves an extra creamy, spreadable consistency that’s perfect for frosting your cake. Avoid overbeating at this stage, which can make the frosting too thin.
Step 8: Preparing the White Chocolate Ganache. For the elegant white chocolate drip, place your finely chopped white chocolate in a heatproof bowl. In a separate microwave-safe container, heat the heavy cream for 1-2 minutes, or until it just begins to simmer and small bubbles form around the edges. Carefully pour the hot cream over the chopped white chocolate. Let it sit undisturbed for a few minutes to allow the heat from the cream to melt the chocolate.
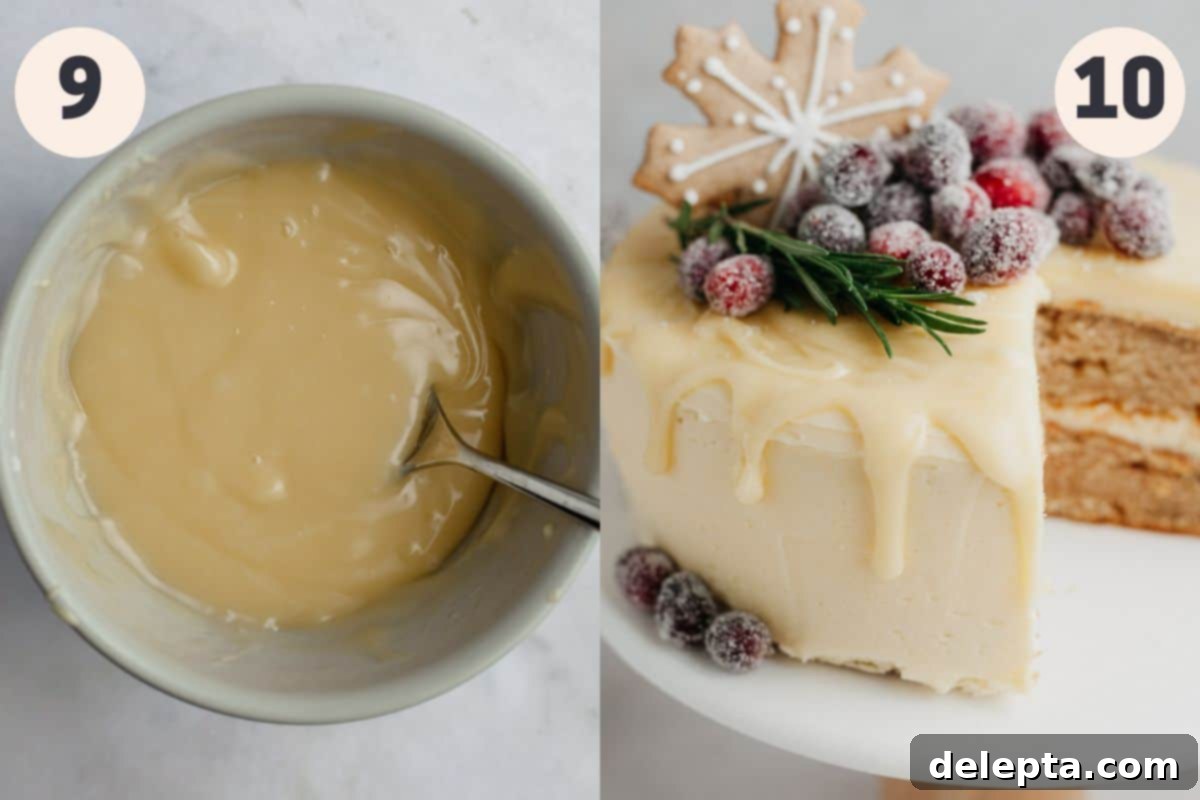
Step 9: Achieving a Smooth Ganache. After the chocolate has had a few minutes to soften in the hot cream, use a rubber spatula to gently mix the cream and chocolate together. Stir slowly from the center outwards until the mixture is completely smooth, glossy, and emulsified. If there are still stubborn lumps of chocolate that haven’t melted, you can place the bowl back in the microwave for just a few seconds (5-10 seconds at a time) and stir again until perfectly smooth. Be careful not to overheat the white chocolate.
Step 10: Assembling and Decorating the Cake. To assemble your masterpiece, place the first cooled cake layer on your serving plate or cake stand. Evenly spread about half of the peppermint buttercream over this layer. Carefully place the second cake layer on top and gently press down to secure it. Now, frost the entire cake – top and sides – with the remaining buttercream, aiming for a smooth finish. Once frosted, place the cake in the fridge for 10-20 minutes to chill and firm up the buttercream. This cold surface is essential for achieving a perfect drip. Once chilled, use a spoon to carefully create individual drips around the side of the cake, allowing the ganache to slowly cascade down. Ensure your ganache is at the right consistency (see tips below). After creating the side drips, pour the remaining ganache over the top of the cake and use a small offset spatula to spread it evenly to the edges, allowing it to naturally meet the drips you’ve already created. If needed, briefly warm the ganache again if it has become too thick to drip gracefully. For a truly festive look, adorn your finished cake with gingerbread cookies, sugared cranberries, or fresh rosemary sprigs.
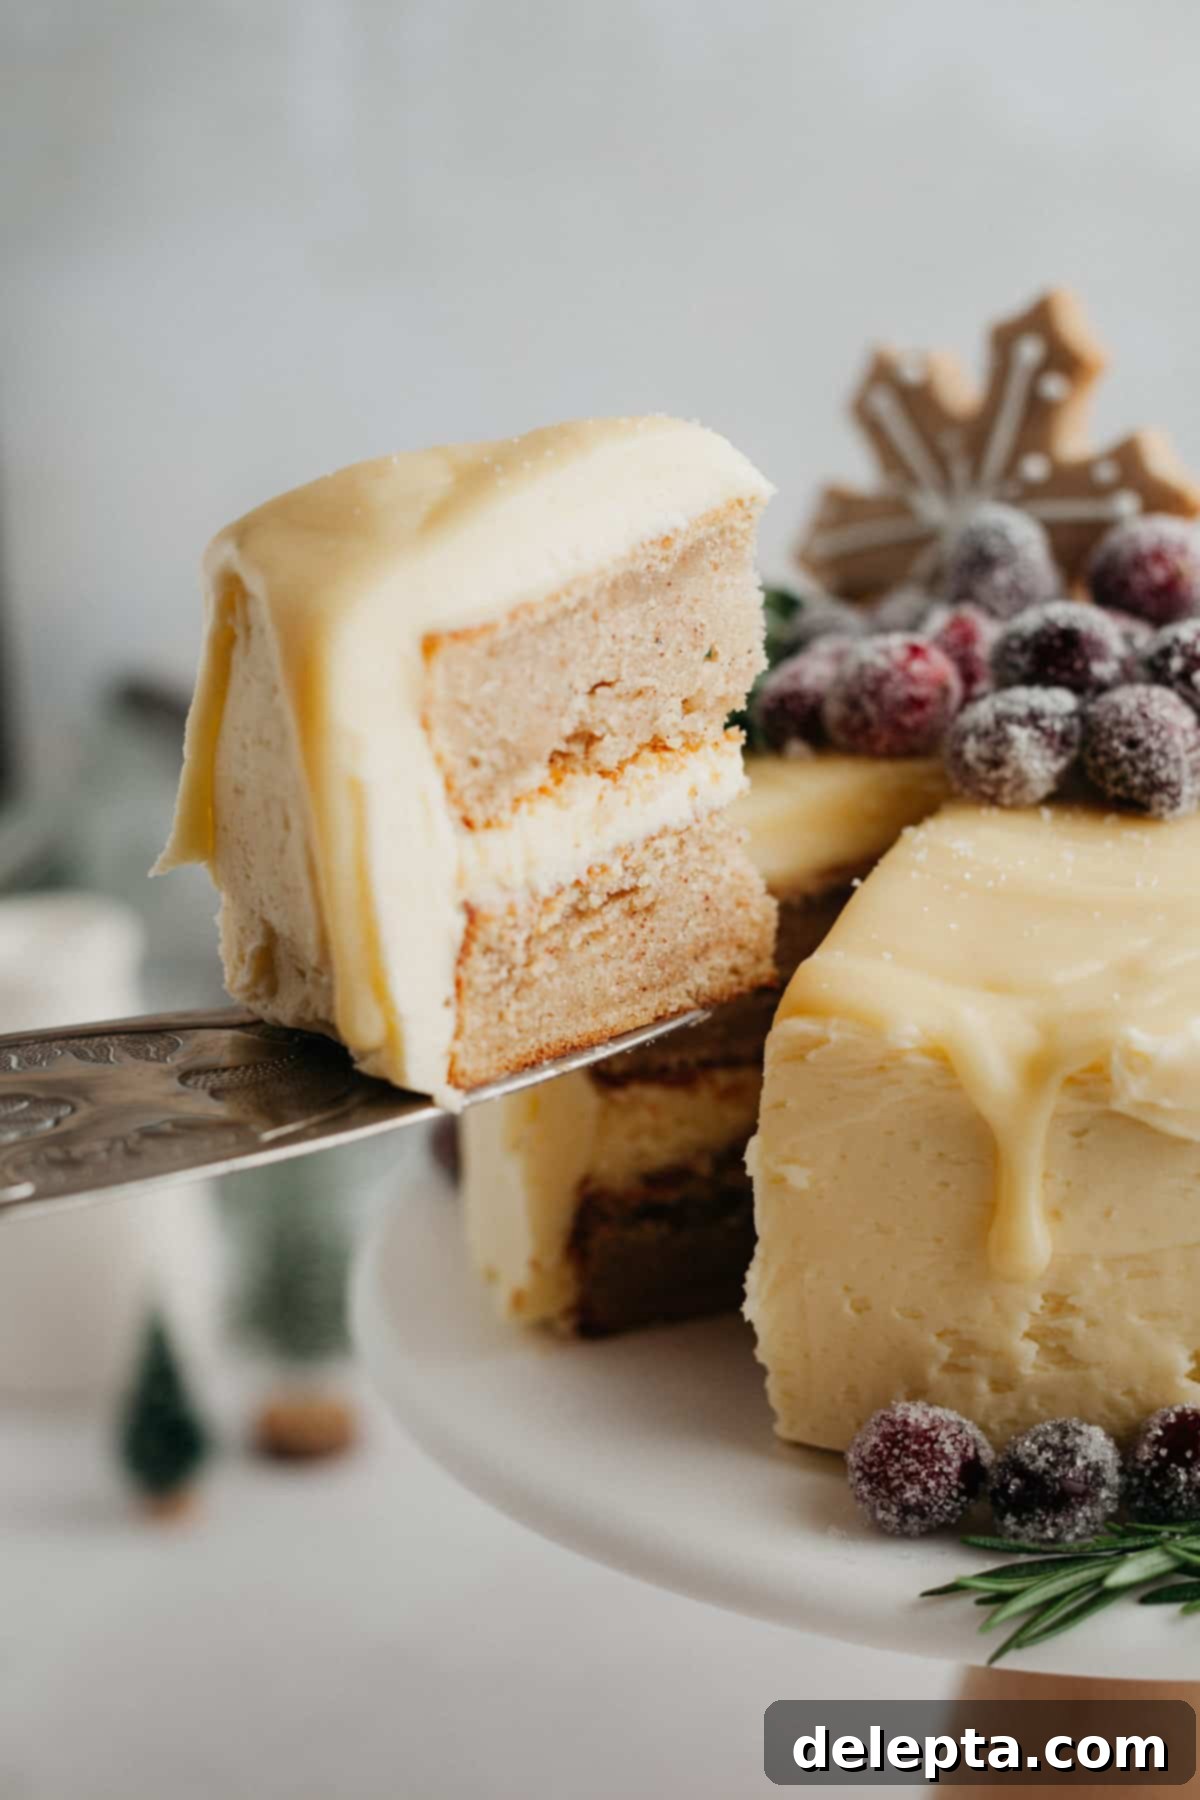
Top Tips for a Perfect Eggnog Drip Cake
- Precision with a Weighing Scale: For consistent and accurate baking results, I cannot stress enough the importance of using a digital kitchen scale to measure your ingredients in metric grams. Baking is a science, and volumetric measurements (like cups) can be highly inconsistent. Measuring by weight makes a significant difference in the texture and overall success of your baked goods, ensuring a truly professional outcome every time.
- Room Temperature Ingredients are Key: Always ensure all your cold ingredients—like butter, eggs, milk, and yogurt—are brought to room temperature before you begin the recipe. This typically means pulling them out of the fridge at least 2 hours before you plan to start baking. Room temperature ingredients emulsify more smoothly, leading to a more uniform and tender cake batter and a creamier, lump-free buttercream.
- Completely Cool Cakes: Patience is a virtue, especially in baking! It is absolutely vital that your cake layers are completely and thoroughly cooled before you even think about assembling and frosting them. Attempting to frost a warm cake will inevitably lead to melted buttercream sliding right off the layers, resulting in a frustrating and messy situation. Allow ample time for cooling, or even chill the layers briefly in the fridge once cooled.
- Test Your Drip Consistency: Before applying the beautiful white chocolate ganache drip to your perfectly frosted cake, always perform a small test. Spoon a tiny amount of ganache onto a discreet side portion of your chilled cake and observe how it flows. If the ganache runs down the side too quickly and thinly, it’s too warm; let it sit at room temperature for a few more minutes to thicken slightly. If, conversely, it doesn’t drip down at all or forms a thick, clumpy line, it’s too cold; gently warm it in the microwave for just a few seconds (5-10 seconds max) and stir until it reaches the ideal flowable consistency. This simple test prevents drip disasters!
Frequently Asked Questions About White Chocolate Drip Cakes
It’s perfectly normal for white chocolate to have a natural creamy or slightly yellowish hue. This color comes from the cocoa butter, which is a key component of white chocolate. If you desire a brilliant, stark white drip for aesthetic reasons, you can easily achieve this by adding a few drops of Americolor white food gel or a similar oil-based white food coloring to your ganache as you mix it. Stir well until the desired whiteness is achieved.
If your ganache seems too runny after mixing, the simplest solution is to let it sit at room temperature for a little while longer. As it cools, the cocoa butter in the white chocolate will firm up, naturally thickening the ganache. Stir it occasionally to check the consistency. If you’re in a hurry, you can place it in the refrigerator for 5-10 minute intervals, stirring thoroughly after each interval, until it reaches your desired drip consistency.
Absolutely! This cake is perfect for making ahead, especially the cake layers. Once your eggnog cake layers have fully cooled, wrap each layer tightly in plastic wrap to prevent them from drying out. You can prepare these layers a day or two before you plan to assemble and decorate the cake. Store them at room temperature or in the refrigerator. However, for the freshest and most optimal texture, I recommend preparing the peppermint buttercream and white chocolate ganache on the day you plan to assemble and serve the cake.
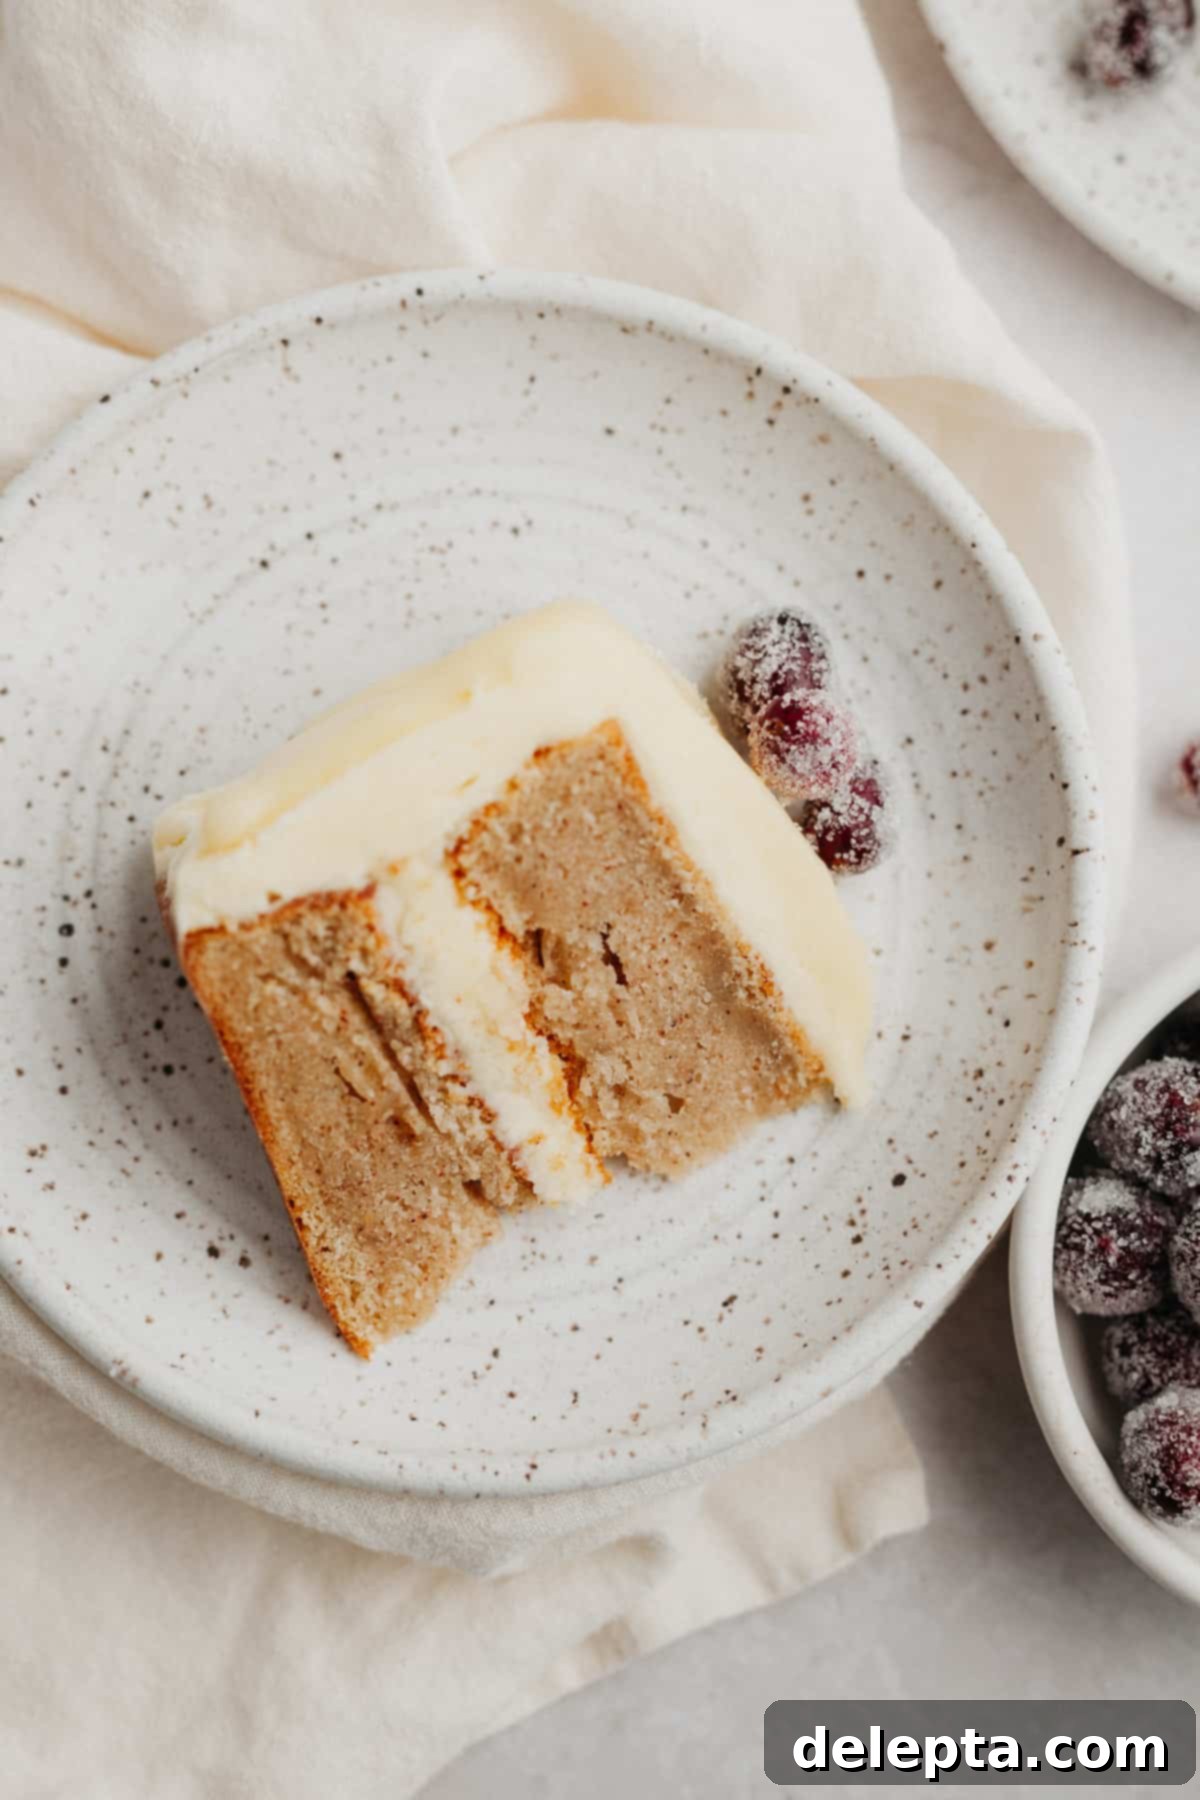
Try These Other Showstopping Cakes Next!
- Oreo Drip Cake
- Tiramisu Layer Cake
- Chocolate & Orange Cake
- White Forest Cake
Have you made this exquisite holiday recipe? We would love to see your creations! Make sure to tag me on Instagram @alpineellaand leave a review below if you have! Your feedback is incredibly valuable. If you’re looking for even more delightful baking ideas and inspiration, you can follow me on Pinterest.
Recipe
Eggnog Peppermint White Chocolate Drip Cake
Ella Gilbert
Pin Recipe
Save RecipeSaved!
Equipment
-
2×8″ cake pans
Ingredients
Eggnog Cake
- 285 grams all purpose flour
- 170 grams unsalted butter room temperature
- 333 grams sugar
- 2 teaspoons baking powder
- ½ teaspoon baking soda
- 1 ½ teaspoons kosher salt
- 1 teaspoon ground nutmeg
- ½ teaspoon ground cinnamon
- 4 egg whites room temperature
- 1 egg room temperature
- 2 teaspoons bourbon
- 240 ml whole milk
- 120 grams full fat yogurt room temperature
Peppermint Buttercream
- 452 grams unsalted butter room temperature
- 1 teaspoon peppermint extract
- ½ teaspoon kosher salt
- 678 grams confectioners’ sugar
- 60 ml heavy cream
White Chocolate Drip
- 180 grams white chocolate chopped, good quality bar (not chips)
- 76 grams heavy cream
Instructions
Make Eggnog Cake
-
Preheat your oven to 350°F (175°C). Prepare two 8-inch cake pans by greasing them thoroughly and lining the bottoms with parchment paper. This will ensure your cakes release easily.
-
In the large bowl of a stand mixer fitted with the paddle attachment, combine the all-purpose flour, sugar, baking powder, baking soda, kosher salt, ground nutmeg, and ground cinnamon. Mix on low speed for about 30 seconds until all dry ingredients are well-blended. Add the softened unsalted butter and continue mixing on low speed until the mixture resembles damp sand or fine crumbs. This is the “reverse creaming” method, which helps create a tender cake.
-
Add the room temperature egg whites one at a time, beating well after each addition until fully incorporated. Follow with the whole egg, beating again until the mixture is smooth. Remember to scrape down the sides and bottom of the bowl with a rubber spatula frequently to ensure all ingredients are evenly mixed.
-
In a separate small jug or bowl, whisk together the bourbon (or vanilla extract), full-fat yogurt, and whole milk until the mixture is completely smooth and uniform.
-
With the stand mixer on its lowest speed, slowly pour in one-third of the milk mixture into the dry ingredients. Mix just until combined, being careful as the batter will be very thin and may splash. Repeat this step two more times, adding the remaining milk mixture in two equal additions, mixing slowly after each until fully incorporated. Once all the liquid is added, beat the batter on low speed for an additional 2 minutes. The final batter will be quite liquidy, which is normal for this cake style.
-
Divide the batter evenly between your two prepared 8-inch cake pans. Bake for 25-30 minutes, or until a wooden toothpick inserted into the center of the cake comes out clean. Remove the cakes from the oven and let them cool in their pans on a wire rack for 15 minutes. This allows them to set. After 15 minutes, carefully invert the cakes onto the wire rack to cool completely to room temperature before frosting. This is crucial for successful assembly.
Make Frosting
-
In the bowl of a stand mixer fitted with the paddle attachment, combine the softened unsalted butter and confectioners’ sugar. Start beating on low speed to gradually incorporate the sugar into the butter, preventing a mess.
-
Once the sugar is mostly incorporated, increase the speed to medium-high and beat for 3-5 minutes. The mixture will become thick, light, and wonderfully creamy. Scrape down the bowl as needed to ensure even mixing.
-
Add the peppermint extract and kosher salt to the buttercream. Continue to beat on medium-high speed for another 1-2 minutes until these flavors are fully distributed throughout the frosting.
-
Reduce the mixer speed to low. Slowly pour in the heavy cream. Continue mixing on low speed until the frosting becomes extra creamy, smooth, and easily spreadable. Be careful not to overmix at this stage.
Make White Chocolate Drip
-
Place your finely chopped white chocolate (ensure it’s good quality baking chocolate, not chips) in a medium heatproof bowl. In a separate microwave-safe container, heat the heavy cream for 1-2 minutes until it begins to simmer around the edges. Alternatively, heat it in a small saucepan over medium heat, stirring occasionally, until simmering.
-
Pour the hot simmering cream over the chopped white chocolate. Let it sit undisturbed for 2-3 minutes to allow the heat to melt the chocolate. After resting, use a rubber spatula to gently stir the white chocolate and cream together. Begin stirring from the center and slowly work your way outwards until the ganache is completely smooth, glossy, and beautifully emulsified. If any lumps remain, microwave the mixture for a few seconds (5-10 seconds max) and stir again until perfectly smooth.
Assembly
-
Place one completely cooled cake layer onto your serving plate or cake stand. Spread approximately half of the peppermint buttercream evenly over the top of this layer. Carefully place the second cake layer on top, gently pressing down to create a stable base. Frost the entire cake – top and sides – with the remaining buttercream, aiming for a smooth finish. Once frosted, transfer the cake to the fridge for 10-20 minutes to chill and firm up the buttercream. This cold surface will help create perfect, controlled drips.
-
Retrieve the chilled cake. Using a small spoon, carefully place small amounts of the white chocolate ganache over the edge of the cake, allowing it to slowly drip down the sides. Repeat this process all along the perimeter of the cake, creating your desired drip pattern. If the ganache seems too thick to drip gracefully, heat it in the microwave for just a few seconds (5-10 seconds) and stir. If it runs down too quickly, let it sit out for a bit longer to thicken. Once the side drips are complete, pour the remaining ganache over the top of the cake. Use a small offset spatula to gently spread the ganache evenly across the top surface, allowing it to merge beautifully with the drips around the edge. Decorate with festive elements like sugared cranberries, gingerbread cookies, or rosemary sprigs before serving.
Notes
Butter: For superior flavor and texture, I exclusively use European-style butter, such as KerryGold, in all my recipes. This type of butter has a higher fat content, which contributes significantly to a richer, creamier frosting and a more tender, flavorful cake.
Salt: If you do not have kosher salt on hand, you can substitute it with fine table salt. However, it’s important to adjust the quantity. As a general rule, halve the amount of salt called for in the recipe when using fine salt, as it is much denser. For example, 1 teaspoon of kosher salt typically equates to about ½ teaspoon of fine salt.
Peppermint Extract: If you’re not a fan of peppermint, or if you simply don’t have any peppermint extract readily available, feel free to substitute it with an equal amount of high-quality pure vanilla extract. The cake will still be delicious and festive!
Storage: To maintain its freshness and flavor, cover the entire cake tightly with plastic wrap or place it in an airtight cake carrier. Store it in the refrigerator for up to 5 days. Allow it to come to room temperature for about 30 minutes before serving for the best texture and flavor.
Freezing: This cake freezes wonderfully! For longer storage, you can freeze the frosted cake (without decorations) for up to 3 months. To freeze, place the cake uncovered in the freezer for about an hour until the frosting is firm. Then, wrap it tightly in several layers of plastic wrap, followed by aluminum foil. When ready to enjoy, let the cake defrost overnight in the refrigerator, then bring it to room temperature for at least an hour before serving to ensure optimal flavor and texture.
Nutrition
