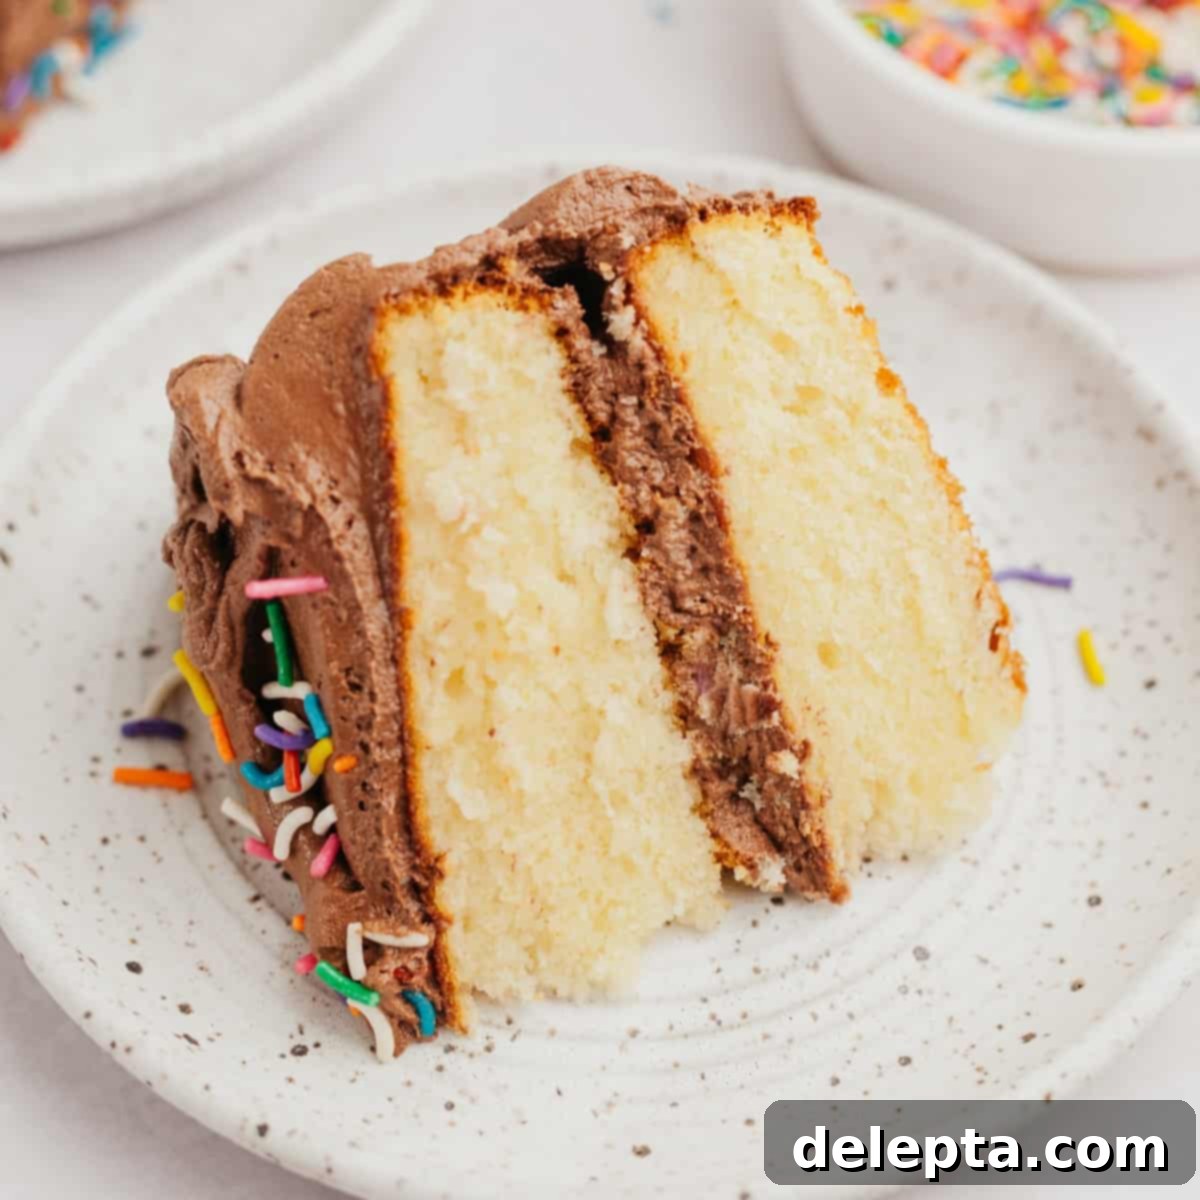
Classic Vanilla Cake with Decadent Chocolate Buttercream: Your Ultimate Celebration Recipe
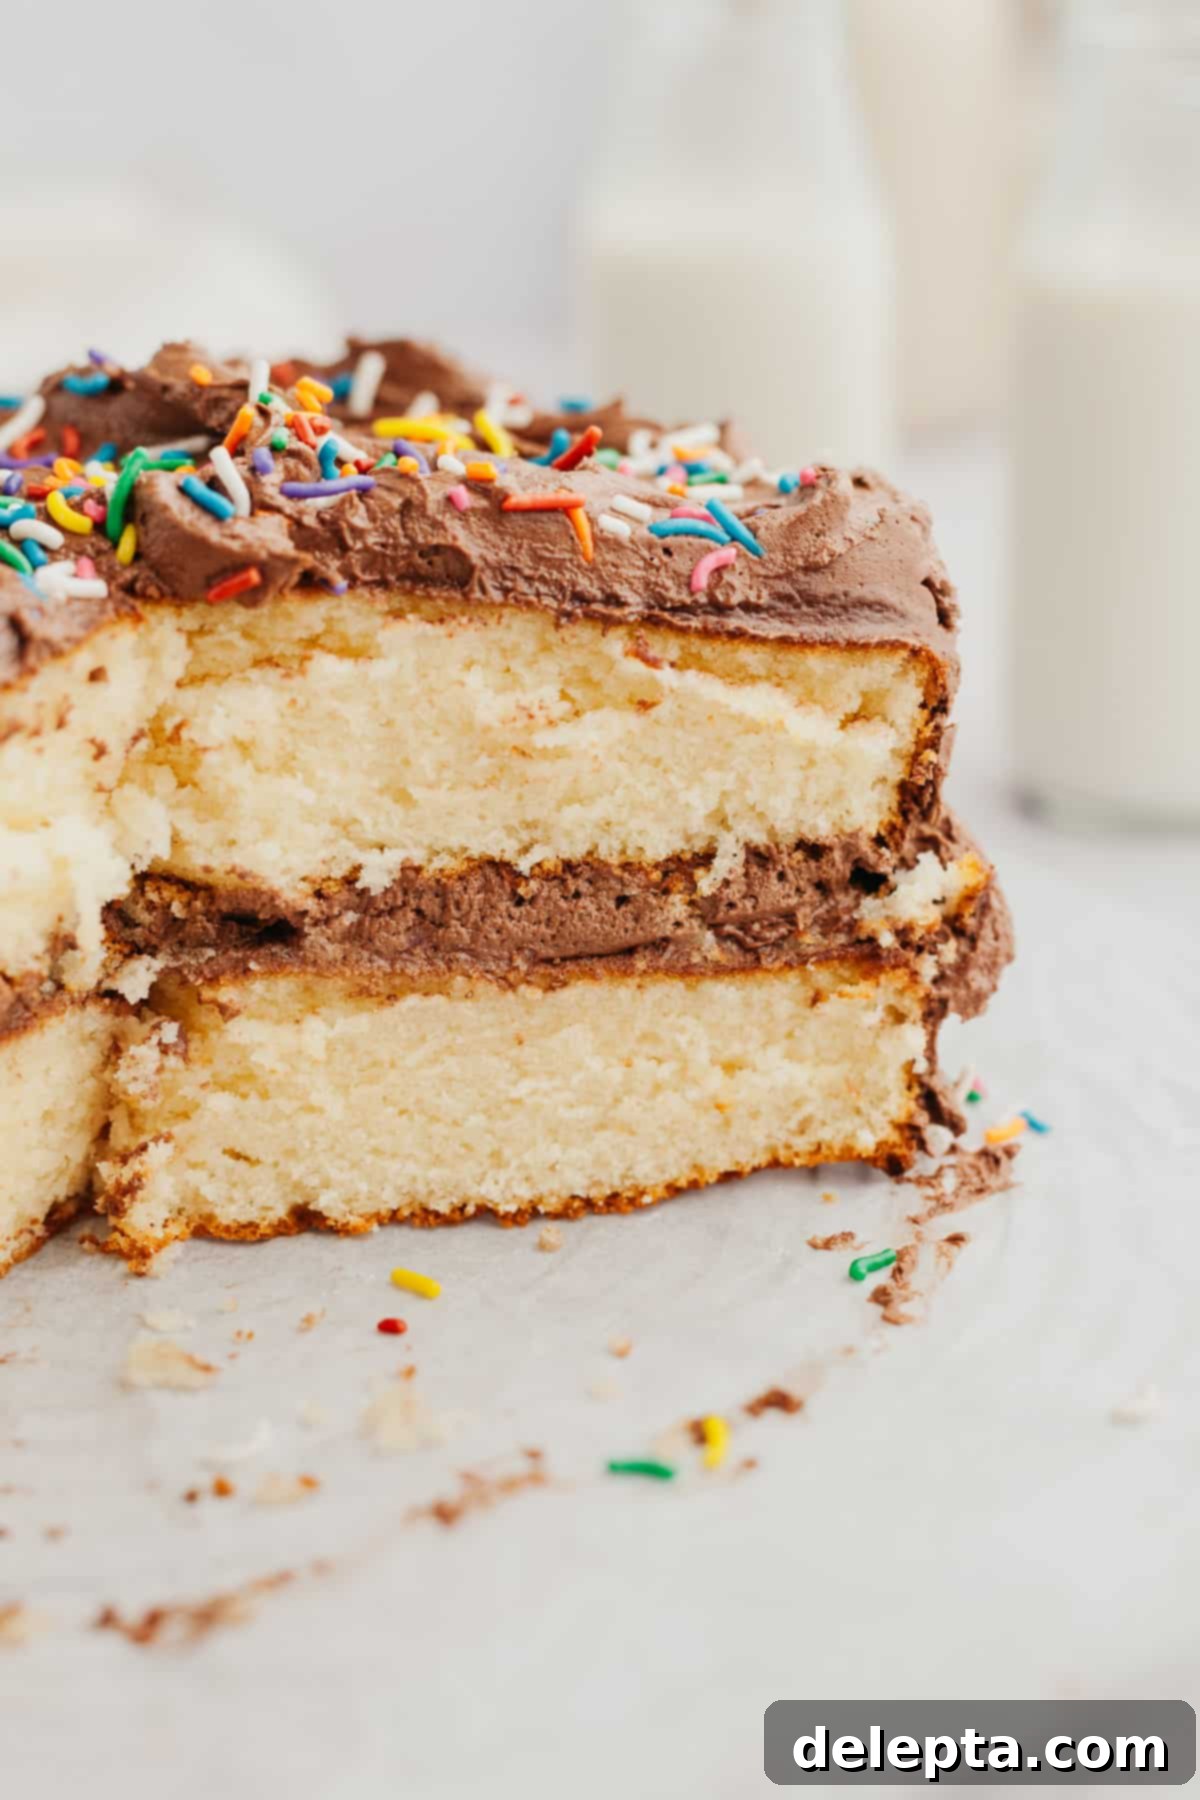
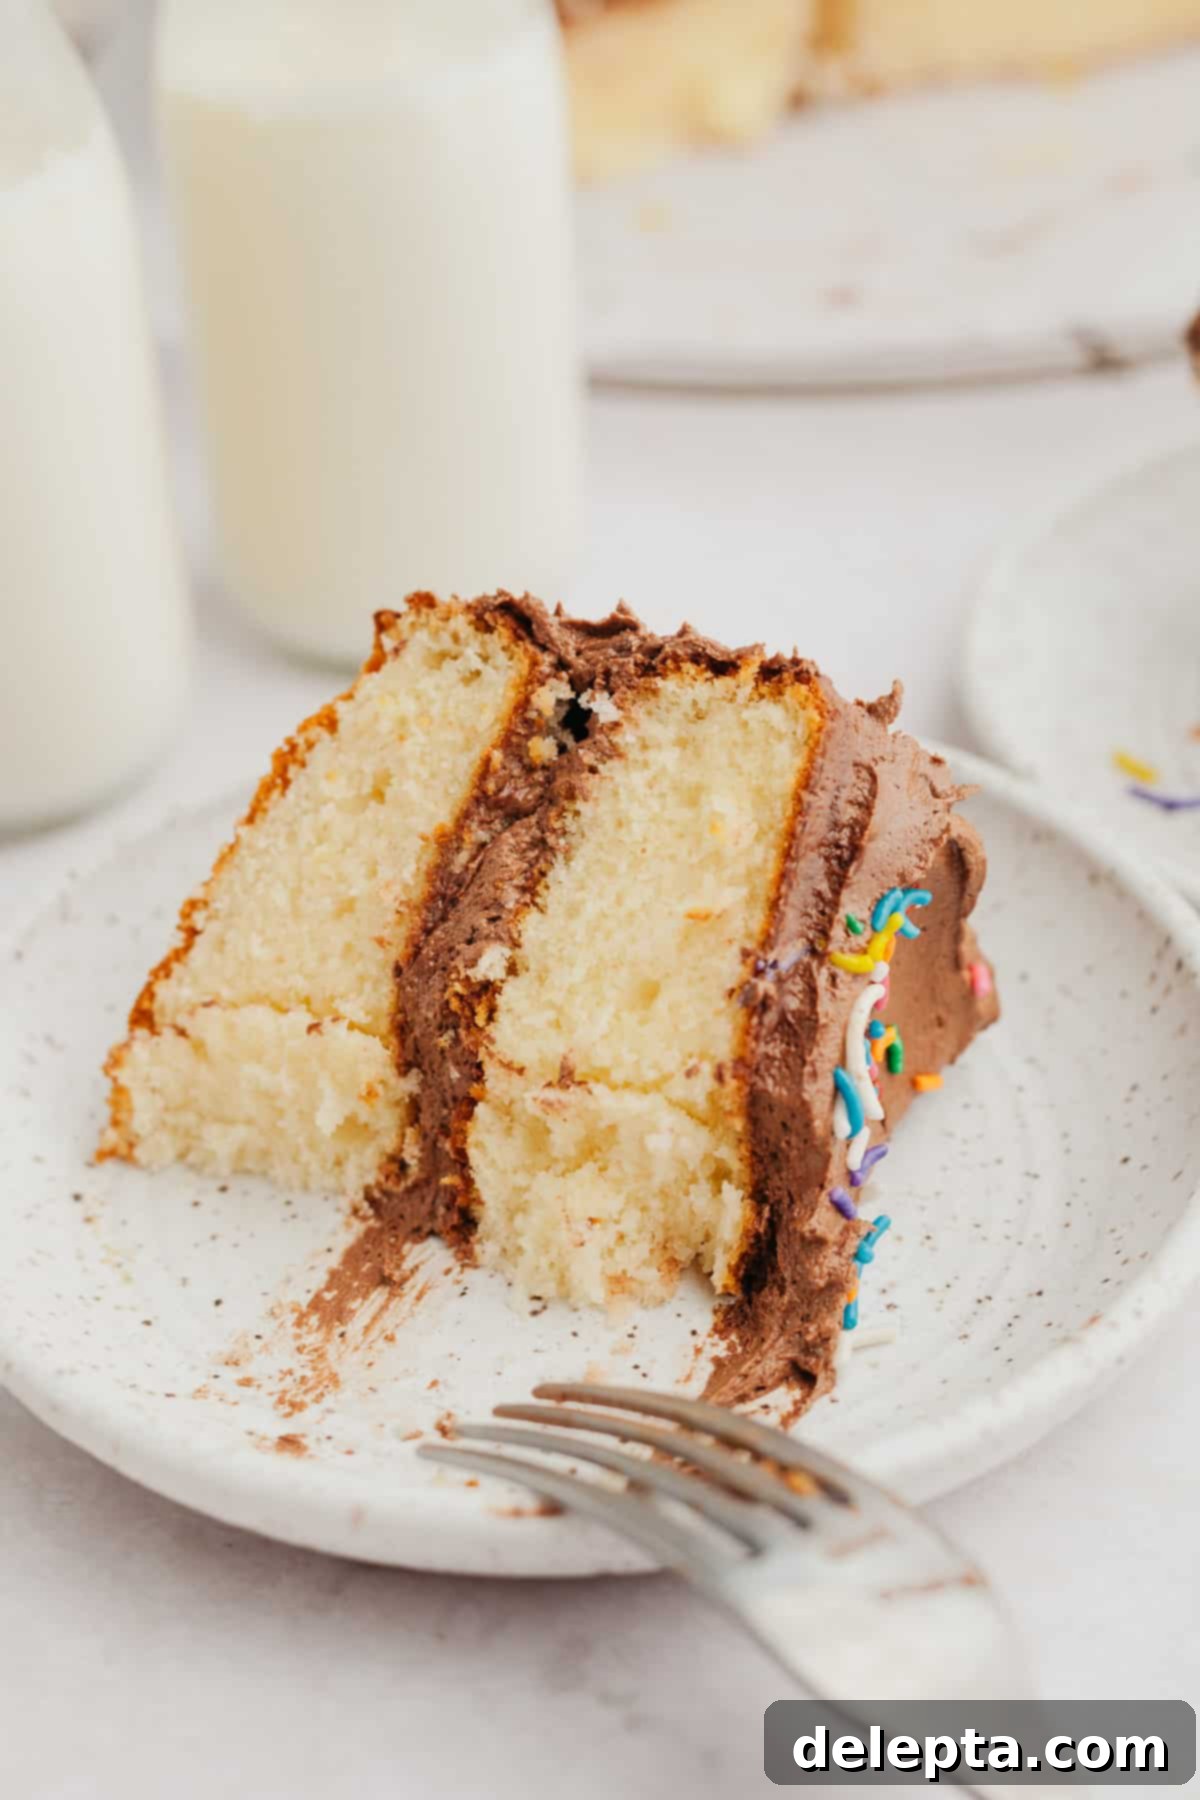
There’s nothing quite like a classic homemade cake, and this vanilla cake with chocolate frosting stands as the epitome of a perfect celebration dessert. Imagine a cake that’s incredibly soft, wonderfully fluffy, and bursts with a rich vanilla flavor, all enveloped in the silkiest, most decadent chocolate buttercream you’ve ever tasted. This recipe promises a moist, tender crumb that utterly surpasses any box mix, making it your new go-to for birthdays, holidays, or any special occasion.
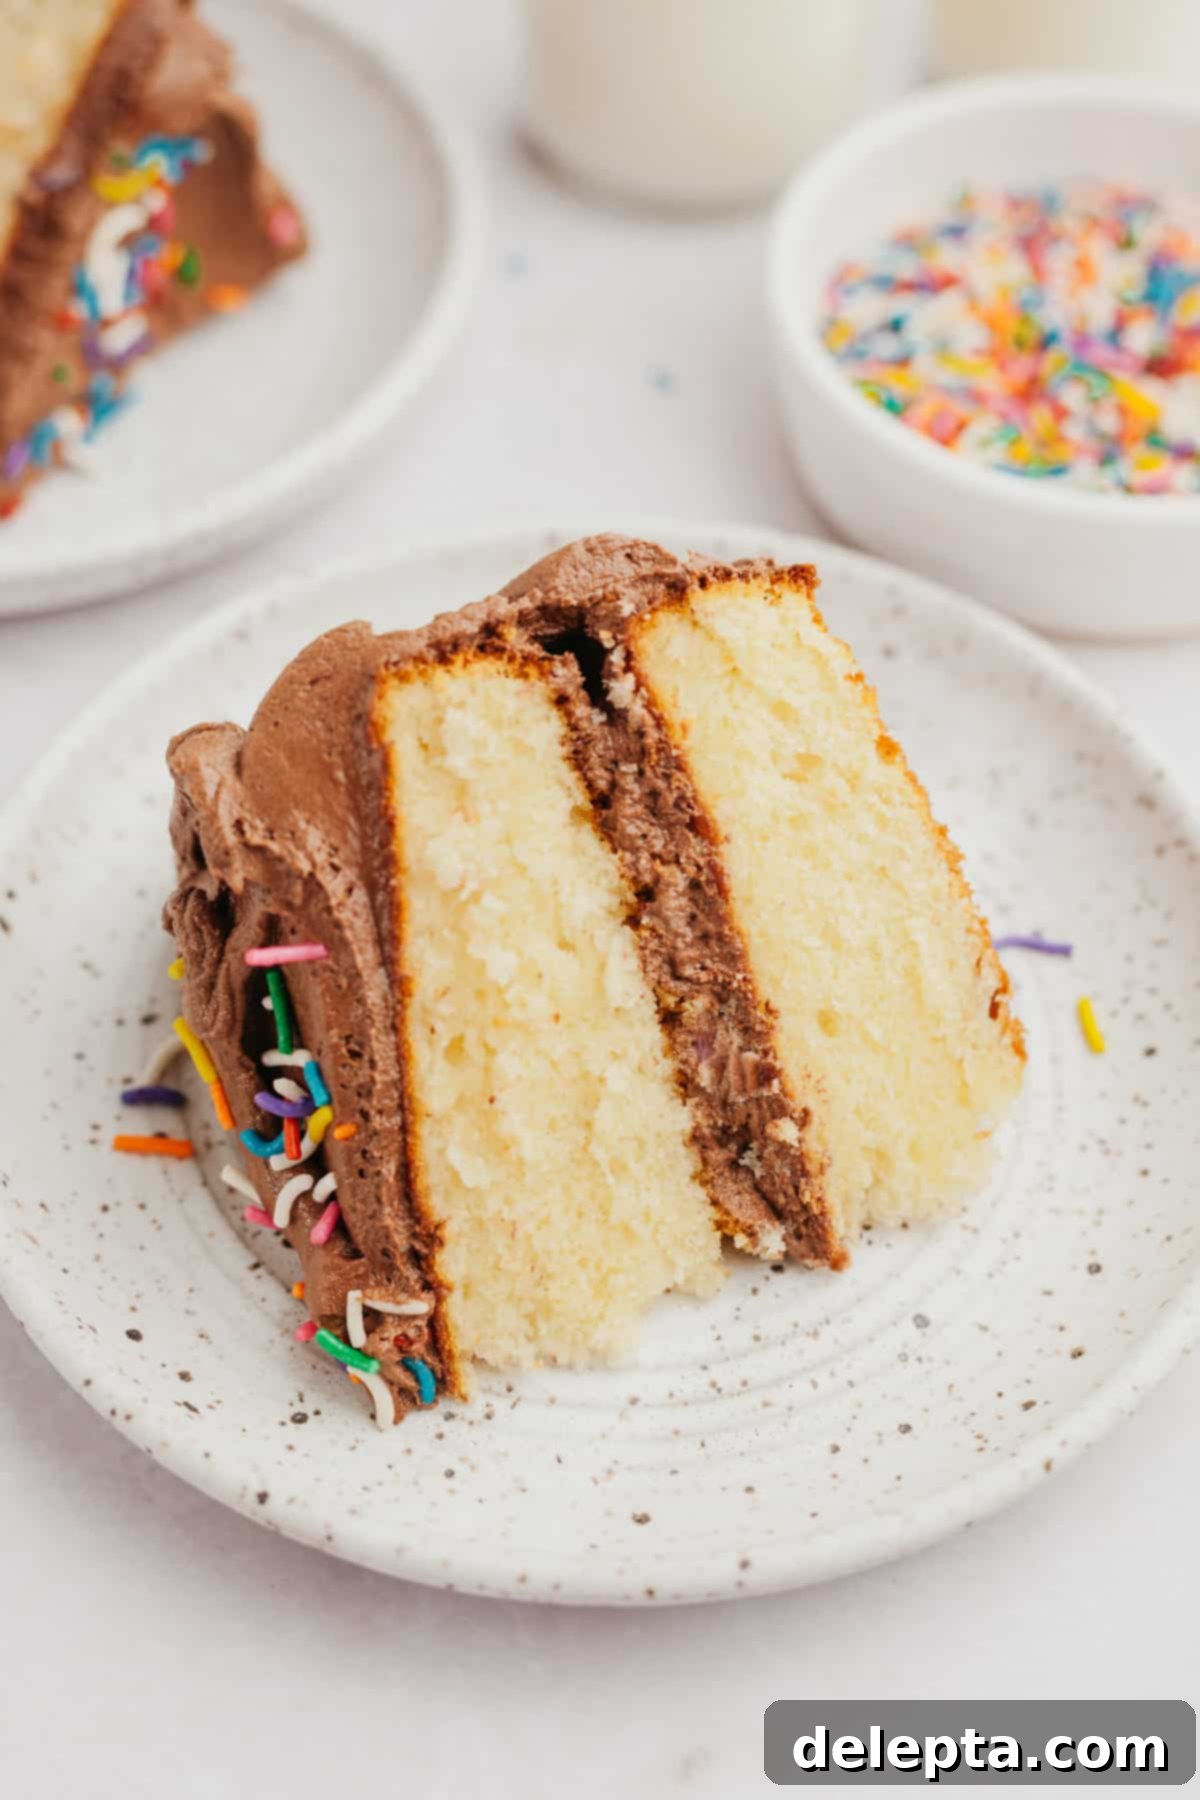
Every home baker deserves a reliable, classic yellow cake recipe in their repertoire, and this delightful creation is precisely that. While many of my vanilla cake recipes typically rely solely on butter for flavor, I was inspired to experiment with a unique combination of both oil and butter after diving into various baking techniques. The results were truly astounding! The butter in this recipe delivers that essential, rich, and unmistakable buttery taste that we all adore in a traditional vanilla cake, while the addition of neutral oil works wonders in ensuring the cake remains incredibly soft, moist, and wonderfully fluffy for days. This strategic pairing guarantees a superior texture that is often hard to achieve with butter alone, providing the best of both worlds.
To complement this exquisite cake, we’re pairing it with a timeless American buttercream. This frosting is not only easy to make but also incredibly rich and satisfying, perfectly balancing the sweetness and lightness of the vanilla layers. While you could certainly venture into more sophisticated frostings like the Swiss meringue buttercream used in my chocolate cake with strawberry filling, I find that for a lively birthday party or a joyful family celebration, a classic chocolate frosting is simply unbeatable. Its familiar taste and spreadable consistency make it a crowd-pleaser that never disappoints, adding a touch of comforting nostalgia to every slice.
If you’re eager to explore more delightful birthday cake options, be sure to check out my popular vanilla cake with strawberry filling for a fruity twist, or indulge in the ultimate chocolate experience with my triple chocolate layer cake. Each recipe offers a unique flavor profile, but all share the common thread of being perfect for life’s sweetest moments.
Why You’ll Adore This Vanilla Cake with Chocolate Frosting!
- Unbelievably Soft and Tender Texture: Thanks to the clever combination of both butter and oil in the batter, this vanilla cake achieves an unparalleled softness, tenderness, and moistness. The butter infuses the cake with rich, buttery flavor, while the oil ensures a light, airy, and fluffy crumb that stays moist for days, making every bite a delight.
- The Ultimate Birthday Party Centerpiece: This classic yellow cake draped in luscious chocolate frosting is undeniably the perfect vanilla birthday cake. Its timeless appeal makes it a favorite for all ages, and its sturdy yet tender structure holds up beautifully to decorations, making it an ideal canvas for celebratory sprinkles and candles.
- Effortlessly Simple to Prepare: Both the vanilla cake layers and the silky chocolate frosting are designed to be straightforward and accessible for home bakers of all skill levels. You’ll primarily need a stand mixer or a reliable handheld mixer to achieve fantastic results, making the baking process enjoyable and stress-free.
- Intensely Chocolatey Frosting for True Lovers: Our exceptional chocolate buttercream boasts a deep, complex chocolate flavor, thanks to the double dose of both high-quality cocoa powder and rich melted chocolate. This powerful combination creates a truly indulgent frosting that is perfect for anyone who craves an authentic, intense chocolate experience.
Essential Ingredients for Your Perfect Cake
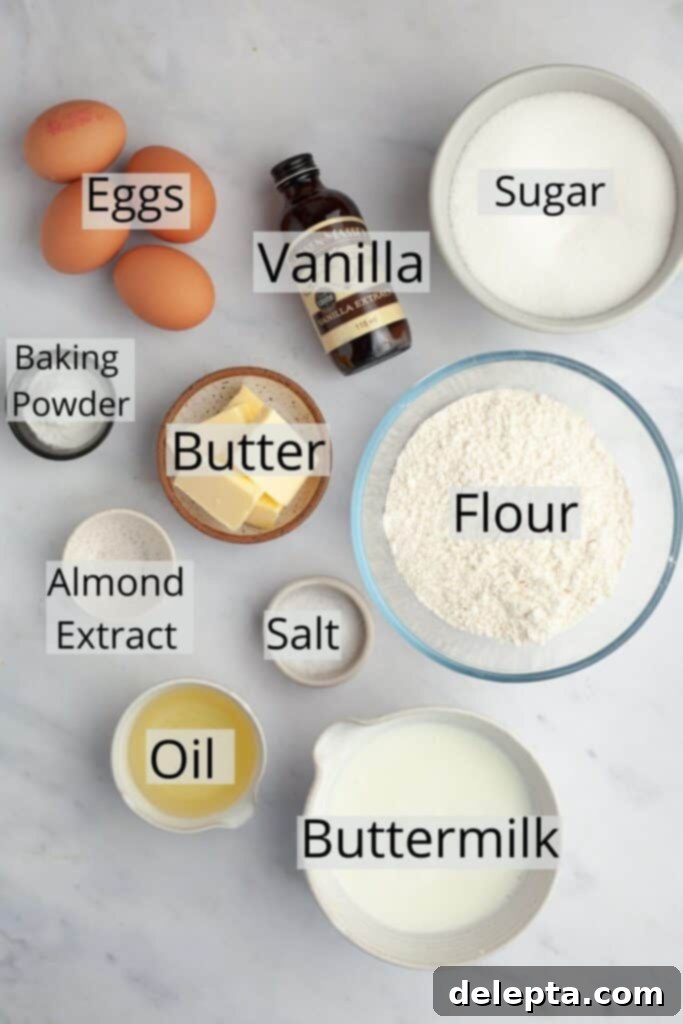
- Eggs: For this delightful yellow cake, we’ll be utilizing whole eggs. The combination of both egg whites and egg yolks is what imparts that classic, beautiful yellow hue and contributes to the cake’s rich structure and flavor. This is a key differentiator from white cakes, which typically rely solely on egg whites.
- All-Purpose Flour: Simple and effective, all-purpose flour is the backbone of our cake. It provides the necessary structure, creating a tender yet stable crumb. For best results and to avoid a dense cake, I always recommend weighing your flour.
- Buttermilk: A crucial ingredient for moisture and tenderness! The acidity in buttermilk reacts with the baking powder, producing a finer crumb and activating gluten in a way that keeps the cake incredibly moist and light. If you don’t have buttermilk, you can easily make a substitute by adding a tablespoon of lemon juice or white vinegar to regular milk and letting it sit for 5-10 minutes.
- Neutral Oil: This is a secret weapon for supreme moistness. Using a neutral-flavored oil such as sunflower oil, canola oil, or vegetable oil ensures that the cake remains wonderfully soft and tender without imparting any unwanted flavors. Oil helps keep the cake moist even when chilled, unlike butter alone.
- Unsalted Butter: Our butter contributes significantly to the rich, classic flavor profile of this vanilla cake and the luscious texture of the frosting. Always opt for unsalted butter to maintain precise control over the overall salt content in your baking. Make sure it’s at room temperature for both the cake and frosting to ensure proper creaming.
- Almond Extract: Just a tiny dash of almond extract works wonders! It’s a subtle addition that elevates the overall flavor, mimicking that delightful “bakery cake” taste that many adore. It enhances the vanilla without overpowering it.
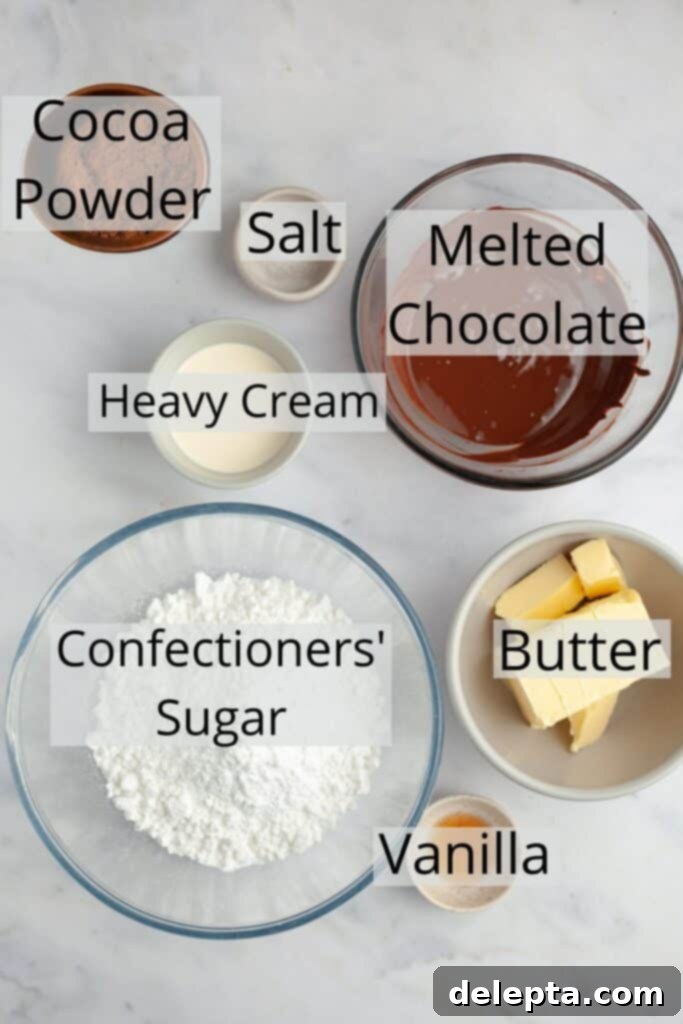
- Melted Chocolate: For the frosting, ensure you use a good quality baking chocolate, not chocolate chips, as chips often contain emulsifiers that can prevent them from melting smoothly. Once melted, it’s vital that the chocolate has cooled completely before you incorporate it into your buttercream, preventing it from melting the butter.
- Cocoa Powder: The other half of our chocolate power duo! Using both cocoa powder and melted chocolate intensely amps up the chocolate flavor in the buttercream, creating a deeply rich and complex frosting that chocolate lovers will crave. You can use either Dutch-processed or natural unsweetened cocoa powder here.
- Heavy Cream: A splash of heavy cream is what transforms your buttercream from merely thick to extraordinarily smooth, light, and wonderfully spreadable. It helps achieve that perfect, melt-in-your-mouth consistency that makes frosting a dream.
For detailed measurements and comprehensive instructions, please refer to the complete recipe card found further down the page.
Creative Substitutions and Delicious Variations
- No Cocoa Powder? No Problem!: If your pantry is missing cocoa powder, rest assured that this frosting recipe can still be made with just melted chocolate. While the flavor profile might be slightly less complex and intense, it will still yield a delicious, rich, and wonderfully chocolatey buttercream that’s perfect for your cake.
- Choose Your Chocolate Adventure: Feel empowered to customize the frosting by using your favorite type of chocolate. I typically lean towards dark chocolate for a deep, sophisticated flavor, but semisweet chocolate offers a balanced sweetness, and milk chocolate will provide a sweeter, creamier result. A crucial tip: avoid using chocolate chips, as the emulsifiers they contain can make it challenging to achieve a silky-smooth melted chocolate, potentially leading to a grainy frosting. Opt for a high-quality chocolate bar instead.
- Dutch Processed vs. Natural Cocoa: Both Dutch-processed cocoa powder and natural unsweetened cocoa powder work wonderfully in this frosting recipe. Dutch-processed cocoa provides a darker color and a milder, less acidic chocolate flavor, while natural cocoa offers a fruitier, more intense chocolate taste. Choose based on your preference for chocolate depth.
- Explore Other Frosting Flavors: While our classic chocolate American buttercream is fantastic, don’t hesitate to experiment with different frosting styles to match your mood or occasion. You could easily swap it for the tangy chocolate sour cream frosting from my triple chocolate layer cake, or indulge in the creamy richness of the chocolate cream cheese frosting from this delightful chocolate cake with cream cheese frosting. Each offers a unique texture and flavor dimension to this versatile vanilla cake.
Effortless Step-by-Step Baking Guide
Creating this stunning vanilla cake with chocolate frosting is a joy, not a chore. Follow these simple steps for a truly rewarding baking experience.
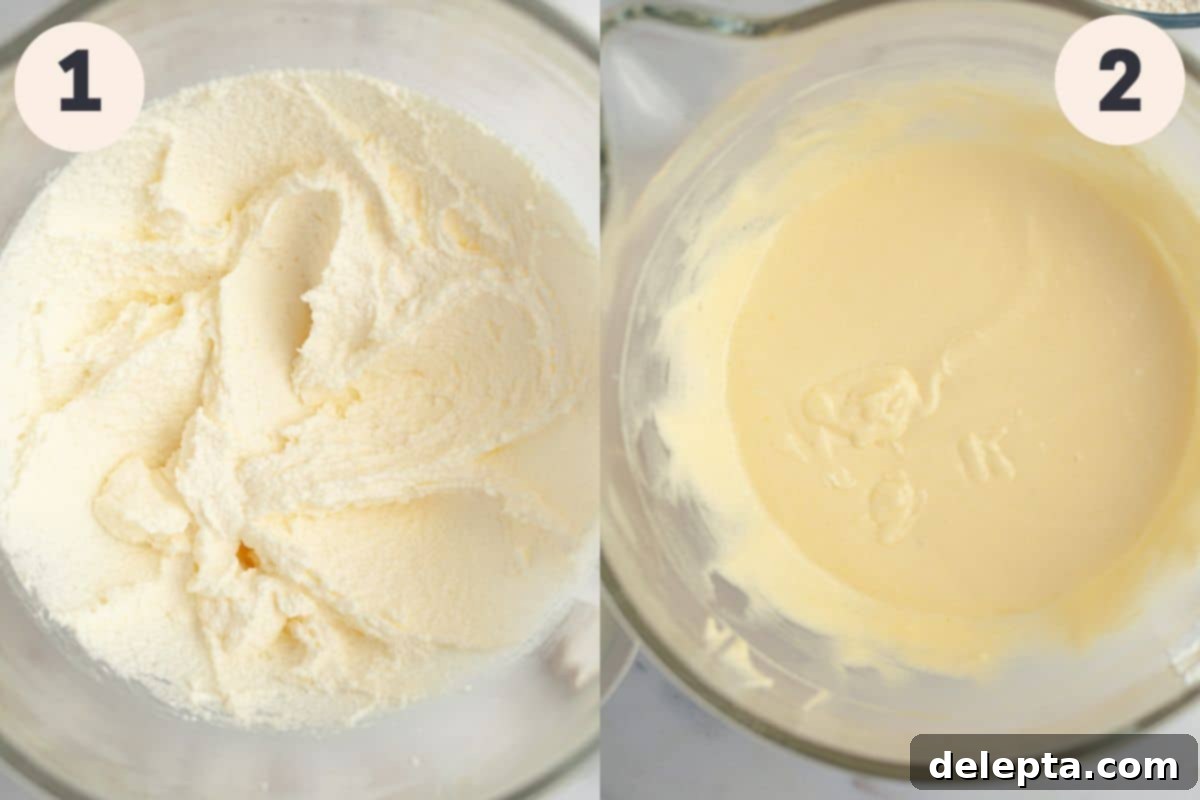
Step 1: Cream the Wet Ingredients. In a large mixing bowl, using either a handheld mixer or a stand mixer fitted with the paddle attachment, combine your softened room temperature butter with the neutral oil and granulated sugar. Beat these ingredients together on medium speed until the mixture becomes wonderfully light, fluffy, and a pale yellow. This creaming process incorporates air, which is vital for a tender cake crumb.
Step 2: Incorporate Eggs and Flavor. Add the large eggs one at a time, ensuring each egg is fully incorporated into the batter before adding the next. This prevents the batter from curdling and helps maintain a smooth emulsion. Don’t forget to scrape down the sides of the bowl after each addition to ensure everything is evenly mixed. Finally, stir in the vanilla extract and that secret dash of almond extract to enhance the cake’s flavor profile.
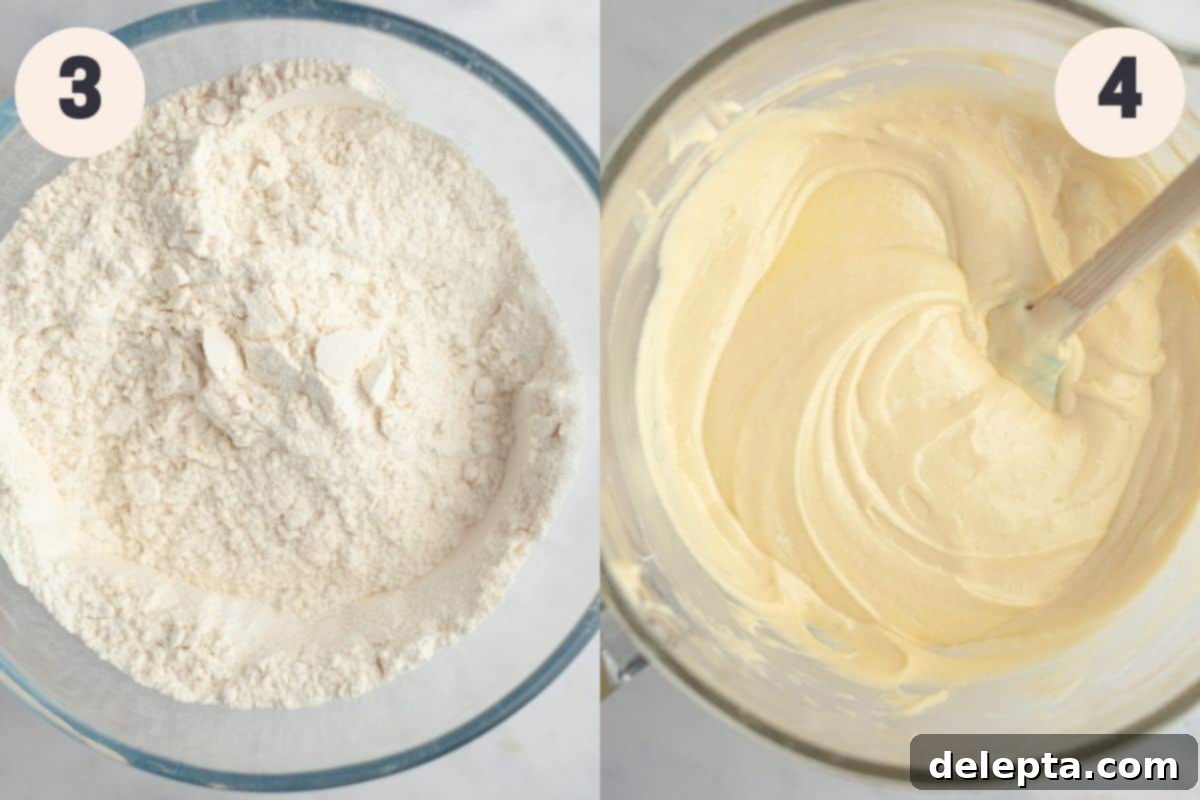
Step 3: Prepare the Dry Ingredients. In a separate, medium-sized bowl, thoroughly whisk together the all-purpose flour, baking powder, and kosher salt. Whisking ensures that these leavening agents and flavor enhancers are evenly distributed, leading to a consistent rise and flavor throughout your cake.
Step 4: Alternate Wet and Dry. Gradually add the dry ingredients to the wet mixture, alternating with the buttermilk. Begin by adding approximately one-third of the dry mixture and mixing on low speed until just combined. Then, add half of the buttermilk, mixing gently. Repeat this sequence once more, and conclude by adding the remaining dry ingredients. This alternating method helps to create a smooth, emulsified batter and prevents over-mixing of the flour, which can lead to a tough cake.
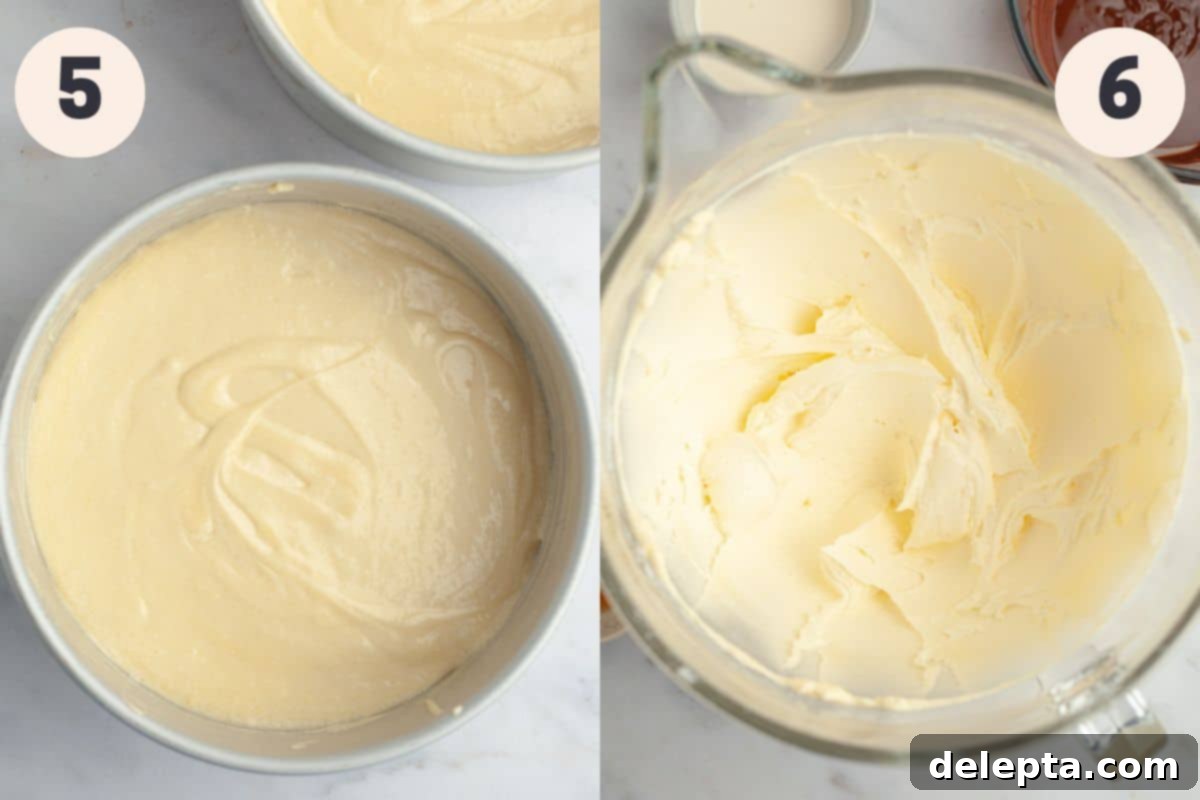
Step 5: Bake the Cake Layers. Divide the smooth, luscious cake batter evenly between two 8-inch cake pans that have been meticulously greased and lined with parchment paper. Transfer the pans to an oven preheated to 350°F (175°C) and bake for approximately 30-35 minutes, or until a wooden skewer inserted into the center comes out clean. Once baked, allow the cakes to cool in their pans for about 10-15 minutes before carefully inverting them onto a wire cooling rack to cool completely. This prevents the cakes from sinking or becoming dense.
Step 6: Prepare the Buttercream Base. While your cakes are cooling, begin preparing the decadent chocolate frosting. In a large mixing bowl, using either a hand mixer or a stand mixer fitted with the paddle attachment, start by beating the room temperature unsalted butter with the confectioners’ sugar on low speed until just combined. Gradually increase the speed to medium-high and continue beating until the mixture is light, fluffy, and significantly increased in volume—this typically takes about 3-5 minutes, creating a perfect base for our chocolate flavor.
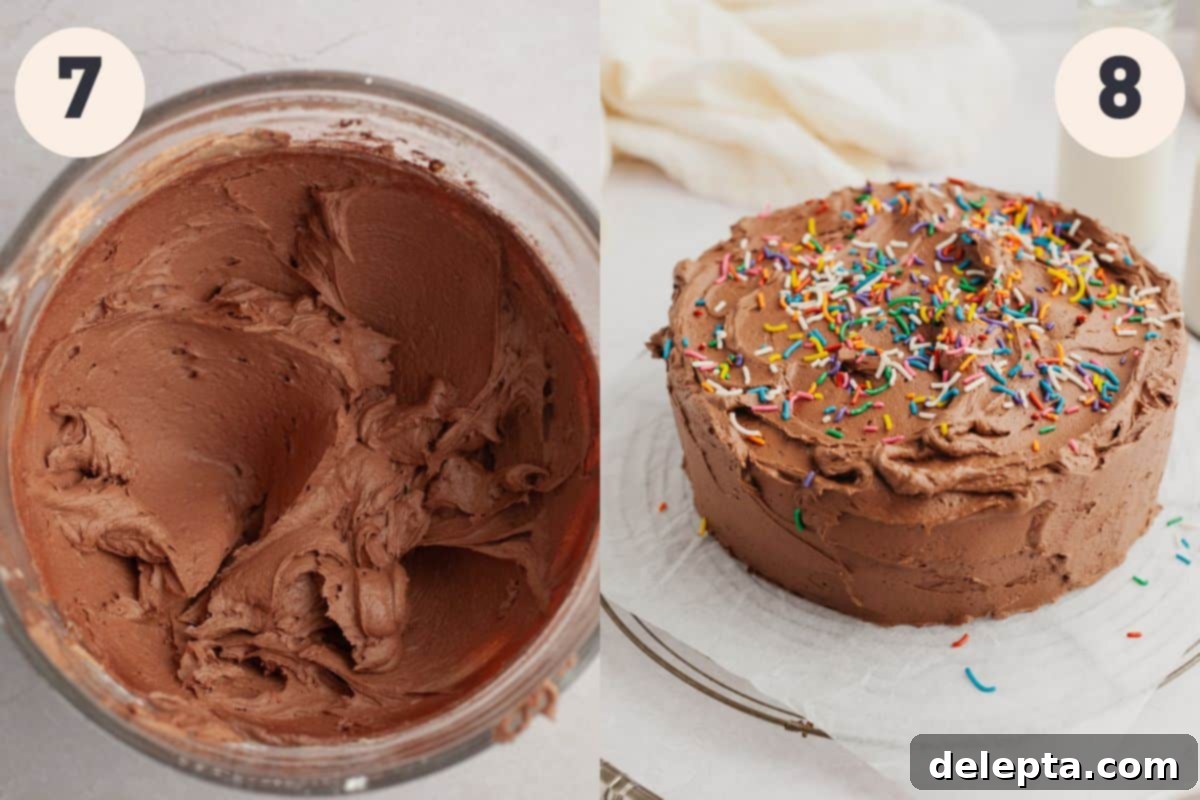
Step 7: Infuse with Chocolate and Achieve Smoothness. Stop the mixer and add the cocoa powder, the completely cooled melted chocolate, a pinch of salt to balance the sweetness, and the vanilla extract. Beat on low speed until all these rich ingredients are thoroughly combined. Then, increase the speed to medium-high and beat for another 1-2 minutes until the frosting becomes incredibly thick and luscious. Finally, reduce the mixer to its lowest speed and slowly pour in the heavy cream, a little at a time, until your chocolate frosting reaches a gorgeously smooth, creamy, and easily spreadable consistency.
Step 8: Assemble and Decorate. Once both cake layers are entirely cool, place the first layer onto your preferred cake stand or serving plate. Generously cover the top surface with a layer of your rich chocolate frosting. Carefully place the second cake layer on top. Proceed to cover the entire cake – both the top and sides – with the remaining frosting, smoothing it out for a polished finish. For a festive touch, shower your masterpiece with colorful sprinkles, transforming it into a true celebration cake!
Expert Tips & Tricks for Baking Success
- Achieve Perfect Room Temperature Ingredients: This seemingly small detail makes a world of difference! Make it a habit to pull out ingredients like butter, eggs, and buttermilk from the refrigerator at least an hour (or even two) before you plan to start baking. Room temperature ingredients emulsify more smoothly, leading to a much more consistent and wonderfully textured cake batter and frosting. Cold ingredients can cause your batter to curdle and your frosting to become lumpy.
- Embrace the Precision of a Weighing Scale: Baking is a science, and accuracy is paramount. Using a digital weighing scale for your dry ingredients, especially flour, can truly transform your results. It’s incredibly easy to accidentally add too much flour when measuring by volume (cups), which is the most common culprit for a dry, dense layer cake. A scale ensures exact measurements every time, guaranteeing a consistently moist and fluffy cake.
- Plan Ahead with Make-Ahead Layers: To alleviate baking day stress, consider preparing your cake layers up to one day in advance. Once baked and completely cooled, wrap each cake layer tightly in several layers of plastic wrap to prevent them from drying out. Store them at room temperature. This simple trick allows you to focus solely on the frosting and assembly on the day of your event.
- The Golden Rule of Frosting: Completely Cooled Cakes: Patience is a virtue, especially when it comes to frosting. Ensure your cake layers are absolutely, completely cooled to room temperature before you even think about applying the frosting. Attempting to frost a warm or even slightly warm cake will inevitably lead to a melty, sliding disaster as the heat from the cake will cause your beautiful buttercream to liquefy and slide right off.
- Flexibility with Cocoa Powder: If you find yourself without cocoa powder when making the frosting, don’t fret! You can still create a delightful chocolate buttercream using only melted chocolate. I’ve personally tested this variation, and it yields a frosting that is just as delicious, rich, and intensely chocolatey, perhaps with a slightly different texture, but equally enjoyable.
Frequently Asked Questions
A dry cake is a common baking frustration, but it’s usually due to a few preventable reasons. The most frequent culprit is adding too much flour; flour acts like a sponge, and excess will absorb all the moisture. This is precisely why I strongly advocate for using a weighing scale for precise measurements. Another common issue is over-mixing the cake batter, which develops too much gluten, leading to a tough, dry texture. Finally, overbaking the cake, even by a few minutes, can strip it of its precious moisture. Keep an eye on the baking time and rely on the toothpick test!
Absolutely, this cake freezes beautifully! You have a couple of options: you can either freeze the unfrosted cake layers and the frosting separately, or freeze the entire cake once it has been fully assembled and frosted. To freeze, ensure it is wrapped very well in multiple layers of plastic wrap and then a layer of aluminum foil to prevent freezer burn. When you’re ready to enjoy it, simply let it thaw completely in the refrigerator before bringing it to room temperature for the best flavor and texture.
Yes, this versatile vanilla cake recipe can easily be adapted for cupcakes! Simply divide the batter among lined cupcake tins, filling each about two-thirds full. The baking time will be significantly shorter, typically ranging from 18-22 minutes at 350°F (175°C). Keep an eye on them, and test for doneness with a toothpick. This recipe should yield about 24-30 standard-sized cupcakes, perfect for individual servings.
For the best results, opt for a neutral-flavored oil that won’t impart any distinct taste to your vanilla cake. Excellent choices include sunflower oil, vegetable oil, canola oil, or even grapeseed oil. These oils contribute pure moisture and tenderness to the cake without competing with the delicate vanilla and buttery flavors. Avoid strong oils like olive oil, as their robust flavor would be noticeable in the finished product.
Storage Instructions for Freshness
To keep your delicious vanilla cake with chocolate frosting as fresh as possible, store any leftovers in an airtight container. This will protect it from drying out and absorbing other fridge odors. Keep the container in the refrigerator for up to 4 to 5 days. For the absolute best flavor and tender texture, I highly recommend allowing the cake to come back to room temperature for about 30-60 minutes before serving. This allows the frosting to soften slightly and the cake layers to regain their moistness, enhancing your eating experience.
Discover Your Next Favorite Layer Cake!
If you’ve enjoyed baking and tasting this delightful vanilla cake, you’ll love exploring some of our other fantastic layer cake recipes. Each one is designed to bring joy and deliciousness to your kitchen!
- Vanilla Cake with Strawberry Filling
- Chocolate Cake with Strawberry Filling
- Lemon Curd Cake
- Cardamom Cake with Browned Butter Cream Cheese Frosting
If you’ve made this recipe, make sure to leave a ⭐️ rating and review below! Your feedback is invaluable, and I absolutely love seeing your culinary creations. Don’t forget to tag me on Instagram @alpineella so I can admire your work! You can also follow along for more delicious inspiration and baking adventures on Pinterest,Facebook, and TikTok. Happy baking!
Recipe
Vanilla Cake with Chocolate Frosting
Ella Gilbert
Pin Recipe
Save RecipeSaved!
Equipment
-
2 8-inch cake pans
Ingredients
Vanilla Cake
- ⅓ cup unsalted butter room temperature
- 1 ⅔ cup white sugar
- ¼ cup neutral oil
- 4 large eggs room temperature
- 3 teaspoons vanilla extract
- ⅛ teaspoon almond extract
- 2 teaspoons baking powder
- 1 ½ teaspoons kosher salt
- 2 ¼ cups all purpose flour
- 1 cup buttermilk room temperature
Chocolate Frosting
- 1 cup unsalted butter room temperature
- 3 cups confectioners’ sugar
- ¼ teaspoon kosher salt
- 1 teaspoon vanilla extract
- 4 oz chocolate melted and cooled
- ½ cup dutch process cocoa powder
- ¼ cup heavy cream
Instructions
Make Cake
-
Preheat the oven to 350℉/175℃. Grease and line two 8-inch baking pans with parchment paper and set aside.
-
In a stand mixer fitted with the paddle attachment, cream the room temperature butter with the oil and sugar until creamy on medium speed. This will take about 2-3 minutes, and it’ll look a bit grainy and fluffy.⅓ cup unsalted butter, ¼ cup neutral oil, 1 ⅔ cup white sugar
-
Add the eggs one at a time, beating well and scraping the bowl after each addition.4 large eggs
-
Mix in the almond and vanilla extract.3 teaspoons vanilla extract, ⅛ teaspoon almond extract
-
In a small bowl, whisk together the flour with the baking powder and salt.2 teaspoons baking powder, 2 ¼ cups all purpose flour, 1 ½ teaspoons kosher salt
-
Add ⅓ of the flour mixture, then mix on low. Add ½ the buttermilk. Repeat once more, then end with the flour mixture.1 cup buttermilk
-
Pour the smooth cake batter into the prepared pans.
-
Bake for 30-35 minutes, or until a toothpick inserted comes out clean. Let the cakes cool in the pans for 10-15 minutes before removing and letting them cool completely on wire cooling racks.
Chocolate Frosting
-
In a stand mixer fitted with the paddle attachment, or in a large bowl with a handheld mixer, combine the butter with the confectioners’ sugar on low speed. Once fully combined, increase the speed to medium-high and beat until very thick.1 cup unsalted butter, 3 cups confectioners’ sugar
-
Stop the mixer and add the cocoa powder, melted chocolate, salt and vanilla extract. Beat on low speed until combined, then beat on medium-high speed again for 1-2 minutes.¼ teaspoon kosher salt, 4 oz chocolate, ½ cup dutch process cocoa powder, 1 teaspoon vanilla extract
-
Turn the mixer to your lowest speed and slowly pour in the heavy cream until it is the desired consistency.¼ cup heavy cream
Assemble
-
Place one of the cooled cake layers down on your cake stand or serving plate. Cover the top with frosting, then place the second layer on top. Spread the rest of the frosting on the top and sides. Decorate with sprinkles!
Notes
Room Temperature: I make sure that all of my ingredients are at room temperature before I start the recipe, so pull out all of the ingredients before you start baking.
Chocolate: I used semisweet chocolate for the frosting, but feel free to use whatever type of chocolate you prefer! I recommend using a bar and not chips, as chips have emulsifiers in them and it might be harder to get smooth once melted.
Cocoa Powder: you can use unsweetened natural cocoa powder or dutch processed for the frosting.
Butter: I use European style butter in my recipes. This will make your frosting much creamier and richer.
Salt: If you don’t have kosher salt, halve the amount of salt called for in the recipe. 1 teaspoon kosher salt = ½ teaspoon fine salt. I am using Diamond Crystal kosher salt and not Morton Salt which is much too salty!
Making Ahead: You can make the cake layers ahead of time. Bake them and then once completely cooled, wrap in plastic wrap tightly. Store in the fridge for up to 2 days or in the freezer for up to 2 months. If frozen, allow to defrost and come to room temperature before frosting the cake.
Nutrition
