Master the Art of Bakery-Style Peanut Butter Banana Oat Muffins: Extra Fluffy, Healthy & Easy Recipe!
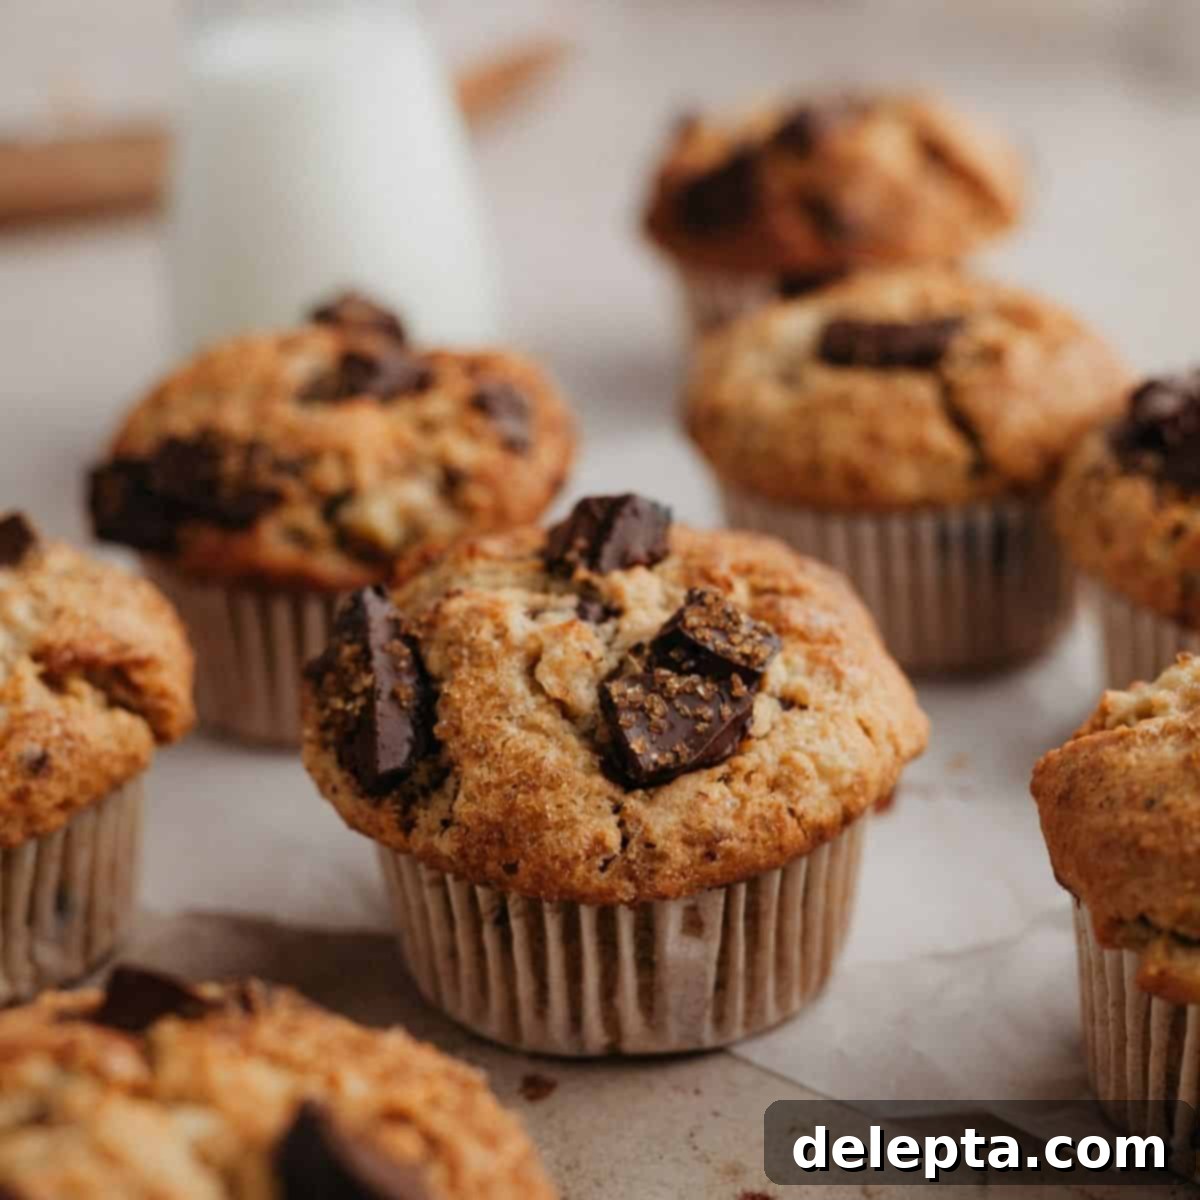
Imagine waking up to the aroma of freshly baked muffins, so light and fluffy they practically melt in your mouth. Now, picture those muffins being made with wholesome ingredients like hearty oats, naturally sweet ripe bananas, and creamy peanut butter, all studded with decadent chocolate chunks. This isn’t just a dream – it’s a reality with our incredible recipe for **bakery-style peanut butter banana oat muffins**!
These aren’t your average, flat muffins. We’re talking about those impressively tall, domed tops you usually only find at your favorite bakery, but made right in your own kitchen. And the best part? They’re surprisingly easy to make, requiring minimal fuss and just about 10 minutes of active preparation time. Chances are, you already have most, if not all, of the ingredients lurking in your pantry right now. Get ready to transform simple staples into a truly special breakfast or snack that’s both nourishing and utterly delicious.
Why You’ll Fall in Love with These Healthy Peanut Butter Muffins!
These extraordinary peanut butter banana oat muffins stand out from the crowd for several compelling reasons. We’ve perfected the balance of flavor, texture, and ease to bring you a muffin recipe that’s sure to become a staple in your home.
- These muffins are incredibly moist and tender thanks to the generous addition of ripe, mashed bananas. The natural sugars and moisture from the bananas not only enhance the flavor but also contribute to a wonderfully soft crumb that stays fresh longer. This key ingredient makes these muffins a fantastic way to use up those overripe bananas on your counter, transforming them into a delightful treat. The high moisture content from the bananas means you get a truly delightful, melt-in-your-mouth texture in every bite, making these a standout among **moist muffins**.
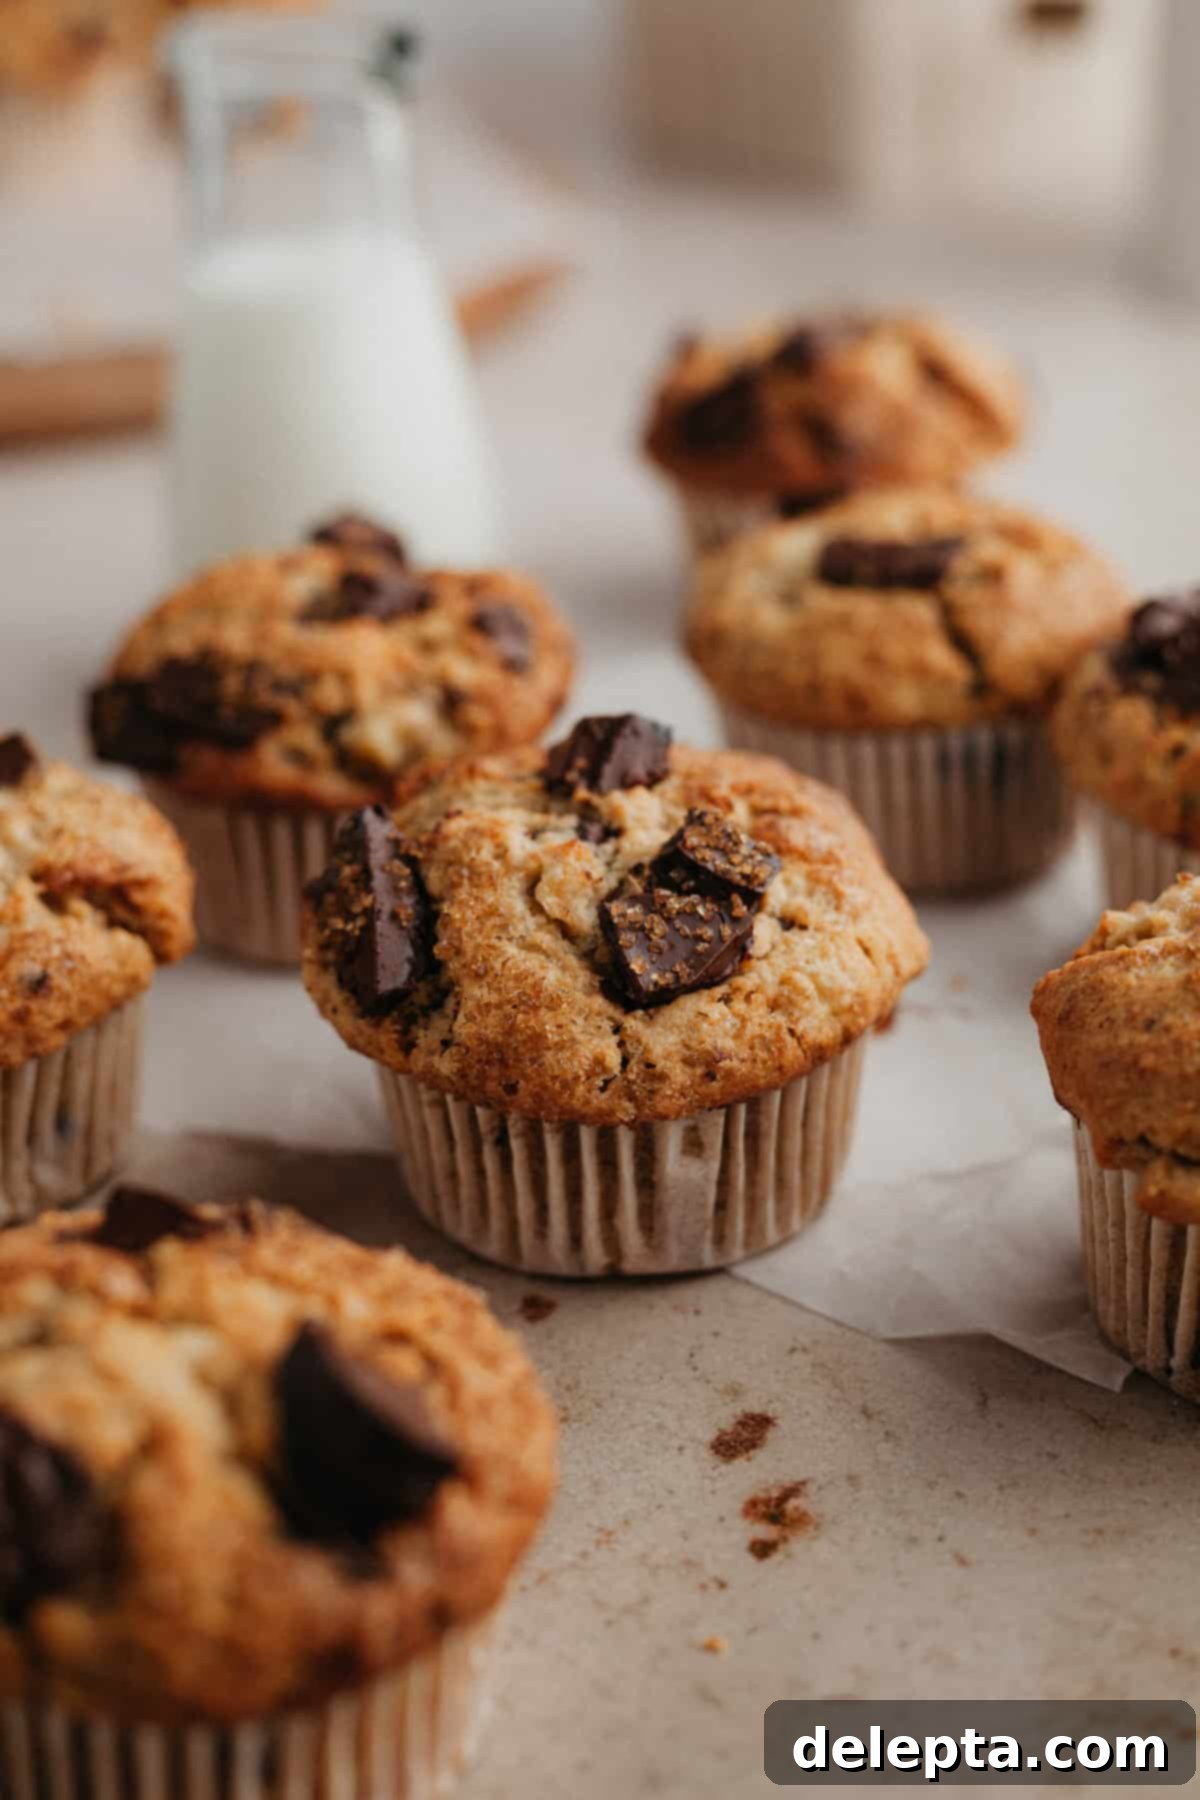
- Achieving extra tall, bakery-style muffin tops is a signature of this recipe, and it’s simpler than you think! The secret lies in a specific baking technique: we start by baking them for the initial 5 minutes at a very high temperature (425°F/220°C). This initial blast of intense heat causes the muffin batter to rise rapidly and vigorously, creating that coveted domed top and an impressive height. Then, without opening the oven door, the temperature is lowered for the remainder of the baking time, allowing the muffins to cook through evenly and gently without over-browning or drying out. This two-stage baking method guarantees impressive, professional-looking muffins with beautiful **tall muffin tops** every single time, just like you’d pick up from your local bakery.
- They’re generously stuffed with rich chocolate chunks, which melt beautifully to create luscious pockets of gooey deliciousness throughout each muffin. The combination of naturally sweet bananas, savory and creamy peanut butter, and bittersweet dark chocolate is truly irresistible and perfectly balanced. While chocolate chunks provide a more pronounced, artisanal feel and irregular pockets of melted chocolate, you can absolutely opt for classic chocolate chips if that’s what you have on hand or prefer. Both options yield incredibly tasty results, satisfying any chocolate craving and making these the ultimate **chocolate chunk muffins**.
- Beyond their irresistible texture and taste, these are also remarkably **healthy muffins**! Packed with fiber-rich rolled oats and nutrient-dense bananas, they offer a good source of energy and natural sweetness, making them a more wholesome and satisfying choice for breakfast or a hearty snack compared to many processed, store-bought alternatives. They offer a guilt-free indulgence that supports a balanced lifestyle.
Essential Ingredients for Your Fluffy Banana Oat Muffins
Crafting these delicious and healthy peanut butter banana oat muffins requires a few simple, everyday ingredients. The quality and type of each component play a significant role in the final outcome, so pay attention to the details for the best possible bakery-style results. Remember, the right ingredients are the foundation of any great **homemade muffins**.
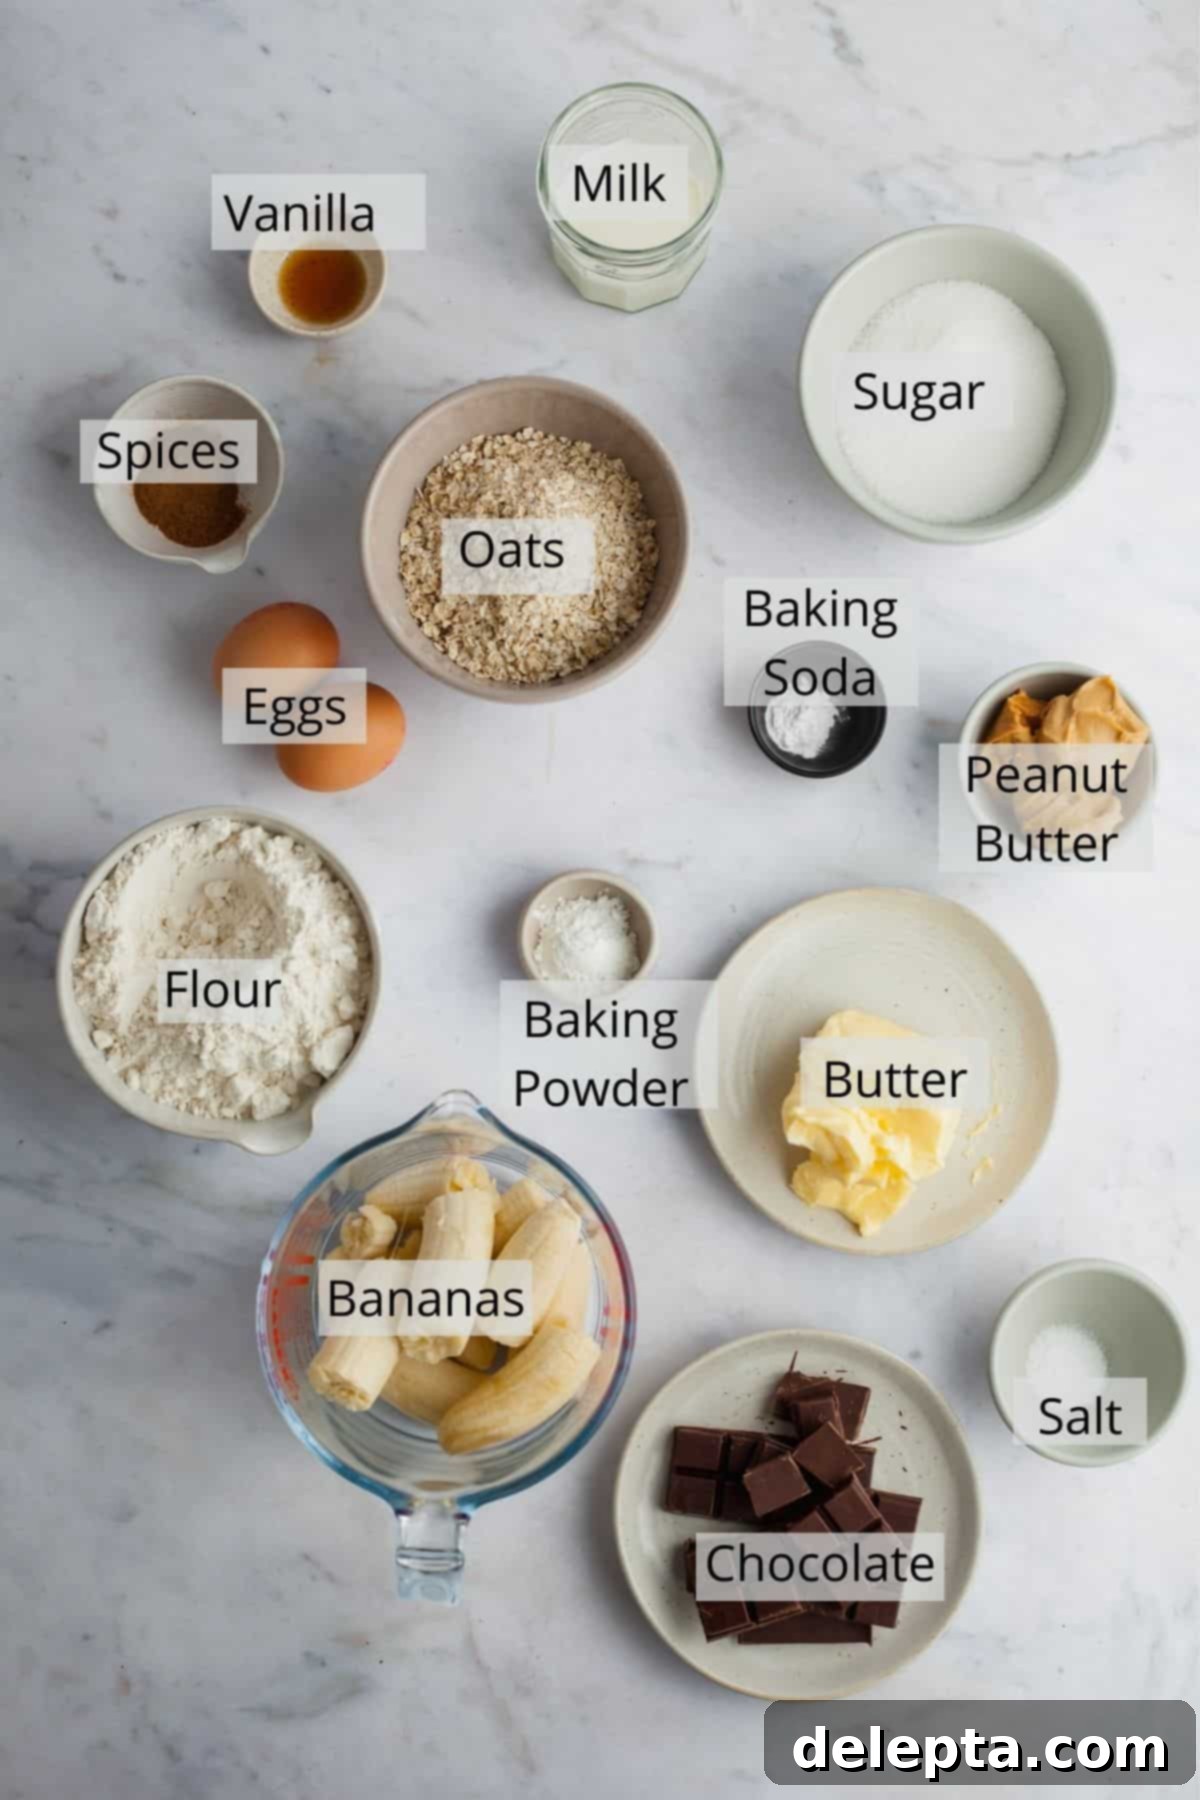
Find the comprehensive printable recipe card with the full list of ingredients and detailed instructions conveniently located at the bottom of this post.
- Rolled Oats: For this recipe, it’s crucial to use rolled oats (also known as old-fashioned oats) and steer clear of instant or quick-cooking oats. Rolled oats have a coarser texture that, once pulsed, transforms into a light and airy oat flour. This homemade oat flour not only adds a wonderful depth of nutty flavor but also contributes to a tender, slightly chewy crumb that you won’t get from instant varieties. Simply pulse them in a food processor or blender until they achieve a fine flour-like consistency. This extra step ensures a truly unique texture for your **peanut butter banana oat muffins**.
- Creamy Peanut Butter: The peanut butter is a star ingredient, contributing a rich, nutty flavor and a significant amount of moisture that enhances the overall texture. I highly recommend using regular, creamy peanut butter without any added oils or excessive sugar. Natural peanut butter (where the oil separates and requires stirring) can sometimes alter the consistency of the batter and may lead to a drier muffin, so a standard, stir-free creamy variety works best for consistent and **fluffy muffins**.
- Very Ripe Bananas: The riper your bananas, the better your muffins will be! Look for bananas with plenty of brown spots and even some black patches on their peels. These bananas are significantly sweeter, more fragrant, and softer, making them easier to mash and ensuring maximum moisture and concentrated banana flavor in your muffins. They are absolutely essential for achieving that characteristic moist and tender crumb in these **homemade muffins** and are a key component of their natural sweetness.
- All-Purpose Flour: This provides the primary structure and body for your muffins. Ensure you’re using fresh, unbleached all-purpose flour and measure it accurately, preferably by weight, to avoid a dense or dry outcome.
- Granulated Sugar: While ripe bananas add natural sweetness, a moderate amount of granulated sugar is included to enhance the overall sweetness and contribute to the muffins’ golden-brown crust. The amount is carefully balanced by the natural sugars from the bananas.
- Baking Powder & Baking Soda: These are the dynamic duo of leavening agents in this recipe. They work in conjunction to create carbon dioxide gas when reacting with the wet ingredients and heat, giving the muffins their incredible lift and airy texture, ultimately contributing to those desirable **tall muffin tops**.
- Kosher Salt: A small but mighty ingredient, a pinch of kosher salt plays a crucial role in enhancing all the other flavors. It balances the sweetness of the bananas and sugar and deepens the richness of the peanut butter and chocolate, preventing the muffins from tasting bland.
- Unsalted Butter (Room Temperature): Using unsalted butter allows you to precisely control the overall salt content in your baking. Having the butter at room temperature (softened but not melted) is absolutely vital for proper creaming with the sugar and for achieving a smooth, properly emulsified batter when combined with other wet ingredients. This leads to a finer, more consistent crumb structure and a more tender muffin.
- Whole Milk: Whole milk adds essential moisture and richness to the muffin batter, contributing to a softer texture and a more luxurious mouthfeel. While 2% milk can work in a pinch, whole milk is recommended for the best flavor and richness.
- Eggs (Room Temperature): Eggs serve multiple functions: they bind the ingredients together, add richness, provide structure, and contribute to the muffin’s moisture content. Using room temperature eggs helps them incorporate more evenly into the batter, preventing curdling and promoting a uniform texture.
- Vanilla Extract: A splash of high-quality vanilla extract always elevates the flavor profile of baked goods. It adds warmth, depth, and a subtle sweetness that complements the banana and peanut butter beautifully.
- Ground Cinnamon & Nutmeg: These warm spices are the perfect complement to the banana and peanut butter, adding a cozy, inviting aroma and a wonderfully complex taste to your muffins. Adjust the amounts to your personal preference, but they truly enhance the overall sensory experience.
- Dark Chocolate Chunks: While mini or regular chocolate chips will certainly work, chopped dark chocolate chunks are highly recommended for these muffins. Their irregular sizes create luxurious, melty pockets of chocolate throughout the muffin, enhancing the artisanal, bakery-style feel. The slight bitterness of dark chocolate perfectly balances the sweetness of the other ingredients.
- Turbinado/Demerara Sugar (for sprinkling): An optional but highly recommended touch for that professional bakery finish! Sprinkling coarse turbinado or demerara sugar on top of each muffin before baking adds a delightful textural crunch and a beautiful sparkling appearance, making your muffins look and taste even more special.
Step-by-Step Guide to Baking Perfect Peanut Butter Banana Oat Muffins
Follow these detailed steps to create truly exceptional, fluffy peanut butter banana oat muffins that taste like they came straight from a gourmet bakery. Precision in preparation will lead to the best results for this **easy muffin recipe**!
-

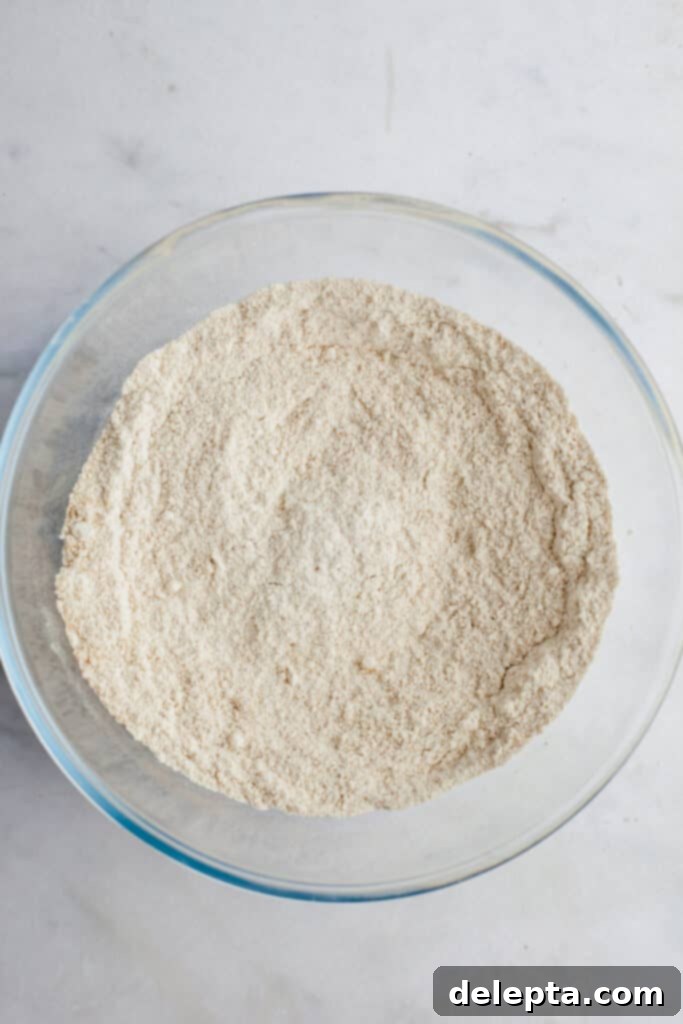
Step One: Combine Dry Ingredients -

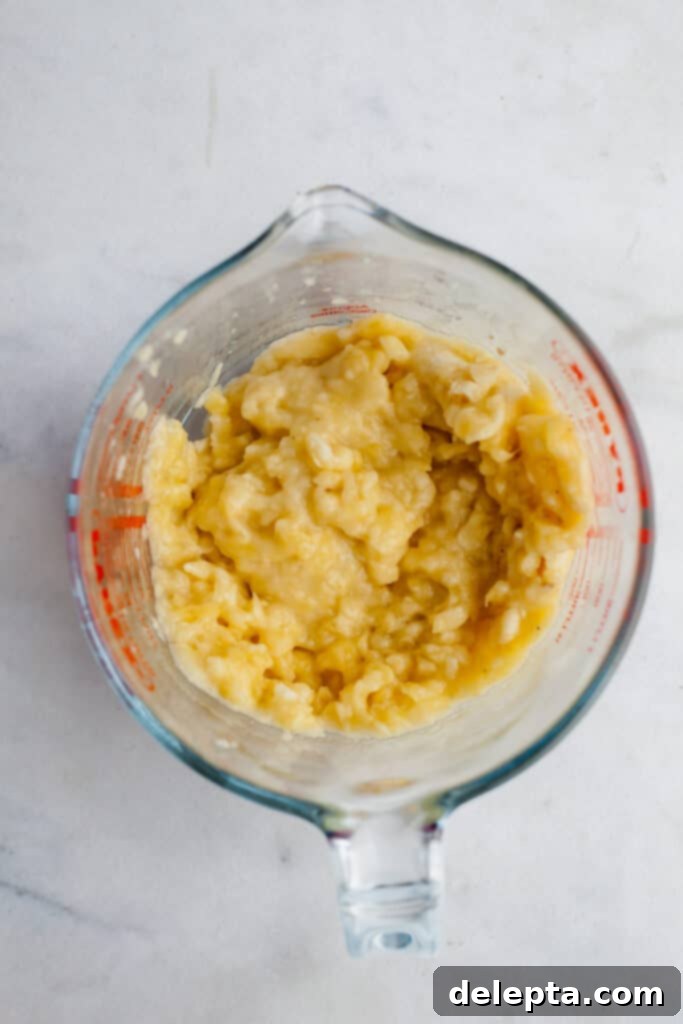
Step Two: Mash Bananas
Step One: Prepare Your Dry Mix. Begin by preheating your oven to the initial high temperature of 425°F (220°C). Then, in a large mixing bowl, thoroughly whisk together your freshly made oat flour (from blended rolled oats), all-purpose flour, baking powder, baking soda, kosher salt, ground cinnamon, and ground nutmeg. It’s essential to ensure these ingredients are very well combined to evenly distribute the leavening agents and spices throughout the batter, which is key for uniform rising and flavor. Set this bowl aside for later incorporation.
Step Two: Mash the Bananas. Take your very ripe bananas and place them in a separate, sturdy bowl. Using a fork or a potato masher, mash them until they are mostly smooth with only a few small, delightful lumps remaining. The consistency should resemble a thick puree. This step is crucial for both the moisture and the intense banana flavor that will permeate your **fluffy muffins**.
-

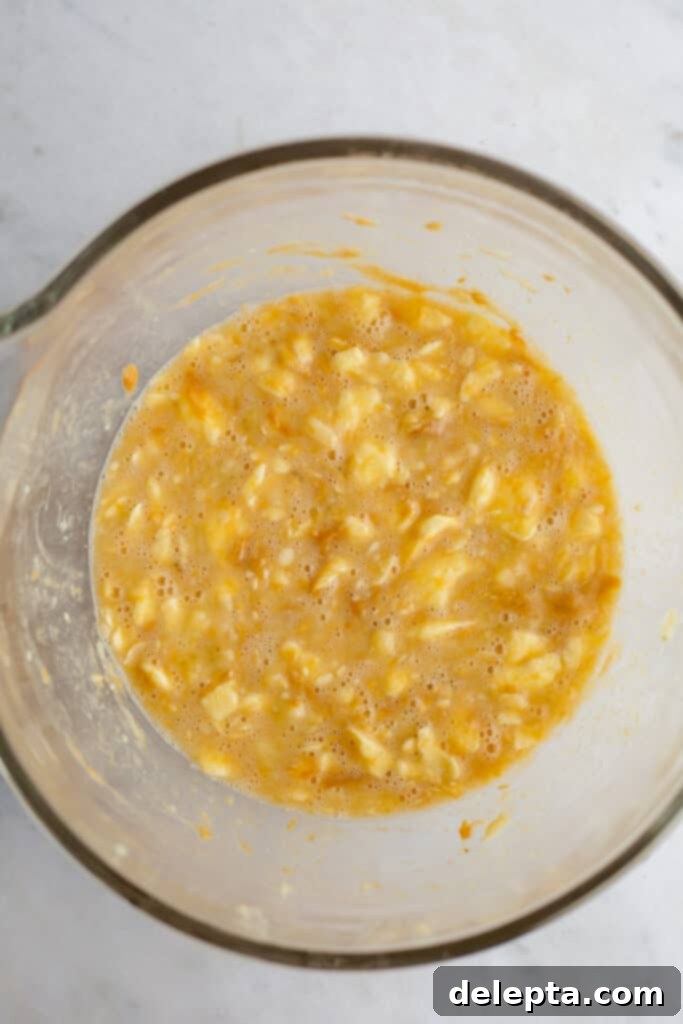
Step Three: Combine Wet Ingredients -

Step Four: Mix Dry into Wet
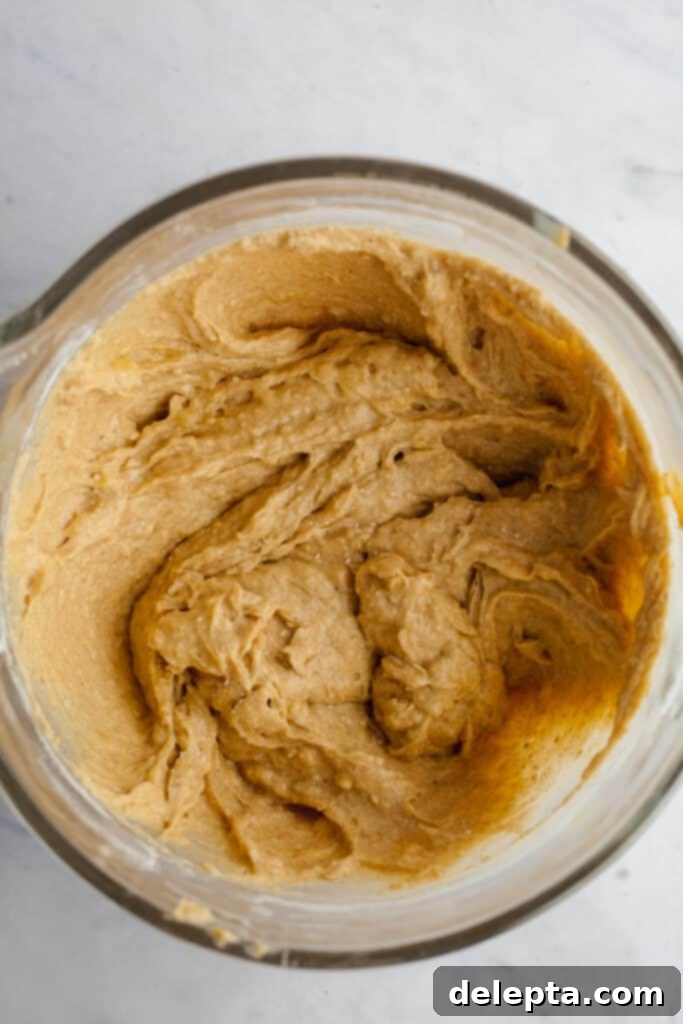
Step Three: Cream the Wet Ingredients. In the bowl of your stand mixer, fitted with the paddle attachment, add the mashed bananas, granulated sugar, softened unsalted butter (at room temperature), room temperature eggs, vanilla extract, creamy peanut butter, and whole milk. Beat these wet ingredients together on medium speed for several minutes until they are thoroughly combined, light, and the mixture appears smooth and creamy. Ensure there are no visible lumps of butter or undissolved sugar.
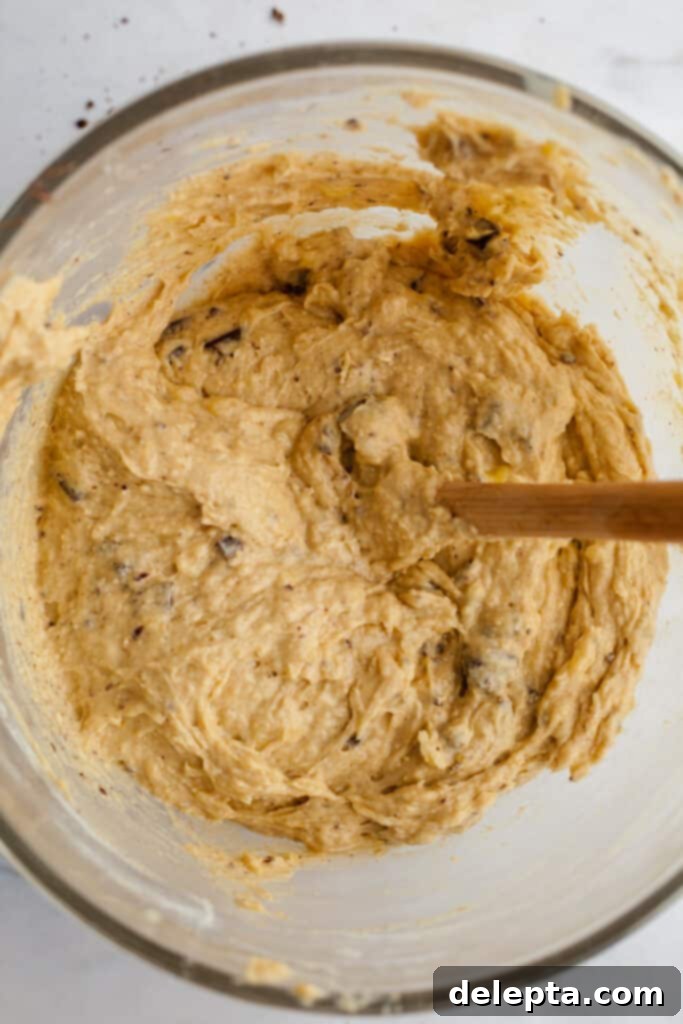
Step Four: Incorporate Dry Ingredients. With the mixer on low speed, gradually pour your previously prepared dry ingredients into the wet mixture. Mix only until just combined. It is absolutely crucial not to overmix the batter at this stage; overmixing can develop the gluten in the flour, which will lead to tough and chewy muffins instead of the desired tender and fluffy texture. A few streaks of flour are perfectly acceptable at this stage – a slightly lumpy batter is actually ideal for **fluffy muffins**.
-

Step Five: Fold in Chocolate -

Step Six: Fill & Bake
Step Five: Add the Chocolate Chunks. Gently fold in the majority of your dark chocolate chunks into the batter using a rubber spatula. Mix just enough to distribute them evenly throughout the batter. Remember to reserve a small handful of chocolate chunks (about 1/4 of the total) for topping the muffins later. This ensures chocolate in every bite while also allowing for an appealing visual finish, making them truly irresistible **chocolate chunk muffins**.
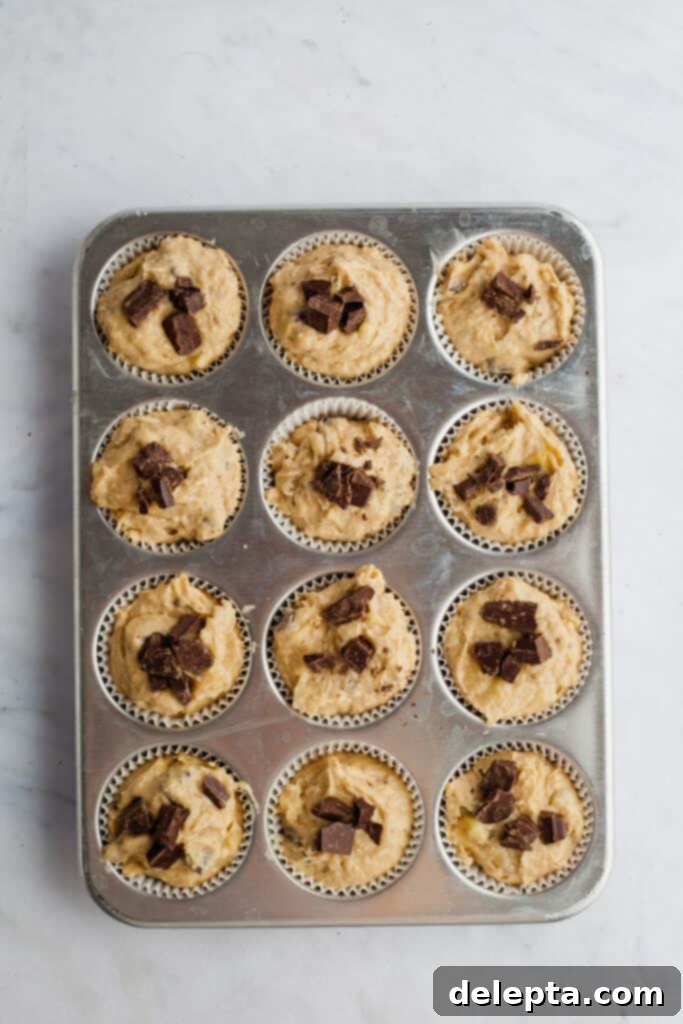
Step Six: Fill and Bake for Bakery-Style Tops. Line a 12-cup muffin tray with paper muffin cases. Using a large ice cream scoop or two spoons, fill each muffin case generously to the very top – don’t be shy! This abundant filling is another key trick for achieving those desirable **tall muffin tops** you find at bakeries. Sprinkle the reserved chocolate chunks and a generous pinch of turbinado or demerara sugar over the top of each muffin for an added crunch, sparkle, and professional presentation. Bake the muffins for the first 5 minutes at the preheated high temperature of 425°F (220°C). Then, crucially, and without opening the oven door, immediately reduce the oven temperature to 350°F (175°C) and continue baking for an additional 16-18 minutes. The muffins are done when a wooden skewer or toothpick inserted into the center of a muffin comes out clean or with only a few moist crumbs attached. This recipe generously yields approximately 14 muffins, so be prepared to bake in two separate batches if you only have one standard muffin pan. Allow them to cool slightly in the pan for about 5 minutes before carefully transferring them to a wire rack to cool completely. This cooling process helps them set properly and prevents sogginess.
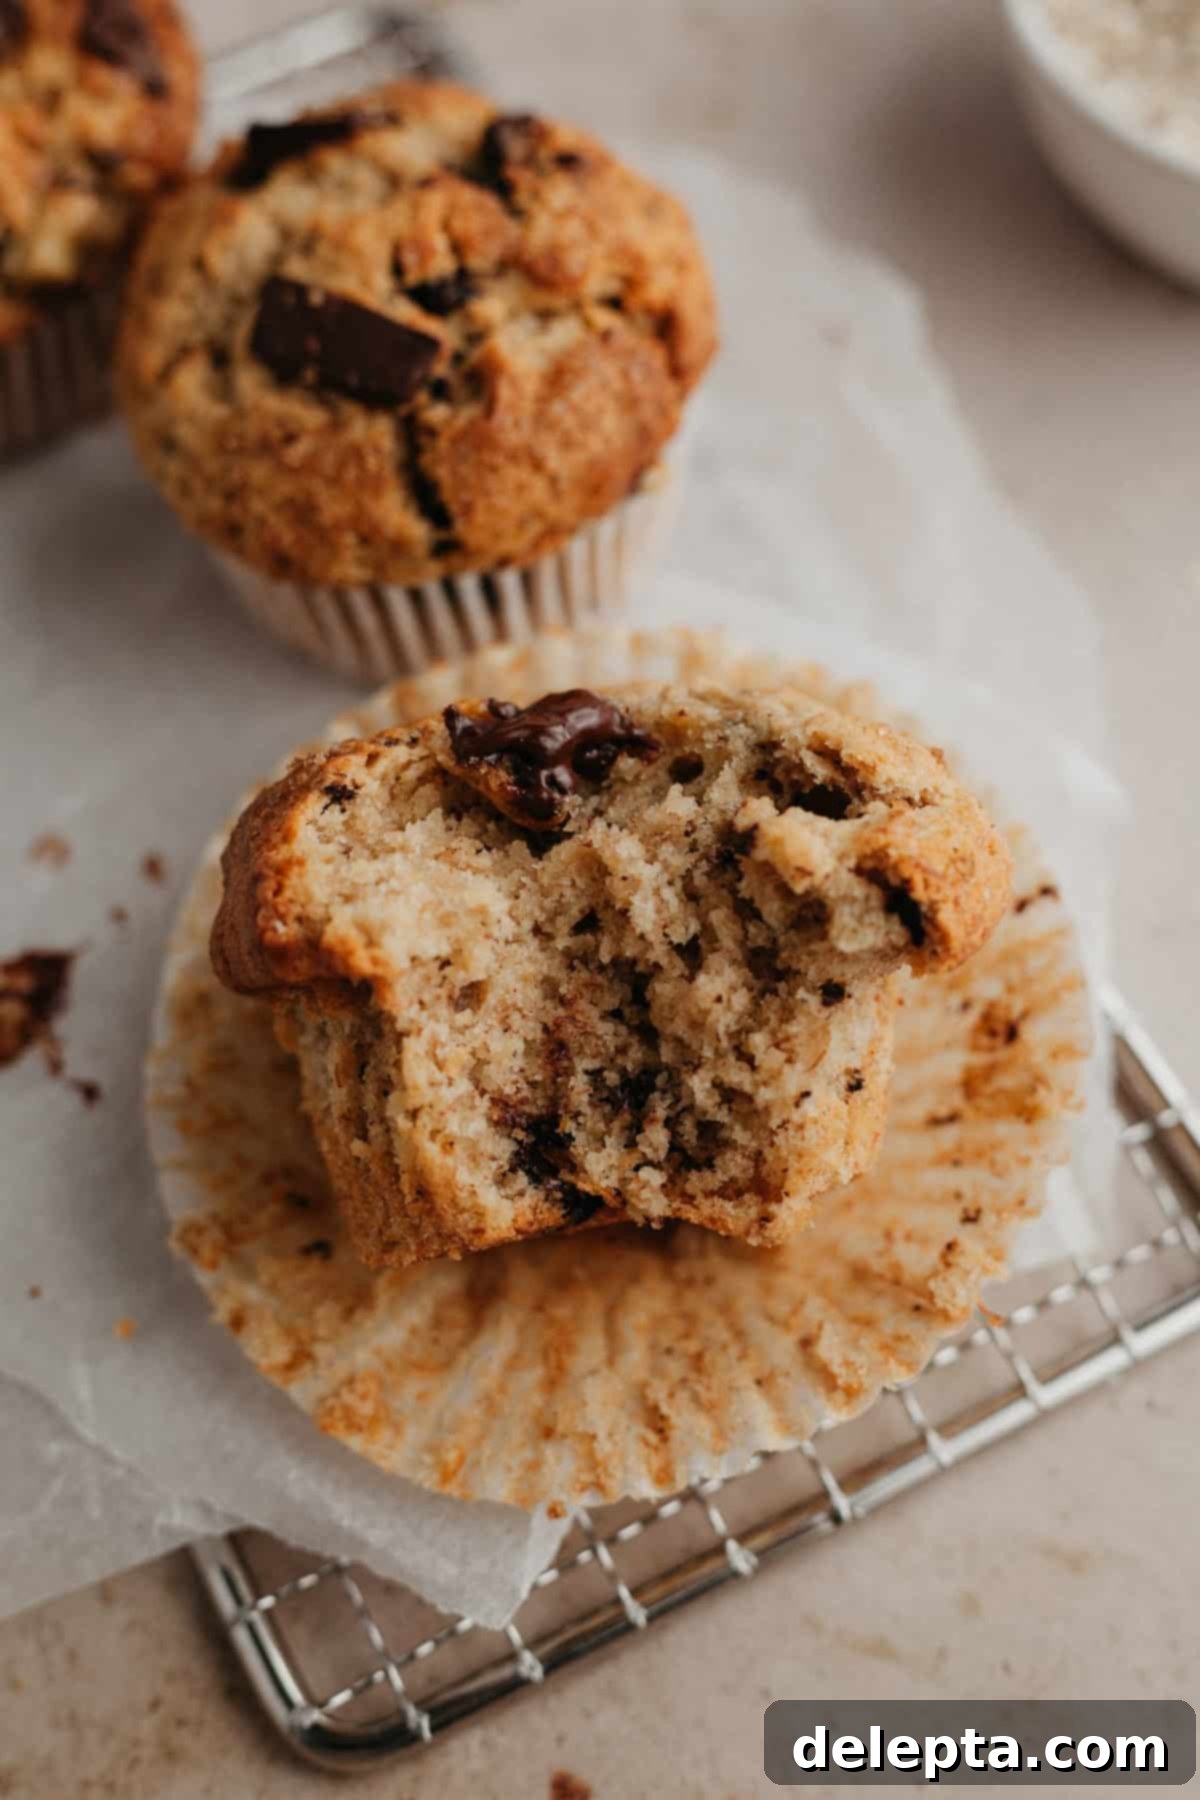
Expert Tips for Achieving the Best Peanut Butter Banana Oat Muffins
To ensure your **homemade muffins** turn out perfectly every single time – with that sought-after bakery texture and flavor – keep these valuable baking tips in mind. These seemingly small details can make a significant difference in the taste, texture, and appearance of your finished product, transforming a good muffin into an exceptional one.
- I can’t stress this enough: for optimal baking results, make sure that all of your ingredients (especially butter, eggs, and milk) are at room temperature before you begin mixing the batter. Room temperature ingredients emulsify much better, meaning they combine more smoothly and evenly. This leads to a smoother, more uniform batter, which in turn results in a finer crumb structure and a noticeably more tender muffin. Plan ahead by pulling out your refrigerated ingredients about 1 to 2 hours before you intend to start baking, or use quick warming methods if you’re short on time.
- For the utmost accuracy in baking, which is particularly important for consistent success with delicate baked goods, I highly recommend using a reliable kitchen weighing scale and measuring out your ingredients using metric measurements (grams). While cup measurements are provided in many recipes as a convenience, they can be highly inconsistent due to variations in how ingredients are packed (e.g., flour can be compacted differently each time). Weighing ensures precise ratios, which is crucial for the consistent success of delicate baked goods like these **fluffy muffins**. It truly makes a huge difference in achieving professional-level results.
- To achieve those impressive, super tall muffin tops – the hallmark of a true **bakery-style muffin** – it is absolutely vital to not open the oven door when you reduce the temperature from 425°F (220°C) to 350°F (175°C). Opening the door, even briefly, can cause a sudden and significant drop in the internal oven temperature. This sudden change can shock the rising muffins, making them deflate and lose their beautiful, lofty domed shape. Trust the process and let the oven do its magic without interruption!
- Don’t Overmix: This is a golden rule for muffins. After combining the wet and dry ingredients, mix only until they are just combined. A slightly lumpy batter is desirable. Overmixing develops gluten in the flour excessively, resulting in tough, rubbery, and chewy muffins instead of the desired tender, airy, and fluffy texture.
- Fill ‘Em Up: For truly impressive, bakery-style muffins, don’t be shy with the batter! Fill your muffin liners nearly to the top. This generous filling volume significantly contributes to the characteristic tall domes and overflowing tops that make these muffins so appealing.
- Cooling is Key: While the warm aroma makes it tempting to dig in immediately, allowing the muffins to cool completely (or at least mostly) on a wire rack is important. This step allows the internal structure of the muffin to set properly and prevents them from becoming soggy due from trapped steam. Patient cooling ensures optimal texture and flavor.
Frequently Asked Questions About These Delicious Muffins
Here are some common questions about making and storing these **peanut butter banana oat muffins**, along with expert answers to help you along the way. We want to ensure you have all the information you need to bake these delightful treats with confidence and ease.
For a clean, efficient, and evenly portioned transfer of your delicious muffin batter into the muffin tins, I find that a large ice cream scooper works absolutely wonders. Its uniform size helps you portion the batter consistently into each cup, leading to muffins that bake up evenly and are all similarly sized. Using a scooper also significantly minimizes drips and mess, making the baking process much smoother and ensuring you get those perfectly formed **bakery-style muffins** with minimal cleanup.
Absolutely! These **homemade muffins** freeze beautifully, making them an excellent candidate for meal prepping a quick and convenient breakfast or a satisfying snack throughout the week. Once they are completely cool to the touch after baking, place them in an airtight freezer bag or a freezer-safe container. To prevent them from sticking together, you can freeze them individually on a baking sheet first, then transfer them to a bag. They can be stored in the freezer for up to 3 months without any noticeable loss in quality or flavor. To enjoy, simply let them thaw completely in the refrigerator overnight, or for a quicker option, gently defrost them in the microwave until warm and wonderfully soft.
Oat flour is becoming increasingly popular in baking and can be found at most well-stocked grocery stores or health food stores. Brands like Bob’s Red Mill are widely available and reliable choices. However, if you don’t have immediate access to oat flour, or if you simply prefer a fresher option, you can easily make your own at home! Just take regular rolled oats (ensure they are *not* instant or quick-cooking oats) and grind them in a food processor or a high-speed blender until they become a fine, powdery flour. It’s a very cost-effective and convenient alternative. If you’re completely out of oats, you can substitute the oat flour portion with an equal amount of regular all-purpose flour, though this might slightly alter the texture and nutritional profile of your **healthy muffins**.
Yes, you certainly can! If you’re looking for a dairy-free alternative to butter, an equal amount of melted coconut oil can be substituted effectively. When making this switch, keep in mind that coconut oil might impart a subtle coconut flavor to your muffins, which can actually be quite delightful and complement the banana and peanut butter combination beautifully. Just ensure the coconut oil is fully melted but has cooled down slightly (not hot) before incorporating it into the batter to avoid cooking the eggs prematurely and altering the batter’s consistency.
Using very ripe bananas is incredibly important and truly non-negotiable for the success of this recipe. As bananas ripen, their starches convert into natural sugars, making them significantly sweeter and intensifying their banana flavor. They also become much softer and easier to mash, which directly contributes to the muffins’ exceptional moisture and tender crumb. Using under-ripe bananas will result in muffins that are less flavorful, potentially drier, and lacking that signature moist texture. So, always wait for those bananas to develop plenty of brown spots on their peels – it’s worth the wait for truly perfect **peanut butter banana oat muffins**!
More Delicious Breakfast & Brunch Recipes to Explore
If you’re looking to expand your breakfast repertoire beyond these amazing peanut butter banana oat muffins, we have a variety of other delightful recipes that are sure to become family favorites. From sweet and spiced breads to rich and comforting rolls, there’s something for every palate and occasion. Explore these delicious options for more **breakfast ideas**!
- Cinnamon Crunch Banana Bread
- Brioche Cinnamon Rolls with Heavy Cream
- Oatmeal Blueberry Banana Muffins
- Swedish Cinnamon Rolls
We absolutely love seeing your culinary creations! If you’ve made these sensational **peanut butter banana oat muffins**, please make sure to tag me on Instagram @alpineella and consider leaving a review below. Your feedback and photos mean the world to us and help other bakers discover these delightful treats! For even more baking inspiration and delicious ideas, don’t forget to follow me on Pinterest.
Recipe

Peanut Butter Banana Oat Muffins
Ella Gilbert
Pin Recipe
Save RecipeSaved!
Equipment
-
12 cup muffin tray
Ingredients
- 250 grams all purpose flour
- 159 grams granulated sugar
- 2 teaspoon baking powder
- ½ teaspoon baking soda
- 1 teaspoon kosher salt
- 170 grams unsalted butter room temperature
- 113 ml whole milk
- 2 eggs cold
- 1 teaspoon vanilla extract
- 135 grams peanut butter
- 340 grams bananas
- 92 grams rolled oats
- 1 teaspoon ground cinnamon
- ¼ teaspoon ground nutmeg
- 170 grams dark chocolate chopped
- turbinado/demerara sugar for sprinkling
Instructions
-
Preheat the oven to 425°F (220°C). Line a 12-cup muffin pan with paper liners. Note that this recipe generously yields 14 muffins, so you’ll likely need to bake them in two separate batches unless you have a second muffin pan available.
-
Carefully blend the rolled oats in either a high-speed blender or a food processor until they are transformed into a fine, powdery flour-like consistency.
-
In a medium-sized bowl or a large jug, whisk together the all-purpose flour, the freshly prepared oat flour, baking powder, baking soda, kosher salt, ground cinnamon, and ground nutmeg until all the dry ingredients are uniformly combined.
-
Using either a sturdy potato masher or a fork, thoroughly mash your very ripe bananas until they reach a smooth consistency with minimal lumps.
-
In the bowl of your stand mixer, fitted with the paddle attachment, combine the mashed bananas, granulated sugar, softened unsalted butter, room temperature eggs, vanilla extract, creamy peanut butter, and whole milk. Beat these wet ingredients together on medium speed until they are thoroughly incorporated and smooth.
-
Slowly pour the combined dry ingredients into the wet mixture in the stand mixer. Mix on low speed just until the ingredients are combined. Be careful not to overmix; a few streaks of flour are perfectly acceptable.
-
Reserve a small handful of chocolate chunks for topping. Gently fold the remaining majority of the chocolate chunks into the muffin batter using a spatula until they are evenly distributed.
-
Generously fill each muffin liner to the very top with the prepared batter. Sprinkle the reserved coarse sugar (turbinado or demerara) and a few additional chocolate chunks over the top of each muffin for a beautiful finish.
-
Bake the muffins at 425°F (220°C) for the initial 5 minutes. Crucially, without opening the oven door, immediately reduce the oven temperature to 350°F (175°C) and continue to bake for an additional 16-18 minutes, or until a wooden skewer or toothpick inserted into the center of a muffin comes out clean. This two-stage baking ensures those perfect tall tops.
-
Once baked, allow your delicious muffins to cool slightly in the muffin pan for about 5 minutes before carefully transferring them to a wire cooling rack to cool completely. This helps prevent them from becoming soggy and allows their structure to fully set.
Notes
For the best possible batter consistency and emulsification, ensure all your ingredients, with the exception of the eggs (which can be cold to help prevent overmixing), are at room temperature. It’s a good practice to pull out your butter, milk, and bananas about 1-2 hours before you plan to start baking. This simple step makes a significant difference in the final texture of your **fluffy muffins**.
Chocolate Chips: If you prefer, you can easily substitute an equal amount of your favorite chocolate chips instead of chopping a bar of chocolate. Both options will result in wonderfully delicious **chocolate chunk muffins**.
Salt: If you don’t have kosher salt on hand, you can substitute with fine table salt. However, since fine salt is denser and saltier by volume, remember to halve the amount called for in the recipe. As a general rule, 1 teaspoon of kosher salt is equivalent to ½ teaspoon of fine salt to avoid over-salting and ensure the perfect flavor balance.
Butter: For a truly rich and creamy texture in your baked goods, I often opt for European-style butter, such as Kerry Gold. This type of butter typically has a higher fat content and lower water content compared to standard American butter, which can contribute to a more luxurious mouthfeel, finer crumb, and richer flavor in your finished **bakery-style muffins**.
Storage: To maintain their optimal freshness, store your baked and completely cooled muffins in an airtight container at room temperature for up to 2 days. For extended freshness, they can be kept in the refrigerator for up to five days. Ensure they are fully cooled before storing to prevent condensation which can lead to sogginess.
Freezing: These **fluffy muffins** are perfect for freezing, making them a fantastic make-ahead option! Once completely baked and cooled, place them in a single layer in a freezer bag or a freezer-safe container. They can be frozen for up to 3 months without compromising their delicious taste or texture. When you’re ready to enjoy, simply let them thaw in the refrigerator overnight, bring them to room temperature for a quick snack, or warm them gently in the microwave for a just-baked feel.
Nutrition
