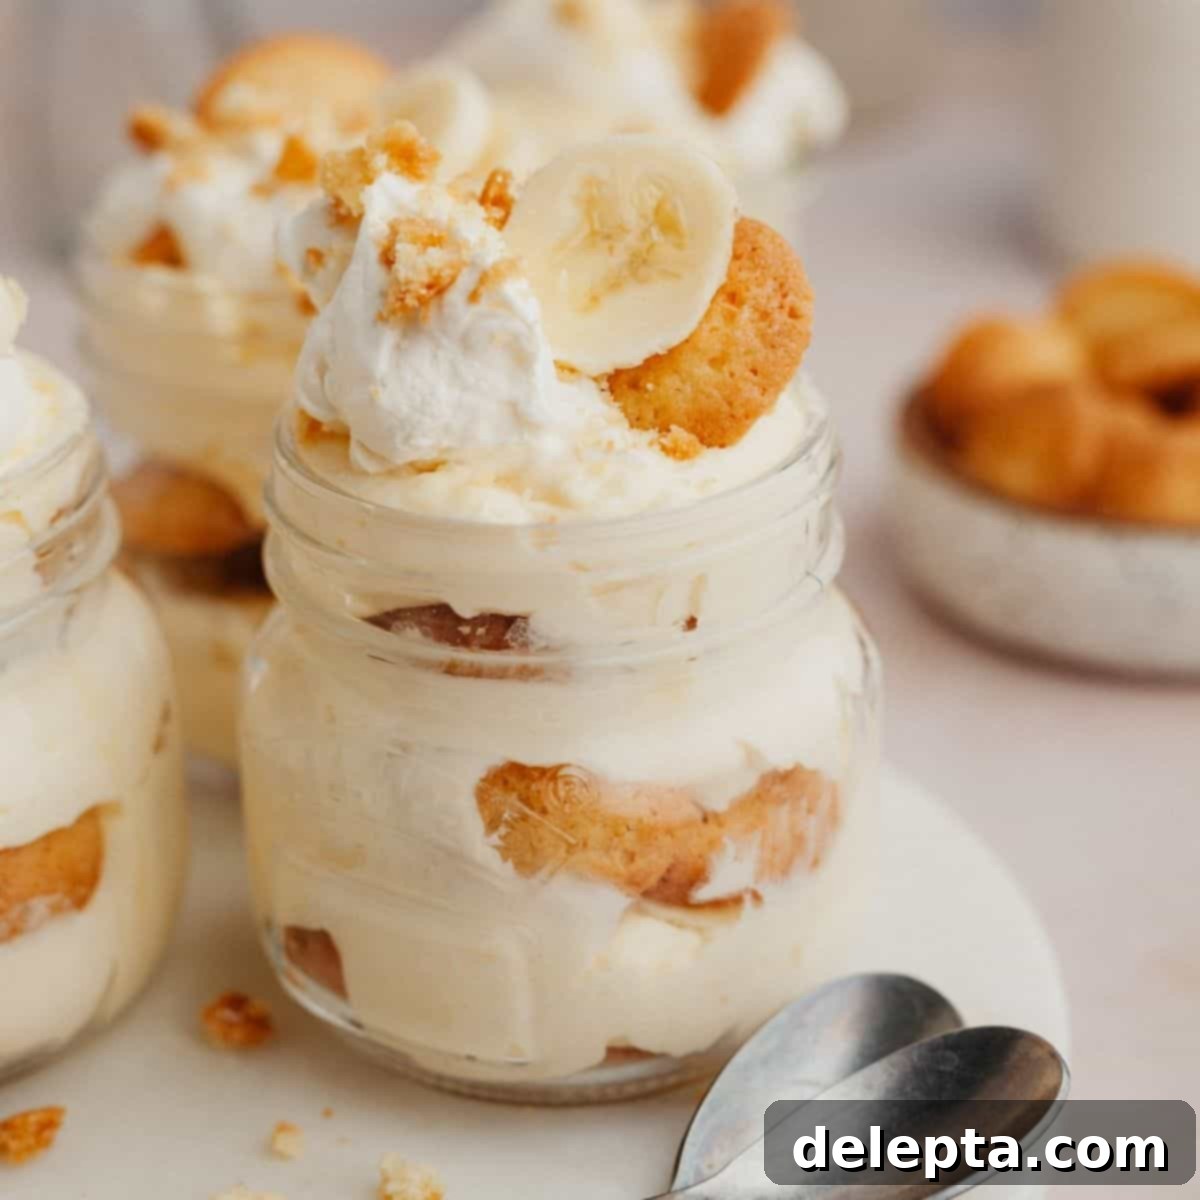
Easy No-Bake Banana Pudding in a Jar: Your Ultimate Individual Dessert
If you’re searching for a delightful, fuss-free, and perfectly portioned dessert, look no further than this incredible banana pudding in a jar recipe! This classic American treat gets a modern, convenient twist by being layered in individual jars, making it ideal for gatherings, picnics, or simply a sweet indulgence for yourself. Each charming jar is filled with luscious, creamy vanilla pudding, sweet slices of fresh banana, classic vanilla cookies (or wafers), and a generous topping of homemade whipped cream. Best of all, this incredible no-bake dessert comes together in just 15 minutes of active prep time and can be made the night before, allowing the flavors to meld beautifully and the cookies to soften to a cake-like consistency.
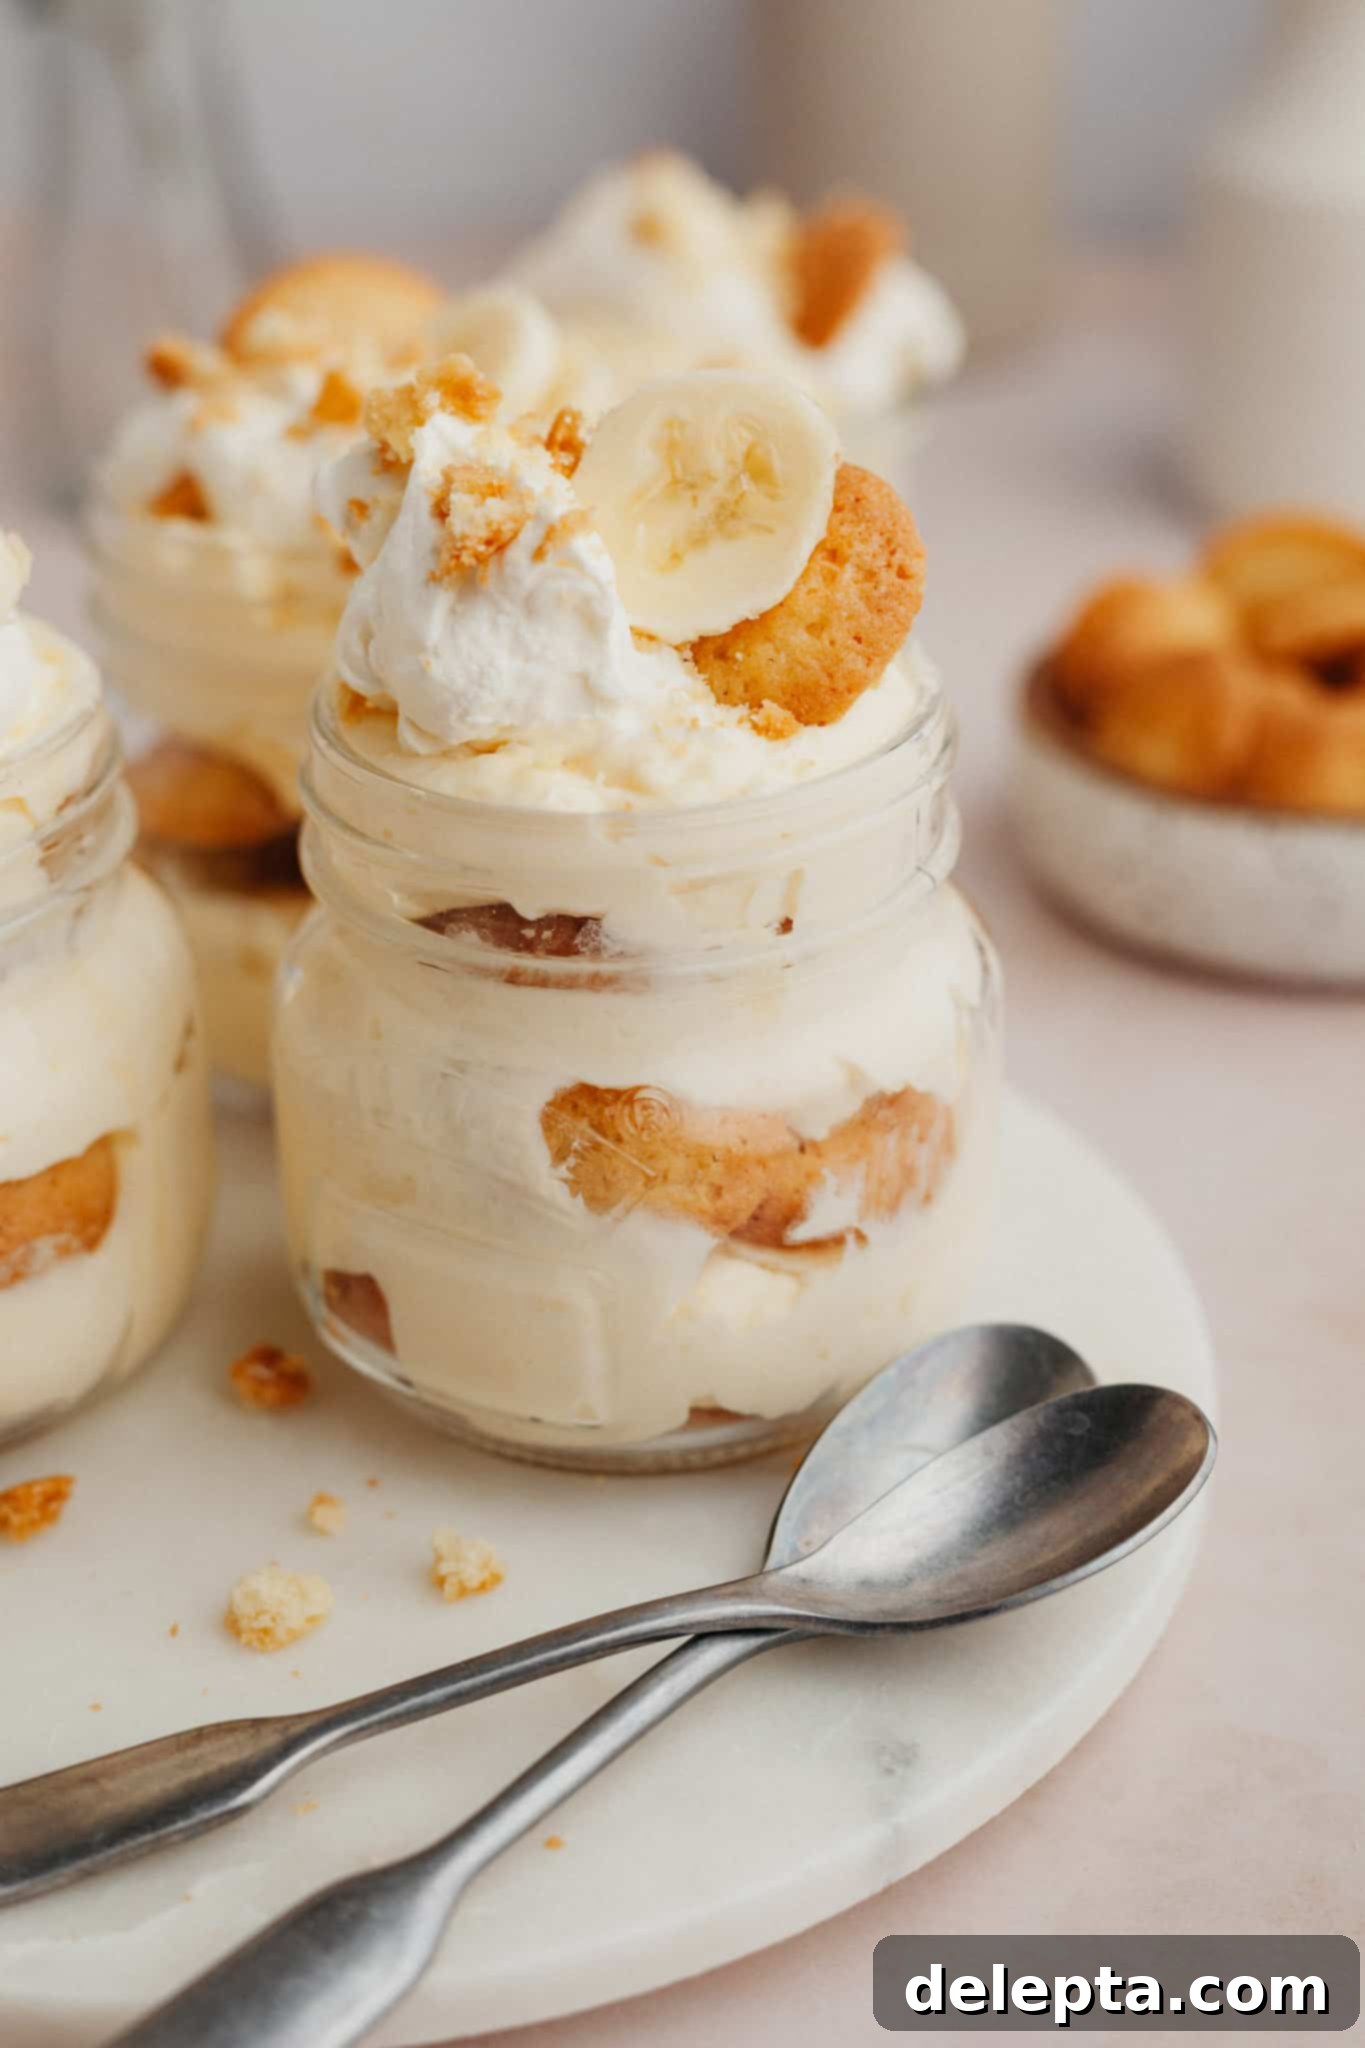
There’s something truly satisfying about no-bake desserts. Whether it’s a rich no-bake turtle cheesecake or these adorable banana pudding jars, I always enjoy crafting something delicious in my kitchen without needing to turn on the oven. The simplicity means less cleanup and more time to savor the sweet results. Plus, how utterly charming are these little mason jars? They transform a humble dessert into an elegant, personal serving.
For those who love seasonal variations, especially during the fall, you might also enjoy my delightful pumpkin pie in a cup recipe, offering a similar individual dessert experience with a warm, spiced flavor profile.
Why You’ll Adore These Individual Banana Pudding Jars
This recipe isn’t just easy; it’s designed for maximum flavor and convenience. Here’s why this banana pudding will quickly become one of your favorite go-to desserts:
- Effortless No-Bake Preparation: Forget heating up your kitchen! This recipe is entirely no-bake, saving you time and energy. You can whip up the creamy components and assemble the jars in no time at all, making it perfect for busy schedules.
- Gourmet Taste, Homemade Comfort: We’re talking about homemade vanilla pudding from scratch, elevated by being folded with freshly made whipped cream. This combination creates a velvety smooth, rich, and utterly irresistible texture and flavor that store-bought pudding simply can’t match.
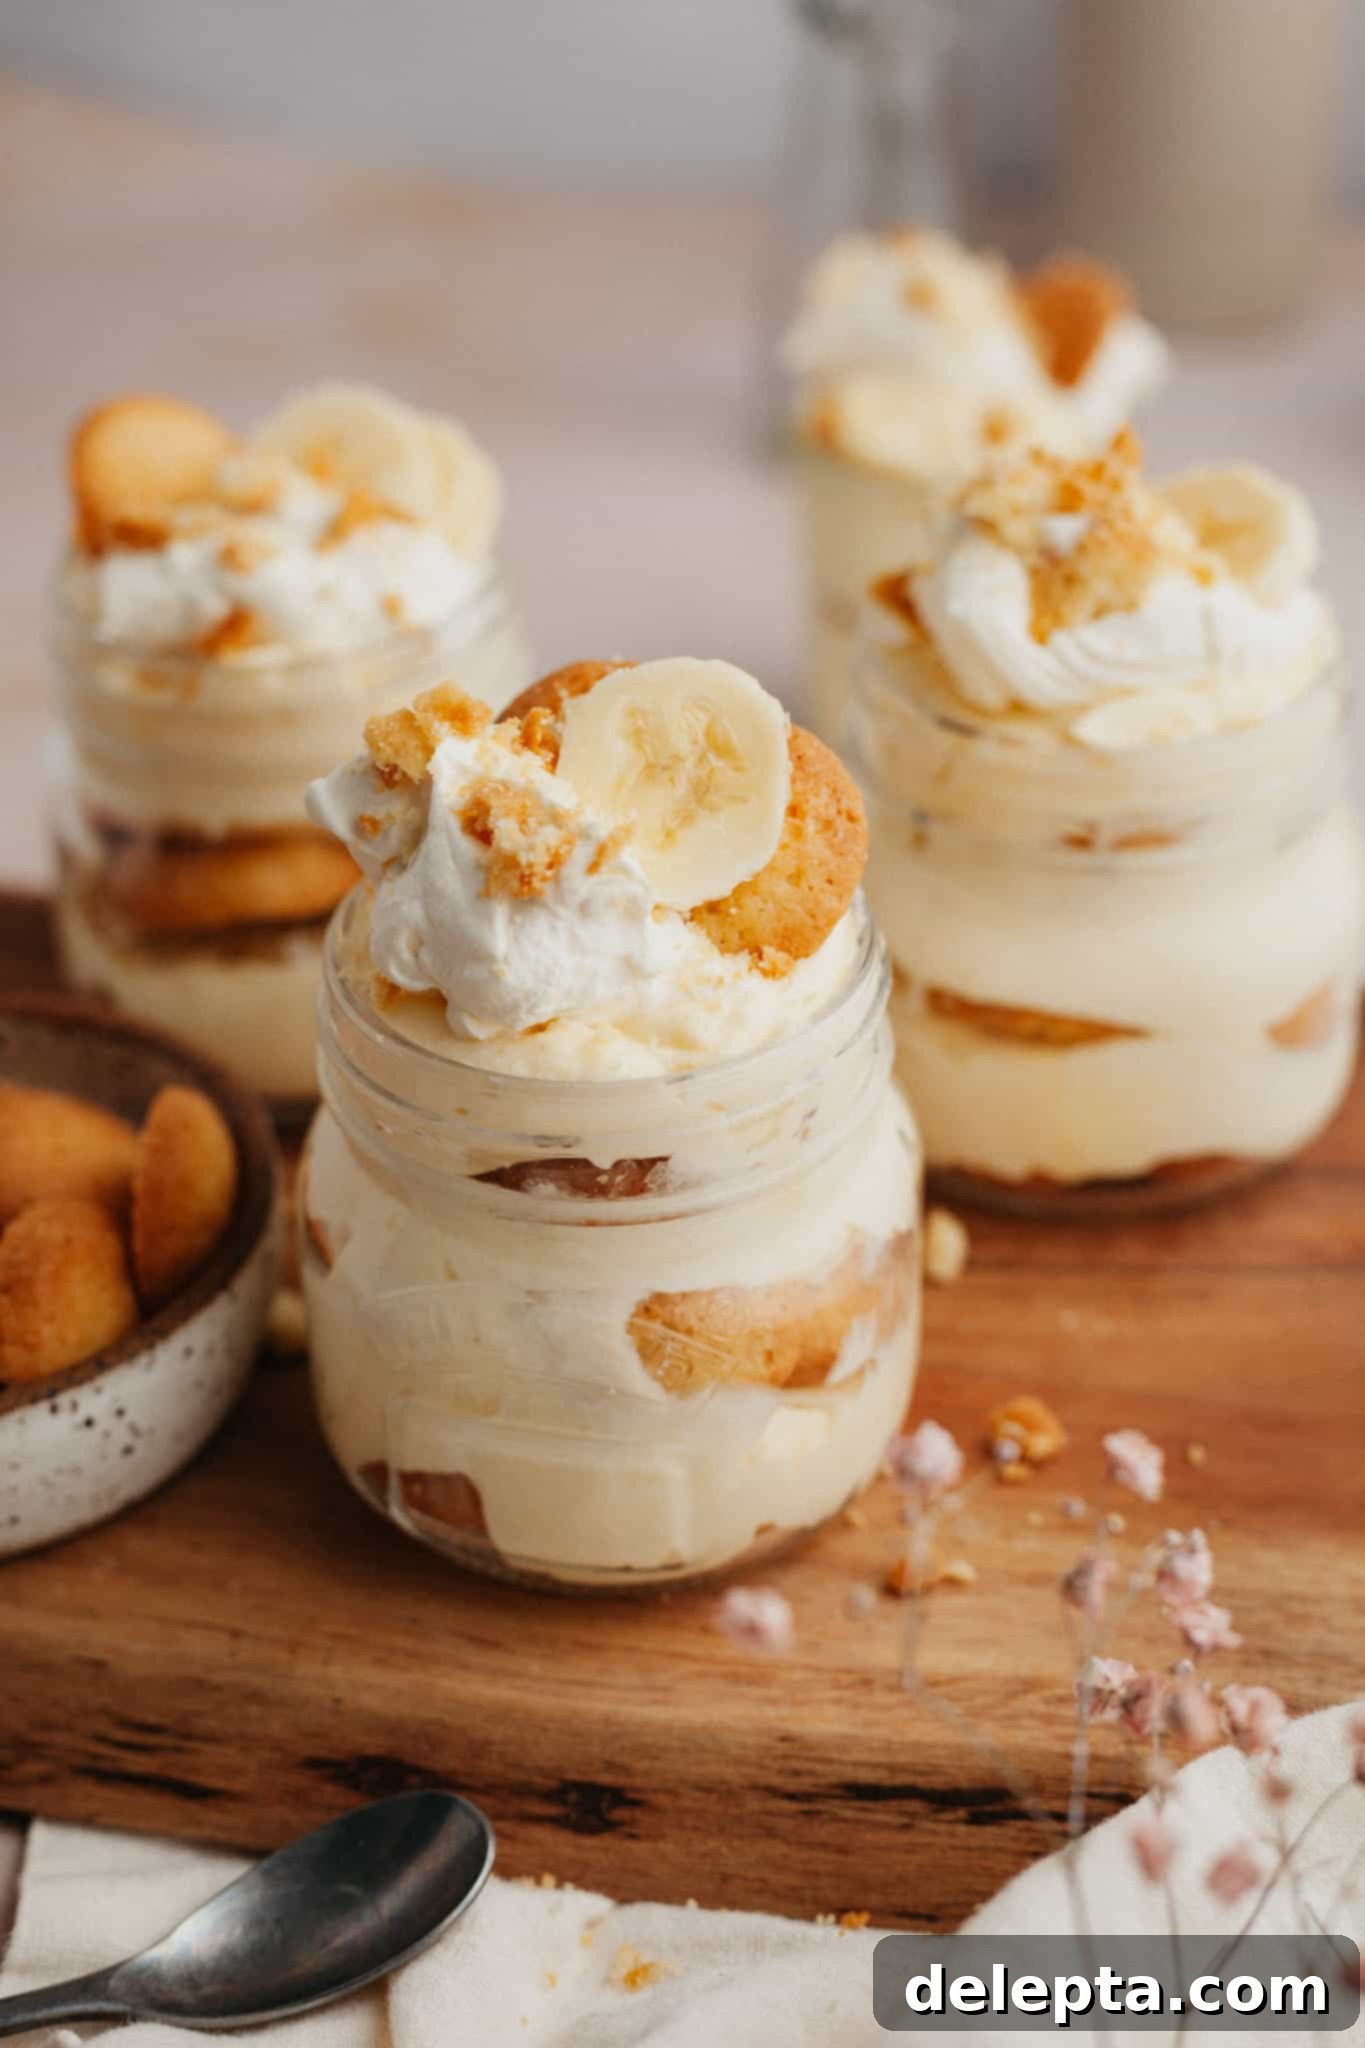
- Beautiful Layered Presentation: The individual mason jars are not just practical; they’re visually appealing! Layers of crisp vanilla wafer cookies, tender banana slices, and the decadent pudding mixture create an inviting look that’s perfect for any occasion.
- Customizable Toppings: Once your jars are filled, the fun continues with toppings! Crown each pudding with more fluffy whipped cream, additional fresh banana slices, and a sprinkle of crushed cookies for extra texture and visual appeal.
- Ideal Make-Ahead Dessert: This dessert is perfect for preparing in advance. Making it the night before allows the vanilla wafer cookies to absorb some of the pudding’s moisture, transforming them into soft, cake-like layers that truly enhance the overall experience.
Essential Ingredients for Perfect Banana Pudding
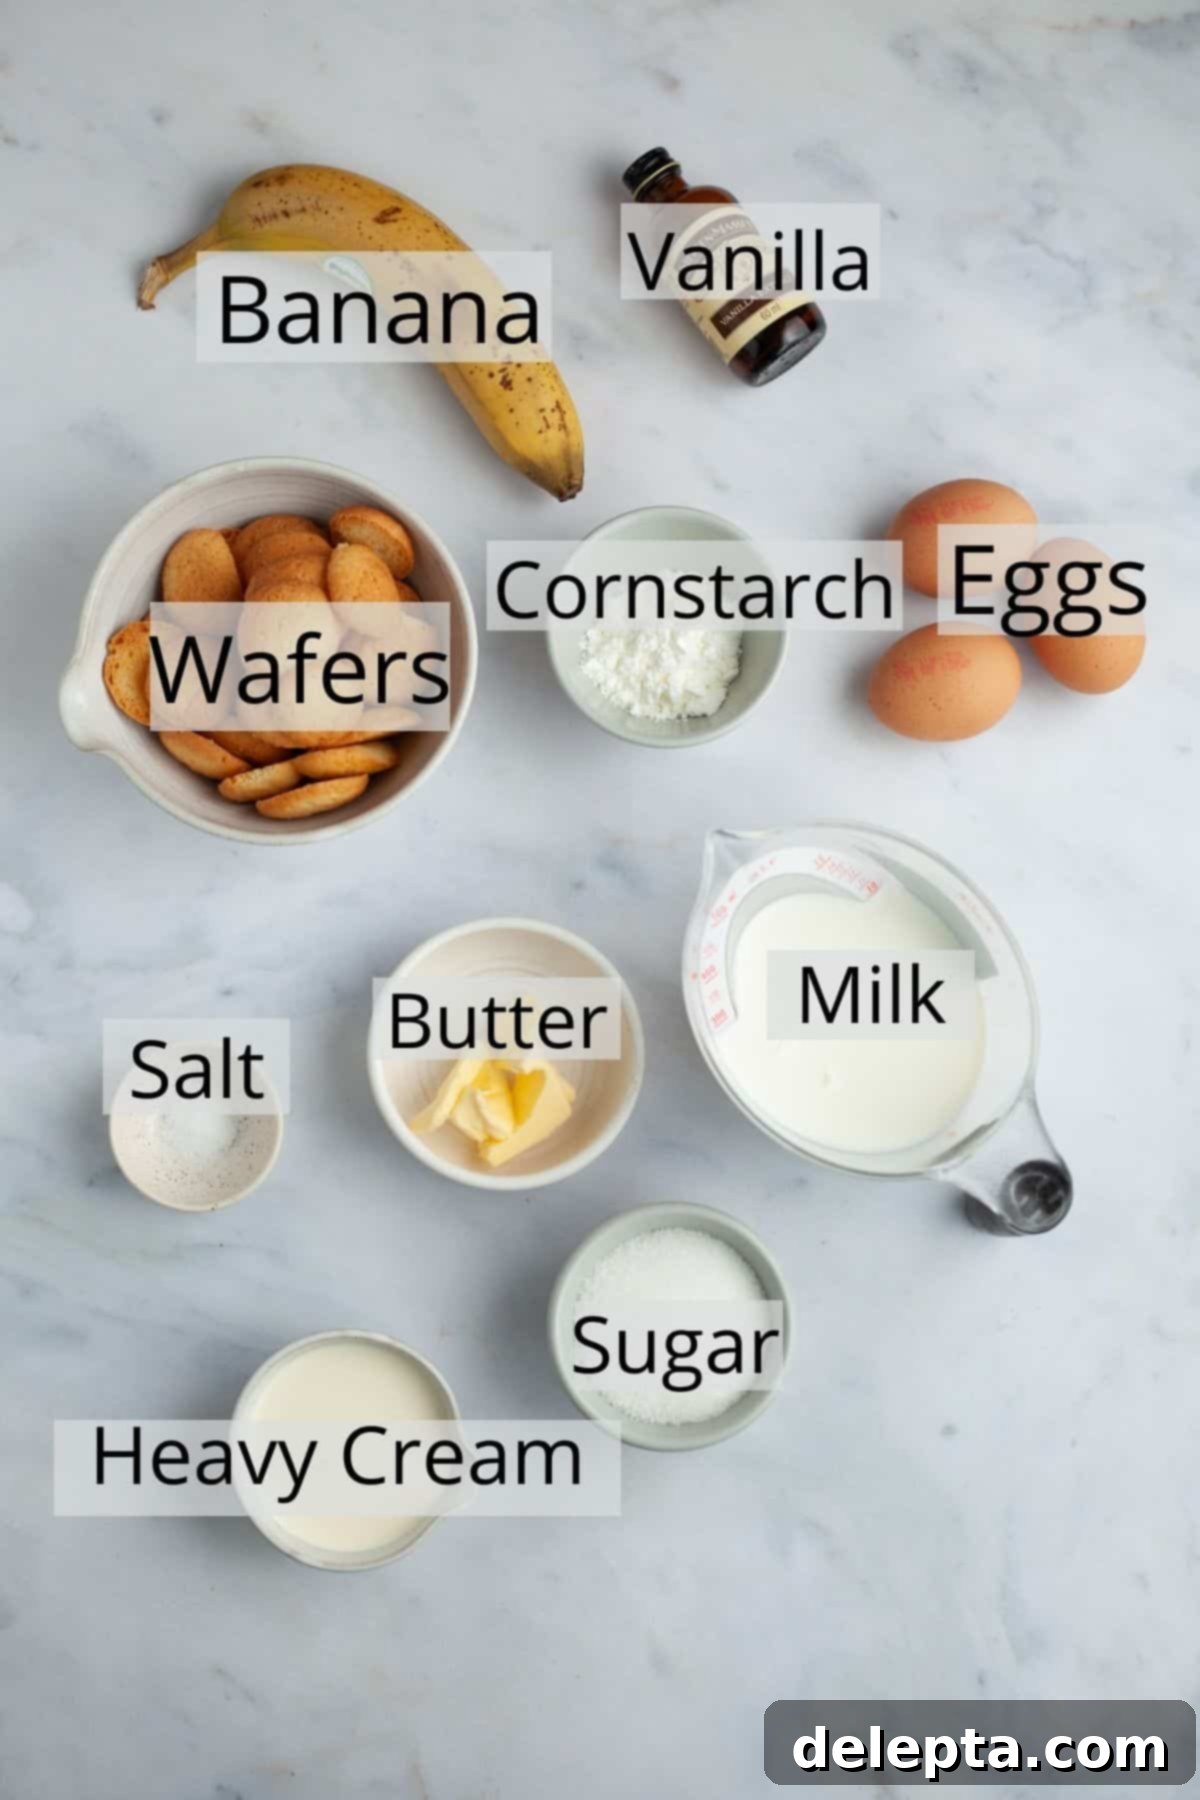
Crafting homemade banana pudding relies on a few simple, high-quality ingredients. Here’s a closer look at what you’ll need and why each component is crucial:
- Cookies: The foundation of our layers! Classic Nilla wafers are traditional for banana pudding, offering a delicate vanilla flavor and a satisfying crunch that softens beautifully. However, don’t limit yourself! You can also use Chessmen cookies for a buttery flavor or even graham crackers for a different texture. If you’re like me and Nilla wafers aren’t readily available (as in the UK), don’t despair! Making your own homemade vanilla wafers, perhaps from a reliable recipe like those found in the Brave Tart book or similar online resources, is a rewarding alternative.
- Heavy Cream: This is a superstar ingredient, essential for both our rich vanilla pudding and the airy whipped cream topping. In the UK, this is often referred to as double cream. Its high fat content provides unparalleled richness and a silky texture that defines a truly decadent pudding and stabilizes the whipped cream.
- Milk: For the best results, I always recommend using whole milk in my recipes. Its full fat content contributes to the creamy consistency and rich flavor of the vanilla pudding, ensuring every spoonful is utterly satisfying.
- Bananas: The star fruit! One medium-sized banana is typically enough to make about four individual jars of this banana pudding. Choose ripe but firm bananas – you want them sweet but not overly soft or bruised, as they will hold their shape better when sliced.
- Cornstarch: A small amount of cornstarch is vital for thickening your homemade vanilla pudding to the perfect consistency. It helps create that smooth, custard-like texture without any eggy taste. For those in Europe, cornstarch is commonly known as cornflour. Ensure your cornstarch is fresh and not expired, as its thickening power diminishes over time.
- Eggs & Egg Yolks: These contribute to the rich flavor, color, and smooth texture of the pudding. Using both a whole egg and additional yolks creates a luxurious, custardy base.
- Sugar: Provides the necessary sweetness to both the pudding and the whipped cream, balancing the flavors.
- Vanilla Extract: A crucial flavor enhancer. Use good quality pure vanilla extract for the best, most authentic vanilla flavor in your pudding.
- Unsalted Butter: Adds richness and a smooth finish to the vanilla pudding, making it truly irresistible.
- Kosher Salt: A pinch of salt enhances all the other flavors, preventing the dessert from tasting flat or overly sweet.
Step-by-Step: How to Craft Your Banana Pudding Jars
Making this layered banana pudding is simpler than you might think, especially when broken down into these easy steps. The key is patience during the chilling process!
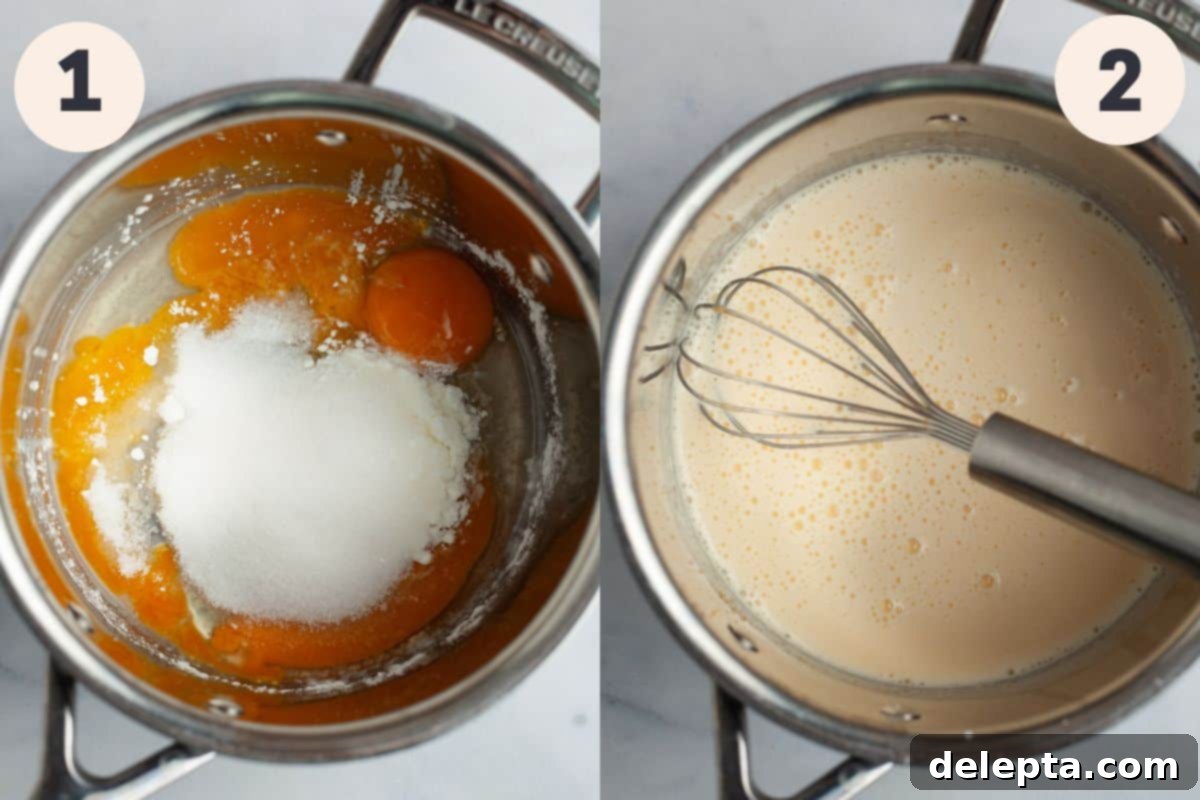
Step 1: Create Your Pudding Base. In a medium-sized saucepan, combine your sugar, kosher salt, the whole egg, two egg yolks, and cornstarch. Whisk these ingredients together vigorously until the mixture is completely smooth and no lumps of cornstarch remain. This ensures a silky pudding later on.
Step 2: Incorporate Liquids. Gradually pour in your whole milk and heavy cream while continuously whisking. This slow addition helps temper the eggs and prevents them from scrambling when heat is applied.
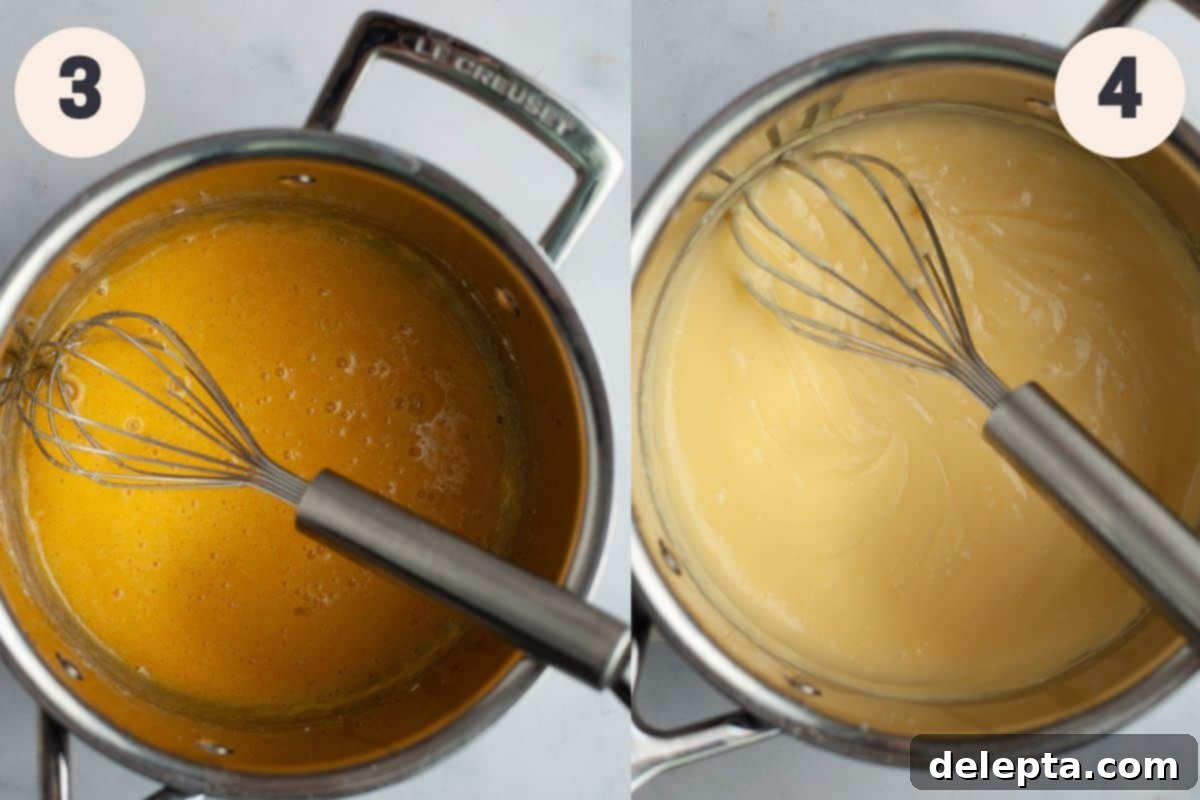
Step 3: Thicken the Pudding. Place the saucepan over medium-high heat. Whisk constantly as the mixture heats up. You want it to come to a gentle simmer, but never a rolling boil, as boiling can cause the eggs to curdle. Continue whisking for about 3-4 minutes until the pudding visibly thickens to a consistency that coats the back of a spoon.
Step 4: Flavor and Enrich. Immediately remove the saucepan from the heat. Whisk in your room temperature butter pieces until fully melted and incorporated, followed by the vanilla extract. The butter adds richness, and the vanilla provides that essential warm flavor.
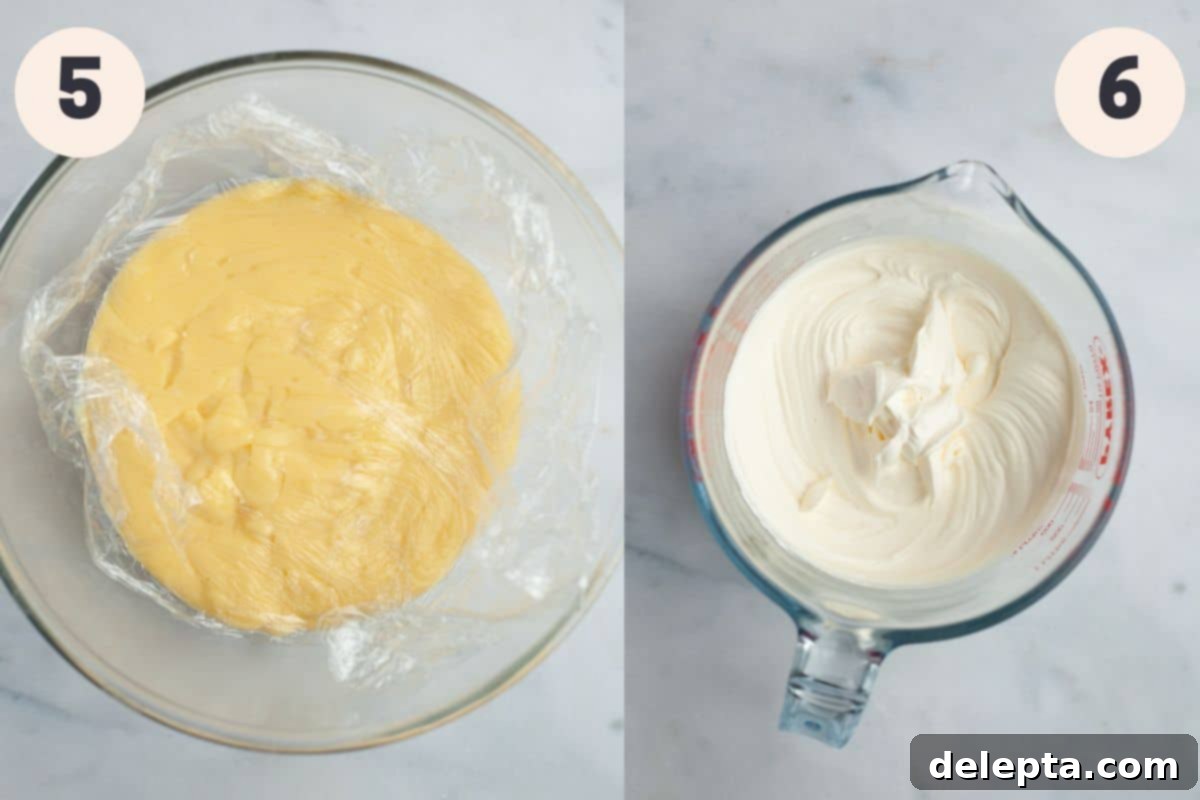
Step 5: Chill the Pudding. Pour your hot vanilla pudding into a clean bowl. Immediately press a piece of plastic wrap directly onto the surface of the pudding. This crucial step prevents a “skin” from forming as it cools. Allow the pudding to come to room temperature on the counter, then transfer it to the refrigerator to chill for at least 4 hours, or ideally overnight, until it’s completely cold and set.
Step 6: Prepare Whipped Cream. In a stand mixer fitted with the whisk attachment, or using a hand-held mixer, combine your cold heavy cream and sugar. Whip on medium-high speed until soft peaks begin to form. Be careful not to over-whip, as it can quickly turn into butter.
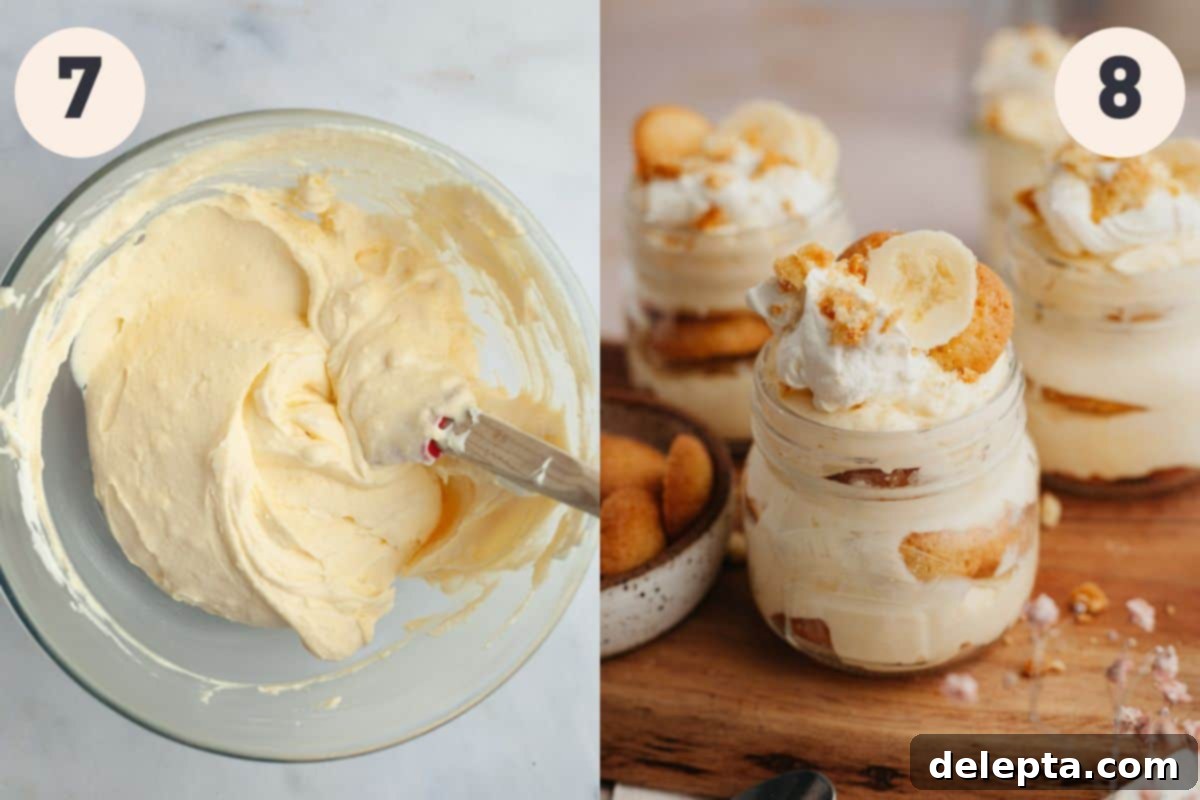
Step 7: Combine Pudding and Cream. After your vanilla pudding has thoroughly chilled (at least 4 hours), remove it from the fridge. Gently fold in half of the freshly whipped cream until it’s fully incorporated and the pudding mixture is light and airy. Reserve the remaining half of the whipped cream for topping later.
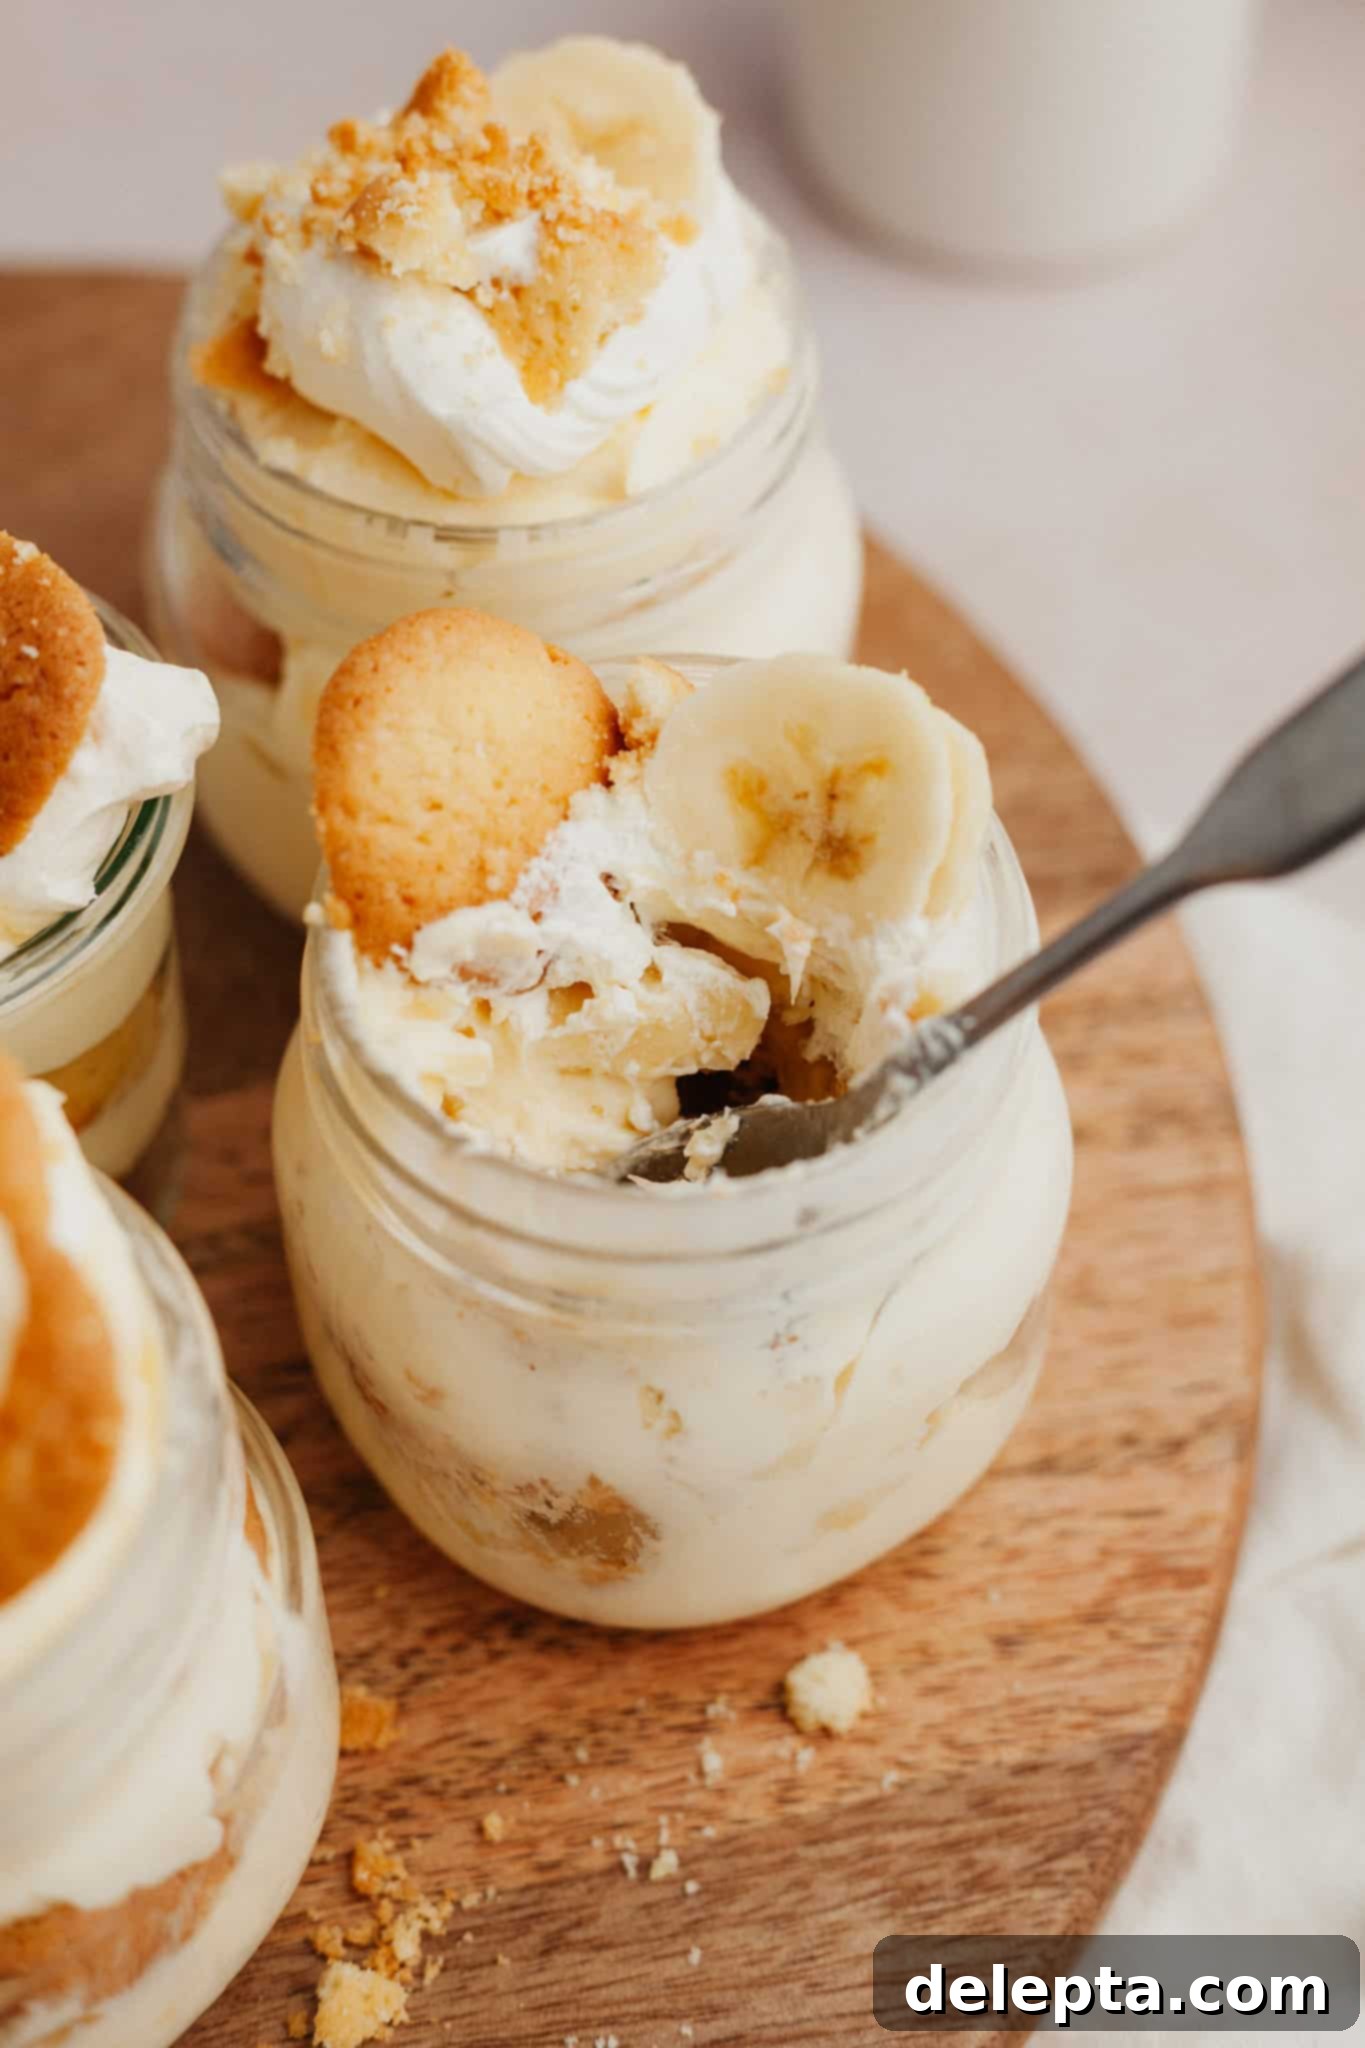
Step 8: Assemble Your Jars. Grab four small jars (approximately 0.25 liter/8.5 fluid ounces). Begin by placing a layer of vanilla wafer cookies at the bottom of each jar. Next, scoop a generous layer of the combined pudding and whipped cream mixture over the cookies. Follow this with a layer of freshly sliced bananas. Repeat these layers until you reach the top of the jar. Finally, crown each jar with the reserved whipped cream. For an extra flourish, garnish with an additional banana slice, a whole vanilla cookie, and a sprinkle of crushed cookie crumbles. Refrigerate for at least a few hours to allow the flavors to meld and the cookies to soften, then serve and enjoy!
Expert Tips for a Flawless Dessert
- Precision with a Scale: For truly consistent and accurate baking (even in no-bake recipes), I highly recommend using a weighing scale and measuring your ingredients the metric way. This makes a huge difference in the outcome and is the most reliable method.
- Optimal Chilling Time: While 4 hours is the minimum, making the vanilla pudding the night before is ideal. This extra time in the refrigerator allows the pudding to fully set and deepen in flavor, resulting in a superior creamy texture.
- Garnish Just Before Serving: To ensure your banana slices look their best, wait until you’re ready to serve the puddings before adding them as a garnish on top. If added too far in advance, they can brown and dry out, affecting the visual appeal.
- Room Temperature Ingredients are Key: Always make sure your eggs and butter are at room temperature before you begin the recipe. This allows them to incorporate smoothly into the pudding base, preventing lumps and ensuring a consistently creamy texture. Pull them out of the fridge 1-2 hours before you start.
- Check Cornstarch Expiration: Cornstarch is crucial for thickening. Double-check its expiration date! If it’s old or expired, its thickening properties can diminish significantly, leading to a runny pudding.
- Don’t Rush the Whisking: When cooking the pudding on the stovetop, continuous whisking is important. This prevents the pudding from sticking to the bottom of the pan and helps achieve a smooth, lump-free consistency.
- Choose the Right Bananas: For layering, select bananas that are ripe but still slightly firm. Overly ripe bananas will be too soft and might discolour more quickly.
Frequently Asked Questions About Banana Pudding in a Jar
These individual banana puddings should be kept refrigerated until you are ready to serve them. Ensure the jars are covered to prevent them from absorbing fridge odors or drying out.
While this recipe focuses on homemade vanilla pudding for superior flavor and texture, you can certainly experiment with instant pudding mix if you’re in a pinch. Many popular recipes, like Magnolia Bakery’s famous banana pudding, do use instant pudding as a base. Just follow the package directions for the pudding, then fold in half of the homemade whipped cream as instructed in Step 7.
I personally used 0.25 liter (or 8.5 fluid ounce) Kilner jars for this recipe, and it perfectly filled four of them. You can also repurpose larger jam jars, such as the kind that Bonne Maman jam comes in – two of these larger jars would work well for this recipe. Feel free to use any mini dessert containers, ramekins, or small glasses you have on hand; just adjust the layering as needed.
When stored properly in the refrigerator, these banana puddings are best enjoyed within 3 days. After this time, the bananas may start to brown significantly, and the cookies might become too soggy.
Absolutely! While vanilla wafers are traditional, feel free to experiment with other cookies. Golden Oreos (crushed), shortbread cookies, or even a basic butter cookie can offer a delightful twist and a different textural experience.
If your pudding isn’t thickening on the stove, ensure you’re whisking continuously over medium-high heat and allowing it to simmer gently. The most common culprits are old cornstarch (check the expiration date!) or not cooking it long enough. Return it to the heat and continue whisking until it reaches the desired consistency. It should coat the back of a spoon and hold its shape for a moment when you run your finger across it.
Discover More No-Bake Delights to Explore Next!
If you’ve fallen in love with the ease and deliciousness of this no-bake banana pudding, you’re in for a treat! My kitchen is full of simple, satisfying no-bake dessert recipes that are perfect for any occasion. From rich cheesecakes to delightful bars, there’s always something new to whip up without ever turning on the oven. Dive into these other fantastic no-bake options:
- Easy Lotus Biscoff Cheesecake (No Bake)
- Golden Oreo Cheesecake
- Chocolate Covered Rice Krispie Treats
- Oreo Peanut Butter Pie (no bake)
Have you made this delightful banana pudding in a jar recipe? I’d love to see your creations! Make sure to tag me on Instagram @alpineella and leave a review below if you have! For more baking inspiration and delicious dessert ideas, you can also follow me on Pinterest.
Recipe
Banana Pudding in a Jar
Ella Gilbert
Pin Recipe
Save RecipeSaved!
Equipment
-
4 0.25 litre/8.5 fl oz jars
Ingredients
Vanilla pudding
- 1 egg room temperature
- 2 egg yolks room temperature
- 75 grams sugar
- 20 grams cornstarch
- ¼ teaspoon kosher salt
- 58 ml heavy cream
- 283 ml whole milk
- 2 teaspoons vanilla extract
- 23 grams unsalted butter room temperature
Whipped Cream
- 2 teaspoons sugar
- 227 ml heavy cream
Assembly
- 1 banana sliced
- vanilla wafer cookies
Instructions
-
In a medium sized saucepan, whisk together your sugar, salt, egg, egg yolks and cornstarch until it is completely smooth.
-
Drizzle in your heavy cream and your milk, whisking constantly. Heat this over medium heat and allow it to come to a simmer, stirring constantly. Once it starts to simmer it should begin to thicken, this takes 2-4 minutes. Don’t allow it to come to a boil or it will curdle.
-
Remove from the heat and whisk in your butter and vanilla extract.
-
Pour into a bowl and put a piece of plastic wrap on top of the pudding so a skin doesn’t form. Let it chill for at least 4 hours or ideally overnight. This makes 2 cups of pudding.
-
Beat heavy cream with the sugar until soft peaks form.
-
Keep half of the whipped cream to the side. Fold the other half of the whipped cream in with the pudding. Fold until it is completely smooth.
-
Layer your jars as follows: a few cookies, a spoonful of pudding, a couple banana slices. Repeat this until you get to the top of the jar and top with the reserved whipped cream. Refrigerate, preferably for a few hours so the cookies can soften slightly. When ready to serve, top with a banana slice, a cookie and some crushed cookies on top of the whipped cream.
Notes
Room Temperature: I make sure that all of my ingredients are at room temperature before I start the recipe, so pull out all of the ingredients about 2 hours before you start baking.
Salt: If you don’t have kosher salt, halve the amount of salt called for in the recipe. 1 teaspoon kosher salt = ½ teaspoon fine salt.
Butter: I use European style butter, like Kerry Gold, in my recipes.
Storage: Keep the finished puddings in their jars for up to 3 days in the fridge. I don’t recommend topping them with the sliced banana until you’re just about to serve them, as the banana on top will brown slightly and dry out.
Making Ahead: You can make the vanilla pudding the night before.
Nutrition
