Mastering the Perfect Cherry Pie: A Kirsch-Infused Summer Delight
There are few desserts that evoke the spirit of an American summer quite like a classic cherry pie. Its vibrant red filling peeking through a golden, flaky crust instantly conjures images of backyard barbecues, Fourth of July celebrations, and cherished family gatherings. While growing up in America, you might assume I would have had my fair share of this iconic dessert, but to my surprise, this particular recipe might just be my very first authentic cherry pie experience. Perhaps previous encounters were less than memorable, leading to a culinary void I was determined to fill with a truly exceptional homemade version.
When I set out to develop this cherry pie recipe, I had clear goals in mind. I envisioned a pie that struck the perfect balance: not overly sweet, allowing the natural tartness of the cherries to shine through; a filling that held its shape beautifully without being runny or soupy; and an overall flavor profile that intensely highlighted the luscious fruit. This wasn’t just about baking a pie; it was about crafting a nostalgic experience, a perfect slice of summer in every bite.
My quest for the ultimate cherry pie filling began, as all good baking adventures do, with extensive research. This typically involves me, ensconced on the couch, surrounded by a delightful stack of baking books, sifting through various techniques. I discovered several distinct approaches to preparing the cherry filling. Some bakers advocated for macerating the cherries with sugar, allowing them to release their juices naturally before baking. Others preferred cooking the fruit down thoroughly on the stovetop. A third, quicker method involved merely a swift mix of ingredients before pouring into the pie shell. Each technique promised a different texture and flavor outcome.
For my recipe, aiming for that ideal thick, non-soupy consistency and intense cherry flavor, I opted for a stovetop method. I gently cooked the fresh sour cherries with granulated sugar, cornstarch (a crucial thickener), a pinch of kosher salt, fragrant vanilla extract, and warming ground cinnamon. This simmering process allows the flavors to meld beautifully and the cornstarch to begin its thickening magic. The final, somewhat unconventional, touch came after removing the mixture from the heat: a generous tablespoon of kirsch.
If you’re unfamiliar with kirsch, it’s a clear, colorless fruit brandy made from double-distilled cherries, including their pits. Hailing from regions like Switzerland, Germany, and France, it’s renowned for its potent, pure cherry aroma and flavor. Believe me, one sniff is enough to clear your sinuses! Back home in Switzerland, a thimbleful is sometimes added to fondue right before serving, lending a subtle yet distinctive fruity note. I found that a tablespoon of kirsch in the pie filling significantly elevates the cherry flavor, adding a layer of sophisticated depth that a simple extract cannot replicate. It’s the secret ingredient that truly makes this kirsch cherry pie sing.
It’s worth noting that I haven’t provided a specific pie dough recipe here for two key reasons. Firstly, I haven’t yet perfected my own signature dough from scratch. Secondly, during my extensive pie research, I quickly learned that bakers are incredibly particular about their preferred crust recipes! Some swear by all-butter crusts, others prefer a blend of butter and shortening, and many have family recipes passed down through generations. Therefore, I leave the choice of your pie crust to your personal preference, whether you use a trusted homemade recipe or a high-quality store-bought option. The focus of this recipe is truly on achieving that perfect, flavorful cherry filling.
Essential Cherry Pie Tips for Baking Success
- Beware the Cherry Juice Stains: When you’re pitting fresh cherries, prepare for a messy, albeit delightful, task! Cherry juice has a remarkable ability to stain, so I highly recommend wearing a dark apron or old clothing. After you’ve finished, take a moment to scan your kitchen surfaces, walls, and even the ceiling (yes, it happens!) for any rogue splatters. A quick wipe-down immediately prevents permanent stains.
- Pitting Cherries Made Easier: While a dedicated cherry pitter can be a fantastic investment if you make cherry pies often, it’s not strictly necessary. For this recipe, I simply used a small knife to carefully cut around each cherry and remove the pit. This method is perfectly effective, though it can be time-consuming. My top tip? Put on your favorite podcast or album, relax, and enjoy the meditative process of preparing your fruit.
- The Power of Cornstarch: This ingredient is absolutely critical for achieving a beautifully thick, luscious, and sliceable cherry pie filling. Do not be tempted to skip it! Cornstarch reacts with the heat and fruit juices to create a stable, gel-like consistency, preventing your pie from turning into a runny, soupy mess when sliced. While some other recipes might suggest tapioca flour or arrowroot powder as alternatives, I’ve specifically developed and tested this recipe with cornstarch, so I recommend sticking to it for the best results. Substituting without testing could lead to a different outcome in texture.
- Adjust Sugar for Cherry Type: This recipe is designed for tart sour cherries, which are ideal for baking as their acidity balances the sweetness of the sugar. If you opt to use sweet cherries, you will likely need to significantly decrease the amount of granulated sugar in the filling. A good rule of thumb is to start by reducing the sugar by about a quarter to a third, then taste the mixture before cooking to ensure it’s not overly sweet. You want the natural cherry flavor to be prominent, not just sugar.
- Kirsch Substitutions: Kirsch truly provides a unique depth of flavor. If it’s not readily available, a good quality cherry brandy makes an excellent substitute, offering a similar fruity warmth. For those who prefer to omit alcohol, a small amount of pure almond extract can mimic some of the complex notes, as cherry pits contain a compound that contributes to an almond-like aroma. However, the authentic kirsch flavor will be distinct.
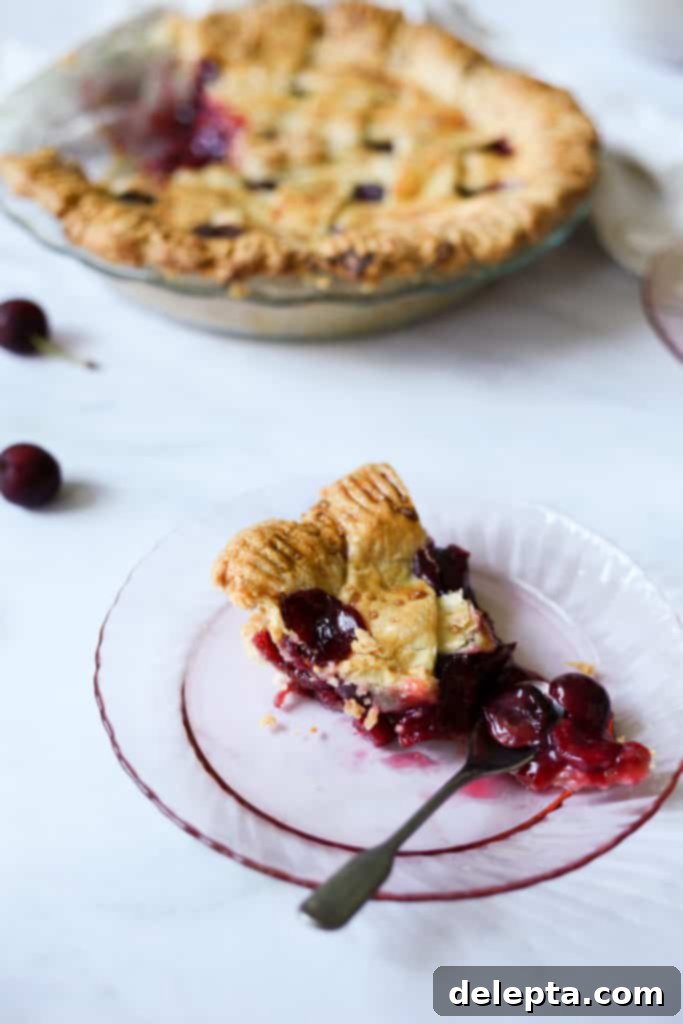
Creating this pie is a labor of love, but one that is incredibly rewarding. The aroma that fills your home as it bakes is simply intoxicating – a fragrant blend of sweet cherries, warm vanilla, subtle cinnamon, and that distinctive hint of kirsch. And the first slice? Pure bliss. A tender, flaky crust giving way to a rich, jewel-toned filling that’s perfectly set, bursting with intense cherry flavor. It’s truly a celebration of summer.
Recipe: Kirsch Cherry Pie
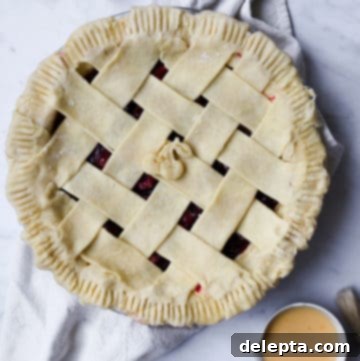
Kirsch Cherry Pie
Ella Gilbert
Pin Recipe
Save RecipeSaved!
Equipment
-
9-inch pie dish
Ingredients
Cherry Pie Filling
- 860 grams sour pitted cherries
- 200 grams granulated sugar
- 36 grams cornflour
- ¾ teaspoon kosher salt
- 1 teaspoon vanilla extract
- ¼ teaspoon ground cinnamon
- 1 tablespoon kirsch
Egg wash
- 1 egg
- 1 tablespoon turbinado sugar
Instructions
Make Filling
-
Combine the pitted cherries, granulated sugar, kosher salt, ground cinnamon, cornstarch, and vanilla extract in a medium saucepan. Cook over medium-low heat for 10 minutes, stirring occasionally to ensure the sugar dissolves and prevents sticking.
-
Once all the sugar and cornstarch are fully dissolved, increase the heat to medium and continue cooking for another 5-10 minutes. The filling should visibly thicken and become glossy. At this stage, begin stirring constantly to prevent it from scorching on the bottom of the pan.
-
Remove the saucepan from the heat and stir in the kirsch, ensuring it’s thoroughly incorporated into the warm cherry filling.
-
Allow the filling to cool completely to room temperature before assembling the pie. This is crucial for a set filling.
Assemble and Bake Pie
-
Preheat your oven to 220°C (425°F).
-
Prepare your 9-inch pie dish by rolling out one portion of your chosen pie dough and carefully fitting it into the dish. Trim any excess dough.
-
Pour the completely cooled cherry filling into the prepared pie crust. Place the pie dish into the refrigerator to chill while you work on the top crust.
-
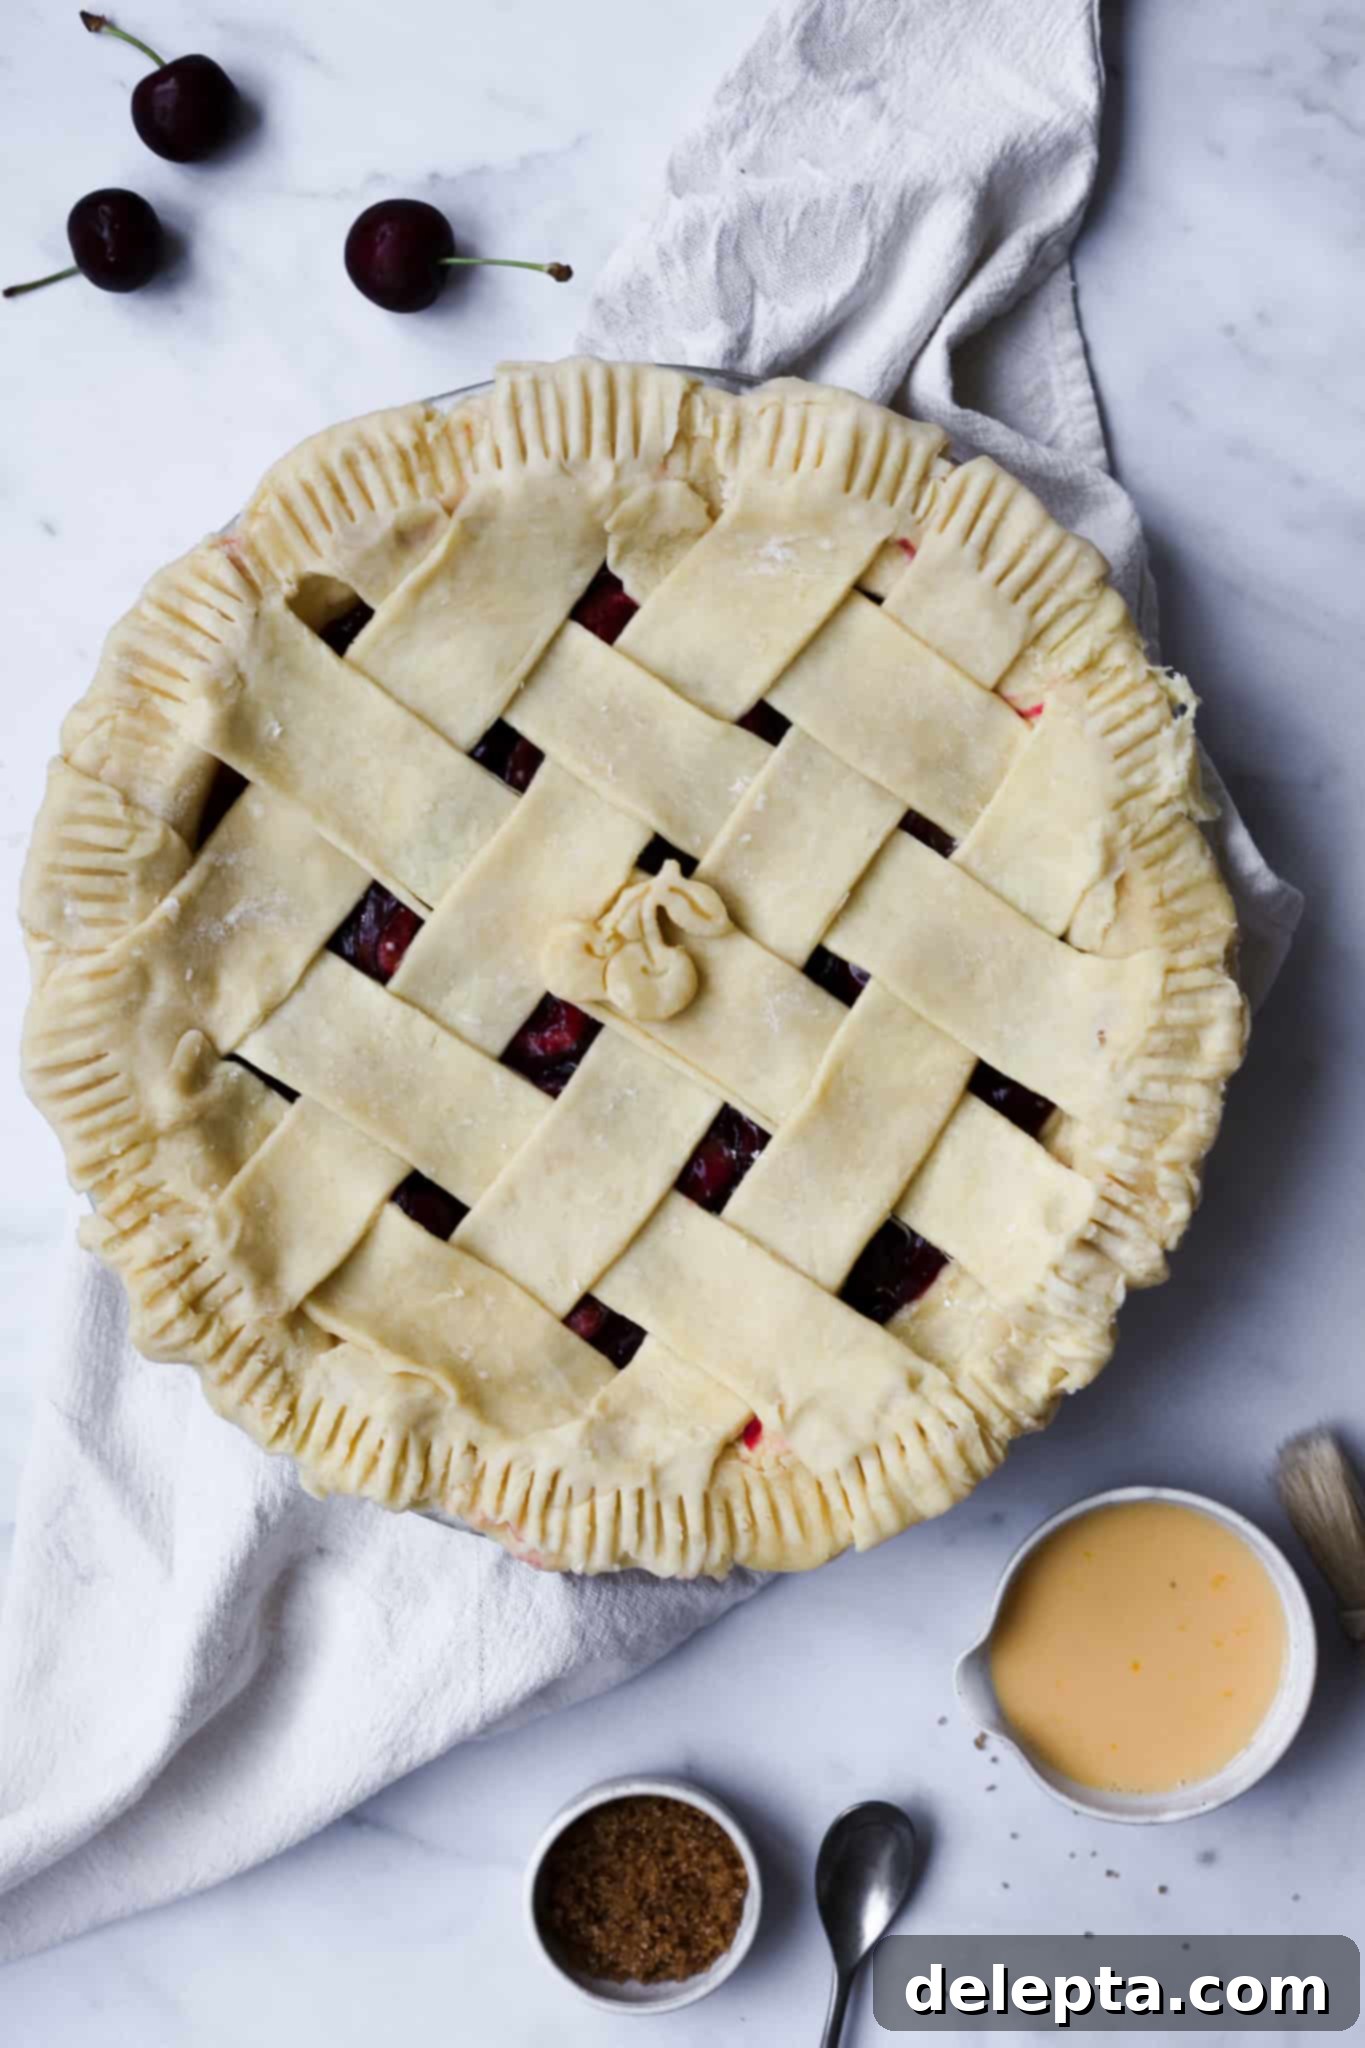
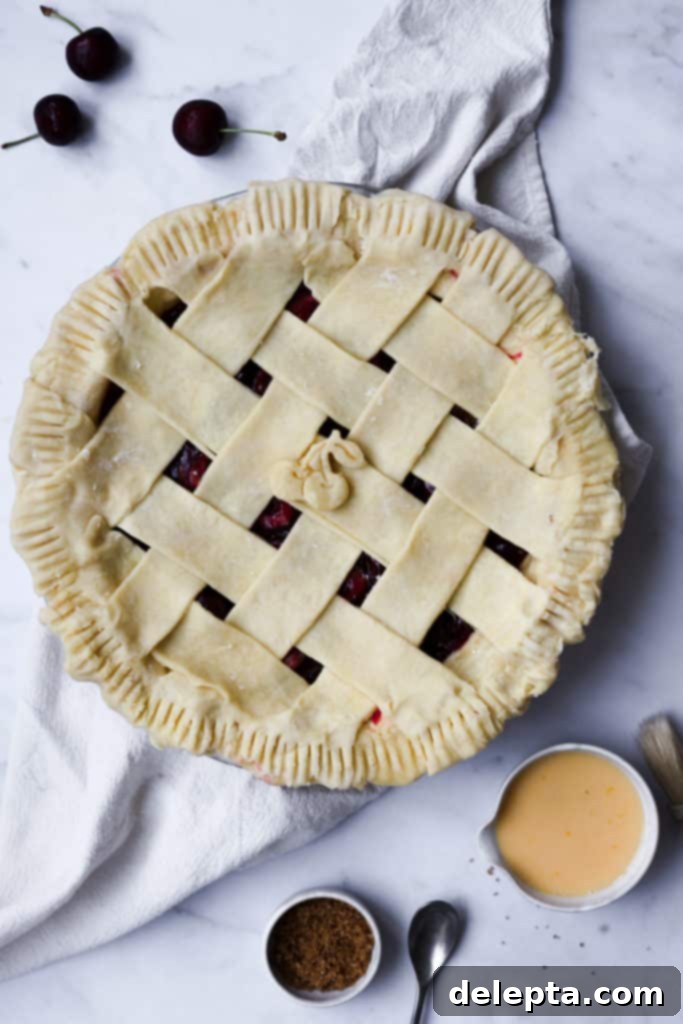
While the filled pie chills, roll out your second portion of pie dough. You can create a beautiful lattice top (as shown in the images), use cookie cutters to make decorative shapes, or simply create a full top crust with a few slits for steam to escape.
-
Retrieve the pie from the fridge and carefully arrange your chosen top crust design. Crimp the edges to seal. Return the assembled pie to the refrigerator for another 10 minutes to ensure the crust is thoroughly chilled before baking, which helps prevent shrinking.
-
Place the chilled pie dish on a baking sheet lined with foil (this will catch any potential drips and make cleanup easier). In a small bowl, lightly beat 1 egg with a teaspoon of water to create an egg wash. Brush the top crust evenly with the egg wash and sprinkle a tablespoon of turbinado sugar over it for a beautiful sparkle and crisp texture.
-
Bake the pie in the preheated oven at 220°C (425°F) for 20 minutes. This initial high heat helps to set the crust and promote a beautiful golden-brown color.
-
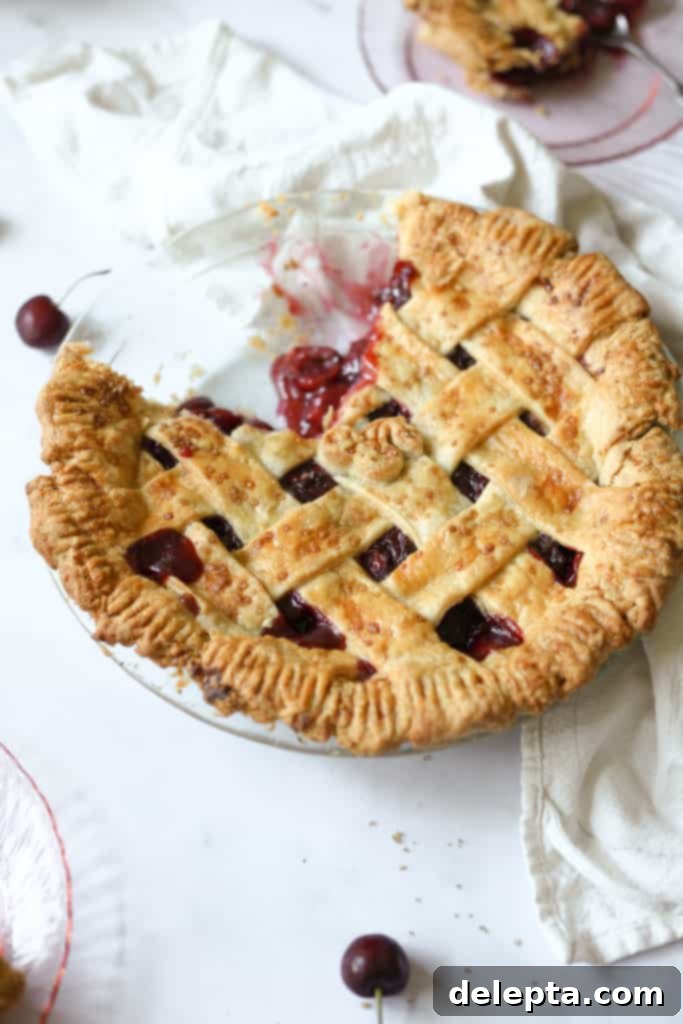
Reduce the oven temperature to 175°C (350°F) and continue baking for an additional 40 minutes. The pie should be deeply golden brown, and you should see the fruit juices bubbling invitingly through any top crust openings. If the crust browns too quickly, you can loosely tent it with foil.
-
Remove the pie from the oven and place it on a wire rack to cool completely. This is perhaps the most challenging step: you must let the pie rest for at least 4 hours, or ideally until completely cool. Cutting into the pie too soon will result in a runny filling as it needs time to properly set. Patience is key for the perfect slice!
Notes
