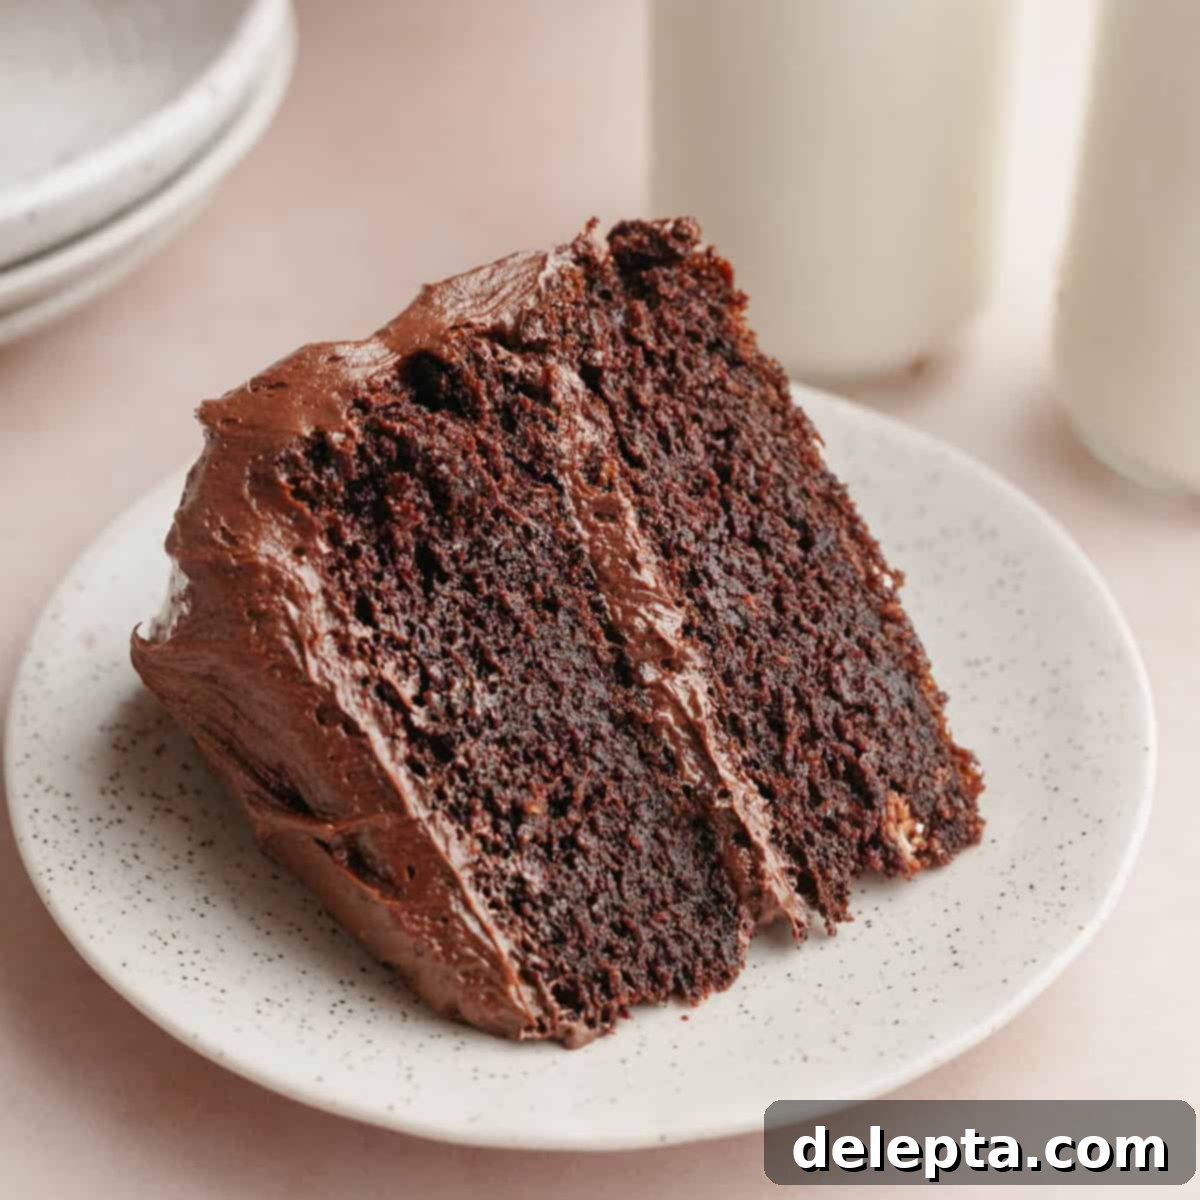
The Ultimate Matilda’s Chocolate Cake: Super Moist, Fudgy, and Unforgettable
Prepare to be enchanted by what might just be the most delicious chocolate cake you’ll ever bake! Inspired by the iconic, towering dessert from one of our most beloved childhood movies, ‘Matilda’, this two-layer homemade chocolate cake promises an unbelievably moist crumb paired with the richest, fudgiest chocolate frosting imaginable. What makes it even better? You’ll find most of the ingredients already stocked in your pantry, and the cake batter itself can be whipped up in a mere 20 minutes, making this indulgent treat surprisingly accessible for any occasion.
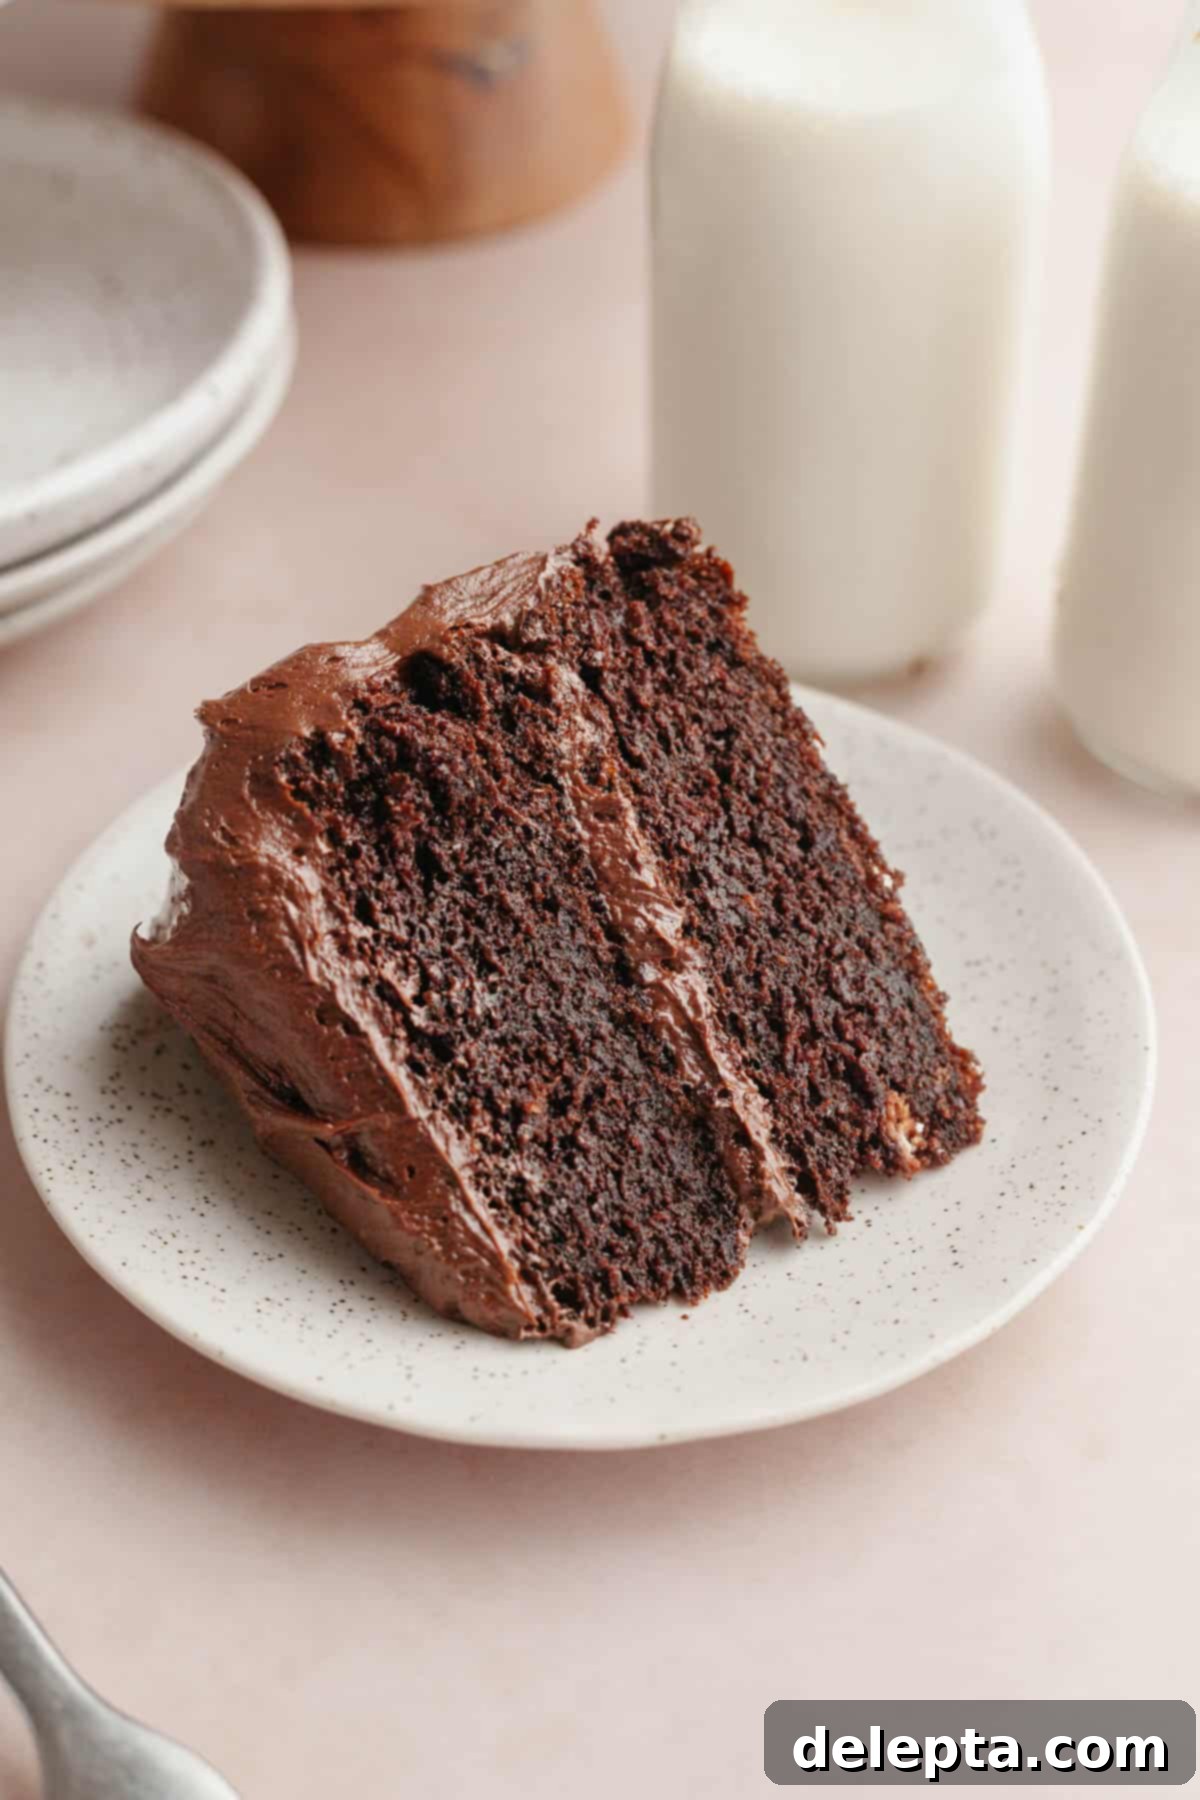
Honestly thought I died and went to heaven with this cake. My new go-to recipe, thank you!!!
– Brit ⭐️⭐️⭐️⭐️⭐️
For years, I’ve playfully informed my family that my annual birthday wish is to have a gigantic chocolate cake all to myself, just like Bruce Bogtrotter in the movie. And every single year, they assume I’m jesting! So, I took matters into my own hands and perfected this incredibly rich, intensely moist, and decadently two-layer chocolate cake. I genuinely believe it’s the quintessential birthday cake – not just for me, but for anyone who adores chocolate.
This deceptively simple chocolate cake recipe relies on everyday pantry staples, making it a perfect candidate for any celebration you can imagine. Whether it’s a special birthday, a festive gathering, a potluck where you want to impress, or even a bake sale where you need a guaranteed crowd-pleaser, this cake fits the bill. As a self-proclaimed chocolate fanatic, I truly cannot get enough of it, and I’m confident you’ll feel the same way! Its deep chocolate flavor and tender texture are simply irresistible.
If you find yourself constantly craving chocolate recipes, you absolutely must broaden your chocolate horizons with some of my other favorites. Don’t miss out on my chocolate-filled cookies, which are wonderfully gooey and satisfying, or the show-stopping triple chocolate layer cake for an extra dose of decadence. And for those who love a tangy twist, my chocolate cake with cream cheese frosting offers a delightful contrast. If you’re looking for a delightful single-serving version of this Matilda-inspired treat, my chocolate fudge cupcakes deliver all the same incredible flavors in a convenient cupcake form!
Why This Is My Favorite Chocolate Cake!
- Unbelievably Moist – This recipe utilizes my tried-and-true, absolute favorite chocolate cake base. It’s an oil-based cake, which is key to its phenomenal moisture. Unlike butter, oil remains liquid at room temperature, contributing to a consistently tender and soft crumb that stays moist for days. When combined with rich buttermilk, you get a deliciously moist, fine-textured cake that simply melts in your mouth.
- So Effortlessly Easy – Forget complicated baking techniques! This is a seriously straightforward cake recipe designed for ease. The chocolate cake batter can be prepared entirely in just one bowl, eliminating the need for a stand mixer or even a hand mixer, making cleanup a breeze. The frosting, while rich and complex in flavor, is also simple to assemble, akin to a classic American buttercream but elevated with the luxurious additions of melted dark chocolate and tangy sour cream.
- Decadently Fudgy Frosting – I’m using what I consider my best frosting recipe of all time: my fudgy chocolate sour cream frosting! This incredible frosting gets its intense chocolate flavor and deep richness from a powerful duo of both high-quality cocoa powder and melted dark chocolate. The sour cream adds a subtle tang that perfectly balances the sweetness, creating a complex and irresistible flavor profile. This is the frosting that truly captures the essence of that unforgettable cake from Matilda!
- Simple Pantry Ingredients – You won’t find any obscure or hard-to-find items on this ingredient list. We’re talking about just 14 common pantry staples that you likely already have on hand. This makes whipping up this magnificent cake spontaneous and stress-free, proving that extraordinary flavor doesn’t require extraordinary effort or specialized ingredients.
Gather Your Ingredients
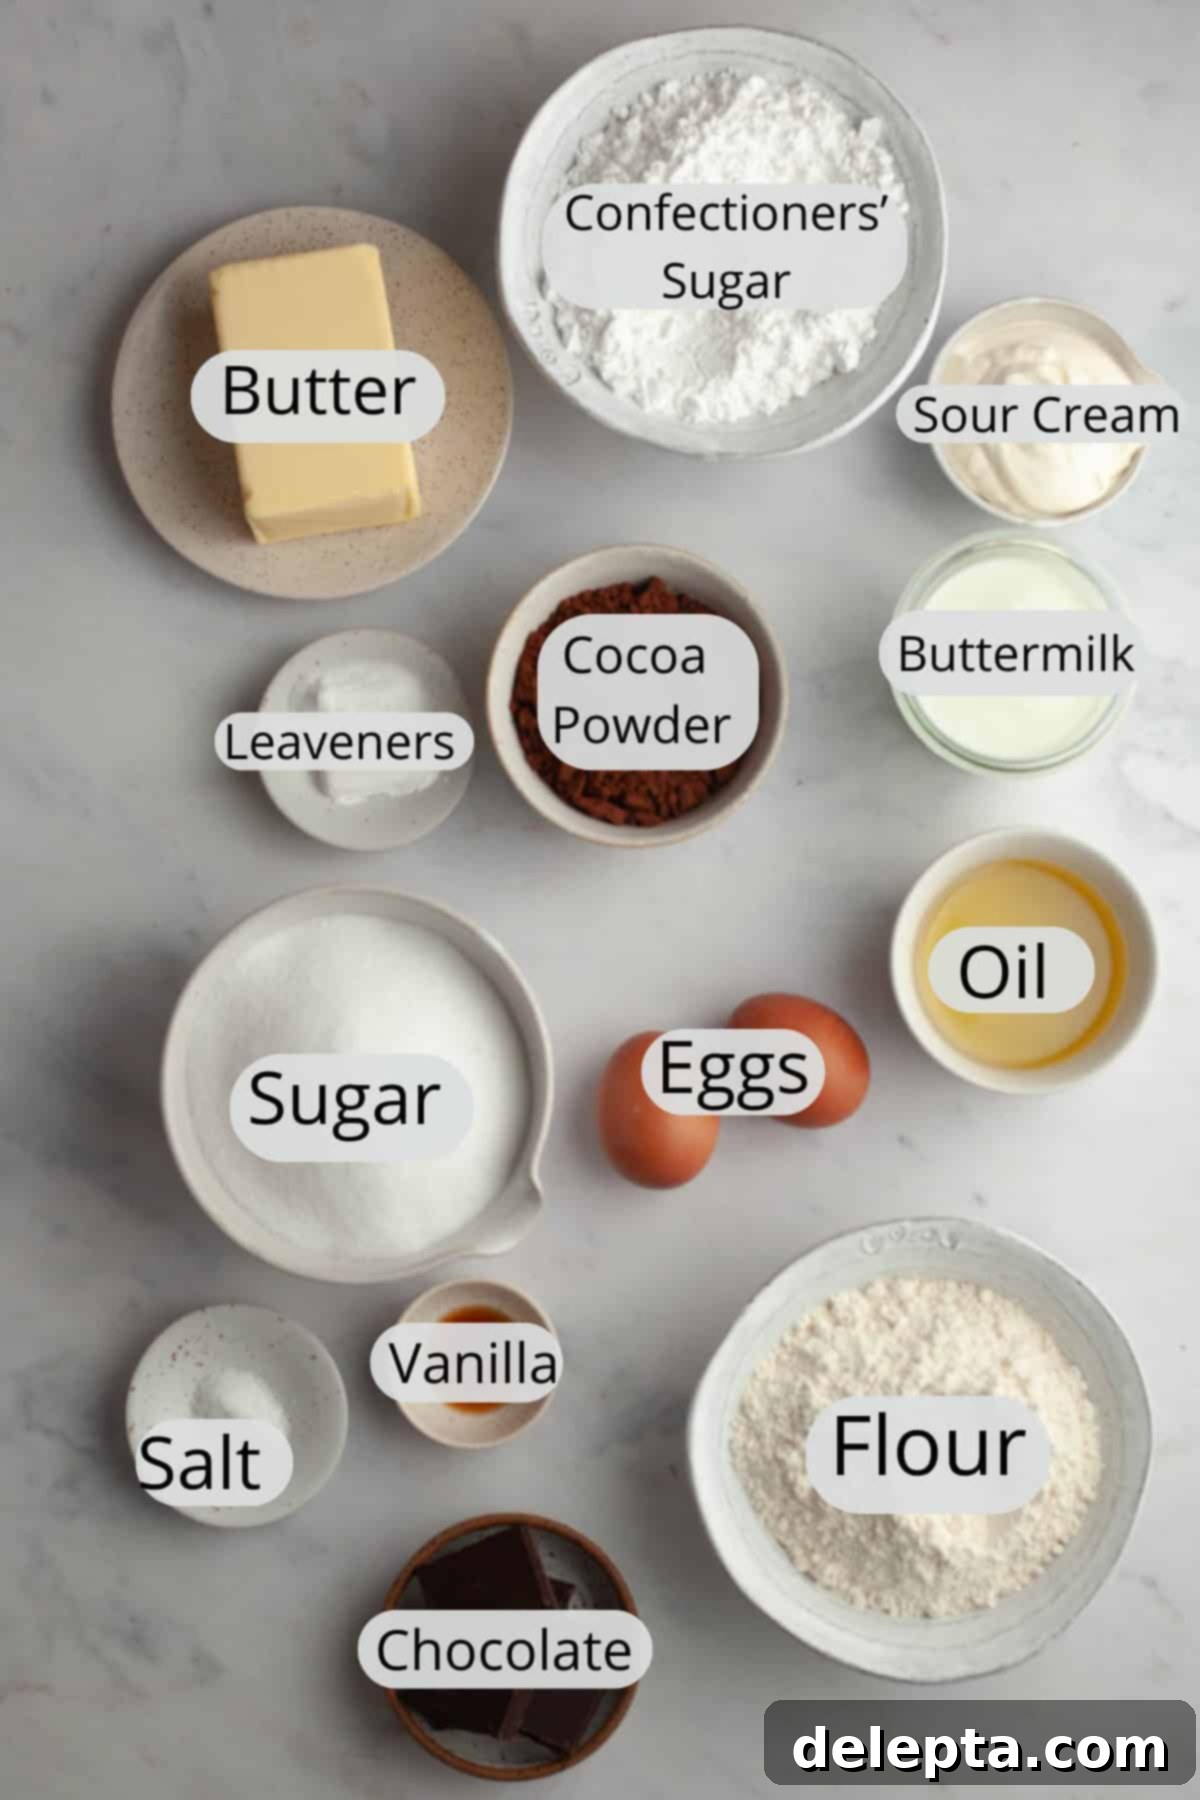
To recreate this magical Matilda-inspired cake, here’s a closer look at the key ingredients you’ll need:
- Oil: The secret to an incredibly moist crumb! For this chocolate cake, always opt for a neutral-tasting oil such as vegetable oil or canola oil. Avoid oils with strong flavors like olive oil, as they can overpower the delicate chocolate notes. Oil contributes essential moisture to the cake, especially crucial with dry ingredients like cocoa powder, ensuring a tender and rich result that stays fresh longer than butter-based cakes.
- All-Purpose Flour: Standard all-purpose flour is perfect for this recipe. For the best, lightest texture, I always recommend sifting your flour with the cocoa powder and leavening agents to prevent lumps and ensure even distribution.
- Cocoa Powder: You’ll need a generous amount of cocoa powder for both the cake batter and the rich frosting. For the deepest, richest chocolate flavor and a beautiful dark color in your cake, make sure to use Dutch-processed cocoa powder. Dutch-processed cocoa has been treated to reduce its acidity, resulting in a smoother, less bitter taste and a darker hue. It also reacts differently with baking soda and baking powder compared to natural cocoa powder, so don’t substitute it unless you know how to adjust the leavening.
- Buttermilk: This tangy ingredient is a hero in our chocolate cake, contributing significantly to its moistness and tender crumb. Buttermilk reacts with the baking soda to create a light, fluffy texture, and its slight acidity enhances the chocolate flavor. If you don’t have buttermilk on hand, don’t worry! You can easily make your own by adding 1 tablespoon of lemon juice or white vinegar to 1 cup of regular milk and letting it sit for 5-10 minutes until it slightly curdles. Alternatively, full-fat sour cream can be used for an even denser, richer cake.
- Dark Chocolate: For the fudgy frosting, the quality of your chocolate truly makes a difference. This frosting tastes best with good quality dark chocolate (aim for something with over 50% cocoa solids). Using a high-quality chocolate will ensure a superior taste, smoother texture, and richer finish that will elevate your frosting from good to absolutely heavenly. Chop it finely for easier melting.
How to Bake Matilda’s Chocolate Cake: A Step-by-Step Guide
Creating this iconic chocolate cake is simpler than you might think. Follow these easy steps to bake a masterpiece:
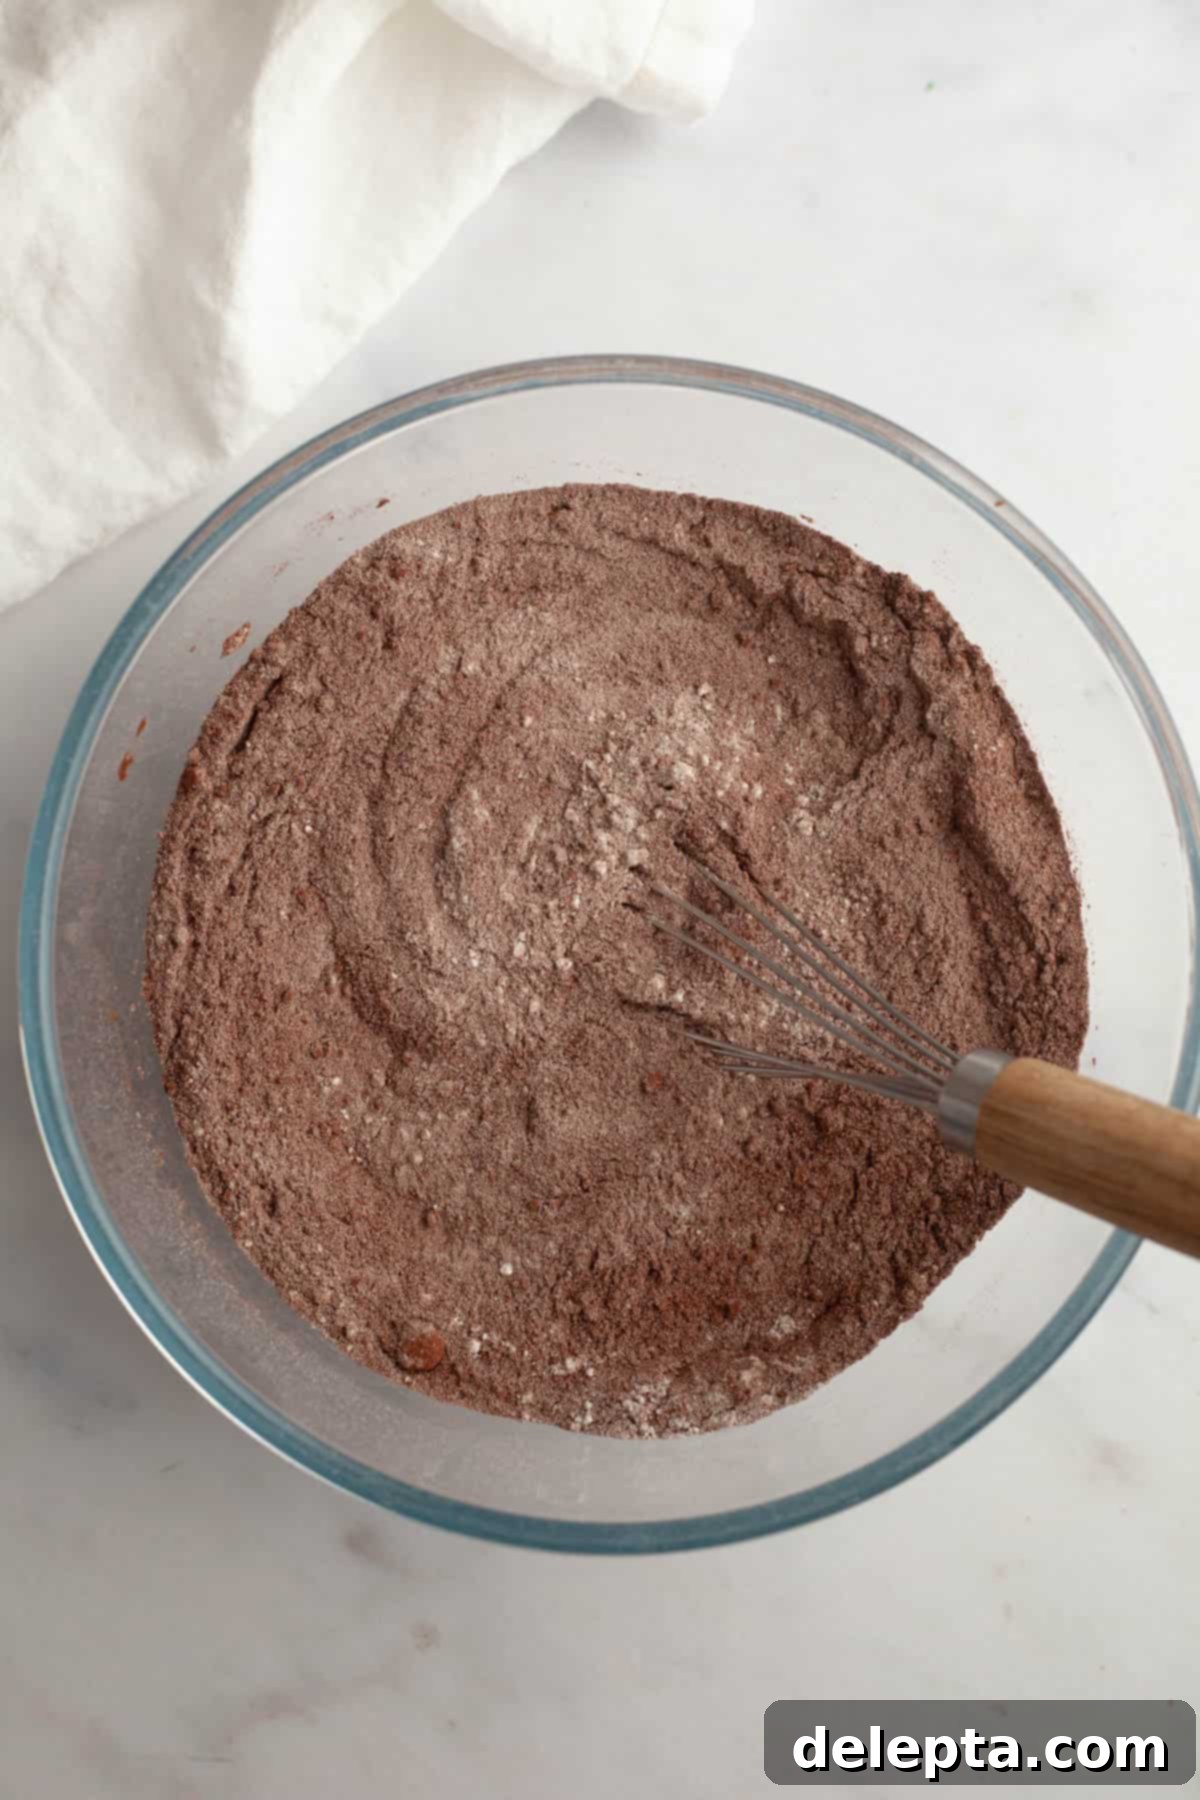
Step 1: Prepare Your Pans and Dry Ingredients. Begin by preheating your oven to 350°F (175°C). Lightly grease and flour two 8-inch round cake pans, then line the bottoms with parchment paper to prevent sticking. In a large mixing bowl, combine all the dry ingredients: all-purpose flour, Dutch-processed cocoa powder, granulated sugar, baking soda, baking powder, and kosher salt. Whisk them thoroughly to ensure they are well combined and there are no lumps, creating a uniform base for your cake.
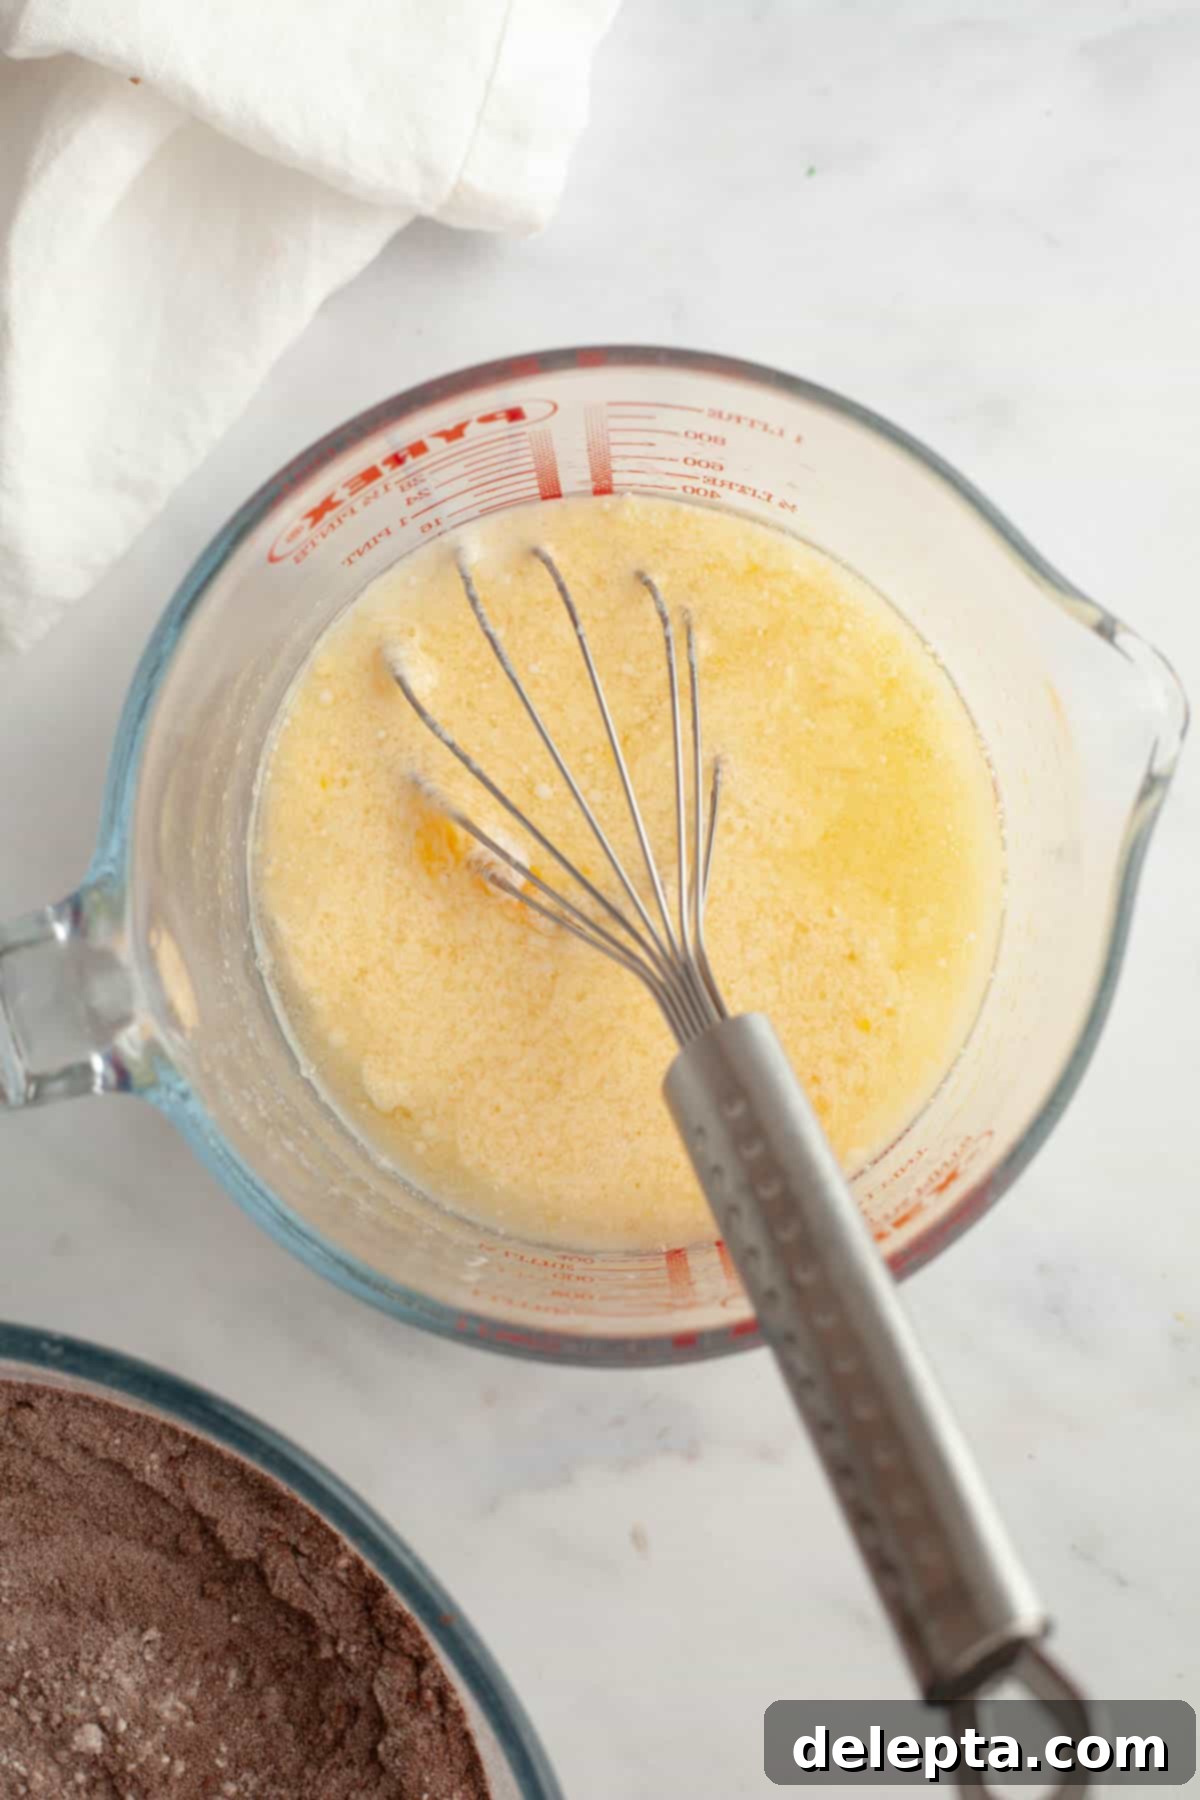
Step 2: Whisk the Wet Ingredients. In a separate large jug or medium bowl, whisk together the eggs, vegetable oil, room temperature buttermilk, and vanilla extract. Ensure these wet ingredients are fully incorporated. The buttermilk and oil are crucial for the cake’s signature moisture and tender texture, while the vanilla extract adds a lovely aromatic depth that complements the rich chocolate.
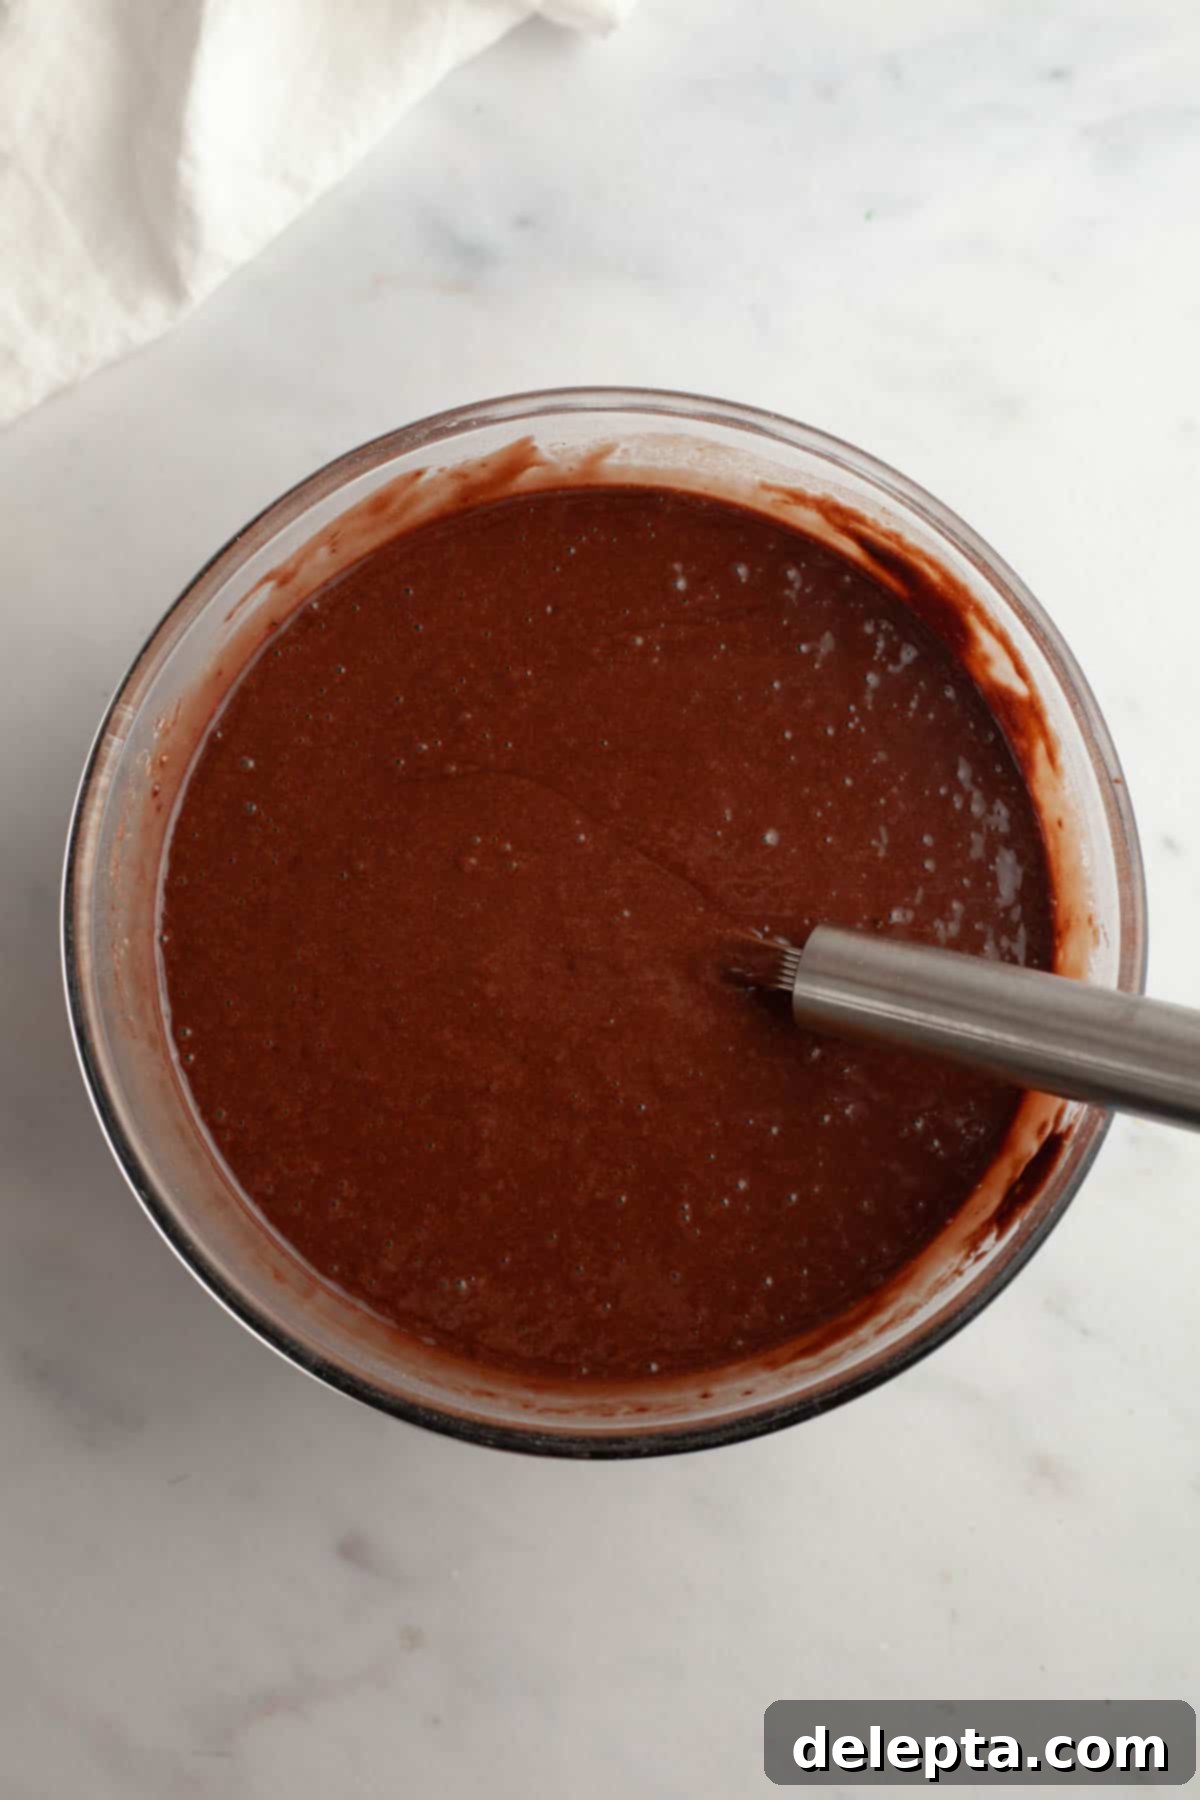
Step 3: Combine and Hydrate the Batter. Pour the whisked wet ingredients directly into the bowl with your dry ingredients. Mix gently with a whisk or spatula until just combined; be careful not to overmix, as this can develop the gluten in the flour and lead to a tough cake. Next, slowly pour in the very hot water and continue to mix until the batter is smooth. The hot water helps to bloom the cocoa powder, intensifying its chocolate flavor, and thins the batter to the perfect consistency for an incredibly moist cake.
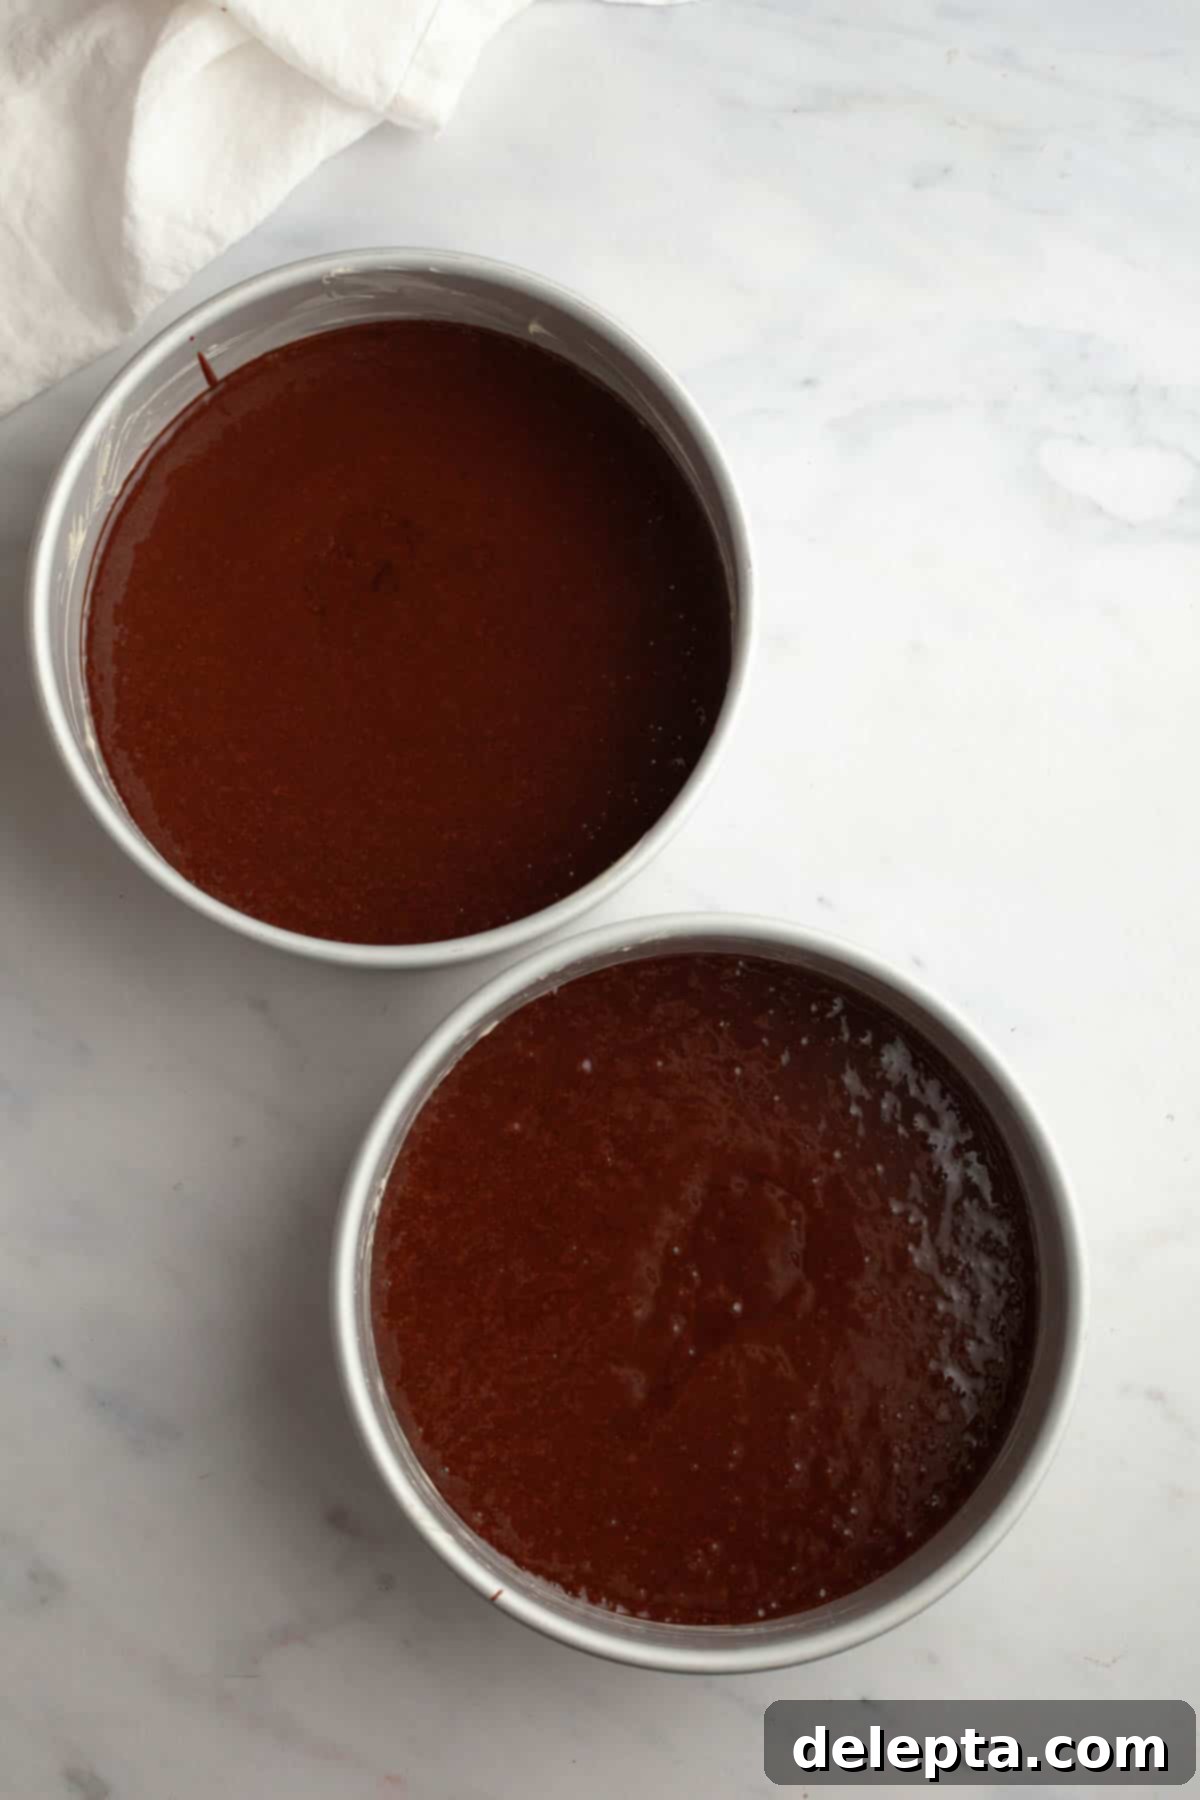
Step 4: Bake to Perfection. Divide the chocolate cake batter evenly between your two prepared 8-inch cake pans. Place them in the preheated oven and bake for approximately 35-40 minutes. The cake is done when a wooden toothpick inserted into the center comes out with only moist crumbs attached, or completely clean. Avoid opening the oven door too early. Once baked, let the cakes cool in their pans for about 10 minutes before carefully inverting them onto a wire cooling rack to cool completely. This prevents them from collapsing and ensures they are firm enough to handle.
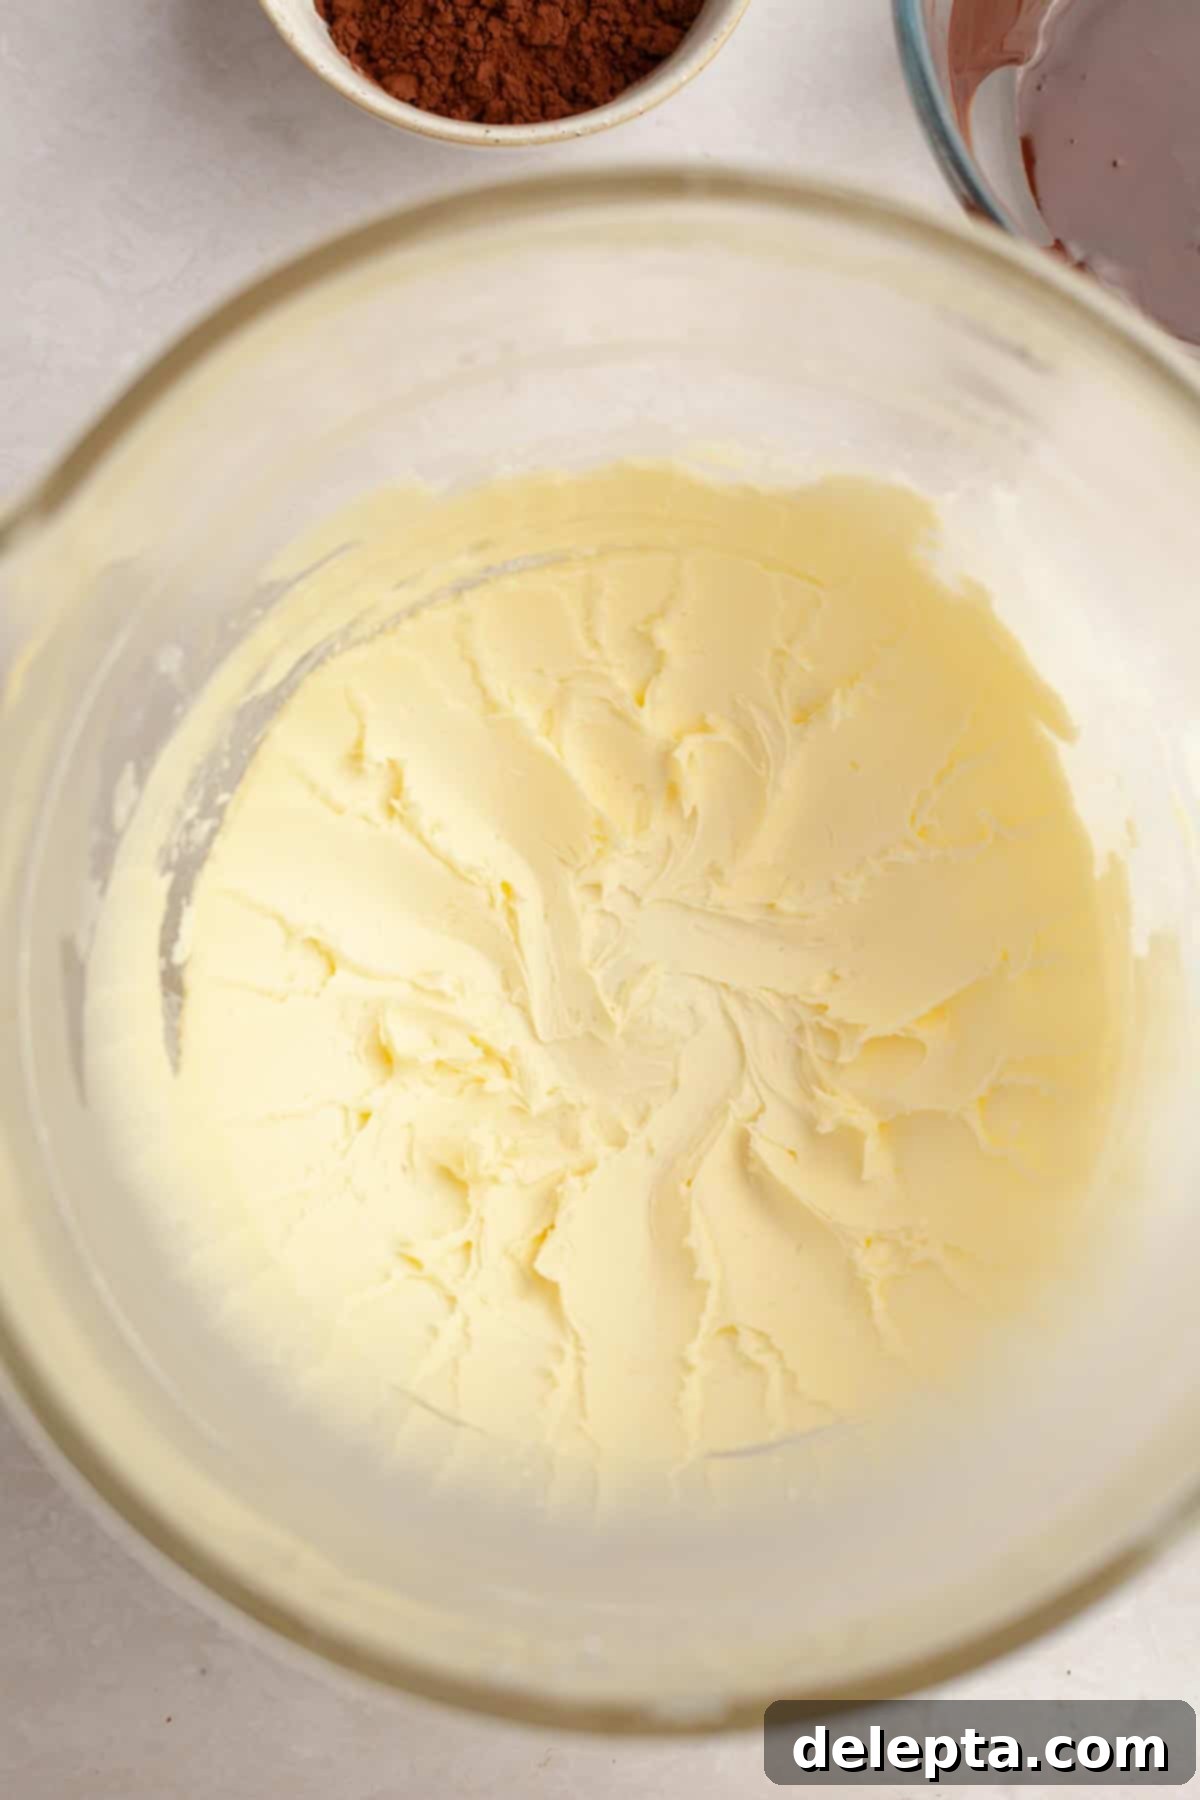
Step 5: Prepare the Frosting Base. While your cakes are cooling, begin crafting the divine fudgy chocolate frosting. In the bowl of a stand mixer fitted with the paddle attachment (or using a large bowl with a handheld mixer), beat the softened unsalted butter and confectioners’ sugar together on low speed until just combined. Then, increase the speed to medium-high and beat for 2-3 minutes until the mixture is light, fluffy, and pale. This aeration is key to a smooth, delightful frosting texture.
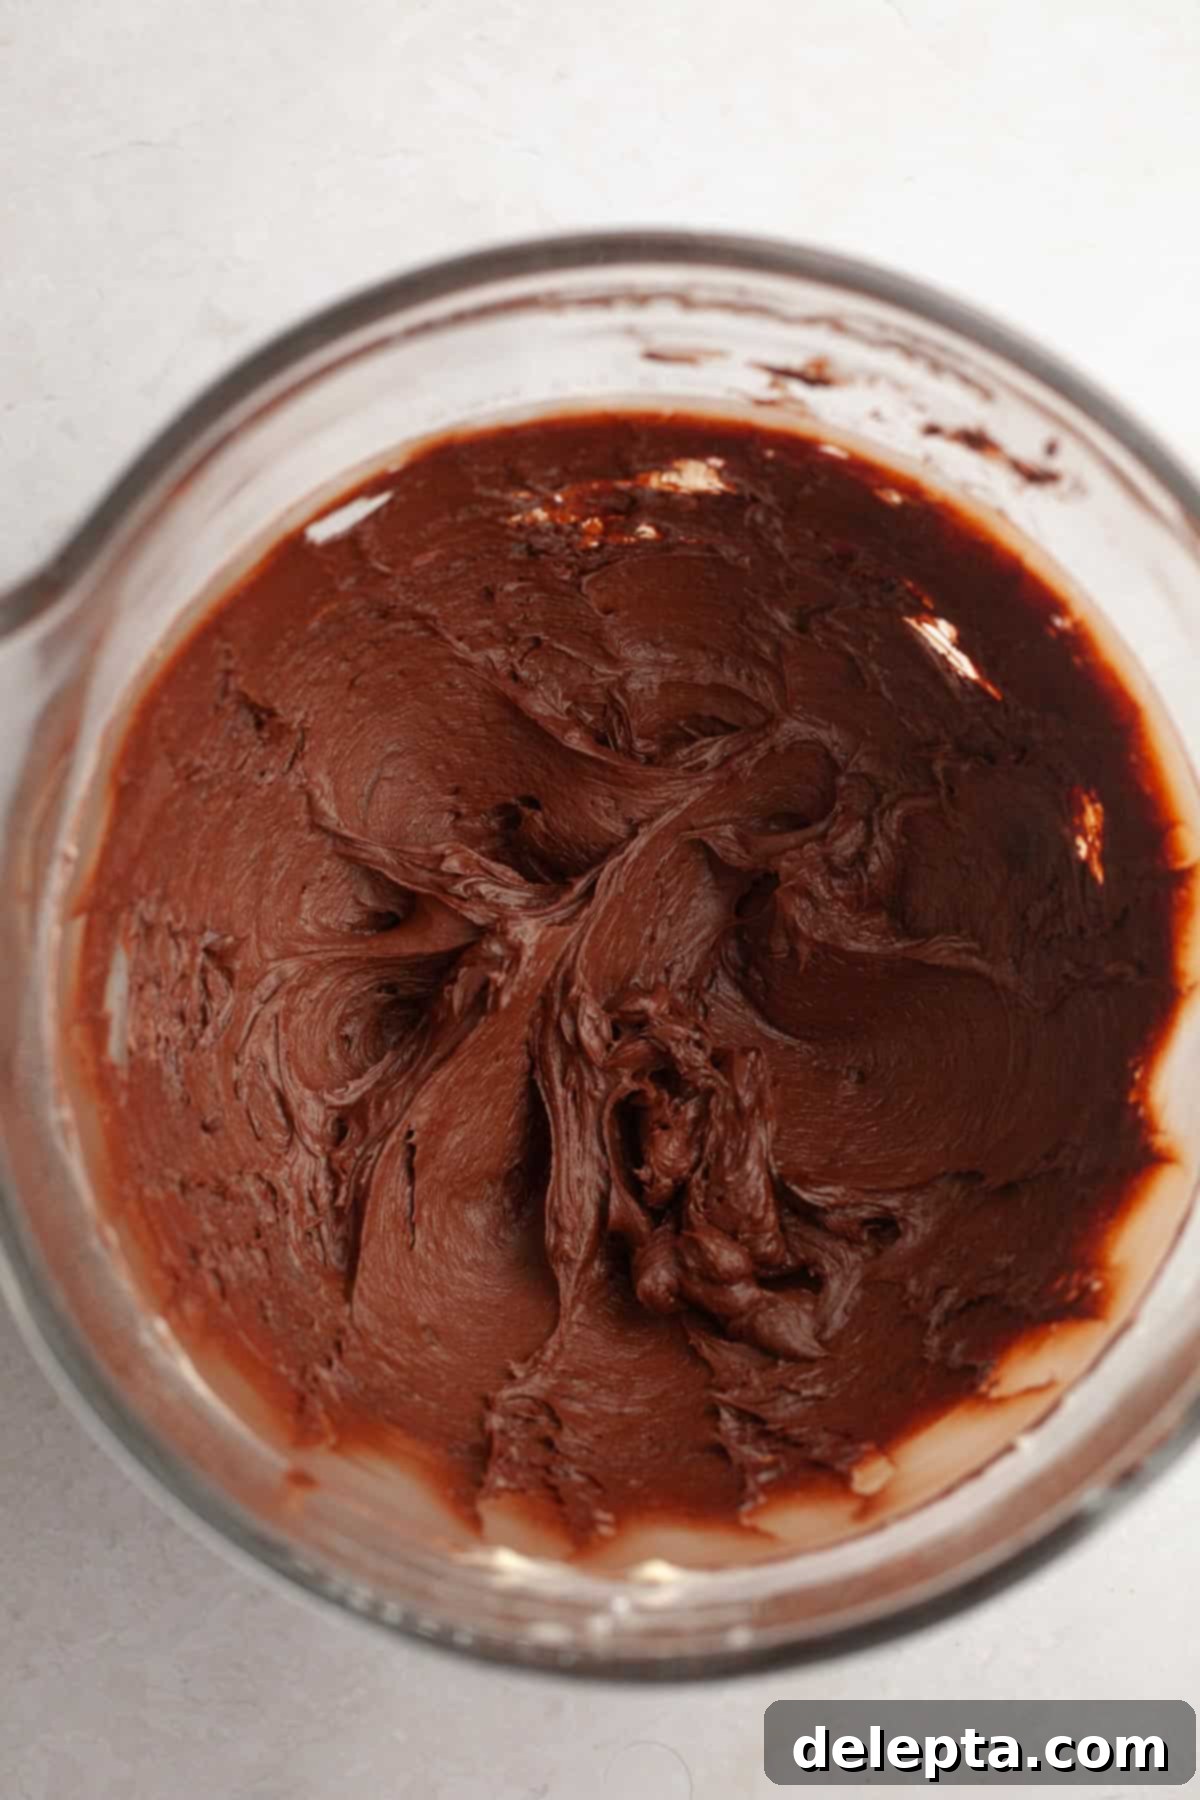
Step 6: Finish the Fudgy Frosting and Assemble. To the creamed butter and sugar mixture, add the Dutch-processed cocoa powder and beat on low speed until fully incorporated. Next, add the room temperature sour cream, kosher salt, and the cooled melted dark chocolate. Beat on medium-high speed until the frosting is completely smooth, glossy, and beautifully fudgy. Once your cake layers are completely cool, assemble and generously frost your cake with this exquisite chocolate sour cream frosting. Slice and savor every rich bite!
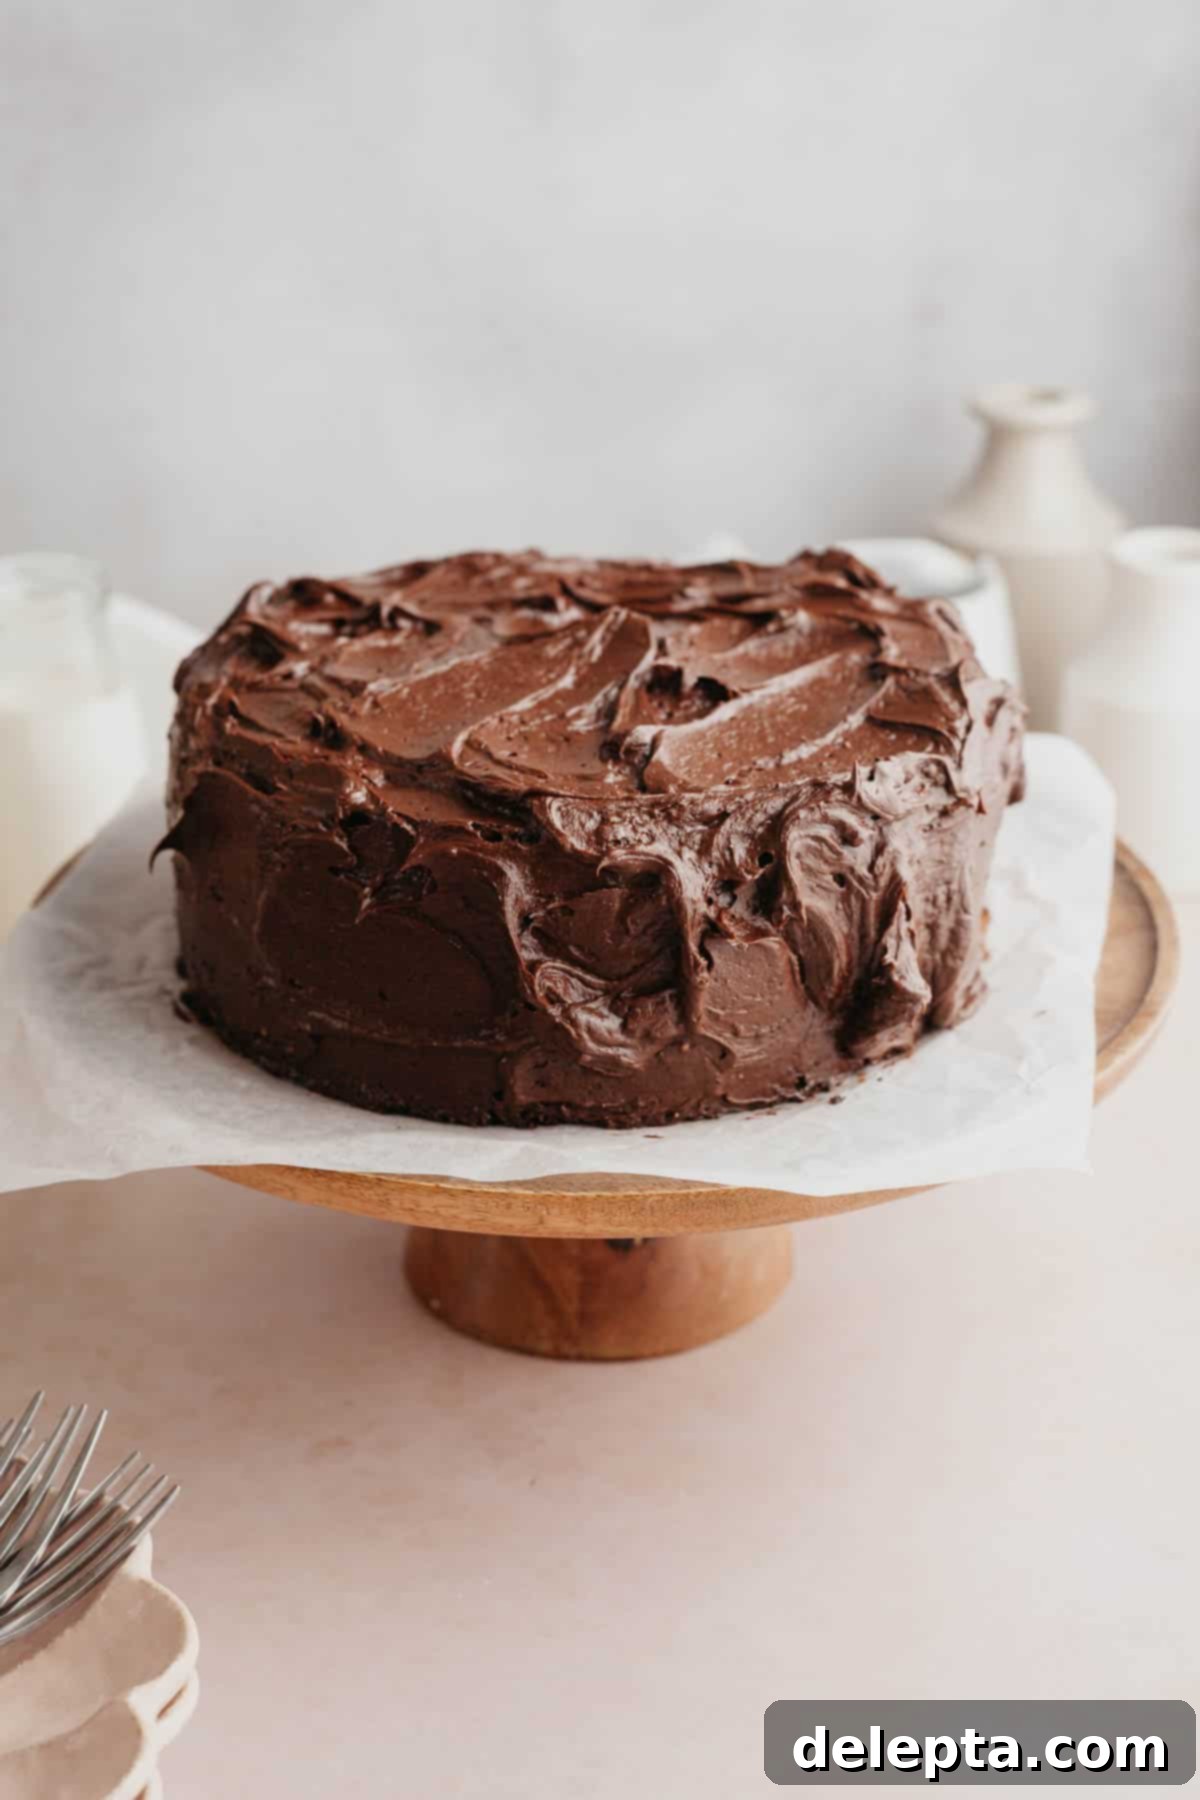
My Essential Baking Tips for a Perfect Cake
- I highly recommend using a digital kitchen scale for weighing your ingredients, especially flour and sugar. Measuring ingredients by weight (metric way) is far more accurate than using volume measurements (cups), which can vary significantly. This precision makes a huge difference in the consistency and outcome of your baking, ensuring a perfect cake every time.
- Always make sure that all of your ingredients are at room temperature before you begin the recipe. This includes eggs, buttermilk, and butter for the frosting. Room temperature ingredients emulsify more easily, leading to a smoother batter and frosting, which in turn results in a more evenly baked cake with a superior texture.
- It is absolutely crucial to allow your cake layers to cool completely on a wire rack before you even think about assembling the cake with the frosting. If the cake layers are even slightly warm, your beautiful, fudgy frosting will melt, slide right off the cake, and create a messy disaster. Patience is key for a picture-perfect finish.
- You can easily make the cake layers ahead of time to break up the baking process. Once baked and completely cooled, wrap each layer tightly in plastic wrap to prevent them from drying out. They can be refrigerated for up to 2 days or frozen for up to 2 months. When ready to use, simply bring them back to room temperature before frosting.
- For super even cake layers with flat tops, I highly recommend using cake strips. These strips, soaked in water and wrapped around your cake pans, insulate the sides of the pan. This causes the cake to bake more evenly from the outside in, preventing the edges from setting too quickly and creating a dome in the center. Say goodbye to uneven layers and trimming!
- Once you’ve sliced into your glorious cake, gently press strips of parchment paper directly onto any exposed cake surfaces on the leftovers. This simple trick helps to lock in moisture, preventing the cut edges from drying out and keeping your leftover cake wonderfully moist and fresh for longer.
Frequently Asked Questions About Matilda’s Chocolate Cake
No buttermilk? No problem! You have a couple of excellent options. First, you can easily make your own homemade buttermilk: for every cup of buttermilk required in the recipe, simply mix 1 cup of regular milk (preferably whole milk) with 1 tablespoon of lemon juice or white vinegar. Let this mixture sit for 5-10 minutes until it visibly curdles. This creates a good substitute that provides the necessary acidity for the cake. Alternatively, you can substitute the buttermilk for an equal amount of full-fat sour cream or plain yogurt. If you choose this option, the cake might be slightly denser and richer due to the higher fat content, but it will still be incredibly delicious and moist.
If you dream of an even taller, more impressive Matilda-style cake, transforming this into a 3-layer cake is straightforward. You can follow the recipe for my chocolate and peanut butter cake, which is designed for three layers, and simply swap in the chocolate cake and frosting from this recipe. Alternatively, you can stick to this recipe card’s quantities and simply split the batter into three 8-inch cake pans instead of two. Be aware that with thinner layers, they will require less time in the oven (start checking for doneness around 25-30 minutes), and the resulting layers won’t be as thick as the original two-layer version, but you’ll still achieve a beautiful, multi-layered effect!
To keep your magnificent Matilda’s Chocolate Cake fresh and moist, store it tightly wrapped in plastic wrap or in an airtight cake carrier in the refrigerator for up to 5 days. For the best flavor and texture, allow the cake to come to room temperature for about 30-60 minutes before serving. You can also freeze the unfrosted cake layers (well-wrapped) for up to 2 months. Once thawed overnight in the refrigerator, bring them to room temperature before frosting. You can also freeze individual slices of the frosted cake for up to 1 month, wrapping each slice tightly in plastic wrap and then foil. Defrost slices overnight in the fridge before enjoying.
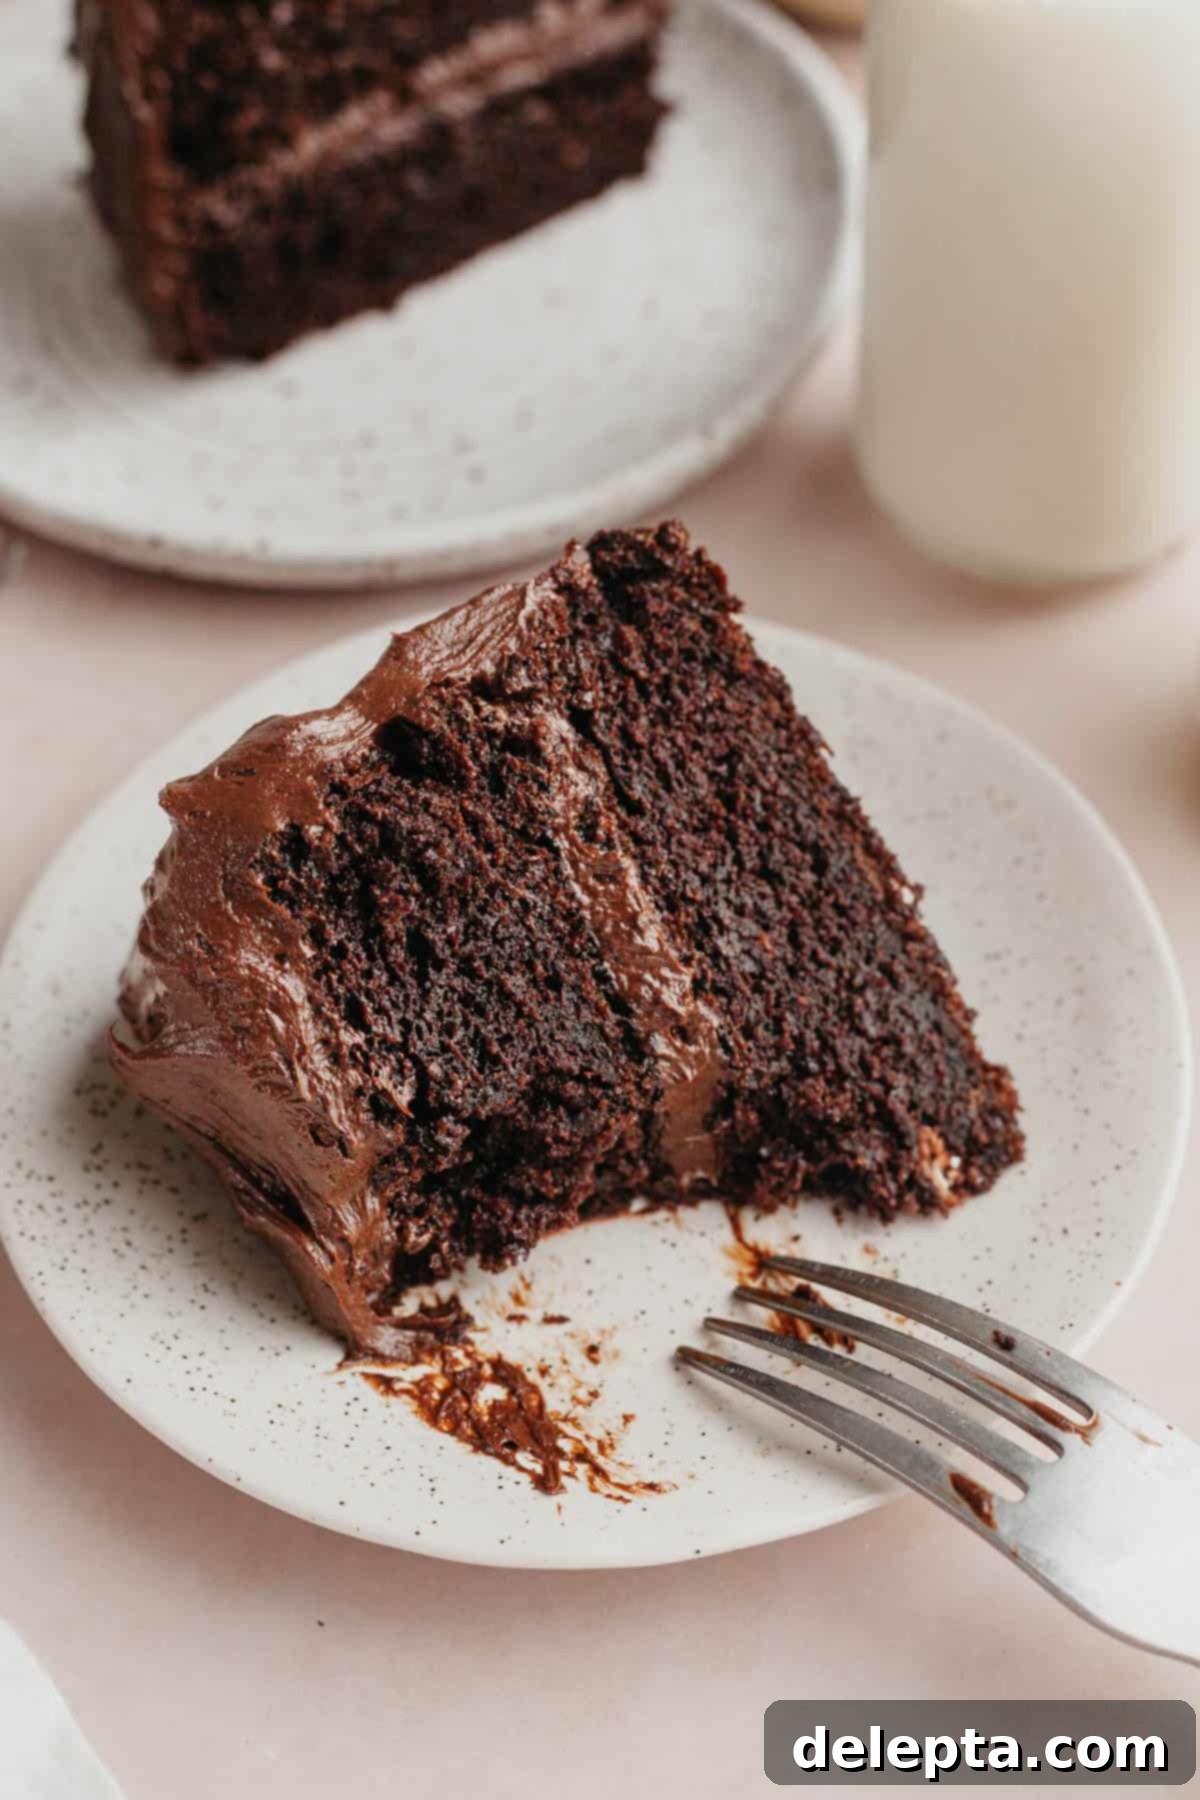
Indulge Further: Try These Irresistible Chocolate Recipes Next!
- Chocolate & Orange Cake
- Glazed Chocolate Cake Doughnuts
- The Best Chocolate Filled Cookies (Thick and Gooey)
- Oreo Peanut Butter Pie (no bake)
If you’ve made this incredibly delicious recipe, please make sure to leave a ⭐️ rating and a thoughtful review below! I absolutely adore seeing your creations, so don’t forget to tag me on Instagram @alpineella so I can admire your beautiful bakes! You can also stay connected and follow along on Pinterest, Facebook, and TikTok for more baking inspiration and delicious recipes!
Recipe Card
Matilda’s Chocolate Cake
Ella Gilbert
Pin Recipe
Save RecipeSaved!
Equipment
-
2 8″ round cake pans
Ingredients
Chocolate Cake
- ¾ cup Dutch-processed cocoa powder
- 1 ¾ cups granulated sugar
- ¾ teaspoon vanilla extract
- ¾ teaspoon kosher salt
- 2 large eggs room temperature
- 2 cups all-purpose flour
- 2 teaspoons baking soda
- 1 teaspoon baking powder
- 1 cup buttermilk room temperature
- ½ cup vegetable oil
- 1 cup very hot water
Chocolate Sour Cream Frosting
- 1 cup unsalted butter room temperature
- ½ teaspoon kosher salt
- 2 cups confectioners’ sugar
- 1 cup Dutch-processed cocoa powder
- ½ cup sour cream room temperature
- 6 oz dark chocolate chopped
Instructions
Make the Cake
-
Preheat your oven to 350°F (175°C). Butter or grease two 8-inch round cake pans and line the bottoms with parchment paper.
-
In a large bowl, whisk together the all-purpose flour, Dutch-processed cocoa powder, granulated sugar, baking powder, baking soda, and kosher salt until thoroughly combined.¾ cup cocoa powder, 1 ¾ cups granulated sugar, 2 cups all purpose flour, 2 teaspoon baking soda, 1 teaspoon baking powder, ¾ teaspoon kosher salt
-
In a separate large jug or medium bowl, whisk together the buttermilk, vegetable oil, eggs, and vanilla extract until smooth.¾ teaspoon vanilla extract, 1 cup buttermilk, ½ cup vegetable oil, 2 eggs
-
Slowly pour the wet ingredients from the jug into the dry ingredients. Mix with a whisk or spatula until just combined, being careful not to overmix.
-
Gradually add the very hot water and mix until the batter is smooth. The batter will be quite thin, but this is normal for a moist cake!1 cup very hot water
-
Pour the batter evenly into your two prepared pans. Bake for 35-40 minutes, or until a wooden toothpick inserted into the center of the cake comes out with only moist crumbs or clean.
-
Allow the cakes to cool in their pans for 10 minutes before carefully removing them. Transfer to a wire cooling rack to cool completely before frosting.
Make the Frosting
-
Melt your chopped dark chocolate in a microwave-safe bowl, stirring every 10-15 seconds to prevent burning. Set aside to cool slightly.6 oz dark chocolate
-
In the bowl of a stand mixer with the paddle attachment (or using a handheld mixer), beat the room temperature unsalted butter and confectioners’ sugar on low speed until they are just combined and no dry pockets remain.1 cup unsalted butter, 2 cups confectioners’ sugar
-
Increase the mixer speed to high and beat for 2-3 minutes until the mixture becomes light, fluffy, and noticeably paler in color.
-
Add in the Dutch-processed cocoa powder and beat on low speed until fully incorporated. Then, increase to medium speed for 1-2 minutes to ensure it’s completely smooth.1 cup cocoa powder
-
Finally, add the room temperature sour cream, the cooled melted dark chocolate, and the kosher salt. Beat on medium-high speed until the frosting is wonderfully smooth, thick, and perfectly fudgy. Frost your completely cooled cake layers and enjoy every indulgent bite!½ cup sour cream, 6 oz dark chocolate, ½ teaspoon kosher salt
Video Tutorial
Baker’s Notes & Important Tips
Always ensure that all of your ingredients, including eggs, buttermilk, butter, and sour cream, are at room temperature before you begin baking. This helps them combine more smoothly and creates a more uniform batter and frosting, leading to a superior final product.
Butter: For the best results in my recipes, I often use European-style butter, such as Kerrygold. This type of butter typically has a higher fat content, which will contribute to a much creamier, richer, and more luxurious frosting.
Salt: If you don’t have kosher salt on hand, which has larger flakes, you can substitute it with fine-grain table salt. However, it’s important to halve the amount of salt called for in the recipe when doing so. As a general rule, 1 teaspoon of kosher salt is equivalent to about ½ teaspoon of fine salt to avoid over-salting.
Buttermilk: If you find yourself without buttermilk, you have a few options. You can replace it with an equal amount of full-fat sour cream or plain full-fat yogurt for a similar tangy effect and added moisture. Alternatively, you can easily make your own ‘soured milk’ substitute: for every cup of buttermilk required, add 1 tablespoon of lemon juice or white vinegar to 1 cup of regular milk, stir gently, and let it sit for about 5 minutes until it slightly curdles.
Sour Cream: While I haven’t extensively tested this specific frosting with sour cream substitutes, you could likely achieve good results by using full-fat Greek yogurt or another full-fat plain yogurt in an equal amount. These alternatives will offer a similar tang and richness to the frosting.
Vegetable Oil: For the cake portion, if vegetable oil isn’t available, any other unflavored oil like canola oil or grapeseed oil will work perfectly. The key is to choose an oil that won’t impart a strong flavor to your delicious chocolate cake.
Storage: To maintain its freshness and decadent moisture, store the cake tightly wrapped in plastic wrap or placed in an airtight container in the refrigerator for up to 5 days. For the best eating experience, always allow the cake to come to room temperature for at least 30-60 minutes before serving.
Making Ahead: The cake layers are perfect for preparing in advance. Once baked and completely cooled, wrap each cake layer individually and very tightly in plastic wrap. You can store these wrapped layers in the refrigerator for up to 2 days, or for longer-term storage, freeze them for up to 2 months. If frozen, ensure you allow them to defrost completely overnight in the refrigerator, and then bring them to room temperature before applying the frosting for optimal results.
Nutrition Information
