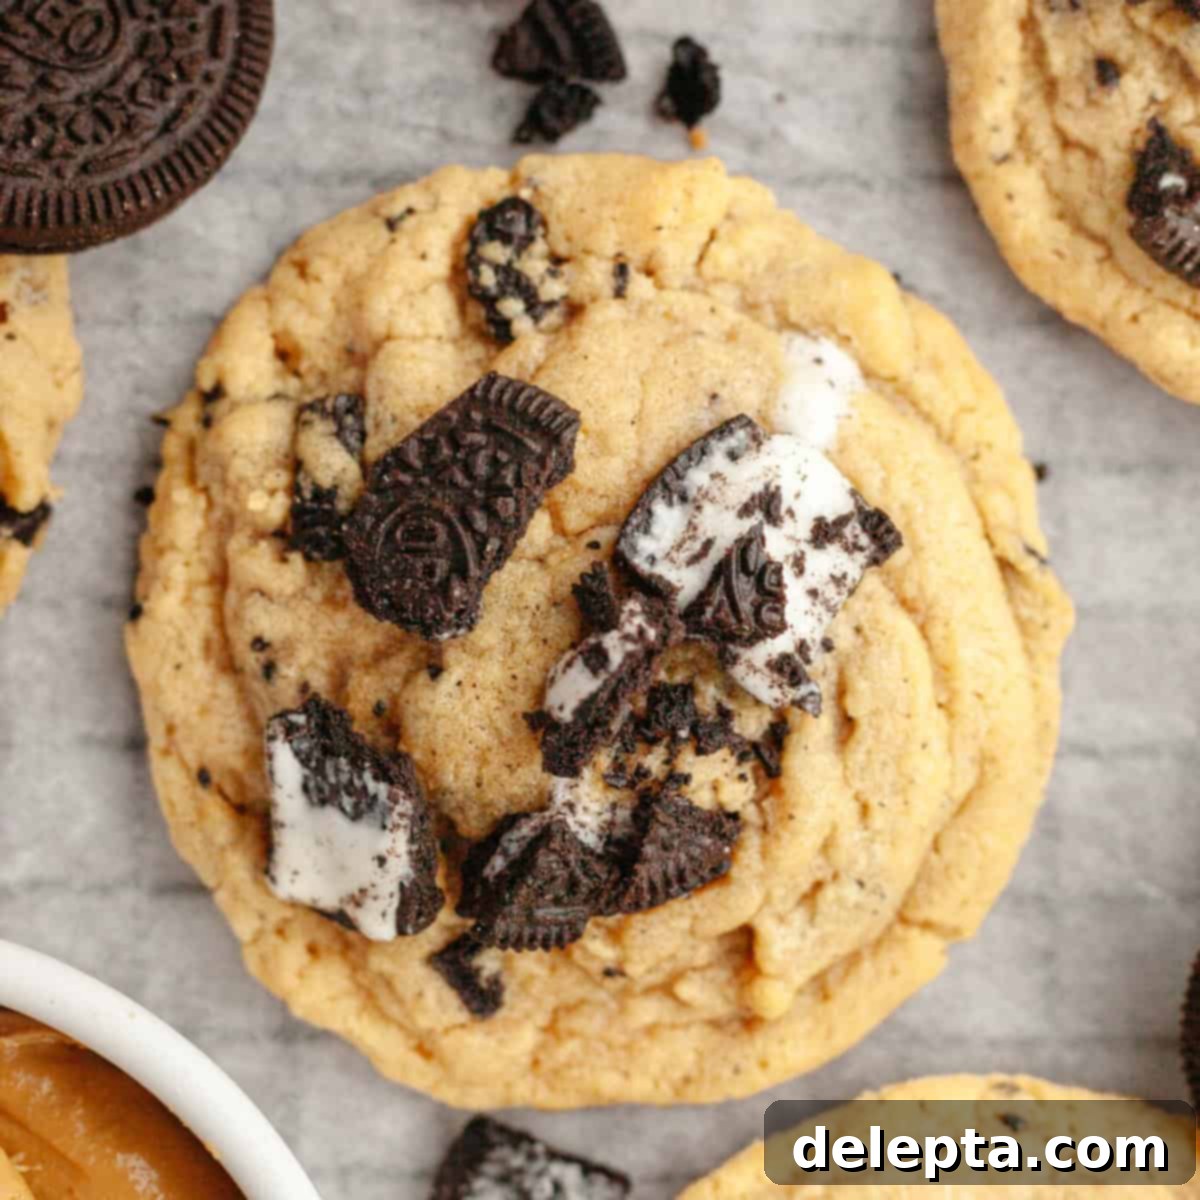
Irresistible One-Bowl Brown Butter Peanut Butter Oreo Cookies (No Chill!)
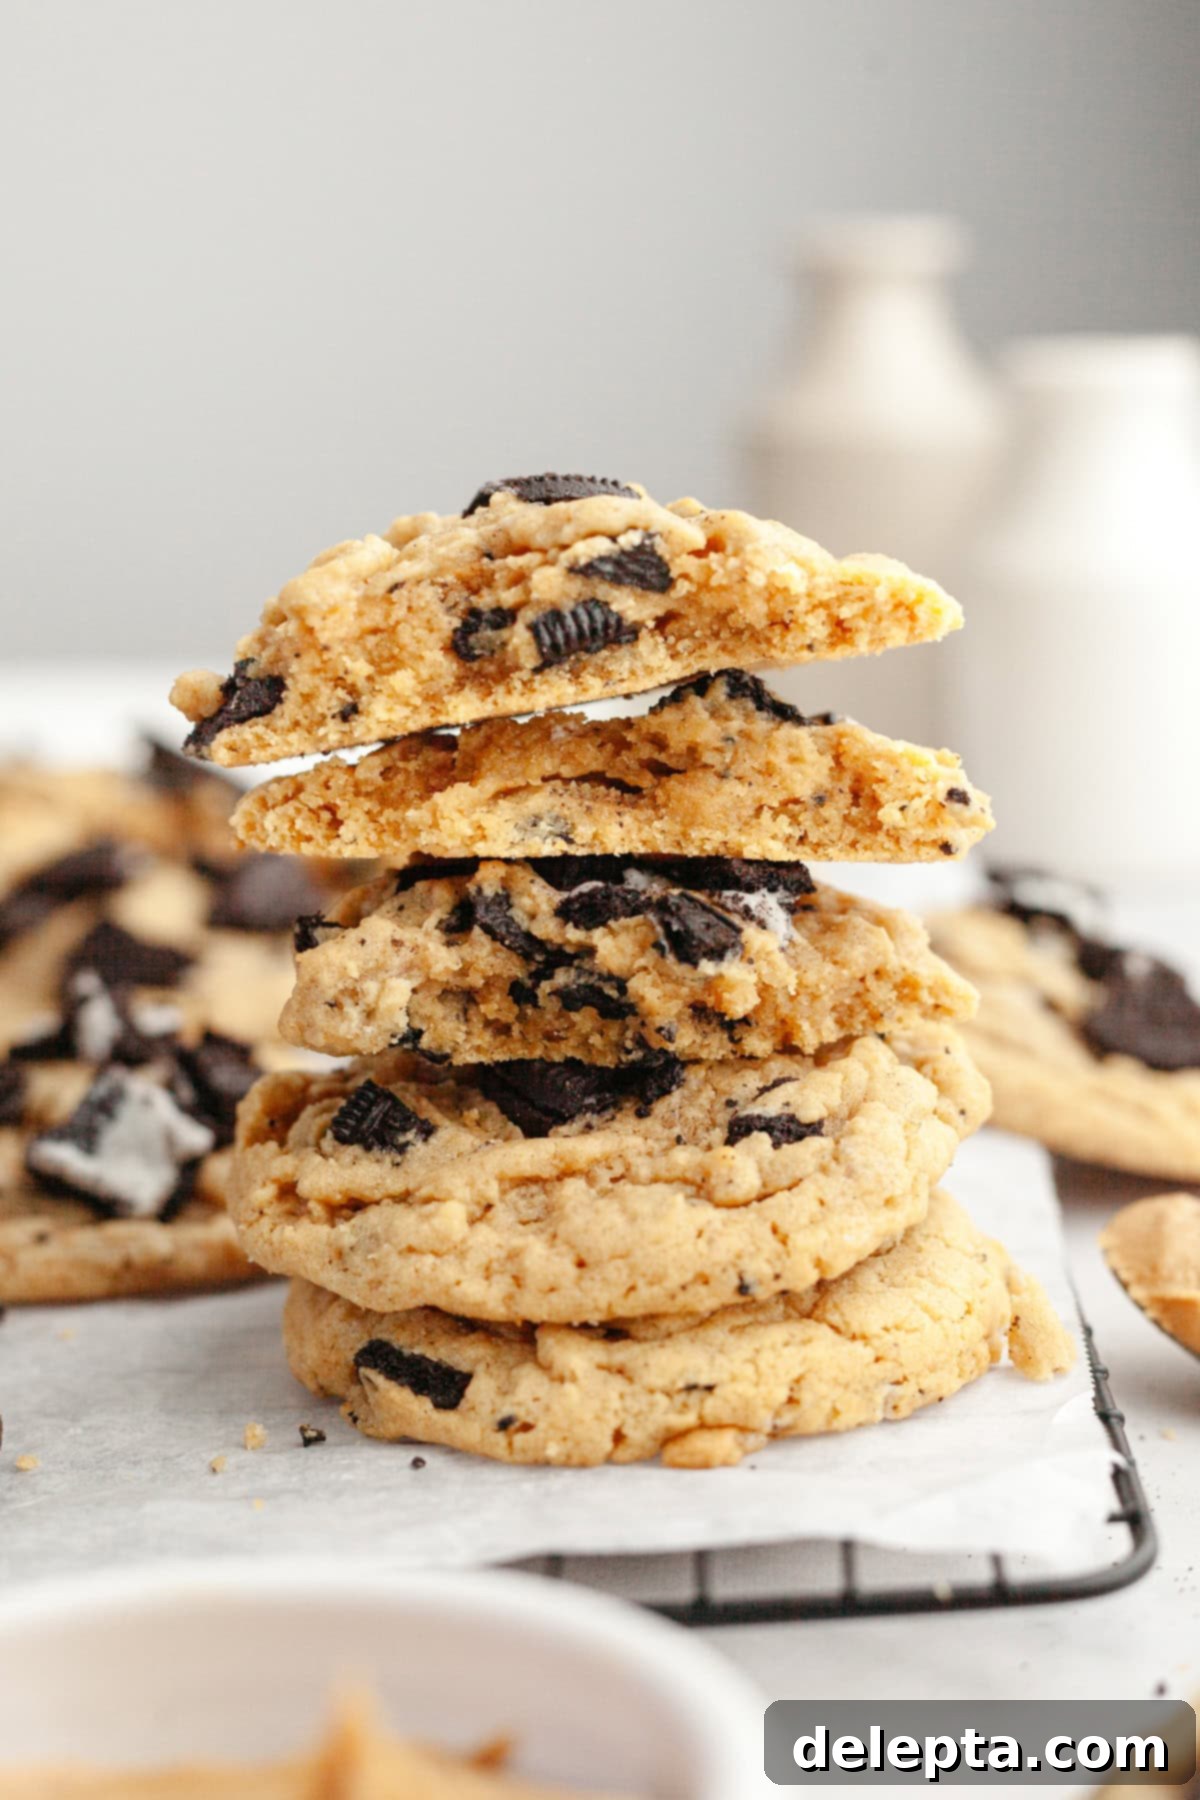
If you’re a devoted cookie enthusiast with a soft spot for the classic combination of peanut butter and chocolate, then prepare to meet your new obsession: Brown Butter Peanut Butter Oreo Cookies. These aren’t just any cookies; they are a masterpiece of texture and flavor, combining the rich, nutty depth of browned butter with the creamy indulgence of peanut butter and the irresistible crunch of chopped Oreo pieces. Each bite delivers a perfectly chewy, soft center with delightfully crisp edges, making them truly everything you could ever desire in a homemade cookie.
What makes these cookies truly exceptional? Not only do they boast an incredible flavor profile thanks to the browned butter, but they are also incredibly easy to make. This recipe is designed for maximum convenience, requiring just one bowl and no electric mixer. That’s right – no fancy equipment needed! Even better, you won’t have to endure the agonizing wait of chilling the dough. From start to finish, these cookies come together quickly, allowing you to enjoy warm, fresh-baked goodness in no time.
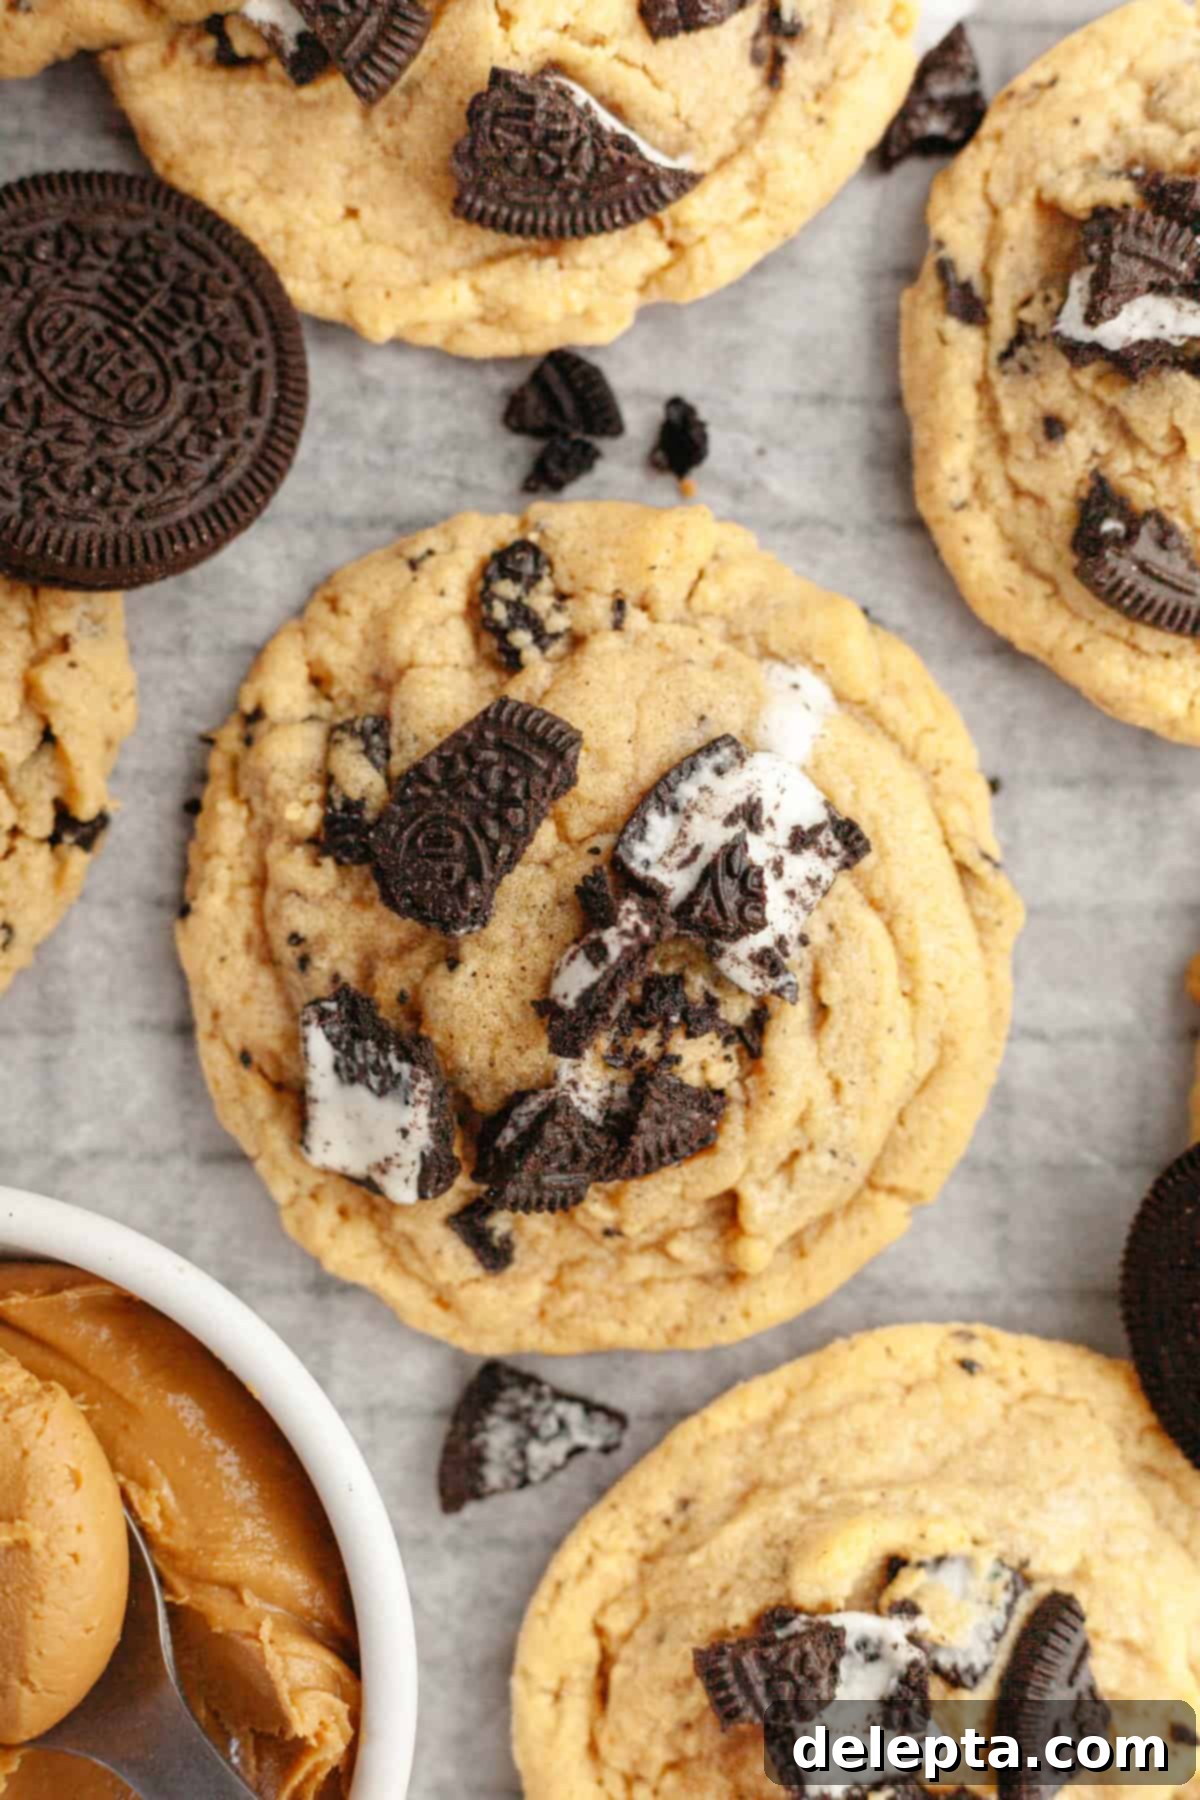
The marriage of peanut butter and chocolate is, without a doubt, one of the most beloved flavor pairings in the culinary world. It’s a combination that evokes comfort and pure delight, and I personally can’t get enough of it! If you share this passion, you might also adore my peanut butter cheesecake brownies and my dreamy no-bake Oreo peanut butter pie. So, when I was diligently recipe testing some brown butter peanut butter cookies, inspiration struck: “What if I folded in some generous chunks of chopped Oreos?” The result, as you’re about to discover, is pure magic.
These Might Just Become Your New Favorite Cookies!
These Brown Butter Peanut Butter Oreo Cookies (yes, it’s a delicious mouthful!) are elevated by my absolute favorite secret ingredient in baking: browned butter. If you’ve never ventured into the world of brown butter, you’re in for a treat that will revolutionize your baking. Don’t worry, it’s much simpler than it sounds! For a comprehensive guide with all the essential tips and tricks, be sure to check out my handy brown butter post. It truly makes all the difference.
Swapping standard melted butter for browned butter imparts a wonderfully toasty, nutty, and subtly caramel-like flavor that is simply addictive. This depth of flavor transforms ordinary cookies into something extraordinary. Am I guilty of using brown butter in almost every cookie recipe I develop? Absolutely, and once you taste the results, you’ll understand why!
During the testing phase for these peanut butter Oreo cookies, my primary goals were to ensure they would be incredibly moist, chewy, and never crumbly or dry – a common challenge when baking with peanut butter. I also wanted to create a recipe that didn’t require chilling the cookie dough, allowing for instant gratification. After perfecting the ratios and techniques, I’m thrilled to confirm that these cookies achieve all that and more, delivering a soft, tender texture every single time without the need for refrigeration.
Why I ❤️ Brown Butter & What It Is!
Brown butter, also known as beurre noisette, is a simple yet transformative ingredient that adds incredible depth and complexity to any baked good. It’s made by gently melting and cooking butter until its milk solids toast to a golden-brown hue. As butter melts on the stove, you’ll initially notice distinct white flecks settling at the bottom of the pan – these are the milk solids.
As the butter continues to heat, these milk solids undergo the Maillard reaction, a chemical process that creates rich, complex flavors. They will toast and caramelize, turning a beautiful golden brown. During this process, your kitchen will fill with an intoxicating aroma of nutty, toasted goodness, and the butter itself will develop an almost caramelized taste. This simple step is a game-changer, guaranteed to level up your cookie game from homemade to bakery-quality.
While brown butter is highly recommended for its unique flavor, if you’re truly pressed for time or prefer not to brown it, you can substitute it with regular melted butter. However, it’s important to note that you’ll need slightly less melted butter. This is because the browning process causes some of the water content in the butter to evaporate, resulting in a more concentrated fat. So, for every cup of browned butter called for, use approximately 1.5 sticks plus 4 teaspoons (about 190 grams) of regular melted butter to maintain the correct moisture balance in your dough.
Essential Ingredients for Perfect Peanut Butter Oreo Cookies
Crafting these irresistible cookies requires a handful of common pantry staples, but paying attention to a few key details will ensure your cookies turn out perfectly soft, chewy, and bursting with flavor. Here’s a closer look at what you’ll need:
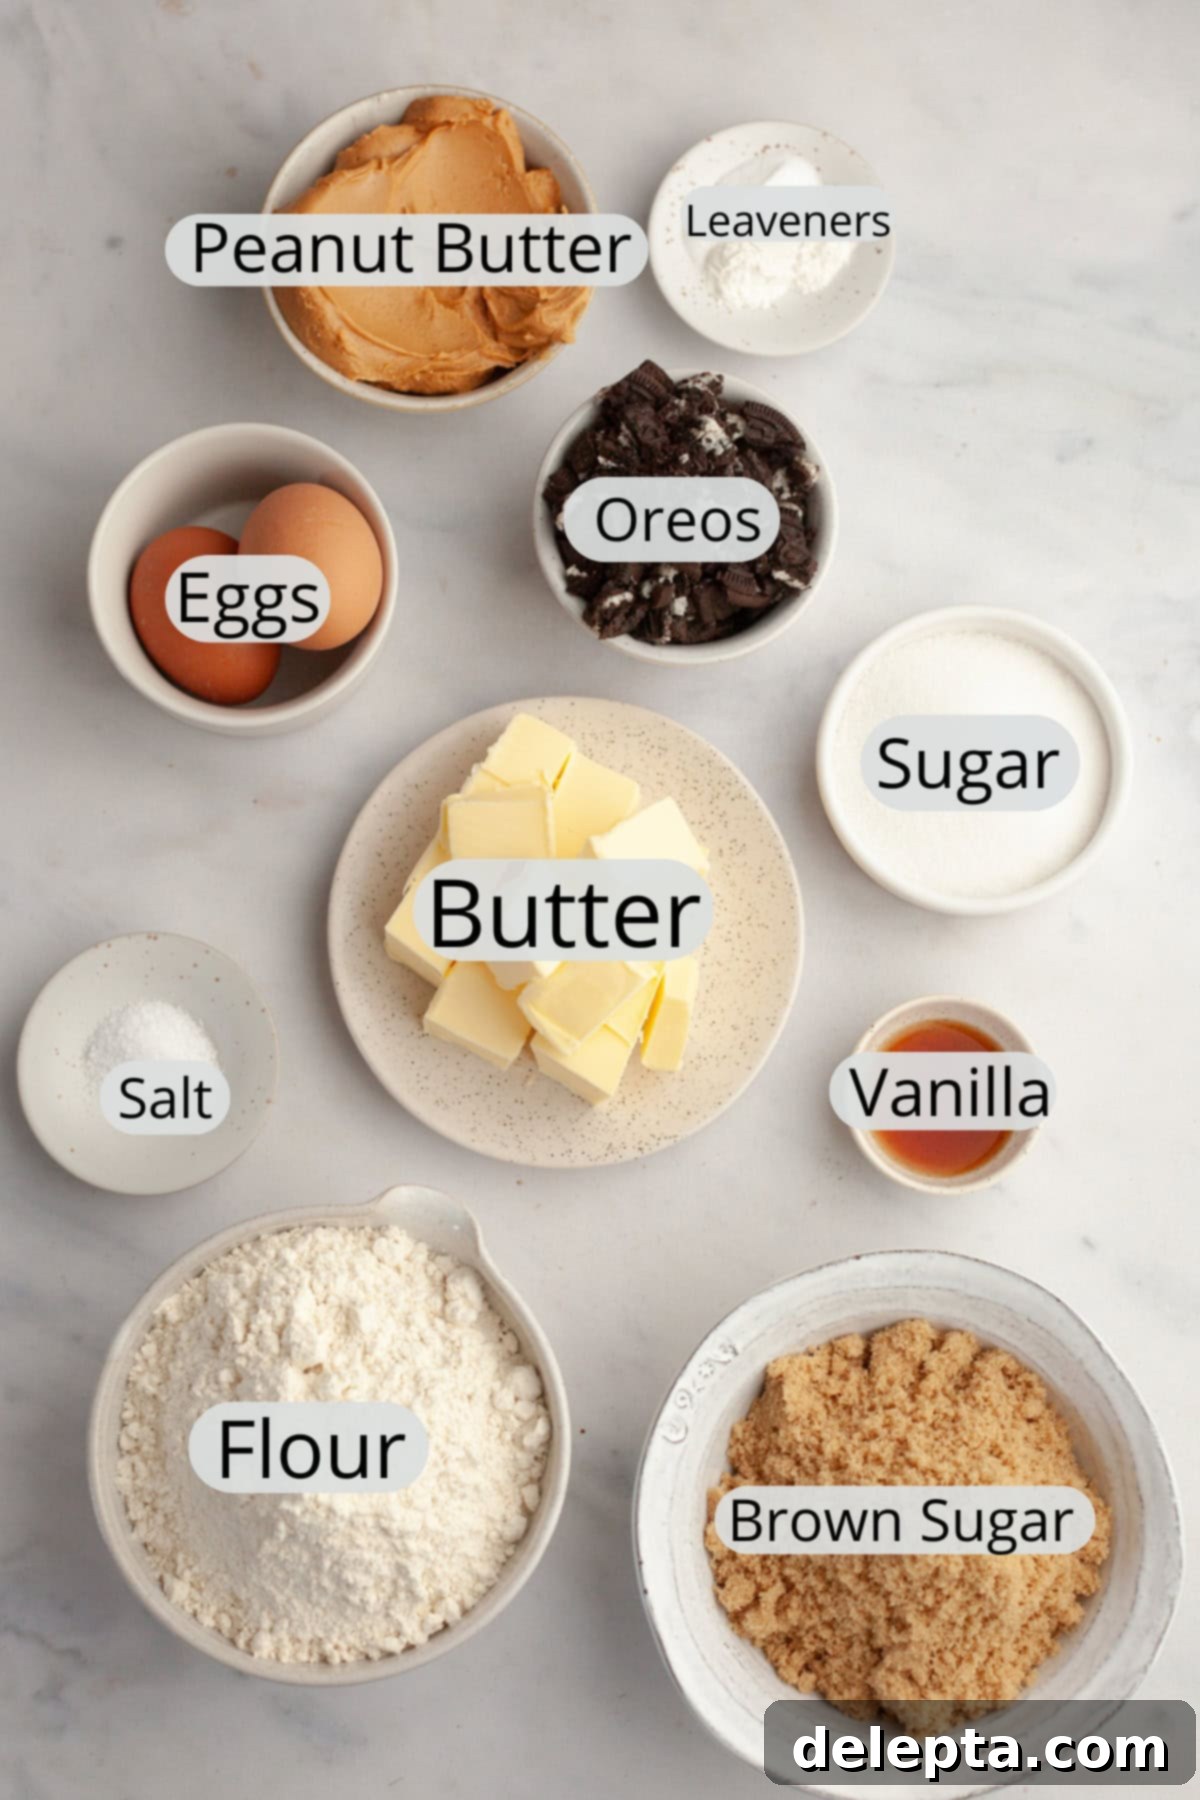
- Peanut Butter: For consistent results, it’s crucial to use commercial, stabilized peanut butter (like Jif or Skippy) rather than natural peanut butter, which tends to separate and have a thinner consistency with oil on top. I’ve successfully tested this recipe with both smooth and chunky varieties, and both yield fantastic results, offering a slight variation in texture.
- Oreos: The star mix-in! I typically use classic regular Oreos for their iconic chocolatey crunch. However, feel free to experiment with other Oreo flavors – imagine how incredible these would be with peanut butter-filled Oreos or even mint Oreos for a seasonal twist! Chop them roughly to ensure substantial pieces in every bite.
- Unsalted Butter: This is essential for creating that glorious brown butter. Using unsalted butter gives you full control over the salt content in your cookies, which is especially important as peanut butter and kosher salt are also key ingredients.
- All-Purpose Flour: This is perhaps the most critical ingredient to measure accurately. I cannot stress this enough: please, please, please use a kitchen scale to weigh your flour! Measuring cups can easily lead to adding too much flour, which will result in dry, dense, and crumbly cookies instead of the soft, chewy texture we’re aiming for. Precision here is key!
- Granulated Sugar & Light Brown Sugar: The combination of these two sugars is vital for both flavor and texture. Granulated sugar contributes to crisp edges and overall sweetness, while light brown sugar adds moisture, chewiness, and a subtle caramel note that complements the browned butter beautifully.
- Vanilla Extract: A splash of good quality vanilla extract enhances all the other flavors, adding warmth and complexity to the cookies.
- Kosher Salt: Salt is not just for seasoning; it balances the sweetness and brings out the rich flavors of peanut butter and chocolate. Make sure to use kosher salt as specified, as its coarser grain and different density can impact the final taste compared to table salt. (See notes section for adjustment if using fine salt).
- Large Eggs (Room Temperature): Room temperature eggs incorporate more easily into the butter and sugar mixture, creating a smoother, more emulsified dough. This leads to a better texture in your baked cookies.
- Baking Soda & Baking Powder: These leavening agents work together to give the cookies their perfect rise and chewiness. Baking soda reacts with the acidic brown sugar, while baking powder provides additional lift, ensuring a light yet substantial cookie.
Let’s Bake Some Amazing Peanut Butter Oreo Cookies!
Get ready to create some magic in your kitchen! The full recipe details are listed below, complete with a helpful video. But for now, let’s walk through the simple steps with some visual guidance to ensure your cookies turn out perfectly.
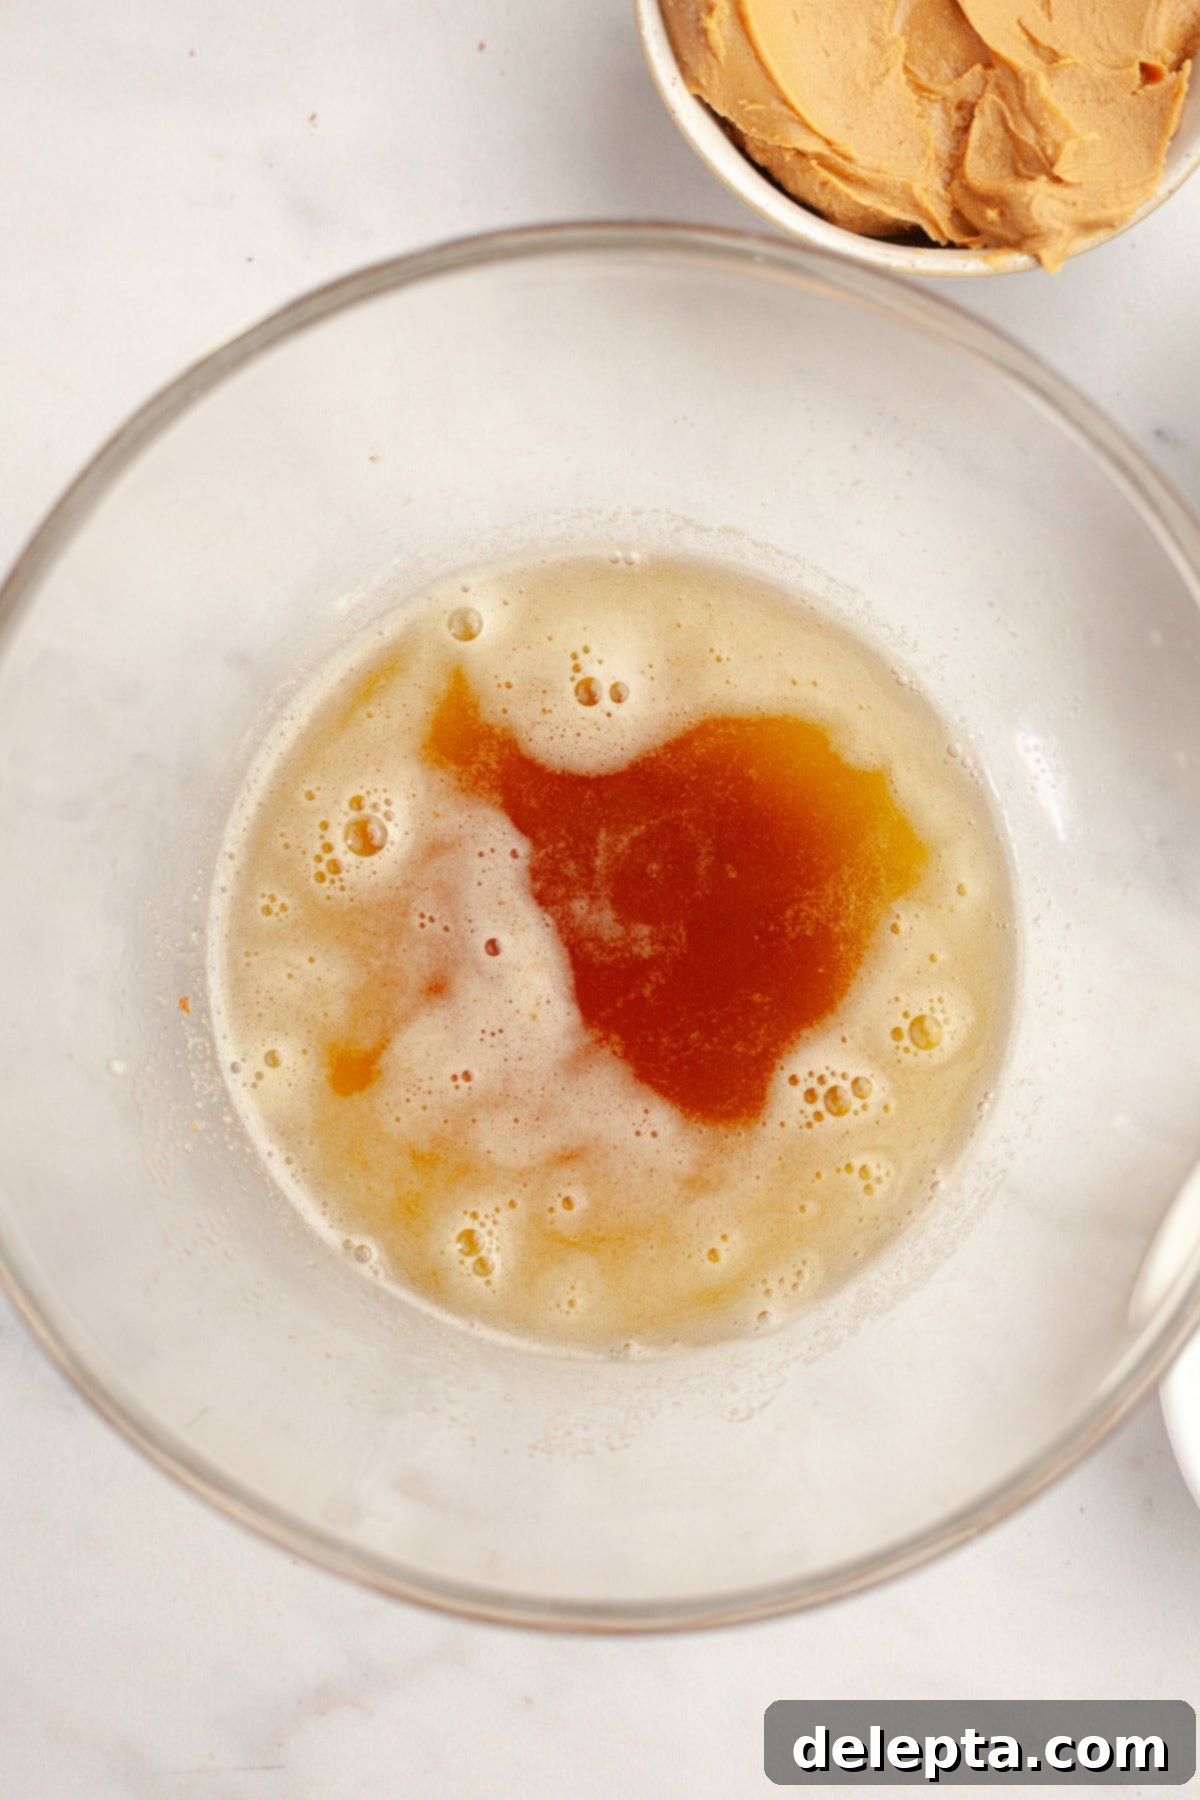
First, embark on the delightful journey of browning your butter. Melt unsalted butter in a light-colored saucepan over medium-low heat. Keep stirring constantly with a rubber spatula. It will foam, then the foam will subside, revealing gorgeous golden-brown milk solids at the bottom. The aroma will transform into a rich, nutty scent – that’s your cue! Once perfectly browned, pour it immediately into a large mixing bowl to stop the cooking process. Allow it to cool slightly, but don’t let it solidify.
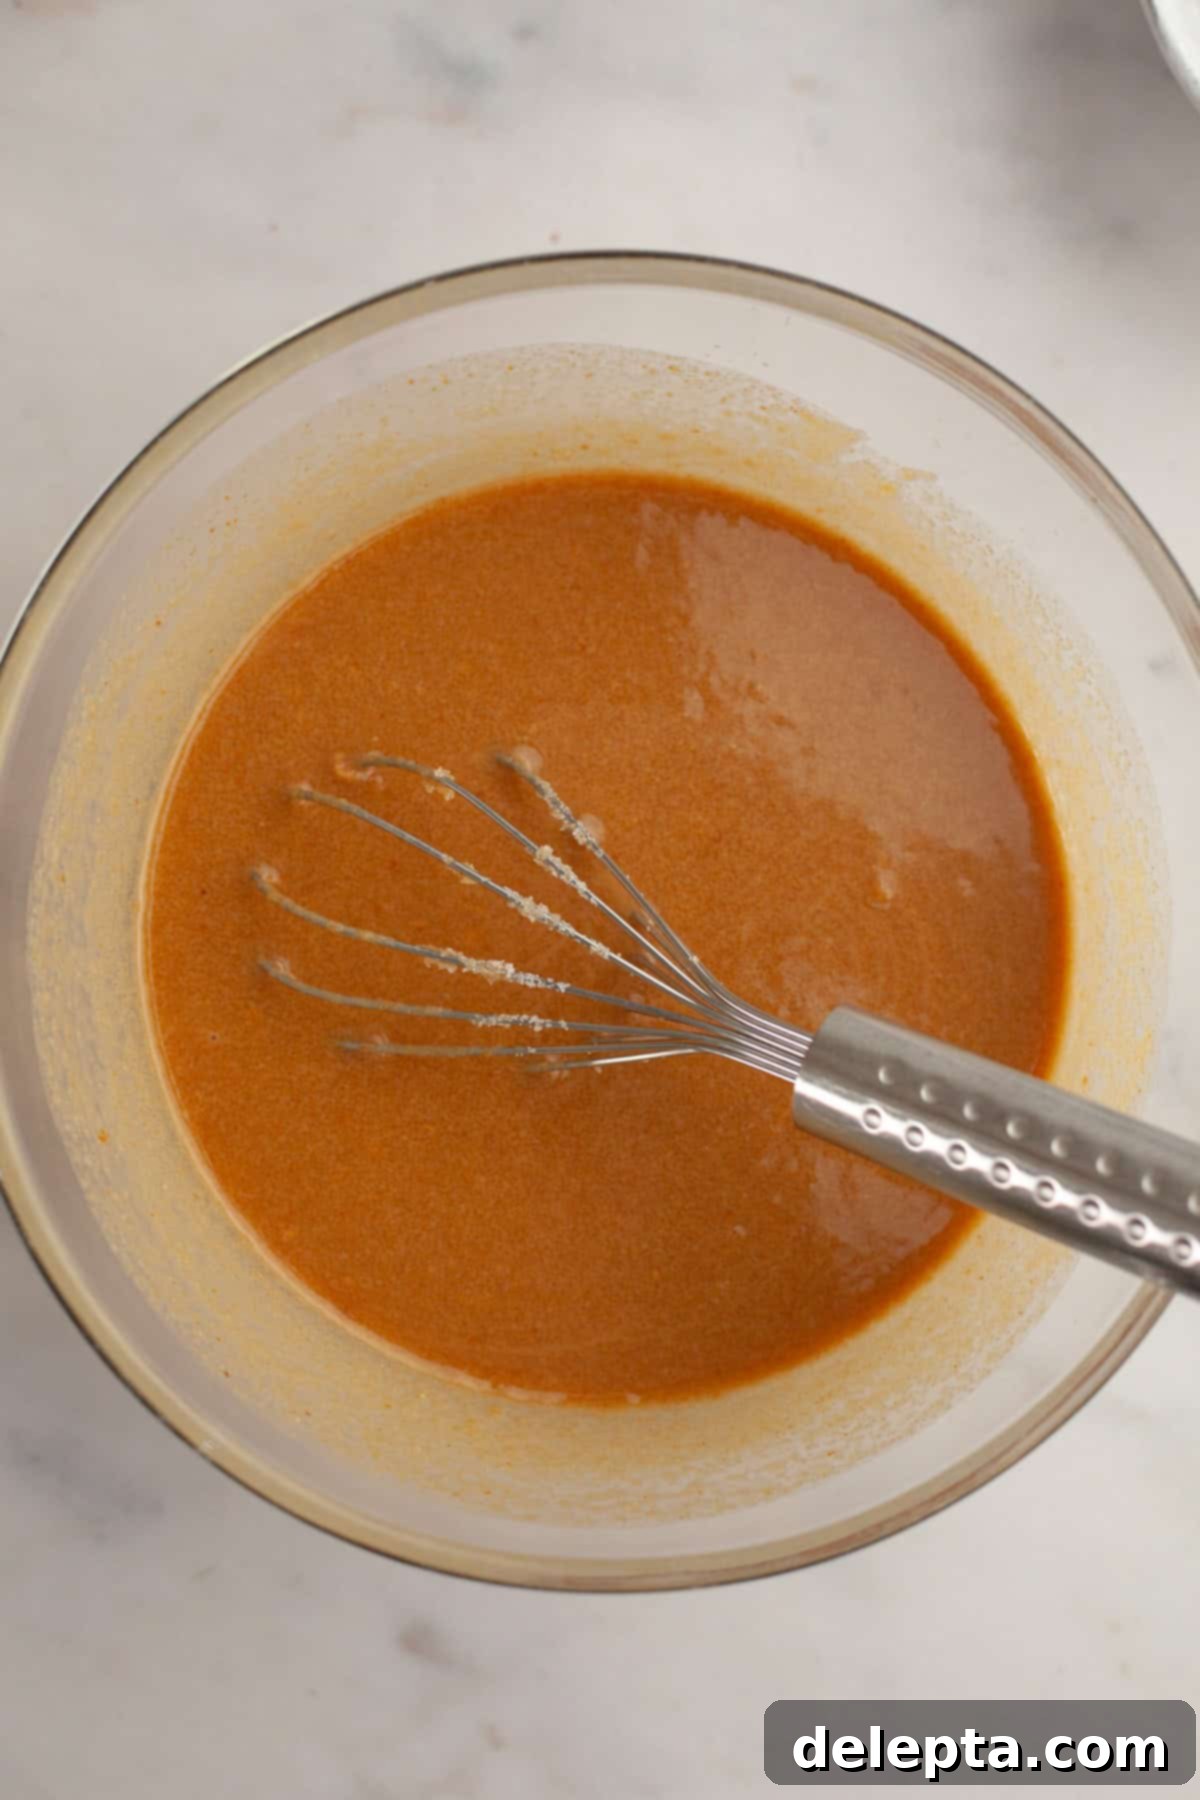
With your fragrant browned butter slightly cooled, it’s time to mix in the peanut butter. Add your commercial peanut butter to the bowl and whisk vigorously until the two are fully combined and the mixture is wonderfully smooth and uniform. This creates the rich, creamy base for our delightful cookies.
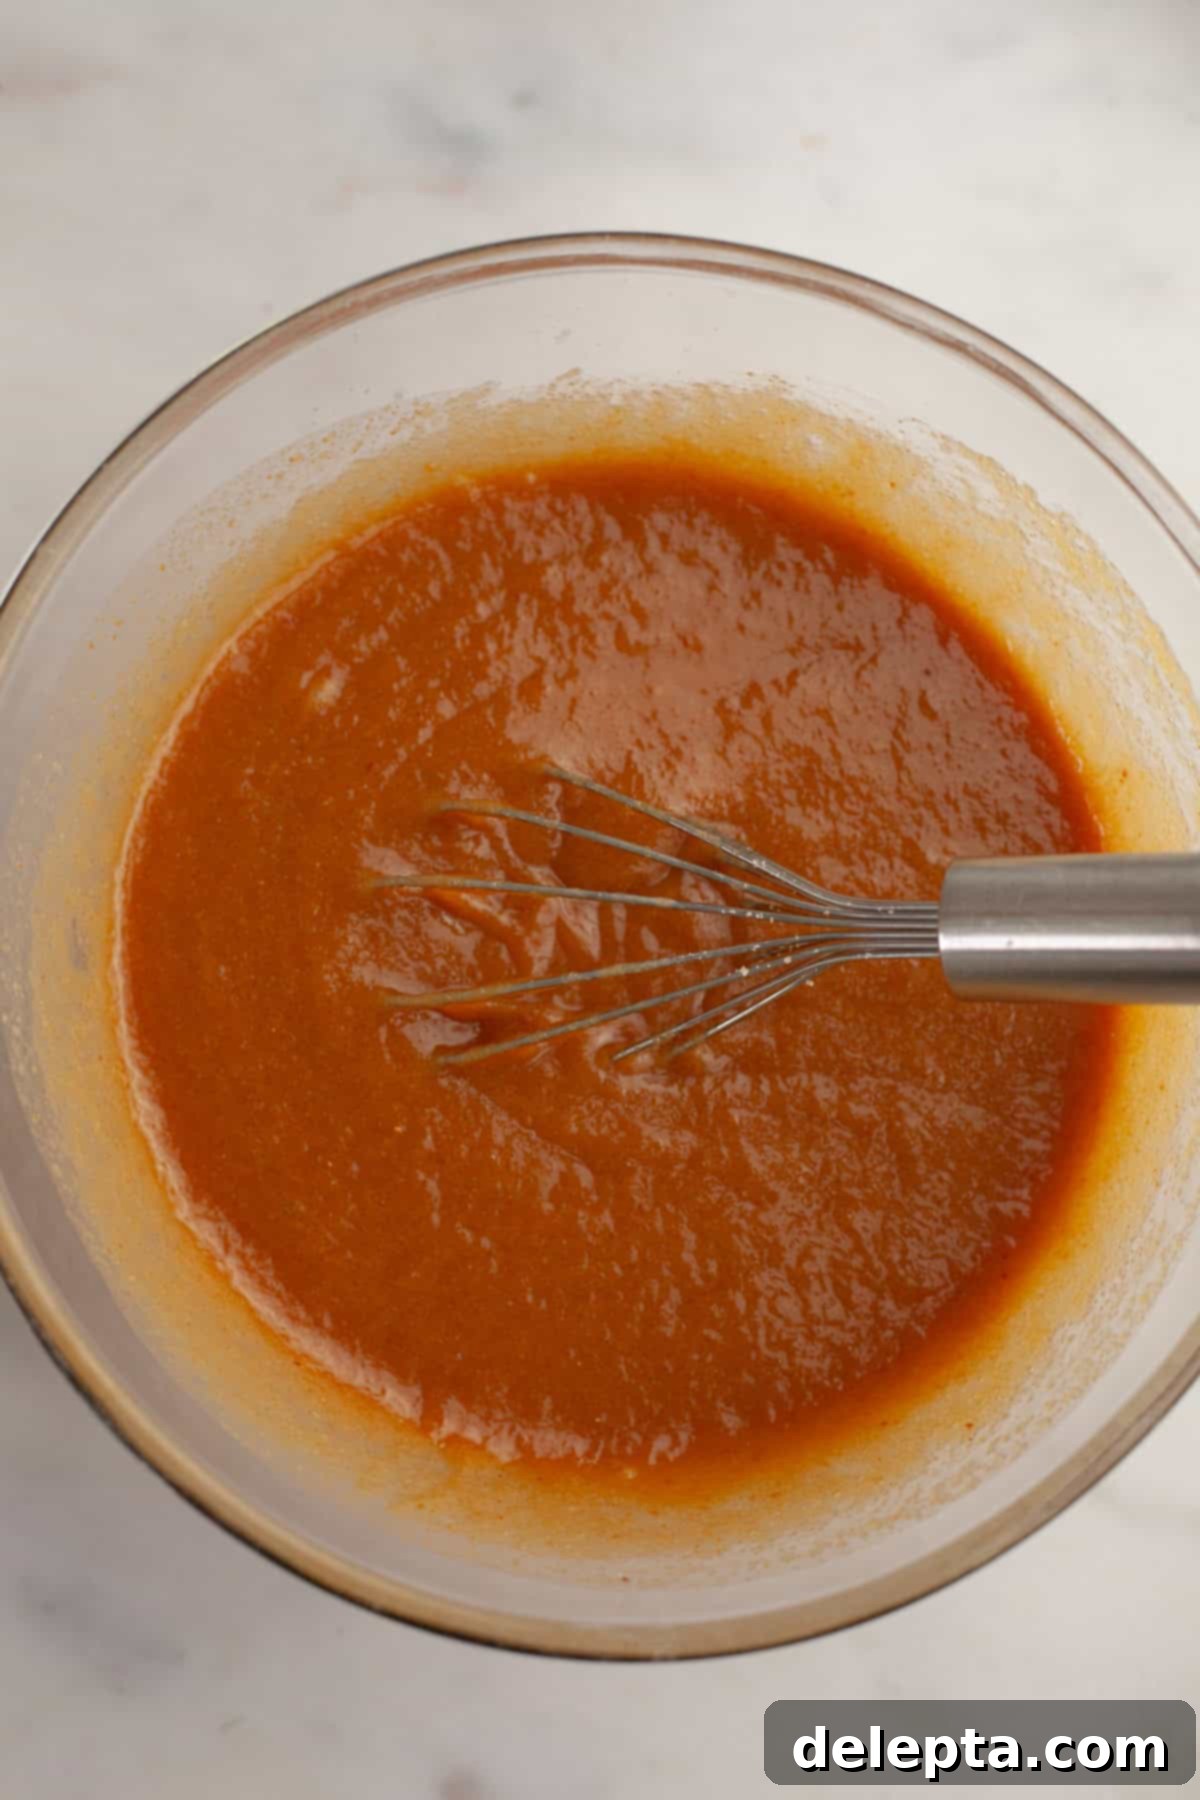
Now, incorporate the remaining wet ingredients. Add the granulated sugar, light brown sugar (packed firmly for accurate measurement), vanilla extract, and kosher salt to the bowl. Whisk everything together thoroughly until the mixture is smooth and all the sugars are well-dissolved, creating a cohesive and sweet foundation for your cookie dough.
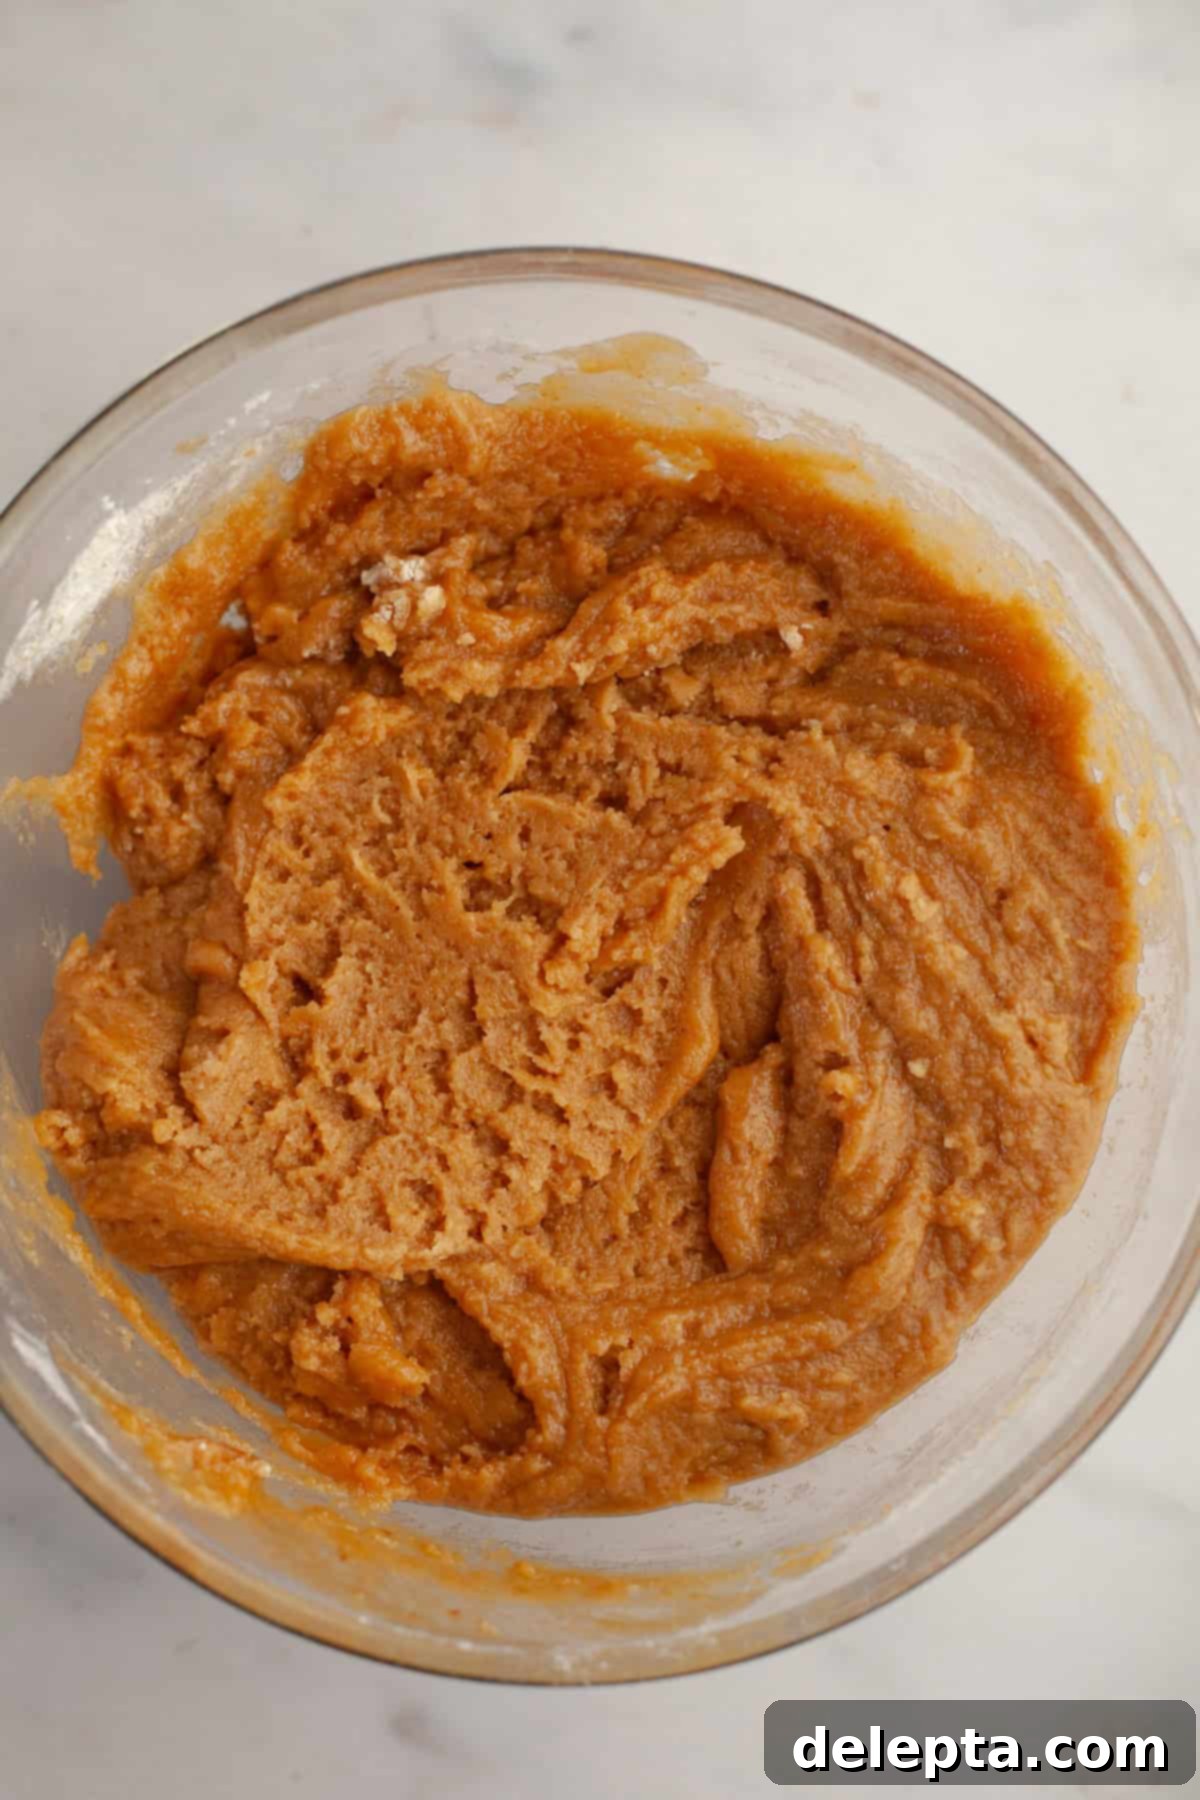
Next, it’s time for the dry ingredients. Carefully add your weighed all-purpose flour, baking soda, and baking powder to the wet mixture. Using a rubber spatula, gently fold the ingredients together until just combined. Be careful not to overmix, as overworking the flour can lead to tough cookies.
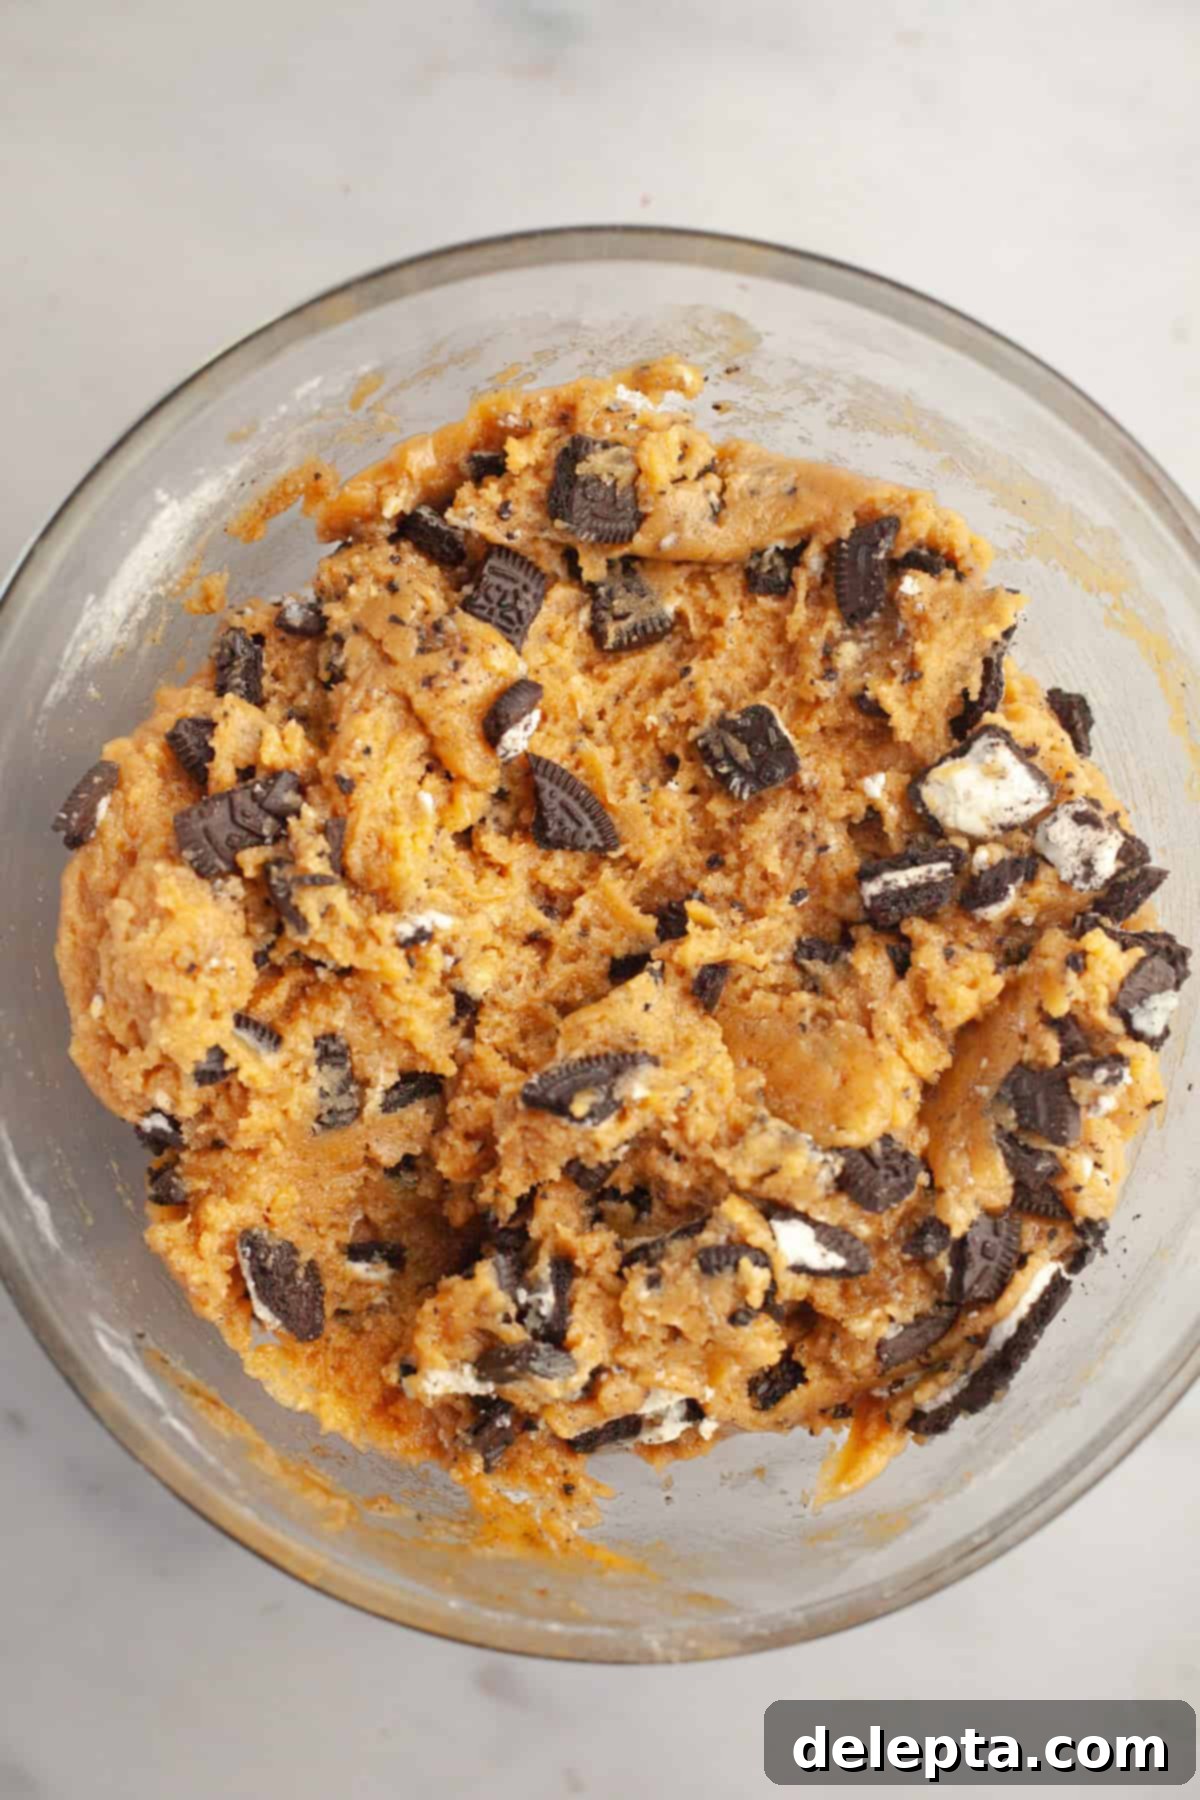
The moment has arrived for our favorite mix-in! Gently stir in the roughly chopped Oreo cookies until they are evenly distributed throughout the rich peanut butter dough. For that perfect bakery-style finish, I always recommend reserving a few extra chopped Oreo pieces to press onto the tops of the cookie dough balls before baking. This ensures a beautiful visual and an extra textural crunch.
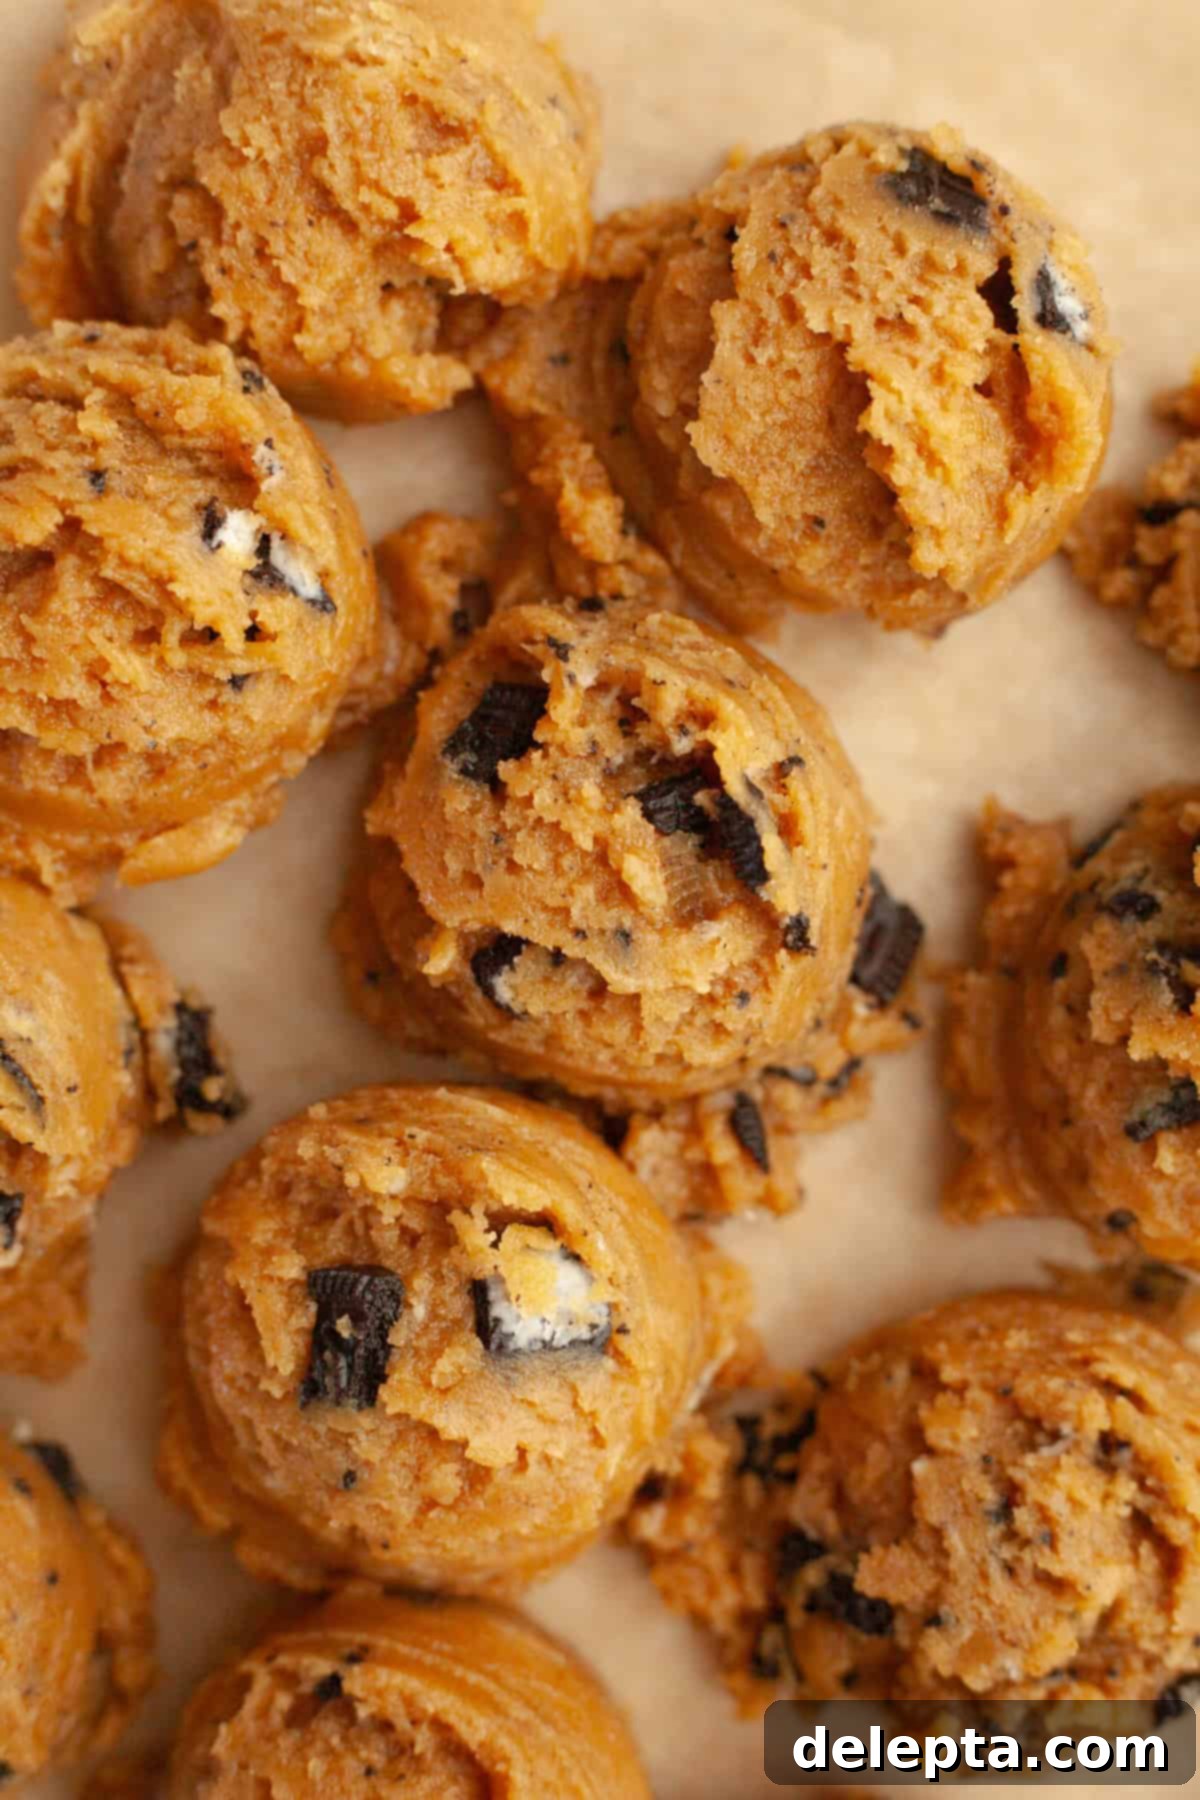
Using a large cookie scoop (about 3 tablespoons), scoop out uniform balls of cookie dough and arrange them on your parchment-lined baking sheets. Ensure there are a few inches of space between each cookie to allow for proper spreading. Bake one sheet at a time in a preheated oven at 350ºF (175ºC) for 10-12 minutes, or until the edges are golden and set, but the centers still look slightly soft and underbaked. This is key for that wonderfully chewy texture!
Expert Tips & Tricks for 🍪 Cookie Success
Achieving bakery-worthy cookies at home is easier than you think with these professional tips and tricks:
- The Power of a Cookie Scoop: A consistent size is the secret to evenly baked cookies. I highly recommend using a large cookie scoop (approximately 3 tablespoons) to ensure all your cookies are uniform. This guarantees they bake at the same rate, preventing some from being underdone while others are overbaked. Remember to give them ample space on the parchment-lined baking sheet – at least two inches apart – to prevent them from spreading into each other.
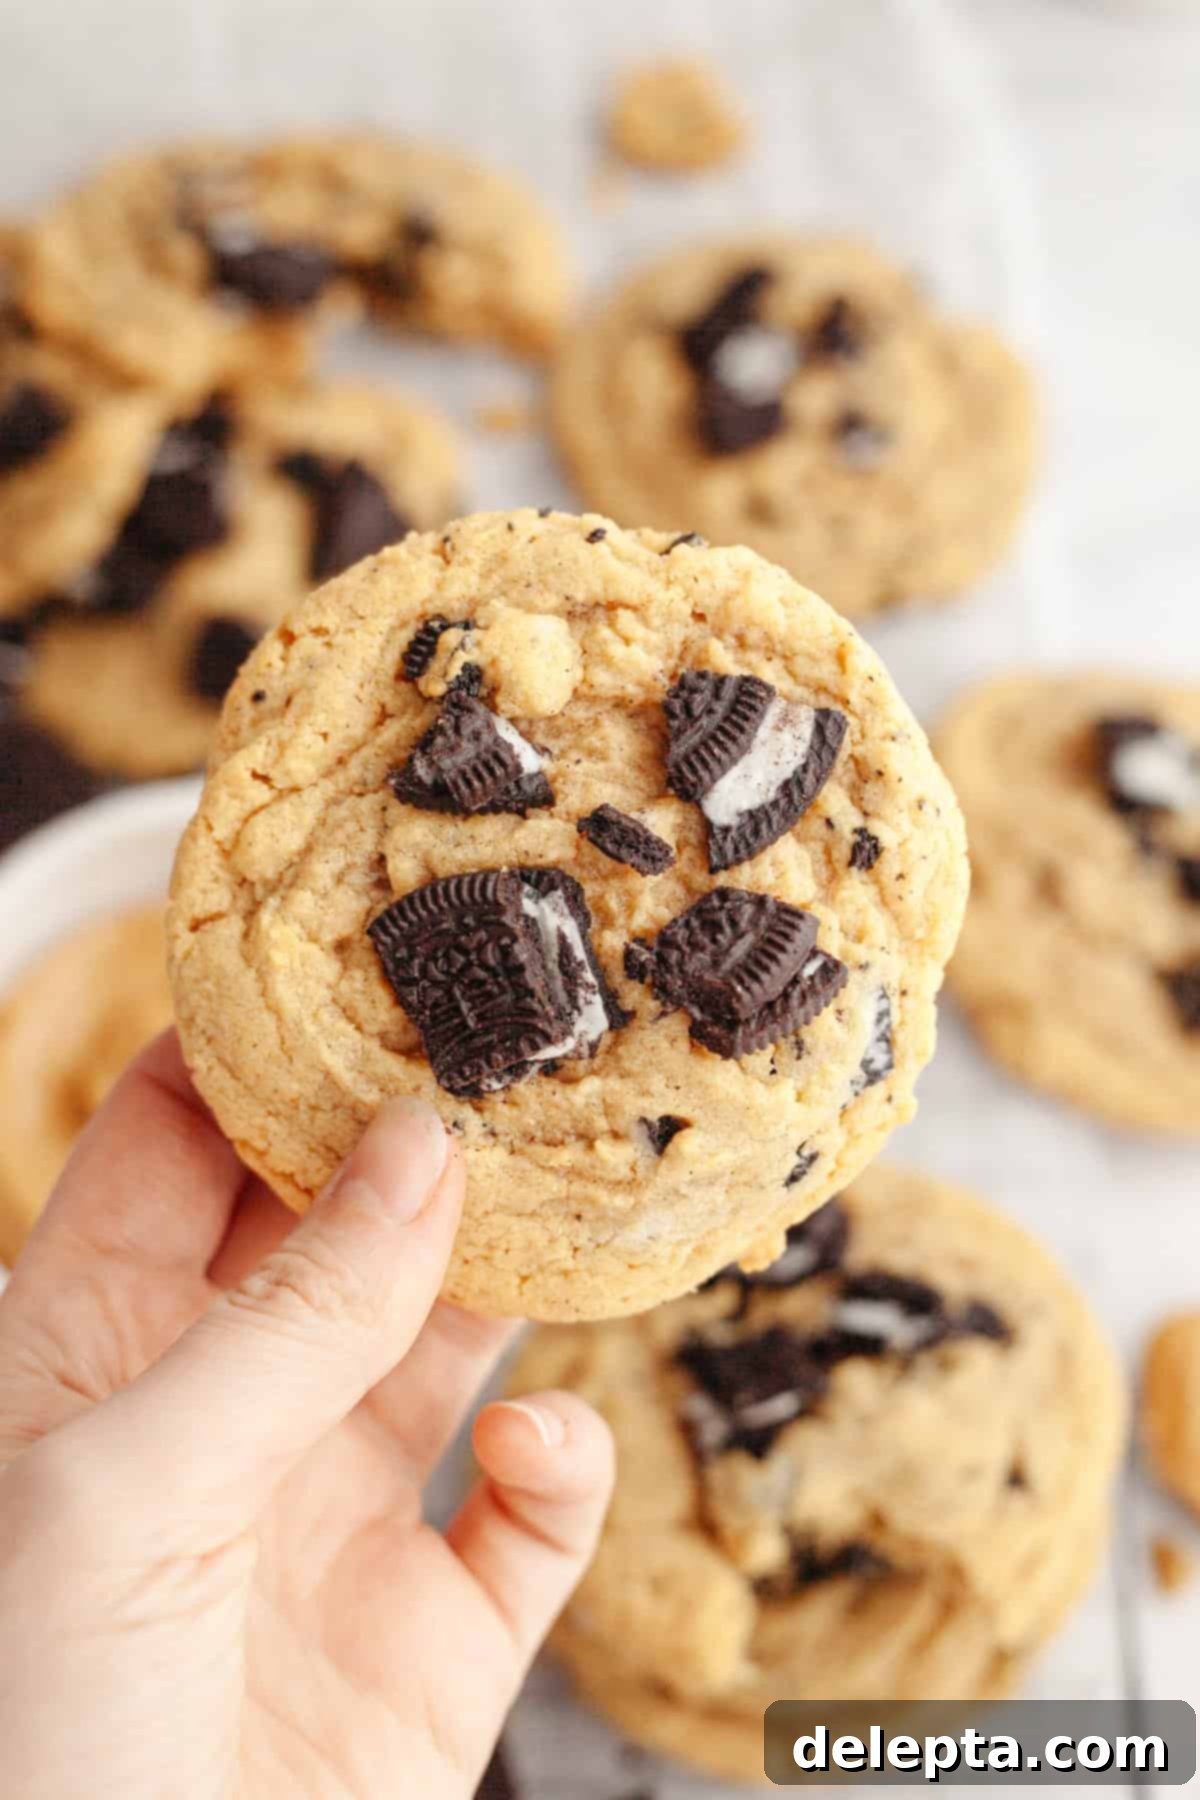
- Achieving Bakery-Style Perfection: Want cookies that look like they came from your favorite bakery? Here are a couple of insider tricks. Firstly, after scooping your cookie dough balls onto the baking sheet, gently press a few extra crushed Oreo pieces onto the top of each ball. This makes them visually appealing and signals the deliciousness within. Secondly, immediately after removing the hot cookies from the oven, use a large biscuit cutter or the rim of a mug that is slightly larger than your cookie. Place it around the cookie and gently “scoot” the edges inward in a circular motion. This trick helps to create perfectly round, uniformly thick cookies.
- The Secret to Gooey, Chewy Cookies: Slightly Underbake Them! This is perhaps the most crucial tip for achieving that coveted soft, chewy texture. Take your cookies out of the oven when their edges are just set and golden, but the very center still looks a little bit soft and underbaked. Don’t worry, they will continue to bake and firm up from the residual heat on the hot baking sheet. This “carry-over baking” ensures they remain moist and chewy rather than dry and crumbly.
- Room Temperature Eggs: Always use room temperature eggs. They emulsify better with the fat and sugar, creating a smoother, more uniform cookie dough. This leads to a better texture in your finished cookies.
- Don’t Overmix the Dough: Once you add the flour, mix until just combined. Overmixing develops the gluten in the flour, which can result in tough, dense cookies instead of soft and tender ones. A few streaks of flour are better than an overmixed dough.
- Invest in a Kitchen Scale: As mentioned in the ingredients, precise flour measurement is paramount. Cups can vary wildly, leading to unpredictable results. A kitchen scale provides accurate measurements, guaranteeing recipe consistency every time.
Explore More Delicious Cookie Recipes!
If you’ve fallen in love with these peanut butter Oreo delights, you’ll definitely want to try some of my other favorite cookie creations. Expand your baking repertoire with these irresistible recipes:
- Browned Butter Pecan Cookies
- Chewy Triple Chocolate Chunk Cookies (One Bowl Recipe)
- Chocolate Chip Coconut Oatmeal Cookies (with brown butter)
- Oatmeal Walnut Chocolate Chip Cookies
If you’ve made these incredible Brown Butter Peanut Butter Oreo Cookies, I would absolutely love to hear from you! Please make sure to leave a ⭐️ rating and review below to share your experience and help other bakers. I get so much joy from seeing your creations, so don’t forget to tag me on Instagram @alpineella so I can admire what you’ve baked! You can also follow along on Pinterest, Facebook, and TikTok for more delicious recipes and baking inspiration. Happy baking!
Recipe

One Bowl Peanut Butter Oreo Cookies (with brown butter)
Ella Gilbert
Pin Recipe
Save RecipeSaved!
Equipment
-
Saucepan
-
Baking Sheets
-
Bowls
-
Kitchen Scale
-
Measuring Spoons
-
Whisk
-
Rubber Spatula
Ingredients
- 1 cup unsalted butter
- 1 cups smooth peanut butter
- 2 teaspoon vanilla extract
- ½ cup sugar
- 1 cup light brown sugar
- 1 ½ teaspoons kosher salt
- 2 large eggs room temperature
- 2 ½ cups all purpose flour
- 1 teaspoon baking soda
- 1 teaspoon baking powder
- 8 oreo cookies roughly chopped
Instructions
-
Melt the unsalted butter in a small, light-colored saucepan over medium-low heat. Continue to cook, stirring constantly with a rubber spatula or wooden spoon, as the butter begins to foam and bubble. You will notice little white milk solids forming at the bottom of the pan, and the foam will gradually subside. Keep stirring until these milk solids turn a beautiful golden-brown color and a distinct nutty, toasted aroma fills your kitchen. Immediately pour the browned butter into a large mixing bowl and allow it to cool for a few minutes while you gather other ingredients.1 cup unsalted butter
-
While the butter cools, preheat your oven to 350°F (175°C). Line several baking sheets with parchment paper for easy cleanup and to prevent sticking.
-
To the slightly cooled brown butter, add the smooth commercial peanut butter. Whisk vigorously until the mixture is completely smooth and well combined, creating a rich, uniform base.1 cups smooth peanut butter
-
Add the granulated sugar, light brown sugar (packed), kosher salt, and vanilla extract to the bowl. Whisk these wet ingredients together until they are well blended and smooth, ensuring all the sugars are incorporated.2 teaspoon vanilla extract, ½ cup sugar, 1 cup light brown sugar, 1 ½ teaspoons kosher salt
-
Crack the large, room temperature eggs into the mixture. Whisk thoroughly until they are fully combined and the dough appears lightened and smooth.2 large eggs
-
Add the accurately weighed all-purpose flour, baking soda, and baking powder to the bowl. Using a rubber spatula, gently fold the dry ingredients into the wet ingredients until just combined. Mix until no streaks of flour remain, but be careful not to overmix the dough.2 ½ cups all purpose flour, 1 teaspoon baking soda, 1 teaspoon baking powder
-
Finally, add the roughly chopped Oreo cookies to the dough. Using your rubber spatula, gently fold them in until they are evenly distributed throughout the rich peanut butter cookie dough.8 oreo cookies
-
Using a 3-tablespoon capacity cookie scoop, scoop out uniform balls of cookie dough. Place the cookie dough balls onto the prepared baking sheets, ensuring a generous few inches of space between each one to allow for spreading. For an extra bakery-style touch, gently press a few additional chopped Oreo cookie pieces onto the top of each cookie dough ball at this stage!
-
Bake in your preheated oven, one sheet at a time, for 10-12 minutes. The cookies are ready when the edges are set and lightly golden, but the middles still look slightly soft and appear a little under done. This slight underbaking is the secret to a perfectly chewy center.
-
Once baked, allow the cookies to cool on the hot baking sheets for a crucial 10-15 minutes. This allows them to finish setting and firm up. After this initial cooling period, carefully transfer them to a wire cooling rack to cool completely. Enjoy!
Video
Notes
Brown Butter Alternative: If you’re short on time or prefer not to brown the butter, you can still make delicious cookies! Simply decrease the amount of butter from 1 cup (226 grams) to 1.5 sticks + 4 teaspoons (approximately 190 grams) and melt it completely in the microwave or on the stovetop. The cookies will still be wonderful, though they will lack the unique nutty, caramelized notes of browned butter.
Adjusting Salt: The recipe calls for kosher salt, which has a coarser grain and a different salinity compared to fine table salt. If you only have fine salt available, halve the amount called for in the recipe to avoid over-salting. For example, 1 teaspoon of kosher salt generally equals ½ teaspoon of fine salt. I specifically use Diamond Crystal Kosher Salt; Morton Kosher Salt is denser and significantly saltier for this recipe.
Chilling the Dough: I’ve tested this recipe extensively both with and without chilling the cookie dough. While these cookies are designed for zero chill time for ultimate convenience, chilling the dough for at least 30 minutes (or up to 24 hours) can result in a slightly thicker, chewier cookie with a more developed flavor. It’s an optional step if you have the time!
Storage & Freezing: Store your baked peanut butter Oreo cookies in an airtight container at room temperature for up to 1 week to maintain their freshness and chewiness. For future cravings, you can freeze unbaked cookie dough balls for up to 2 months. Simply arrange them on a baking sheet to freeze solid, then transfer to a freezer-safe bag or container. When you’re ready to bake, take them directly from the freezer, place them on a parchment-lined baking sheet, and bake at the same temperature (350°F / 175°C) for an extra minute or two until the edges are set and the centers are slightly soft.
Nutrition
Frequently Asked Questions (FAQ)
Can I use natural peanut butter for these cookies?
I highly recommend using commercial, stabilized peanut butter (like Jif or Skippy) for this recipe. Natural peanut butter tends to have a thinner, oilier consistency that can significantly change the texture of the cookies, making them more prone to being crumbly or dry. Commercial brands provide the necessary fat and consistency for a perfectly soft and chewy cookie.
Is browning the butter essential, or can I use regular melted butter?
Browning the butter is absolutely what elevates these cookies to another level, adding a rich, nutty, and caramelized depth of flavor that is truly unique. While it’s not strictly “essential” for a cookie to be made, it is highly recommended for the best flavor experience. If you opt out, you can use regular melted butter, but reduce the amount from 1 cup (226g) to about 1.5 sticks + 4 teaspoons (190g) due to the water content differences. The cookies will still be delicious, but they will miss that signature brown butter complexity.
Do I really not need to chill the cookie dough?
That’s right! This recipe has been specifically developed to yield soft and chewy cookies without the need for chilling the dough, which means you can enjoy fresh-baked cookies much faster. However, if you prefer a slightly thicker cookie with a more developed flavor, you can certainly chill the dough for 30 minutes up to 24 hours. Just allow it to warm up slightly on the counter before scooping if it’s too firm.
How should I store these peanut butter Oreo cookies?
Once baked and completely cooled, store the cookies in an airtight container at room temperature for up to one week. To maintain their delicious chewiness, you can also place a slice of bread in the container with them – the cookies will absorb moisture from the bread. You can also freeze unbaked cookie dough balls for up to 2 months. Bake from frozen, adding an extra 1-2 minutes to the bake time.
Can I add other mix-ins to the cookie dough?
Absolutely! This recipe is quite versatile. While Oreos are fantastic, feel free to get creative. You could add chocolate chips (milk, dark, or white), chopped nuts (like pecans or walnuts), or even other crushed candies. Just be mindful of the total volume of mix-ins to ensure the dough remains balanced.
There you have it – a truly delightful and surprisingly easy recipe for Brown Butter Peanut Butter Oreo Cookies that promise to satisfy even the most ardent cookie lovers. With their irresistible blend of rich flavors, perfect chewy-soft texture, and the added crunch of Oreos, these cookies are destined to become a staple in your baking repertoire. The convenience of a one-bowl, no-chill recipe means you’re just minutes away from enjoying a warm, bakery-quality treat. So go ahead, gather your ingredients, and get ready to experience cookie perfection. Happy baking!
